
Articles
How To Renovate Attic
Modified: October 20, 2024
Discover expert articles on how to renovate your attic and transform it into a stylish and functional space for your home. Get step-by-step instructions and valuable tips.
(Many of the links in this article redirect to a specific reviewed product. Your purchase of these products through affiliate links helps to generate commission for Storables.com, at no extra cost. Learn more)
Introduction
Renovating the attic is a transformative project that can significantly improve the functionality and aesthetics of your home. With careful planning and execution, you can turn this underutilized space into a valuable addition to your living space. Whether you’re looking to create an extra bedroom, a home office, or a recreational area, renovating the attic requires careful consideration and attention to detail.
In this article, we will guide you through the step-by-step process of renovating your attic. From assessing the space to adding the finishing touches, we will cover everything you need to know to successfully complete this project.
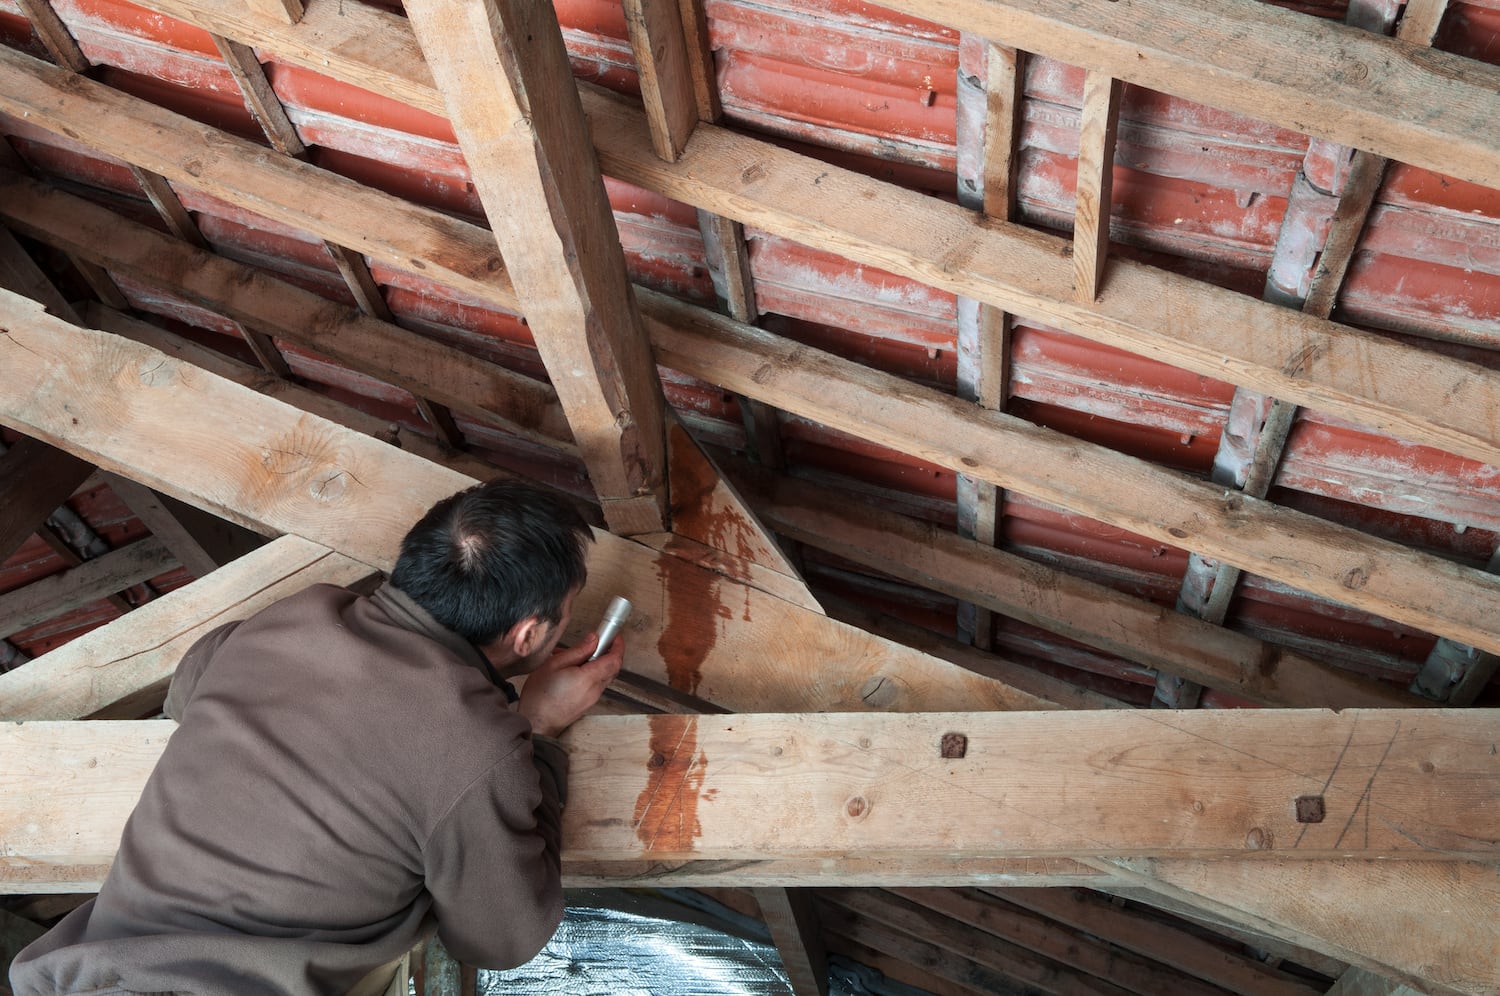
Before you begin, it’s essential to evaluate the condition of your attic and ensure that it is structurally sound. Seek professional advice if you have any doubts about the safety or feasibility of the renovation.
Now, let’s dive into the process of renovating your attic and transform it into a functional and beautiful space that adds value to your home.
Key Takeaways:
- Transform your underutilized attic into a valuable addition to your home by carefully assessing the space, planning the renovation, and addressing insulation, ventilation, and storage solutions.
- Create a beautifully finished and inviting attic space by installing windows and skylights, adding personal touches, and carefully selecting colors, decorative accents, and lighting fixtures.
Read more: How To Access Attic
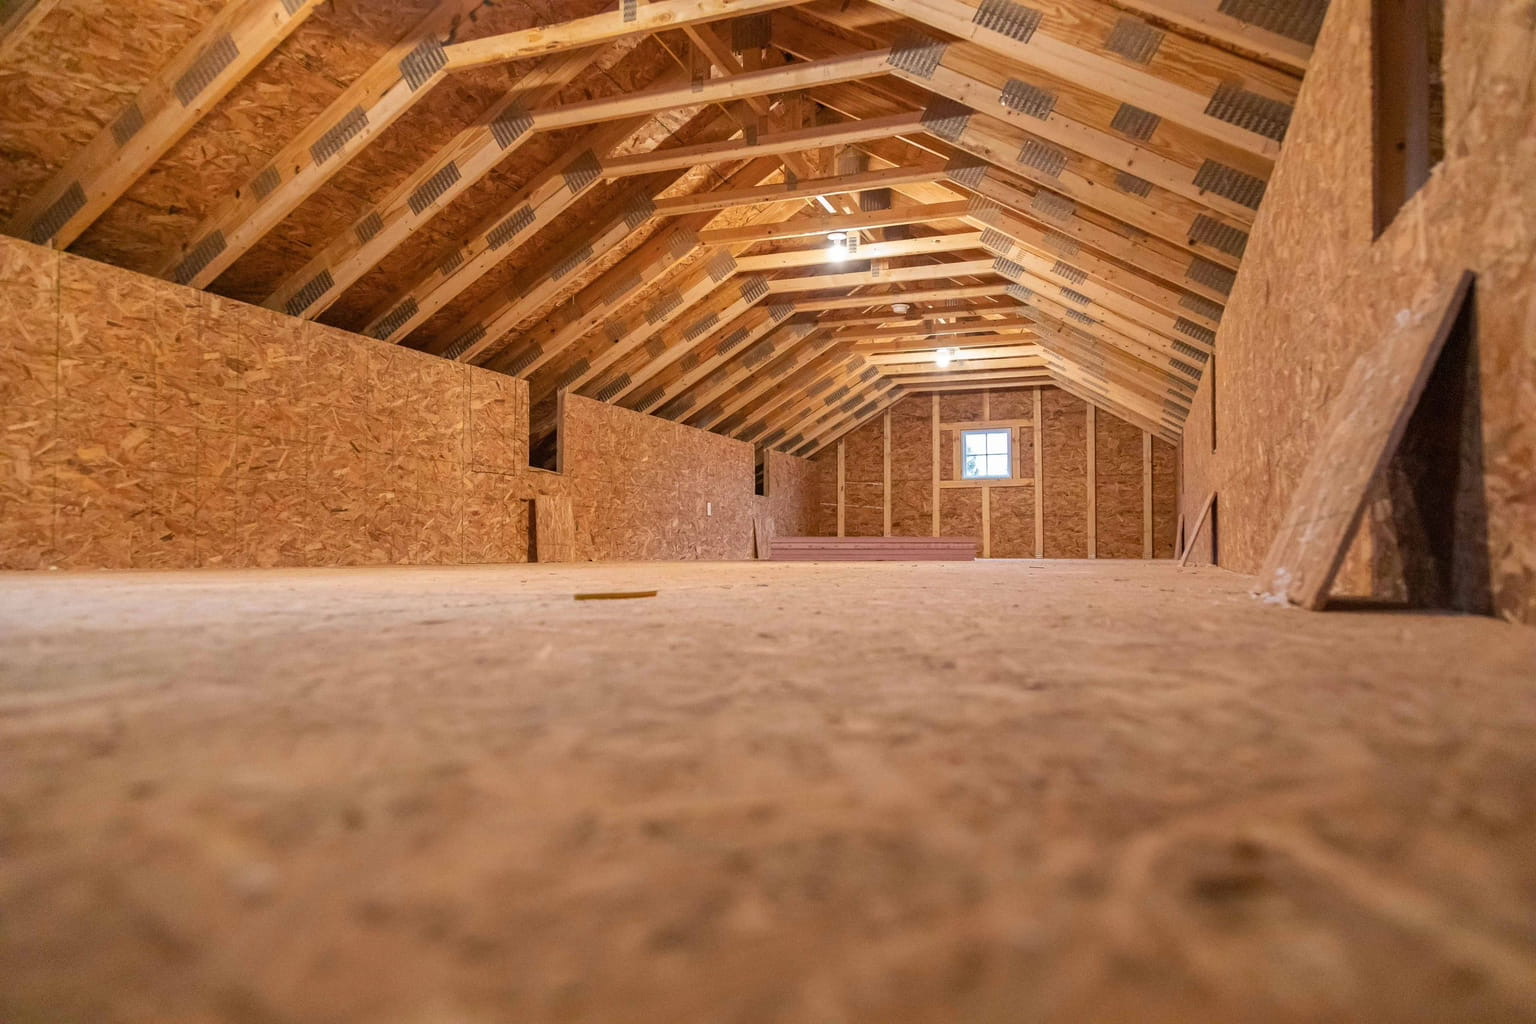
Step 1: Assessing the Attic Space
Before you start renovating your attic, it’s crucial to assess the available space and determine its potential. Here are a few key aspects to consider during this assessment:
- Headroom: Measure the height of the attic space to ensure there is enough headroom for comfortable movement. Ideally, there should be a minimum of 7 feet of clearance to meet building codes and ensure the space is usable.
- Flooring Condition: Inspect the attic floor to check for any structural issues or damage. Make sure the flooring is sturdy and capable of supporting the additional weight of furniture, people, and other items you plan to include in the renovated attic.
- Insulation: Evaluate the insulation in the attic to ensure energy efficiency. If the insulation is inadequate or outdated, it may be necessary to upgrade it during the renovation process. Proper insulation will help optimize temperature control and reduce energy costs.
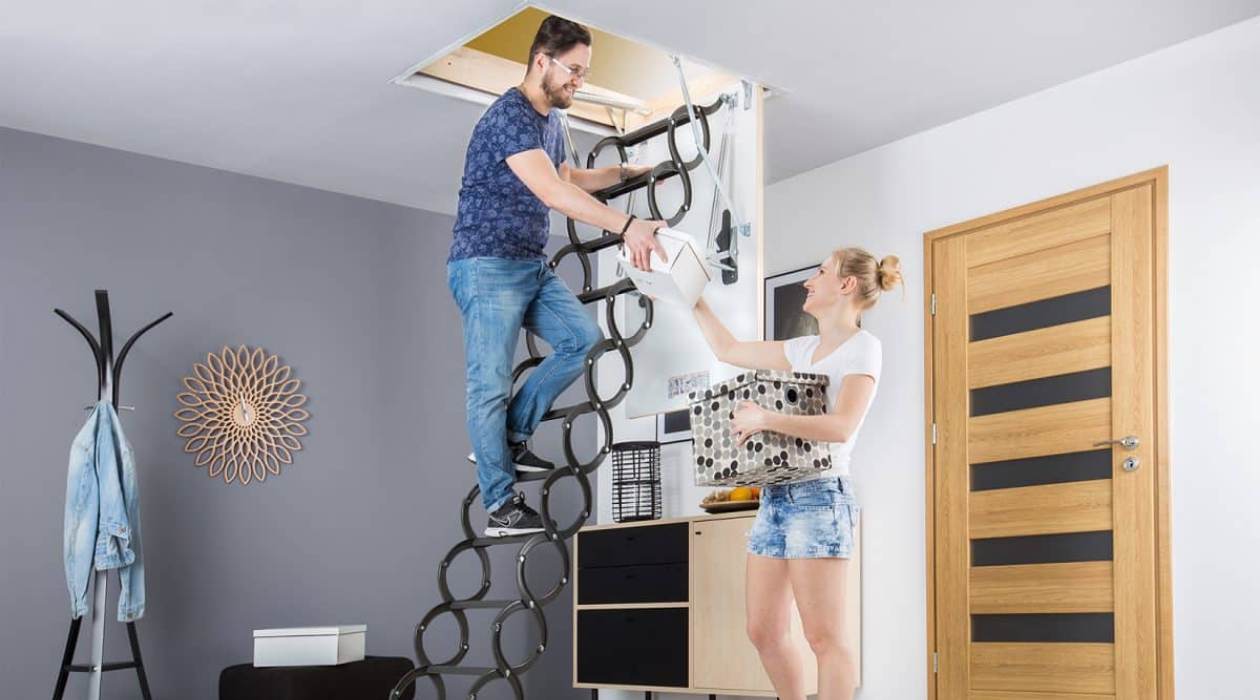
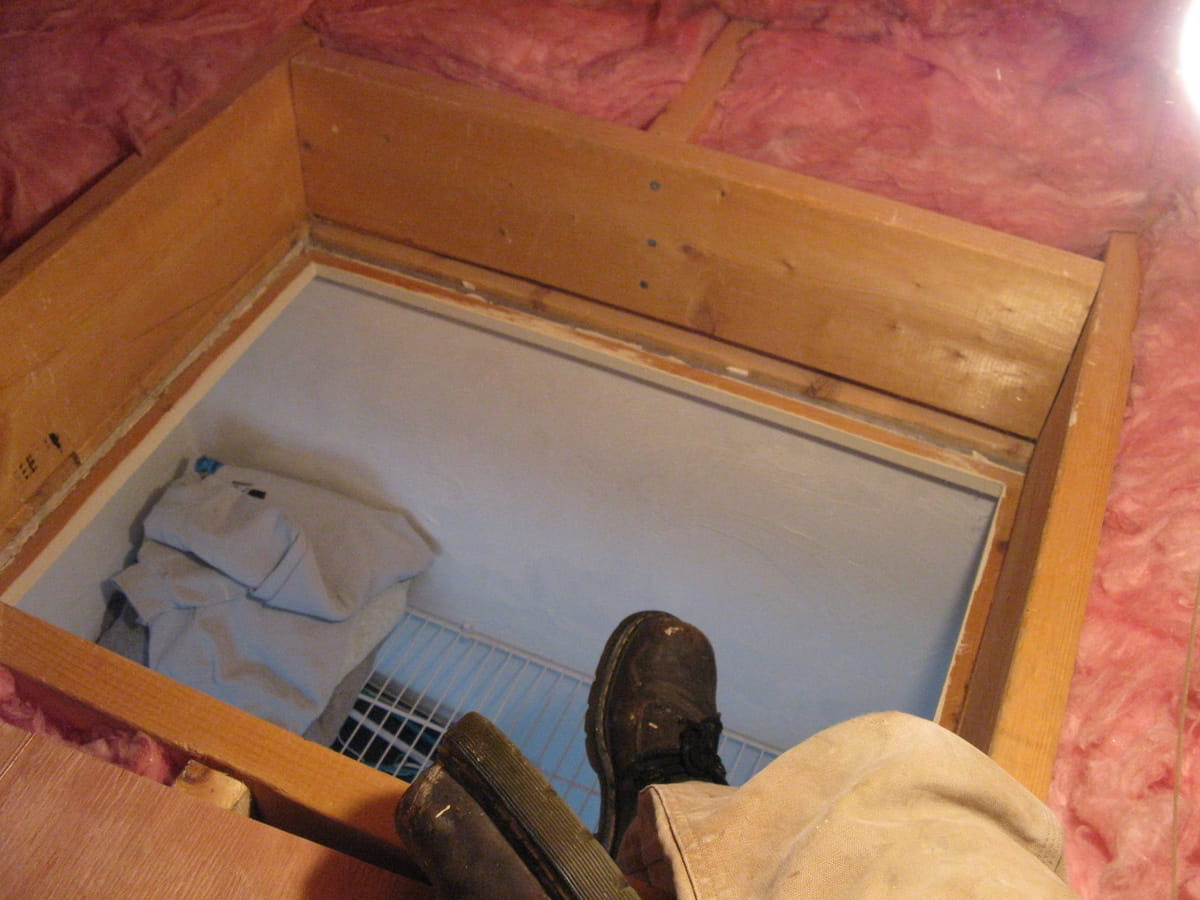
- Access Points: Consider how you will access the renovated attic. Evaluate the existing access points, such as stairs or a ladder, and determine if they need to be modified or if you need to establish new access points to make the attic easily accessible.
- Utilities: Assess the availability and accessibility of essential utilities like electricity, plumbing, and HVAC. Determine if any modifications or additions need to be made to ensure the attic has the necessary amenities for your intended use.
- Ventilation: Check the ventilation in the attic to ensure proper air circulation. Proper ventilation is essential for maintaining a comfortable and healthy environment. If the attic lacks adequate ventilation, you may need to install additional vents or a ventilation system.
Once you have thoroughly assessed the attic space and considered these key factors, you will have a better understanding of its potential and limitations. This assessment will help you determine the best layout and design for your renovated attic, ensuring that the final result meets your needs and desires.
Step 2: Planning the Renovation
Planning is a crucial step in any renovation project, and renovating the attic is no exception. Taking the time to carefully plan your attic renovation will help ensure that everything goes smoothly and that you achieve your desired outcome. Here are the key aspects to consider during the planning phase:
- Define the Purpose: Determine the specific purpose or function you want your renovated attic to serve. Are you creating an additional bedroom, a home office, a playroom, or a combination of different functions? Defining the purpose will guide the layout, design, and overall renovation process.
- Layout and Design: Consider the layout of the attic and how it can be optimized to suit your needs. Take measurements and create a floor plan that includes the desired room configurations, furniture placement, and storage solutions. Consider factors like windows, natural lighting, and access points when designing the layout.
- Permits and Regulations: Check with your local building authority to determine if there are any permits or regulations you need to comply with for the attic renovation. This may include building codes, fire safety regulations, or zoning restrictions. Ensure that you obtain the necessary permits and adhere to all regulations to avoid any legal issues.
- Budgeting: Determine your budget for the attic renovation. Consider the cost of materials, labor, and any additional expenses such as permits or professional consultations. It’s essential to have a realistic budget in mind to avoid overspending and manage your renovation costs effectively.
- Timeline: Set a realistic timeline for your attic renovation project. Consider factors such as the complexity of the renovation, availability of contractors, and any potential disruptions or delays that may arise. Having a clear timeline will help you stay organized and ensure that the renovation progresses smoothly.
- Hiring Professionals: Assess whether you have the necessary skills and expertise to complete the renovation on your own or if you need to hire professionals. Depending on the complexity of the project, you may need to enlist the help of contractors, architects, or interior designers to ensure the renovation is done correctly and meets your expectations.
By thoroughly planning your attic renovation, you can avoid costly mistakes and ensure that the final result aligns with your vision. Take your time to consider all the necessary factors and consult with professionals when needed. With a well-planned renovation, you’ll be on your way to transforming your attic into a functional and beautiful space.
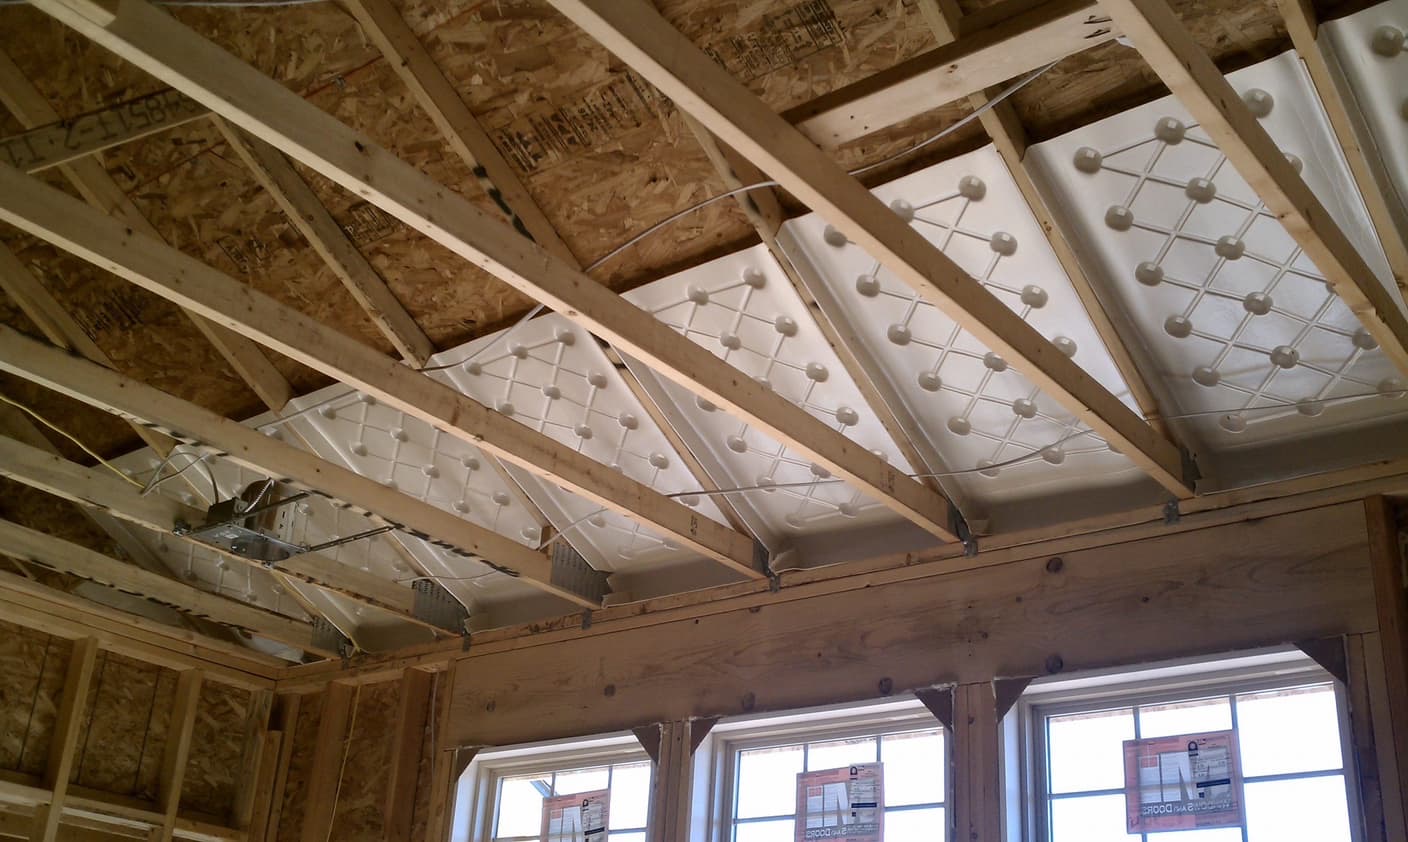
Step 3: Insulation and Ventilation
When renovating your attic, it’s important to address insulation and ventilation to create a comfortable and energy-efficient space. In this step, we will discuss the key considerations for insulation and ventilation:
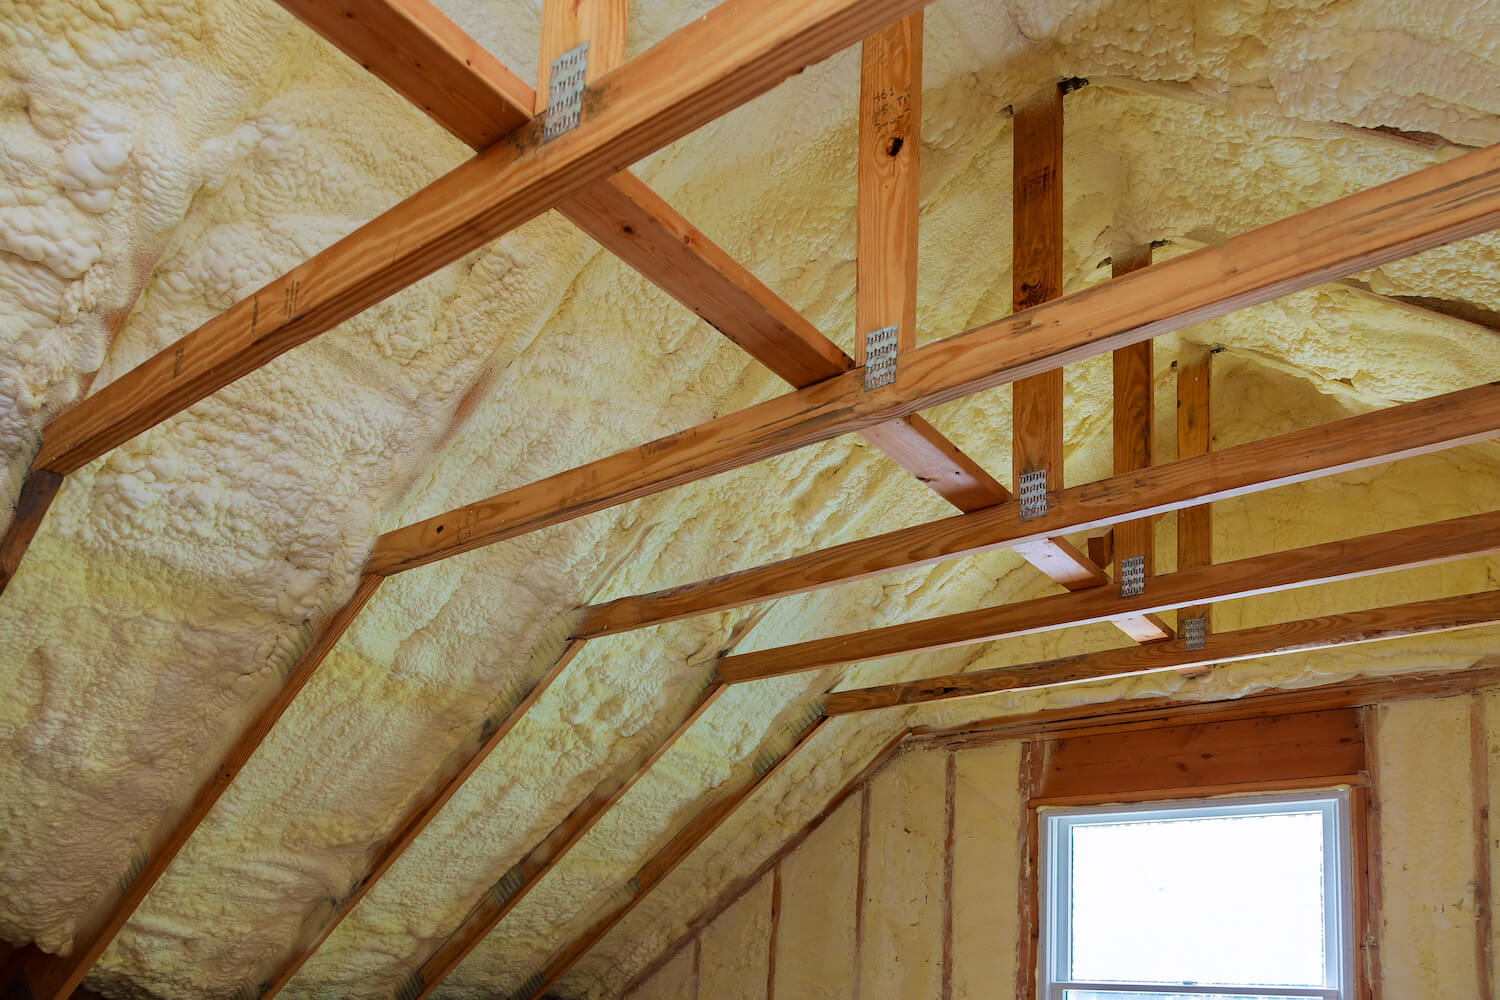
- Insulation: Proper insulation is essential for maintaining a consistent temperature and reducing energy consumption. Evaluate the existing insulation and determine if it needs to be upgraded or replaced. Choose insulation materials that provide effective thermal resistance, such as fiberglass batts, rigid foam boards, or spray foam insulation. Install insulation in the attic walls, floor, and ceiling to prevent heat loss or gain.
- Vapor Barrier: Consider adding a vapor barrier to prevent moisture from entering or accumulating in the attic. This barrier helps prevent issues like mold and mildew growth. Install the vapor barrier on the warm side of the insulation to prevent condensation.
- Air Sealing: Seal any air leaks in the attic to improve energy efficiency. Common areas of air leakage include gaps around windows, doors, and electrical outlets. Use weatherstripping, caulk, or spray foam to seal these gaps and ensure a tight seal.
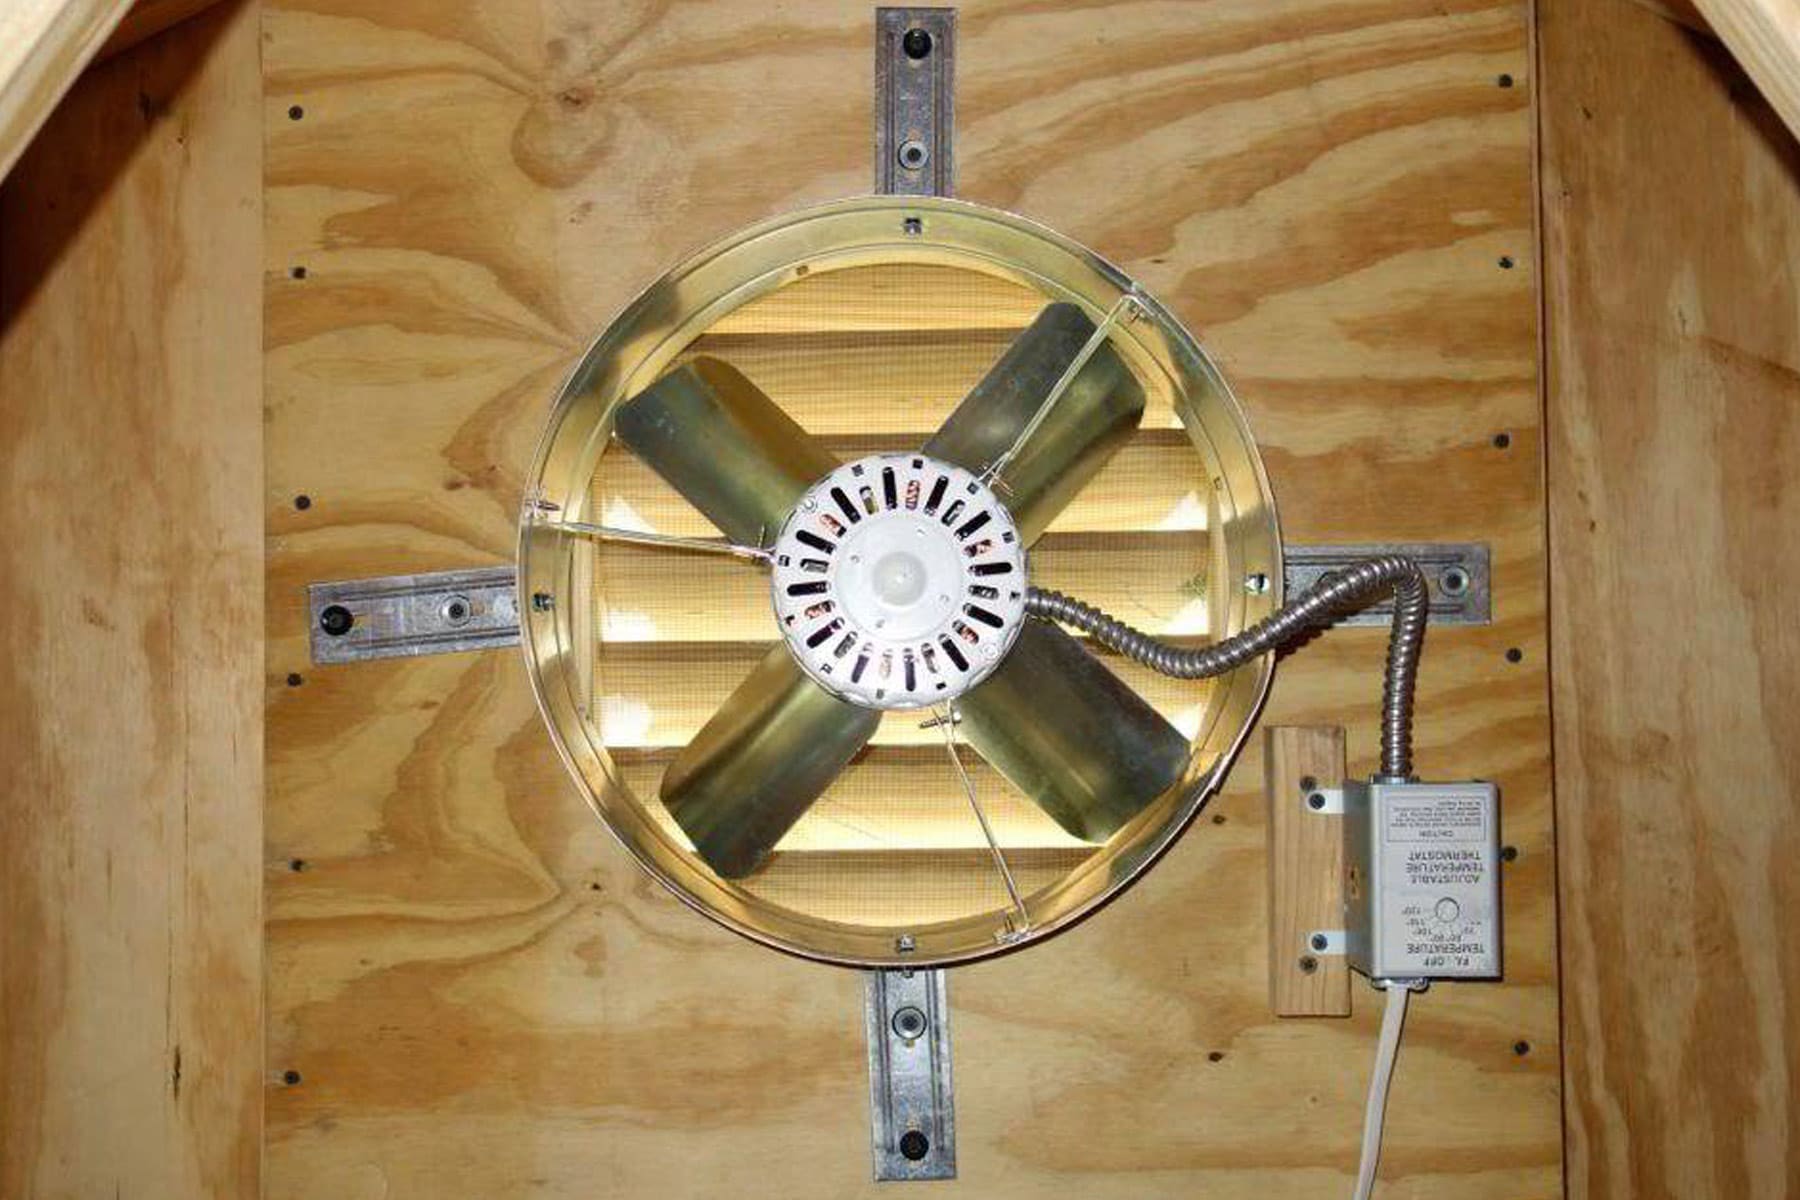
- Roof Ventilation: Proper ventilation is crucial for maintaining a healthy attic environment and preventing moisture buildup. Install ridge vents, soffit vents, or gable vents to promote air circulation. This helps remove excess heat and moisture, preventing issues like rot and mold growth.
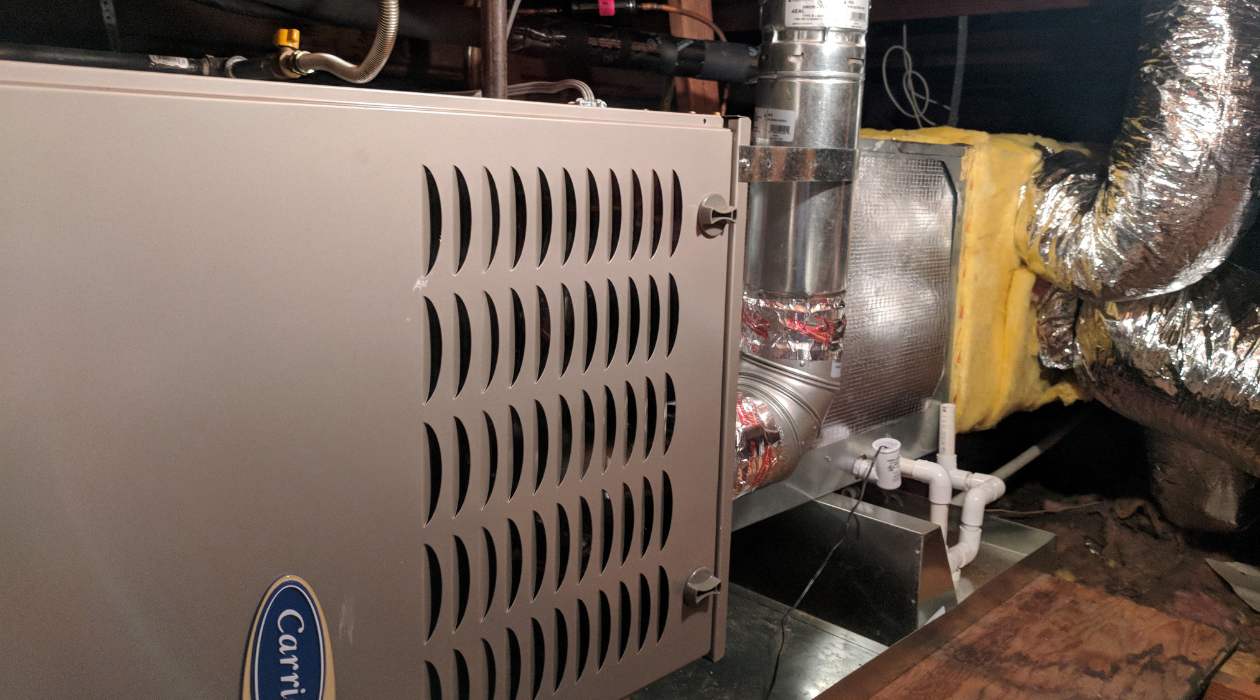
- Insulated Ductwork: If your HVAC system or ductwork runs through the attic, ensure that it is properly insulated. Insulated ductwork prevents energy loss and maintains the efficiency of your heating and cooling system.
- Attic Fans: Consider installing attic fans to improve ventilation and prevent overheating. Attic fans help expel hot air from the attic, keeping the temperature more comfortable and reducing the strain on your cooling system.
By addressing insulation and ventilation in your attic, you can create a more comfortable and energy-efficient space. Proper insulation and ventilation help regulate temperature, prevent moisture issues, and improve air quality. Consult with professionals to ensure that you choose the appropriate insulation materials and ventilation options for your attic renovation.
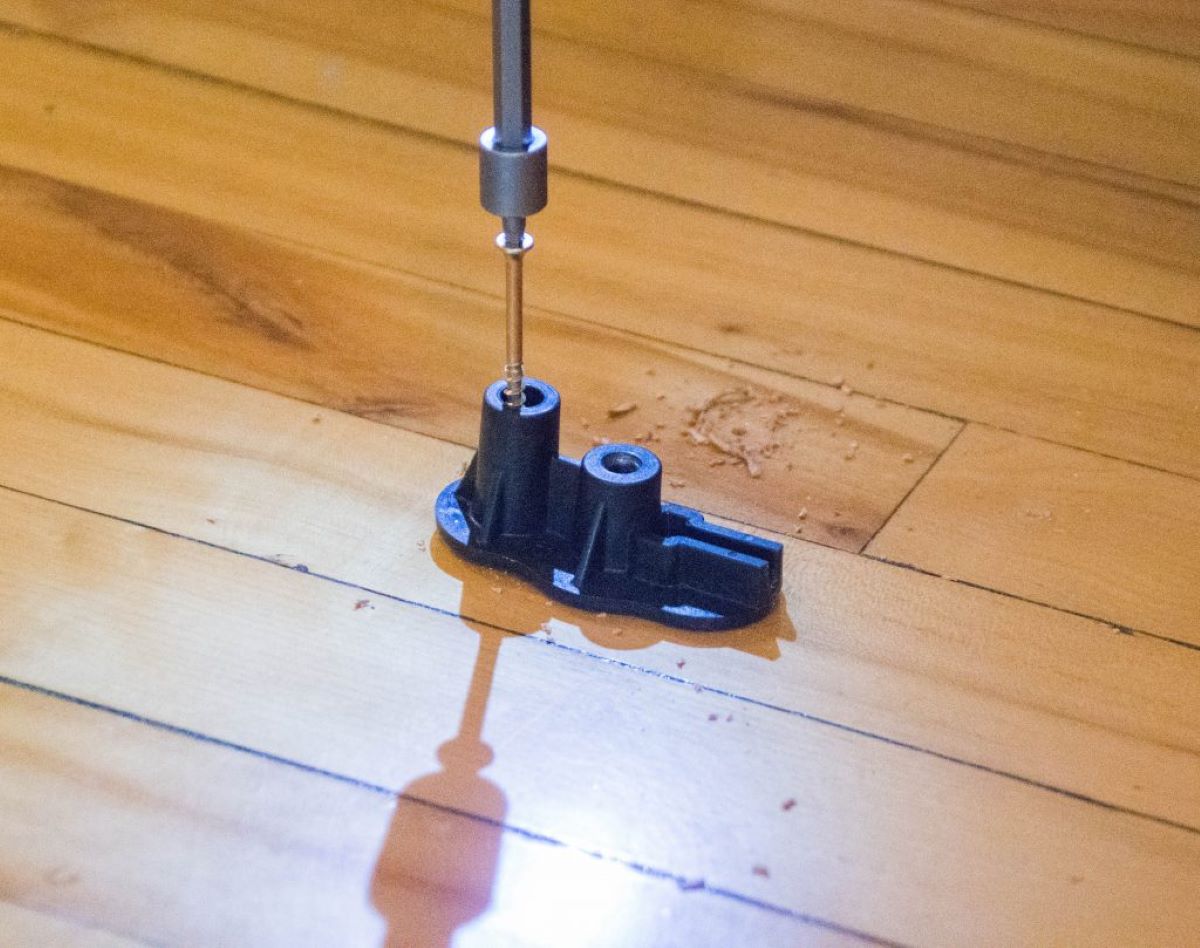
Step 4: Flooring Installation
Installing the right flooring in your attic is essential for adding functionality and aesthetic appeal to the space. Here are the key considerations for flooring installation during your attic renovation:
- Subfloor Evaluation: Evaluate the condition of the existing subfloor in your attic. Ensure it is structurally sound, level, and free from any moisture or damage. If needed, repair or replace the subfloor before proceeding with the flooring installation.
- Moisture Barrier: Install a moisture barrier over the subfloor to protect the flooring from any potential moisture issues. This barrier helps prevent moisture from seeping into the flooring material, ensuring its durability and longevity.
- Flooring Options: Choose a flooring option that suits your desired aesthetic, budget, and functional requirements. Common options for attic flooring include hardwood, laminate, carpet, or luxury vinyl planks. Consider factors such as durability, ease of installation, and maintenance requirements when selecting the flooring material.
- Installation Method: Depending on the flooring material chosen, you’ll need to determine the appropriate installation method. For hardwood or laminate flooring, you may opt for floating installation or glue-down installation. Carpet installation typically involves stretching and securing the carpet over padding. Follow the manufacturer’s instructions or consult with a professional for proper installation techniques.
- Access Panel: If your attic renovation includes creating a storage area, consider installing an access panel in the flooring. This panel allows easy access to the storage area when needed and can be concealed with a matching flooring material.
- Transition Strips: Install transition strips at the edges of the attic floor where it meets other rooms or areas. These strips provide a clean and finished look while allowing for smooth transitions between different flooring materials or floor heights.
- Underfloor Insulation: In colder climates, consider adding underfloor insulation to improve energy efficiency and prevent heat loss. Insulating the space between the flooring and attic floor helps maintain a comfortable temperature in the attic and reduces energy consumption.
Proper flooring installation in your attic enhances the overall appearance and functionality of the space. Choose a flooring option that suits your style and functional needs, and ensure proper installation techniques to achieve the best results. If you’re unsure about the installation process, it’s always recommended to consult with professionals for guidance and assistance.
Read more: How To Open The Attic
Step 5: Electrical and Plumbing Considerations
Addressing electrical and plumbing considerations is crucial when renovating your attic. These steps ensure that your newly renovated space is equipped with the necessary amenities and functionality. Here are the key considerations for electrical and plumbing installations:
- Electrical Wiring: Evaluate the existing electrical wiring in your attic and determine if it needs to be upgraded or expanded to accommodate your renovation plans. Consult with a licensed electrician to ensure that the electrical system meets safety codes and can handle the increased demand.
- Lighting Fixtures: Plan the placement and installation of lighting fixtures to achieve optimal illumination in your attic space. Consider both natural lighting options, such as skylights or windows, as well as artificial lighting fixtures like recessed lights, track lighting, or pendant lights. Install light fixtures strategically to create a well-lit and inviting atmosphere.
- Electrical Outlets and Switches: Determine the location of electrical outlets and switches based on your planned room layout and furniture placement. Ensure that there are enough outlets to meet your electrical needs and that they are conveniently accessible. Consider incorporating USB outlets or smart switches for added convenience.
- Plumbing Connections: If your attic renovation involves adding a bathroom or a kitchenette, you’ll need to consider plumbing connections. Consult with a professional plumber to assess the feasibility of adding plumbing lines and fixtures, such as sinks, toilets, or showers, and plan the layout accordingly.
- Heating and Cooling: Evaluate the heating and cooling requirements of your renovated attic. Determine if your existing HVAC system can adequately serve the attic, or if you need to install a separate heating and cooling unit. Insulate ductwork properly and ensure that the ventilation system covers the attic space adequately.
- Smart Home Integration: Consider incorporating smart home technology into your attic renovation. Install smart switches, thermostats, or voice-controlled devices to enhance convenience and energy efficiency. This allows you to control lighting, temperature, and other aspects of your attic with ease.
Consult with professionals, such as electricians and plumbers, to ensure that all electrical and plumbing installations comply with building codes and regulations. Properly addressing electrical and plumbing considerations is important for the functionality, safety, and comfort of your newly renovated attic space.
Before starting your attic renovation, make sure to check the attic for any signs of water damage, mold, or pests. Addressing these issues before renovation will save time and money in the long run.
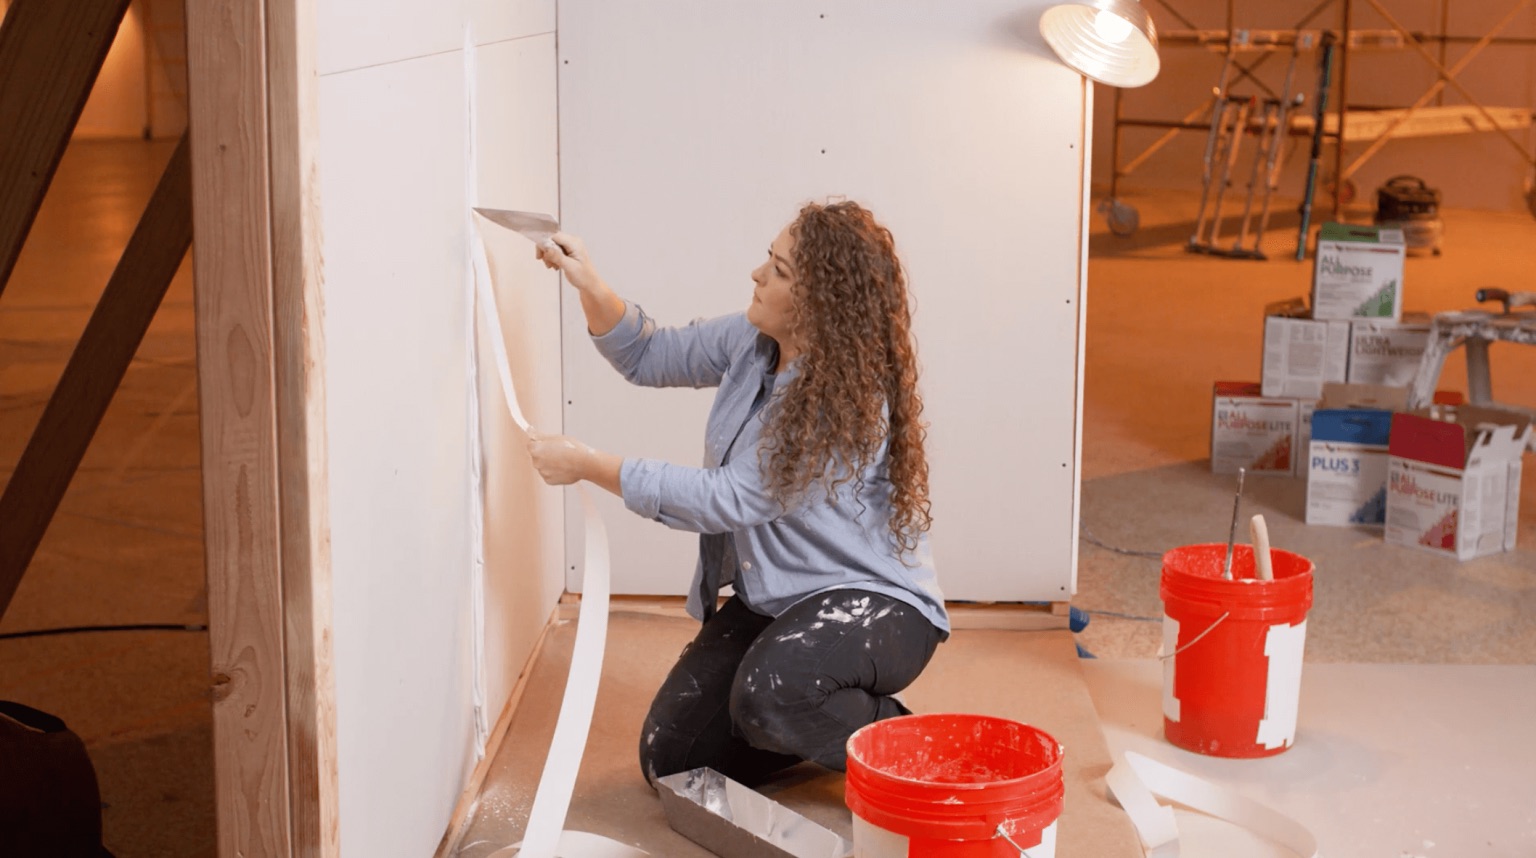
Step 6: Walls and Ceiling Finishing
Finishing the walls and ceiling of your attic is an important step in creating a polished and inviting space. Here are the key considerations for walls and ceiling finishing during your attic renovation:
- Insulation: Ensure that the walls and ceiling are properly insulated to improve energy efficiency and soundproofing. Install insulation materials such as fiberglass batts or spray foam insulation between the studs or joists.
- Drywall Installation: Install drywall sheets on the walls and ceiling to create a smooth and level surface. Attach the drywall securely to the studs using screws or nails. Ensure that joints and seams are properly taped and mudded for a seamless finish.
- Texture and Paint: Choose a texture style for your walls and ceiling, such as smooth, textured, or patterned. Apply the selected texture using methods like painting, applying joint compound, or using textured wallpaper. Once the texture is dry, proceed with painting the walls and ceiling with your desired color or colors. Consider using light colors to enhance the sense of openness in the attic.
- Trim and Molding: Install trim and molding around the edges of the walls and ceiling for a finished look. Choose appropriate baseboards, crown molding, and door/window casings that complement the style of your renovated attic. Install them securely using nails, screws, or adhesive, and ensure they are properly caulked and painted.
- Feature Walls or Accent Colors: Consider adding a feature wall or using accent colors to create visual interest in your attic. This can be achieved by painting one wall with a bold color or adding wallpaper with a unique pattern. Feature walls or accent colors can add personality and dimension to your attic space.
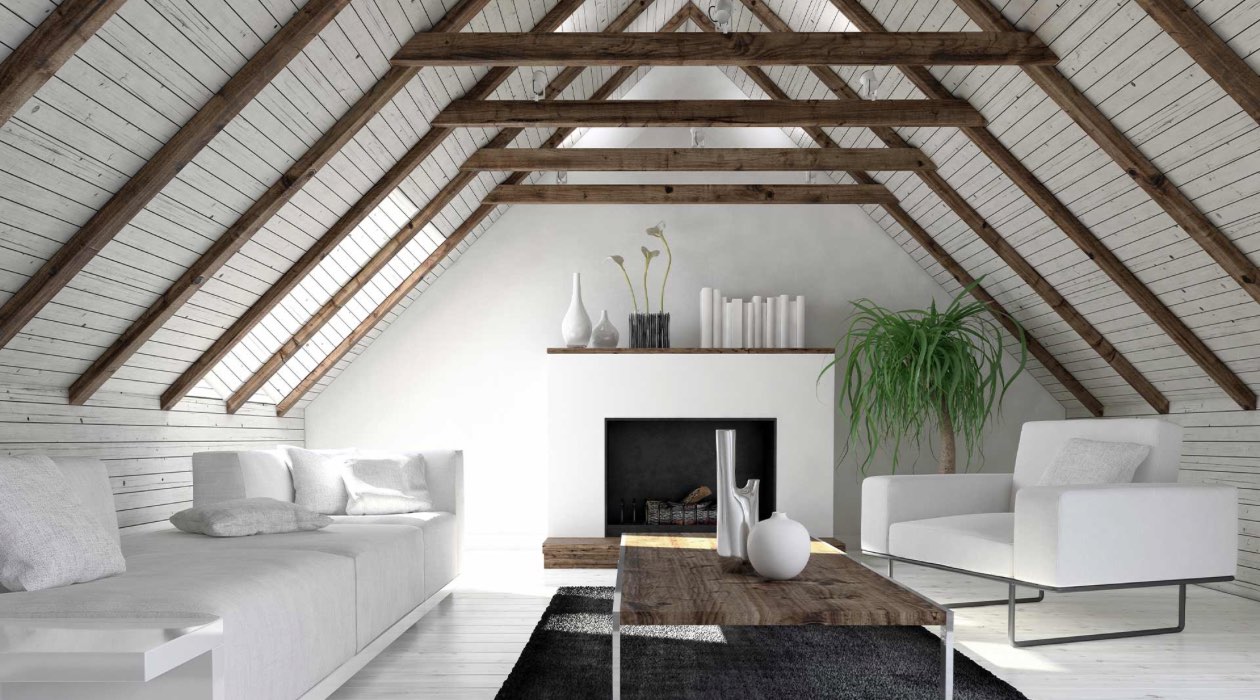
- Ceiling Enhancements: Consider adding ceiling enhancements such as decorative beams, coffered ceilings, or ceiling medallions to elevate the visual appeal of your attic. These architectural elements can add character and charm to the space.
- Lighting Fixtures: Install light fixtures on the walls or ceiling to provide adequate lighting and enhance the ambiance of your renovated attic. Choose fixtures that complement the overall style and function of the space.
Properly finishing the walls and ceiling of your attic significantly enhances the overall aesthetic and creates a more cohesive and inviting space. Take your time during this step to ensure that the walls and ceiling are properly prepared, textured, painted, and trimmed. The end result will be a well-finished attic that reflects your personal style and transforms the space into a beautiful and functional area.
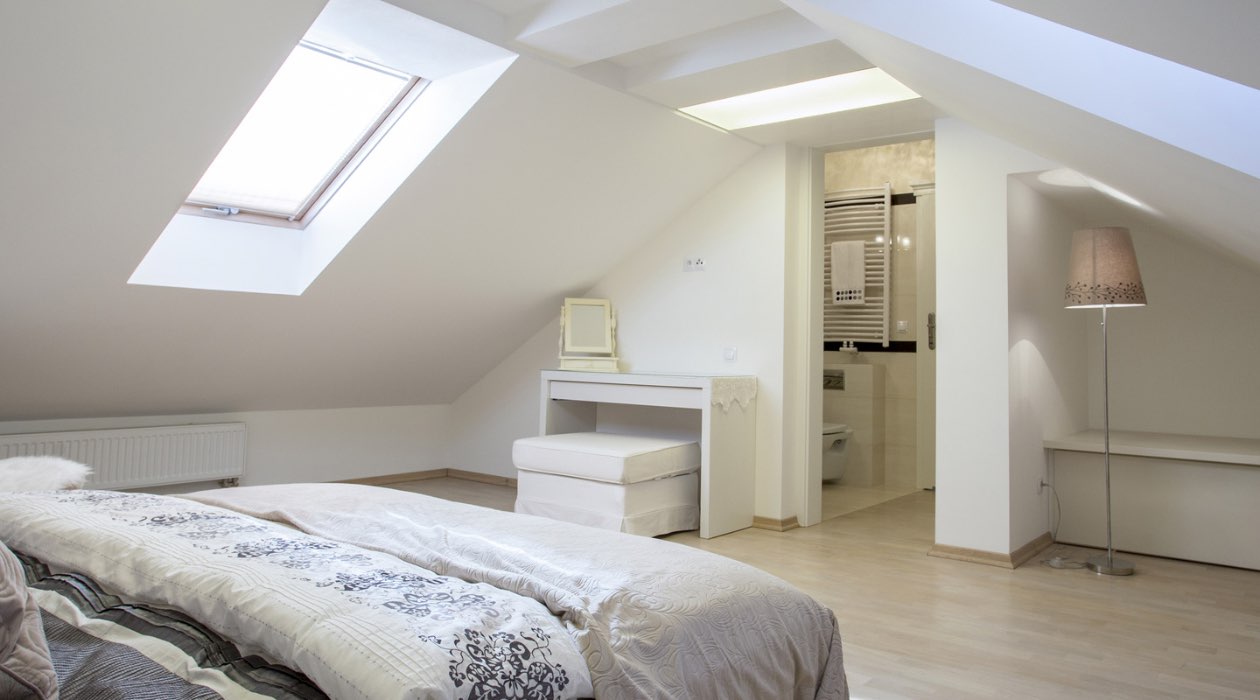
Step 7: Installing Windows and Skylights
Installing windows and skylights in your attic renovation can introduce natural light, fresh air, and a sense of openness to the space. Here are the key considerations for window and skylight installation:
- Window Placement: Determine the ideal locations for windows in your attic, considering factors such as the layout, view, and natural light availability. Windows should be strategically placed to maximize light and ventilation while maintaining privacy.
- Window Type: Choose the appropriate type of windows based on your functional and aesthetic preferences. Common options include casement windows, double-hung windows, or awning windows. Consider factors such as energy efficiency, ease of operation, and maintenance requirements when making your selection.
- Sizing and Proportions: Ensure that the size of the windows is proportional to the attic space and complements the overall design. Larger windows can create a more open and airy feel, while smaller windows may offer more privacy or fit better in limited wall space.
- Skylight Placement: Consider adding skylights to bring in additional natural light and create a dramatic effect in your attic space. Evaluate the roof slope and interior layout to determine the best placement for skylights. Consult with a professional to ensure proper installation and waterproofing.
- Skylight Type: Choose the appropriate type of skylights based on your needs, such as fixed skylights, ventilating skylights, or tubular skylights. Consider the energy efficiency, UV protection, and operability options when selecting skylights.
- Flashing and Waterproofing: Properly flash and waterproof the windows and skylights to prevent any potential leaks or water damage. The flashing should be installed around the window or skylight edges and integrated with the existing roofing system.
- Window Treatments: Consider adding window treatments such as blinds, curtains, or shades to control privacy, light, and temperature. Choose treatments that complement the style of your attic and provide adequate functionality.
Installing windows and skylights in your attic renovation can transform the space by bringing in natural light and creating a connection to the outdoor environment. Consider your specific needs and consult with professionals to ensure a proper and efficient installation process. The addition of windows and skylights can enhance the overall ambiance and functionality of your attic.
Step 8: Adding Storage Solutions
Adding functional and efficient storage solutions in your renovated attic will help maximize the use of space and keep it organized. Here are the key considerations for incorporating storage into your attic renovation:
- Assess Storage Needs: Evaluate your storage needs and determine the types of items you plan to store in the attic. Consider whether you need open shelves, closed cabinets, hanging racks, or a combination of different storage options.
- Utilize Wall Space: Install wall-mounted shelves, cubbies, or built-in cabinets to utilize vertical space efficiently. This allows you to keep items off the floor and create a clutter-free environment.
- Customize Storage Units: Consider customizing storage units to fit specific items or to maximize storage capacity. Custom shelving, drawers, or closet systems can be designed and built to effectively utilize every inch of available space.
- Utilize Attic Eaves: Take advantage of the attic eaves or sloped ceilings by installing custom storage solutions, such as built-in drawers or shelves. This allows you to make use of otherwise unused space and maximize storage opportunities.
- Label and Organize: Label and categorize stored items to make it easier to find what you need. Use storage bins, baskets, or clear containers to organize smaller items and keep them easily accessible.
- Consider Built-in Furniture: Incorporate built-in furniture that doubles as storage, such as window seats with hidden storage compartments. This adds functionality and saves space by providing both seating and storage options.
- Utilize Ceiling Space: Install overhead storage racks or hanging systems to make effective use of the ceiling space. This is ideal for storing items like seasonal clothing, holiday decorations, or rarely used items.
- Accessible Storage: Ensure that the storage solutions you implement are easily accessible. Consider incorporating pull-out drawers, sliding shelves, or rolling bins to make it effortless to retrieve items, especially in hard-to-reach areas.
By incorporating efficient storage solutions in your attic renovation, you can create an organized and clutter-free space. Customization, thoughtful design, and utilizing every available space will ensure that you have ample storage for your belongings. Take the time to plan and design the storage solutions that best meet your needs and make your attic renovation more functional and efficient.
Read more: How To Walk In An Attic
Step 9: Painting and Decorating the Attic
Painting and decorating the attic is the final step in your renovation project and allows you to add your personal touch and style to the space. Here are the key considerations for painting and decorating your attic:
- Color Selection: Choose a color scheme that reflects your desired atmosphere and complements the overall design of your attic. Light and neutral colors can make the space feel larger and brighter, while bold colors add character and can create a focal point.
- Prepare the Surfaces: Properly prepare the surfaces by cleaning, sanding, and priming before applying paint. This ensures that the paint adheres well and provides a smooth finish. Repair any imperfections, such as cracks or dents, in the walls or ceiling before painting.
- Paint Application: Apply the paint using professional paint brushes or rollers to achieve a smooth and even finish. Follow the manufacturer’s instructions regarding drying times and multiple coats, if needed. Take your time and apply the paint with care to achieve the best results.
- Decorative Accents: Incorporate decorative accents in your attic to enhance its visual appeal. Consider adding artwork, mirrors, or wall decals to create a focal point or add interest to the walls. Hang curtains or blinds to add texture and privacy to the windows.
- Lighting Fixtures: Install lighting fixtures that fit the style and ambiance of your attic. Choose fixtures that provide adequate lighting for various activities and complement the overall design. Consider adding dimmer switches to control the intensity of the light and create a cozy atmosphere.
- Furniture and Accessories: Select furniture and accessories that suit the function and style of your renovated attic. Choose pieces that maximize space and provide comfort. Consider adding rugs, throw pillows, or decorative items to add warmth and personality to the space.
- Window Treatments: Install window treatments that not only provide privacy but also enhance the aesthetic appeal of your attic. Choose curtains, blinds, or shades that coordinate with the color scheme and style of the space. Select light-filtering or blackout options depending on your desired level of natural light control.
- Flooring Accents: Consider adding area rugs or carpet runners to enhance the comfort and style of your attic. Choose patterns, colors, or textures that complement the overall design and add warmth or visual interest to the flooring.
- Personal Touches: Finally, add your personal touch to the space by displaying sentimental photographs, artwork, or personal mementos. Incorporate elements that reflect your hobbies, interests, or favorite colors to make the attic truly feel like your own.
With careful attention to paint selection, decorative accents, lighting, and furnishings, you can create a beautifully finished and inviting attic space. The final touches and personalization make all the difference in transforming your attic into a space that reflects your style and serves your needs.
Conclusion
Renovating your attic can be a rewarding project that not only adds value to your home but also provides you with additional functional space. By following the step-by-step process outlined in this article, you can successfully transform your attic into a beautiful and practical area that meets your needs and style.
Assessing the attic space and planning the renovation are crucial initial steps that lay the foundation for a successful project. Consider factors such as headroom, flooring condition, insulation, and access points to ensure the feasibility and safety of the renovation. Plan the layout, budget, and timeline while keeping permits and regulations in mind.
Addressing insulation and ventilation ensures energy efficiency and a comfortable environment in your renovated attic. Choose insulation materials and install proper ventilation systems to regulate temperature and prevent moisture issues.
The installation of flooring and the finishing of walls and ceilings will greatly enhance the aesthetic appeal of your attic space. Choose flooring materials that suit your style and function and ensure proper installation techniques. Finish the walls and ceiling with texture, paint, trim, and lighting fixtures to create a polished look.
Windows and skylights bring in natural light and fresh air, making your attic feel more inviting. Proper placement and selection of windows and skylights can greatly enhance the overall atmosphere and functionality of the space.
Make the most of the available space by incorporating efficient storage solutions that suit your needs. Utilize wall space, attic eaves, and overhead storage to maximize storage capacity and keep your attic organized.
Finally, put your personal touch on the space through painting, decorating, and adding furniture and accessories. Choose colors, decorative accents, and lighting fixtures that reflect your style and create a cozy and personalized environment.
With careful planning and execution, your renovated attic will become a valuable and enjoyable part of your home. Whether it’s a bedroom, home office, playroom, or a combination of functions, your attic will serve as a functional and appealing space that enhances your lifestyle.
Remember, it’s essential to consult with professionals when needed and adhere to building codes and regulations to ensure safety and quality in your attic renovation. Enjoy the process and take pride in the transformation you’ve accomplished in your home.
Frequently Asked Questions about How To Renovate Attic
Was this page helpful?
At Storables.com, we guarantee accurate and reliable information. Our content, validated by Expert Board Contributors, is crafted following stringent Editorial Policies. We're committed to providing you with well-researched, expert-backed insights for all your informational needs.
0 thoughts on “How To Renovate Attic”