Articles
How To Store Mini Peppers
Modified: August 30, 2024
Discover effective ways to store mini peppers in this helpful articles. Keep your peppers fresh and flavorful with these simple storage tips.
(Many of the links in this article redirect to a specific reviewed product. Your purchase of these products through affiliate links helps to generate commission for Storables.com, at no extra cost. Learn more)
Introduction
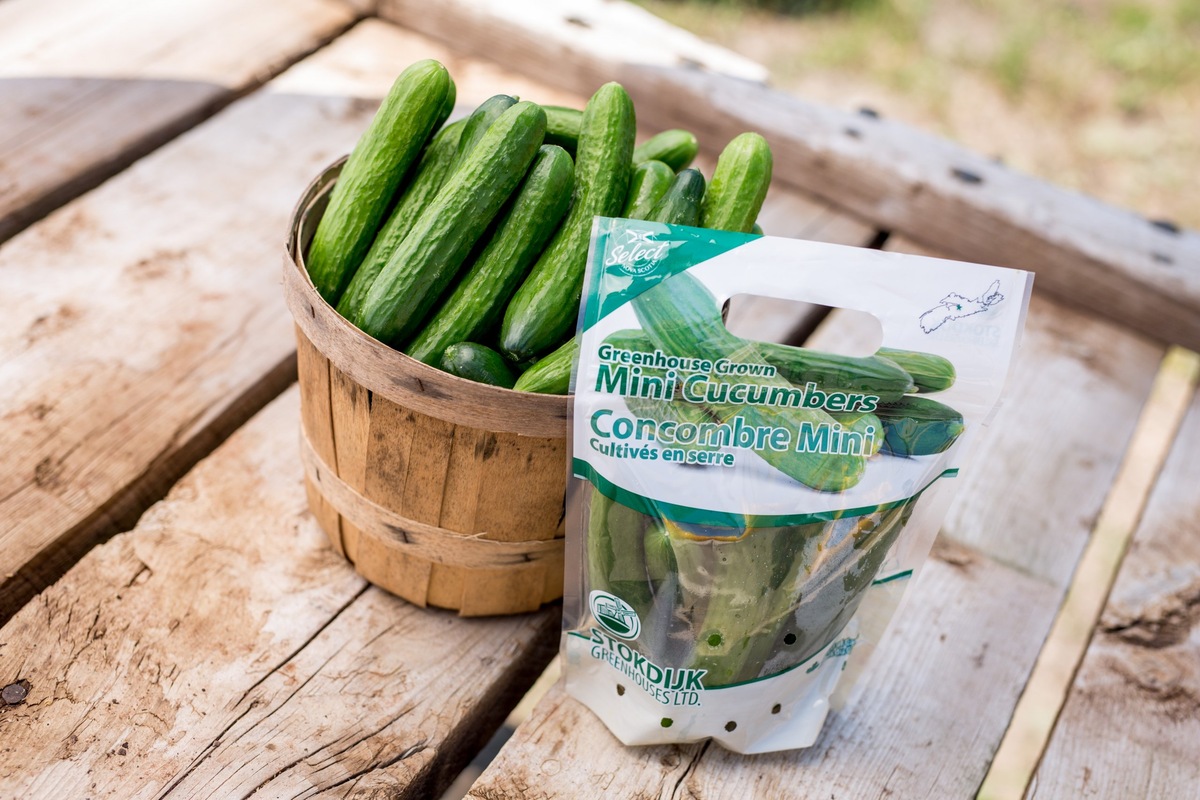
Mini peppers are a delightful and versatile ingredient that can add a burst of flavor and vibrant colors to a variety of dishes. Whether you grow your own mini peppers or buy them from the local market, knowing how to properly store them is essential to preserve their freshness and extend their shelf life. By following the right storage techniques, you can enjoy the goodness of mini peppers for a longer period.
In this article, we will explore the benefits of storing mini peppers, how to select the right ones for storage, and the proper cleaning and preparation techniques. We will also discuss different storage methods, such as refrigeration, freezing, and preservation techniques like storing them in oil or pickling. By the end of this article, you will have all the knowledge you need to store mini peppers effectively.
So, let’s dig in and discover the secrets of keeping mini peppers fresh and delicious!
Key Takeaways:
- Store mini peppers in the refrigerator for short-term freshness or freeze them for long-term preservation. Experiment with pickling or storing in oil to enjoy their vibrant flavors year-round.
- Properly selecting, cleaning, and storing mini peppers ensures extended shelf life, cost savings, and continuous availability. Refrigeration, freezing, pickling, and oil storage methods offer versatile options for enjoying mini peppers.
Read more: How To Store Mini Bell Peppers
Benefits of Storing Mini Peppers
Storing mini peppers properly offers numerous benefits, both in terms of convenience and taste. Here are some key advantages:
- Extended Shelf Life: Mini peppers are highly perishable and can spoil quickly if not stored correctly. By employing the right storage methods, you can significantly extend their shelf life, allowing you to enjoy them for a more extended period.
- Cost Savings: Mini peppers can be quite expensive, especially when they are out of season. By storing them properly, you can take advantage of sales and discounts, buying them in bulk and saving money in the long run.
- Continuous Availability: When you have a good supply of stored mini peppers, you can use them in your recipes whenever you like, regardless of whether they are in season or not. This ensures a steady and reliable source of this flavorful ingredient.
- Convenience: Having pre-stored mini peppers cuts down on last-minute trips to the grocery store. You can easily grab them from your refrigerator or freezer and add them to your dishes, saving time and effort.
- Enhanced Flavor: Storing mini peppers properly helps retain their freshness and flavor. This ensures that you can enjoy their crunchy texture and sweet or spicy taste, even after an extended period of storage.
Now that we understand the benefits of storing mini peppers, let’s delve into selecting the right ones for storage.
Selecting the Right Mini Peppers for Storage
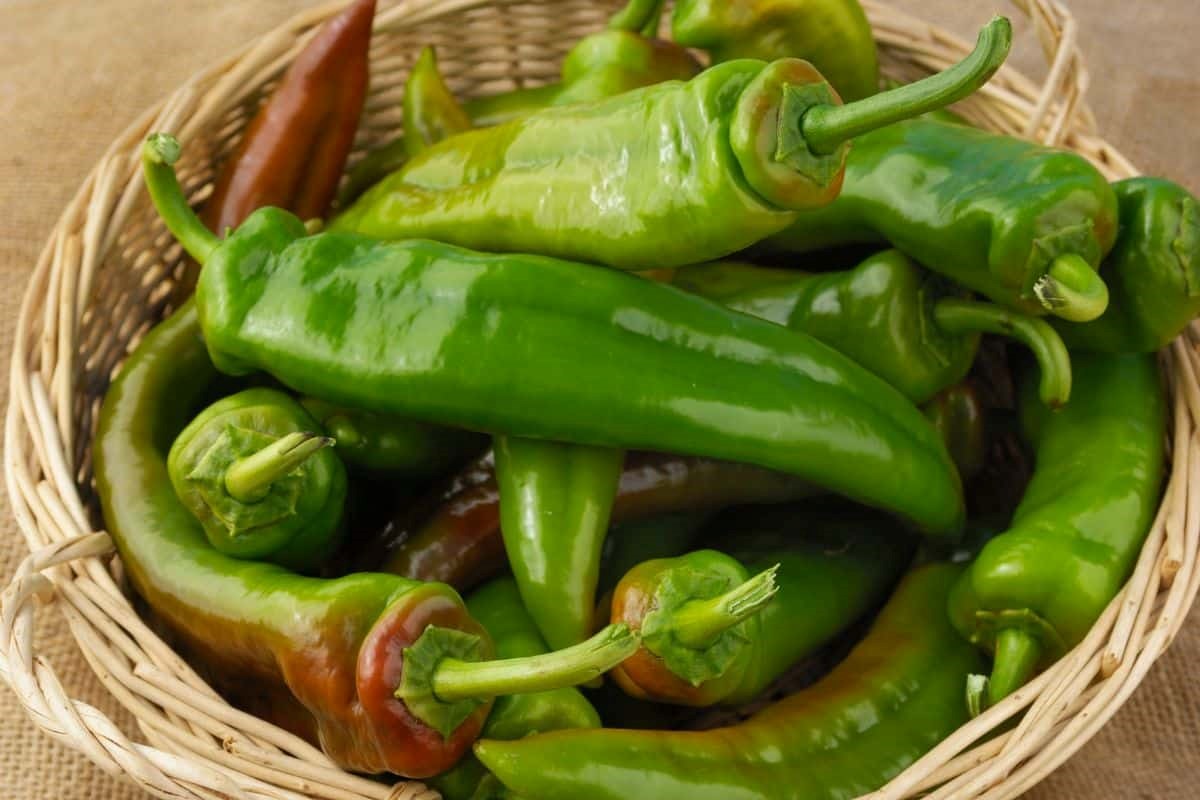
Choosing the right mini peppers for storage is essential to ensure that they stay fresh and flavorful for an extended period. Here are some tips to keep in mind when selecting mini peppers for storage:
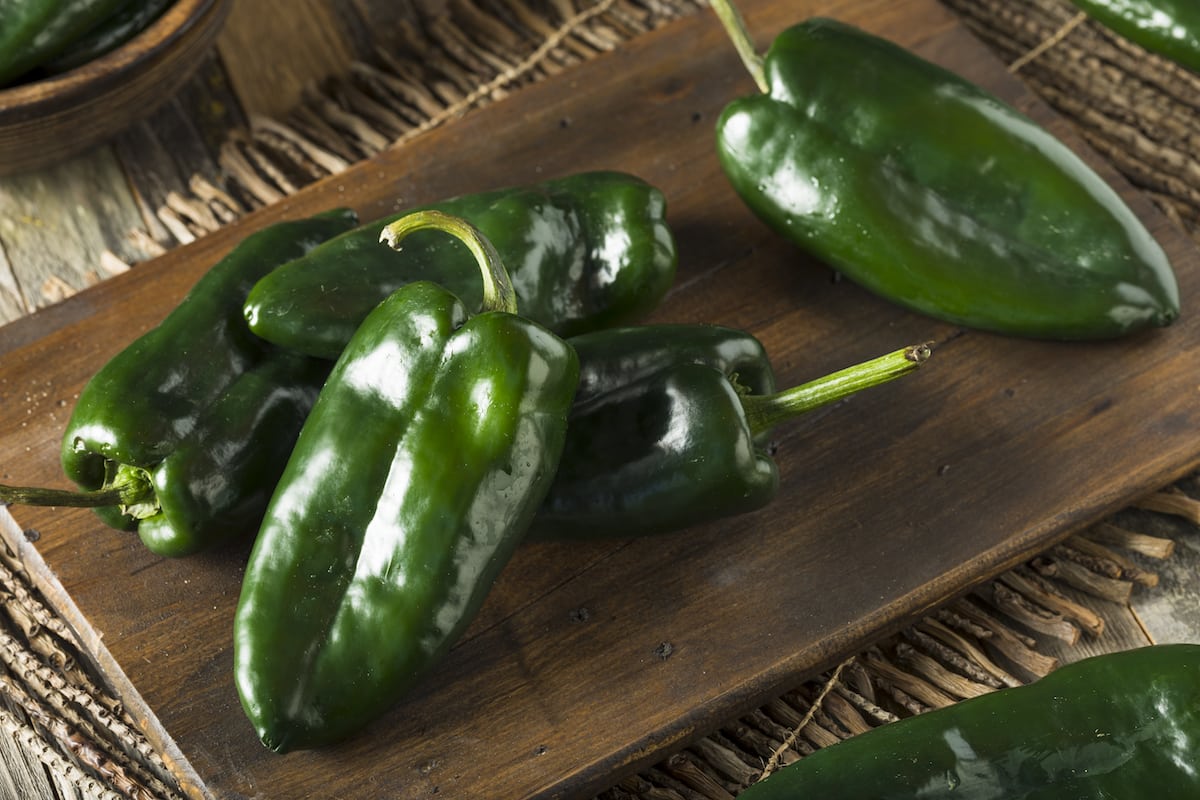
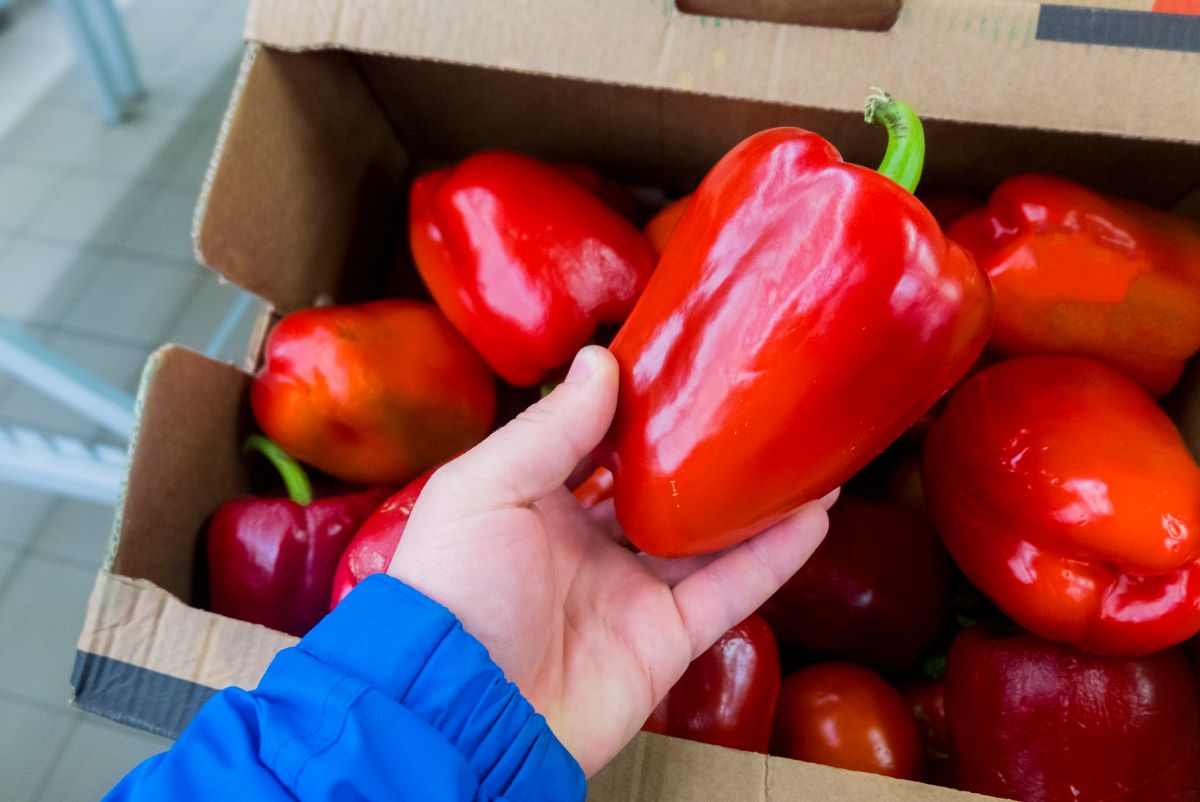
- Look for Fresh and Firm Peppers: When buying mini peppers, choose ones that are firm and free from any blemishes or soft spots. Avoid peppers that appear wrinkled or have mold, as they may spoil quickly.
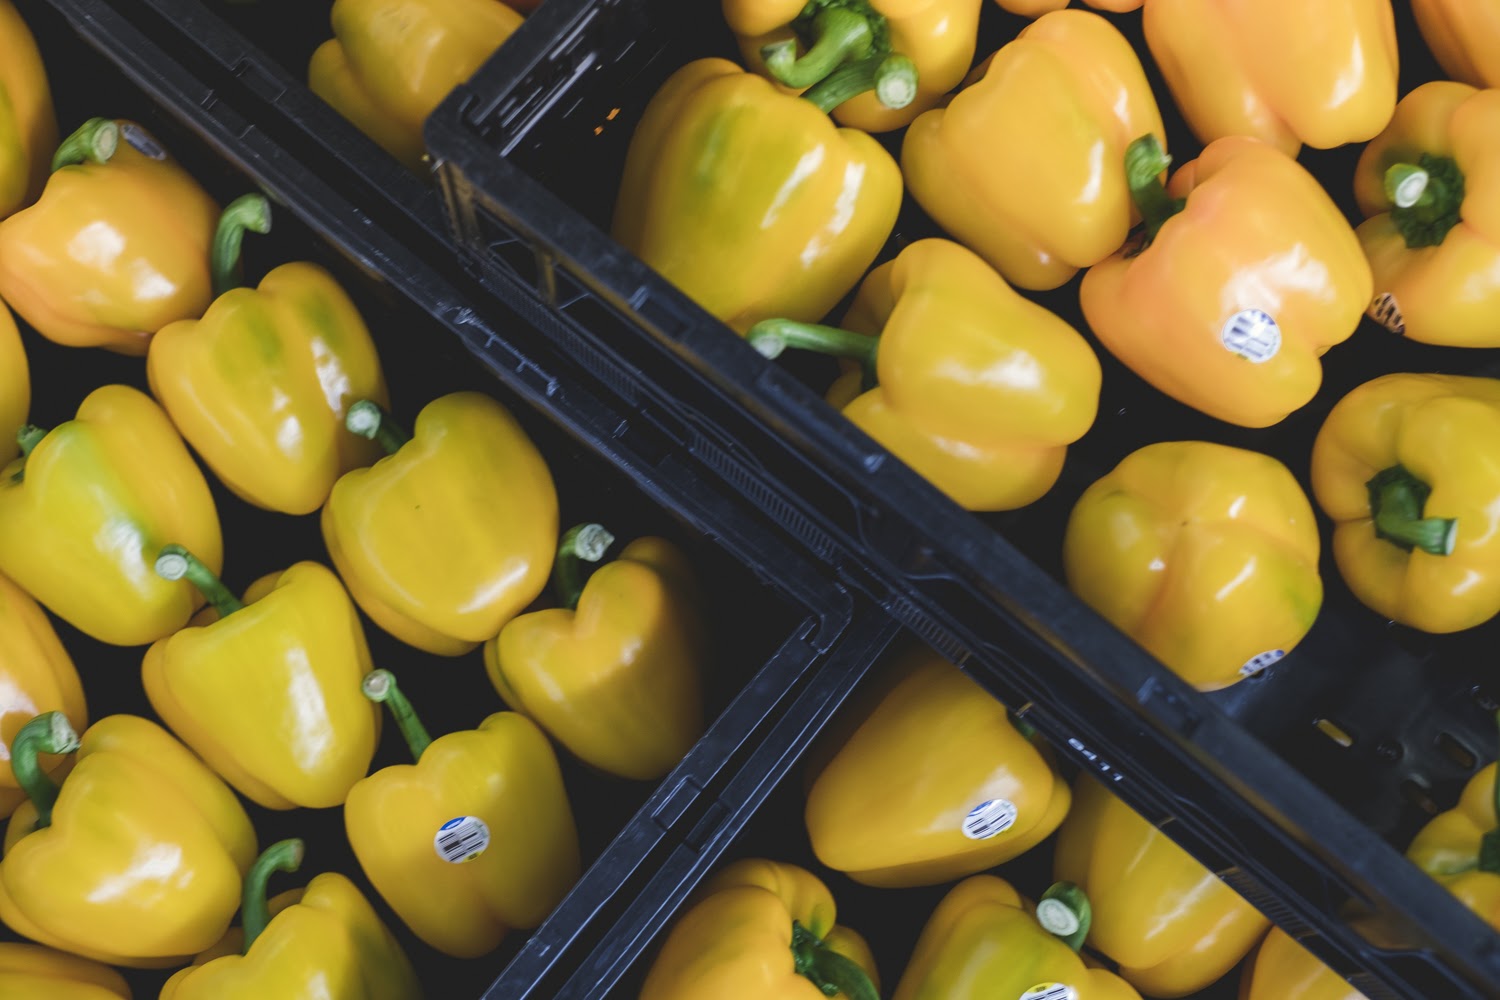
- Opt for Fully Ripe Peppers: Fully ripe mini peppers are more likely to have a longer shelf life. Look for peppers that have a vibrant color and feel heavy for their size. These peppers are generally sweeter and will maintain their flavor during storage.
- Vary the Colors: Mix and match different colored mini peppers for storage to add variety to your dishes later on. Red, yellow, orange, and green mini peppers all have distinct flavors and can enhance the visual appeal of your meals.
- Avoid Overripe Peppers: Overripe mini peppers tend to spoil quickly, so it’s best to avoid them for storage purposes. Look for peppers that are slightly underripe or at their peak ripeness for the best storage results.
- Consider Organic or Homegrown Peppers: Organic or homegrown mini peppers are generally fresher and have fewer chemicals or pesticides. If possible, choose these peppers for storage to ensure the highest quality and taste.
By following these guidelines, you can select mini peppers that are ideal for storage. However, it’s crucial to clean and prepare them properly before storing, which we’ll explore in the next section.
Proper Cleaning and Preparation of Mini Peppers
Before you store mini peppers, it’s crucial to clean and prepare them properly to remove any dirt, pesticides, or bacteria that may be present. Follow these steps to ensure your mini peppers are ready for storage:
- Rinse the Peppers: Start by rinsing the mini peppers under cool running water. Gently rub each pepper between your fingers to remove any dirt or debris. Avoid using soap or detergent as it can leave a residue and affect the taste of the peppers.
- Inspect for Blemishes: Examine each pepper closely and discard any that have soft spots, mold, or signs of decay. Removing damaged peppers prevents them from spoiling the rest of the batch during storage.
- Remove the Stem and Seeds: If desired, you can remove the stem and seeds from the mini peppers before storing. Simply cut off the top of the pepper, including the stem, and scoop out the seeds using a knife or spoon.
- Pat Dry: Use a clean kitchen towel or paper towels to gently pat dry the mini peppers after rinsing. Removing excess moisture helps prevent mold growth during storage.
- Leave Whole or Slice: Depending on your preferences and how you plan to use the mini peppers, you can choose to store them whole or slice them into rings or strips. Keep in mind that sliced peppers may take up less space in the storage container.
Once you have cleaned and prepared the mini peppers, you can proceed to choose the ideal storage location based on your needs and the available options, which we will discuss in the following section.
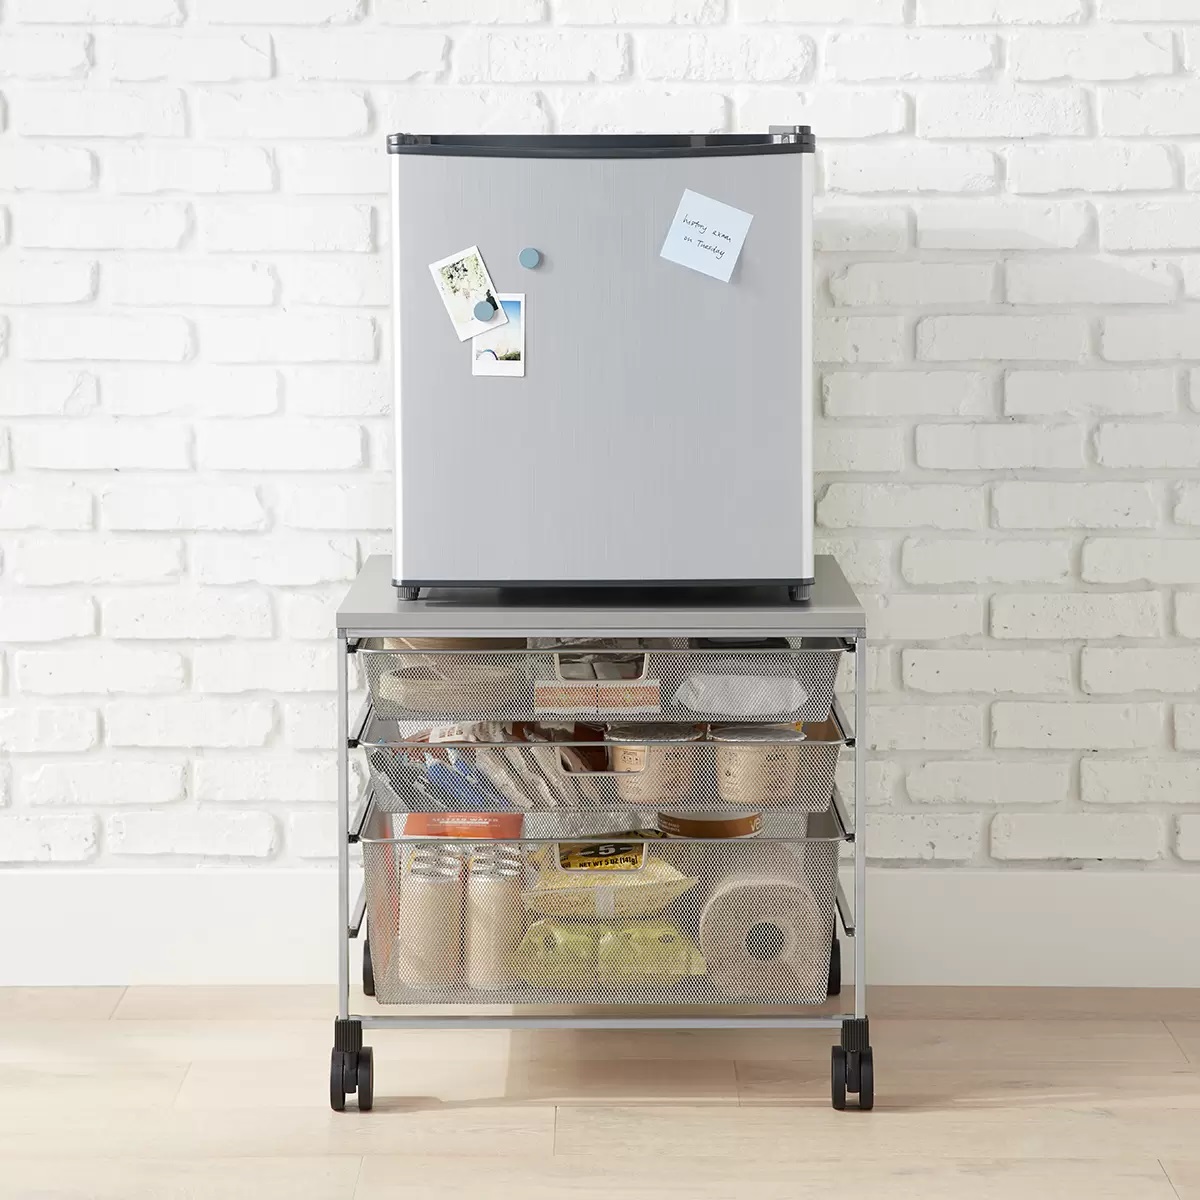
Choosing the Ideal Storage Location
When it comes to storing mini peppers, selecting the right storage location is crucial to maintain their freshness and quality. Here are some factors to consider when choosing the ideal storage spot:
- Temperature: Mini peppers are sensitive to temperature fluctuations. Aim for a storage location that maintains a consistent temperature between 45°F (7°C) and 50°F (10°C). Avoid storing them in areas that are too cold or too hot, as extreme temperatures can cause the peppers to spoil quickly.
- Humidity: Excess moisture can lead to the growth of mold on mini peppers. Choose a storage location with moderate humidity levels, ideally around 60-70%. Avoid storing them in high-humidity areas such as the refrigerator’s crisper drawer or the freezer without proper packaging.
- Light Exposure: Light can cause mini peppers to lose their color and flavor over time. Store them in a dark location to prevent light exposure. If you’re using a transparent storage container, be sure to keep it in a dark pantry or cupboard.
- Air Circulation: Mini peppers require good air circulation to stay fresh. Avoid storing them in sealed plastic bags or containers without ventilation. Instead, place them in breathable containers or perforated bags to allow air to circulate.
Some suitable storage options for mini peppers include a cool pantry or cupboard, a dedicated vegetable drawer in the refrigerator, or a well-ventilated area in the basement. Consider the available space and the specific storage needs of your mini peppers when choosing the ideal location.
Next, we will explore different storage methods for mini peppers, starting with the refrigerator.
Read more: How To Store Mini Sweet Peppers
Storing Mini Peppers in the Refrigerator
The refrigerator is a convenient and effective storage option for mini peppers, as it helps maintain a cool and consistent temperature. Follow these steps to store mini peppers in the refrigerator:
- Place the Peppers in a Perforated Bag: Transfer the mini peppers to a perforated plastic bag or a paper bag. Perforated bags allow for proper air circulation and prevent excess moisture buildup. If you don’t have a perforated bag, you can poke a few holes in a regular plastic bag to achieve the same effect.
- Store in the Vegetable Drawer: Place the bag of mini peppers in the vegetable drawer of your refrigerator. This drawer typically has slightly higher humidity, which helps keep the peppers fresh. Avoid storing them near fruits that release ethylene gas, as it can cause the peppers to ripen quickly.
- Check and Rotate: Periodically check the mini peppers for any signs of spoilage. Remove any peppers that are soft, moldy, or have a foul odor. Rotate the remaining peppers to ensure even air circulation and prevent them from getting squished or damaged.
- Use within a Week: Mini peppers stored in the refrigerator can typically stay fresh for up to a week. Try to use them within this time frame for the best flavor and texture.
Storing mini peppers in the refrigerator helps maintain their crispness and flavor, and keeps them readily available for your culinary creations. However, if you have a surplus of mini peppers or want to store them for a longer period, freezing is a great option, which we’ll discuss next.
Storing Mini Peppers in the Freezer
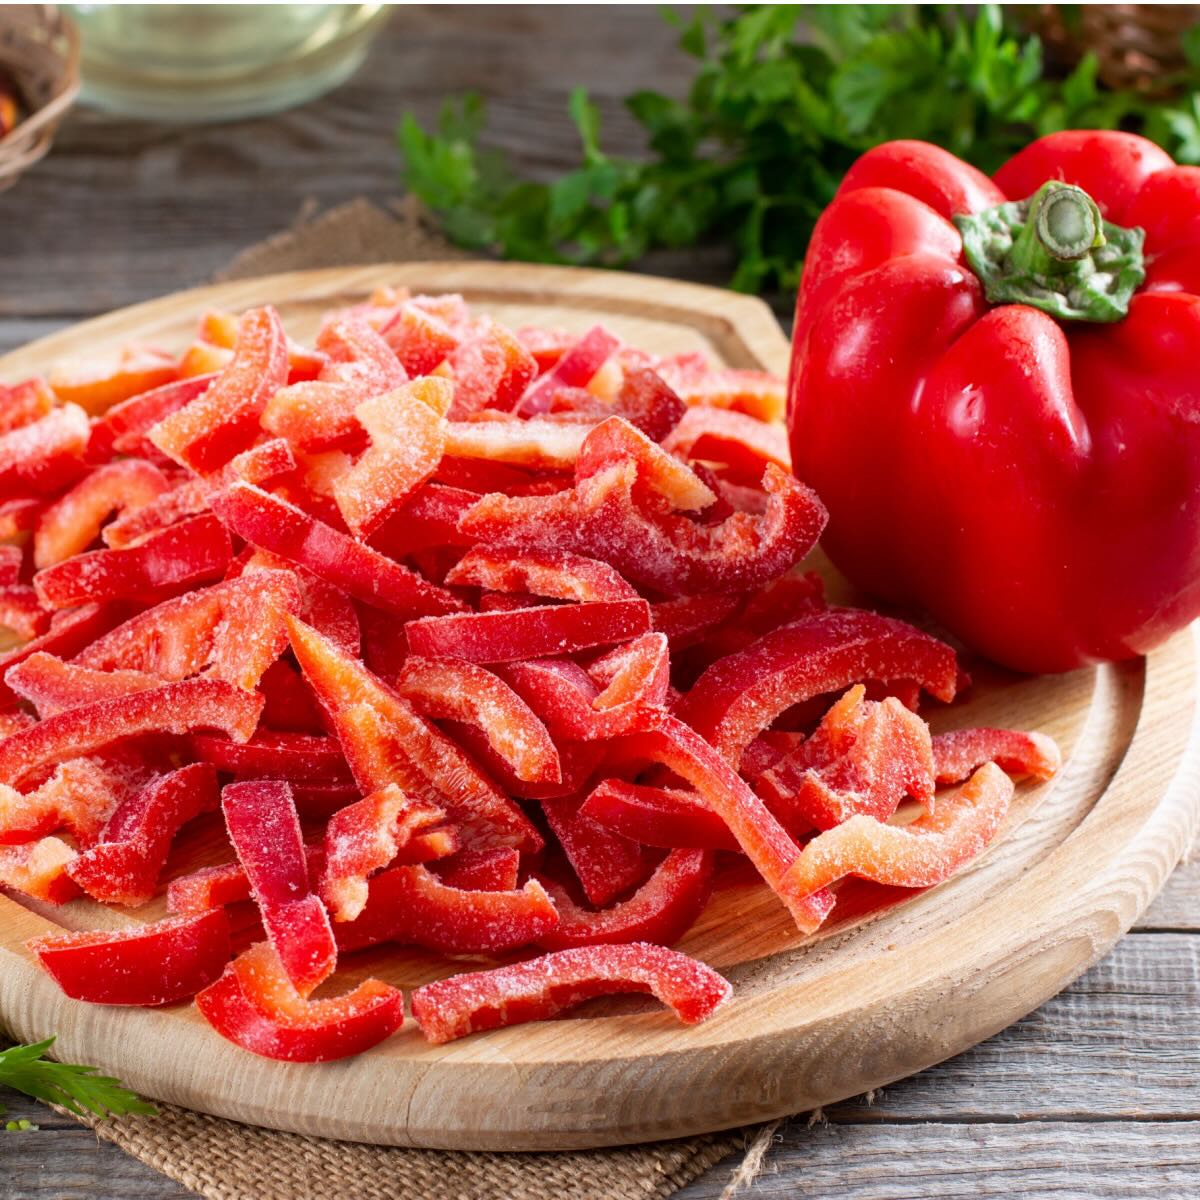
If you have an abundance of mini peppers or want to store them for an extended period, freezing is an excellent option. Freezing mini peppers helps preserve their freshness and flavor. Here’s how you can store mini peppers in the freezer:
- Prep the Peppers: Wash the mini peppers and remove the stems and seeds if desired. Slice them into rings or leave them whole, depending on how you plan to use them later.
- Blanching (Optional): Blanching mini peppers before freezing can help maintain their texture and color. Bring a pot of water to a boil and blanch the peppers for 2 minutes. Then, quickly transfer them to an ice bath to cool and stop the cooking process. Drain and pat them dry before proceeding.
- Pack in airtight containers or bags: Transfer the mini peppers to resealable freezer bags or airtight containers. Remove as much air as possible from the bags before sealing. If using containers, leave some headspace to allow for expansion during freezing.
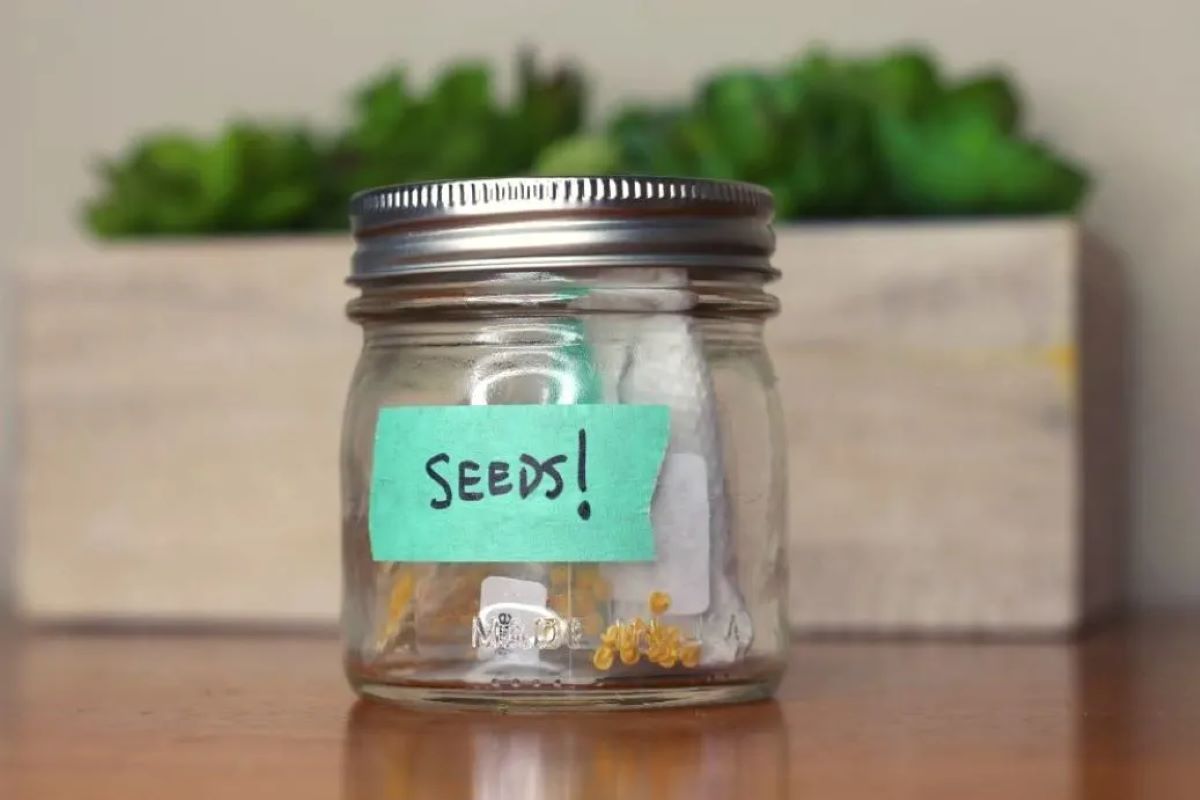
- Label and Date: Label the bags or containers with the date of freezing. This makes it easier to keep track of their storage time and ensures you use the oldest peppers first.
- Store in the Freezer: Place the bags or containers in the freezer, preferably in a single layer initially to allow for quicker freezing. Once fully frozen, you can stack them to save space.
- Thawing and Using Frozen Mini Peppers: When you’re ready to use the frozen mini peppers, simply remove the desired amount from the freezer and thaw them in the refrigerator overnight or use them directly in cooked dishes without thawing.
Frozen mini peppers can retain their quality for up to 8-12 months. However, for the best flavor, it’s recommended to use them within 3-6 months of freezing.
Now that we’ve covered refrigeration and freezing methods, let’s explore other preservation techniques for storing mini peppers.
Store mini peppers in the refrigerator in a perforated plastic bag to maintain their freshness. Keep them in the crisper drawer for up to 1-2 weeks. Avoid washing them until ready to use to prevent spoilage.
Using Preservation Techniques for Mini Peppers
In addition to refrigeration and freezing, there are other preservation techniques you can utilize to store mini peppers and enjoy their flavors throughout the year. Two popular methods include storing mini peppers in oil and pickling them:
Storing Mini Peppers in Oil
Storing mini peppers in oil is a great way to preserve their flavor and add a delightful kick to your dishes. Here’s how you can do it:
- Prep the Peppers: Wash the mini peppers and remove the stems and seeds. You can leave them whole or slice them into strips according to your preference.
- Blanching (Optional): If desired, you can blanch the mini peppers in boiling water for 2 minutes and then transfer them to an ice bath to halt the cooking process.
- Pack in Jars: Place the mini peppers in clean, sterilized jars. Fill the jars with olive oil, ensuring the peppers are completely submerged. Leave some headspace to allow for expansion.
- Seal and Store: Secure the jars with airtight lids and store them in a cool, dark place, such as the pantry or cupboard. The mini peppers in oil can stay preserved for several months.
Read more: How To Store Pepper Spray
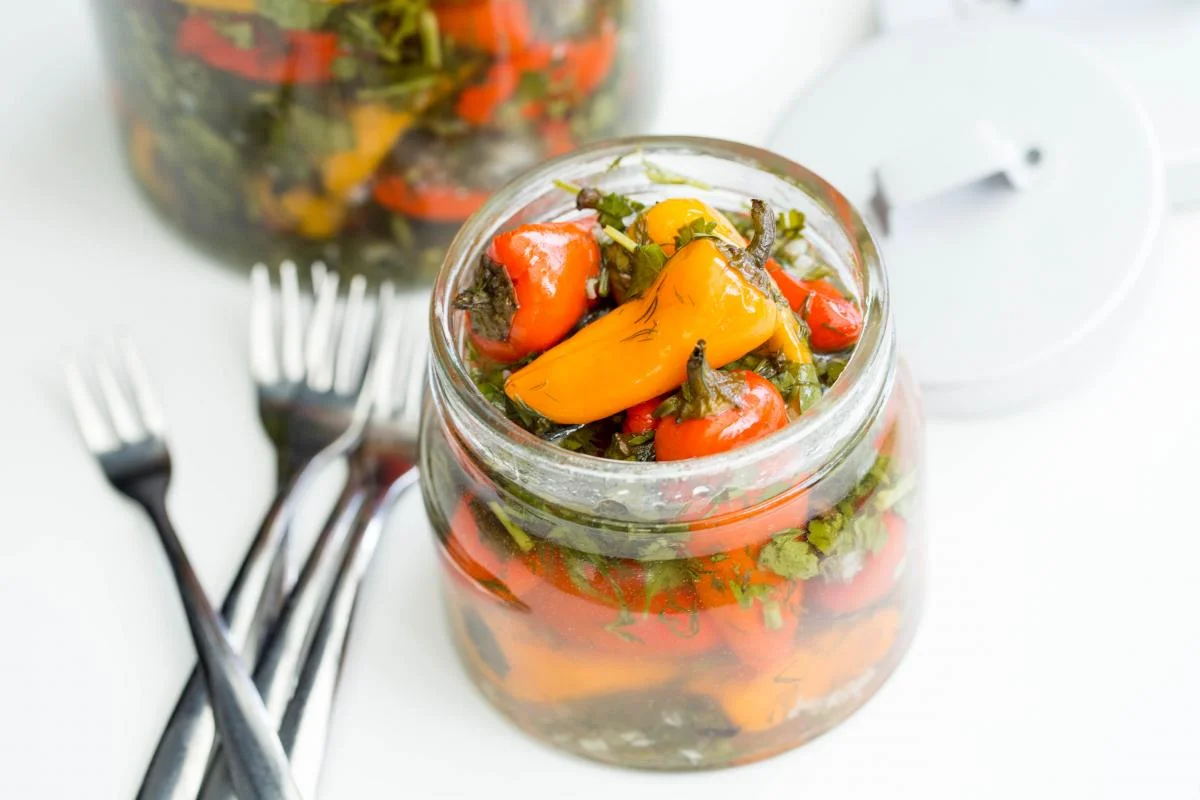
Keeping Mini Peppers Pickled
Pickling is another popular method to preserve mini peppers and infuse them with tangy flavors. Here’s how you can pickle mini peppers:
- Prep the Peppers: Wash the mini peppers and remove the stems and seeds. You can leave them whole or slice them into rings.
- Prepare the Pickling Liquid: In a saucepan, combine equal parts water and vinegar. Add sugar, salt, and desired spices (such as garlic, dill, or peppercorns) to taste. Bring the mixture to a boil and simmer for a few minutes.
- Pack in Jars: Place the mini peppers in sterilized jars and pour the pickling liquid over them, ensuring they are fully submerged. Leave some headspace in the jars.
- Seal and Store: Secure the jars with airtight lids and store them in the refrigerator. The pickled mini peppers can be enjoyed for several months.
Both storing mini peppers in oil and pickling them allow you to enjoy their flavors long after the growing season ends. Experiment with different spices and variations to create unique taste profiles that suit your preferences.
With these preservation techniques, you can savor mini peppers in various forms throughout the year. As we conclude this article, let’s recap the key points we’ve covered.
Storing Mini Peppers in Oil
Storing mini peppers in oil is a great way to preserve their flavor and add a delightful kick to your dishes. Here’s how you can do it:
- Prep the Peppers: Begin by washing the mini peppers under cool running water. Remove the stems and seeds, and slice them into strips or leave them whole according to your preference.
- Blanching (Optional): For a milder flavor and to help retain their vibrant color, you can blanch the mini peppers in boiling water for a few minutes, then transfer them to an ice bath to cool rapidly. Pat them dry before continuing.
- Pack in Jars: Place the mini peppers into clean, sterilized glass jars. Arrange them to ensure minimal air gaps. You can add other ingredients like garlic cloves, herbs, or spices for additional flavor, if desired.
- Fill with Oil: Fill the jars with a high-quality oil of your choice, such as olive oil or sunflower oil. Ensure that the mini peppers are fully submerged in the oil to prevent bacterial growth. Leave about 1 inch of headspace at the top to allow for expansion.
- Seal the Jars: Close the jars tightly with airtight lids or caps. Make sure they are sealed properly to keep out air and moisture.
- Store in a Cool, Dark Place: Place the jars in a cool, dark area such as a pantry or cupboard. Avoid exposure to direct sunlight or heat, as it can affect the quality of the oil and the peppers. Note the date of preservation on the jars.
- Allow Time for Infusion: Let the flavors infuse over time by allowing the mini peppers to sit in the oil for at least a week, although longer periods are even better.
- Enjoy and Continue to Store: Once the mini peppers have infused into the oil, they are ready to be used in various dishes. The oil can be enjoyed as a flavor-enhancing ingredient in salads, pasta dishes, marinades, and more. Remember to keep the jars refrigerated after opening and use within a few weeks.
Storing mini peppers in oil is a simple and delicious method to preserve their vibrant flavors. The infused oil can elevate your culinary creations with a distinctive taste. Now that you know how to store mini peppers in oil, go ahead and capture their essence for future culinary delights.
As we conclude this article, let’s recap the key points we’ve covered so far.
Keeping Mini Peppers Pickled
Pickling mini peppers is a fantastic way to preserve their taste and add a tangy twist to your dishes. Here’s how you can do it:
- Prep the Peppers: Start by washing the mini peppers thoroughly to remove any dirt or debris. Remove the stems and seeds, and slice them into rings or leave them whole, depending on your preference.
- Prepare the Pickling Brine: In a saucepan, combine equal parts water and vinegar. Add sugar, salt, and any desired spices or herbs, such as mustard seeds, dill, or peppercorns. Bring the mixture to a boil, stirring until the sugar and salt dissolve.
- Pack in Sterilized Jars: Place the mini peppers into clean, sterilized glass jars. Pack them tightly to minimize any air gaps. You can add additional flavorings like garlic cloves, bay leaves, or chili peppers if desired.
- Fill with Pickling Brine: Pour the hot pickling brine over the mini peppers, ensuring they are fully submerged. Leave about ½ inch of headspace at the top of the jar to allow for expansion during the pickling process.
- Remove Air Bubbles: Gently tap the jars on a countertop to release any air bubbles trapped in the brine. You can use a clean utensil to help dislodge the bubbles if necessary.
- Seal and Store: Secure the jars with airtight lids or caps. Allow the jars to cool to room temperature before transferring them to the refrigerator.
- Let Them Pickle: Place the jars in the refrigerator and let the mini peppers pickle for at least a week to develop their tangy flavor. The longer they pickle, the more pronounced their taste will become.
- Enjoy and Continue to Store: Once the mini peppers have pickled to your desired taste, they are ready to be enjoyed. Use them in sandwiches, salads, as a topping for burgers, or as a flavorful addition to your favorite recipes. The pickled peppers can be stored in the refrigerator for several weeks.
Pickled mini peppers add a zesty punch to your dishes, and they make great condiments or toppings. With a little time and patience, you can create your own tangy mini pepper pickles to enhance your culinary creations.
Now that you know how to pickle mini peppers, you have another preservation method to ensure that their flavors shine all year round. Let’s wrap up this article by summarizing what we’ve covered.
Conclusion
Storing mini peppers properly is essential to maintain their freshness, flavor, and quality. Whether you choose to store them in the refrigerator, freezer, or explore preservation techniques such as storing them in oil or pickling, the goal is to ensure that you can enjoy the delightful taste of mini peppers long after their harvest season.
By selecting the right mini peppers for storage, properly cleaning and preparing them, and choosing the ideal storage location, you can extend their shelf life and enjoy the benefits of having this versatile ingredient available whenever you need it.
Refrigeration is a convenient option for short-term storage, allowing mini peppers to stay crisp and fresh for up to a week. Freezing is ideal for long-term storage, preserving their flavors for up to 8-12 months. Storing mini peppers in oil infuses them with rich flavors, while pickling them adds a tangy twist, creating unique taste profiles that can enhance a variety of dishes.
Remember to employ proper techniques for each storage method, ensuring that the mini peppers are clean, dry, and properly sealed in appropriate containers. Stay mindful of temperature, humidity, light exposure, and air circulation to maintain their quality over time.
Whether you’re adding mini peppers to salads, stir-fries, sandwiches, or other recipes, proper storage techniques will help you enjoy their vibrant colors and flavors all year round. So, go ahead and store those mini peppers with confidence, knowing that you have the knowledge to keep them fresh and tasty!
Frequently Asked Questions about How To Store Mini Peppers
Was this page helpful?
At Storables.com, we guarantee accurate and reliable information. Our content, validated by Expert Board Contributors, is crafted following stringent Editorial Policies. We're committed to providing you with well-researched, expert-backed insights for all your informational needs.


0 thoughts on “How To Store Mini Peppers”