Articles
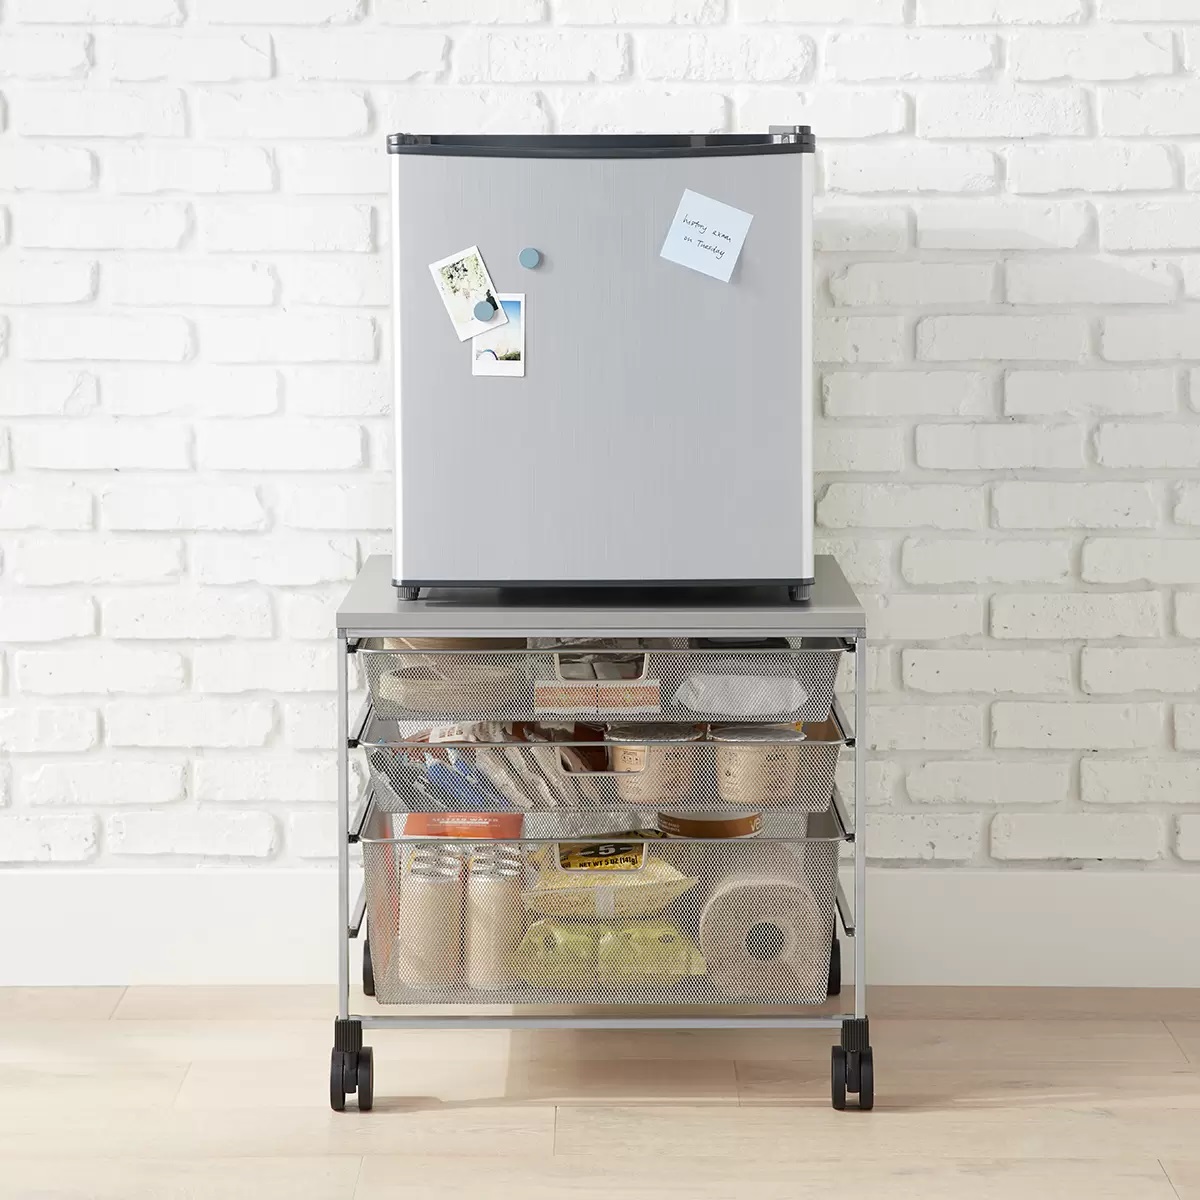
How To Store A Mini Fridge
Modified: August 27, 2024
Discover the best way to store a mini fridge with our informative articles. Find tips and tricks to ensure your mini fridge stays in top condition and maximizes its lifespan.
(Many of the links in this article redirect to a specific reviewed product. Your purchase of these products through affiliate links helps to generate commission for Storables.com, at no extra cost. Learn more)
>
Introduction
>
> Storing a mini fridge may seem like a simple task, but it requires careful preparation and planning to ensure the appliance remains in good condition. Whether you are moving to a new place, renovating your kitchen, or simply need to temporarily store your mini fridge, proper storage is essential to prevent damage and keep it running smoothly when you need it again.
>
> In this article, we will guide you through the step-by-step process of how to store a mini fridge effectively. By following these instructions, you can ensure that your appliance stays in optimal condition during storage and is ready to be used again when the time comes. So, let’s get started!
>
> Before diving into the storage process, it’s important to note that mini fridges come in different sizes and models. Therefore, it’s crucial to consult your fridge’s user manual for any specific instructions or storage recommendations provided by the manufacturer. Additionally, make sure to gather the necessary materials for the storage process, such as cleaning supplies, packing materials, and a suitable storage location.
>
> To begin, we’ll cover the initial steps of clearing and cleaning the mini fridge to ensure it’s in the best possible condition before storage.>
Key Takeaways:
- Properly storing a mini fridge involves clearing, cleaning, defrosting, removing shelves, securing doors, wrapping, choosing a suitable storage location, safe transportation, and careful unpacking. Following these steps ensures the appliance remains in optimal condition.
- Regular maintenance, cleaning, and proper storage of a mini fridge, even during periods of non-use, are essential for extending its lifespan and ensuring it remains in excellent working condition. By following best practices, you can enjoy the convenience of a reliable appliance for years to come.
Read more: How To Turn My Mini Fridge Into A Kegerator
Step 1: Clearing and Cleaning
>
> The first step in storing a mini fridge is to clear out its contents and thoroughly clean it. Before proceeding, make sure to unplug the appliance from the power source. Remove all items from inside the fridge, including food, beverages, and any removable shelves or drawers.
>
> Start by discarding any perishable items that may have expired or will not be safe to consume when you retrieve the fridge from storage. Empty any water containers or ice trays and dispose of any ice deposits. It’s important to leave the fridge empty and defrosted to prevent the growth of mold or odors during storage.
>
> With the fridge now empty, it’s time to give it a thorough cleaning. Use a mixture of mild dish soap and warm water to clean the interior surfaces, including the shelves, walls, and door compartments. Pay special attention to any spills or stains, using a soft sponge or cloth to scrub away any residue.
>
> Once the interior is clean, move on to the exterior of the fridge. Wipe down the outside surfaces, including the door, sides, and top, using the same mild soap solution. Be sure to also clean the seals and gaskets around the door to remove any dirt or grime that could affect their functionality.
>
> After cleaning both the interior and exterior, it’s important to thoroughly dry the fridge to prevent any moisture buildup. Use a clean, dry cloth to wipe away any remaining water, paying extra attention to the seals and gaskets to ensure they are completely dry.
>
> Taking the time to clear out and clean your mini fridge before storage will help maintain its hygiene and prevent any unpleasant odors or mold growth. Once the cleaning process is complete, you can move on to the next step: defrosting the mini fridge.>
Step 2: Defrosting the Mini Fridge
>
> Defrosting your mini fridge is an essential step to prevent any ice buildup during storage. If you skip this step, the excess ice can melt and potentially damage the appliance or create a mess when you unpack it later. Follow these instructions to defrost your mini fridge properly:
>
> 1. Turn off the power: Start by unplugging the mini fridge from the power source to ensure your safety and prevent any electrical accidents while defrosting.
>
> 2. Empty the freezer compartment: If your mini fridge has a separate freezer compartment, remove any items stored inside and find a temporary storage solution for them. It’s essential to keep the freezer compartment empty during the defrosting process.
>
> 3. Open the doors: Keep the doors of the fridge open to allow for the natural melting of the ice buildup. Placing a towel or a container underneath the fridge can help catch any water that may drip out during the defrosting process.
>
> 4. Speed up the process (optional): If you want to expedite the defrosting process, you can place bowls of hot water on the shelves or near the freezer compartment. This will help accelerate the melting of the ice.
>
> 5. Remove excess water: As the ice melts, use a sponge, towel, or absorbent cloth to soak up any water inside the fridge. Make sure to dry all surfaces, including the walls, shelves, and drawer compartments.
>
> 6. Clean the interior (optional): Once all the ice and water have been removed, you can take the opportunity to clean the interior surfaces of the fridge again using the mild dish soap and warm water solution. This step will help ensure that no lingering dirt or residue is left behind.
>
> By thoroughly defrosting your mini fridge, you are preventing any potential water damage and ensuring a clean start when it’s time to use the appliance again. Once the defrosting process is complete, you can move on to the next step of removing shelves and drawers for safe storage.>
Step 3: Removing Shelves and Drawers
>
> Before storing your mini fridge, it’s important to remove all removable shelves, drawers, and other accessories inside the appliance. This step will help prevent any damage or shifting during transportation and storage. Follow these guidelines to safely remove and store the shelves and drawers:
>
> 1. Empty the contents: Ensure that all items are removed from the shelves and drawers before attempting to remove them from the fridge. This will prevent any spills, breakages, or damage to the items during the removal process.
>
> 2. Take note of the placement: Before removing the shelves and drawers, take a moment to observe their placement within the fridge. Pay attention to the order and orientation of each shelf and drawer to easily reinstall them later.
>
> 3. Gently remove the shelves: Starting from the top shelf, carefully lift and tilt it slightly to detach it from its grooves or brackets. Slowly pull it forward until it clears the retention clips or notches. Repeat this process for each shelf, working your way down to the bottom.
>
> 4. Remove the drawers: If your mini fridge has any removable drawers, open them fully and lift them upwards until the drawer clears the retaining stoppers or rails. Then, gently pull the drawer towards you to remove it from the fridge. Handle the drawers with care to avoid any accidental damage.
>
> 5. Secure the shelves and drawers: Once removed, place the shelves and drawers in a secure location where they won’t be at risk of damage. Wrap them individually in bubble wrap or soft cloth to protect them from scratches or impacts. Label each piece accordingly to ensure easy identification when it’s time to reinstall them.
>
> By removing the shelves and drawers from your mini fridge, you are not only protecting them from potential damage but also creating more space for efficient storage. With this step complete, you can now move on to securing the doors to prevent any accidents during transportation and storage.>
Step 4: Securing the Doors
>
> Properly securing the doors of your mini fridge is crucial to prevent them from opening accidentally during transportation or storage. Ajar doors can lead to damage to the hinges, seals, or even the entire appliance. Follow these steps to ensure the doors remain secure:
>
> 1. Clean the door seals: Inspect the door seals for any dirt, debris, or sticky residue. Clean them thoroughly using a mild detergent or vinegar solution and a soft cloth. Ensure that the seals are completely dry before proceeding.
>
> 2. Use door latches or bungee cords: To securely hold the doors in place, you can use door latches or bungee cords. Place the latch or cord around the front of the fridge, looping it through the handles or over the top of the doors. Tighten them enough to keep the doors firmly closed but not too tight to avoid damaging the seals or hinges.
>
> 3. Tape the doors shut (optional): If you don’t have access to door latches or bungee cords, you can use heavy-duty tape to secure the doors shut. Wrap the tape around the fridge, focusing on the part where the doors meet to keep them firmly closed.
>
> 4. Avoid using lock mechanisms: It’s important to note that using lock mechanisms to secure the doors may not be recommended for all mini fridges. Check your user manual or contact the manufacturer for specific instructions regarding lock usage.
>
> By taking the necessary steps to secure the doors of your mini fridge, you minimize the risk of any accidental openings or damage during transportation and storage. With the doors secured, we can now move on to the next step of wrapping and padding the fridge to provide additional protection.>
When storing a mini fridge, make sure to defrost and clean it thoroughly. Leave the door slightly ajar to prevent mold and mildew growth. Keep it in a dry, well-ventilated area to avoid moisture buildup.
Read more: How To Store Mini Cucumbers
Step 5: Wrapping and Padding the Fridge
>
> Properly wrapping and padding your mini fridge is essential to protect it from scratches, dents, and other damage during transportation and storage. Follow these steps to ensure your appliance is adequately protected:
>
> 1. Gather materials: Before you start, gather the necessary materials, including moving blankets, bubble wrap, packing tape, and stretch wrap. These items will provide the needed cushioning and protection for your mini fridge.
>
> 2. Start with bubble wrap: Begin by wrapping the entire mini fridge with a layer of bubble wrap. Start from the bottom and work your way up, making sure all sides and corners are well covered. Secure the bubble wrap with packing tape to keep it in place.
>
> 3. Add a layer of padding: Once the fridge is wrapped in bubble wrap, add an additional layer of padding using moving blankets or thick towels. Wrap them around the fridge and secure them with packing tape to provide extra cushioning against bumps and impacts.
>
> 4. Use stretch wrap for extra security: To ensure all the layers stay in place, wrap the entire fridge with stretch wrap. This will keep the padding and bubble wrap from shifting during transportation. Make sure to wrap it tightly but avoid applying excessive pressure that could damage the appliance.
>
> 5. Don’t forget the corners and edges: Pay special attention to the corners and edges of the fridge, as these areas are more susceptible to damage. Add extra layers of padding, such as foam or cardboard, to provide additional protection.
>
> 6. Label the wrapped fridge: To easily identify the fridge when it’s time to unpack, label the wrapped appliance with a marker or attach a tag with important information such as “FRAGILE” or “MINI FRIDGE” and any specific handling instructions.
>
> By properly wrapping and padding your mini fridge, you significantly reduce the risk of damage caused by bumps, scratches, or other accidents during transportation and storage. With this step complete, you can move on to selecting a suitable storage location.>
Step 6: Choosing a Storage Location
>
> Selecting the right storage location for your mini fridge is crucial to ensure its safety and maintain its optimal condition during the storage period. Consider the following factors when choosing a suitable storage spot:
>
> 1. Temperature control: Ideally, you should store your mini fridge in a location with a controlled temperature environment. Avoid areas that are prone to extreme temperature fluctuations, such as garages or attics, as they can affect the performance and lifespan of the appliance. Opt for a dry and climate-controlled area, such as a storage room or a well-insulated basement.
>
> 2. Ventilation: Ensure that the storage area has proper ventilation to prevent the buildup of stale air or moisture. Good airflow will help prevent mold or mildew growth while the fridge is in storage.
>
> 3. Elevate from the floor: It’s advisable to elevate the mini fridge off the floor using wooden blocks or pallets. This will help protect it from potential floor moisture and allow for proper airflow around the appliance.
>
> 4. Avoid direct sunlight: Direct sunlight can cause damage to the exterior of the fridge and potentially impact its cooling capabilities. Therefore, choose a storage location away from direct sunlight to prevent any heat buildup.
>
> 5. Secure and stable space: Make sure the selected storage area provides a secure and stable space for the fridge. Avoid storing it in crowded or cluttered areas where it could be susceptible to accidental knocks or bumps. Ensure that it is placed in a stable position where it won’t be at risk of falling or tipping over.
>
> 6. Accessibility: Consider the accessibility of the storage location. If you anticipate needing to retrieve the mini fridge during the storage period, choose a spot that allows easy access without having to rearrange other stored items.
>
> By carefully choosing a suitable storage location, you can ensure the safety and optimal preservation of your mini fridge throughout its storage period. With the storage location selected, we can now move on to transportation tips to help you move the appliance safely.>
Step 7: Transportation Tips
>
> Transporting your mini fridge safely is crucial to prevent any damage or mishaps during the moving process. Whether you are moving to a new home or transferring the fridge to a storage facility, following these transportation tips will help ensure a smooth and secure journey:
>
> 1. Secure the fridge inside a moving vehicle: If you are transporting the mini fridge in a vehicle, make sure it is securely placed and cannot shift during transit. Use straps or bungee cords to fasten it to prevent any movement that could potentially damage the appliance.
>
> 2. Keep the fridge upright: It’s essential to transport the mini fridge in an upright position to prevent any damage to the internal components, especially the compressor. Tilting or laying it on its side can cause oil from the compressor to leak, resulting in damage and potentially affecting the cooling system.
>
> 3. Use padding for extra protection: Place additional padding or blankets around the fridge to provide cushioning during transportation. This will help absorb any vibrations or impacts that may occur on the road.
>
> 4. Drive with caution: Take extra care while driving, especially when making turns, to avoid sudden movements that could cause the fridge to shift or tip over. Drive at a moderate speed and try to avoid any rough roads or potholes that could potentially damage the appliance.
>
> 5. Seek professional help if needed: If the mini fridge is too large or heavy to transport on your own, consider seeking professional help. Moving companies or appliance movers have the experience and equipment necessary to handle the transportation safely.
>
> By following these transportation tips, you can ensure that your mini fridge reaches its destination without any damage or issues. Once you have safely transported the appliance, you can proceed to the final step of unpacking and reinstalling it in its new location.>
Step 8: Unpacking and Reinstalling
>
> Congratulations! You’ve successfully transported your mini fridge to its new location or storage facility. Now it’s time to unpack and reinstall the appliance. Follow these steps to ensure a smooth process:
>
> 1. Remove the wrapping and padding: Carefully unwrap the layers of bubble wrap, moving blankets, and stretch wrap from the mini fridge. Remove any tape or securing mechanisms, taking care not to scratch or damage the appliance.
>
> 2. Clean the interior: Before reinstalling the shelves and drawers, give the interior of the fridge a quick wipe down with a clean cloth and a mild detergent solution if needed. Make sure that the interior is dry before proceeding.
>
> 3. Reinstall the shelves and drawers: Refer to the notes or photos you took during the removal process to guide you in reinstalling the shelves and drawers in their original positions. Slide them gently into their designated slots, ensuring they are secure and level.
>
> 4. Align and adjust the doors: Check the alignment of the fridge doors and make any necessary adjustments to ensure they close properly and form a tight seal. If needed, refer to the user manual for specific instructions on how to adjust the doors of your mini fridge.
>
> 5. Plug in and power up: Once everything is in place, plug the mini fridge back into a properly grounded electrical outlet. Give it a few minutes to power up and start cooling before restocking it with items.
>
> 6. Restock the fridge: With the mini fridge up and running, you can begin restocking it with your food and beverages. Consider organizing the items in a way that maximizes space and makes it easy to find what you need.
>
> 7. Monitor and check for any issues: Keep an eye on the performance of the mini fridge over the next few days to ensure it is cooling properly and operating normally. If you notice any unusual sounds, odors, or malfunctions, consult the user manual or contact a professional technician for assistance.
>
> By carefully unpacking and reinstalling your mini fridge, you can ensure that it is ready to serve its purpose once again. Take the time to clean and maintain the appliance regularly to prolong its lifespan and keep it in optimal condition.
>
>>
Conclusion
>
> Storing a mini fridge requires careful planning and proper execution to ensure that the appliance remains in good condition throughout the storage period. By following the step-by-step guide in this article, you can safely store your mini fridge and protect it from damage, whether during transportation or while in storage.
>
> From clearing and cleaning the fridge to defrosting it, removing shelves and drawers, securing the doors, wrapping and padding, choosing a suitable storage location, to transporting it safely, each step plays a crucial role in maintaining the integrity of your mini fridge.
>
> It’s important to note that these instructions serve as general guidelines, and it’s always a good idea to consult the user manual or contact the manufacturer for any specific recommendations tailored to your mini fridge model.
>
> When the time comes to unpack and reinstall the mini fridge, taking the necessary precautions will ensure a smooth and hassle-free process. Clean the interior, reinstall shelves and drawers, align and adjust the doors, and check for proper functionality before restocking the fridge.
>
> Remember, regular maintenance and cleaning of your mini fridge, even during storage or when not in use, will help keep it in optimal condition and extend its lifespan.
>
> By following these guidelines and incorporating best practices, you can ensure that your mini fridge remains in excellent working condition when you need it again. With proper care and storage, your mini fridge will continue to provide you with the convenience of keeping your food and beverages cool for years to come.
>
> So, take the time to properly store your mini fridge, safeguarding it against any potential damage or issues. With the right approach, you can enjoy its benefits for a long time and have peace of mind knowing that it will be ready whenever you need it.
>
Frequently Asked Questions about How To Store A Mini Fridge
Was this page helpful?
At Storables.com, we guarantee accurate and reliable information. Our content, validated by Expert Board Contributors, is crafted following stringent Editorial Policies. We're committed to providing you with well-researched, expert-backed insights for all your informational needs.


0 thoughts on “How To Store A Mini Fridge”