Articles
How To Store Mini Sweet Peppers
Modified: August 17, 2024
Discover the best way to store mini sweet peppers with our informative articles. Keep your peppers fresh and flavorful for longer with our expert tips and techniques.
(Many of the links in this article redirect to a specific reviewed product. Your purchase of these products through affiliate links helps to generate commission for Storables.com, at no extra cost. Learn more)
Introduction
Welcome to our guide on how to store mini sweet peppers! Whether you’ve grown them in your garden or purchased them from the store, knowing the proper techniques for storing mini sweet peppers is essential to ensure their freshness and flavor.
Mini sweet peppers are a versatile and nutritious ingredient that can be enjoyed in a variety of dishes. With their vibrant colors and crisp texture, they are not only visually appealing but also packed with vitamins and antioxidants. To maximize the shelf life of these delicious peppers, it’s important to follow a few simple steps when storing them.
In this article, we will walk you through the process of selecting fresh mini sweet peppers, washing and drying them, removing the stems and seeds, and finally, storing them properly in the refrigerator or freezer. We’ll also provide tips and tricks for maintaining their quality and flavor for as long as possible.
So, let’s get started and learn how to store mini sweet peppers to keep them fresh and ready to be used in your favorite recipes!
Key Takeaways:
- Keep mini sweet peppers fresh by selecting firm, vibrant ones and washing them thoroughly. Remove stems and seeds before storing in the fridge or freezer to maintain their flavor and nutritional value.
- Maximize mini sweet pepper shelf life by using vacuum sealed bags for long-term storage. Follow tips like handling with care and rotating stock to enjoy their freshness in various recipes.
Read more: How To Store Mini Peppers
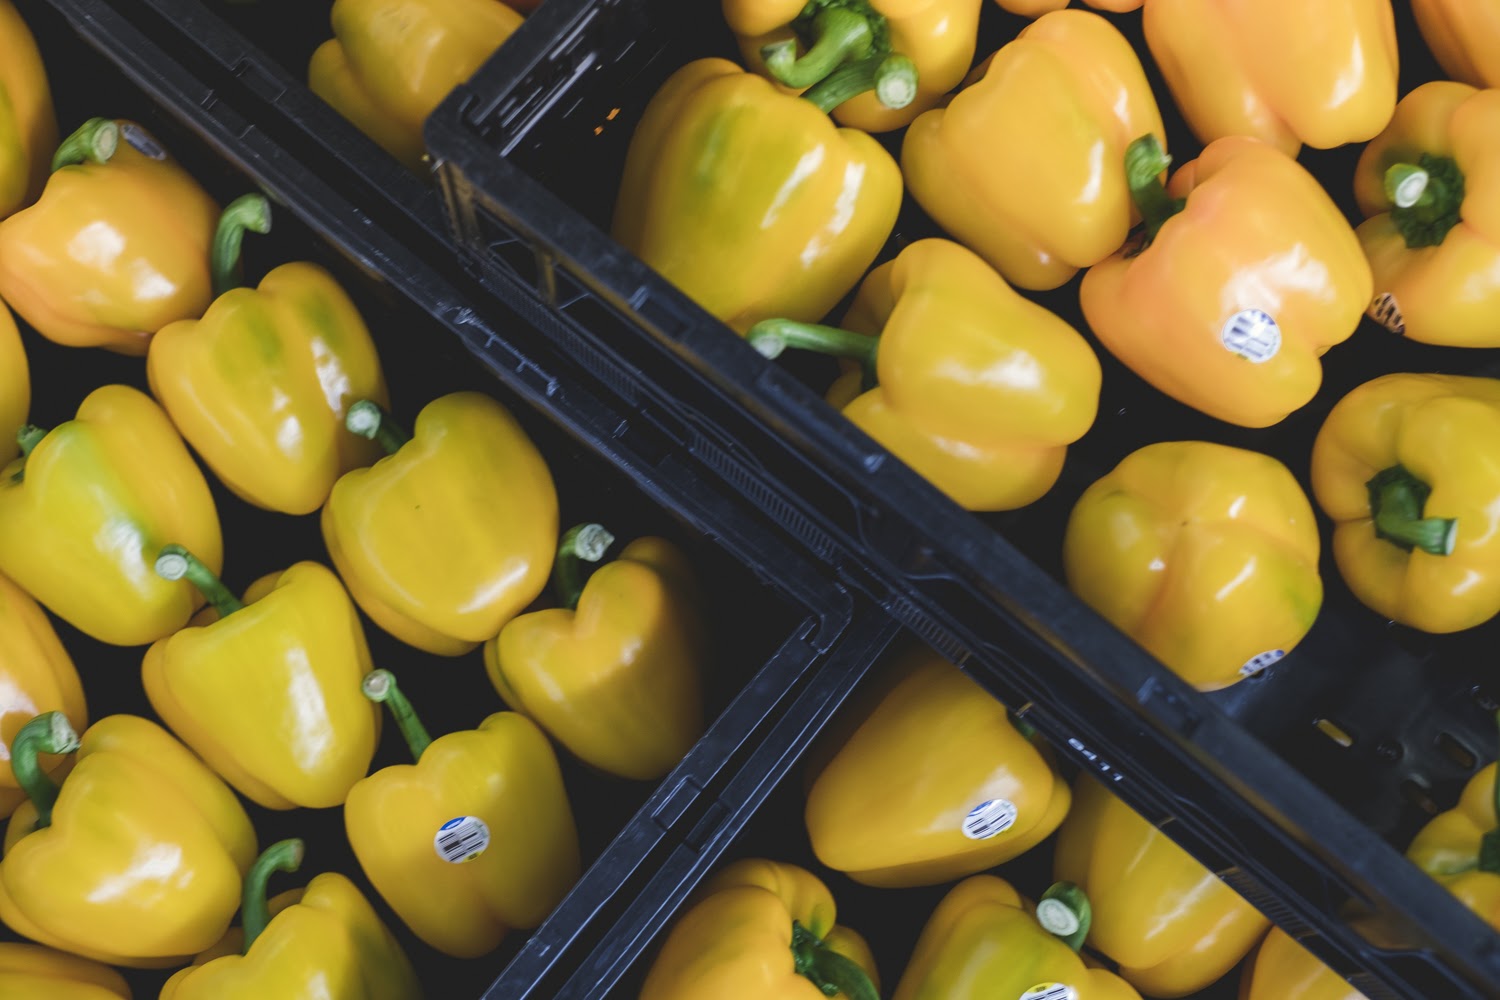
Selecting Fresh Mini Sweet Peppers
When it comes to storing mini sweet peppers, selecting the right ones is the first step towards ensuring their longevity. Here are a few tips on how to choose the freshest mini sweet peppers:
- Appearance: Look for mini sweet peppers that have a bright and glossy appearance. Avoid peppers with wrinkled or shriveled skin, as this can indicate that they are past their prime.
- Firmness: Gently squeeze the peppers to check for firmness. Fresh mini sweet peppers should feel firm but not too hard. Avoid peppers that are overly soft or mushy.
- Color: Mini sweet peppers come in various colors, including red, yellow, orange, and green. Choose peppers that have a vibrant and consistent color, without any signs of discoloration or blemishes.
- Size: Mini sweet peppers are smaller in size compared to bell peppers. Look for peppers that are uniform in size, as this will ensure even cooking and storage.
- Aroma: While mini sweet peppers may not have a strong smell, they should have a mild, sweet aroma. Avoid peppers that have a sour or unpleasant odor.
By carefully selecting fresh mini sweet peppers, you can ensure that you start the storage process with peppers that are at their peak of freshness. This will help prolong their shelf life and maintain their flavor and nutritional value.
Washing and Drying Mini Sweet Peppers
Before storing mini sweet peppers, it’s crucial to wash them thoroughly to remove any dirt, pesticides, or bacteria that may be present on the surface. Here is a step-by-step guide on how to wash and dry mini sweet peppers:
- Rinse: Start by placing the mini sweet peppers under cool running water. Gently rub the peppers with your fingers to remove any visible dirt or debris.
- Soak: Fill a clean bowl or sink with cool water. Submerge the mini sweet peppers in the water and let them soak for a few minutes. This helps in loosening any stubborn dirt or residue on the peppers.
- Scrub: Using a soft-bristle brush or sponge, gently scrub the surface of the mini sweet peppers to remove any remaining dirt or chemicals. Pay special attention to the stem and base of the peppers.
- Rinse: Rinse the mini sweet peppers once again under running water to ensure that all traces of dirt and cleaning agents are removed.
- Dry: After washing, pat the mini sweet peppers dry with a clean kitchen towel or paper towels. Make sure to remove any excess moisture as dampness can contribute to spoilage during storage.
It’s important to note that excessive moisture can accelerate the deterioration of mini sweet peppers. Therefore, it’s essential to ensure that they are completely dry before proceeding to the next step of the storage process.
By following these steps, you can effectively cleanse mini sweet peppers and eliminate any potential contaminants. This will help maintain their quality and freshness during storage.
Removing Stems and Seeds
Once mini sweet peppers are washed and dried, the next step in the storage process is to remove their stems and seeds. This not only enhances the peppers’ presentation but also helps to prolong their shelf life. Here’s how to easily remove stems and seeds from mini sweet peppers:
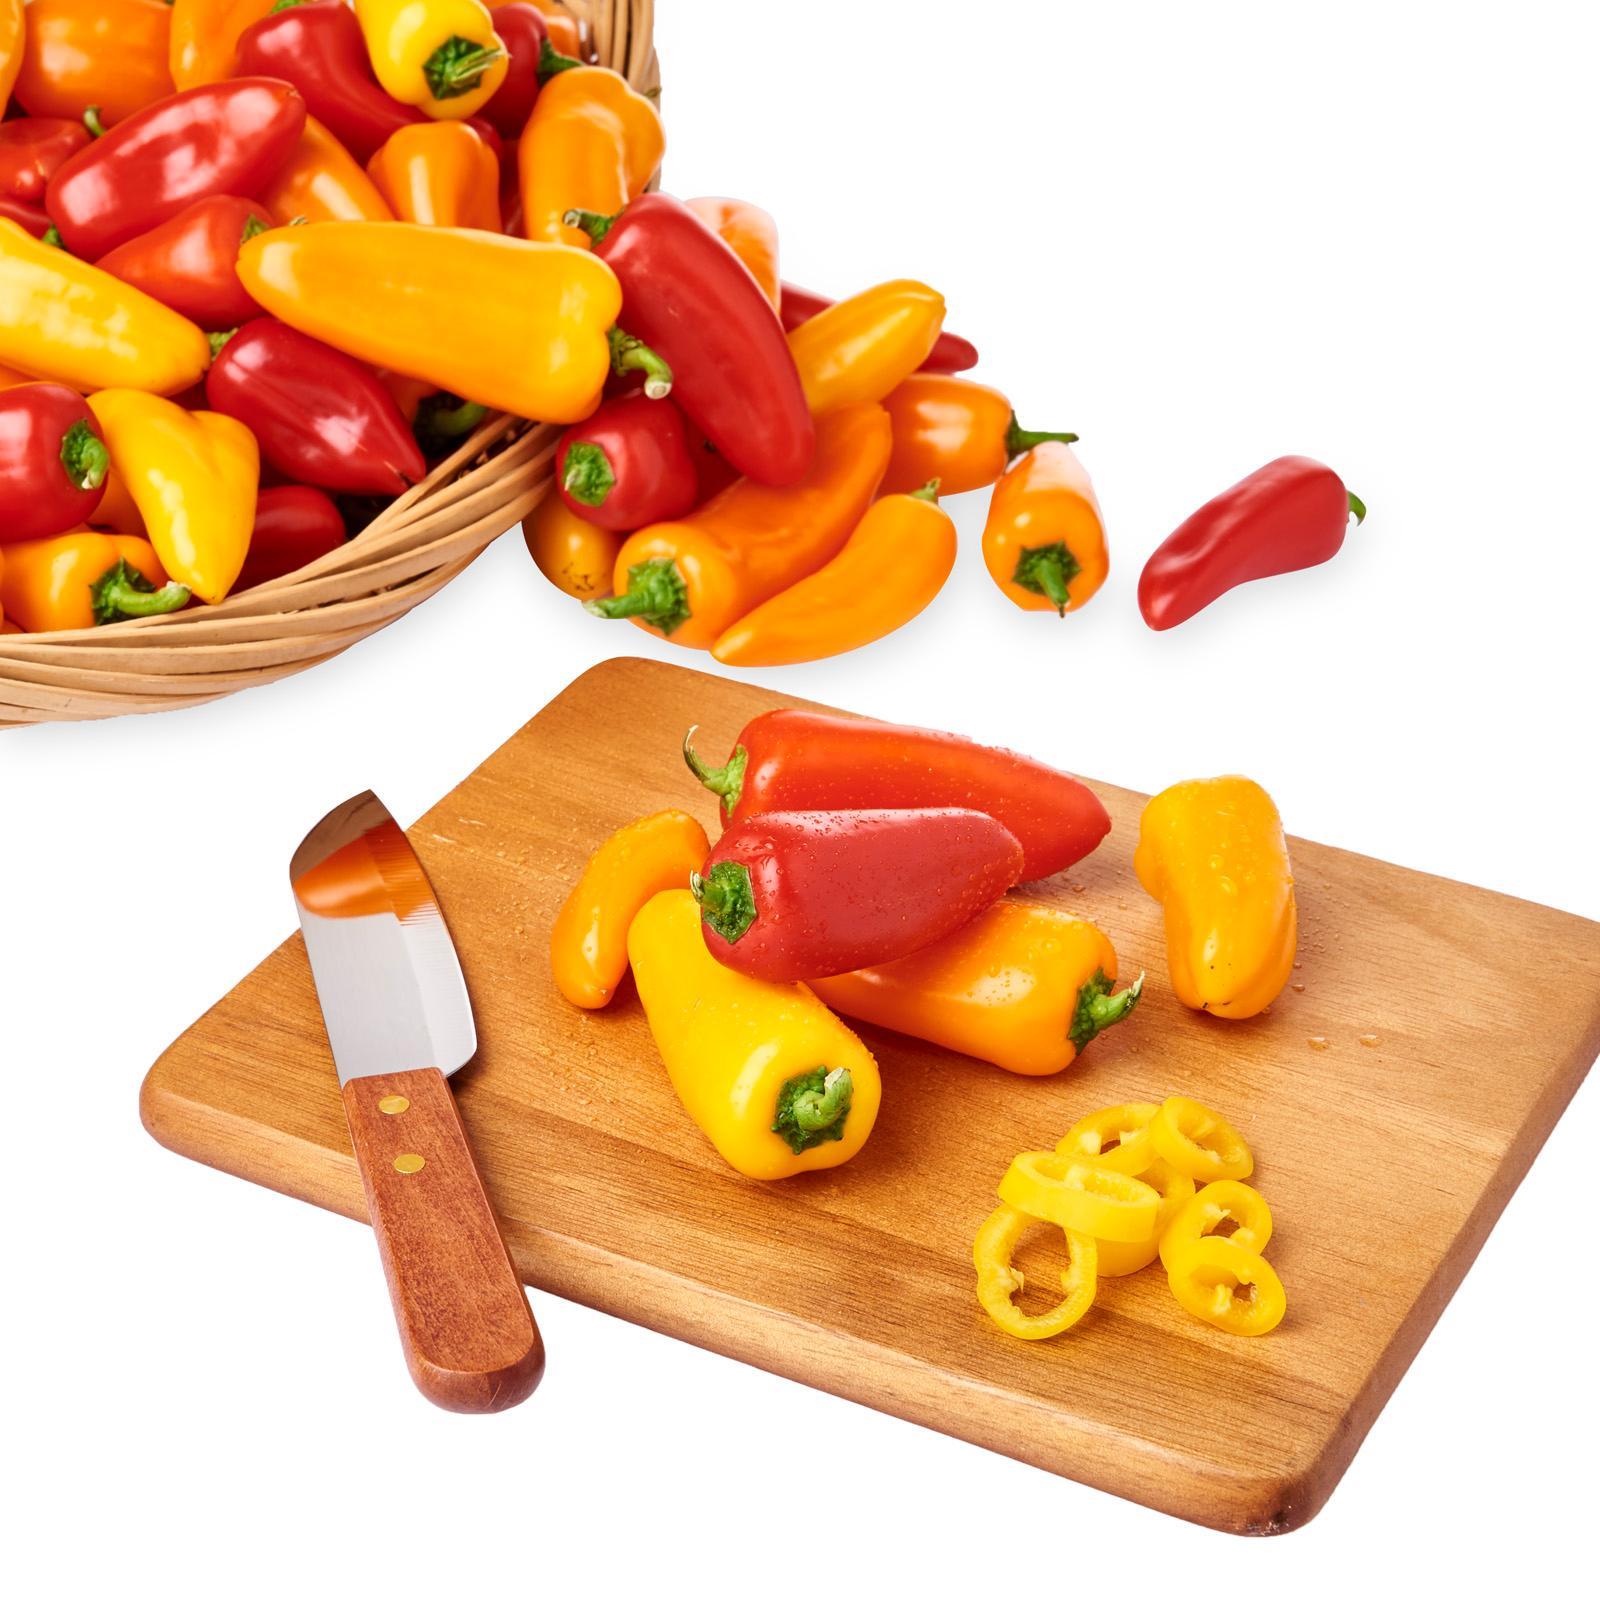
- Cutting: Place the mini sweet pepper on a cutting board and use a sharp knife to carefully cut off the stem end. Make a clean, straight cut to remove the tough stem.
- Halving: After removing the stems, slice the mini sweet pepper vertically from the stem end to the tip. This will expose the inner cavity that contains the seeds.
- Seed Removal: To remove the seeds, gently scrape the inside of the pepper with a spoon or your fingers. The seeds should easily detach from the flesh. Continue this process until all the seeds have been removed.
- Rinsing: Once the seeds are removed, quickly rinse the mini sweet peppers under cold running water to flush out any remaining seeds or debris.
- Drying: Pat dry the mini sweet peppers with a clean kitchen towel or paper towels to remove any excess moisture.
Removing the stems and seeds from mini sweet peppers not only enhances their visual appeal but also ensures that they stay fresh for a longer period. The seeds contain moisture and can speed up the spoilage process, so it’s essential to remove them before storing the peppers.
Now that the mini sweet peppers are free from stems and seeds, they are ready to be properly stored in the refrigerator or freezer to maintain their freshness and flavor.
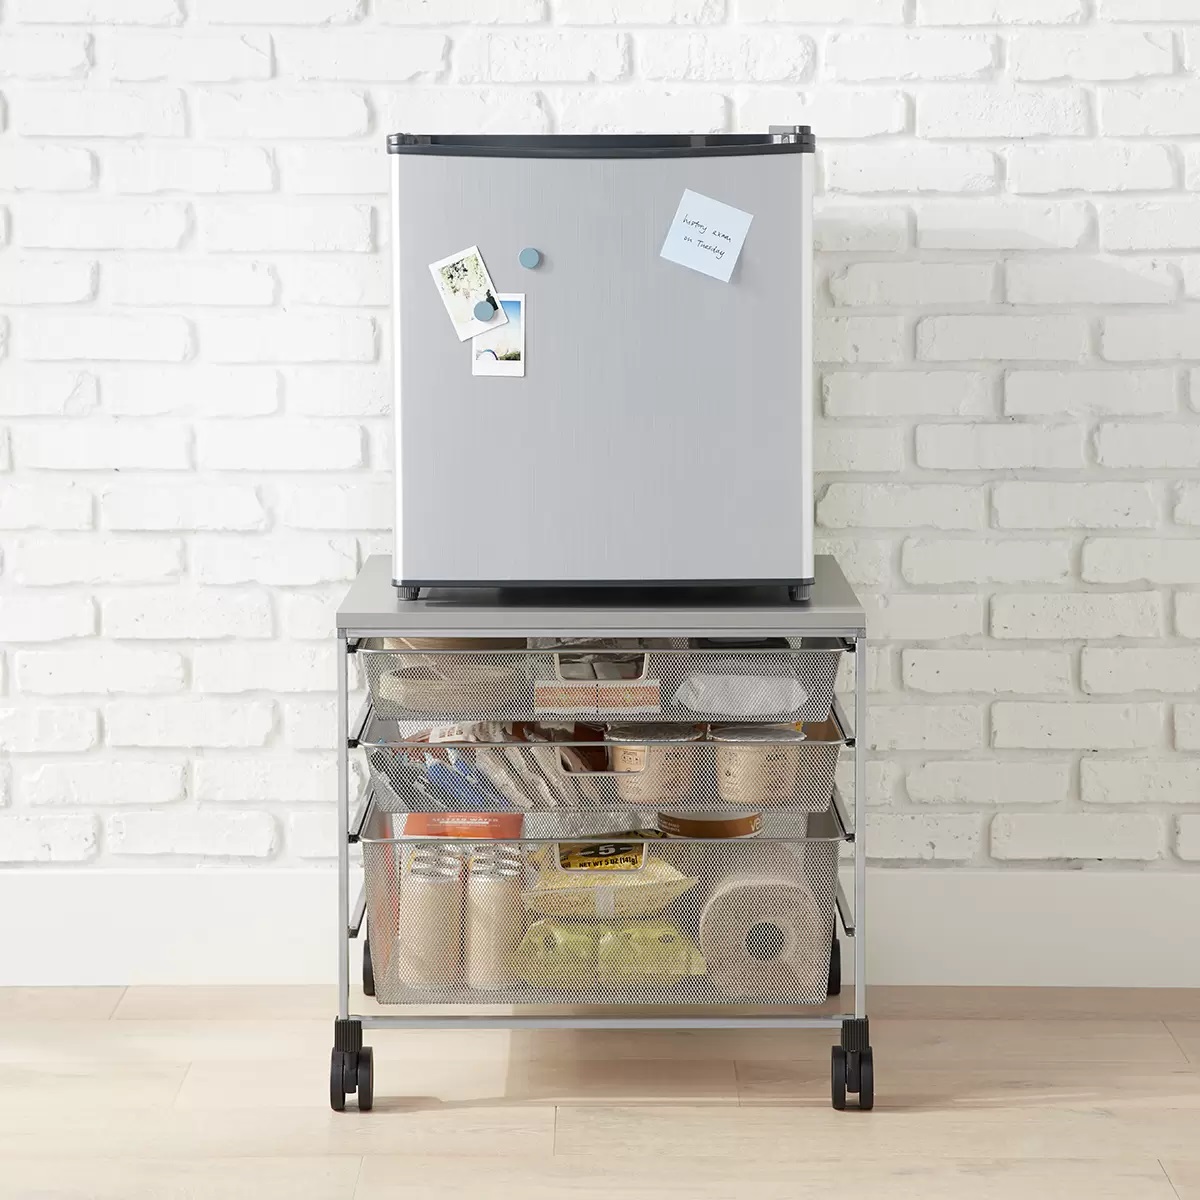
Storing Mini Sweet Peppers in the Refrigerator
Properly storing mini sweet peppers in the refrigerator is vital to preserving their freshness and extending their shelf life. Here are the steps to follow:
- Preparation: Ensure that the mini sweet peppers are clean, dry, and free from stems and seeds. This helps prevent moisture buildup and mold growth.
- Wrap individually: Wrap each mini sweet pepper tightly in a paper towel or place them in a perforated plastic bag. This helps to absorb excess moisture and provides a breathable environment.
- Use airtight container: If you have airtight containers, you can store the wrapped mini sweet peppers in them. This further helps to maintain their freshness and prevents the transfer of odors.
- Temperature and placement: Store the mini sweet peppers in the crisper drawer of your refrigerator, which is designed to maintain humidity levels. Make sure they are not placed near strong-smelling foods, as they can absorb odors.
- Check periodically: Regularly inspect the stored mini sweet peppers for any signs of spoilage, such as mold or soft spots. Remove any spoiled peppers to prevent them from affecting the others.
When stored properly in the refrigerator, mini sweet peppers can stay fresh for up to a week or slightly longer. However, it’s best to consume them as soon as possible for optimal flavor and texture.
Remember that refrigeration slows down the ripening process, so while the peppers will remain fresh, they may not continue to ripen and may stay the same level of sweetness as when they were stored.
By following these steps, you can ensure that your mini sweet peppers stay crisp and flavorful for an extended period, allowing you to enjoy them in various recipes.
Store mini sweet peppers in the refrigerator in a perforated plastic bag to maintain their freshness. Avoid washing them until ready to use to prevent spoilage.
Read more: How To Store Mini Bell Peppers
Freezing Mini Sweet Peppers
If you have an abundance of mini sweet peppers or want to store them for a longer period, freezing is a great option. Freezing mini sweet peppers helps to retain their flavor and texture, allowing you to enjoy them even when they are out of season. Here’s how to freeze mini sweet peppers:
- Preparation: Start by washing and drying the mini sweet peppers as mentioned earlier. Remove the stems and seeds, and cut them into desired sizes, such as slices or halves.
- Blanching: Blanching is an essential step in freezing vegetables as it helps to preserve their color, flavor, and texture. Bring a pot of water to a boil and carefully immerse the mini sweet peppers in the boiling water for 2 minutes.
- Ice bath: After blanching, immediately transfer the mini sweet peppers to a bowl of ice water to halt the cooking process. Leave them in the ice bath for the same amount of time they were blanched.
- Drain and dry: Remove the mini sweet peppers from the ice bath and drain them thoroughly. Pat them dry with a clean kitchen towel or paper towels to remove excess moisture.
- Arrange and freeze: Place the mini sweet pepper slices or halves in a single layer on a baking sheet lined with parchment paper. Make sure they are not touching each other. This prevents them from sticking together during freezing.
- Flash freezing: Put the baking sheet with the mini sweet peppers in the freezer and allow them to freeze for about 1 to 2 hours, or until they are firm to the touch. This process called flash freezing helps to prevent the formation of large ice crystals.
- Packaging: Once the mini sweet peppers are flash-frozen, transfer them into freezer-safe bags or airtight containers. Squeeze out any excess air, seal the bags tightly, and label them with the date.
- Freeze: Place the packaged mini sweet peppers in the freezer and store them for up to 6 to 8 months. The longer they are stored, the more the quality and flavor may degrade.
When you are ready to use the frozen mini sweet peppers, you can remove the desired amount from the freezer and thaw them in the refrigerator or cook them directly from frozen in your recipes.
Freezing mini sweet peppers is a convenient way to preserve their freshness and extend their usability. Whether you want to add them to stir-fries, salads, or other dishes, having frozen peppers on hand allows you to enjoy the taste of summer all year round.
Using Vacuum Sealed Bags for Storage
If you’re looking for an advanced storage method to maintain the quality and freshness of mini sweet peppers, vacuum sealing is a great option. Vacuum sealing removes air from the packaging, creating a tight seal that helps to preserve the flavor, texture, and nutrients of the peppers. Here’s how to use vacuum sealed bags for storing mini sweet peppers:
- Prepare the peppers: Start by washing, drying, and trimming the mini sweet peppers as mentioned earlier. Remove the stems and seeds, and cut them into desired sizes.
- Choose the appropriate bags: Select high-quality vacuum sealed bags that are specifically designed for freezing. These bags should be BPA-free and have a strong seal to prevent any leakage during storage.
- Portion the peppers: Divide the mini sweet peppers into small portions that you would typically use in a single cooking session. This allows you to retrieve only the amount you need without thawing the entire batch.
- Seal the bags: Place the mini sweet pepper portions into separate vacuum sealed bags. Make sure to leave enough space at the top of the bag to accommodate the sealing process.
- Vacuum seal: Follow the instructions provided by your specific vacuum sealing machine. Place the opening of the bag into the machine and initiate the sealing process. The machine will remove the air from the bag and create a tight seal.
- Label and store: Once the bags are vacuum sealed, label them with the date and contents. This helps you keep track of how long the peppers have been stored. Store the vacuum sealed bags in the freezer for long-term preservation.
- Thawing and using: When you’re ready to use the mini sweet peppers, simply remove the desired portion from the freezer and thaw them in the refrigerator. You can then incorporate the thawed peppers into your favorite recipes.
Using vacuum sealed bags for storing mini sweet peppers helps to prevent freezer burn and keeps the peppers in optimal condition. The airtight seal created by vacuum sealing maintains their flavor, texture, and nutritional value, allowing you to enjoy the peppers as if they were freshly harvested.
Remember to always follow the manufacturer’s instructions when using a vacuum sealer to ensure proper sealing and to maintain food safety standards.
By utilizing vacuum sealed bags for storage, you can have a ready supply of mini sweet peppers that retain their quality for an extended period.
Tips for Storing Mini Sweet Peppers
In addition to following the specific storage methods mentioned earlier, here are some additional tips to help you store mini sweet peppers and maintain their freshness:
- Handle with care: When handling mini sweet peppers, be gentle to avoid bruising or damaging the delicate skin. Bruises can lead to faster spoilage.
- Do not wash before storing: It’s best to wash mini sweet peppers right before you intend to use them. Washing them too early can introduce excess moisture, leading to mold or spoilage.
- Remove any damaged peppers: Inspect the mini sweet peppers before storage. If you notice any peppers that are bruised, moldy, or showing signs of spoilage, remove them from the batch to prevent them from affecting the others.
- Rotate your stock: If you have multiple batches of mini sweet peppers, make sure to rotate them during storage. Use older peppers first before moving on to the fresher ones. This helps prevent waste and ensures that all the peppers are used before they start to deteriorate.
- Avoid overcrowding: Whether you’re storing mini sweet peppers in the refrigerator or freezer, ensure that they are not overcrowded. Overcrowding can lead to increased moisture buildup and can cause the peppers to spoil faster.
- Don’t forget about FIFO: FIFO stands for “first in, first out.” When storing mini sweet peppers, make sure to place the most recently purchased or harvested peppers at the back of the storage area. This ensures that you use the oldest ones first, minimizing any possible waste due to spoilage.
- Consider pre-freezing: If you plan to freeze mini sweet peppers individually rather than in portions, you can pre-freeze them on a baking sheet before transferring them to freezer bags. This prevents the peppers from sticking together and makes it easier to remove only the desired amount when needed.
By following these tips, you can maximize the shelf life of mini sweet peppers and enjoy their freshness and flavor for a longer period.
Remember that while proper storage techniques can help extend the lifespan of mini sweet peppers, it’s still important to use your best judgment and consume them as soon as they show signs of spoilage.
Conclusion
Knowing how to properly store mini sweet peppers is essential for preserving their freshness, flavor, and nutritional value. Whether you grow them in your garden or purchase them from the store, following the right storage methods can help you enjoy these vibrant and delicious peppers for longer periods.
We’ve covered several key steps in storing mini sweet peppers, from selecting the freshest peppers to washing and drying them thoroughly. Removing the stems and seeds is also an important step to ensure their quality and longevity.
When it comes to storage options, the refrigerator provides a convenient and short-term solution, while freezing allows you to enjoy mini sweet peppers year-round. Using vacuum sealed bags for storage takes it a step further, preserving the flavor and texture of the peppers for extended periods.
Remember to handle mini sweet peppers with care, remove any damaged peppers before storage, and avoid overcrowding to prevent spoilage. Rotating your stock and using the FIFO method can also help minimize waste and ensure that you enjoy the peppers at their best.
By following these guidelines and tips, you can maintain the quality of mini sweet peppers and have a ready supply of them to enhance your favorite recipes. Whether you’re adding them to salads, stir-fries, or even stuffing them, properly stored mini sweet peppers can elevate your culinary creations.
So the next time you have a batch of mini sweet peppers, take the time to apply these storage techniques and enjoy the freshness and flavor of these delightful peppers for as long as possible!
Frequently Asked Questions about How To Store Mini Sweet Peppers
Was this page helpful?
At Storables.com, we guarantee accurate and reliable information. Our content, validated by Expert Board Contributors, is crafted following stringent Editorial Policies. We're committed to providing you with well-researched, expert-backed insights for all your informational needs.


0 thoughts on “How To Store Mini Sweet Peppers”