Articles
How To Store Peanut Butter Cookies
Modified: August 19, 2024
Learn how to store peanut butter cookies properly with our helpful articles. Keep your cookies fresh and delicious for longer.
(Many of the links in this article redirect to a specific reviewed product. Your purchase of these products through affiliate links helps to generate commission for Storables.com, at no extra cost. Learn more)
Introduction
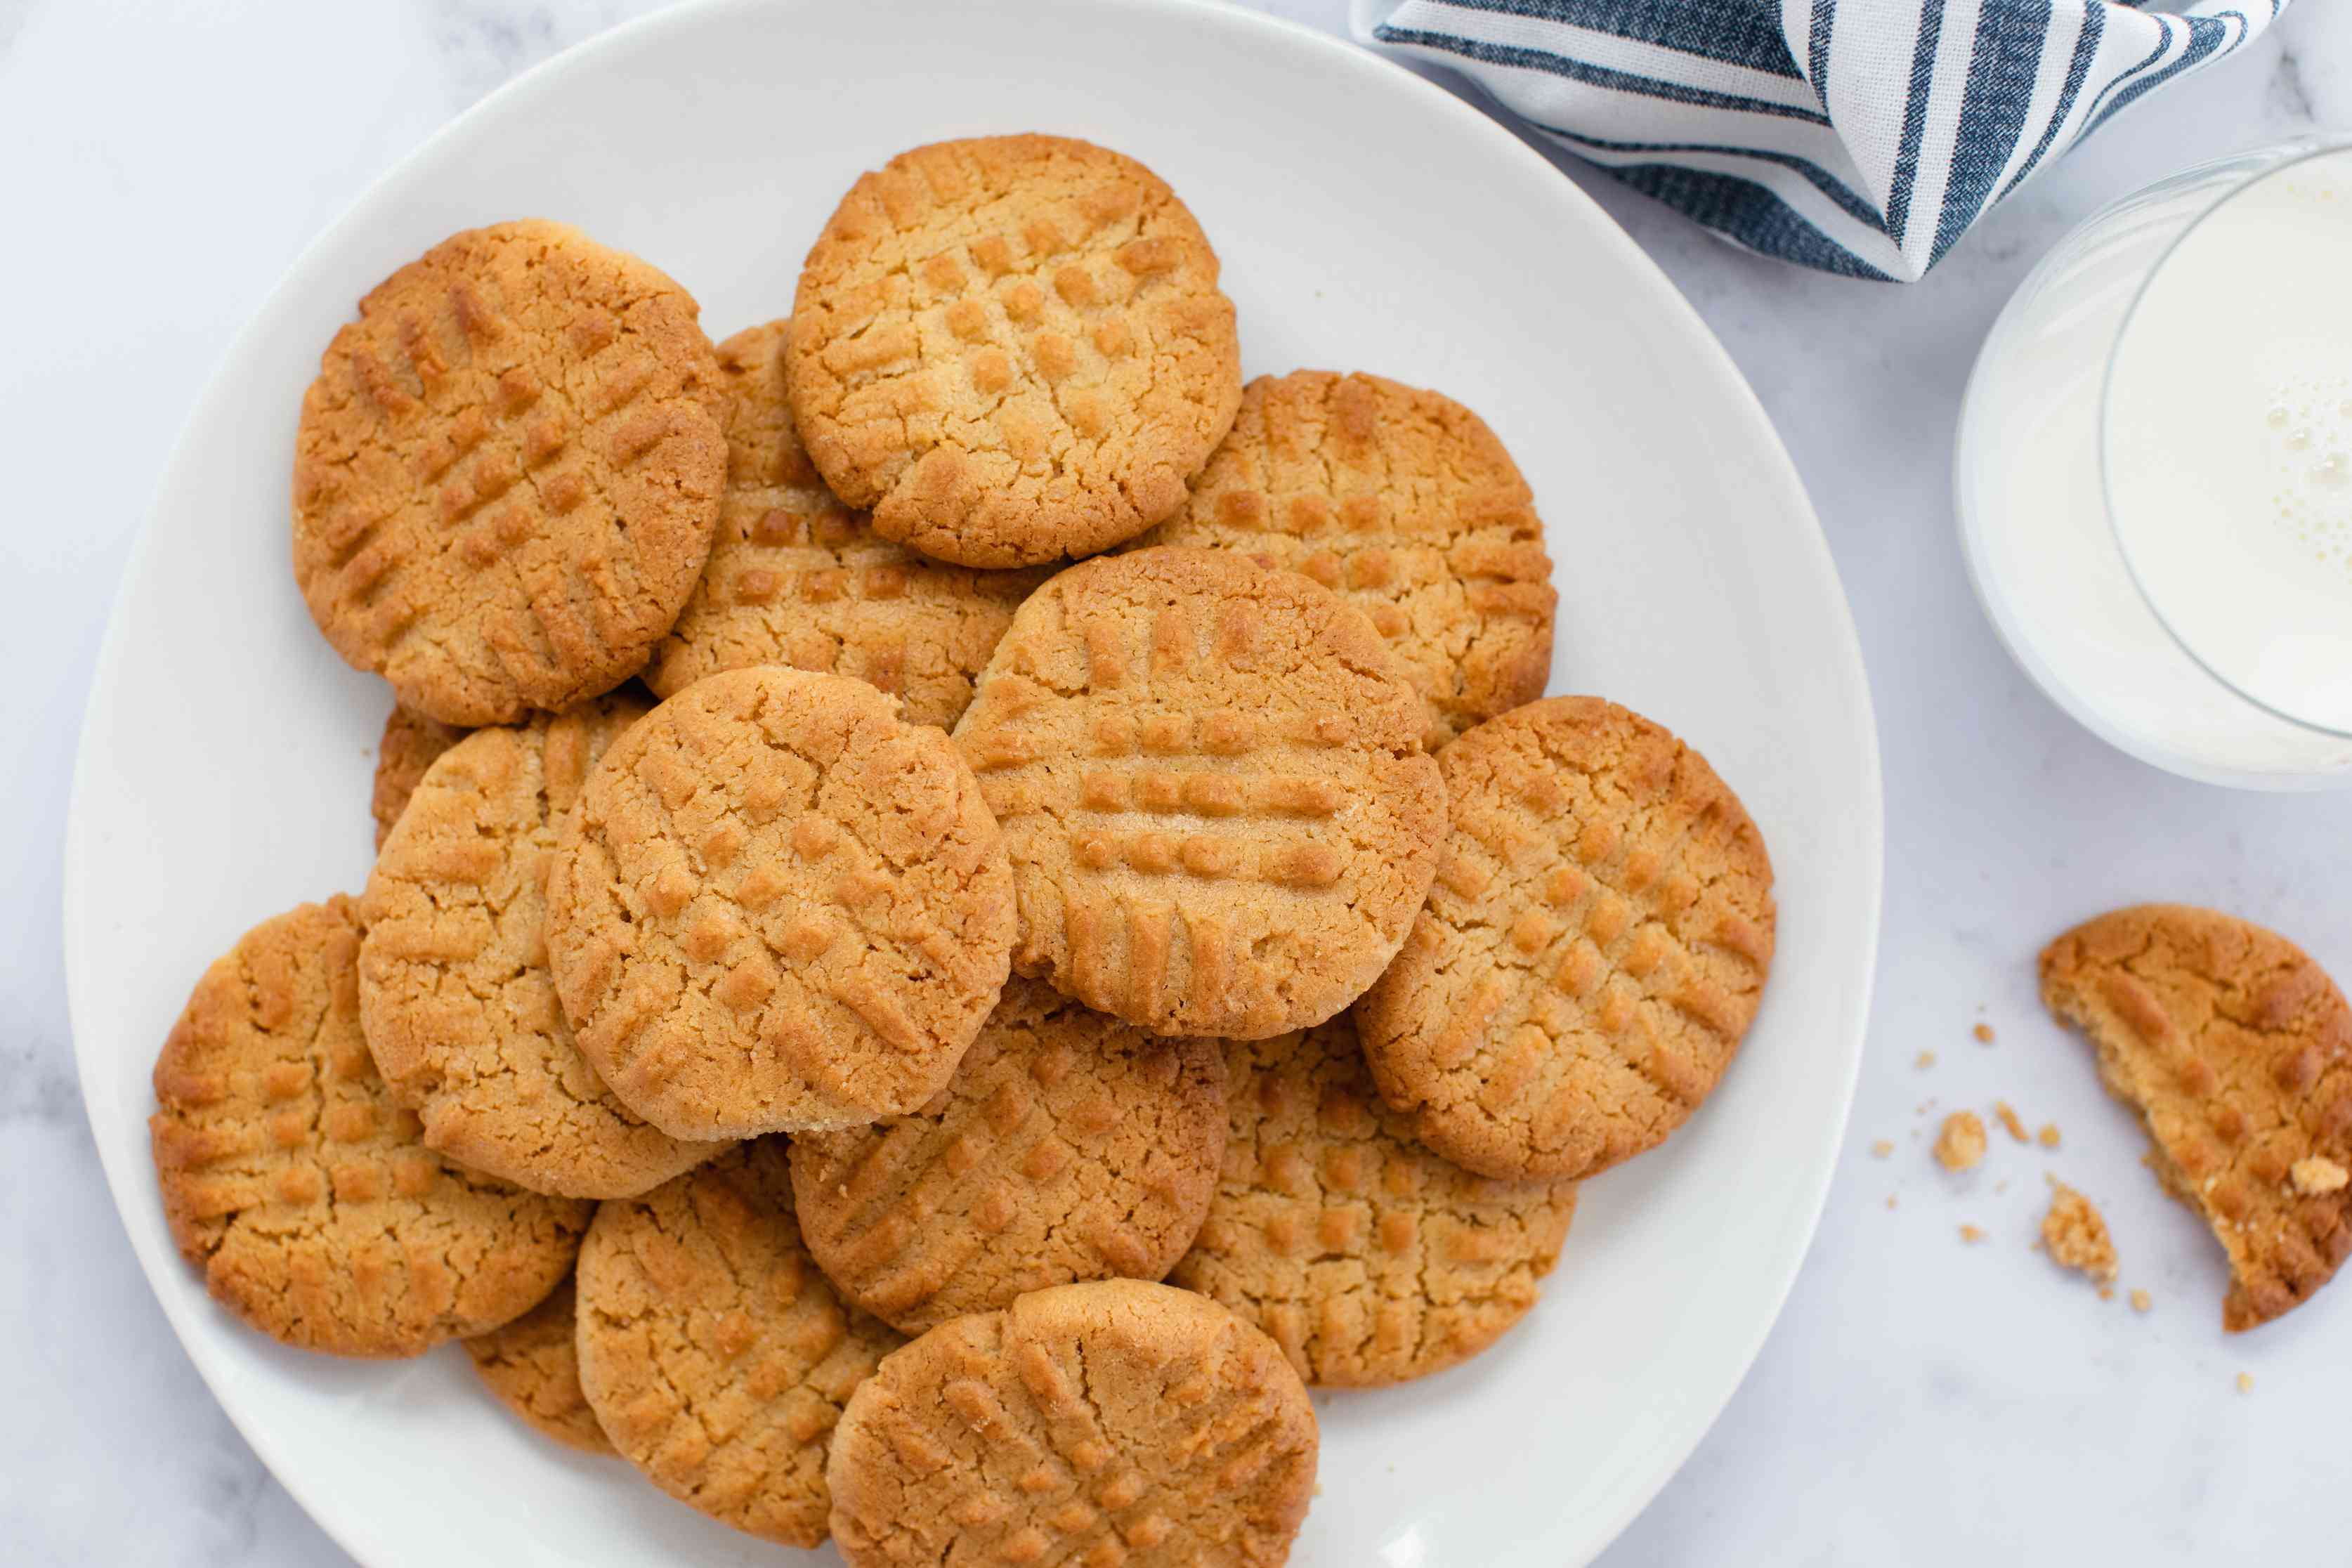
Welcome to the world of delicious peanut butter cookies! These delightful treats are loved by people of all ages and are perfect for any occasion. Whether you’ve just baked a fresh batch or want to store some for later enjoyment, knowing how to properly store peanut butter cookies is essential to maintain their taste and texture.
In this article, we will guide you through the various methods of storing peanut butter cookies, from keeping them at room temperature to refrigerating or freezing them. With these tips, you can make sure your cookies stay fresh and tasty for as long as possible.
Before we dive into the storage techniques, it’s essential to choose the right container for your peanut butter cookies. The container you use plays a vital role in preserving the cookies’ freshness and preventing them from becoming stale or getting exposed to moisture.
Now, let’s explore the different methods of storing these scrumptious treats!
Key Takeaways:
- Choose the right container: Opt for airtight glass or plastic containers to maintain the freshness and texture of peanut butter cookies. Proper preparation and labeling ensure long-lasting deliciousness.
- Freezing for future indulgence: Freeze peanut butter cookies for up to three months, allowing you to enjoy homemade treats at your convenience without compromising taste or quality. Thaw with ease for instant delight.
Read more: How To Store Peanut Butter Fudge
Choosing the Right Container
When it comes to storing peanut butter cookies, selecting the right container is crucial in maintaining their freshness and preventing them from becoming dry or stale.
Here are a few factors to consider when choosing the perfect container for your peanut butter cookies:
- Airtightness: Opt for a container that is airtight to minimize exposure to air and prevent the cookies from becoming dry. This will help retain their softness and texture.
- Size: Choose a container that is appropriately sized to accommodate the number of cookies you wish to store. Avoid using a container that is too large as it could lead to excess air in the container, potentially causing the cookies to become stale.
- Material: Glass or plastic containers with tight-fitting lids are ideal for storing peanut butter cookies. These materials help keep moisture out and maintain the cookies’ freshness.
- Separation: If you plan to stack the cookies, consider using parchment paper or wax paper between each layer to prevent them from sticking together. This will make it easier to take out individual cookies without damaging the others.
Remember, the container you choose should be clean and free from any odors that could potentially transfer to the cookies. Taking these factors into account will ensure that your peanut butter cookies remain delicious and enjoyable even after storage.
Preparing the Cookies
Before you store your peanut butter cookies, it’s essential to ensure they are properly prepared. Follow these steps to prepare your cookies for storage:
- Cooling: Allow the freshly baked cookies to cool completely on a wire rack. This helps in preventing moisture buildup when storing them, which could lead to a loss of texture or even mold.
- Layering: If you plan on stacking multiple layers of cookies, make sure they are completely cooled before stacking. Place a sheet of parchment paper or wax paper between each layer to prevent sticking.
- Sealing: Once your cookies are cooled and layered (if necessary), it’s time to seal them in an airtight container. Ensure the lid is tightly closed to prevent air from entering, which could cause the cookies to become stale.
- Labeling: It’s a good practice to label your container with the date of storage. This will help you keep track of how long the cookies have been stored and ensure you consume them within a reasonable timeframe.
By properly preparing your peanut butter cookies before storage, you can maintain their taste, texture, and overall quality for a longer period.
Storing at Room Temperature
If you plan on consuming your peanut butter cookies within a few days, storing them at room temperature is a convenient option. Here are some guidelines to follow:
- Airtight Container: Place the cooled cookies in an airtight container to keep them fresh. Ensure the container is sealed tightly to prevent air from entering.
- Cool and Dry Location: Find a cool and dry spot in your kitchen or pantry to store the container. Avoid areas that are exposed to direct sunlight or where temperature fluctuations occur frequently.
- No Strong Odors: Keep the cookies away from strong-smelling foods or products, as they can absorb odors and affect the taste of the cookies.
- Consume within a Week: Peanut butter cookies stored at room temperature can typically be enjoyed for up to a week. It’s best to consume them within this timeframe to ensure optimal freshness and flavor.
Remember to periodically check the cookies for any signs of spoilage, such as mold or an off smell. If you notice any issues, it’s best to discard the cookies to avoid any potential health risks.
Storing peanut butter cookies at room temperature is a convenient option for short-term storage, allowing you to enjoy their deliciousness with ease.
Store peanut butter cookies in an airtight container at room temperature for up to 1 week. For longer storage, place them in the freezer in a freezer-safe container or bag for up to 3 months.
Refrigerating Peanut Butter Cookies
If you need to store your peanut butter cookies for a slightly longer period or want to enjoy them chilled, refrigeration is a suitable option. Follow these steps to properly refrigerate your cookies:
- Cool Completely: Allow the cookies to cool completely before refrigeration. This helps in preventing moisture buildup, which could lead to a change in texture.
- Airtight Container: Place the cooled cookies in an airtight container or resealable plastic bag. Squeeze out any excess air before sealing to maintain freshness.
- Separate Layers: If you need to stack multiple layers of cookies, place a sheet of parchment paper or wax paper between each layer. This prevents the cookies from sticking together.
- Refrigerator Placement: Store the container of cookies in the main section of your refrigerator, away from foods with strong odors. This helps in maintaining the original flavor of the cookies.
- Consume within Two Weeks: Peanut butter cookies can be refrigerated for up to two weeks while retaining their taste and texture. Be sure to consume them within this timeframe for the best experience.
When you’re ready to enjoy the refrigerated cookies, take them out of the refrigerator and let them come to room temperature for a few minutes before serving. This helps in restoring their softness and enhancing the flavors.
Refrigerating peanut butter cookies is a great option for longer-term storage, allowing you to indulge in chilled treats whenever the craving strikes.
Read more: How To Store Natural Peanut Butter
Freezing Peanut Butter Cookies
If you want to store your peanut butter cookies for an extended period, or simply have a big batch that you want to save for later, freezing is your best option. Follow these steps to properly freeze your cookies:
- Cool and Prepare: Allow the cookies to cool completely after baking. Once cooled, you have the option to prepare the cookies for freezing in different ways:
- Individually Wrap: Wrap each cookie individually in plastic wrap or place them in separate freezer bags. This method allows you to thaw and enjoy one cookie at a time without having to defrost the entire batch.
- Stacking: Place layers of cookies in an airtight container, separating each layer with parchment paper or wax paper. This method is ideal for those who plan to thaw and use multiple cookies at once.
- Seal and Label: Ensure that any wrapping or packaging used is airtight to prevent freezer burn. Label the container or bags with the date of freezing.
- Freezer Placement: Put the wrapped or packaged cookies in the freezer, preferably in a spot where they won’t be crushed or disturbed.
- Freeze for up to Three Months: Peanut butter cookies can be frozen for up to three months and still maintain their taste and texture. Beyond this timeframe, the quality may begin to deteriorate.
When you’re ready to enjoy the frozen cookies, remove them from the freezer and let them thaw at room temperature for about 30 minutes to an hour. Alternatively, you can microwave them for a few seconds to achieve a warm, freshly baked texture.
Freezing peanut butter cookies allows you the convenience of having a stash of homemade treats ready whenever you desire, without any compromise in taste or quality.
Thawing and Enjoying Frozen Cookies
Once you’ve frozen your peanut butter cookies, it’s important to properly thaw them before enjoying their deliciousness. Here are some methods to thaw and savor your frozen cookies:
- Room Temperature Thawing: The simplest method is to place the wrapped or packaged cookies on a plate or in a container and let them thaw at room temperature. This process typically takes about 30 minutes to an hour, depending on the size and thickness of the cookies.
- Microwave Thawing: For a quicker thawing method, you can use a microwave. Remove the cookies from their packaging, place them on a microwave-safe plate, and microwave them on a low power setting (around 30% power) in short intervals of 10-15 seconds. Check the cookies after each interval to ensure they are thawed and warmed to your desired consistency.
- Baking Thawing: If you prefer your cookies to have a warm and freshly baked texture, you can thaw and reheat them in the oven. Preheat your oven to 350°F (175°C), place the frozen cookies on a baking sheet lined with parchment paper, and bake them for 5-8 minutes. Keep a close eye on them, as they can quickly overbake.
Once your cookies are thawed, they are ready to be enjoyed! Whether you savor them with a glass of cold milk or serve them to guests, the goodness of homemade peanut butter cookies will surely make everyone’s taste buds dance with joy.
Remember to store any leftover thawed cookies properly to maintain their freshness. They can be kept in an airtight container at room temperature for a few days or refrigerated for a slightly longer duration.
Thawing and enjoying frozen peanut butter cookies is a delightful experience, allowing you to relish the homemade goodness even after they’ve been stored in the freezer.
Now that you've mastered storing peanut butter cookies, why stop there? Expanding your knowledge on keeping all sorts of food fresh is just a click away. Check out our detailed guide on the latest and most effective food storage solutions. Whether you're looking to optimize your pantry space or ensure your perishables last as long as possible, this guide covers everything you need to keep your groceries in tip-top shape year-round. Don't miss out; your kitchen will thank you!
Frequently Asked Questions about How To Store Peanut Butter Cookies
Was this page helpful?
At Storables.com, we guarantee accurate and reliable information. Our content, validated by Expert Board Contributors, is crafted following stringent Editorial Policies. We're committed to providing you with well-researched, expert-backed insights for all your informational needs.

0 thoughts on “How To Store Peanut Butter Cookies”