Articles
How To Make Peanut Butter In A Blender
Modified: August 29, 2024
Learn how to make delicious homemade peanut butter using just a blender. This step-by-step article guides you through the process.
(Many of the links in this article redirect to a specific reviewed product. Your purchase of these products through affiliate links helps to generate commission for Storables.com, at no extra cost. Learn more)
Introduction
Do you love the creamy and nutty goodness of peanut butter? If so, then you’re in for a treat! Making your own peanut butter at home using a blender is not only easy but also allows you to customize the flavors to your preference. Whether you want it smooth or chunky, and with or without added sweeteners, the possibilities are endless.
In this article, we will guide you through the steps to make peanut butter in a blender. With just a few ingredients and a trusty blender, you’ll be enjoying homemade peanut butter in no time.
Why make your own peanut butter, you might ask? Well, homemade peanut butter allows you to control the quality of the ingredients. You can choose high-quality peanuts and adjust the levels of salt, sweeteners, or any other add-ins you desire. Plus, making it yourself means you can avoid any unnecessary preservatives or additives that store-bought brands may contain.
Additionally, making peanut butter in a blender is a cost-effective option. You can buy peanuts in bulk and make a large batch of peanut butter that will last you for weeks. It’s not only budget-friendly but also a great way to reduce waste and minimize packaging.
Whether you’re a beginner in the kitchen or a seasoned cook, this recipe is suitable for anyone. You don’t need any specialized cooking skills or fancy equipment – just a blender and a few basic ingredients.
So let’s get started and learn how to make your very own delicious and wholesome peanut butter right at home using a blender!
Key Takeaways:
- Enjoy the freedom of creating your own delicious and wholesome peanut butter at home using a blender. Control the ingredients, customize the flavors, and savor the satisfaction of making something nutritious from scratch.
- Save money, reduce waste, and relish the creamy, nutty goodness of homemade peanut butter. With just a few simple steps and basic ingredients, you can create a healthier and more flavorful spread that suits your taste preferences.
Read more: How To Make Butter In Blender
Ingredients
To make peanut butter in a blender, you will need the following ingredients:
- 2 cups of unsalted roasted peanuts
- 1 tablespoon of vegetable oil (optional)
- 1-2 tablespoons of sweetener (optional), such as honey, maple syrup, or sugar
- 1/2 teaspoon of salt (optional), or to taste
You may also choose to add other ingredients to customize your peanut butter. Some popular additions include:
- Flavorings: vanilla extract, cinnamon, cocoa powder, or a dash of espresso powder to add depth of flavor.
- Add-ins: chopped nuts, chocolate chips, dried fruits, or even a sprinkling of sea salt for that perfect sweet and salty combination.
Feel free to experiment and create unique variations that suit your taste preferences.
Note: If you prefer chunky peanut butter, you can set aside a handful of peanuts before blending and add them in at the end for added texture.
Now that we have all our ingredients ready, let’s move on to the step-by-step process of making peanut butter in a blender.
Step 1: Roasting the Peanuts
The first step in making homemade peanut butter is to roast the peanuts. Roasting enhances the flavor and adds a delightful nuttiness to the final product. Here’s how to do it:
- Preheat your oven to 350°F (175°C).
- Spread the peanuts evenly on a baking sheet. Make sure they are in a single layer for even roasting.
- Place the baking sheet in the preheated oven and roast the peanuts for about 10-12 minutes. Keep a close eye on them and stir them occasionally to prevent burning.
- Remove the peanuts from the oven when they are slightly golden and fragrant. Be careful as they will be hot!
- Allow the roasted peanuts to cool completely before moving on to the next step. This ensures that they blend smoothly and avoid adding excess moisture to the mixture.
Roasting the peanuts not only adds flavor but also helps to loosen the skins, making them easier to remove later if you prefer. However, leaving the skins on also adds a slightly deeper and nuttier flavor to the peanut butter. The choice is up to you!
Now that our peanuts are roasted and cooled, let’s proceed to the next step of making homemade peanut butter in a blender.
Step 2: Adding the Ingredients to the Blender
Now that we have our roasted peanuts ready, it’s time to gather all the necessary ingredients and start blending. Follow these simple steps:
- Add the roasted peanuts to the blender. If you prefer chunky peanut butter, set aside a handful of peanuts to add later.
- If desired, add a tablespoon of vegetable oil to the blender. This helps in achieving a smoother consistency and prevents the peanut butter from being too dry.
- If you like your peanut butter sweetened, add one to two tablespoons of your choice of sweetener such as honey, maple syrup, or sugar. Adjust the amount based on your desired level of sweetness.
- To enhance the flavor, you can also add any additional flavorings or add-ins of your choice at this stage. Whether it’s a dash of vanilla extract, a sprinkle of cinnamon, or even some chocolate chips, feel free to get creative.
- If you prefer salted peanut butter, add half a teaspoon of salt or adjust the amount to suit your taste. Alternatively, you can omit the salt if you prefer unsalted peanut butter.
Remember, these measurements are just a starting point. Feel free to adjust the ingredients to suit your taste preferences. You can always taste and add more sweetness, salt, or flavorings later on during the blending process.
With the peanuts and the rest of the ingredients in the blender, it’s time to move on to the next step and blend it all together into creamy goodness!
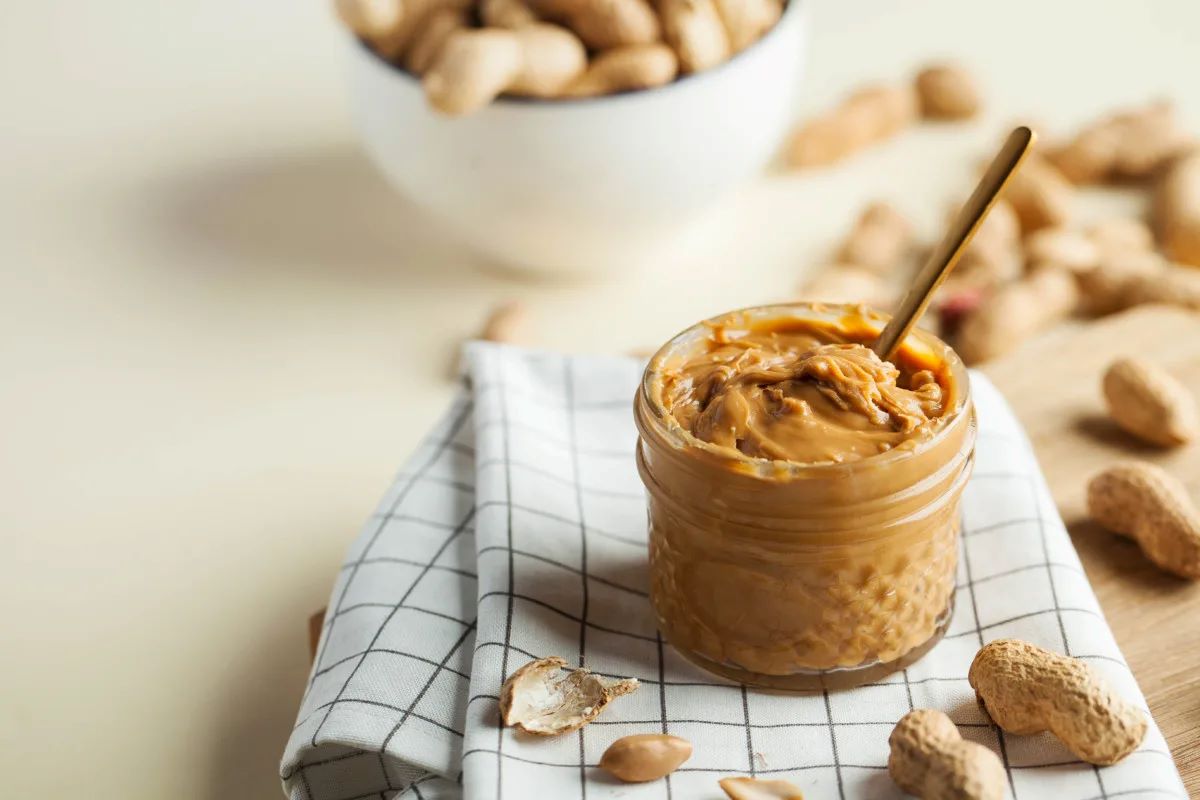
Add a little bit of oil to the blender when making peanut butter to help achieve a smoother consistency.
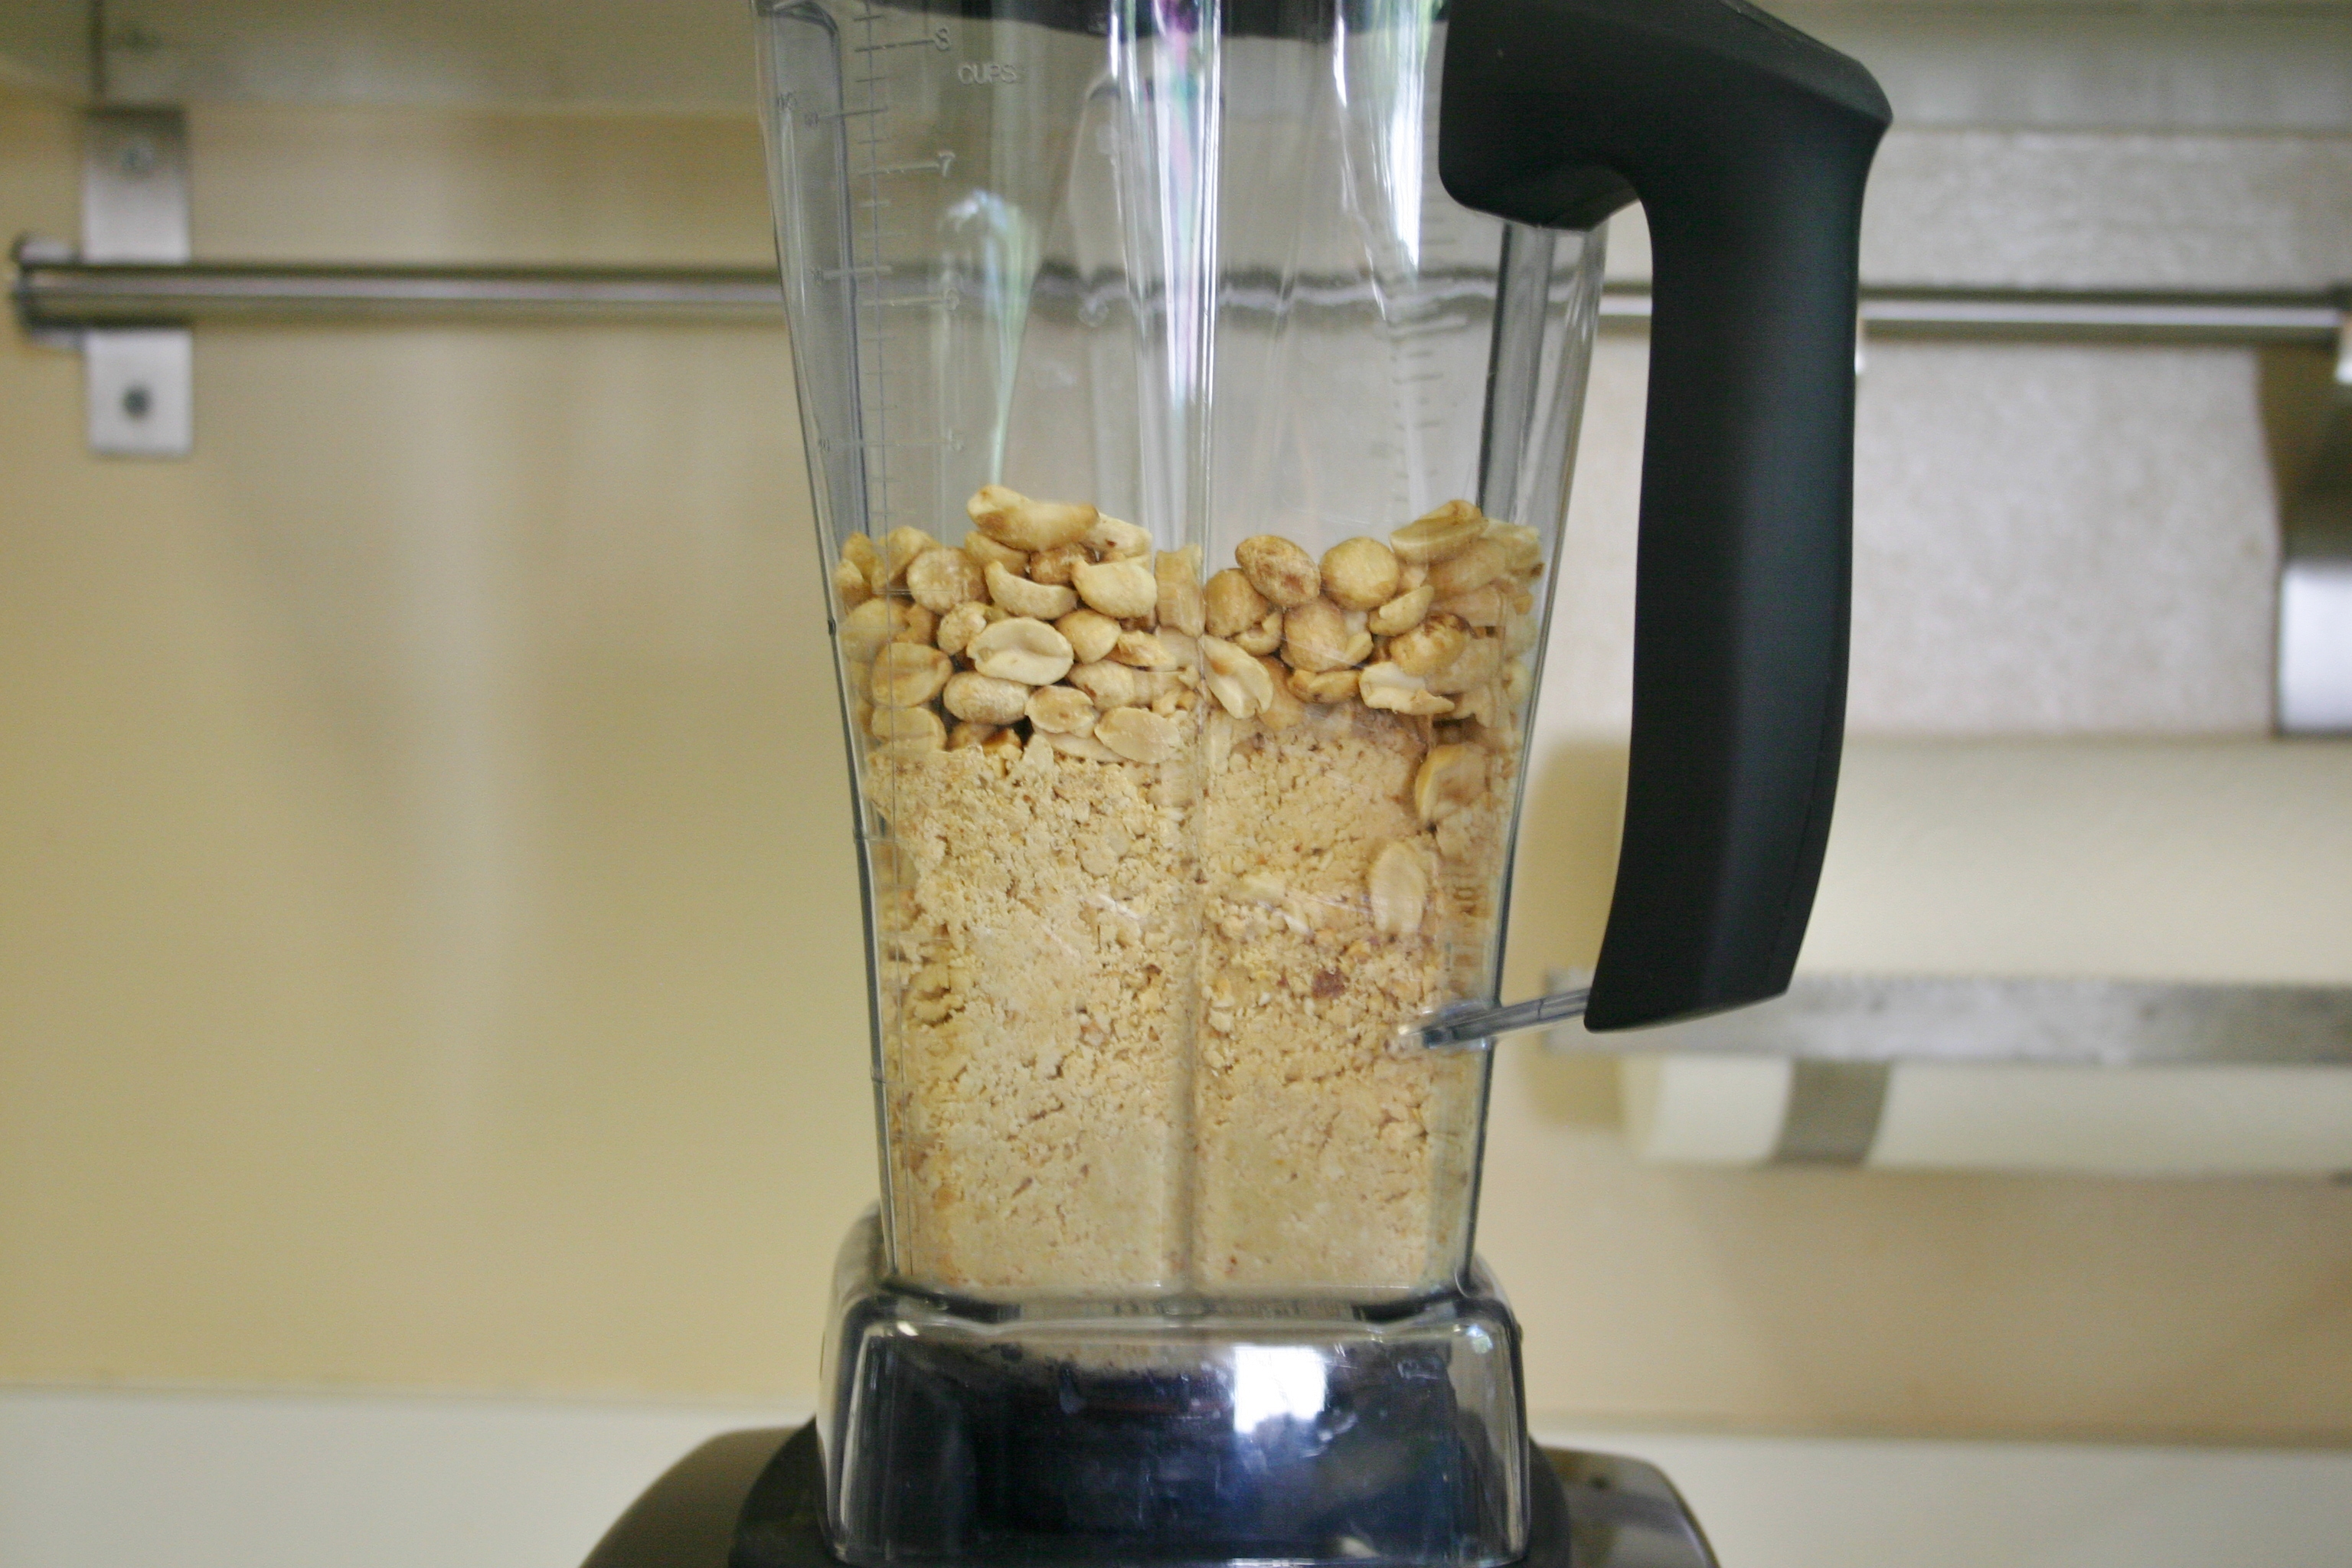
Step 3: Blending the Mixture
Now that all the ingredients are ready in the blender, it’s time to blend them into creamy peanut butter perfection. Follow these steps to achieve the desired consistency:
- Secure the lid of the blender tightly.
- Start blending the mixture on low speed, gradually increasing the speed to medium-high.
- Blend the mixture for about 2-3 minutes, or until the peanuts start to break down into a smoother consistency.
- Stop the blender and scrape down the sides with a spatula to ensure that all the peanuts are well incorporated.
- Continue blending for another 2-3 minutes, or until the peanut butter reaches your desired consistency. If you prefer a chunkier texture, add the handful of reserved peanuts now and pulse the blender a few times to incorporate them.
As you blend, you may notice that the mixture goes through different stages. In the beginning, the peanuts will become a coarse mixture, then turn into a thick paste, and eventually transform into a creamy peanut butter consistency. The duration of blending may vary depending on the power of your blender and the desired texture.
It’s important to note that blending times may vary, so keep an eye on the texture and adjust accordingly. Additionally, if your blender starts to overheat during the process, give it a break and allow it to cool down for a few minutes before continuing.
Now that the blending is complete and you have achieved the perfect peanut butter consistency, it’s time to move on to the next step: adjusting the consistency, if needed.
Read more: How To Store Peanut Butter Cookies
Step 4: Adjusting the Consistency
After blending the peanut butter mixture, you may find that the consistency is not exactly what you desire. Don’t worry, as this step allows you to adjust the texture to your liking. Follow these steps to achieve the perfect consistency:
- If the peanut butter is too thick and dry, you can add a tablespoon of vegetable oil to the mixture. Blend it again for a few seconds until well incorporated. Repeat this step if necessary until you reach your desired consistency.
- If the peanut butter is too runny or thin, you can add a few more roasted peanuts. Blend them into the mixture for a short time, then check the consistency. Repeat this step if needed until you achieve the desired thickness.
- If you want a smoother texture, continue blending the peanut butter for a bit longer. The longer you blend, the smoother the texture will become. You can also add a little more oil if necessary to achieve the desired smoothness.
- If the peanut butter is too sweet or not sweet enough, this is the perfect time to adjust the sweetness level. Add more sweetener, such as honey, maple syrup, or sugar, in small increments, blending and tasting as you go, until you are satisfied with the level of sweetness.
Remember that adjusting the consistency and sweetness is a personal preference, so feel free to experiment and modify the peanut butter to suit your taste.
Once you have achieved the ideal consistency and taste, it’s time to proceed to the final step: storing your homemade peanut butter.
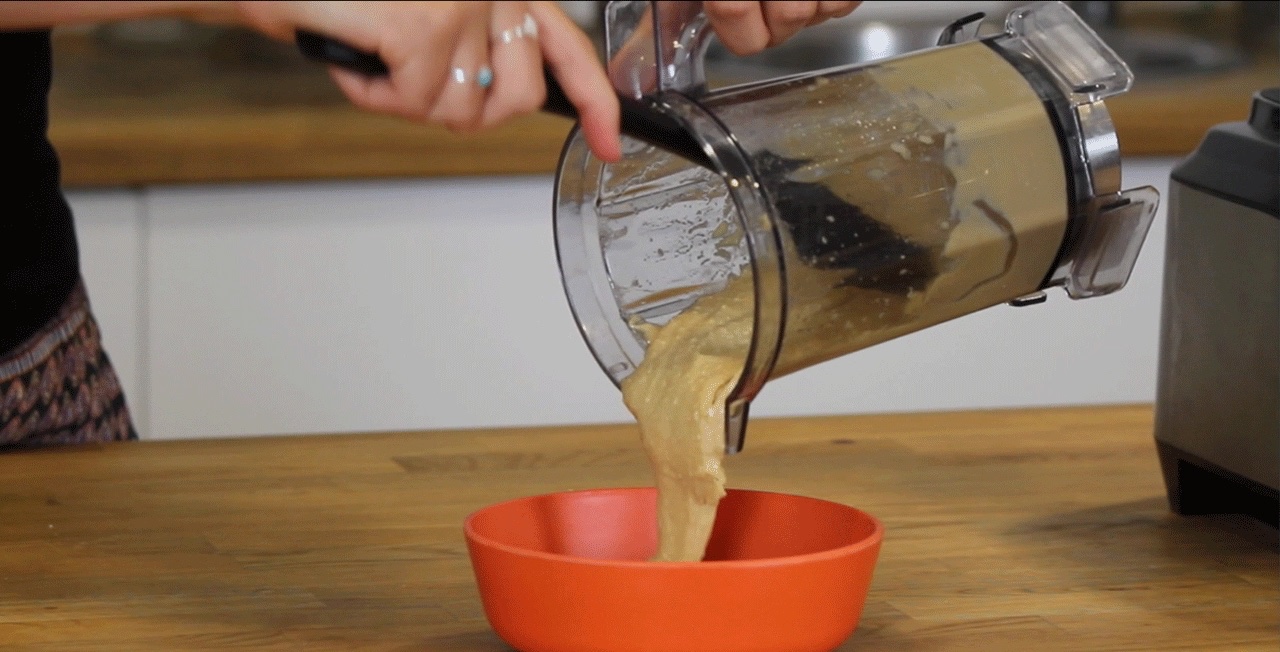
Step 5: Storing the Homemade Peanut Butter
Now that you have successfully made your homemade peanut butter, it’s important to store it properly to ensure its freshness and longevity. Follow these steps to store your peanut butter:
- Transfer the freshly made peanut butter into a clean and airtight container. Glass jars with tight-sealing lids or plastic containers with airtight seals work well.
- Label the container with the date of preparation. This will help you keep track of its freshness.
- Store the peanut butter in the refrigerator. This will help to prolong its shelf life and maintain its texture.
- For smoother and creamier peanut butter, allow it to sit at room temperature for a few minutes before using.
It’s important to note that homemade peanut butter does not contain preservatives like store-bought versions, so it may have a shorter shelf life. It is recommended to consume the peanut butter within a month or two for optimal freshness.
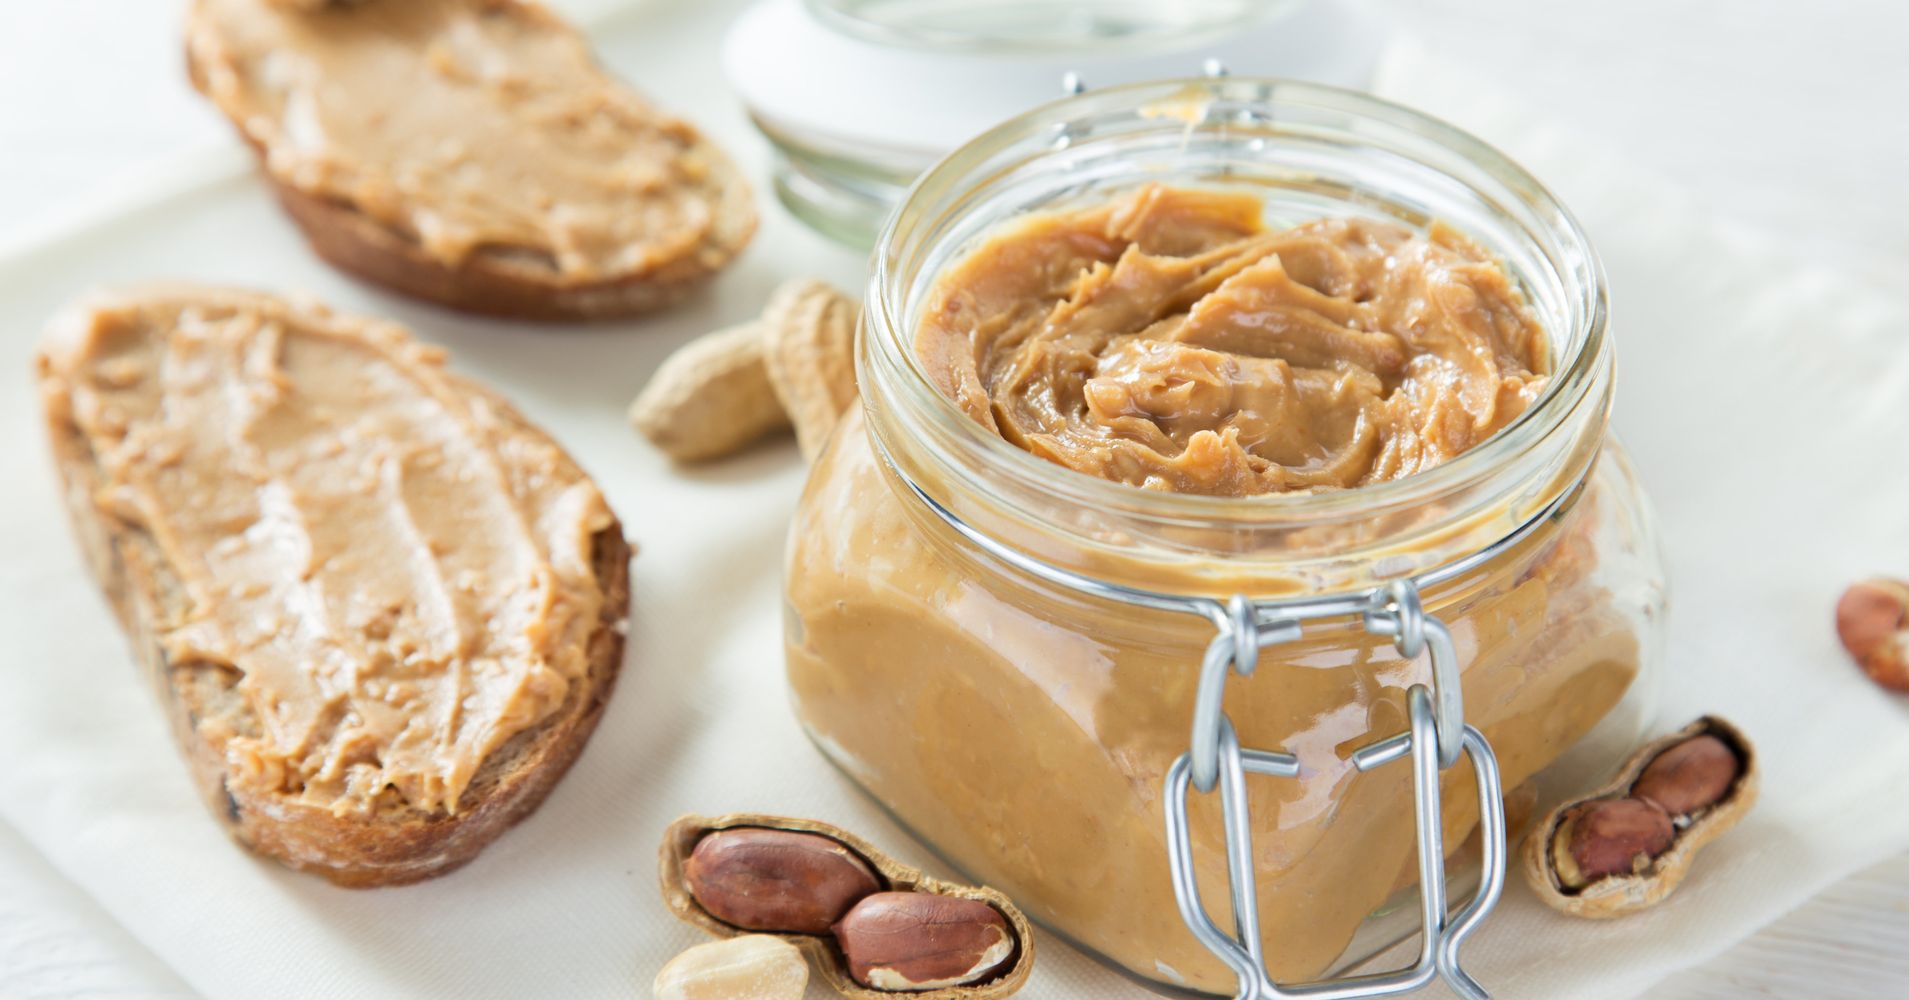
Homemade peanut butter may naturally separate over time, with the oil rising to the top. This is normal. Simply give it a good stir before each use to recombine the oils and solids.
Enjoy your freshly made peanut butter on toast, in sandwiches, as a dip, or in any recipe that calls for peanut butter. Get creative with how you use it!
Now that you know how to make your own peanut butter in a blender, you can enjoy the delicious taste and customization options right at home. So go ahead, whip up a batch of creamy or chunky peanut butter according to your preference, and savor every spoonful of this homemade delight!
Experiment with different variations and flavors to create your own signature peanut butter blend. Have fun and enjoy the satisfaction of making something delicious and nutritious from scratch.
Conclusion
Congratulations! You’ve now learned how to make homemade peanut butter in a blender. With just a few simple steps and a handful of ingredients, you can create a delicious and wholesome spread that is perfect for sandwiches, snacks, or adding a nutty flavor to your favorite recipes.
Making your own peanut butter allows you to have complete control over the ingredients, ensuring that you’re consuming a pure and natural product. You can choose high-quality peanuts, adjust the level of sweetness and salt, and even customize the flavors with your favorite add-ins and seasonings.
By making peanut butter at home, you can also save money and reduce waste by buying peanuts in bulk and avoiding unnecessary packaging. Plus, the satisfaction of creating something delicious from scratch is truly unmatched.
Remember to experiment and have fun with the process. You can try different variations by adding in things like chocolate chips, dried fruit, or even spices like cinnamon or nutmeg. The possibilities are endless, and you can truly make the peanut butter your own.
So, why settle for store-bought peanut butter when you can easily make it at home in your blender? Not only is it healthier and more cost-effective, but it also allows you to enjoy a fresher and more flavorful spread that suits your own taste buds.
Give it a try and treat yourself to the creamy, nutty goodness of homemade peanut butter. You won’t be disappointed!
Now go ahead and grab your blender. It’s time to embark on your peanut butter-making journey and savor the satisfaction of creating your own tasty spread from scratch.
Frequently Asked Questions about How To Make Peanut Butter In A Blender
Was this page helpful?
At Storables.com, we guarantee accurate and reliable information. Our content, validated by Expert Board Contributors, is crafted following stringent Editorial Policies. We're committed to providing you with well-researched, expert-backed insights for all your informational needs.

0 thoughts on “How To Make Peanut Butter In A Blender”