Articles
How To Store Peanut Butter Fudge
Modified: August 19, 2024
Discover the best way to store peanut butter fudge with these helpful articles. Keep your fudge fresh and delicious for longer!
(Many of the links in this article redirect to a specific reviewed product. Your purchase of these products through affiliate links helps to generate commission for Storables.com, at no extra cost. Learn more)
Introduction
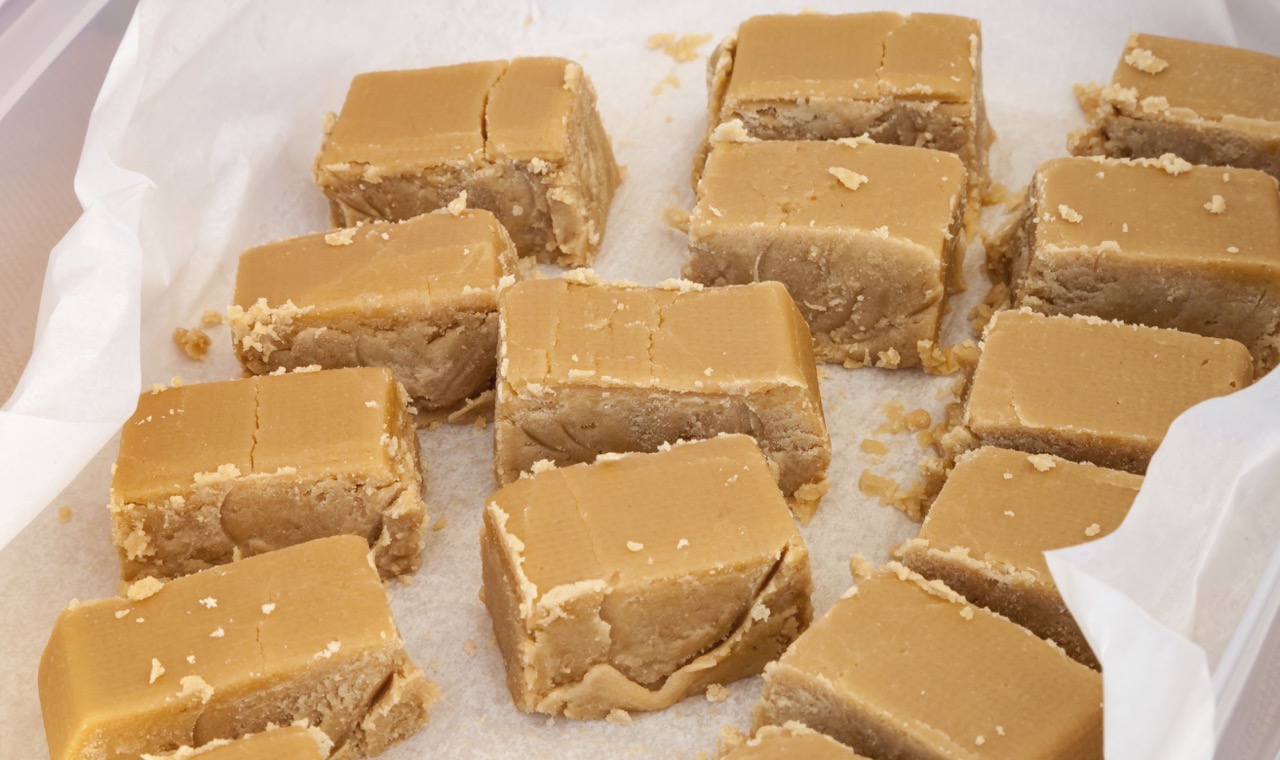
Welcome to the world of irresistibly creamy and sweet treats – peanut butter fudge! This delectable dessert is not only easy to make but also incredibly satisfying to indulge in. Whether you’re a seasoned baker or a novice in the kitchen, this article will guide you through the process of making homemade peanut butter fudge that will surely impress your friends and family.
Peanut butter fudge is a classic confection made with the perfect combination of smooth and creamy peanut butter, sugar, and a touch of vanilla extract. The result is a rich and indulgent treat that melts in your mouth, leaving you craving for more.
Unlike traditional fudge recipes that require an extensive amount of time and precision, peanut butter fudge is relatively quick and straightforward. With just a handful of ingredients and minimal equipment, you can whip up a batch of this delicious treat in no time.
In this article, we will take you through the step-by-step process of creating your very own peanut butter fudge from scratch. From preparing the base to perfecting the creamy texture, we will cover all the tips and tricks to ensure your fudge turns out absolutely divine.
Ready to dive into the world of homemade peanut butter fudge? Let’s gather our ingredients and get started!
Key Takeaways:
- Master the art of making and storing homemade peanut butter fudge with just a few simple ingredients and easy-to-follow steps. Enjoy the creamy, melt-in-your-mouth goodness for weeks to come with proper storage techniques.
- Whether you prefer it at room temperature, chilled, or frozen, homemade peanut butter fudge is a delightful treat for any occasion. Follow the tips for storing to maintain its irresistible sweetness and texture.
Ingredients
Before we begin, let’s gather all the necessary ingredients to make our mouthwatering peanut butter fudge:
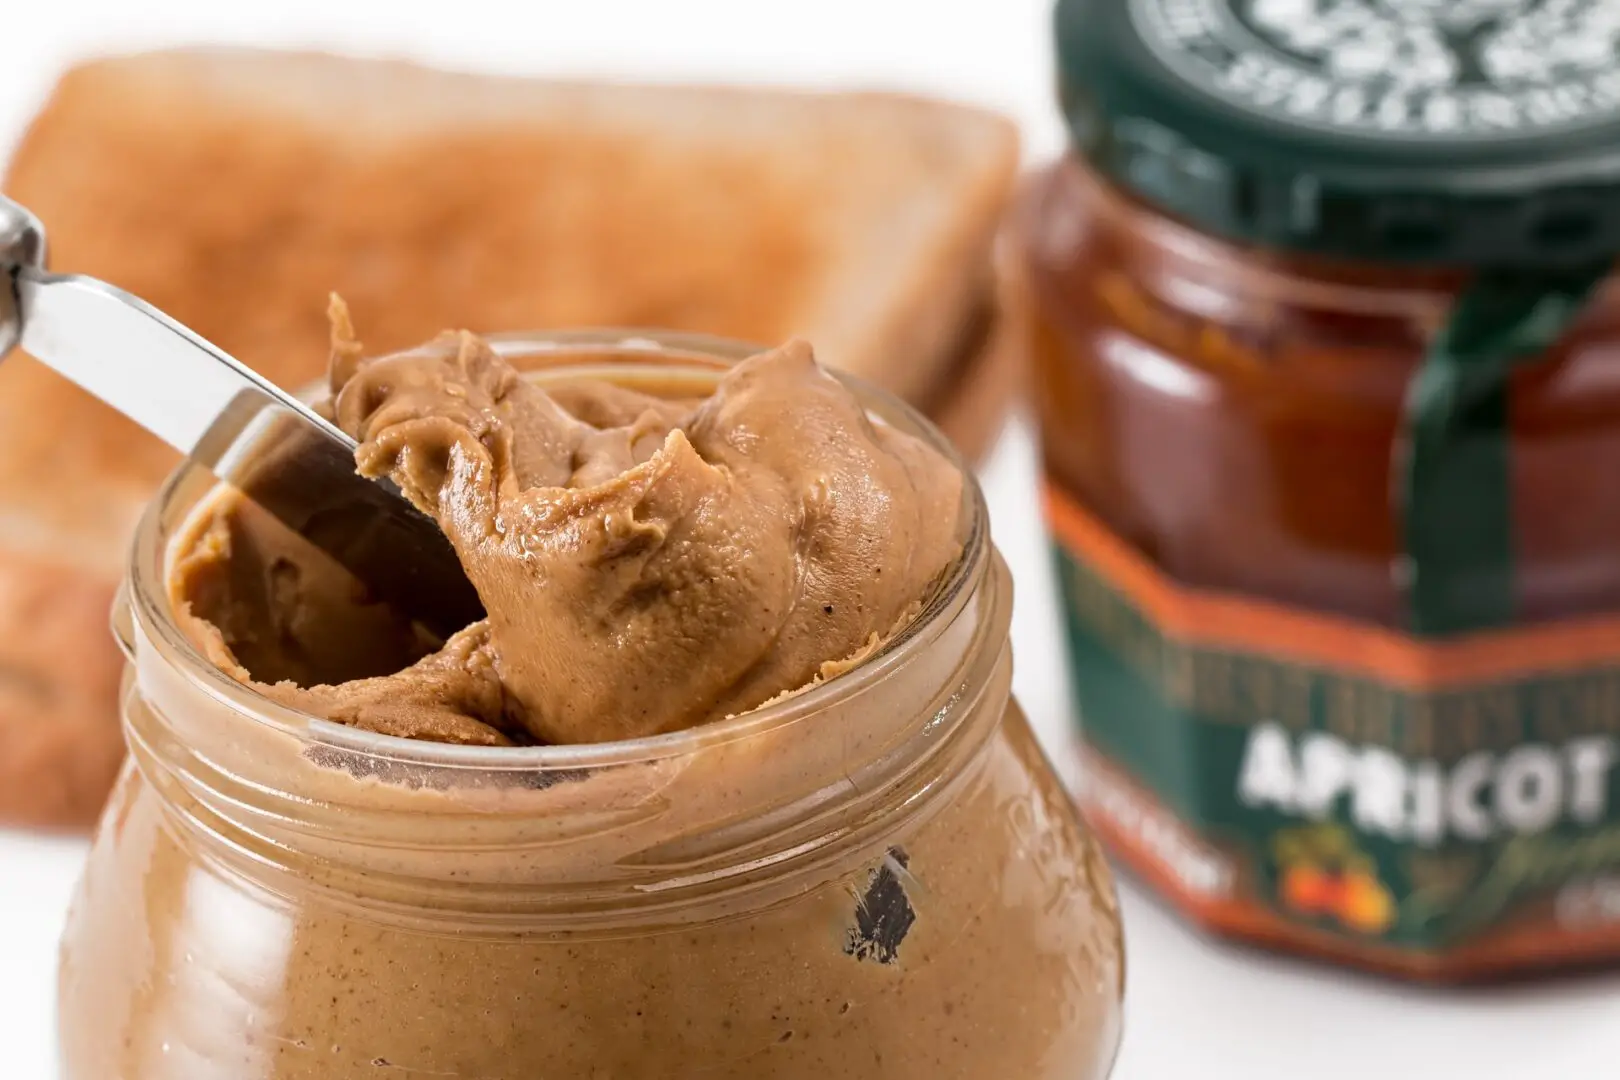
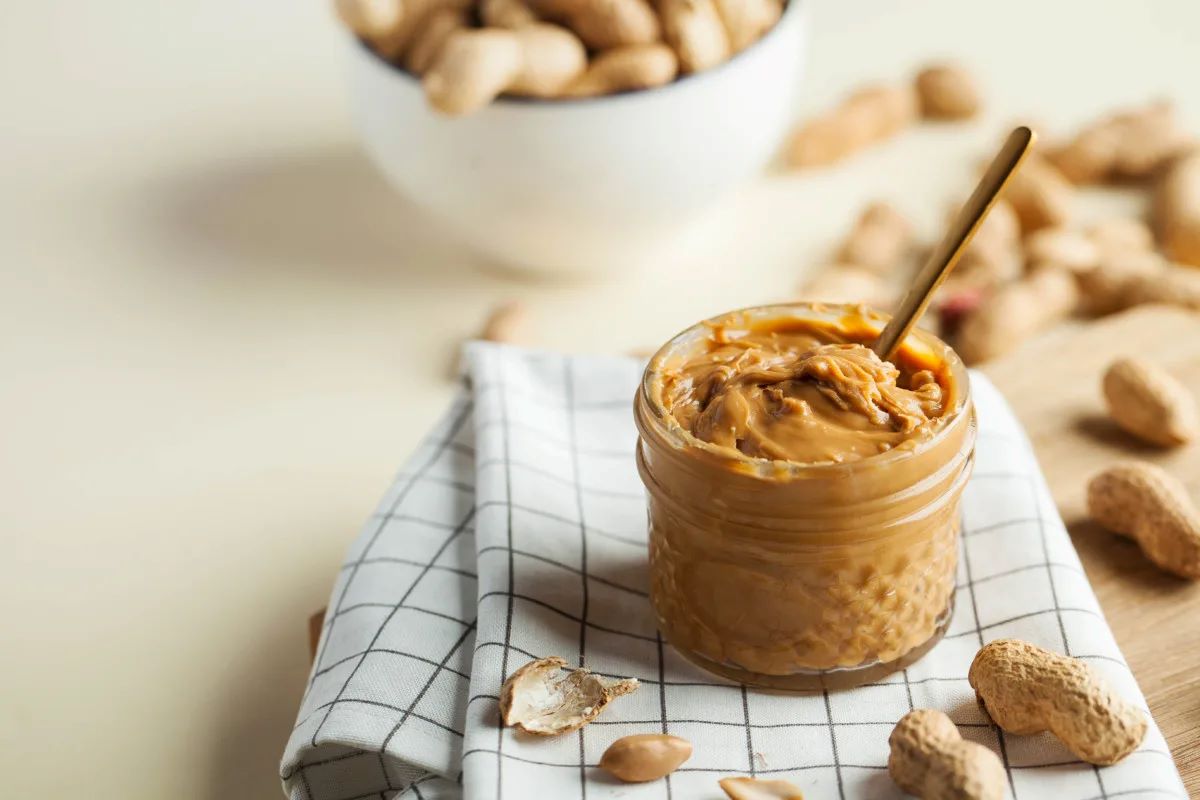
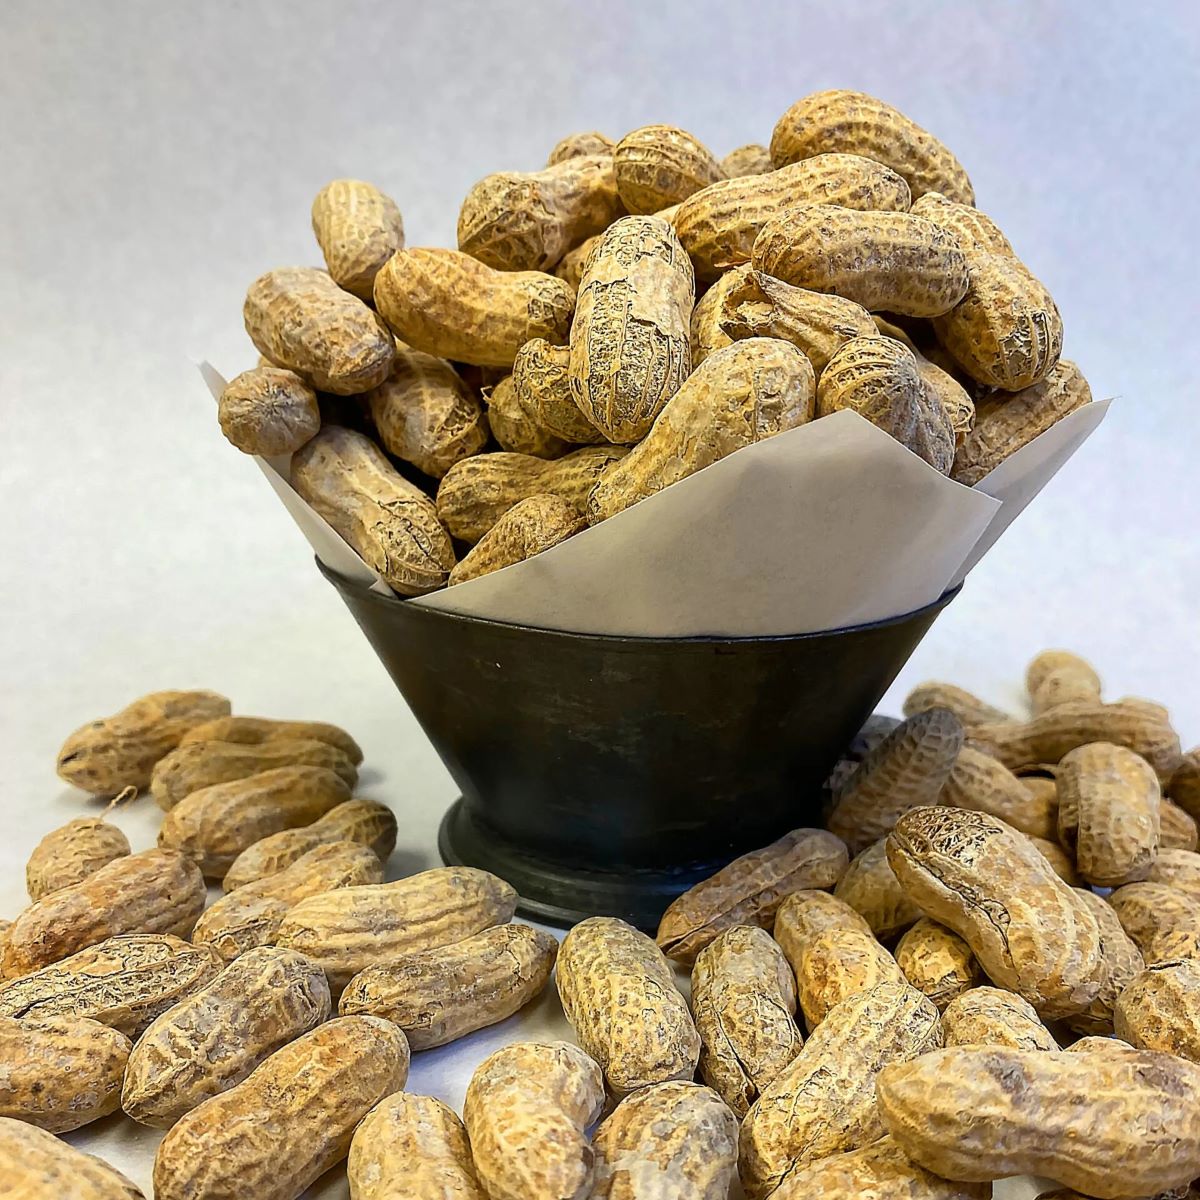
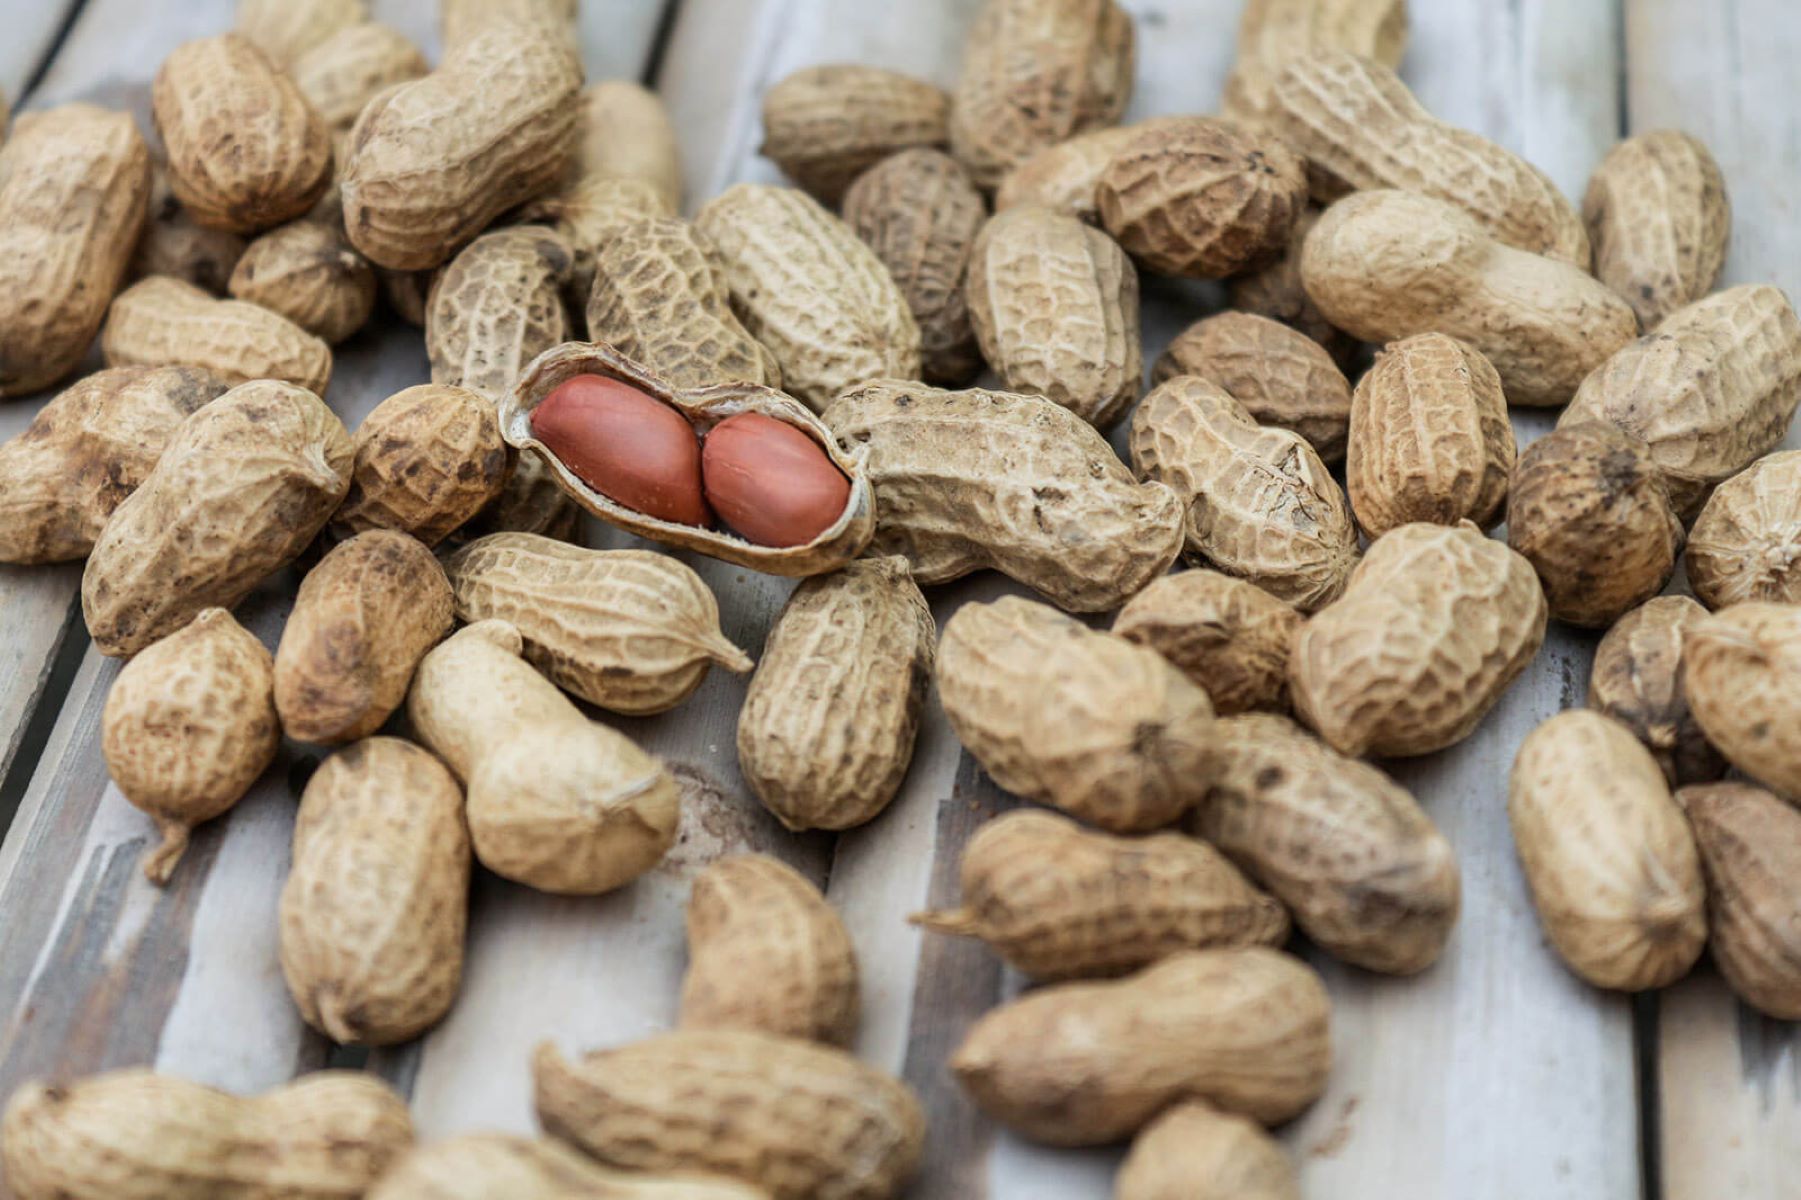
- 1 cup of smooth peanut butter
- 2 cups of granulated sugar
- 1/2 cup of unsalted butter
- 1/2 cup of whole milk
- 1 teaspoon of vanilla extract
That’s it! With just these five simple ingredients, you’ll be on your way to creating a batch of irresistible peanut butter fudge.
Keep in mind that the quality of the ingredients will greatly impact the final taste and texture of your fudge. Opt for a good-quality peanut butter that is smooth and free from added oils or sugars. Similarly, using high-quality butter and fresh whole milk will contribute to the overall decadence of the fudge.
Now that we have our ingredients ready, let’s move on to the equipment needed to make our peanut butter fudge.
Equipment needed
Before we start making peanut butter fudge, make sure you have the following equipment on hand:
- A medium-sized saucepan
- A wooden spoon or silicone spatula
- A candy thermometer (optional but recommended)
- A baking dish or pan
- Parchment paper or aluminum foil
- A wire rack
- A sharp knife
These essential tools will help you in the process of making the fudge and ensure that it turns out perfectly smooth and delicious.
The saucepan will be used to melt and combine the ingredients. It is essential to use a medium-sized saucepan to prevent the mixture from boiling over while it heats up.
A wooden spoon or silicone spatula is perfect for stirring and mixing the ingredients together. These utensils are heat-resistant and won’t scratch the surface of the saucepan.
If you have a candy thermometer, it can be quite handy to monitor the temperature of the mixture. While it’s not necessary, it will help you achieve the desired consistency and prevent the fudge from becoming too soft or grainy.
A baking dish or pan is needed to pour the fudge mixture into for cooling and setting. You can use a square or rectangular dish, depending on your preference for the thickness and shape of the fudge slices.
Parchment paper or aluminum foil is used to line the baking dish, making it easier to remove the fudge once it has cooled and set. It also helps with easy clean-up!
A wire rack comes in handy when you want to cool the fudge evenly and allow any excess moisture to escape. Placing the baking dish on the wire rack also prevents condensation from forming on the bottom, ensuring a perfect texture.
Lastly, a sharp knife will be needed for cutting the fudge into even squares or rectangles. Make sure the knife is long enough to cut through the entire depth of the fudge.
Now that we have all our ingredients and equipment ready, let’s move on to the step-by-step process of creating our peanut butter fudge!
Step 1: Preparing the base
Now that we have all our ingredients and equipment ready, let’s begin by preparing the base for our peanut butter fudge:
- Start by lining your baking dish or pan with parchment paper or aluminum foil. This will make it easier to remove the fudge once it has set and cooled. Set the lined dish aside for now.
- In a medium-sized saucepan, combine the granulated sugar, unsalted butter, and whole milk. Place the saucepan over medium heat and stir the mixture until the sugar has completely dissolved and the butter has melted. Make sure to stir continuously to prevent the mixture from burning or sticking to the bottom of the pan.
- Once the sugar has dissolved and the mixture is smooth, let it come to a gentle boil. Continue to stir occasionally to ensure even heat distribution and to prevent scorching.
- Allow the mixture to boil for around 5 minutes. This will ensure that the sugar has melted completely and the flavors have melded together. Keep an eye on the temperature and adjust the heat as needed to maintain a gentle boil.
- After 5 minutes, remove the saucepan from the heat. The mixture should be thick and slightly caramelized in color.
- Let the mixture cool for a couple of minutes before proceeding to the next step.
By following these steps, you will have prepared the base for your peanut butter fudge. The next step will involve adding the star ingredient – peanut butter! Stay tuned for the next exciting step.
Step 2: Adding the peanut butter
Now that the base of our fudge is ready, it’s time to add the star ingredient – peanut butter! Follow these simple steps to incorporate the creamy goodness into your fudge:
- Add the smooth peanut butter to the saucepan containing the base mixture. Be sure to use a good-quality peanut butter without any added oils or sugars. This will enhance the flavor and texture of the fudge.
- Using a wooden spoon or silicone spatula, stir the peanut butter into the base mixture until it is fully incorporated. Continue stirring until the mixture becomes smooth and homogeneous.
- Ensure that the peanut butter is evenly distributed throughout the fudge mixture to create a consistent flavor in every bite.
- Continue to stir the mixture over low heat until everything is well combined. The heat will help soften the peanut butter and make it easier to mix.
- Once the peanut butter is fully mixed in and the mixture is smooth, remove the saucepan from the heat. The fudge mixture should be thick and glossy.
- Take a moment to savor the aroma of the peanut butter melding with the sweet base mixture. The smell alone will leave you eager to taste the final product!
By following these steps, you have successfully incorporated the peanut butter into your fudge mixture. It’s time to move on to the next step, where the mixture will be mixed and heated further to achieve the perfect fudge consistency. Keep reading to learn more!
Read more: How To Store Peanut Butter Cookies
Step 3: Mixing and heating
With the peanut butter smoothly integrated into the fudge mixture, it’s time to move on to the next step – mixing and heating. This step is crucial for achieving the perfect texture and ensuring that all the flavors meld together harmoniously. Follow these steps to continue the fudge-making process:
- Place the saucepan back on low heat, and using your wooden spoon or silicone spatula, continue to stir the mixture slowly but consistently.
- As you stir, pay attention to the consistency of the mixture. You want it to become thicker and more fudgy in texture. This process will take approximately 5-7 minutes.
- If you have a candy thermometer, you can use it to monitor the temperature of the mixture. The ideal temperature range for fudge is between 235°F and 240°F (112°C to 116°C). This will ensure that the fudge sets properly and has a smooth and creamy texture.
- If you do not have a candy thermometer, you can perform a soft ball test. Simply drop a small amount of the mixture into a bowl of cold water. If it forms a soft ball that holds its shape when pressed between your fingers, it is ready.
- Remember to stir continuously to prevent the mixture from scorching or sticking to the bottom of the saucepan.
- Once the mixture reaches the desired temperature or passes the soft ball test, remove the saucepan from the heat. Be cautious, as the mixture will be extremely hot.
By following these steps, you have successfully mixed and heated the fudge mixture to achieve the perfect consistency. The next step will involve pouring the mixture into a pan and preparing it for cooling and setting. Continue reading to learn more!
Store peanut butter fudge in an airtight container at room temperature for up to 2 weeks, or in the refrigerator for up to 1 month. Separate layers with wax paper to prevent sticking.
Step 4: Pouring into a pan
Now that your fudge mixture has reached the perfect consistency, it’s time to transfer it to a pan and prepare it for cooling and setting. Follow these simple steps to complete this crucial stage:
- Take your prepared baking dish or pan, lined with parchment paper or aluminum foil, and place it on a heat-resistant surface.
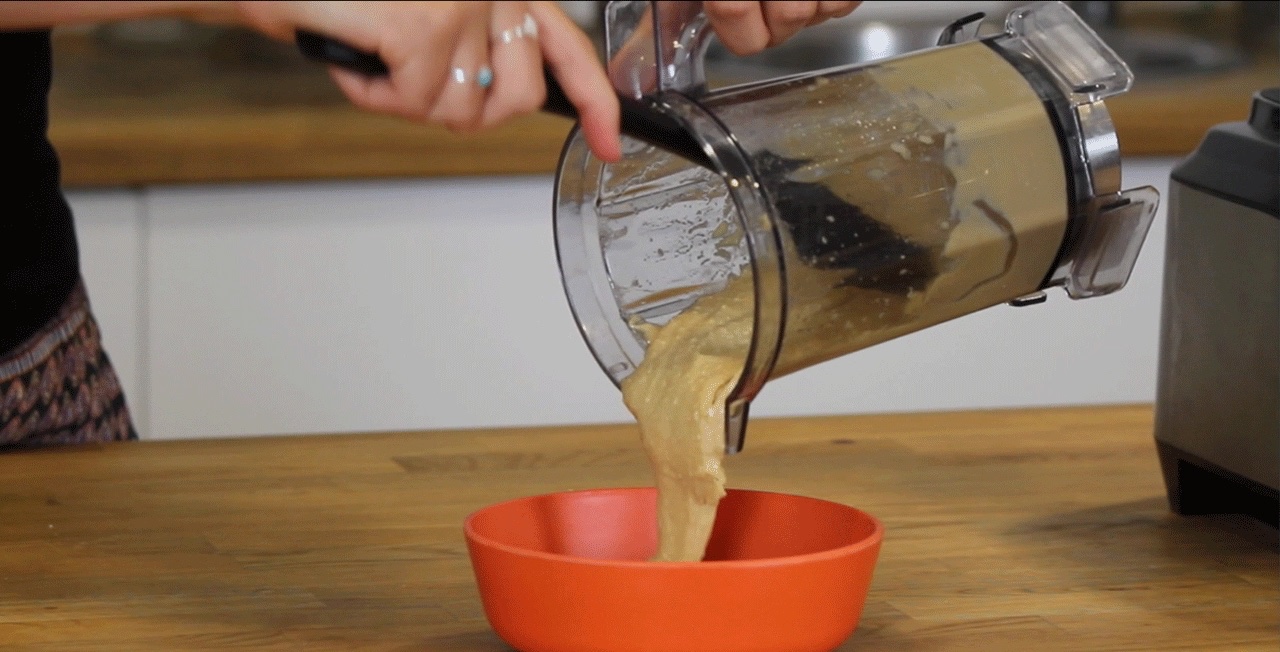
- Using a heat-resistant spatula or wooden spoon, carefully pour the hot fudge mixture into the lined baking dish.
- Spread the mixture evenly in the pan, ensuring that it reaches all corners and edges. You can use the back of your spatula or spoon to smooth the surface if desired.
- Tap the baking dish lightly on the counter to remove any air bubbles and to create a smooth, even surface.
- Allow the fudge to cool at room temperature for about 20-30 minutes. During this time, it will start to set and solidify.
- After 30 minutes, you can transfer the fudge to the refrigerator to speed up the setting process. Allow it to chill for at least 2 hours, or until it is firm and completely set.
Remember, the cooling and setting process is crucial to achieve the desired texture and consistency of your peanut butter fudge. Patience is key, as this will ensure that your fudge holds its shape and becomes firm yet melt-in-your-mouth creamy.
Once the fudge has cooled and set, it’s time to move on to the exciting step of storing it for future enjoyment. Keep reading to find out the best way to store your peanut butter fudge!
Step 5: Cooling and setting
After pouring the fudge mixture into the pan, it’s important to allow it to cool and set properly. This step ensures that your peanut butter fudge achieves the perfect texture and consistency. Follow these steps to complete the cooling and setting process:
- Place the pan with the fudge in a cool, dry area at room temperature. This allows the fudge to gradually cool and set without any rapid temperature changes.
- Let the fudge cool undisturbed for about 20-30 minutes. During this time, it will begin to firm up and solidify.
- After the initial cooling period, you can transfer the pan to the refrigerator to speed up the setting process. Refrigerate the fudge for at least 2 hours, or until it is completely firm.
- As the fudge cools, it will become easier to handle and cut into neat, uniform squares. The texture should be firm yet smooth, with a creamy consistency that melts in your mouth.
- Once the fudge has fully set, remove it from the refrigerator and let it sit at room temperature for a few minutes to slightly soften. This will make it easier to cut into desired shapes.
Properly cooling and setting the fudge is essential for achieving the best taste and texture. It allows the flavors to develop and the fudge to firm up, ensuring a delightful treat that holds its shape.
Now that your peanut butter fudge has cooled and set, it’s time to move on to the final step – storing it to maintain its freshness and deliciousness. Continue reading to find out the best practices for storing your homemade peanut butter fudge.
Step 6: Storing the fudge
Now that your mouthwatering peanut butter fudge is ready, it’s important to store it properly to maintain its freshness and taste. Follow these steps to ensure your fudge stays delicious for as long as possible:
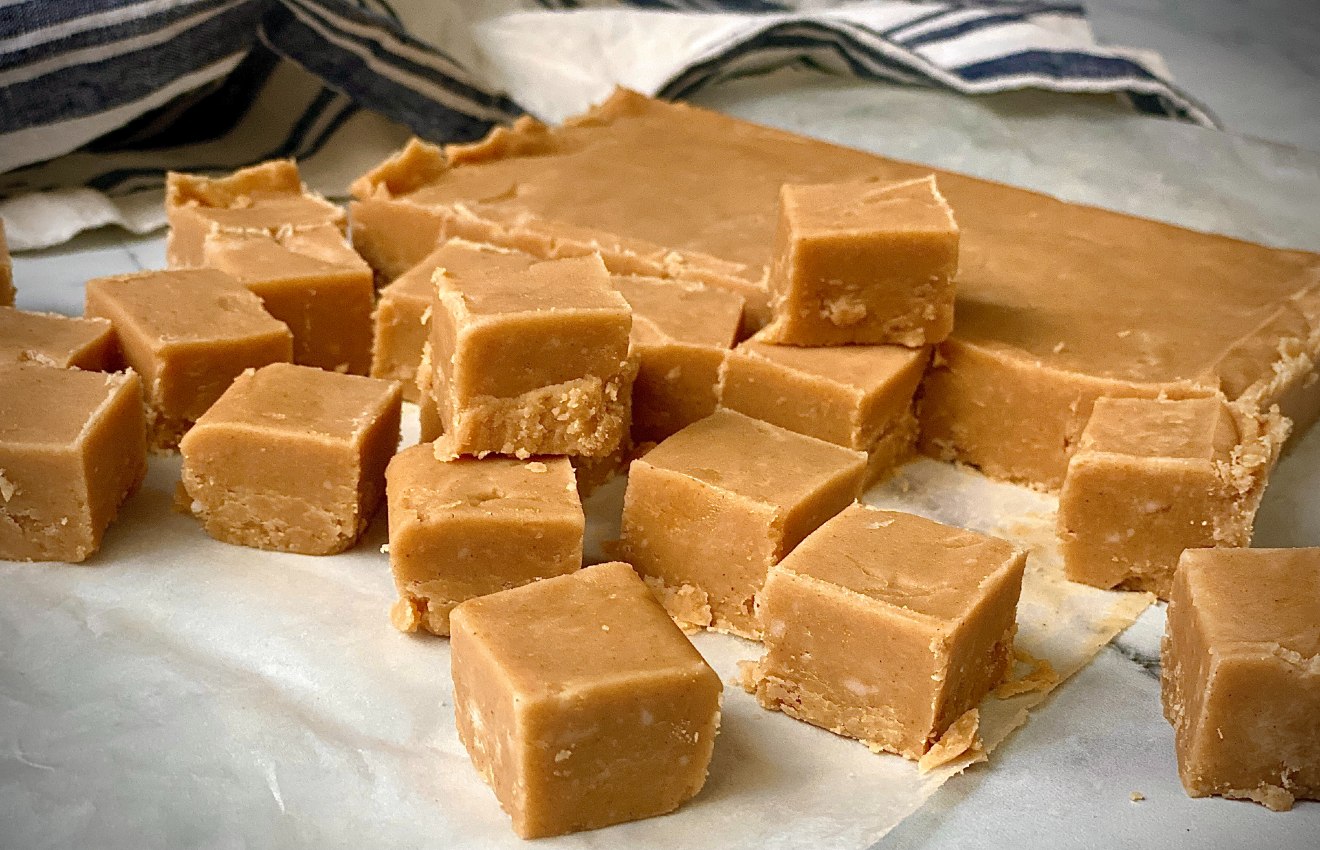
- Start by cutting the fudge into small, bite-sized squares or rectangles. This not only makes it easier to serve but also helps with portion control.
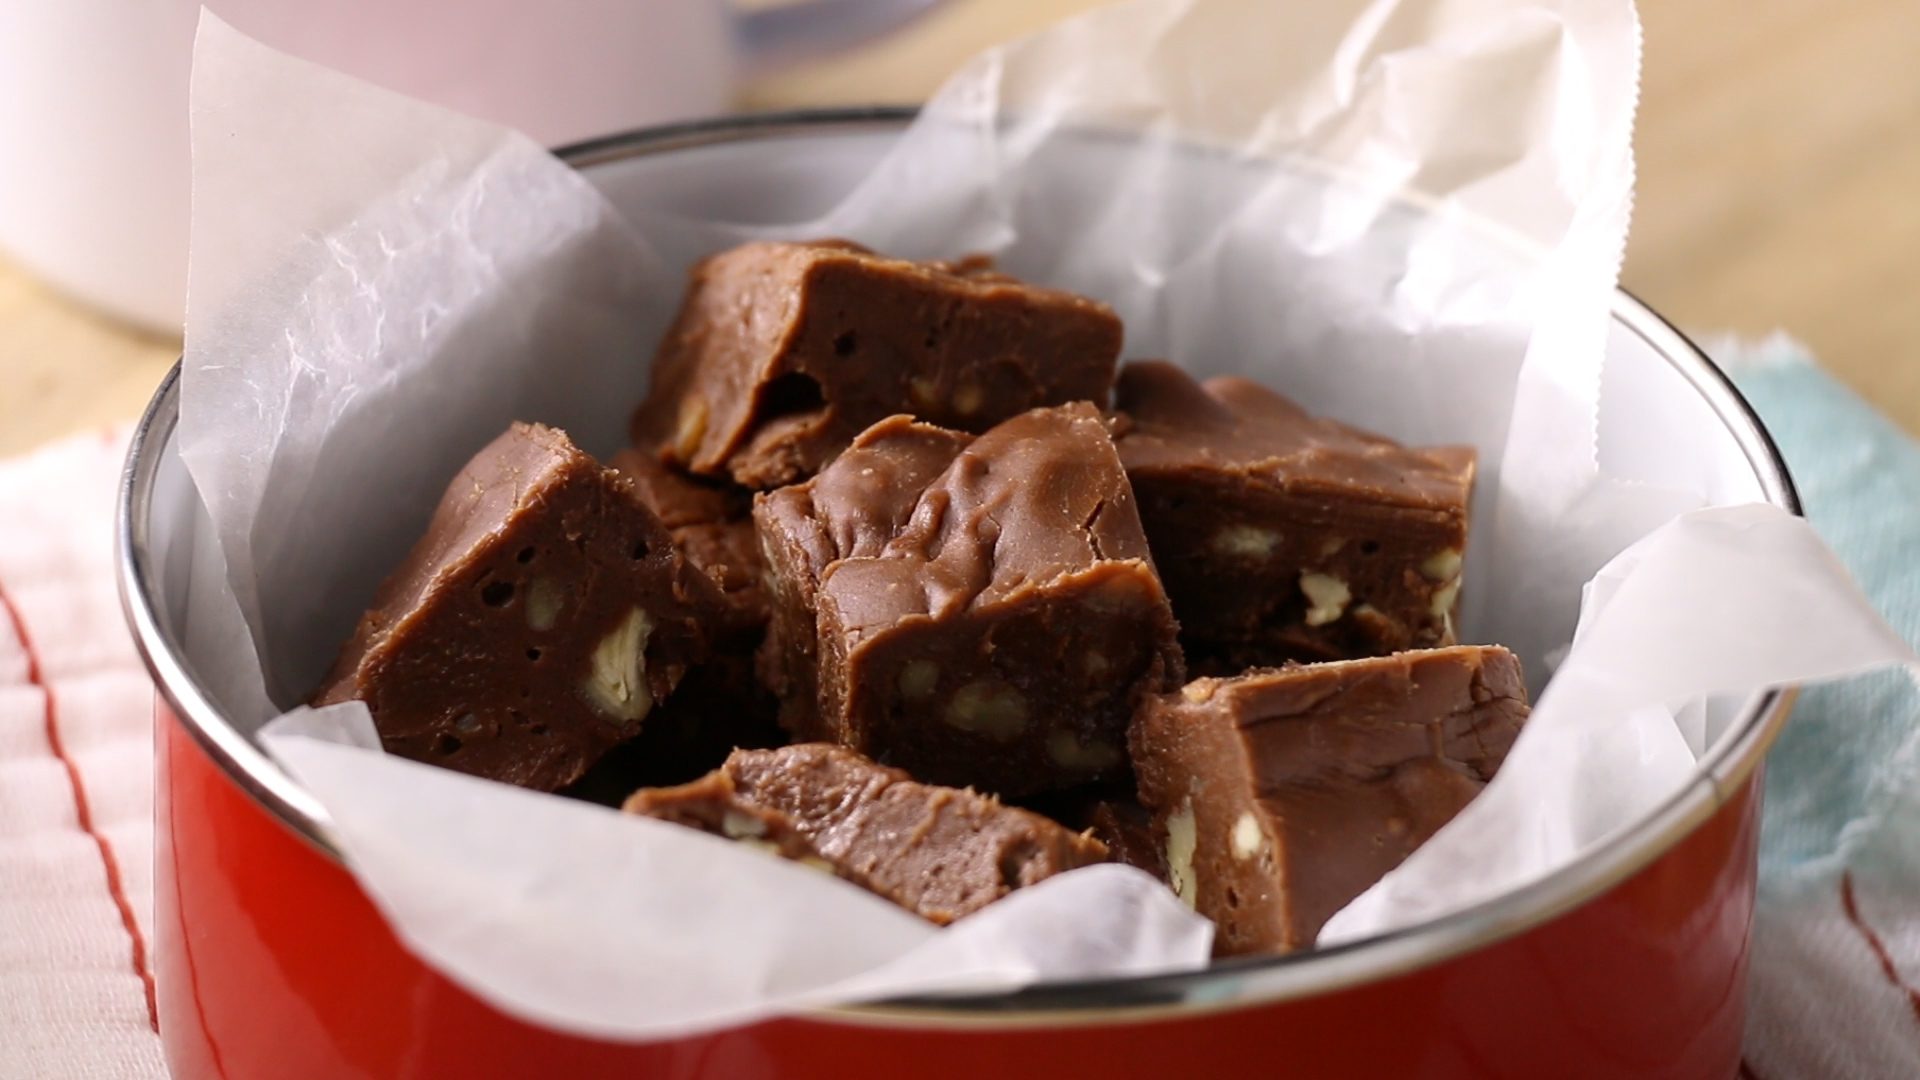
- Place the cut fudge pieces in an airtight container. Make sure the container is clean and dry to prevent any moisture from affecting the texture of the fudge.
- You can also separate the layers of fudge with parchment paper or wax paper to prevent them from sticking together.
- Store the container in a cool, dry place away from direct sunlight and heat sources. Avoid storing it in the refrigerator, as this can cause the fudge to become too firm and lose its creamy texture.
- Peanut butter fudge can be stored at room temperature for up to 2 weeks, but it’s best to consume it within the first week to enjoy its optimal freshness.
- If you want to extend the shelf life of your fudge, you can store it in the refrigerator for up to 3-4 weeks. Just remember to let it come to room temperature before enjoying to bring back its creamy texture.
- If you’re looking to keep your fudge for a longer period, you can freeze it. Ensure each piece is individually wrapped in plastic wrap or stored in an airtight freezer bag. Frozen peanut butter fudge can last for up to 2-3 months.
- When you’re ready to enjoy your stored fudge, simply remove the desired amount from the container and let it come to room temperature before indulging.
By following these storage tips, you can savor the flavors of your homemade peanut butter fudge for an extended period of time. Whether you choose to store it at room temperature, in the refrigerator, or freezer, the fudge will continue to delight your taste buds with its irresistible sweetness.
Now that you know the steps to store your fudge, let’s go over a few additional tips to ensure the best storage practices.
Read more: How To Store Natural Peanut Butter
Tips for storing peanut butter fudge
To ensure that your peanut butter fudge stays fresh and maintains its deliciousness, here are some helpful tips for storing it:
- Always use an airtight container to store your fudge. This will prevent moisture and air from affecting its texture and taste.
- Avoid storing the fudge in the refrigerator for extended periods, as it can become overly firm and lose its creamy texture. Room temperature storage is ideal for short-term storage.
- If you choose to store the fudge in the refrigerator, bring it to room temperature before consuming to enjoy its soft and smooth consistency.
- If you plan to freeze the fudge, make sure it is well-wrapped or stored in an airtight freezer bag to prevent freezer burn and maintain its quality.
- Label the container or bag with the date of storage to keep track of its freshness. Properly stored peanut butter fudge can last for several weeks or even months in the freezer.
- When thawing frozen fudge, do so gradually in the refrigerator, or let it come to room temperature naturally. Avoid using the microwave or hot water, as it can cause the fudge to become overly soft or lose its texture.
- Keep the fudge away from strong-smelling food items or spices in the storage area to prevent the absorption of unwanted flavors and odors.
- If you notice any changes in the appearance, smell, or taste of the stored fudge, it’s best to discard it to avoid any potential risks.
By following these tips, you can enjoy your homemade peanut butter fudge with its original taste and texture, even days or weeks after it’s made. Proper storage will ensure that each bite of fudge is just as scrumptious as the first.
Now that you’re well-equipped with the knowledge of storing peanut butter fudge, it’s time to indulge in your sweet creation. Enjoy every melt-in-your-mouth bite of this delectable treat!
For more tasty recipes and culinary tips, stay tuned on our website or check out our other articles. Happy baking!
Conclusion
Congratulations! You have successfully learned how to make and store delicious homemade peanut butter fudge. With just a few simple ingredients and easy-to-follow steps, you can create a creamy and indulgent treat that will satisfy any sweet tooth.
From preparing the base to incorporating the peanut butter, mixing and heating, pouring into a pan, and allowing it to cool and set, each step is crucial in achieving the perfect texture and flavor of the fudge. And with the tips for storing the fudge, you can prolong its shelf life and enjoy it for weeks or even months to come.
Whether you prefer to savor the fudge at room temperature, slightly chilled from the refrigerator, or even frozen for a frosty delight, you can enjoy this irresistible treat on any occasion. Storing it properly will ensure that every bite maintains its creamy, melt-in-your-mouth goodness.
So, gather your ingredients, follow the steps carefully, and prepare to indulge in the rich and heavenly taste of homemade peanut butter fudge. Share it with your loved ones, gift it to friends, or simply treat yourself to a sweet moment of pure bliss.
Remember, the joy of making and enjoying homemade treats lies not only in the final product but also in the process itself. So have fun experimenting, adding your own personal touch, and perfecting your peanut butter fudge recipe to make it uniquely yours.
Thank you for joining us on this fudge-making adventure. We hope that this article has provided you with helpful insights and inspired you to explore the world of homemade confections. Happy fudge-making!
Frequently Asked Questions about How To Store Peanut Butter Fudge
Was this page helpful?
At Storables.com, we guarantee accurate and reliable information. Our content, validated by Expert Board Contributors, is crafted following stringent Editorial Policies. We're committed to providing you with well-researched, expert-backed insights for all your informational needs.

0 thoughts on “How To Store Peanut Butter Fudge”