
Articles
How To Store Rosette Cookies
Modified: December 7, 2023
Discover the best articles on how to store rosette cookies to keep them fresh and delicious for longer. Get expert tips and tricks for proper storage techniques.
(Many of the links in this article redirect to a specific reviewed product. Your purchase of these products through affiliate links helps to generate commission for Storables.com, at no extra cost. Learn more)
Introduction
Welcome to the world of delicious rosette cookies! These delicate and intricate treats are a sight to behold, with their beautiful flower-like shapes and melt-in-your-mouth texture. Whether you’re a seasoned baker or just starting out, learning how to make and store rosette cookies is a wonderful skill to have.
Rosette cookies are typically made from a simple batter of flour, sugar, eggs, and milk. The key to achieving their signature shape is by dipping a special rosette iron into the batter and frying it until golden brown. Once you’ve mastered the art of making these delightful cookies, the next step is storing them properly to maintain their freshness and flavor.
In this article, we will guide you through the process of storing rosette cookies, ensuring that they stay delicious for as long as possible. Let’s get started!
Key Takeaways:
- Delicate rosette cookies require proper storage in an airtight container at room temperature to maintain their crispness and flavor for up to a month. Handle with care to prevent breakage.
- Master the art of mixing, shaping, baking, and storing rosette cookies to create delightful treats that bring joy and delicate flavors to any occasion. Enjoy the process and share with loved ones!
Read more: How To Store Cookie Cutters
Step 1: Ingredients
Before you embark on your rosette cookie baking adventure, it’s important to gather all the necessary ingredients. Here’s what you’ll need:
- 1 cup all-purpose flour
- 2 tablespoons granulated sugar
- 1/4 teaspoon salt
- 2 eggs
- 1 cup milk
- 1 teaspoon vanilla extract
- Vegetable oil for frying
- Powdered sugar for dusting (optional)
These basic ingredients serve as the foundation for your rosette cookie batter. Feel free to add your own twist by incorporating flavors such as almond extract, lemon zest, or even a sprinkle of cinnamon. Now that you have everything ready, let’s move on to the next step of mixing the batter.
Step 2: Mixing the Batter
Creating the perfect rosette cookie batter is essential for achieving the desired texture and flavor. Here’s how you can mix the batter:
- In a mixing bowl, combine the all-purpose flour, granulated sugar, and salt. Mix well to ensure even distribution of the dry ingredients.
- In a separate bowl, whisk together the eggs, milk, and vanilla extract until well combined.
- Gradually add the wet mixture to the dry ingredients and whisk until you have a smooth batter. Make sure there are no lumps.
- Let the batter rest for about 15-20 minutes to allow the flour to fully absorb the liquid. This will result in a better texture for your cookies.
While the batter is resting, it’s a good time to heat up your rosette iron. Fill a deep frying pan or skillet with vegetable oil and heat it over medium-high heat until it reaches a temperature of around 375°F (190°C).
Now that your batter is ready, and your rosette iron is heated, it’s time to move on to shaping the cookies. Let’s dive in!
Step 3: Shaping the Cookies
Shaping the rosette cookies is where the fun begins, as you create intricate and beautiful designs. Follow these simple steps to shape your cookies:
- Dip the heated rosette iron into the batter, making sure to fully coat the iron with the batter. Be careful not to dip it all the way to the top, as this can cause the batter to overflow when frying.
- Place the batter-coated iron back into the hot oil, allowing it to fry for about 30-60 seconds, or until the edges of the cookie turn golden brown.
- Carefully remove the iron from the oil, holding it vertically to let any excess oil drip off.
- Using tongs or a fork, gently slide the cookie off the iron onto a wire rack or paper towel to cool and drain excess oil.
- Repeat the process with the remaining batter, dipping the iron in the batter and frying until you have a batch of beautifully shaped rosette cookies.
As you shape the cookies, feel free to experiment with different designs and sizes. Some rosette irons come with interchangeable shapes, allowing you to create unique patterns. Remember to be cautious when handling the hot oil to avoid any burns or accidents.
Now that your cookies are fried, it’s time to move on to the final step of the baking process: cooling and storing your rosette cookies.
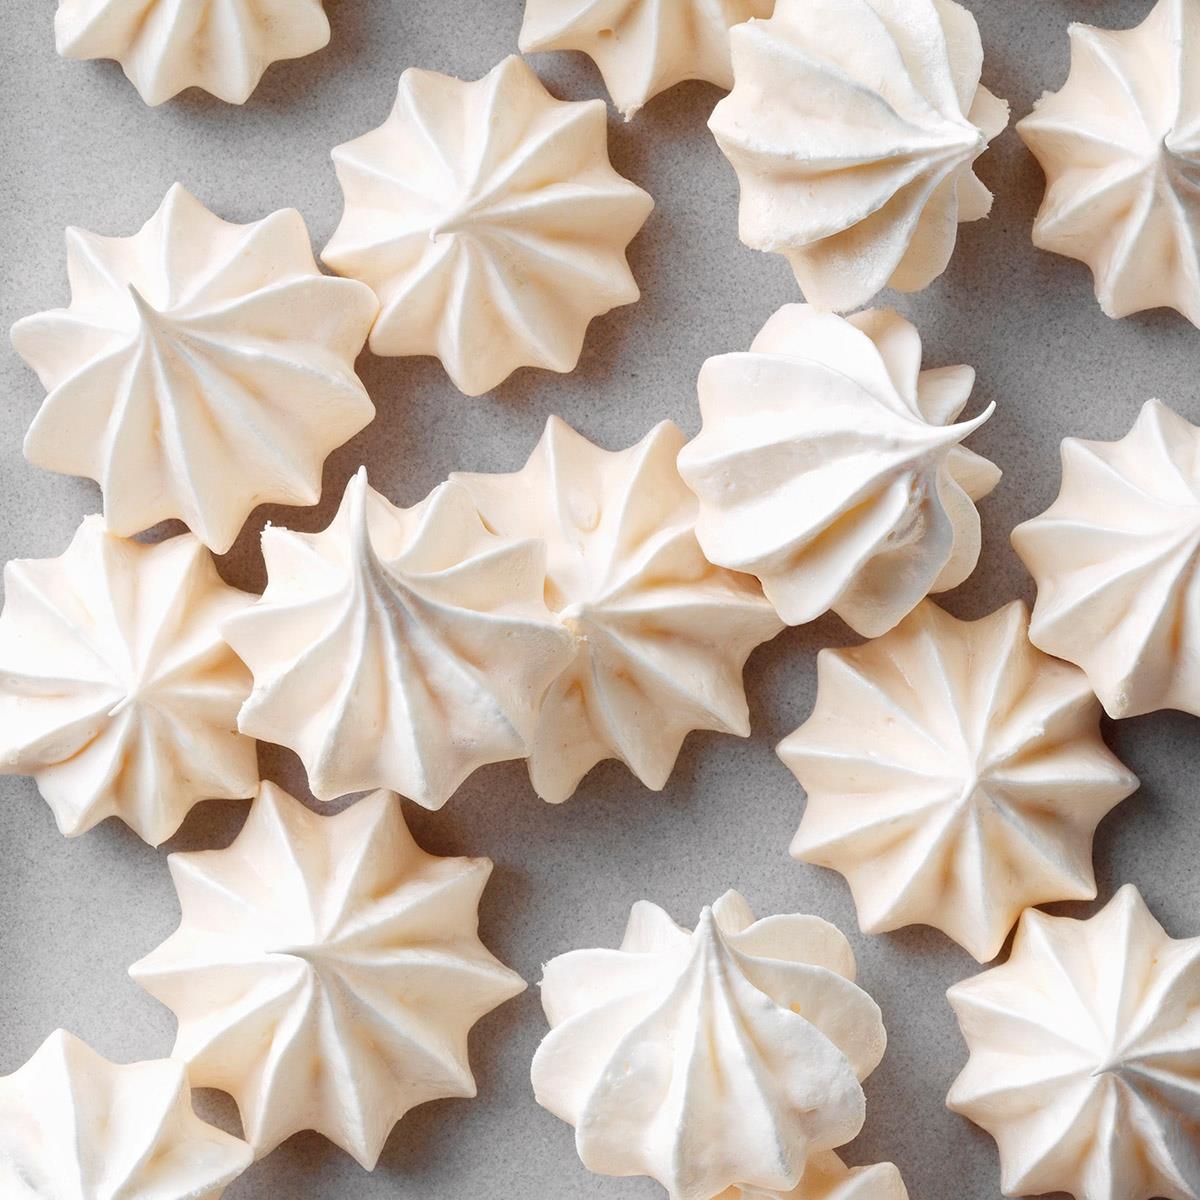
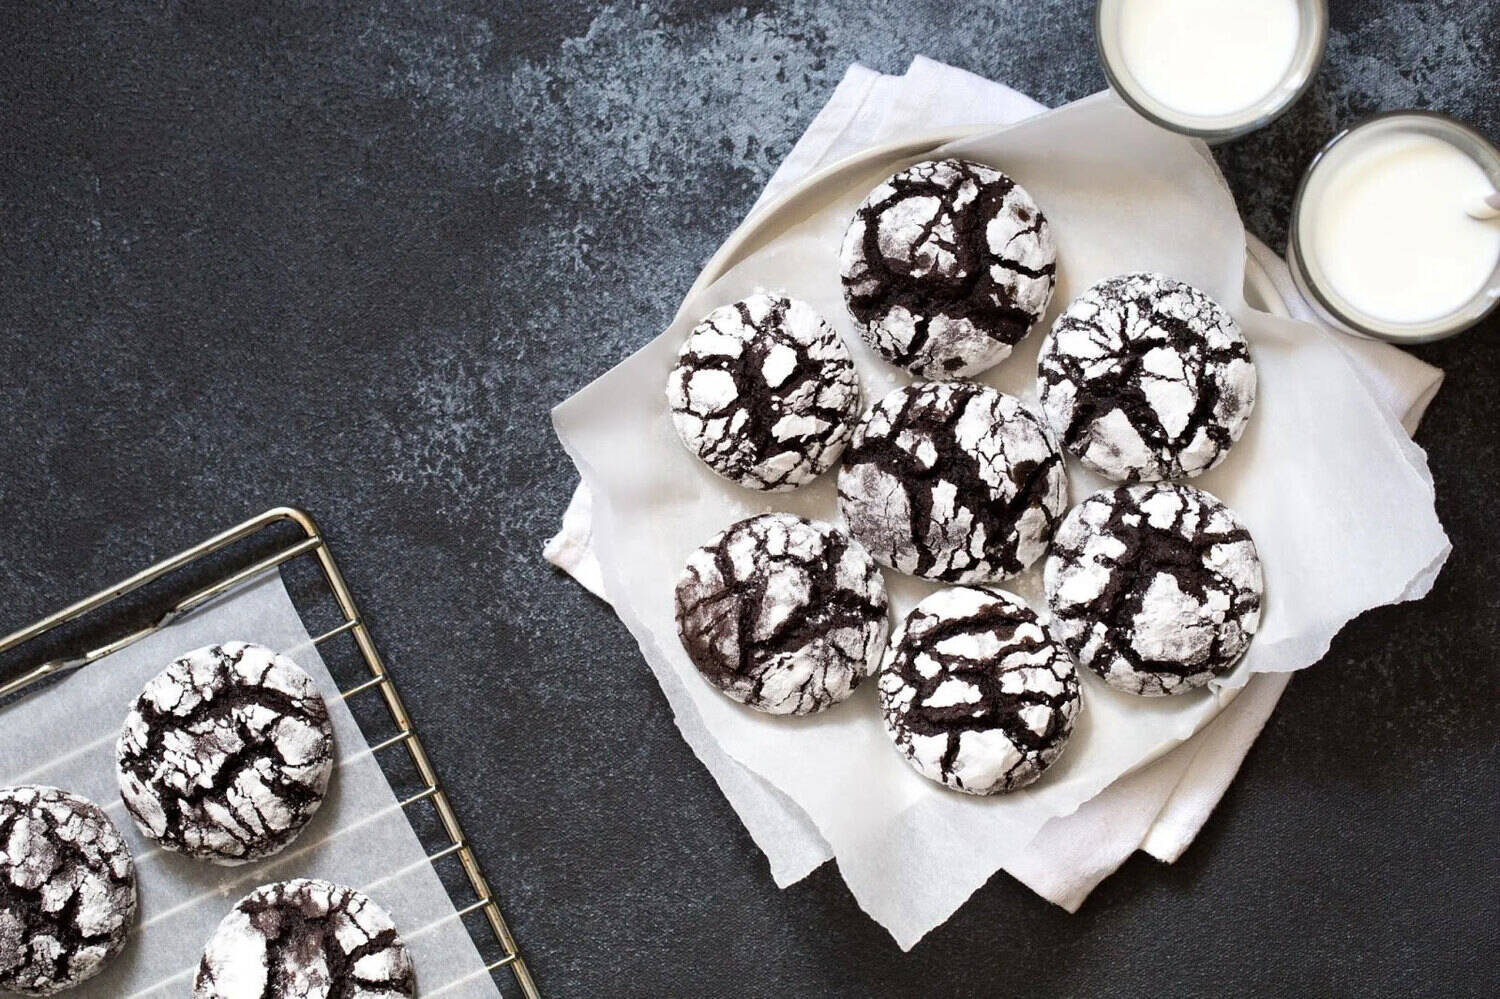
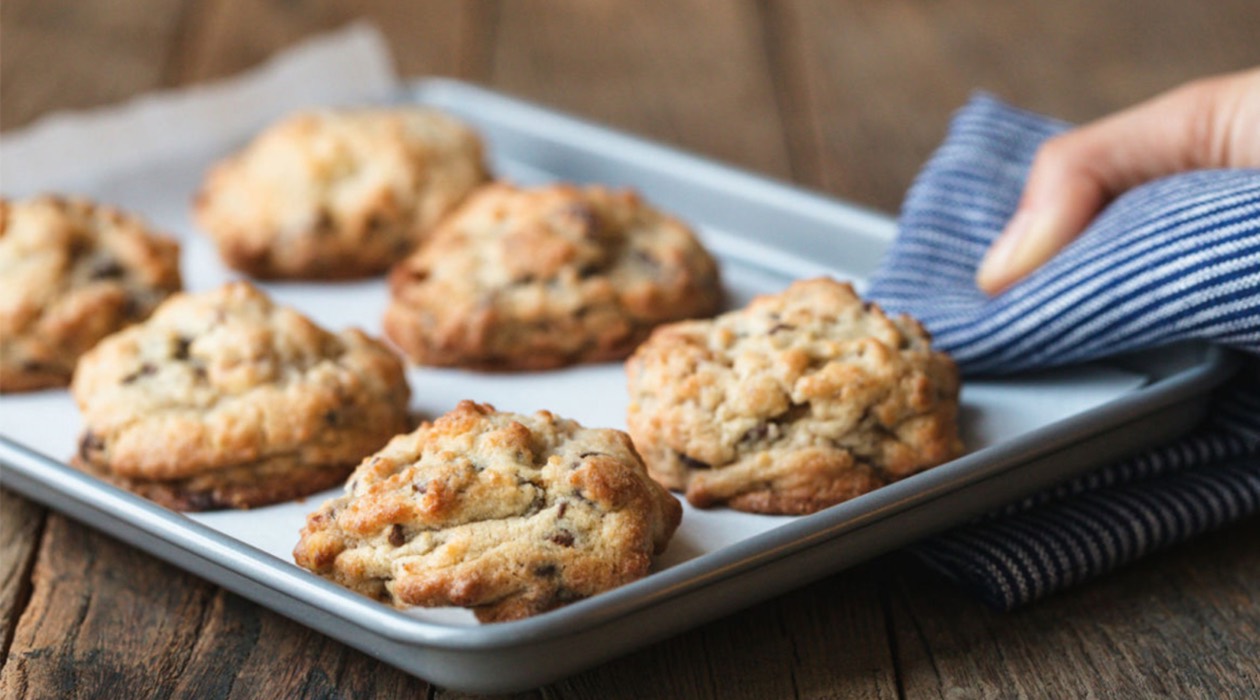
Store rosette cookies in an airtight container at room temperature, placing parchment paper between layers to prevent sticking. They will stay fresh for up to a week.
Step 4: Baking the Cookies
Now that you’ve shaped your rosette cookies, it’s important to give them a final touch in the oven to ensure they are fully cooked and have a crisp texture. Follow these steps to bake your cookies:
- Preheat your oven to 325°F (165°C).
- Place the fried rosette cookies on a baking sheet lined with parchment paper or a silicone mat.
- Bake the cookies in the preheated oven for about 5-7 minutes, or until they turn golden brown and become crisp.
- Keep a close eye on the cookies as they bake, as they can quickly go from golden brown to burnt. Adjust the baking time accordingly.
- Once baked, remove the cookies from the oven and let them cool completely on a wire rack.
Baking the rosette cookies after frying ensures that they are cooked through and allows for any remaining moisture to evaporate, resulting in a crispy texture. It also helps to enhance the flavors of the cookies.
Now that you’ve completed the baking process, it’s time to move on to the final step: cooling and storing your delicious rosette cookies.
Read more: How To Store Baked Cookies
Step 5: Cooling and Storing
Cooling and storing your rosette cookies properly is crucial to maintain their freshness and flavor. Here’s what you need to do:
- Allow the baked rosette cookies to cool completely on a wire rack. This will ensure that they achieve their desired crispness.
- Once the cookies are fully cooled, transfer them to an airtight container. Make sure the container is clean and dry to prevent any moisture from seeping in.
- If you prefer to keep the cookies crisp, you can place a piece of parchment or wax paper between each layer of cookies to prevent them from sticking together.
- Store the container of rosette cookies in a cool, dry place away from direct sunlight and humidity. The cookies should be stored at room temperature.
- For optimal freshness, try to consume the cookies within 1-2 weeks. However, if stored properly, they can last for up to a month.
Remember, rosette cookies are delicate treats, so handle them with care when transferring and storing to prevent breakage.
When you’re ready to enjoy your stored rosette cookies, simply remove them from the airtight container and serve. You can dust them with powdered sugar for an extra touch of sweetness, if desired.
Now you know how to properly store your homemade rosette cookies, ensuring they stay fresh and delicious for longer. Enjoy your delicate and delightful treats!
Conclusion
Congratulations! You’ve successfully learned how to make and store rosette cookies. By following these steps, you can now create these delicate and delicious treats in your own kitchen.
Remember, the key to perfecting your rosette cookies lies in the proper mixing of the batter, shaping the cookies with a rosette iron, baking them to achieve a crisp texture, and storing them correctly to maintain their freshness.
Whether you make rosette cookies for special occasions, as a gift, or simply to indulge yourself, the process of creating and storing them can be a delightful experience. The beauty of these cookies lies not only in their intricate designs but also in the joy they bring to those who taste them.
So, gather your ingredients, mix the batter, shape the cookies, bake them to perfection, and store them with care. With each bite, you’ll savor the delicate flavors and the love put into making these wonderful rosette cookies.
Now it’s time to put your newfound knowledge into practice and start baking some delicious rosette cookies. Enjoy the process, have fun experimenting with flavors and designs, and don’t forget to share your tasty creations with friends and family!
Frequently Asked Questions about How To Store Rosette Cookies
Was this page helpful?
At Storables.com, we guarantee accurate and reliable information. Our content, validated by Expert Board Contributors, is crafted following stringent Editorial Policies. We're committed to providing you with well-researched, expert-backed insights for all your informational needs.


0 thoughts on “How To Store Rosette Cookies”