
Articles
How To Store Pickles
Modified: February 5, 2024
Discover the best storage methods for pickles with our informative articles. Preserve the flavor and freshness of your pickles for longer with our expert tips and tricks.
(Many of the links in this article redirect to a specific reviewed product. Your purchase of these products through affiliate links helps to generate commission for Storables.com, at no extra cost. Learn more)
Introduction
There’s something delightful about sinking your teeth into a crisp and tangy pickle. Whether you’re enjoying them on a sandwich, as a side dish, or as a snack on their own, pickles add a burst of flavor to any meal. While store-bought pickles are readily available, there’s a certain satisfaction that comes with making your own homemade pickles.
In this article, we’ll explore the art of storing pickles and provide you with valuable tips to ensure your homemade pickles stay fresh and delicious for as long as possible. From choosing the right ingredients to picking the storage method that suits your needs, we’ll cover it all. So, grab your apron and let’s dive into the wonderful world of homemade pickles and their storage.
Key Takeaways:
- Enjoy the benefits of homemade pickles, from customizable flavors to cost-effectiveness and sustainability. Embrace the art of pickling and savor the delightful tang and crunch of your very own pickles.
- Whether you prefer tangy dill pickles, spicy bread and butter pickles, or other creative combinations, the choices are endless. Experiment with flavors, choose the right storage method, and enjoy the satisfaction of preserving your own delicious jars of pickles.
Read more: How To Store Fermented Pickles
Benefits of Homemade Pickles
Making your own pickles not only allows you to control the ingredients and flavor but also offers a range of benefits that you won’t find in store-bought varieties. Here are some reasons why homemade pickles are worth the effort:
- Freshness: Homemade pickles are made using fresh cucumbers and other vegetables, ensuring that you’re enjoying the freshest and crispest pickle possible.
- Customizable flavors: Homemade pickles allow you to experiment with a variety of flavors and seasonings. You can add spices like dill, garlic, or chili flakes to create pickles that suit your taste preferences.
- No artificial additives: Store-bought pickles often contain additives and preservatives. By making your own pickles, you have complete control over the ingredients, ensuring a healthier and more natural product.
- Cost-effective: Making pickles at home can be more budget-friendly in the long run. You can buy fresh ingredients in bulk when they are in season, preserving them through pickling and enjoying the rewards throughout the year.
- Sustainability: Homemade pickles reduce packaging waste since you can reuse glass jars and lids. It’s an eco-friendly way to enjoy pickles without contributing to landfill waste.
- A sense of accomplishment: There is a certain satisfaction that comes from creating something with your own hands. Making homemade pickles allows you to take pride in your culinary skills and share your creations with others.
With these benefits in mind, it’s time to dive into the process of creating your own pickles and storing them properly.
Choosing the Right Pickle Ingredients
The success of your homemade pickles starts with choosing the right ingredients. Here are some key factors to consider when selecting your pickle ingredients:
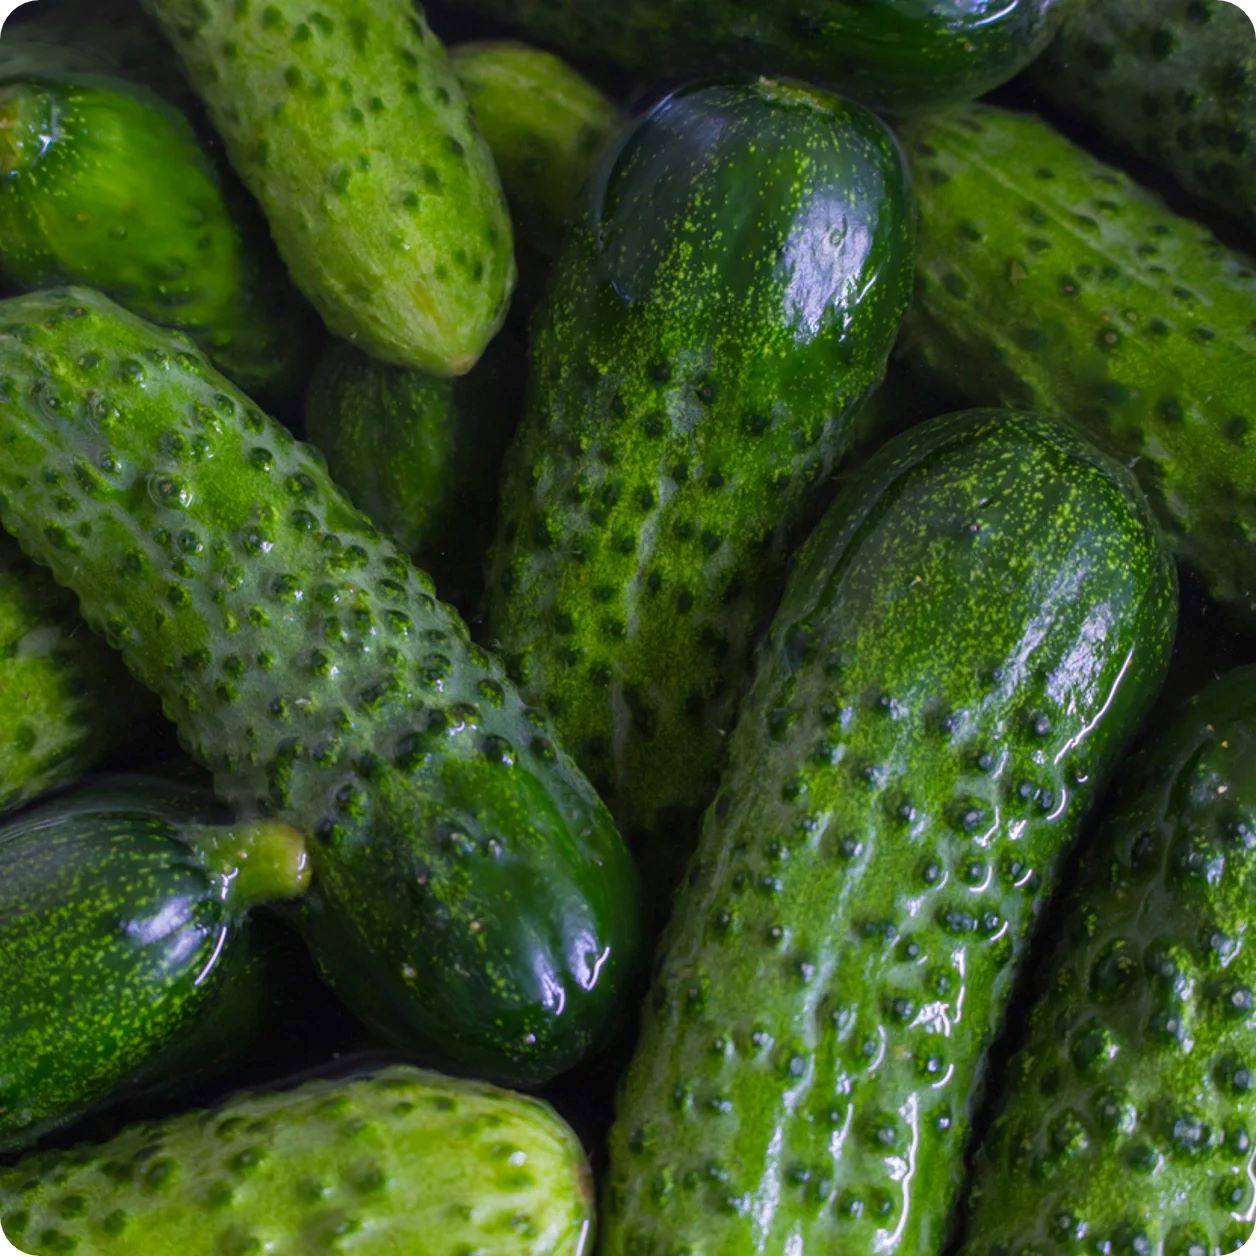
- Cucumbers: Choose fresh, firm, and ideally pickling cucumbers. These cucumbers are typically shorter and have a bumpy texture that helps them absorb the pickling solution better.
- Additional Vegetables: While cucumbers are the classic pickling ingredient, don’t be afraid to experiment with other vegetables like carrots, cauliflower, or green beans. These can add variety and texture to your pickles.
- Spices and Flavorings: Select spices and flavorings based on your personal preferences. Common options include dill, garlic, mustard seeds, peppercorns, and red chili flakes. You can also add herbs like thyme or bay leaves for extra flavor.
- Vinegar: Choose a vinegar with at least 5% acidity, which is crucial for proper pickling. Popular choices include white vinegar, apple cider vinegar, or rice vinegar, depending on the flavor profile you desire.
- Salt: Use non-iodized salt, such as kosher salt or pickling salt, as iodized salt can create a cloudy brine. The salt helps to draw moisture out of the vegetables, resulting in a crunchy texture.
- Water: Use filtered or distilled water to ensure the purest taste in your pickling solution.
When selecting your ingredients, aim for the freshest and highest quality options available. This will contribute to the overall taste and texture of your homemade pickles. Experiment with different ingredient combinations to find flavors that suit your palate.
Preparing the Pickling Solution
The pickling solution is a key component in creating flavorful and preserved pickles. Here’s a step-by-step guide on how to prepare the perfect pickling solution:
- Measurements: Start by determining the amount of pickling solution you’ll need based on the quantity of vegetables you have. A general rule of thumb is to use equal parts vinegar and water, with enough solution to completely cover the vegetables in the jar.
- Heating the Solution: In a non-reactive saucepan, combine the vinegar, water, and salt. Bring the mixture to a gentle boil over medium heat, stirring occasionally to dissolve the salt. Heating the solution helps to ensure the salt fully dissolves and that the flavors are well-infused.
- Add Flavorings: Once the pickling solution is boiling, you can add your desired spices and flavorings. This is where you can get creative and tailor the flavors to your preferences. Add ingredients such as dill, garlic, mustard seeds, or any other spices you desire.
- Simmering and Infusing: Allow the pickling solution to simmer for a few minutes to let the flavors meld together. This step helps incorporate the spices and enhance the overall taste of your pickles.
- Letting it Cool: After simmering, remove the saucepan from heat and let the pickling solution cool to room temperature. It’s important to allow it to cool completely before pouring it over the vegetables to avoid wilting or cooking the vegetables prematurely.
Remember, the pickling solution acts as a preserving agent, so it’s essential to get the balance of vinegar, water, salt, and flavorings just right. Adjust the ingredients according to your taste preferences, and don’t be afraid to experiment with different spice combinations.
With the pickling solution prepared, you’re almost ready to start pickling. But first, let’s ensure your jars and lids are sterilized to maintain the freshness of your homemade pickles.
Sterilizing Jars and Lids
Properly sterilizing your jars and lids is crucial for ensuring the longevity and safety of your homemade pickles. Here’s how to sterilize your equipment:
- Cleaning: Before sterilizing, wash the jars, lids, and rings in hot, soapy water. Rinse them thoroughly to remove any soap residue.
- Boiling Method: One of the most common ways to sterilize jars and lids is by boiling them. Place the jars, lids, and rings into a large pot, making sure they are fully submerged in water. Bring the water to a rolling boil and let the jars boil for at least 10 minutes. Be careful when handling the hot jars.
- Dishwasher Method: Another option is to use your dishwasher’s sterilization cycle. Make sure the jars, lids, and rings are dishwasher safe. Place them in the dishwasher and run it on the hottest setting with a heated dry cycle. Check the manufacturer’s instructions for specific dishwasher settings.
- Oven Method: If your jars and lids are oven-safe, you can sterilize them by placing them on a baking sheet and heating them in a preheated oven at 225°F (107°C). Bake the jars and lids for 20 minutes, then remove them carefully using oven mitts.
- Keeping them Hot: After sterilizing, keep the jars and lids hot until ready to use. You can keep them in a warm oven or place them in a pot of hot water until you’re ready to pack the pickles.
Properly sterilizing your jars and lids helps to eliminate bacteria and ensure your pickles stay fresh and safe to consume. It’s important to note that sterilized jars are not meant to be air-dried after sterilization, as this can introduce bacteria back onto the surfaces. Keep them hot and dry until ready to use.
Now that your jars are sterilized and your pickling solution has cooled, it’s time to start packing and sealing the pickles!
Read more: How To Store Pickled Radish
Packing and Sealing the Pickles
Now that you have your sterilized jars and cooled pickling solution ready, it’s time to pack your pickles and seal the jars. Here’s the process:
- Preparing the Vegetables: Wash and trim the vegetables, removing any blemishes or tough ends. Slice or cut them into the desired shape and size. If using cucumbers, you can leave them whole or slice them into spears or slices.
- Packing the Jars: Pack the vegetables tightly into the sterilized jars, leaving about 1/2 inch (1.27 cm) of headspace at the top of the jar. You can layer the vegetables with spices, herbs, or flavorings to distribute the flavors evenly.
- Pouring the Pickling Solution: Using a funnel, carefully pour the cooled pickling solution over the packed vegetables in the jars. Ensure that the vegetables are completely submerged in the solution, leaving the appropriate headspace.
- Removing Air Bubbles: Gently tap the jars on a towel or countertop to release any air bubbles that may be trapped inside. You can also use a small utensil, like a chopstick, to slide along the inside of the jar to release air pockets.
- Wiping the Jar Rims: Using a clean, damp cloth or paper towel, wipe the rims of the jars to remove any residue or spills. This ensures a proper seal when you add the lids.
- Sealing the Jars: Place the sterilized lids on top of each jar, then screw the bands or rings tightly to secure them. Be careful not to overtighten, as this can prevent air from escaping during the pickling process.
By following these steps, you’ll have well-packed jars of delicious pickles ready to be stored. However, keep in mind that there are various methods for storing pickles based on your preferred storage conditions. Let’s explore some options, including storing pickles at room temperature, refrigerating them, freezing for long-term storage, and canning for shelf stability.
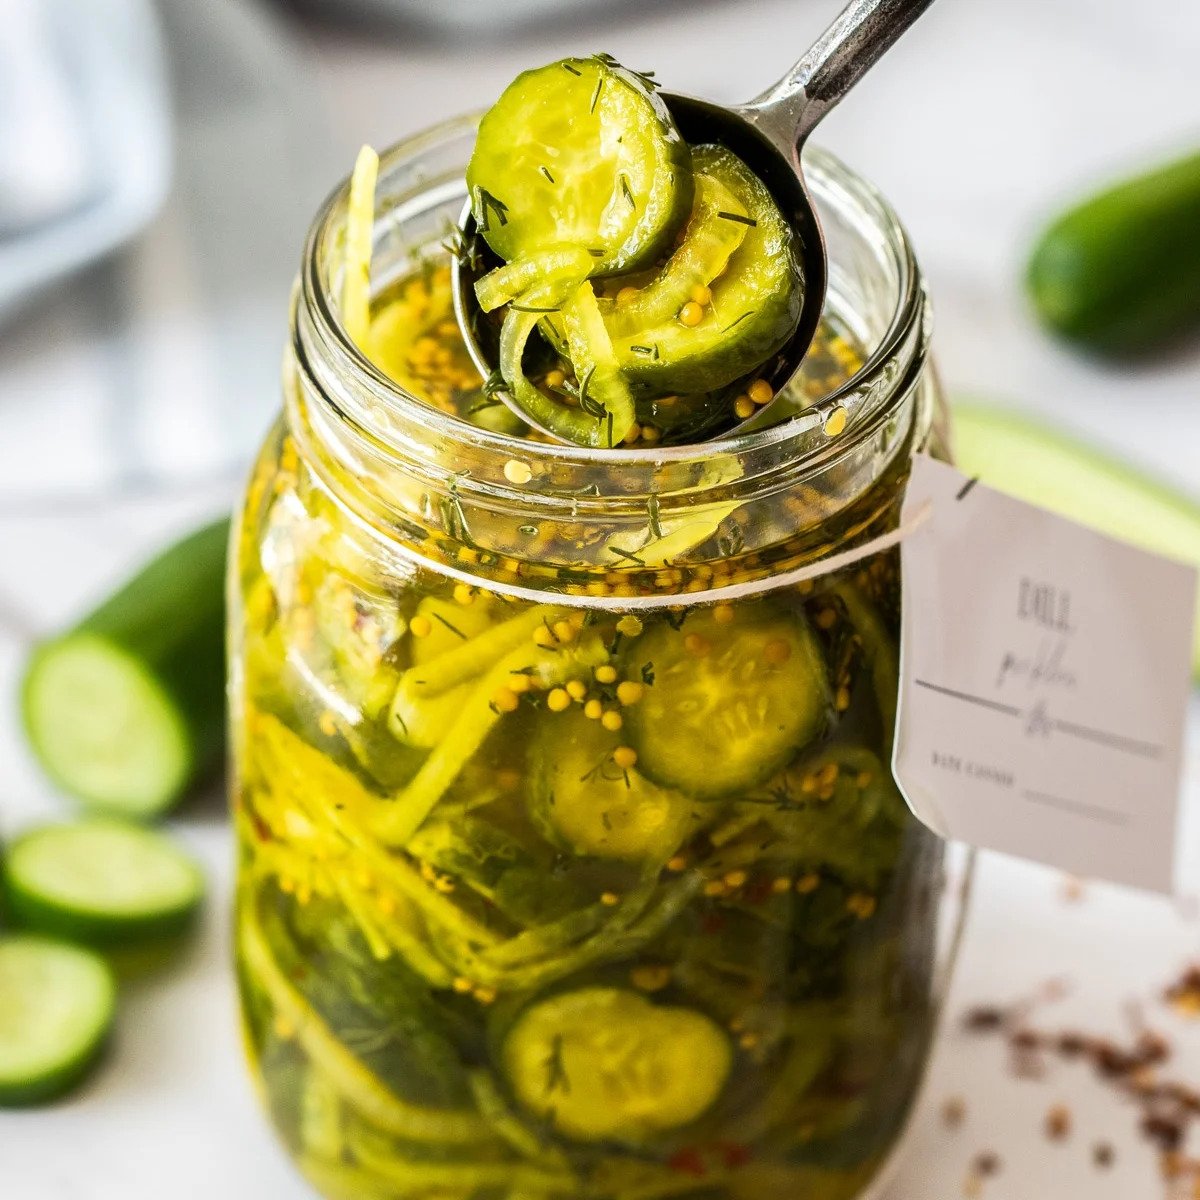
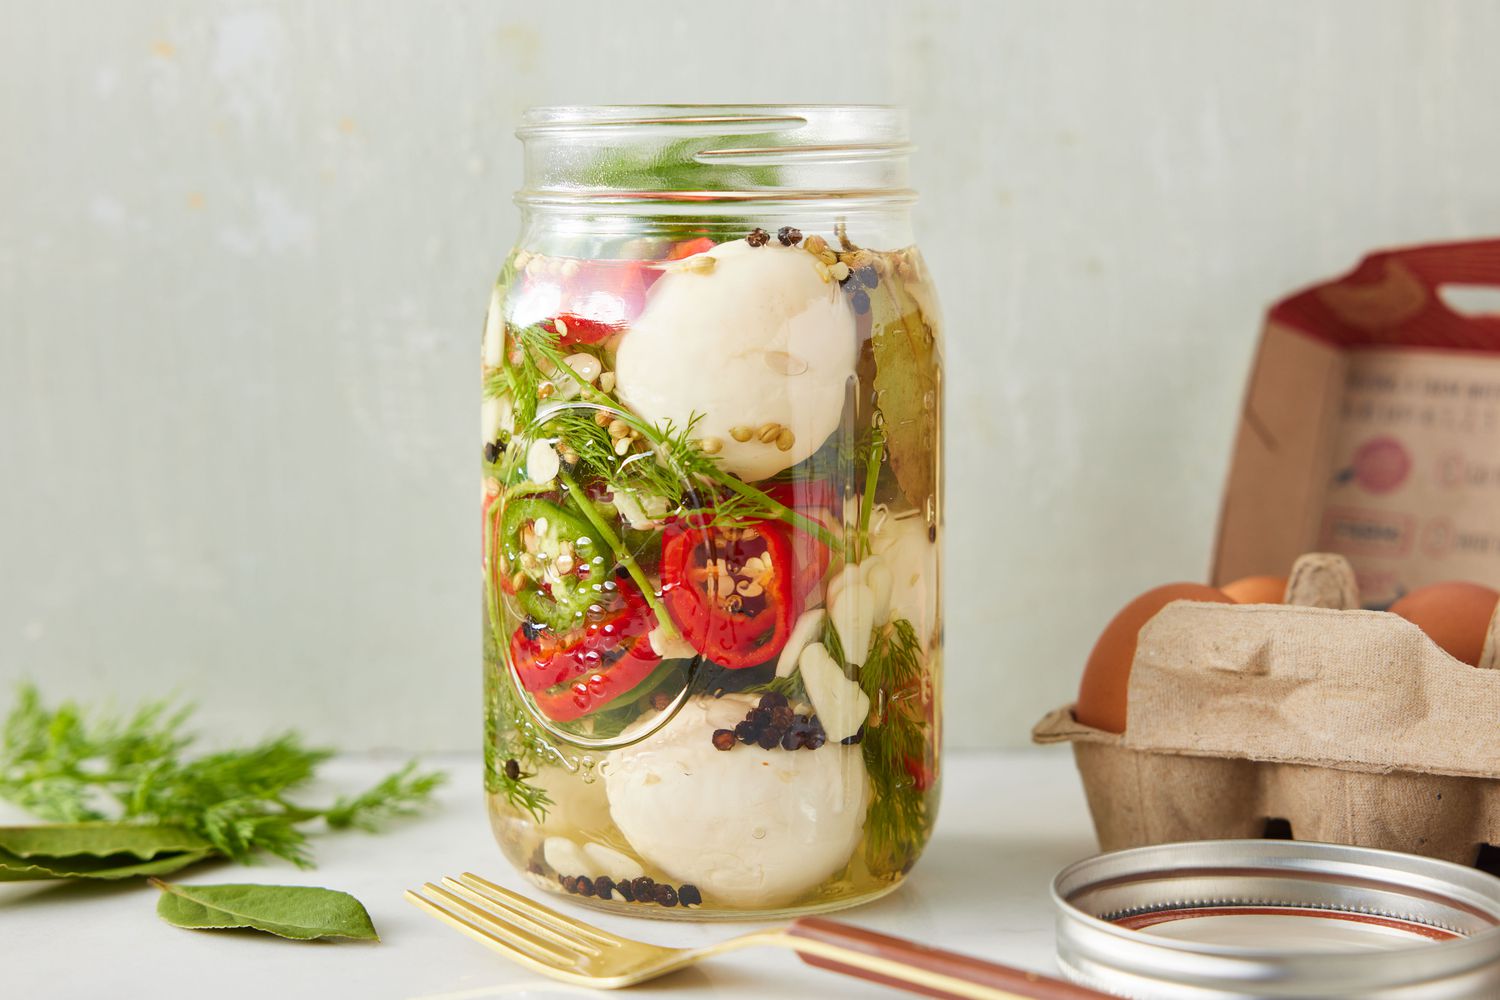
Store pickles in a clean, airtight glass jar in the refrigerator. Make sure the pickles are fully submerged in the brine to maintain their flavor and crispness.
Storing Pickles at Room Temperature
Storing pickles at room temperature is a common method for short-term preservation. However, it’s important to note that this method is suitable for pickles that have undergone proper canning or fermentation processes to ensure their safety. Here’s how to store pickles at room temperature:
- Check for Sealed Lids: After packing and sealing the jars, check that the lids are properly sealed. Press down on the center of each lid; if it doesn’t flex or make a popping noise, the lid is sealed correctly. Any unsealed jars should be refrigerated immediately.
- Store in a Cool, Dark Place: Find a cool, dark location in your pantry or basement to store the pickles. Excessive heat or sunlight can affect the quality and safety of the pickles.
- Allow Time for Flavor Development: Pickles stored at room temperature need time for the flavors to develop and the vegetables to fully pickle. The length of time will vary based on the recipe and personal preference. It’s generally recommended to wait at least a couple of weeks before consuming the pickles.
- Regularly Check the Jars: While pickles stored at room temperature can be safe for several months, it’s important to regularly check the jars for any signs of spoilage, such as mold, off smells, or cloudy liquid. If you notice any issues, discard the jar immediately.
Remember that pickles stored at room temperature may have a shorter shelf life compared to other storage methods. If you’re unsure about the safety of your homemade pickles, it’s best to err on the side of caution and refrigerate or freeze them instead.
Next, let’s explore the option of refrigerating your homemade pickles for a longer shelf life.
Refrigerating Homemade Pickles
Refrigeration is a simple and effective method for storing homemade pickles, particularly those that have not undergone the canning process. Here’s how to properly refrigerate your pickles:
- Cool the Pickles: After packing and sealing the jars, allow the pickles to cool at room temperature for a few hours before transferring them to the refrigerator. This helps prevent condensation from forming inside the jars and affecting the pickle’s texture.
- Label and Date: It’s a good practice to label each jar with the type of pickles and the date of preparation. This way, you can keep track of freshness and easily identify different pickles in your refrigerator.
- Refrigerator Temperature: Set your refrigerator temperature to below 40°F (4°C) to maintain optimal freshness and prevent the growth of bacteria. Ensure that the pickles are stored in a cold area of the refrigerator, away from potential contaminants.
- Shelf Life: Homemade pickles stored in the refrigerator can typically be enjoyed for about 1 to 2 months. However, their quality may start to decline after a few weeks, with pickles becoming less crisp over time.
- Use Clean Utensils: When serving pickles, always use clean utensils to prevent contamination. Avoid directly placing used utensils back into the pickle jar, as it can introduce bacteria.
Refrigeration is a convenient storage method that helps prolong the shelf life of homemade pickles while maintaining their flavor and texture. However, if you have a large batch of pickles or prefer a longer storage option, freezing can be a great alternative.
Let’s now explore the process of freezing pickles for long-term storage.
Freezing Pickles for Long-Term Storage
Freezing is an excellent option for long-term storage of homemade pickles. While the texture may slightly change after freezing, the flavors will remain intact. Here’s how to freeze pickles:
- Cool the Pickles: Allow the pickles to cool completely at room temperature after packing and sealing the jars. This step helps maintain the pickle’s texture during the freezing process.
- Select Freezer-Safe Containers: Transfer the pickles, along with their pickling liquid, into freezer-safe containers. Glass or plastic containers with airtight lids work well for freezing. Leave some headspace to account for expansion during freezing.
- Label and Date: Clearly label each container with the type of pickles and the date of freezing. This will help keep track of freshness and ensure that you use the oldest pickles first.
- Freezing Method: Place the containers of pickles in the freezer and make sure they’re stored in a location where they won’t be disturbed. Lay them flat to allow for even freezing and to optimize space in your freezer.
- Storage Time: Frozen pickles will maintain good quality for up to 8 to 12 months. However, for the best flavor and texture, it’s recommended to consume them within 6 months of freezing.
- Thawing and Consumption: To thaw frozen pickles, transfer the container to the refrigerator and allow them to thaw slowly overnight. Once thawed, consume the pickles within a few days for the best taste and texture.
While freezing pickles is an effective long-term storage method, it’s important to note that their texture may become softer after thawing. Frozen pickles are best used in dishes that don’t rely on their crispness, such as relishes or chopped pickles for sandwiches or salads.
If you’re looking for a method that provides shelf stability without refrigeration, canning is the way to go. Let’s explore the process of canning pickles.
Read more: How To Store Homemade Pickles
Canning Pickles for Shelf Stability
Canning is a popular method for preserving pickles and ensuring long-term shelf stability. By following proper canning techniques, you can enjoy your homemade pickles for up to a year or more. Here’s how to can pickles:
- Choose the Right Pickles: For canning, select pickles that have been specifically developed for canning recipes. These varieties are typically more crisp and suitable for longer processing times.
- Prepare the Pickling Solution: Follow the instructions for preparing the pickling solution, ensuring that you have enough to fill the jars while leaving the appropriate headspace.
- Heat the Jars: Place clean, empty canning jars in a large pot filled with water. Bring the water to a simmer, not a boil, and keep the jars hot until ready for use.
- Pack the Jars: Remove the hot jars from the simmering water and pack them tightly with the prepared pickles, leaving the required headspace as specified in the recipe.
- Add the Pickling Solution: Carefully ladle the hot pickling solution over the packed pickles, ensuring that the pickles are fully covered while maintaining the specified headspace.
- Remove Air Bubbles: Gently slide a non-metallic utensil, such as a chopstick, along the insides of the jar to release any trapped air bubbles. This ensures proper sealing and preservation of the pickles.
- Wipe Jar Rims and Seal: Using a clean, damp cloth or paper towel, wipe the rims of the jars to remove any residue. Place the sterilized lids on the jars, followed by the screw bands. Tighten the bands until fingertip tight, ensuring they are snug but not overly tight.
- Process the Jars: Place the filled and sealed jars in a large pot with a rack or a dedicated canner. Cover the jars with water, ensuring there is at least 1-2 inches of water above the jars. Bring the water to a gentle boil, and process the jars according to the recommended processing time for the specific recipe and your elevation.
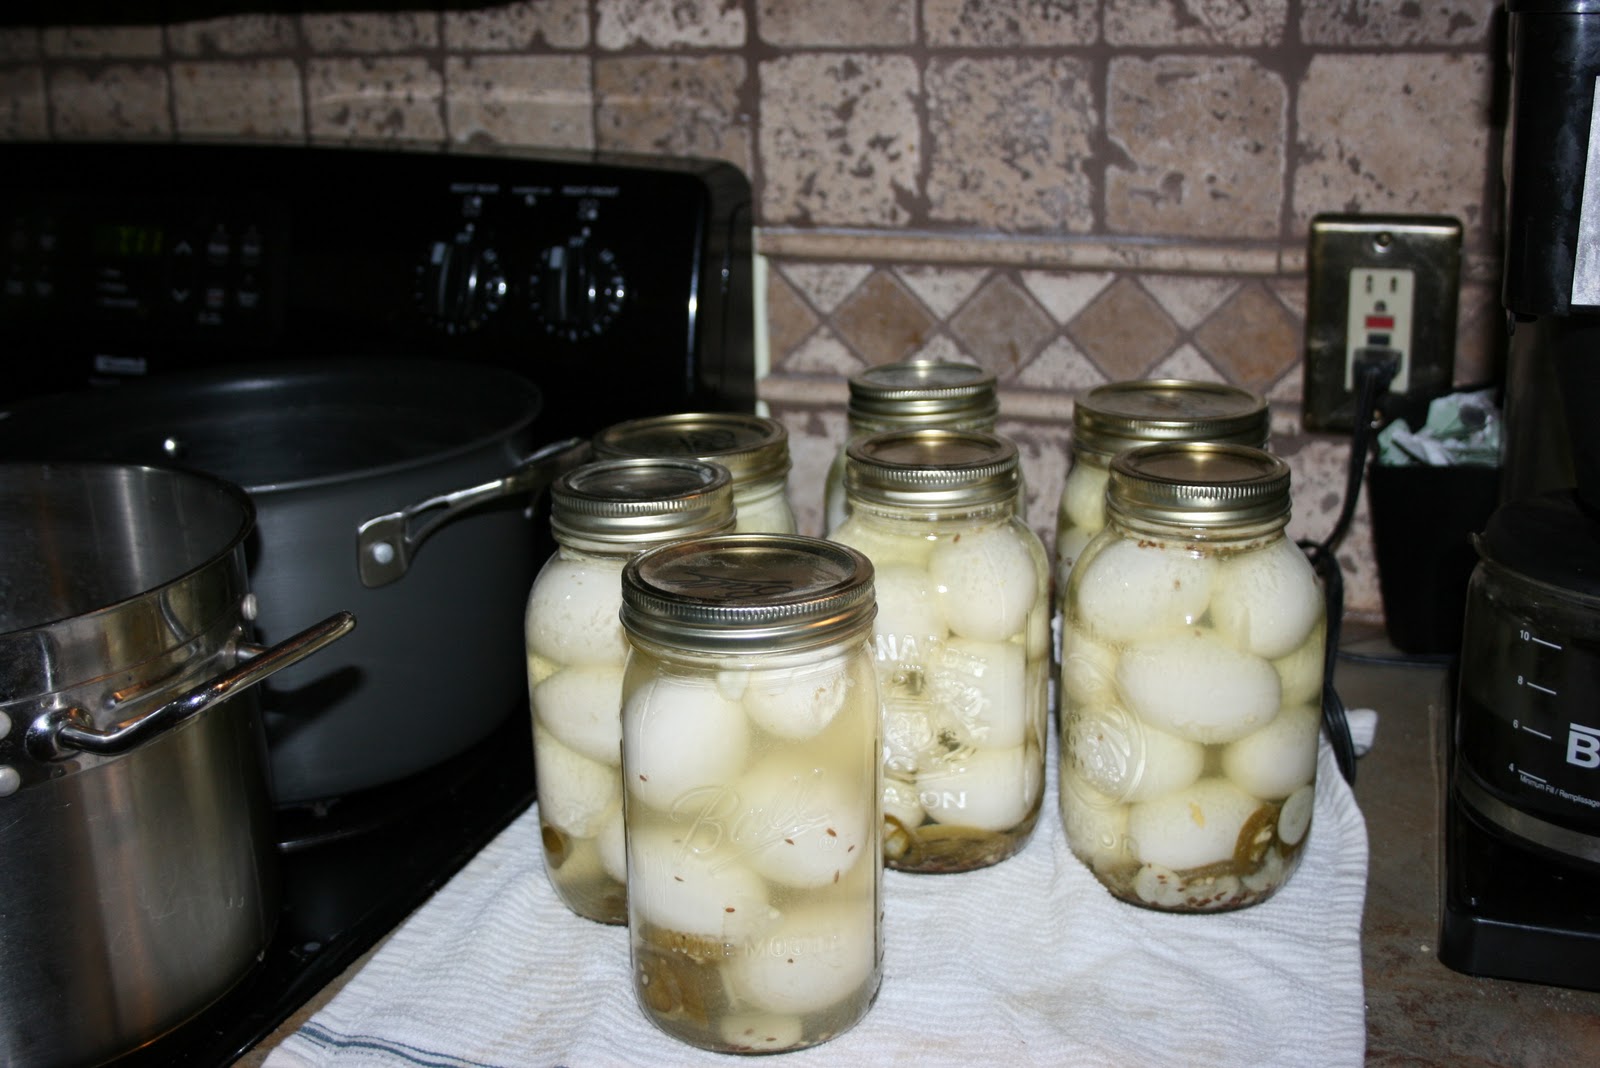
- Cool and Store: After the processing time, carefully remove the jars from the pot and place them on a towel-lined counter. Allow the jars to cool undisturbed for several hours. As they cool, you may hear a popping sound as the lids seal. Once cooled, check the seals, remove the screw bands, and store the jars in a cool, dark place.
Canned pickles provide shelf stability and can be stored for up to a year or more. It’s essential to follow proper canning techniques, including using reliable recipes, maintaining a safe processing time, and ensuring the jars are properly sealed. Regularly check the jars for any signs of spoilage, and discard any that show signs of spoilage or a compromised seal.
Whether you choose to pickle using canning, refrigeration, freezing, or room temperature storage, homemade pickles have a unique flavor that is unmatched by store-bought varieties. With the right ingredients, proper storage methods, and a little bit of patience, you can enjoy your homemade pickles throughout the year.
Conclusion
Making and storing your own homemade pickles is a rewarding and delicious endeavor. Whether you choose to store them at room temperature, in the refrigerator, freezer, or can them for shelf stability, each method has its unique benefits and considerations. By following the proper techniques for choosing ingredients, preparing the pickling solution, sterilizing jars and lids, packing and sealing the pickles, and selecting the right storage method, you can enjoy the taste of your homemade pickles for months or even a year.
Homemade pickles offer numerous advantages over store-bought varieties. You have complete control over the ingredients, allowing you to experiment with flavors and avoid artificial additives. Making pickles at home can also be cost-effective and environmentally friendly, reducing packaging waste.
Whether you prefer tangy dill pickles, spicy bread and butter pickles, or other creative combinations, the choices are endless. From pickling cucumbers to an array of additional vegetables, you can customize your pickles to suit your taste preferences.
After preparing and packing your pickles, it’s important to select the appropriate storage method. Storing pickles at room temperature is suitable for properly canned or fermented pickles, while refrigeration is ideal for short-term storage and maintaining crispness. Freezing allows for long-term storage, although the texture may change slightly. Canning provides the ultimate shelf stability, extending the life of your pickles for up to a year or more.
No matter which method you choose, be sure to label and date your jars, regularly check for signs of spoilage, and discard any compromised jars. Following proper storage guidelines ensures the safety and quality of your homemade pickles.
So, embrace the art of homemade pickling and savor the delightful tang and crunch of your very own pickles. Whether enjoyed on sandwiches, as a side dish, or as a tasty snack on their own, homemade pickles add a burst of flavor to any meal. Start your pickle-making journey today and enjoy the satisfaction of preserving your own delicious jars of pickles.
Frequently Asked Questions about How To Store Pickles
Was this page helpful?
At Storables.com, we guarantee accurate and reliable information. Our content, validated by Expert Board Contributors, is crafted following stringent Editorial Policies. We're committed to providing you with well-researched, expert-backed insights for all your informational needs.


0 thoughts on “How To Store Pickles”