Home>Garden Essentials>When To Harvest Dill Seeds For Pickling
Garden Essentials
When To Harvest Dill Seeds For Pickling
Modified: August 17, 2024
Ready to pickle your garden fresh dill seeds? Find out the perfect time to harvest dill seeds for pickling and enjoy the tangy goodness all year round.
(Many of the links in this article redirect to a specific reviewed product. Your purchase of these products through affiliate links helps to generate commission for Storables.com, at no extra cost. Learn more)
Introduction
Welcome to the fascinating world of dill seeds for pickling! If you’ve ever savored the tangy and flavorful crunch of pickled cucumbers or other vegetables, you might be curious about the key ingredient that lends them their distinct taste and aroma. Dill seeds are not only a crucial element in creating delicious pickles but also offer a plethora of health benefits.
In this article, we will explore the art of harvesting dill seeds specifically for pickling purposes. We’ll delve into the factors to consider when determining the ideal time for harvesting, the proper techniques for collecting the seeds, and the methods for storing and preserving them to maintain their quality. By the end, you’ll be equipped with all the knowledge you need to embark on your dill seed pickling adventures.
Dill seeds, derived from the dill plant (Anethum graveolens), have been used for centuries as a culinary spice and medicinal herb. They feature a unique blend of flavors, combining a distinct tanginess with hints of citrus and sweet undertones. These aromatic seeds not only add depth and complexity to pickled vegetables but also offer various health benefits.
First and foremost, dill seeds are known for their digestive properties. They help soothe an upset stomach, relieve bloating and flatulence, and promote healthy digestion. Additionally, dill seeds contain essential oils that possess anti-inflammatory and antimicrobial properties, making them a valuable ally in maintaining a healthy immune system.
Now that we have a basic understanding of dill seeds and their benefits, let’s dive into the factors to consider when it comes to harvesting them specifically for pickling purposes.
Key Takeaways:
- Harvest dill seeds for pickling when they turn light brown and feel dry. Use garden shears to cut the seed heads and store them in a paper bag for two weeks to dry.
- To preserve dill seeds, transfer them to airtight containers, label with the harvest date, and store in a cool, dark place. Use within a year for best flavor.
Read more: How Much Dill Seed Per Pint Of Pickles
Understanding Dill Seeds for Pickling
Dill Seeds: An Overview
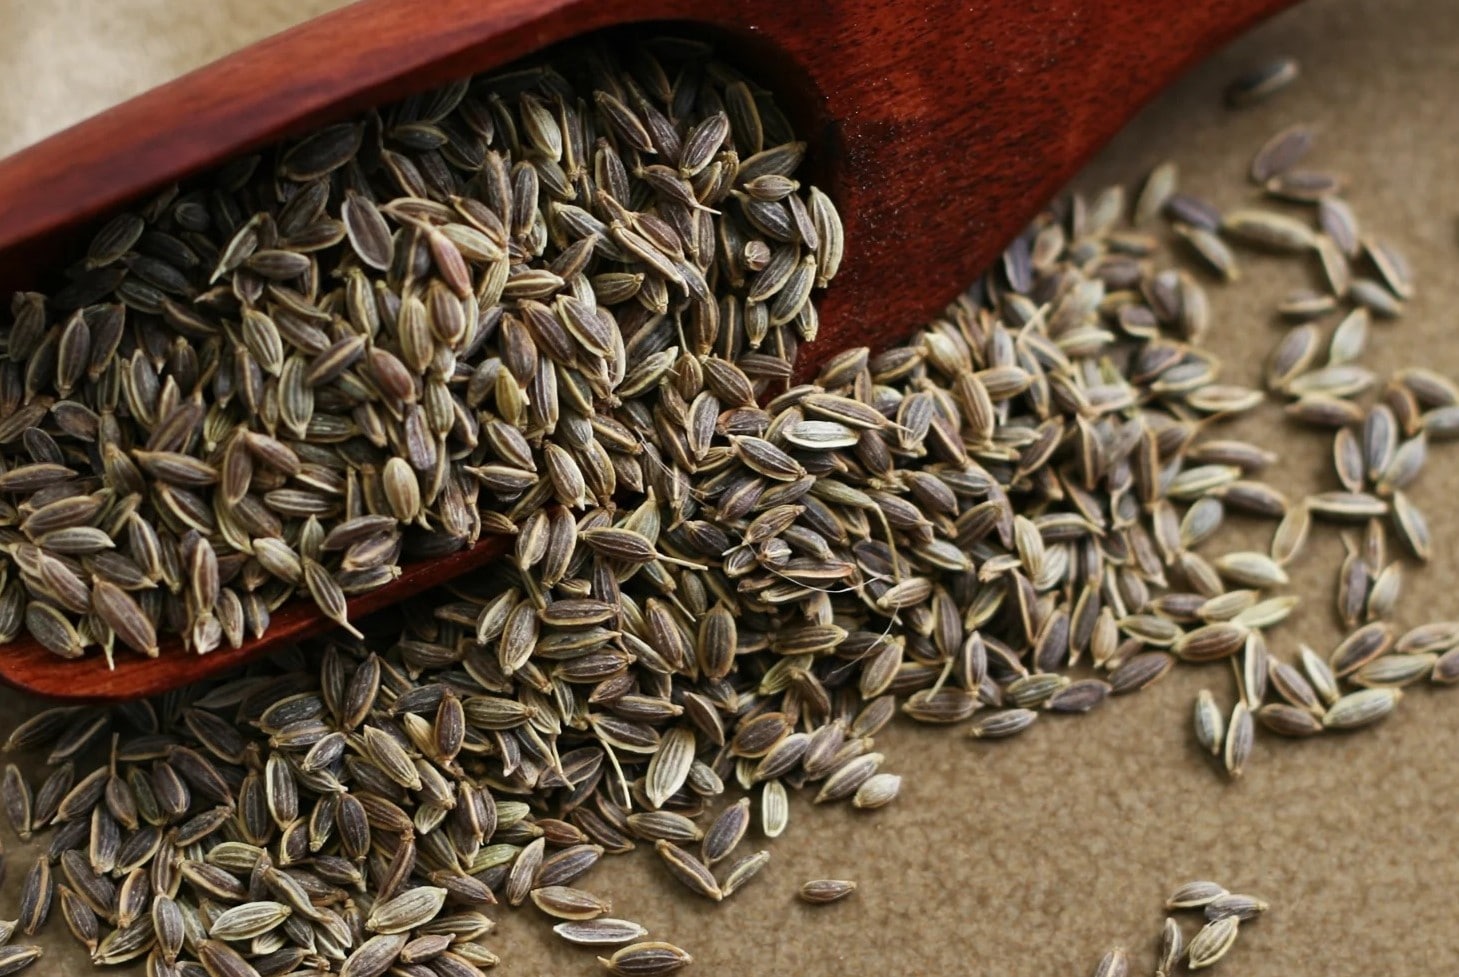
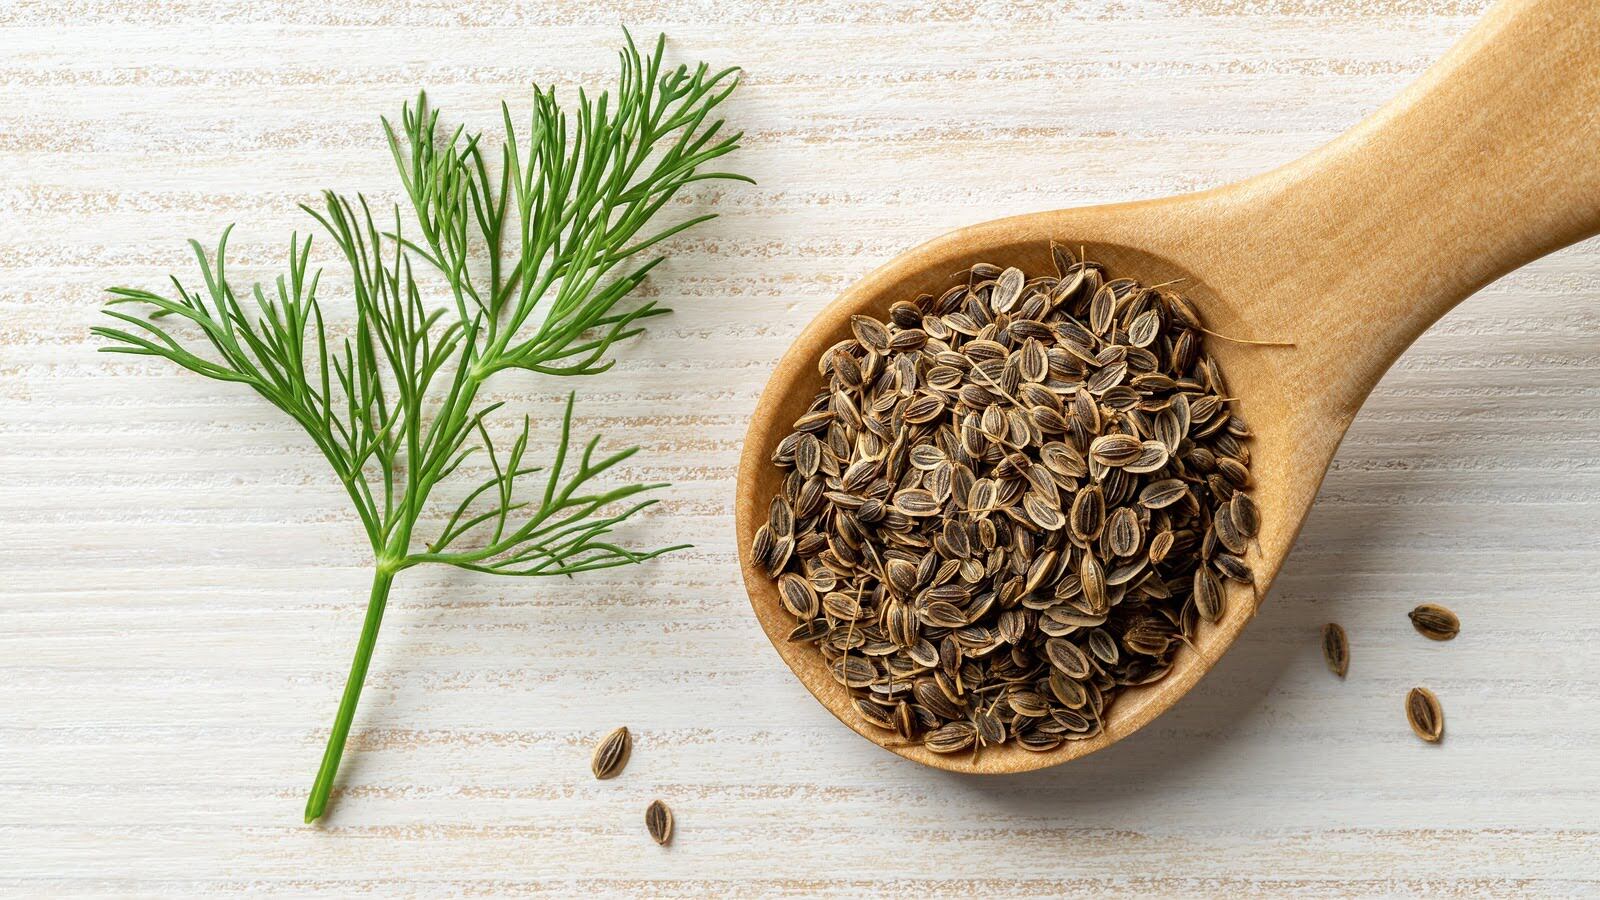
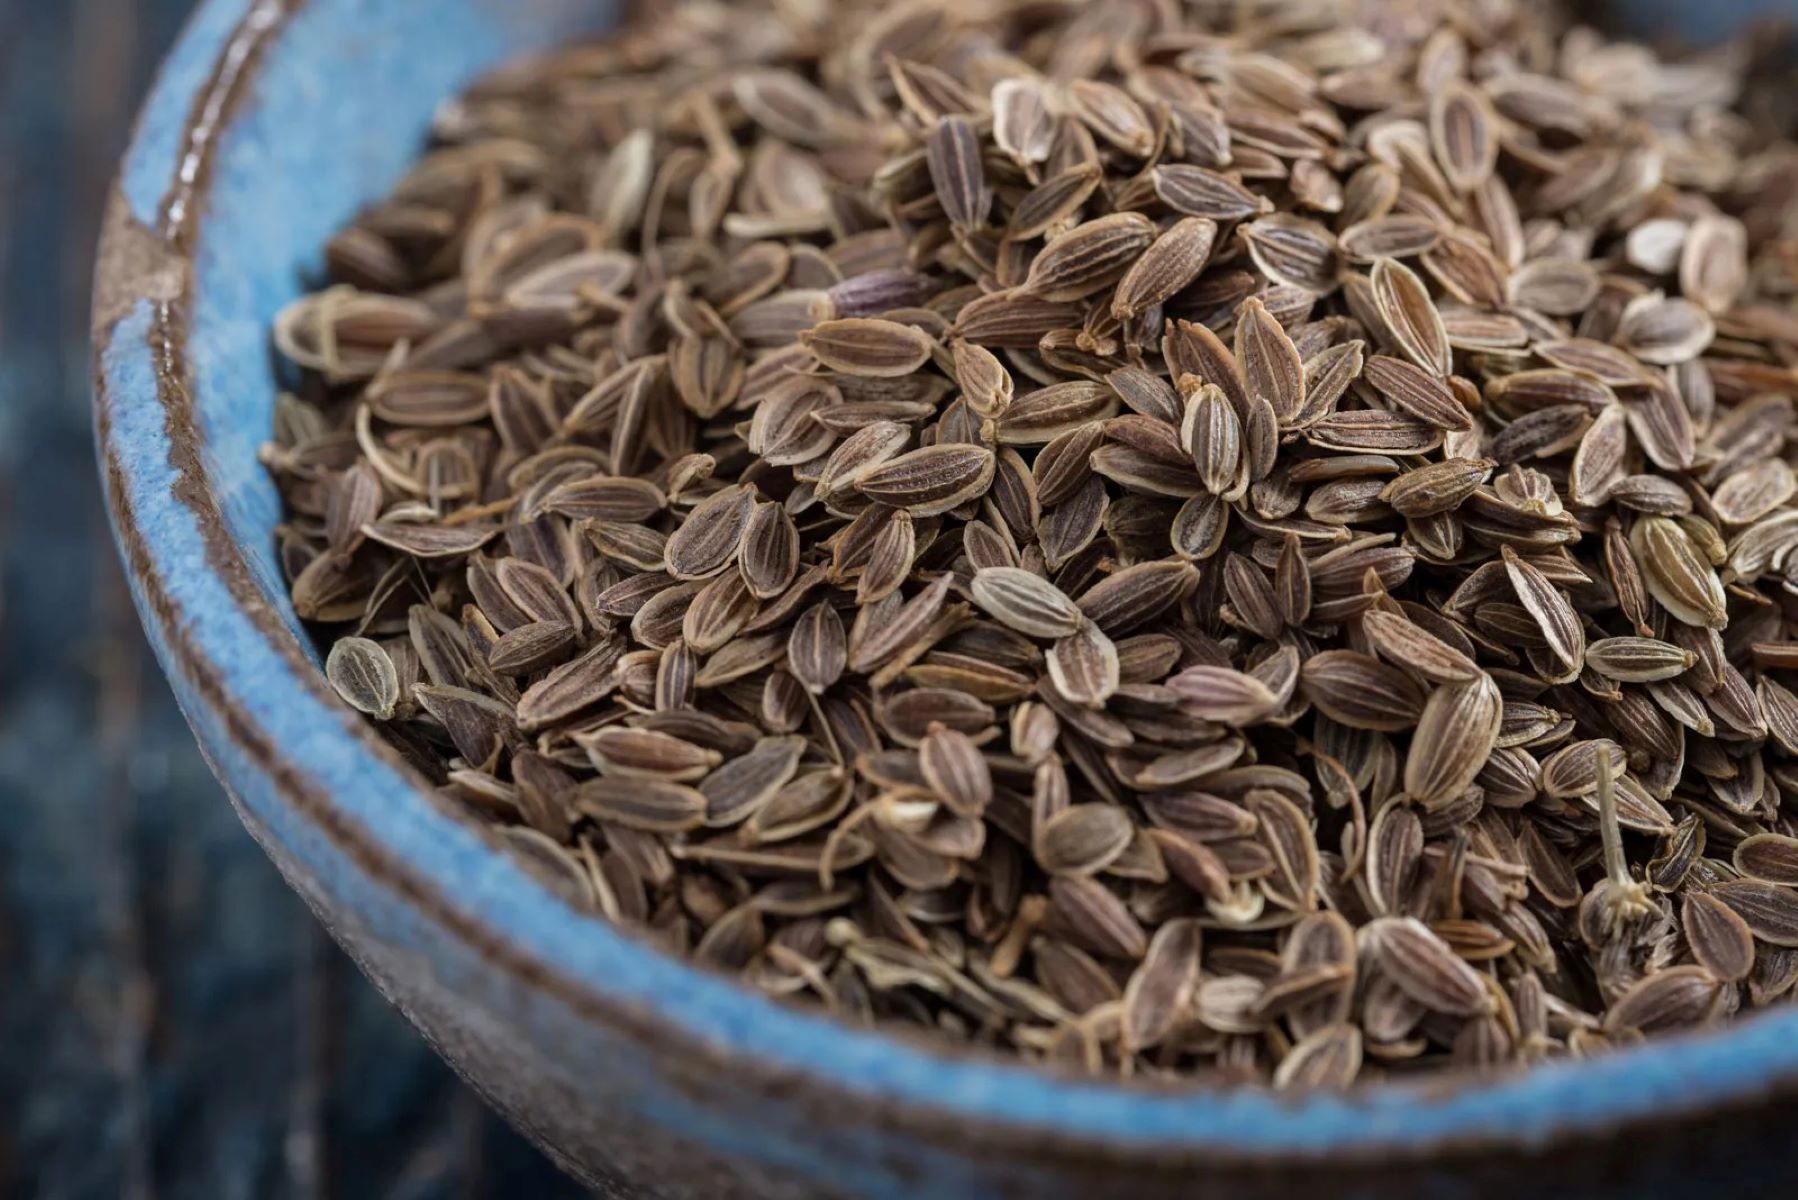
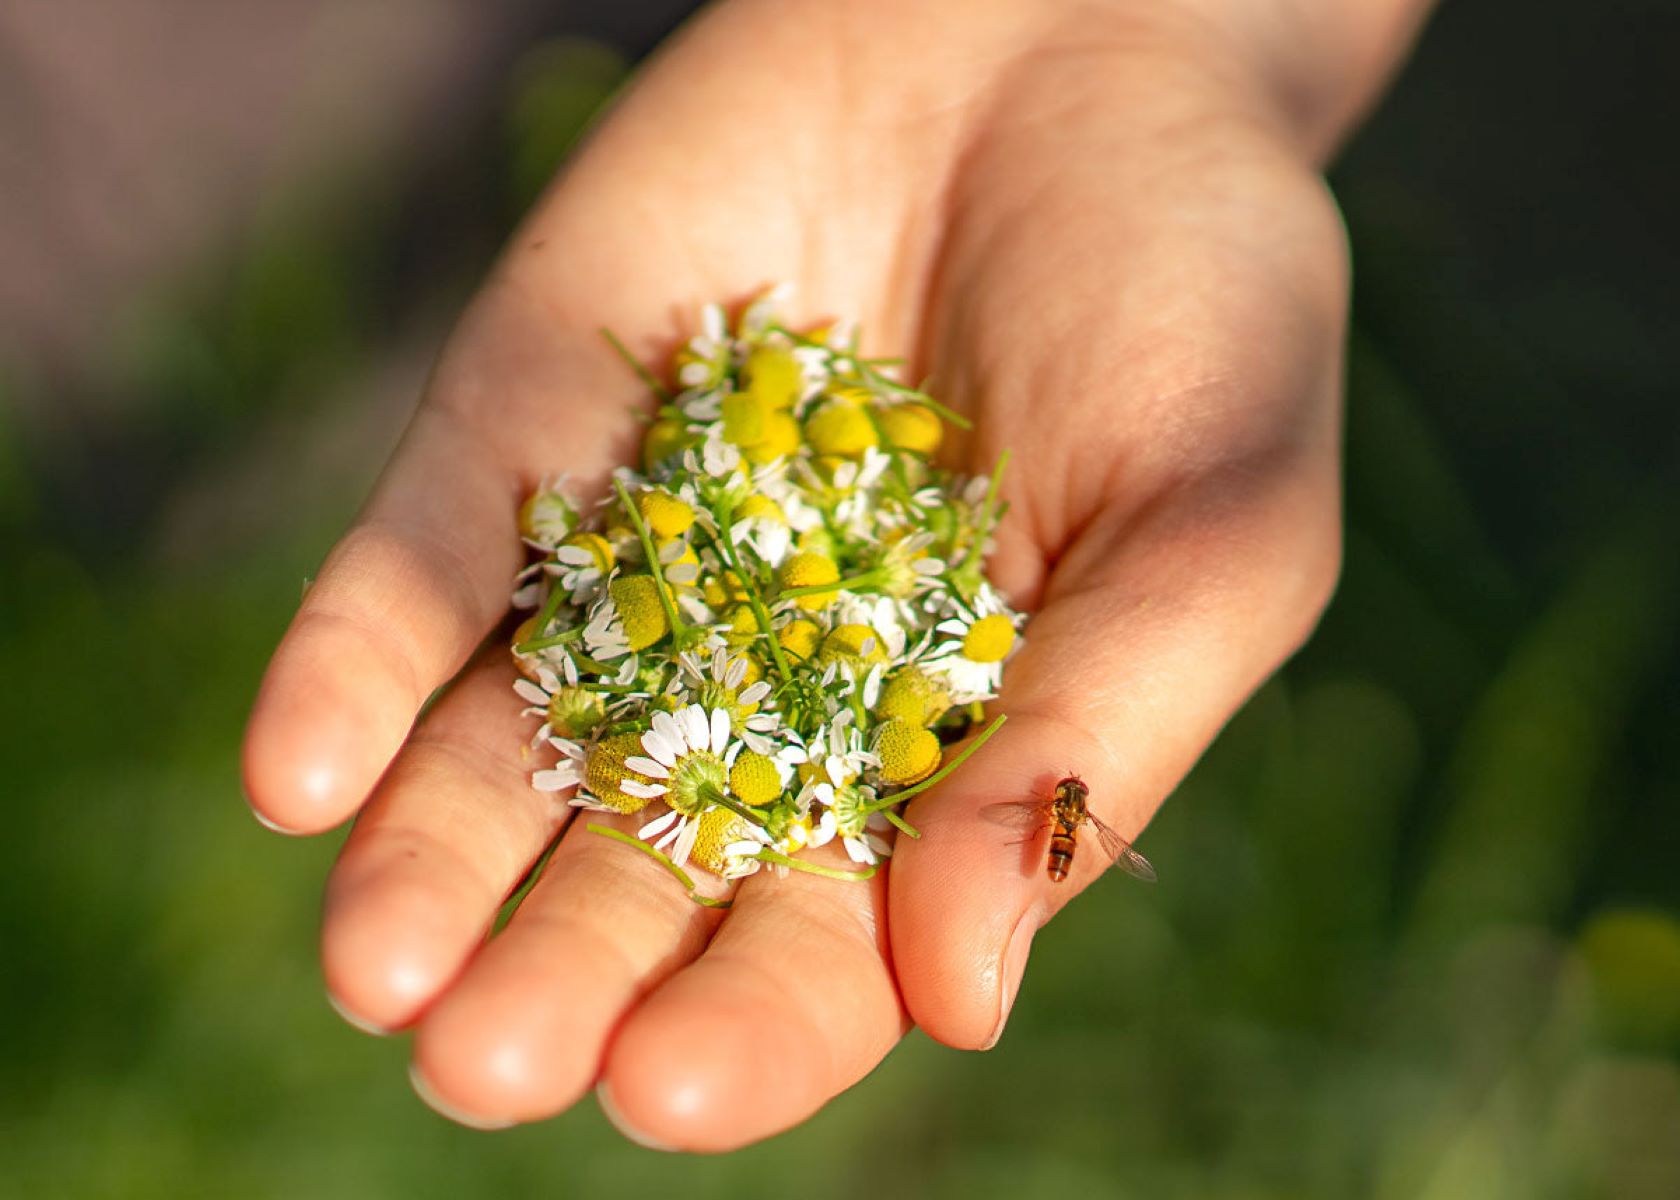
Dill seeds are the mature seeds of the dill plant, which belongs to the parsley family. These small, oval-shaped seeds have a brown color and a distinct aroma and flavor. They are commonly used as a spice in various cuisines around the world. Dill seeds have a tangy, slightly sweet taste with hints of lemon and licorice.
In the realm of pickling, dill seeds play a vital role in imparting a unique and memorable flavor to pickled vegetables. Their intense flavor profile complements the acidity of the pickling brine, creating a harmonious balance of tastes.
Benefits of Harvesting Dill Seeds for Pickling
Harvesting dill seeds for pickling offers several advantages. Firstly, it allows you to have a constant supply of fresh, flavorful dill seeds at your disposal. Store-bought dill seeds may lose their potency and aroma over time, so harvesting them yourself ensures the highest quality and enhances the overall flavor of your pickled vegetables.
Furthermore, growing and harvesting dill seeds for pickling can be a rewarding and satisfying experience. Witnessing the growth and transformation of the dill plant from seed to seed-bearing plant is a fulfilling journey for any gardener or pickling enthusiast. You can take pride in the fact that you have grown and harvested your own dill seeds, adding a personal touch to your pickling endeavors.
Another benefit of harvesting dill seeds is the cost-effectiveness it provides. Instead of purchasing dill seeds every time you want to make pickles, you can save money in the long run by growing and harvesting your own supply. It not only cuts down on your grocery expenses but also ensures that you have a fresh and abundant source of dill seeds whenever you need them.
Lastly, harvesting dill seeds for pickling allows you to experiment with different varieties and flavors. There are various types of dill seeds available, each with its own unique characteristics. By harvesting your own seeds, you have the freedom to explore and choose the varieties that best suit your taste preferences and pickling recipes.
Now that we understand the basics of dill seeds for pickling and the benefits of harvesting them ourselves, let’s delve into the important factors to consider when it comes to harvesting dill seeds specifically for pickling purposes.
Factors to Consider for Harvesting Dill Seeds for Pickling
Read more: When To Harvest Asparagus Seeds
Timing of Harvesting
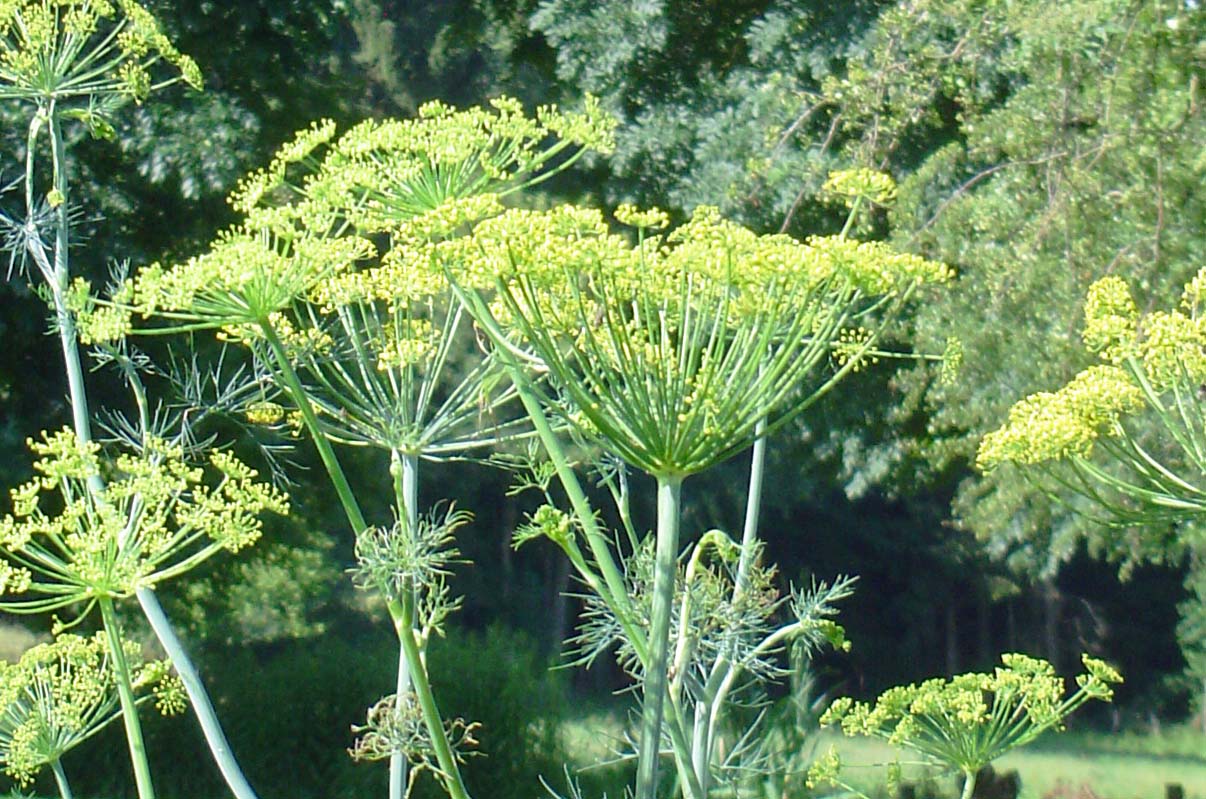
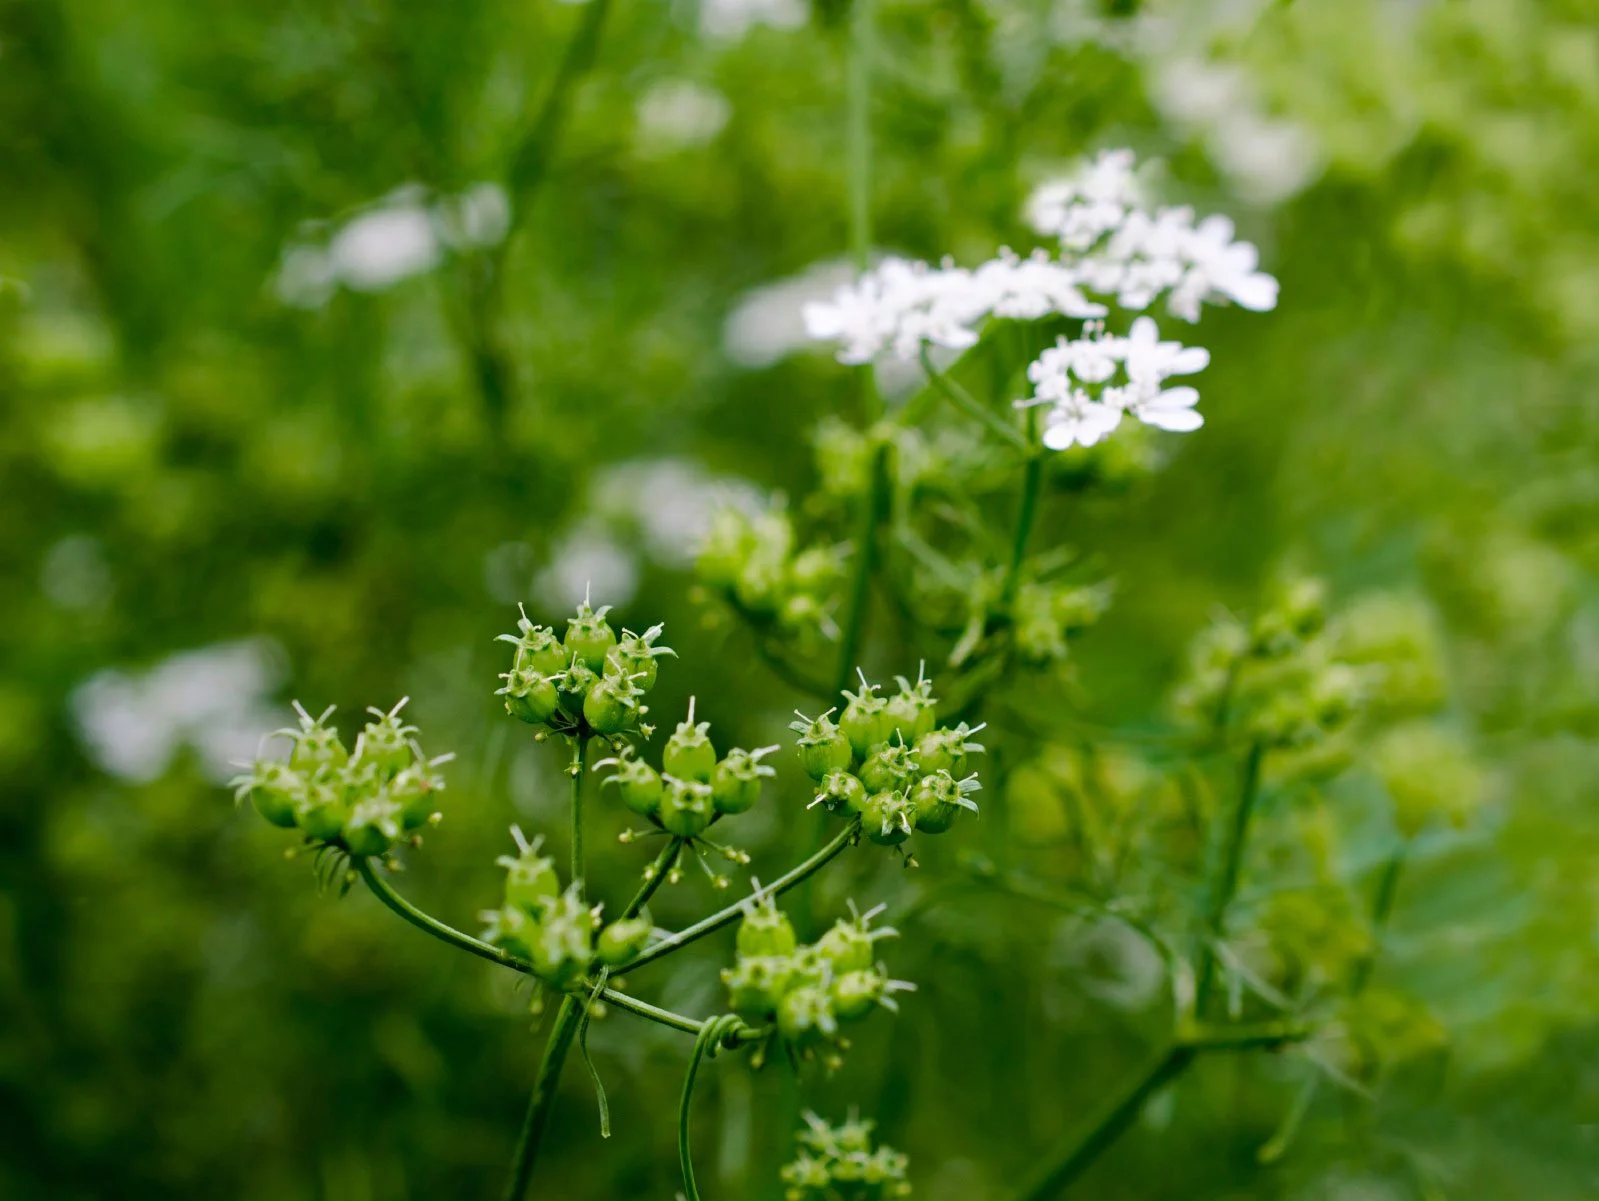
The timing of harvesting dill seeds for pickling is crucial to ensure that the seeds have reached their maximum flavor and potency. Dill plants typically produce seeds about 70-90 days after germination. To determine the ideal time for harvesting, keep an eye on the dill plant as it starts to flower. The flower clusters will eventually turn into seed heads.
It is important to wait until the seeds have fully developed and turned a light brown color on the stem. Harvesting too early may result in immature seeds with a weaker flavor. On the other hand, waiting too long may cause the seeds to scatter or fall off the plant, reducing the overall yield. It may take some observation and practice to determine the optimal harvesting time for your specific growing conditions.
Plant Maturity
Another factor to consider when harvesting dill seeds for pickling is the maturity of the dill plant itself. The plant should be fully mature before you start harvesting the seeds. Look for signs such as sturdy stems, healthy foliage, and a well-developed root system. A mature plant is more likely to produce abundant and high-quality seeds.
However, it’s important to note that dill plants have a relatively short lifespan, usually completing their life cycle within a few months. Keep this in mind when planning your dill seed harvest, as you want to ensure that you have sufficient time for the seeds to develop before the plant completes its life cycle.
Seed Color and Texture
The color and texture of the dill seeds are key indicators of their readiness for harvesting. As the seeds mature, they will change color from green to a light brown or tan hue. This transition in color signifies that the seeds have reached their full maturity and flavor potential.
In addition to color, pay attention to the texture of the seeds. Mature dill seeds should feel dry and slightly brittle when touched. Avoid harvesting seeds that are still soft or pliable, as they may not have fully developed and won’t contribute the desired flavor to your pickling recipes.
By considering these factors—timing of harvesting, plant maturity, and seed color and texture—you can ensure that you collect dill seeds at their peak flavor and quality. Now that we have covered the important factors to consider, let’s move on to the practical aspects of harvesting dill seeds for pickling.
How to Harvest Dill Seeds for Pickling
Read more: When To Harvest Parsley Seeds
Tools and Materials Required
Before embarking on your dill seed harvesting journey, it’s important to gather the necessary tools and materials. Here’s what you’ll need:
- Garden Shears or Pruning Scissors: These will help you cut the seed heads without damaging the plant.
- Basket or Container: Use a shallow basket or container to collect the harvested seed heads.
- Paper Bag: A paper bag is ideal for drying the seed heads and allowing air circulation.
Step-by-step Harvesting Process
Follow these steps to harvest dill seeds for pickling:
- Observe the dill plant: Keep an eye on the dill plant as it develops flower clusters, which will eventually turn into seed heads.
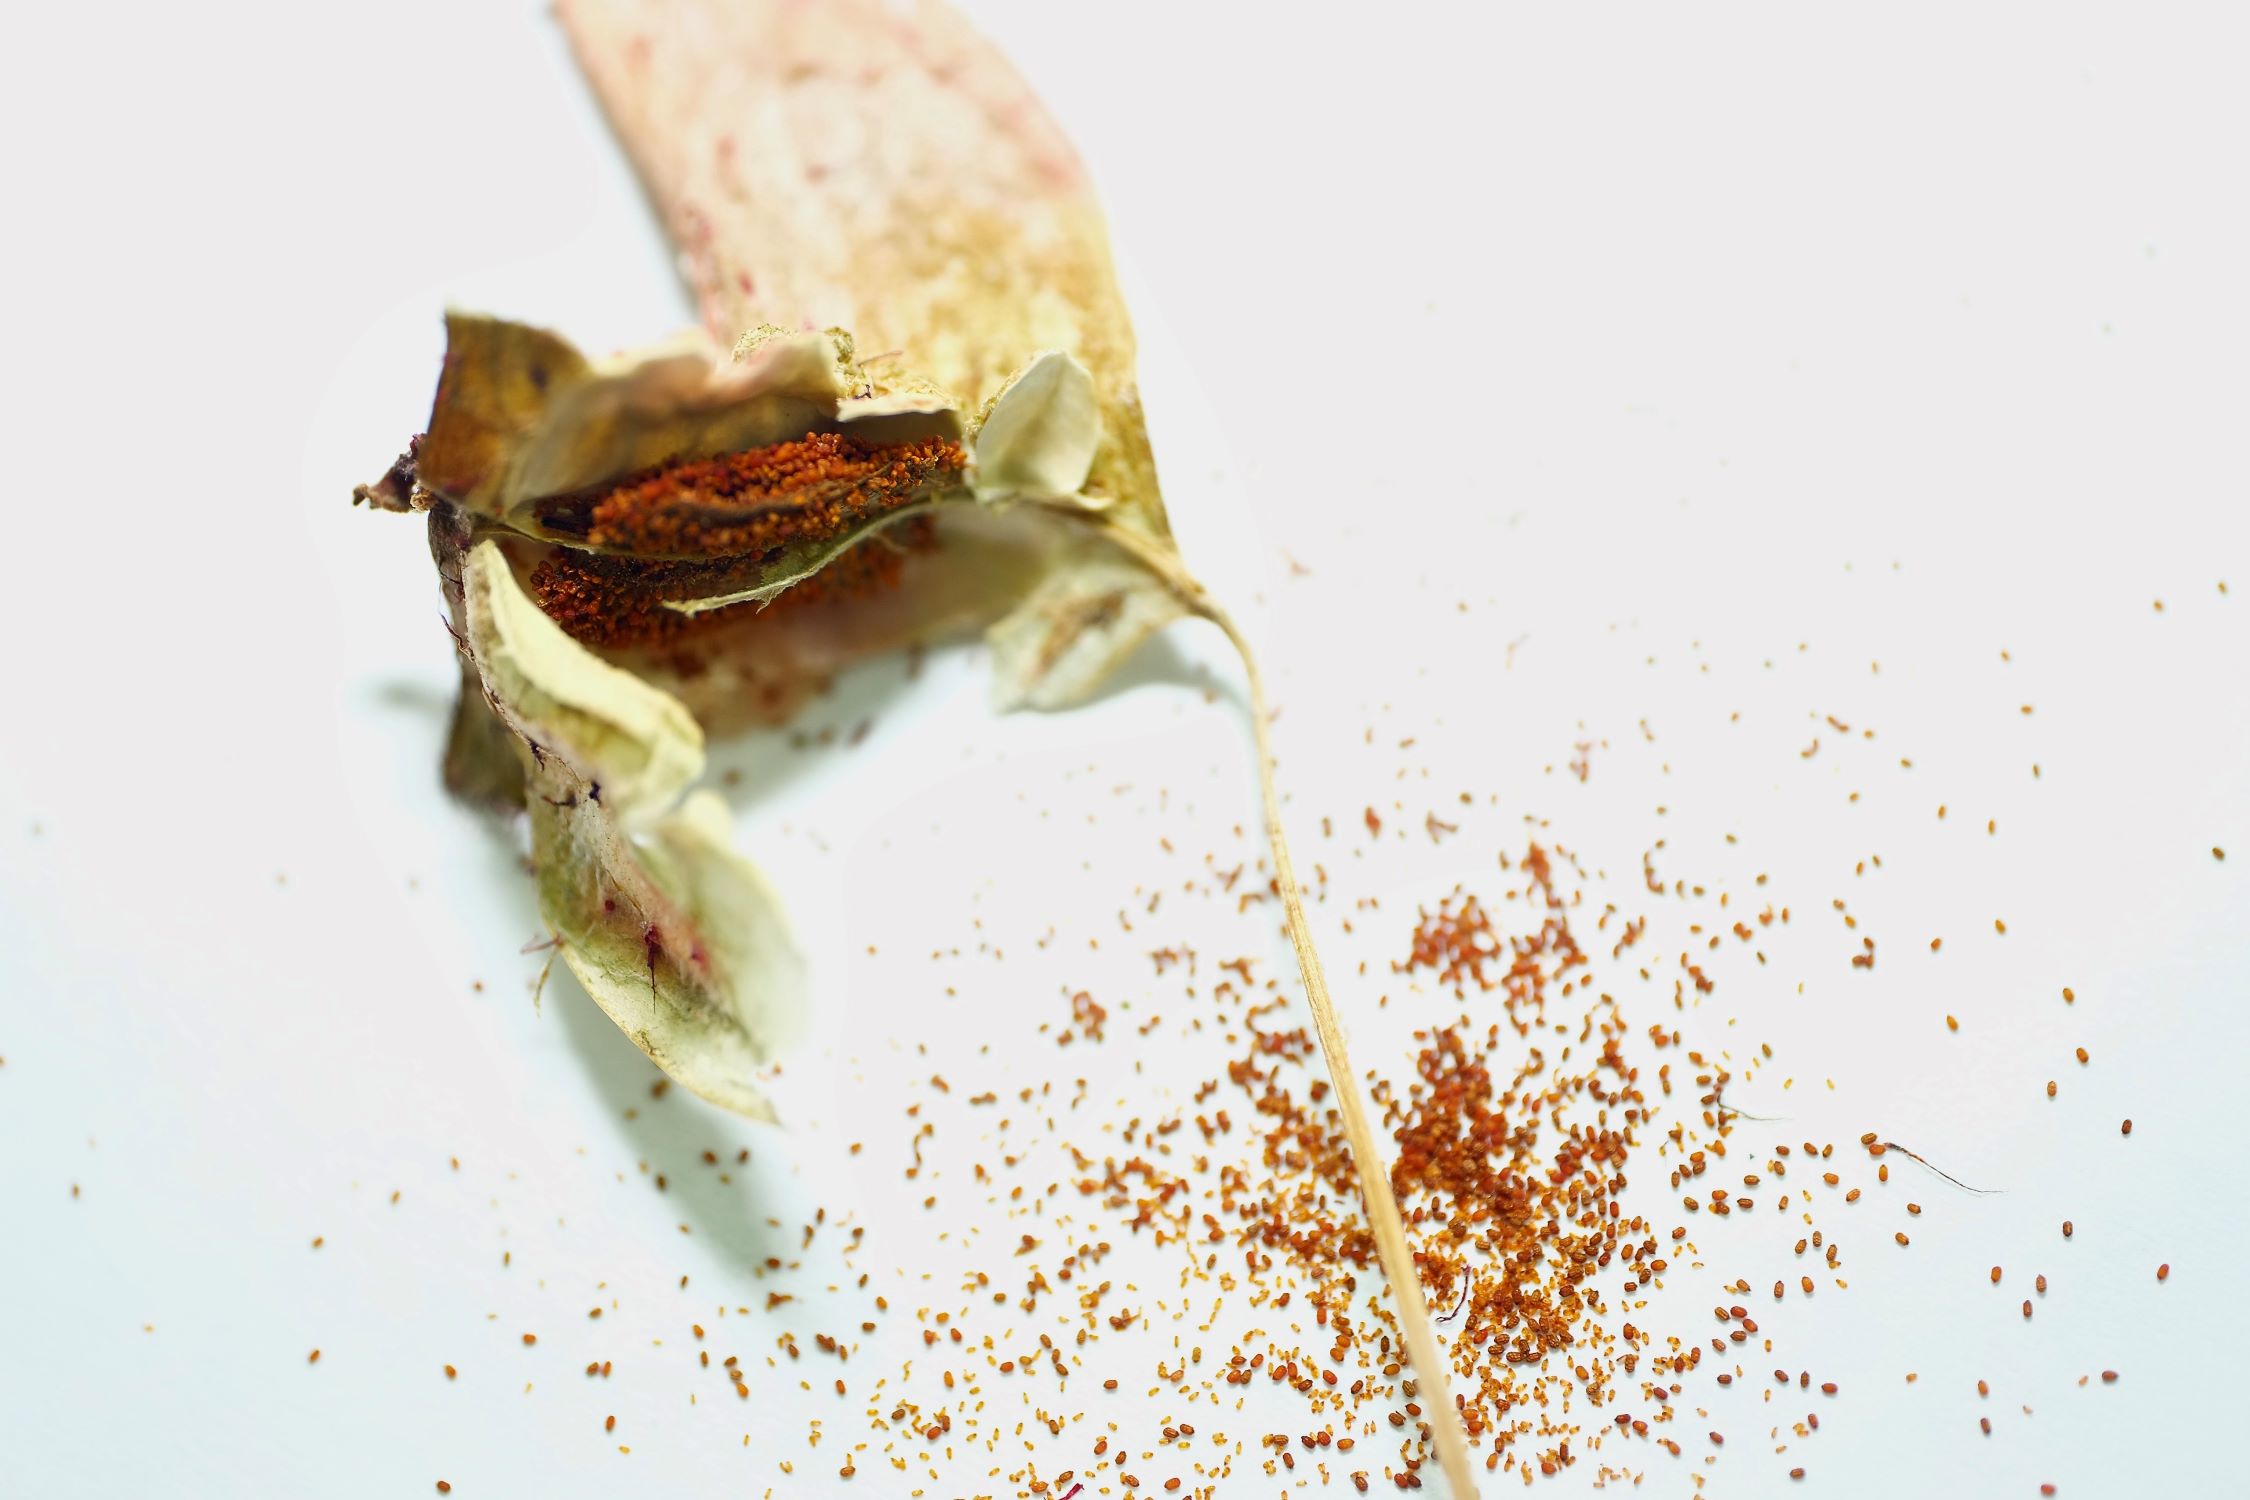
- Select the seed heads: Choose seed heads that have turned a light brown color and feel dry to the touch. Avoid seed heads that are still green or have a moist texture, as they are not fully mature.
- Position the container: Place your basket or container beneath the seed head you wish to harvest. This will help catch any seeds that may scatter during the harvesting process.
- Cut the seed heads: Using garden shears or pruning scissors, carefully cut the entire seed head from the dill plant. Make sure to leave a few inches of stem attached to the seed head for easier handling.
- Collect in a paper bag: Place the harvested seed heads in a paper bag to allow air circulation while they dry. Seal the bag and hang it upside down in a cool, dry location away from direct sunlight.
- Drying process: Leave the seed heads to dry completely for about two weeks. During this time, the seeds will continue to harden and mature.
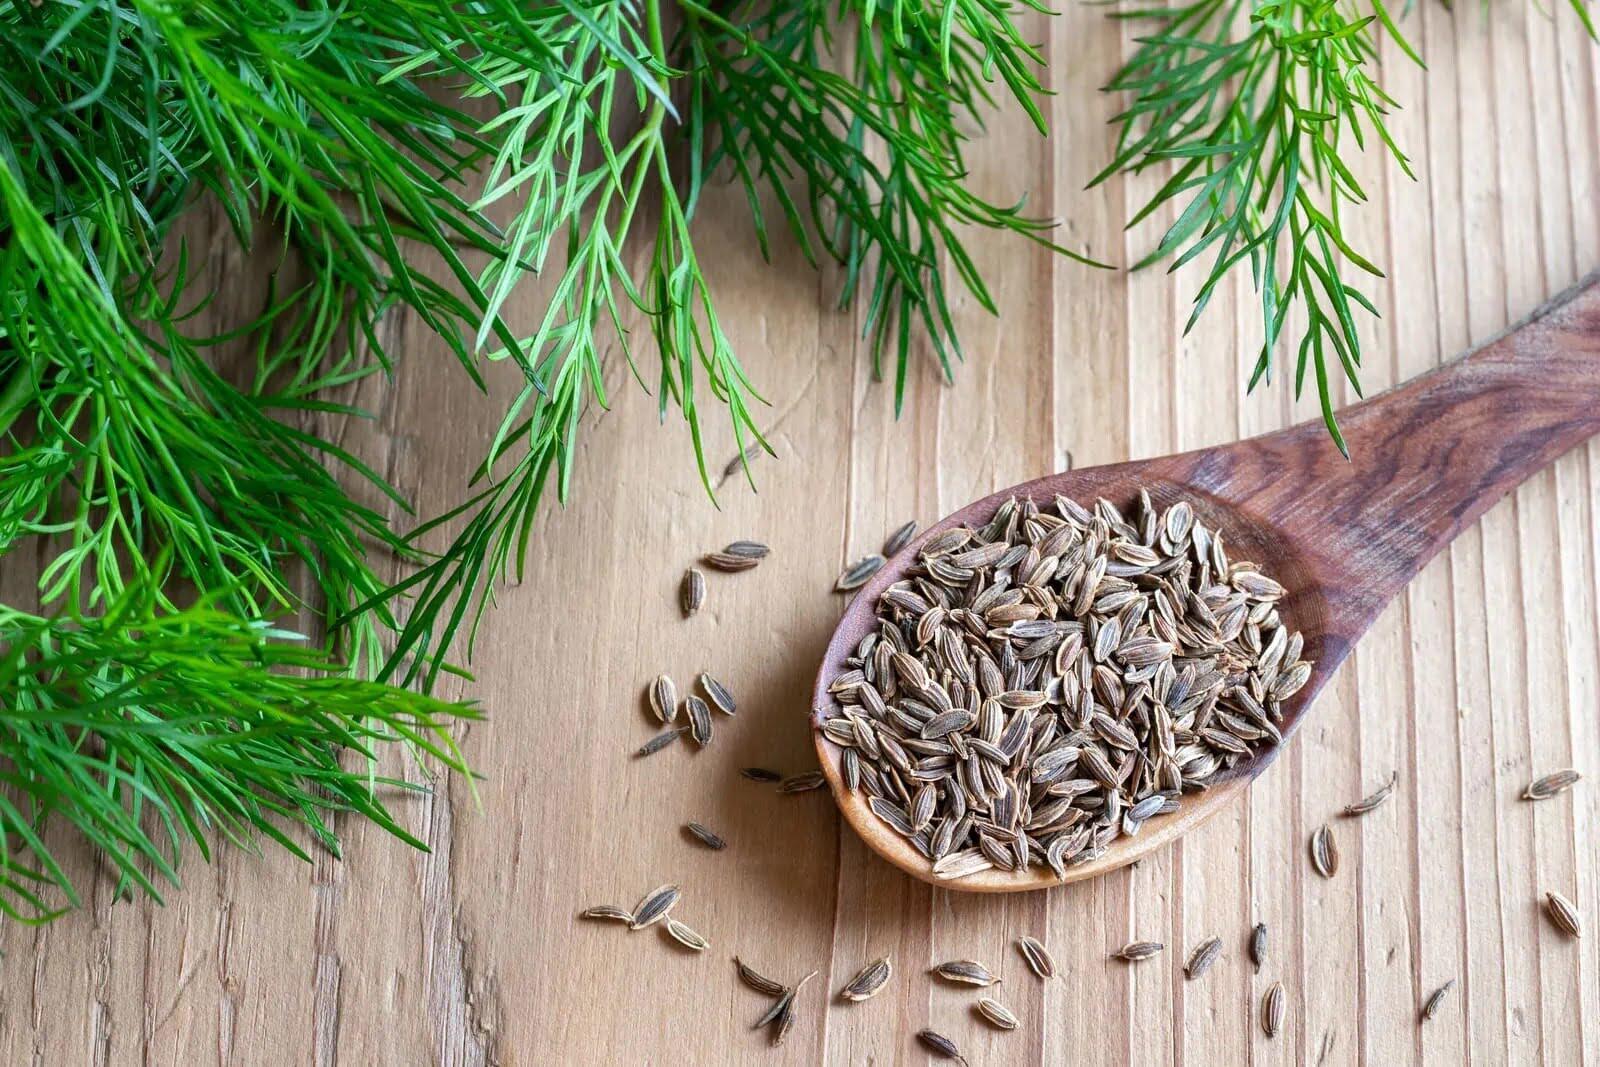
- Remove the seeds: Once the seed heads are completely dry, gently rub them between your hands or crush them to release the dill seeds. You can also use a fine-mesh sieve to separate the seeds from any unwanted debris.
- Store the seeds: Transfer the harvested dill seeds to a clean, airtight container or a spice jar. Store them in a cool, dark place to maintain their flavor and freshness.
By following these simple steps, you can successfully harvest dill seeds for pickling. Now that you have collected your seeds, let’s explore how to store and preserve them for future pickling adventures.
Storing and Preserving Dill Seeds for Pickling
Proper Drying Techniques
Properly drying dill seeds is crucial for preserving their flavor and extending their shelf life. Here are some important drying techniques to follow:
- Ensure thorough drying: After harvesting the seed heads, place them in a paper bag or a mesh bag to allow for proper air circulation. Hang the bag in a cool, dry area away from direct sunlight. This will enable the seed heads to dry slowly and evenly.
- Patience is key: Allow the seed heads to dry completely for about two weeks. During this time, the seeds will continue to harden and develop their distinctive flavor.
- Regularly check for moisture: Check the seed heads periodically for any signs of moisture or mold. If you notice any, discard those seed heads to prevent the risk of spoilage.
Read more: When To Harvest Cucumber Seeds
Packaging and Long-term Storage
Once the dill seeds are dry and ready, it’s important to package them properly for long-term storage. Follow these guidelines:
- Choose appropriate containers: Transfer the dried dill seeds to clean, airtight containers or spice jars. Glass jars are an excellent option as they are non-reactive and do not absorb odors.
- Label and date the containers: Clearly label the containers with the contents and the date of harvest. This will help you keep track of the freshness and ensure you use the oldest seeds first.
- Keep out moisture and light: Store the containers of dill seeds in a cool, dark place to preserve their flavor and prevent degradation. Moisture and light can adversely affect the quality of the seeds over time.
Tips for Maintaining Seed Quality
To maintain the quality and viability of your dill seeds for pickling, consider the following tips:
- Use within a year: Dill seeds are best used within a year of harvest when they are at their peak flavor and freshness. While they may still be usable beyond that timeframe, the flavor may diminish.
- Avoid exposure to heat and humidity: Keep your dill seeds away from heat sources, such as stoves or ovens, as well as excessive humidity. Both heat and moisture can reduce the quality and flavor of the seeds.
- Store in small quantities: It’s best to store dill seeds in smaller quantities rather than in bulk. This way, you can open and use one container at a time, ensuring the rest of the seeds remain fresh and protected.
- Test for viability: If you are unsure whether your stored dill seeds are still viable, you can perform a germination test. Place a few seeds on a damp paper towel and keep them in a warm location. If the seeds sprout within a week, they are still viable.
By following these guidelines for storing and preserving dill seeds, you can ensure that your harvest remains of high quality and ready for future pickling endeavors. Now that you have preserved your dill seeds, it’s time to enjoy the fruits of your labor and embark on exciting pickling adventures!
Conclusion
Congratulations! You have now gained a comprehensive understanding of the art of harvesting dill seeds specifically for pickling. By following the factors to consider, the step-by-step harvesting process, and the proper techniques for storing and preserving dill seeds, you are well-equipped to embark on your pickling adventures and create flavorful and delicious pickles.
Harvesting your own dill seeds for pickling offers numerous benefits, from ensuring the highest quality and freshness of the seeds to providing a cost-effective and rewarding experience. The tangy, slightly sweet flavor of dill seeds adds a unique and memorable touch to your pickled vegetables, enhancing their taste and aroma.
Remember to consider the timing of harvesting, the maturity of the plant, and the color and texture of the seeds in order to collect them at their peak flavor and quality. Use the appropriate tools and materials, such as garden shears and paper bags, to facilitate the harvesting process. Properly dry the seed heads over a two-week period and store the harvested seeds in airtight containers in a cool, dark place to maintain their freshness and potency.
By following these guidelines and tips, you can continue to enjoy the flavors of your homegrown dill seeds in your pickling recipes for years to come. Experiment with different varieties and explore the world of pickling as you incorporate the distinct taste of dill seeds into your creations.
Now that you possess the knowledge and expertise, it’s time to roll up your sleeves and begin your dill seed harvesting and pickling journey. Embrace the joy of growing, harvesting, and preserving your own dill seeds, and let your pickles shine with their unique flavor and aroma.
Happy harvesting and pickling!
Frequently Asked Questions about When To Harvest Dill Seeds For Pickling
Was this page helpful?
At Storables.com, we guarantee accurate and reliable information. Our content, validated by Expert Board Contributors, is crafted following stringent Editorial Policies. We're committed to providing you with well-researched, expert-backed insights for all your informational needs.
0 thoughts on “When To Harvest Dill Seeds For Pickling”