Articles
How To Store Real Techniques Sponge
Modified: December 7, 2023
Discover the best way to store your Real Techniques sponge and keep it clean and hygienic with these helpful articles.
(Many of the links in this article redirect to a specific reviewed product. Your purchase of these products through affiliate links helps to generate commission for Storables.com, at no extra cost. Learn more)
Introduction
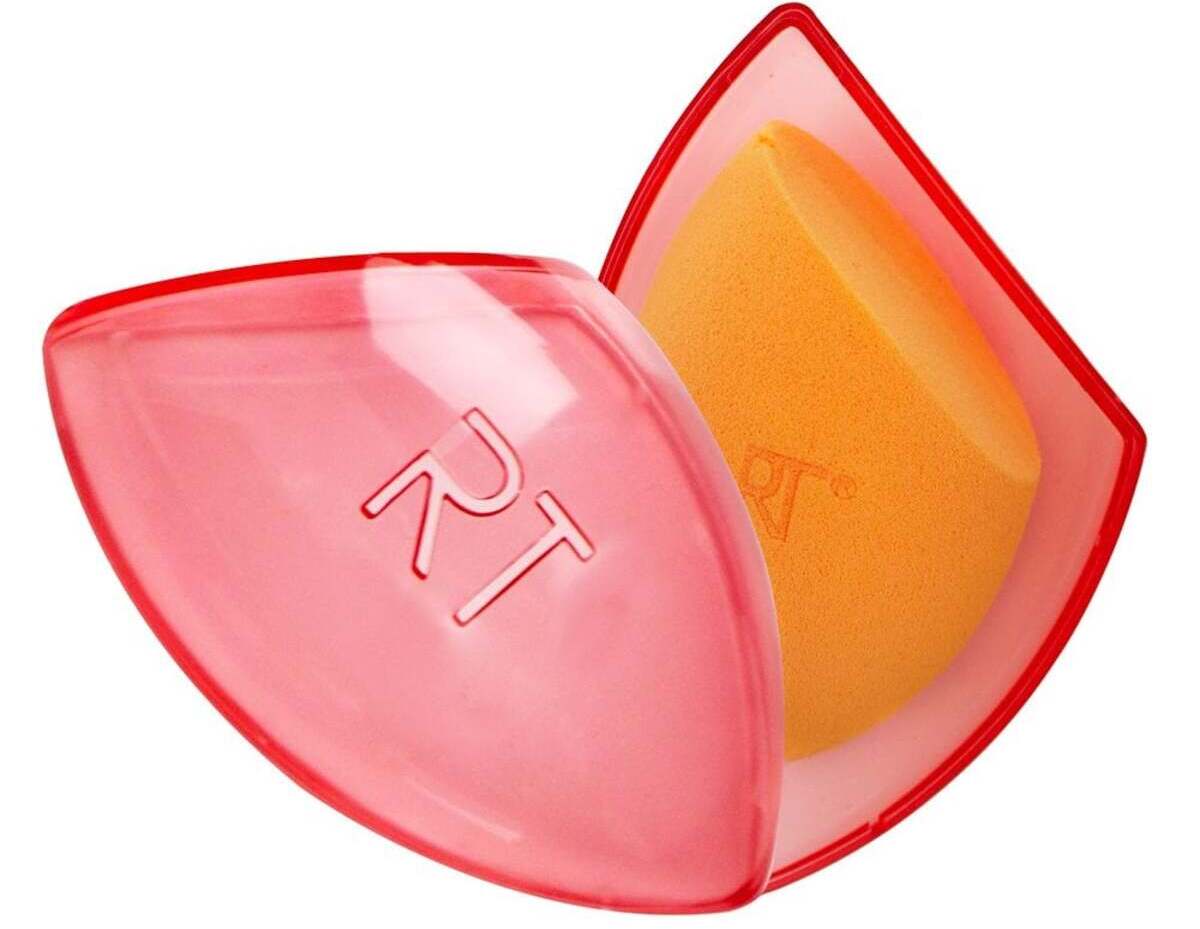
Real Techniques sponges have become a staple in many makeup lovers’ routines. These versatile beauty tools help you achieve a flawless finish, but proper storage is key to ensuring their longevity and effectiveness. Properly storing your Real Techniques sponge not only helps to maintain its shape and texture, but also prevents the growth of bacteria and mold. In this article, we will guide you on how to store your Real Techniques sponge to keep it clean, fresh, and ready for your next makeup application.
Key Takeaways:
- Properly cleaning and air-drying your Real Techniques sponge is essential to prevent bacterial growth and maintain its shape and texture, ensuring flawless makeup application.
- Storing your Real Techniques sponge in a well-ventilated area, separately from other makeup products, and replacing it regularly are key to maintaining hygiene and optimal performance.
Read more: How To Store Makeup Sponges
Step 1: Clean the Sponge
Before storing your Real Techniques sponge, it is essential to clean it thoroughly. Over time, makeup, dirt, and oils can accumulate on the sponge, leading to a buildup of bacteria. To clean your sponge, follow these simple steps:
- Wet the sponge: Start by wetting the sponge under warm running water. Make sure to saturate it completely as this will help soften the makeup residue and make the cleaning process easier.
- Apply gentle cleanser: Squeeze a small amount of mild soap or sponge cleanser onto the damp sponge. You can also use baby shampoo or a gentle face cleanser. Avoid using harsh chemicals or abrasive cleaners as they can damage the sponge.
- Gently massage the sponge: Using your fingers, gently massage the cleanser into the sponge in a circular motion. Pay attention to areas where makeup tends to accumulate, such as the edges and the center.
- Rinse thoroughly: Rinse the sponge under warm water until all the soap suds are gone. Squeeze the sponge repeatedly to ensure that all the cleanser is fully rinsed out.
- Repeat if necessary: If the sponge is heavily soiled or stained, you may need to repeat the cleaning process to ensure it is completely clean.
Once you have cleaned your Real Techniques sponge, it is important to let it air dry completely before storing it. This will help prevent the growth of bacteria and maintain the sponge’s shape and texture.
Step 2: Air Dry the Sponge
After cleaning your Real Techniques sponge, it is crucial to allow it to air dry completely before storing it. Here’s how to properly air dry your sponge:
- Gently squeeze out excess water: Use your hands to gently squeeze out any excess water from the sponge. Avoid twisting or wringing the sponge, as this can distort its shape.
- Place the sponge in a well-ventilated area: Find a clean and well-ventilated area where you can lay the sponge down to dry. Avoid placing it on a bathroom counter or near a sink, as these areas can harbor moisture and promote bacterial growth.
- Avoid direct sunlight or heat sources: While it may be tempting to speed up the drying process by placing the sponge in direct sunlight or using a hairdryer, this can actually damage the sponge and compromise its quality. Instead, let it air dry naturally.
- Flip the sponge periodically: To ensure even drying, flip the sponge over every few hours. This will help prevent moisture from becoming trapped inside the sponge.
- Allow sufficient drying time: Depending on the humidity level in your environment, it may take anywhere from a few hours to a day for the sponge to dry completely. Patience is key to avoid storing a damp sponge, which can lead to bacterial growth.
Remember, a dry sponge is less likely to harbor bacteria and maintain its shape and effectiveness. Avoid using a damp or wet sponge, as this can interfere with the application of your makeup and compromise the hygiene of the sponge.
Step 3: Store the Sponge in a Well-Ventilated Area
Properly storing your Real Techniques sponge is essential to keep it clean, dry, and ready for your next use. Here’s how to store your sponge in a well-ventilated area:
- Choose a clean and dry space: Select a location for storing your sponge that is clean, dry, and free from moisture. Ideally, this area should be well-ventilated to allow proper air circulation.
- Avoid storing in a closed container: Placing your sponge in a closed container, such as a makeup bag or drawer, can trap moisture and promote the growth of bacteria. Instead, choose an open container or a breathable pouch that allows air to flow through.
- Keep away from direct sunlight and heat: Excessive heat and direct sunlight can cause your sponge to deteriorate and lose its effectiveness. Store your sponge away from windowsills or areas exposed to direct sunlight to prevent damage.
- Ensure the space is clean: Before placing your sponge in the designated area, make sure it is clean and free from any dirt or debris. Wipe down the surface with a clean cloth or disinfecting wipe to maintain hygiene.
- Avoid contact with other products: When storing your Real Techniques sponge, avoid placing it in close proximity to other makeup products. This prevents cross-contamination and ensures the sponge stays clean and free from any product residue.
By storing your Real Techniques sponge in a well-ventilated area, you are maximizing its lifespan and maintaining its cleanliness. Remember to periodically check the storage space for any signs of moisture or mold and make necessary adjustments to maintain a dry environment for your sponge.
After each use, make sure to thoroughly rinse the Real Techniques sponge with water and mild soap. Squeeze out excess water and store in a well-ventilated area to air dry completely. Avoid storing in a closed container to prevent mold growth.
Step 4: Avoid Storing the Sponge in Closed Containers
When it comes to storing your Real Techniques sponge, one important rule to remember is to avoid storing it in closed containers. While it may seem convenient to keep your sponge tucked away in a sealed makeup bag or drawer, doing so can actually have negative effects on the sponge’s condition and overall hygiene. Here’s why:
1. Trap moisture: Closed containers can trap moisture, leading to a damp environment that promotes the growth of bacteria and mold. Moisture can also cause the sponge to become limp and lose its shape, impacting its effectiveness during makeup application.
2. Lack of air circulation: Proper air circulation is crucial for the drying process and to keep the sponge fresh and dry. Stashing the sponge in a closed container restricts airflow, which can result in prolonged drying times and the potential for bacterial growth.
3. Product cross-contamination: Storing the sponge in close proximity to other makeup products, especially in a closed container, can lead to product cross-contamination. This means that the residue from other products can transfer onto the sponge, affecting the quality of your makeup application and potentially causing skin irritations.
Instead of closed containers, opt for open storage solutions that allow air circulation. You can use a purpose-made sponge holder, a clean and dry ceramic dish, or even a small mesh bag. These options provide the necessary airflow for drying and keep your sponge separate from other products, reducing the risk of cross-contamination.
Remember, proper storage is key to maintaining the cleanliness and effectiveness of your Real Techniques sponge. Avoid closed containers and opt for open storage solutions to keep your sponge dry, mold-free, and ready for flawless makeup application.
Read more: How To Store A Sponge Cake
Step 5: Store the Sponge Separately from Other Makeup Products
When it comes to storing your Real Techniques sponge, it’s important to keep it separate from other makeup products. Storing your sponge alongside your powders, creams, and brushes can lead to cross-contamination and affect the cleanliness and longevity of both the sponge and your other products. Here’s why you should store your sponge separately:
1. Avoid product transfer: Makeup products, especially powders, can leave behind residue on your sponge. Storing the sponge with these products increases the chances of product transfer, leading to a compromised application and potentially causing skin irritations.
2. Hygiene maintenance: By storing your sponge separately, you minimize the risk of bacteria and germs from other products transferring onto the surface of the sponge. This helps to maintain the hygiene and cleanliness of the sponge, preventing breakouts or skin infections.
3. Prevent damage: Storing your Real Techniques sponge with other sharp or abrasive makeup tools, such as brushes with bristles, can lead to wear and tear. The friction and rubbing against other products can cause the sponge to tear or lose its shape, affecting its overall performance.
To store your sponge separately, consider the following options:
- Individual plastic container: Use a clean and dry plastic container to store your sponge. This will keep it protected and separated from other makeup products, reducing the risk of contamination.
- Mesh bags: Purchase a small mesh bag specifically designed for sponge storage. These bags allow airflow while keeping the sponge separate from other products.
- Dedicated sponge holder: Invest in a sponge holder or stand that keeps your sponge upright and separate from your other makeup products. This can be a stylish and practical addition to your vanity or beauty storage area.
By storing your Real Techniques sponge separately from other makeup products, you ensure its cleanliness, longevity, and optimal performance. This helps you achieve flawless makeup application while maintaining the highest standards of hygiene.
Step 6: Replace the Sponge Regularly
Regularly replacing your Real Techniques sponge is an important step in maintaining good hygiene and achieving optimal makeup application. Over time, sponges can become worn out, harbor bacteria, and lose their effectiveness. Here’s why and how you should replace your sponge:
1. Bacterial build-up: No matter how well you clean and store your sponge, it will eventually accumulate bacteria over time. Bacteria can thrive in the damp and porous environment of the sponge, leading to a potential risk of skin infections and breakouts. It is recommended to replace your sponge every three to four months, or sooner if you notice any signs of degradation or mold.
2. Loss of shape and texture: With regular use and cleaning, sponges can lose their shape and texture, affecting their ability to blend makeup smoothly. As the sponge becomes worn out, it may not deliver the flawless finish you desire. If you notice your sponge is tearing, peeling, or no longer bounces back to its original shape, it’s time to get a new one.
3. Improved makeup application: A fresh and clean sponge provides optimal results when applying makeup. By replacing your Real Techniques sponge regularly, you ensure a consistently smooth and streak-free application. This is particularly important when working with foundations, powders, and cream products to achieve a flawless finish.
To know when it’s time to replace your sponge, watch out for the following signs:
- Visible wear and tear: Inspect your sponge for any signs of tearing, holes, or flaking. These indicate that the sponge is past its prime and needs replacement.
- Unpleasant odor: If your sponge develops a persistent unpleasant odor, even after thorough cleaning, it may be a sign of bacterial growth. It’s best to discard the sponge and get a new one.
- Noticeable changes in texture: Over time, sponges can become hardened, lose their softness, or develop an uneven texture. If you feel that the sponge is no longer providing a smooth and seamless application, it’s time to retire it.
By replacing your Real Techniques sponge regularly, you ensure that you are working with a clean and effective tool for your makeup application. This not only contributes to better results but also helps maintain the overall hygiene of your beauty routine.
Conclusion
Properly storing your Real Techniques sponge is crucial for maintaining its cleanliness, longevity, and optimal performance. By following the steps outlined in this article, you can ensure that your sponge stays clean, dry, and ready for flawless makeup application.
Start by cleaning the sponge thoroughly, removing any makeup residue and bacteria. Properly air drying the sponge is essential to prevent mold and bacterial growth, so be sure to give it enough time to dry completely.
When it comes to storage, choose a well-ventilated area and avoid closed containers that can trap moisture. Storing the sponge separately from other makeup products helps to maintain hygiene and prevent cross-contamination.
Remember to replace your Real Techniques sponge regularly to ensure optimal performance and hygiene. A worn-out sponge can compromise your makeup application and harbor bacteria.
By implementing these steps into your routine, you can extend the life of your Real Techniques sponge and enjoy flawless makeup application every time. With proper storage and regular maintenance, your sponge will continue to be a reliable tool in your beauty arsenal.
Frequently Asked Questions about How To Store Real Techniques Sponge
Was this page helpful?
At Storables.com, we guarantee accurate and reliable information. Our content, validated by Expert Board Contributors, is crafted following stringent Editorial Policies. We're committed to providing you with well-researched, expert-backed insights for all your informational needs.


0 thoughts on “How To Store Real Techniques Sponge”