Home>Home Appliances>Cleaning Appliances>How To Use A Sponge Mop
Cleaning Appliances
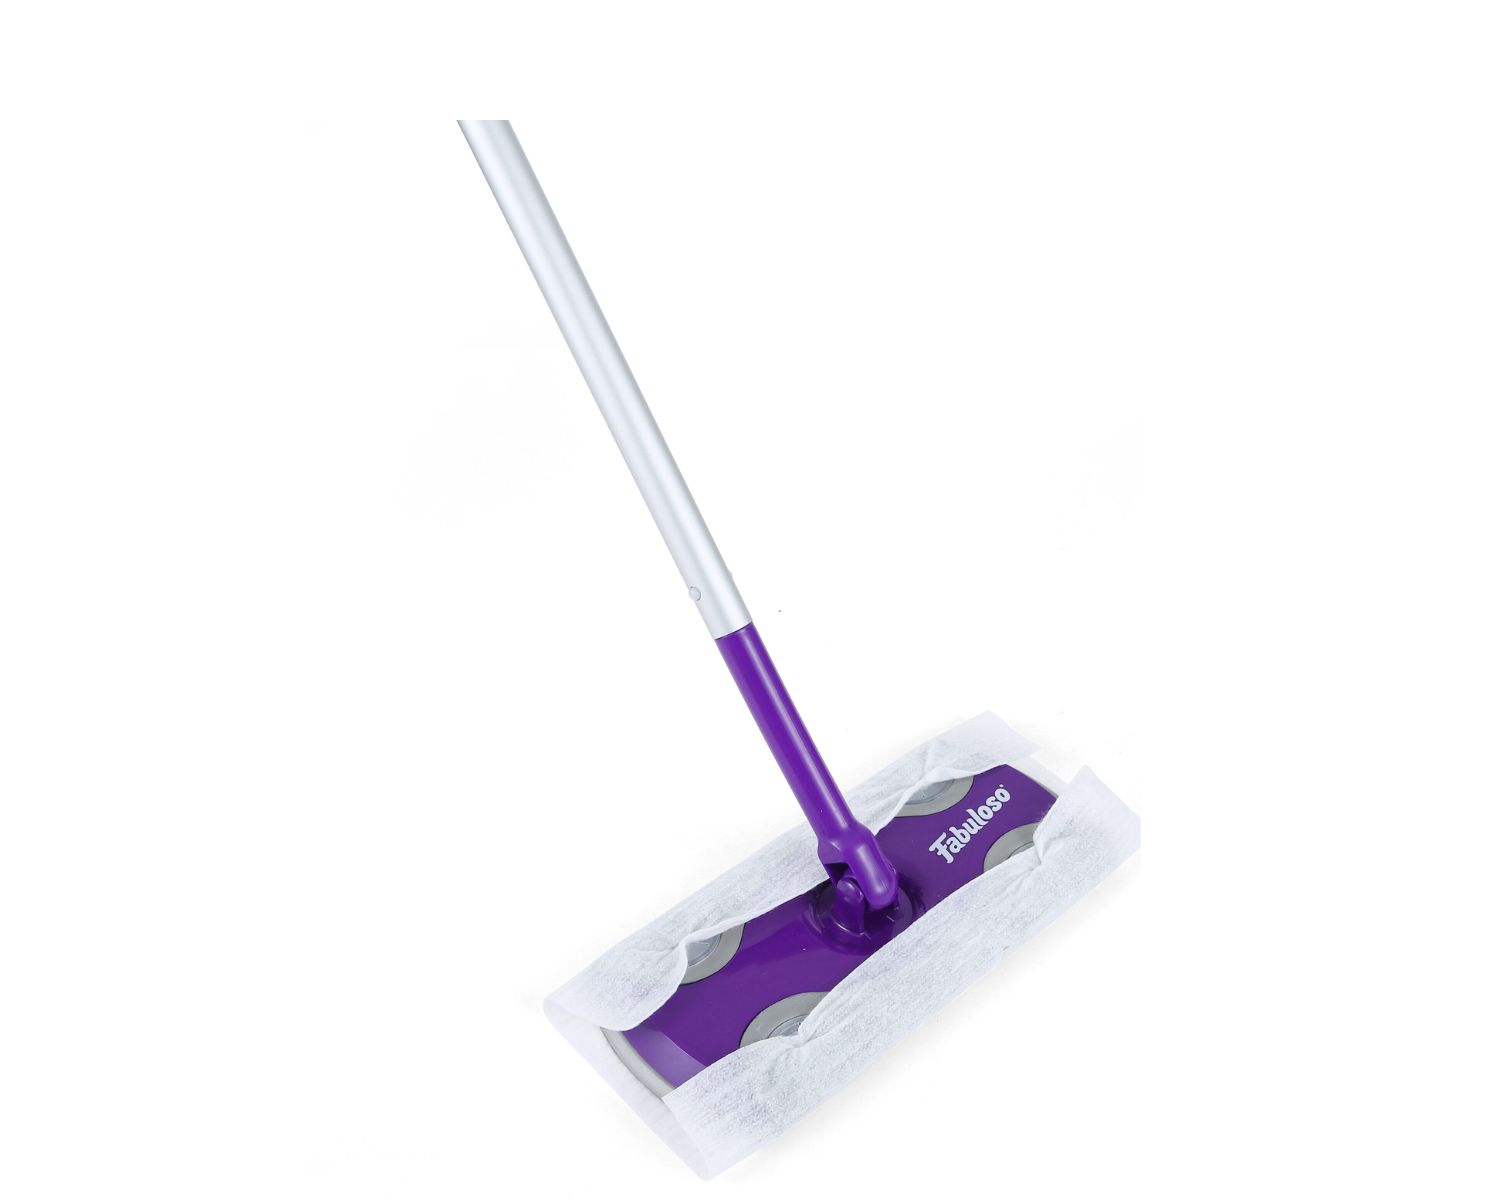
How To Use A Sponge Mop
Modified: March 19, 2024
Learn the best techniques for using a sponge mop to efficiently clean your floors and other surfaces. Discover effective tips for maintaining your cleaning appliances. Ideal for anyone looking to streamline their cleaning routine.
(Many of the links in this article redirect to a specific reviewed product. Your purchase of these products through affiliate links helps to generate commission for Storables.com, at no extra cost. Learn more)
Introduction
Welcome to the ultimate guide on how to use a sponge mop to achieve sparkling clean floors with minimal effort. Sponge mops are versatile and efficient tools for maintaining the cleanliness of various floor surfaces, from hardwood and tile to linoleum and laminate. Whether you are a cleaning enthusiast or a novice, mastering the art of using a sponge mop will undoubtedly simplify your cleaning routine and elevate the overall hygiene of your living space.
In this comprehensive tutorial, we will walk you through the step-by-step process of assembling, preparing, and using a sponge mop to ensure optimal cleaning results. Additionally, we will explore the essential steps for rinsing, cleaning, and storing your sponge mop, prolonging its lifespan and preserving its effectiveness. By the end of this guide, you will possess the knowledge and confidence to wield a sponge mop like a seasoned cleaning professional, transforming your floors into pristine, inviting surfaces.
So, grab your sponge mop and let’s dive into the world of efficient and effective floor cleaning!
Key Takeaways:
- Master the art of using a sponge mop to effortlessly achieve spotless floors, from assembling and preparing to mopping and rinsing. Elevate your cleaning routine with newfound expertise and confidence.
- Embrace the transformative power of a sponge mop to revitalize your living space. Show appreciation by diligently cleaning and storing the mop, ensuring its reliability for future cleaning endeavors.
Read also: 9 Amazing Sponge Mop For 2025
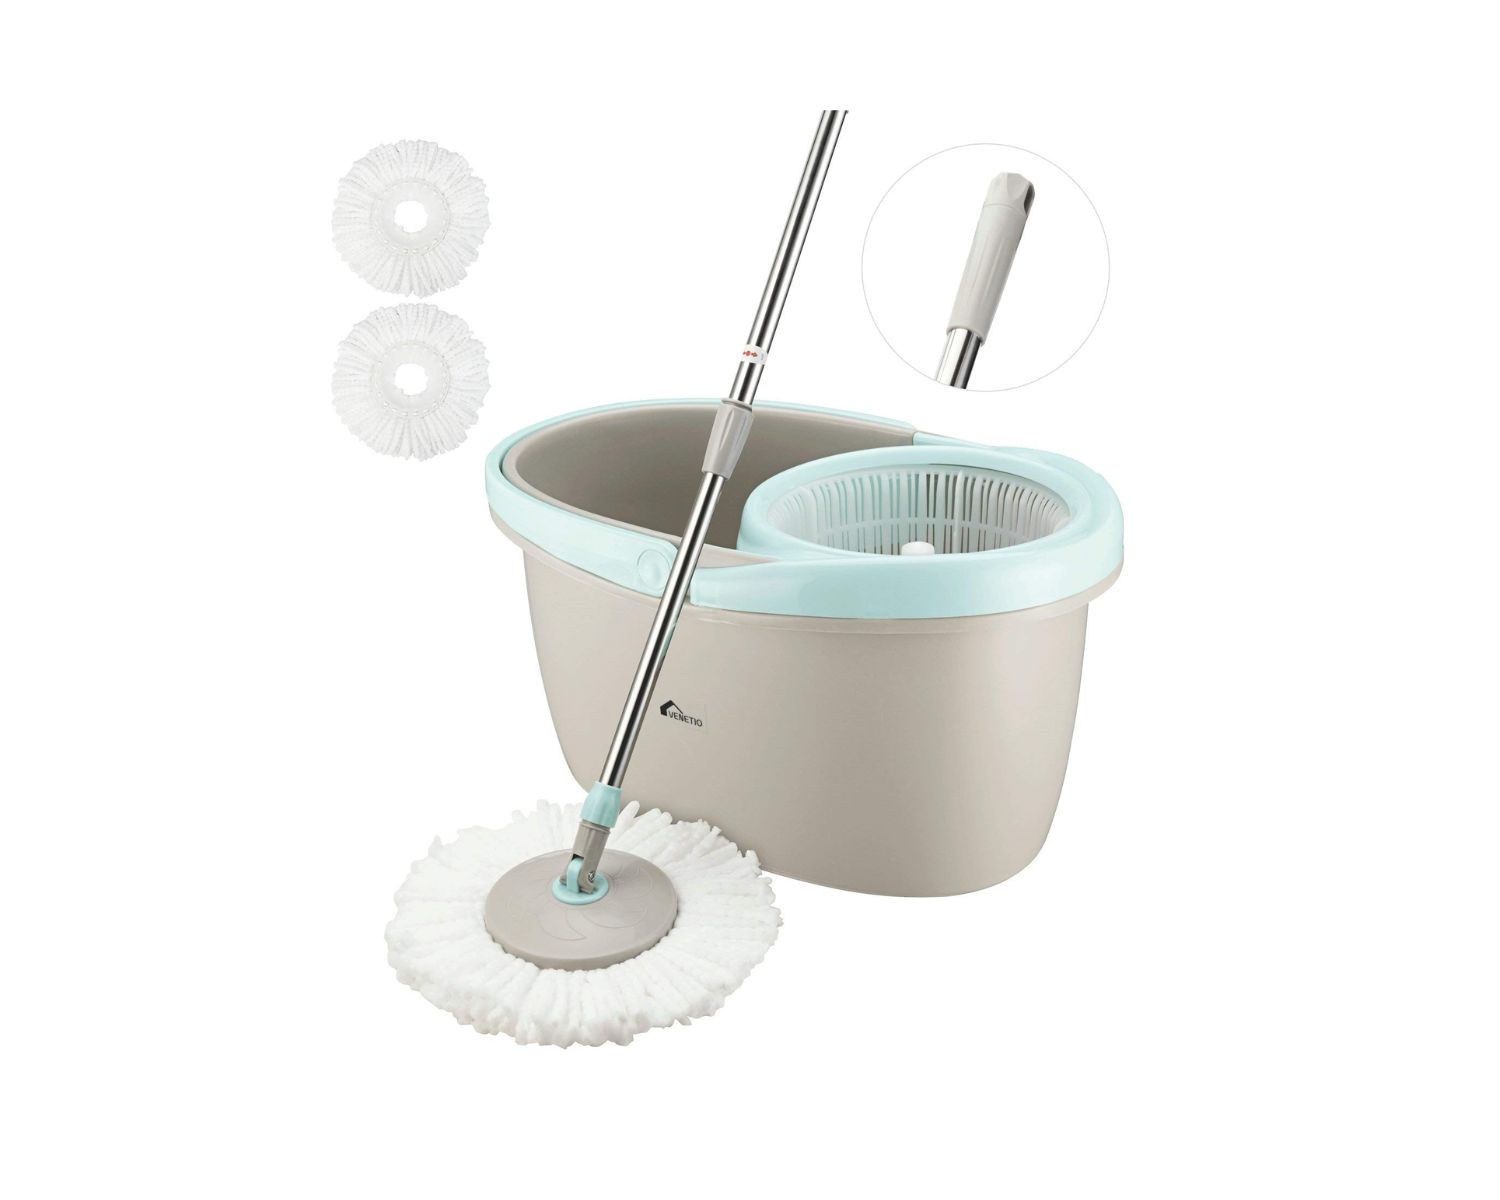
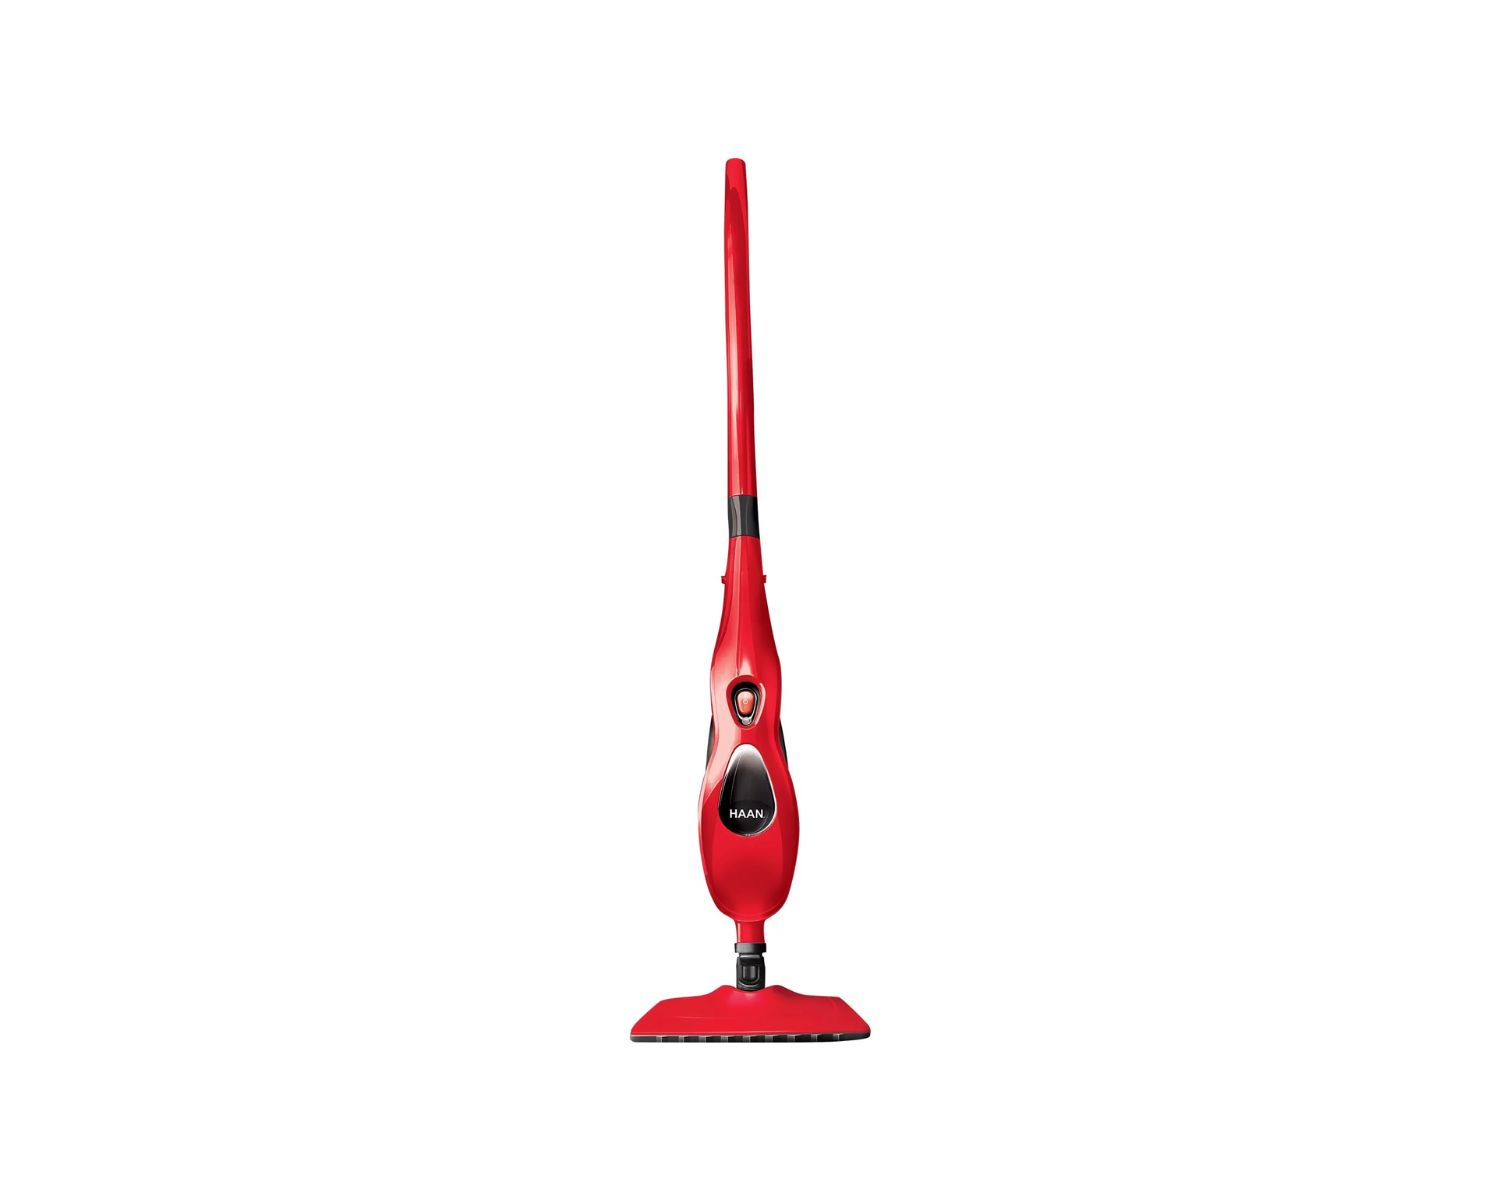
Step 1: Assembling the Sponge Mop
Before embarking on your cleaning journey, it’s crucial to ensure that your sponge mop is properly assembled for optimal functionality. Most sponge mops come with straightforward assembly instructions, typically involving the attachment of the mop head to the handle. Here’s a simple guide to help you assemble your sponge mop:
- Unpack the Components: Carefully unpack the sponge mop and familiarize yourself with its components, including the mop head, handle, and any additional attachments or features.
- Attach the Mop Head: Depending on the specific design of your sponge mop, you may need to screw, clip, or slide the mop head onto the handle. Follow the manufacturer’s instructions to securely attach the mop head, ensuring that it is stable and properly aligned with the handle.
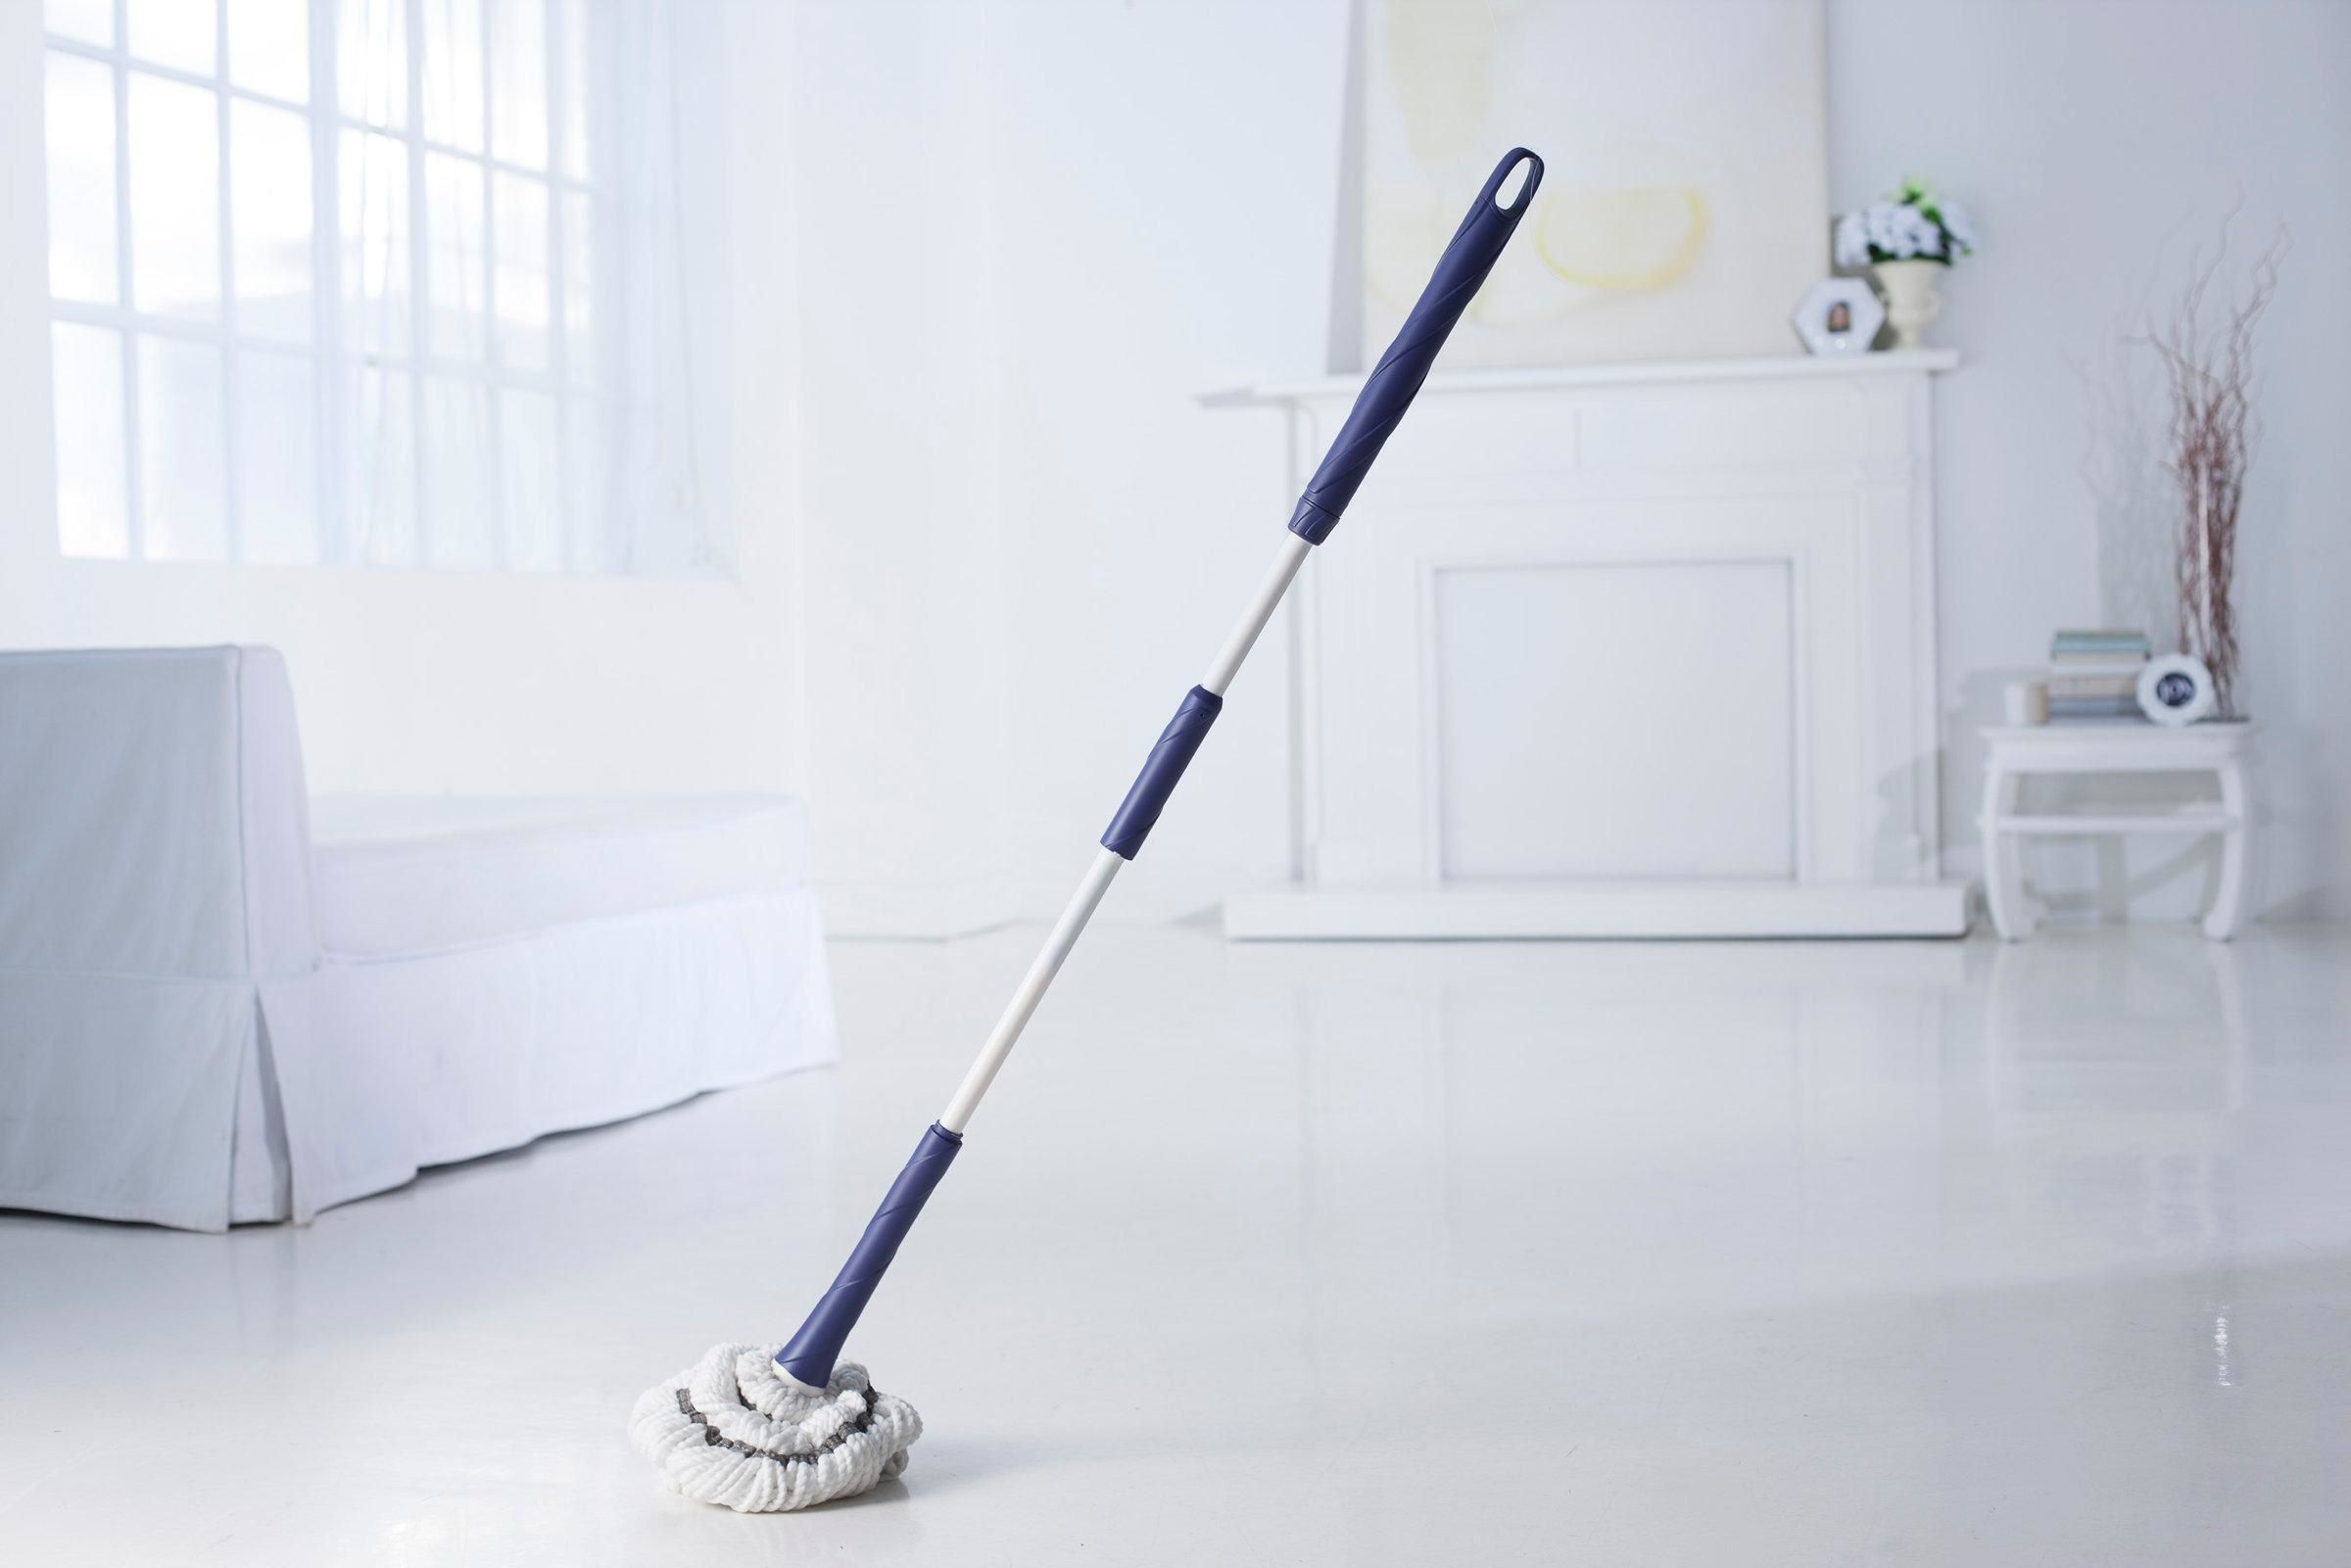
- Adjust the Handle Length: If your sponge mop features an adjustable handle, customize the length to suit your comfort and cleaning preferences. A comfortable handle length can significantly enhance your cleaning experience, minimizing strain and maximizing control.
- Inspect for Stability: Once the mop head is attached and the handle is adjusted, give the sponge mop a gentle shake and ensure that the components are securely connected. A stable and well-assembled sponge mop is essential for efficient and hassle-free cleaning.
By following these simple steps, you can swiftly assemble your sponge mop and prepare it for the upcoming cleaning tasks. A properly assembled sponge mop sets the stage for seamless and effective floor cleaning, allowing you to focus on achieving immaculate results without any assembly-related interruptions.
Step 2: Preparing the Cleaning Solution
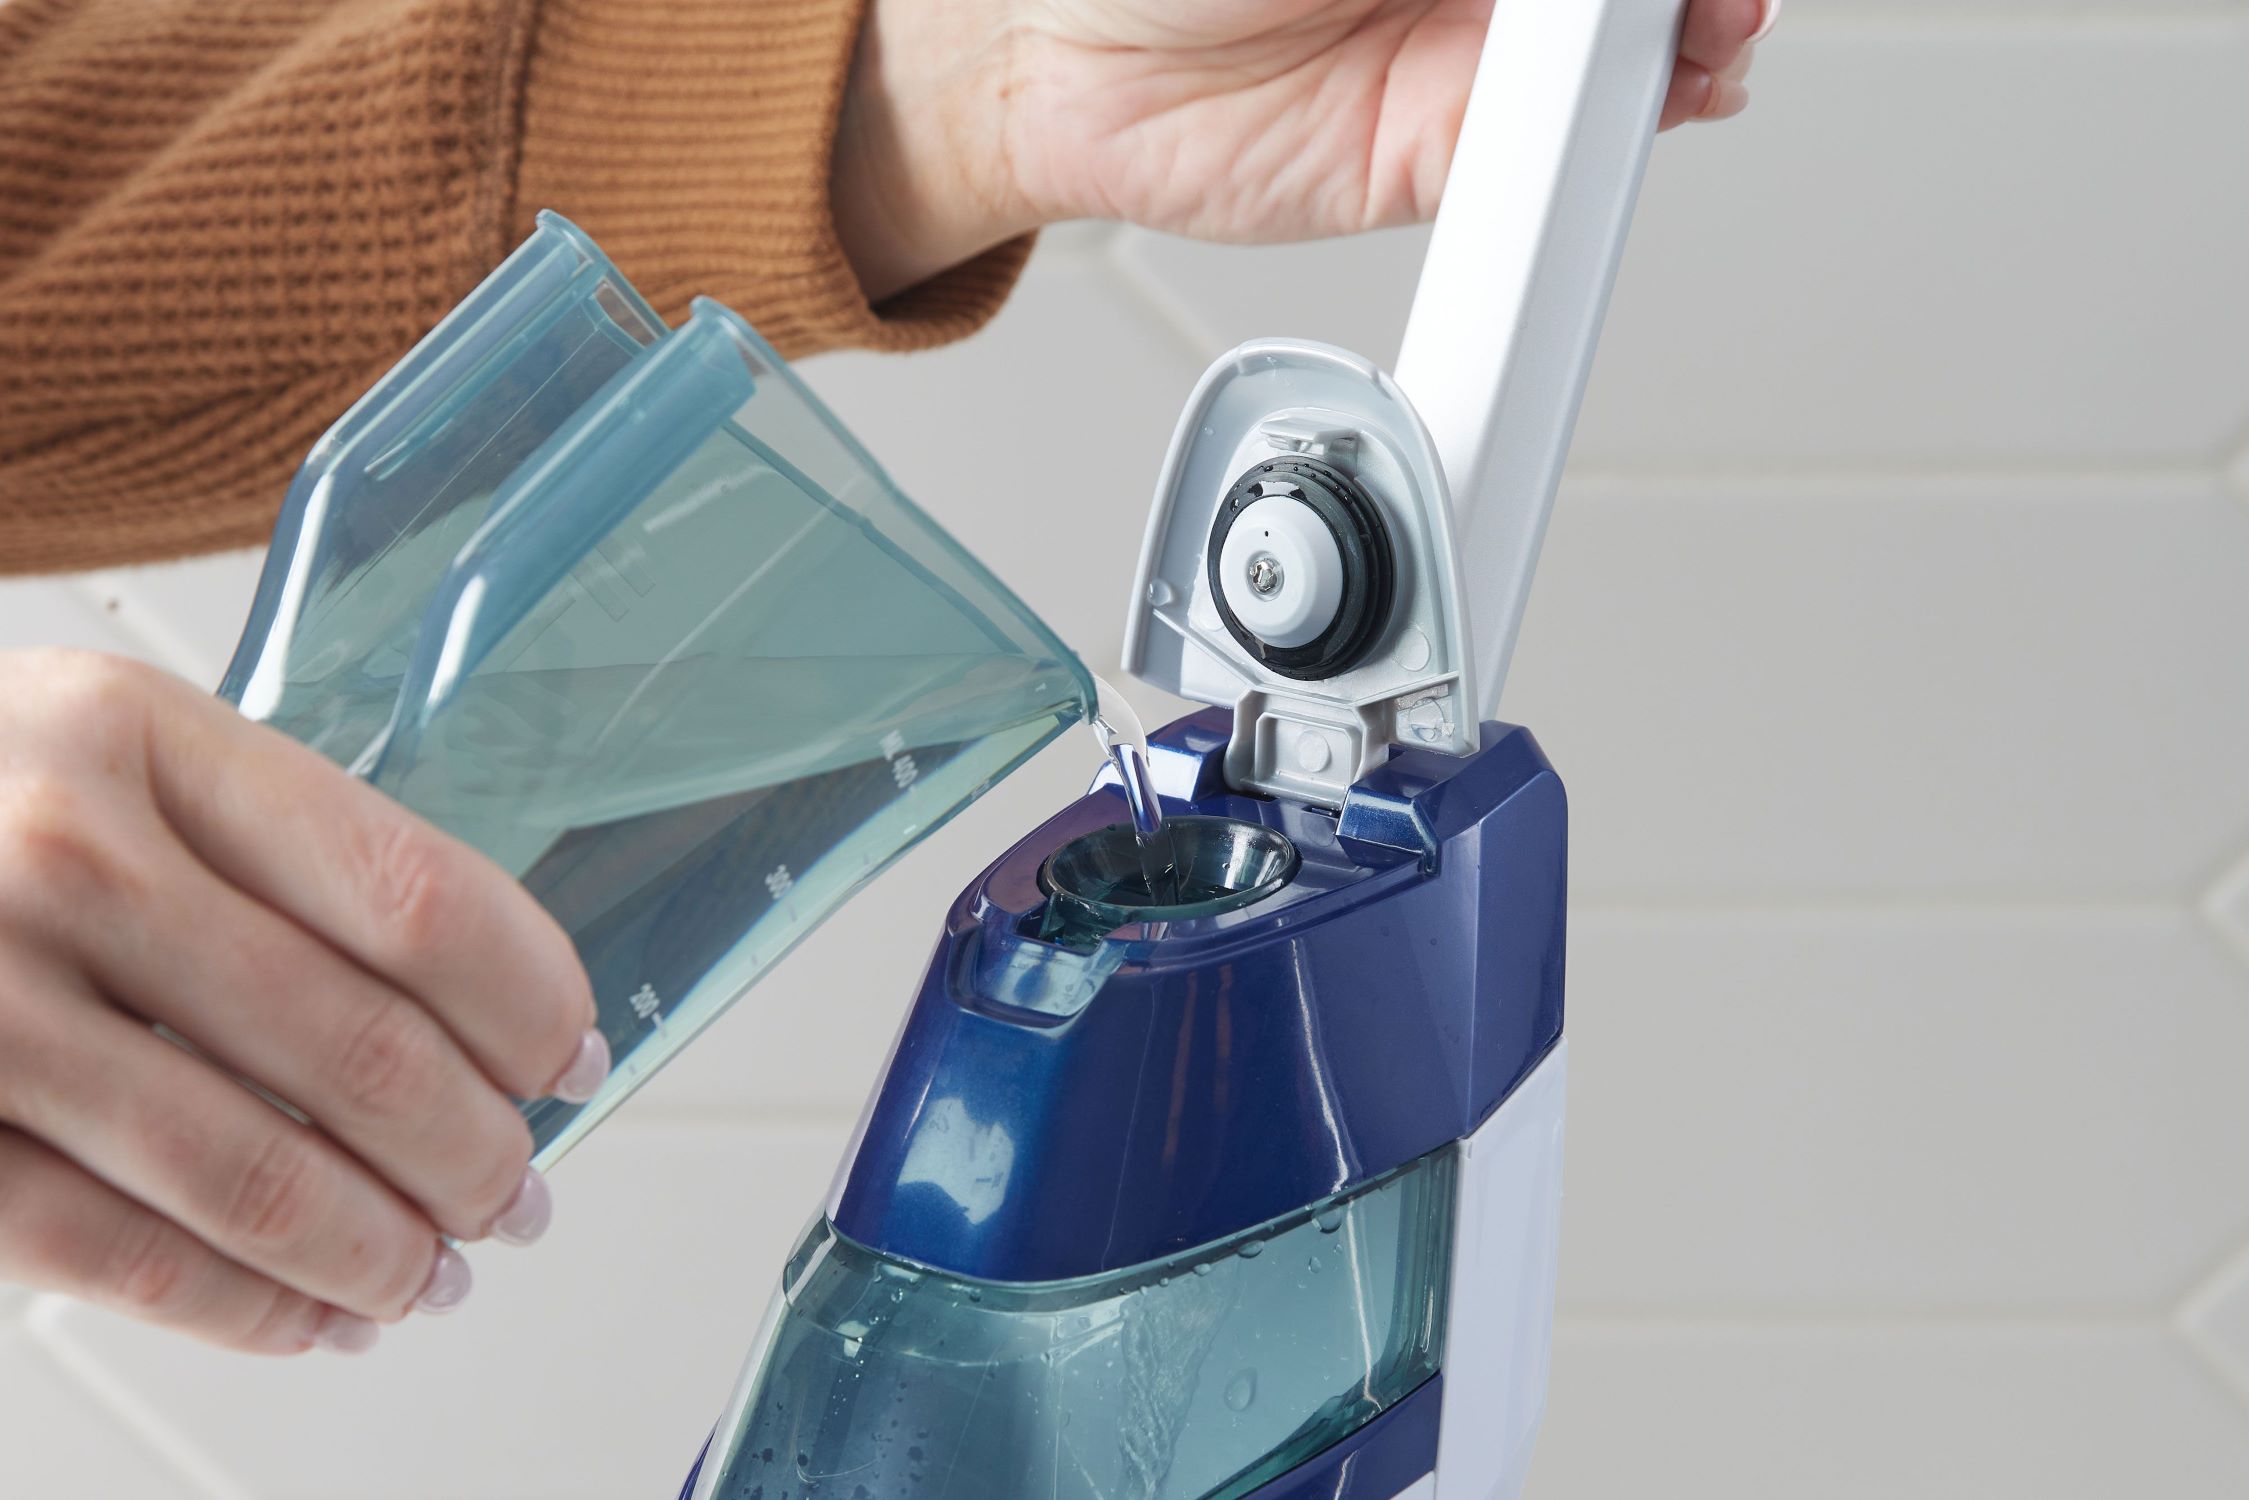
Once your sponge mop is assembled and ready for action, the next crucial step is to prepare an effective cleaning solution that will powerfully lift dirt, grime, and stains from your floors. The choice of cleaning solution depends on the type of flooring you have and the level of cleaning required. Whether you opt for a commercial floor cleaner or prefer a DIY solution, the goal is to create a potent yet floor-friendly cleaning concoction. Here’s how to prepare a cleaning solution for your sponge mop:
- Assess Your Flooring: Identify the specific type of flooring in the area you intend to clean. Different flooring materials, such as hardwood, tile, vinyl, or laminate, may require different cleaning solutions to ensure optimal results and prevent damage.
- Choose the Right Cleaner: Select a suitable commercial floor cleaner that is compatible with your flooring type. Alternatively, if you prefer a DIY approach, consider creating a homemade cleaning solution using ingredients like vinegar, mild dish soap, or specialized floor cleaning agents.
- Mix the Solution: Dilute the commercial cleaner or combine the appropriate ingredients for your DIY cleaning solution in a bucket or a designated cleaning container. Follow the manufacturer’s instructions for dilution ratios or refer to trusted DIY cleaning recipes for guidance.
- Test for Compatibility: Before immersing your sponge mop in the cleaning solution, perform a small patch test in an inconspicuous area of the floor to ensure that the solution is safe and effective for your specific flooring material.
By meticulously preparing a tailored cleaning solution for your sponge mop, you can confidently tackle dirt and stains while safeguarding the integrity of your floors. The right cleaning solution, combined with the prowess of a sponge mop, will elevate your cleaning endeavors to new heights, leaving your floors immaculately clean and refreshed.
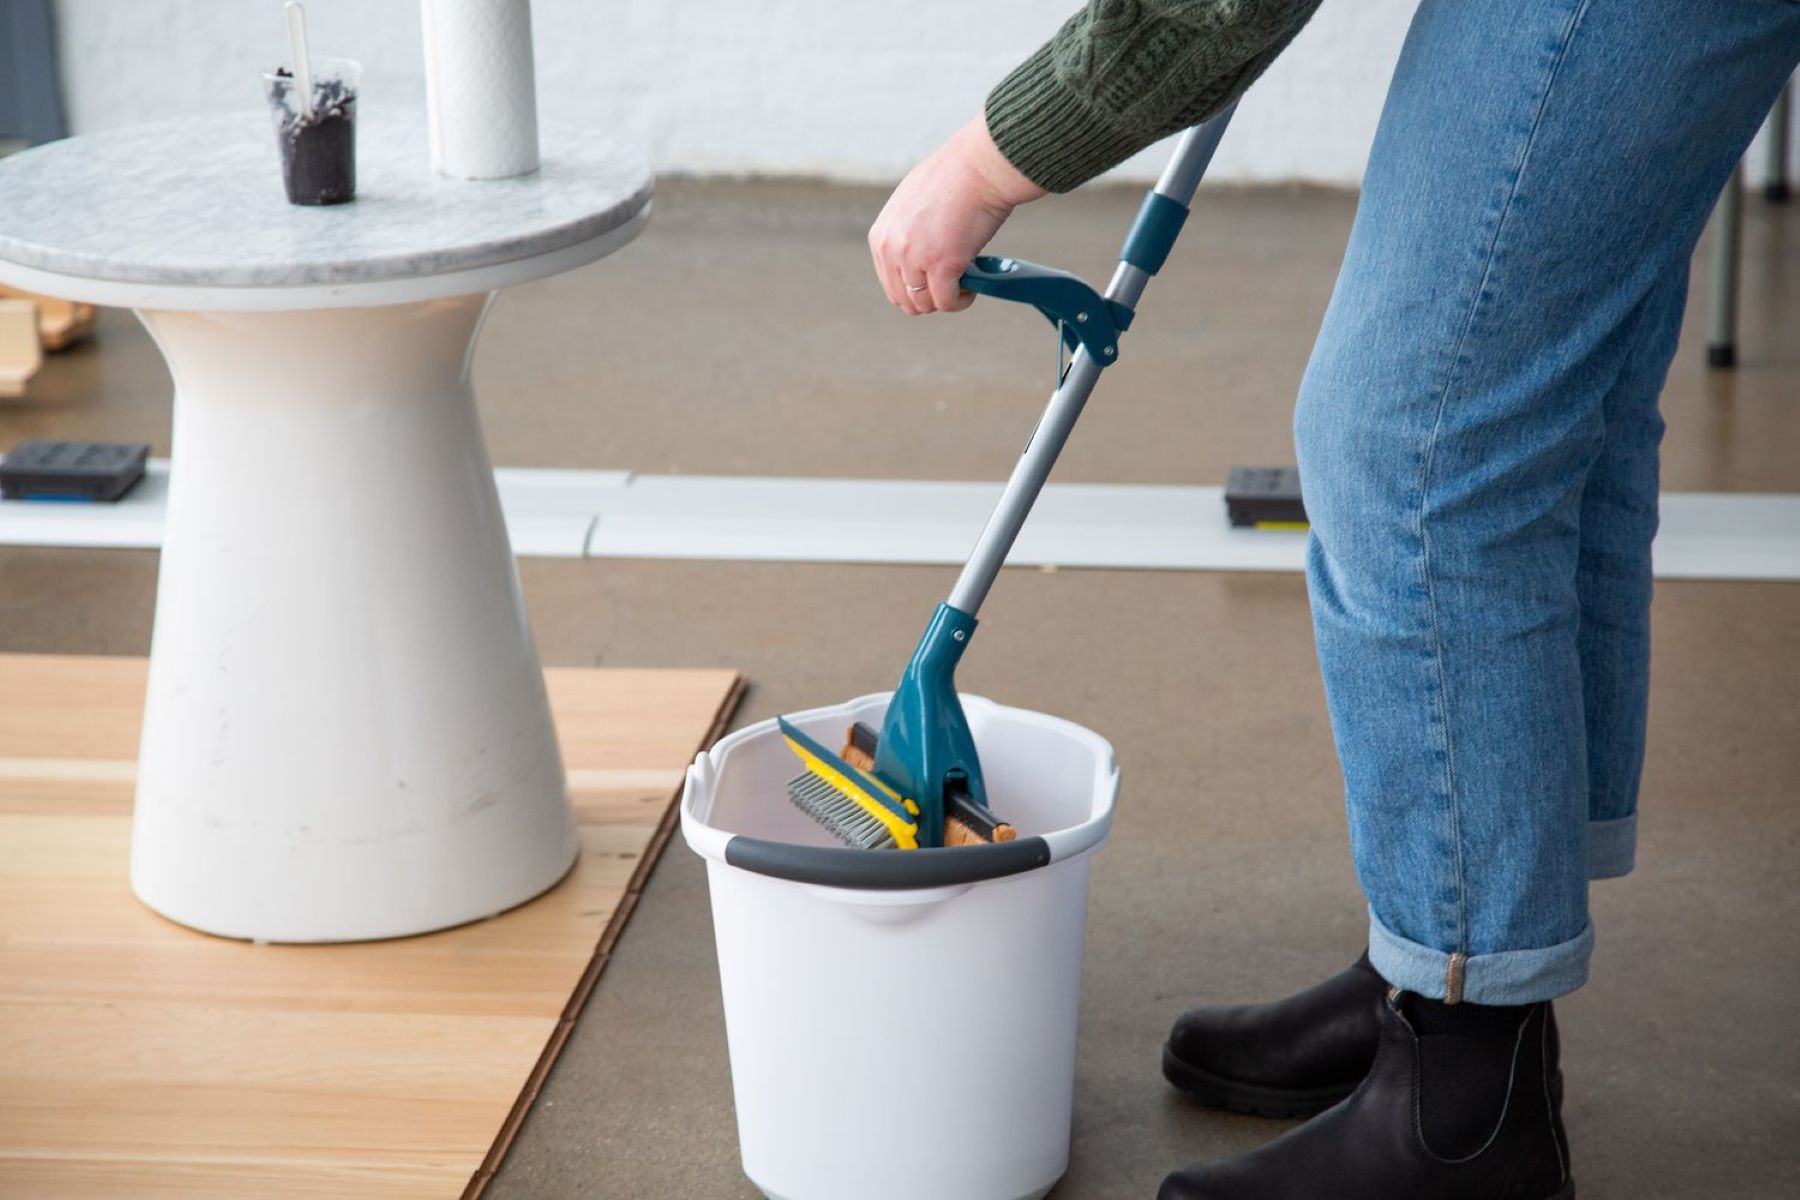
Step 3: Wetting the Sponge
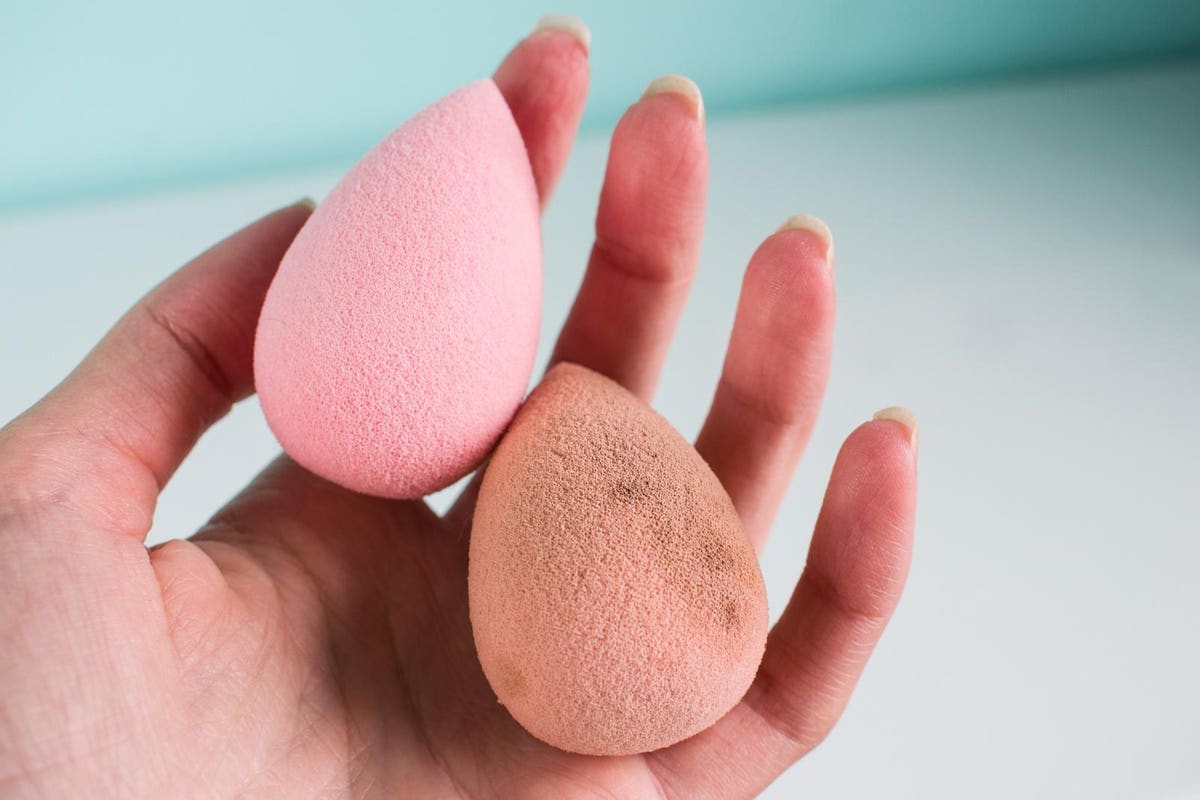
With the cleaning solution prepared and your sponge mop at the ready, it’s time to ensure that the sponge is adequately saturated to unleash its cleaning prowess. Properly wetting the sponge facilitates the efficient distribution of the cleaning solution across the floor, allowing it to effectively dissolve and lift dirt and grime. Here’s how to expertly wet the sponge of your mop:
- Immerse the Sponge: Submerge the sponge mop head into the prepared cleaning solution, ensuring that the sponge absorbs an ample amount of the liquid. Allow the sponge to soak for a few moments, enabling it to become fully saturated with the cleaning solution.
- Wring Out Excess Liquid: Once the sponge is sufficiently saturated, lift the mop head from the cleaning solution and gently wring out any excess liquid. The goal is to achieve a damp sponge that is primed for effective cleaning without leaving behind excessive moisture on the floor.
- Ensure Even Saturation: Prior to mopping, verify that the sponge is uniformly saturated across its entire surface. This ensures consistent cleaning performance and prevents the concentration of excess liquid in specific areas, which could potentially damage certain types of flooring.
By mastering the art of wetting the sponge, you can harness the full cleaning potential of your sponge mop, effectively tackling dirt and grime while maintaining the integrity of your floors. A properly saturated sponge sets the stage for a seamless and rewarding mopping experience, bringing you one step closer to pristine, gleaming floors.
Rinse the sponge mop in warm, soapy water before and after each use to keep it clean and prevent the spread of bacteria. Hang it to air dry to avoid mildew.
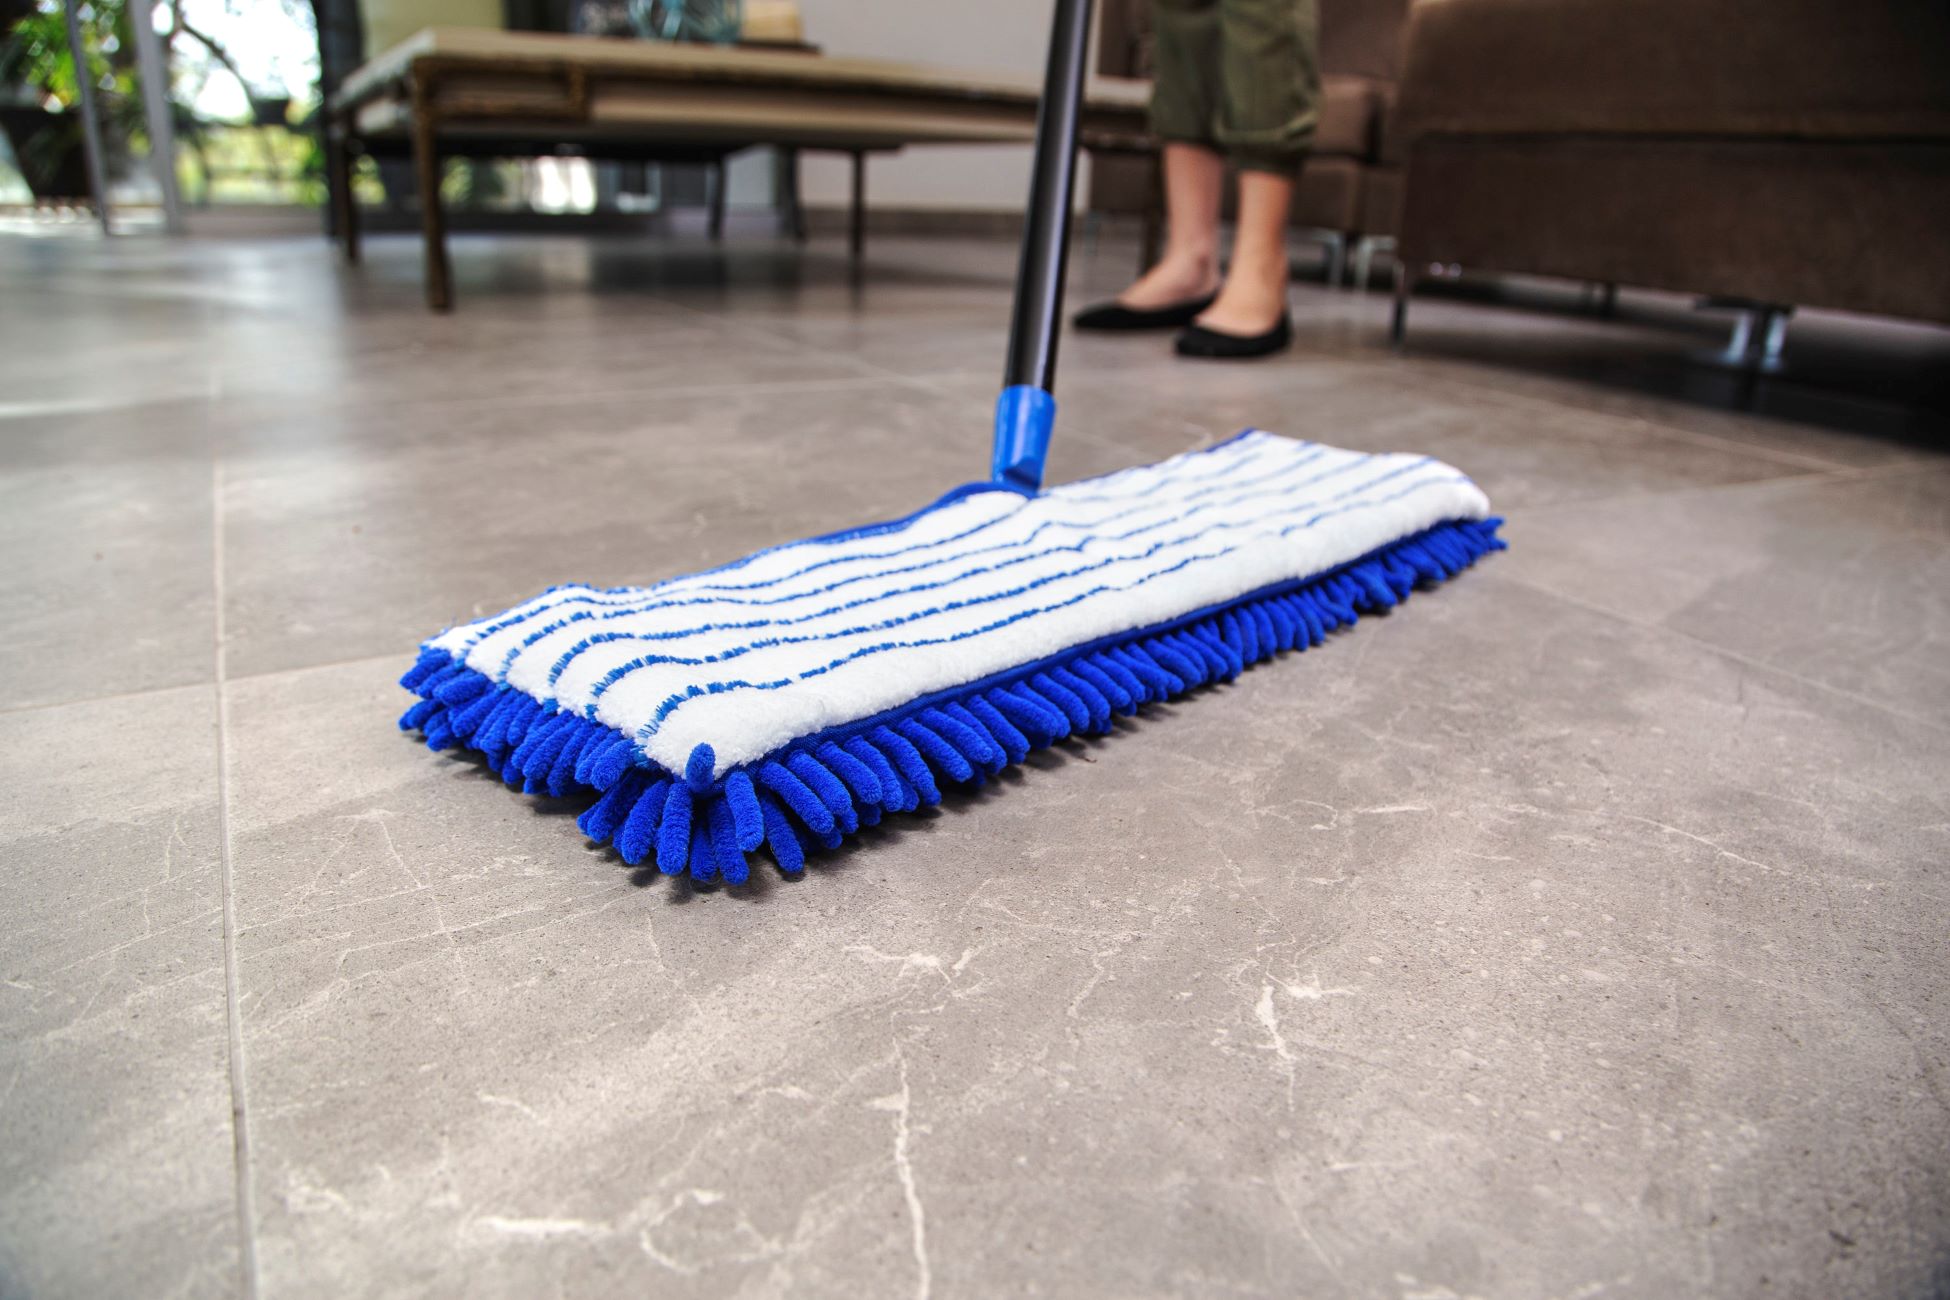
Step 4: Mopping the Floor
Armed with a well-assembled sponge mop, a potent cleaning solution, and a properly wetted sponge, it’s time to embark on the transformative journey of mopping your floors. Mopping is a fundamental cleaning ritual that not only removes dirt and stains but also revitalizes the appearance of your floors, breathing new life into your living space. Here’s how to expertly wield your sponge mop to achieve spotless, gleaming floors:
- Select Your Starting Point: Choose a strategic starting point for mopping, typically the farthest corner of the room, and work your way toward the exit to avoid stepping on freshly cleaned areas.
- Apply Even Pressure: Gently press the sponge mop onto the floor, applying even pressure as you maneuver it across the surface. Avoid excessive force, as the sponge’s gentle yet thorough scrubbing action is designed to effectively lift dirt and grime without damaging the flooring.
- Utilize Overlapping Strokes: Employ smooth, overlapping strokes as you move the sponge mop back and forth, ensuring comprehensive coverage of the entire floor area. This technique maximizes the cleaning efficiency of the sponge, leaving no patch of flooring untouched.
- Address Stubborn Stains: For stubborn stains or heavily soiled areas, concentrate the mopping action on these spots, gently agitating the sponge to dislodge and dissolve the persistent grime. Patience and persistence are key to achieving a uniformly clean floor surface.
- Monitor and Refill Solution: Periodically assess the saturation level of the sponge and the quantity of cleaning solution remaining on the floor. If necessary, re-wet the sponge and replenish the cleaning solution to maintain optimal cleaning performance.
By embracing these mopping techniques, you can harness the full potential of your sponge mop, transforming the chore of floor cleaning into a gratifying and rewarding endeavor. As you glide the mop across the floor, envision the emergence of a pristine, revitalized surface that reflects your dedication to cleanliness and comfort.
Read also: 8 Best Sponge Mop Head Replacement For 2025
Step 5: Rinsing the Sponge
After diligently mopping the floor and triumphantly banishing dirt and grime, it’s essential to properly rinse the sponge of your mop to maintain its cleaning efficacy and prevent the spread of residual contaminants. Rinsing the sponge effectively removes soiled cleaning solution and ensures that it is primed for future cleaning tasks. Here’s how to expertly rinse the sponge of your sponge mop:
- Locate a Suitable Drainage Area: Position the sponge mop over a sink, bathtub, or designated draining area where you can efficiently rinse the sponge without creating a mess. Proper drainage prevents the accumulation of dirty water and facilitates thorough rinsing.
- Flush with Clean Water: Turn on the faucet and allow clean water to flow over the sponge, flushing out residual cleaning solution and trapped dirt. Gently squeeze and agitate the sponge to expedite the rinsing process, ensuring that all lingering contaminants are effectively expelled.
- Inspect for Residue: As you rinse the sponge, visually inspect the expelled water for any signs of lingering dirt or discoloration. Continue rinsing and squeezing the sponge until the expelled water runs clear, indicating the removal of all residual grime.
- Air Dry the Sponge: Once thoroughly rinsed, allow the sponge to air dry in a well-ventilated area, ensuring that it is completely moisture-free before storing it. Proper drying prevents the development of unpleasant odors and mold, preserving the cleanliness and integrity of the sponge.
By diligently rinsing the sponge of your sponge mop, you can sustain its cleaning efficiency and extend its longevity, ensuring that it remains a reliable ally in your ongoing battle against floor-related dirt and stains. A thoroughly rinsed and well-maintained sponge sets the stage for consistently exemplary cleaning performance, empowering you to effortlessly maintain the impeccable cleanliness of your floors.
Step 6: Cleaning and Storing the Sponge Mop
As you conclude your floor cleaning endeavors, it’s imperative to bestow some care and attention upon your faithful cleaning companion, the sponge mop. Properly cleaning and storing the sponge mop after use not only preserves its hygiene and effectiveness but also contributes to its longevity, ensuring that it remains a stalwart ally in your ongoing cleaning pursuits. Here’s how to conscientiously clean and store your sponge mop:
- Rinse the Mop Head: Following the completion of mopping, rinse the mop head under running water to expel residual cleaning solution and dislodged dirt. Gently squeeze the sponge to facilitate the removal of contaminants, ensuring that it is thoroughly cleansed.
- Sanitize if Necessary: If the mop head has encountered particularly stubborn stains or accumulated odors, consider sanitizing it by soaking it in a solution of water and mild disinfectant or white vinegar. This step helps eliminate bacteria and odorous residues, rejuvenating the sponge for future use.
- Air Dry the Mop Head: After rinsing and potentially sanitizing the mop head, allow it to air dry completely in a well-ventilated area. A dry mop head prevents the development of musty odors and mold, maintaining the pristine cleanliness of the sponge for your next cleaning session.
- Inspect the Handle: While the mop head dries, inspect the handle of the sponge mop for any signs of dirt or moisture. Wipe the handle with a clean, damp cloth to remove any residues, ensuring that the entire mop is immaculately clean and ready for storage.
- Store in a Dry Area: Once the sponge mop is thoroughly dry, store it in a clean, dry area where it is shielded from dust and moisture. Avoid storing the mop in a compressed or bent position, as this can deform the sponge and compromise its cleaning efficiency.
By diligently cleaning and storing your sponge mop, you can safeguard its cleanliness and functionality, ensuring that it remains a reliable asset in your cleaning arsenal. A well-maintained sponge mop stands ready to tackle future cleaning challenges, empowering you to effortlessly uphold the pristine allure of your floors without compromise.
Conclusion
Congratulations on mastering the art of using a sponge mop to elevate the cleanliness and allure of your floors. Armed with the knowledge and techniques outlined in this guide, you are now equipped to transform the chore of floor cleaning into a gratifying and efficient endeavor. By diligently assembling, preparing, and utilizing your sponge mop, you have unlocked the potential to achieve immaculate, gleaming floors with minimal effort and maximum satisfaction.
As you navigate the steps of wetting, mopping, and rinsing the sponge, envision the transformative impact of your cleaning efforts, revitalizing your living space one pristine floor at a time. Embrace the ritual of cleaning and storing your sponge mop as a gesture of appreciation for its unwavering support in your quest for cleanliness, ensuring that it remains a steadfast ally in your ongoing cleaning pursuits.
Remember, the mastery of using a sponge mop transcends mere cleaning; it embodies a commitment to hygiene, comfort, and the creation of a welcoming environment for all who tread upon your immaculate floors. With each stroke of the sponge mop, you manifest your dedication to maintaining a pristine living space that reflects your unwavering standards of cleanliness and care.
So, as you embark on your next cleaning venture, armed with your trusty sponge mop and newfound expertise, revel in the transformative power you wield—a power that transcends mere cleaning and resonates with the profound satisfaction of nurturing a space that exudes cleanliness, comfort, and unblemished allure.
Embrace the art of using a sponge mop, and let its gentle yet potent touch breathe new life into your floors, elevating the ambiance and cleanliness of your cherished abode.
Frequently Asked Questions about How To Use A Sponge Mop
Was this page helpful?
At Storables.com, we guarantee accurate and reliable information. Our content, validated by Expert Board Contributors, is crafted following stringent Editorial Policies. We're committed to providing you with well-researched, expert-backed insights for all your informational needs.

0 thoughts on “How To Use A Sponge Mop”