Home>Gardening & Outdoor>Landscaping Ideas>How To Build A Putting Green With Real Grass

Landscaping Ideas
How To Build A Putting Green With Real Grass
Modified: October 21, 2024
Learn how to create a lush putting green with real grass using our expert landscaping ideas. Transform your backyard with our step-by-step guide.
(Many of the links in this article redirect to a specific reviewed product. Your purchase of these products through affiliate links helps to generate commission for Storables.com, at no extra cost. Learn more)
Introduction
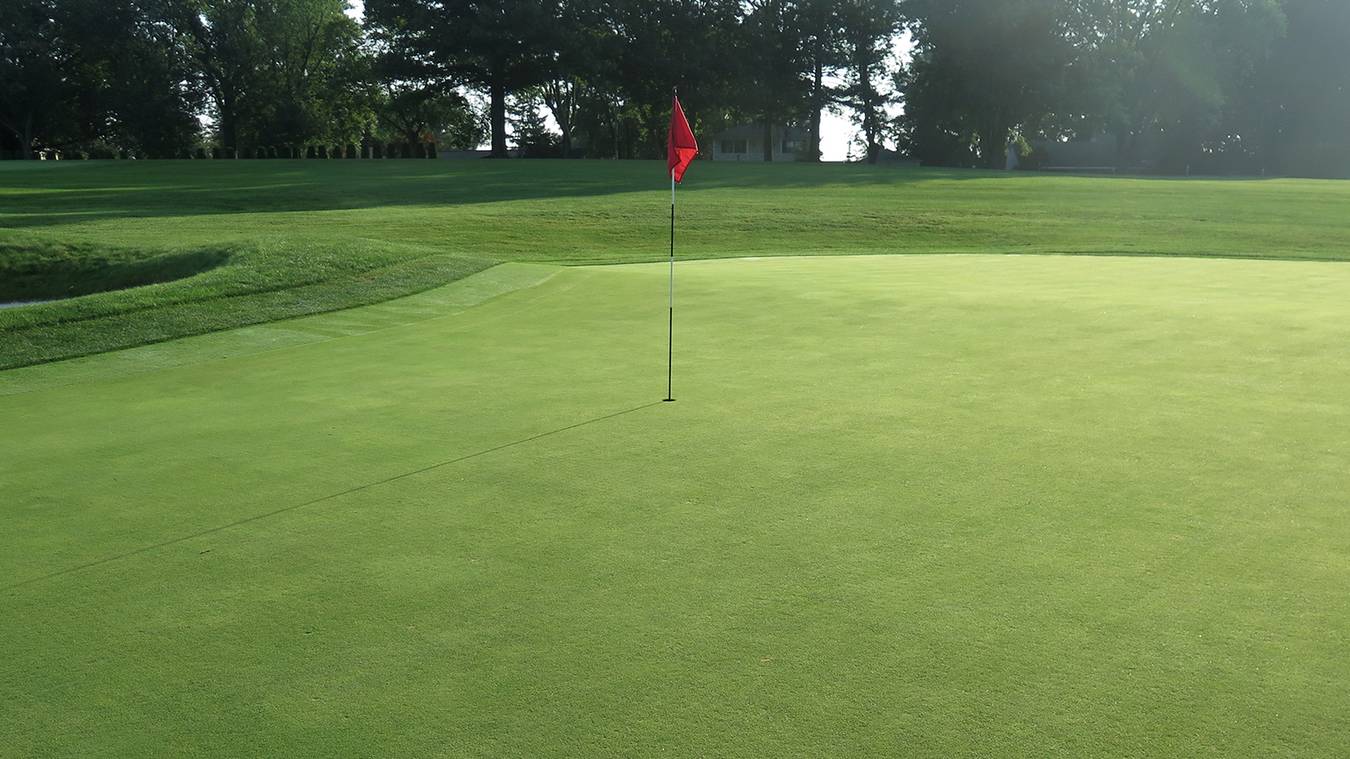
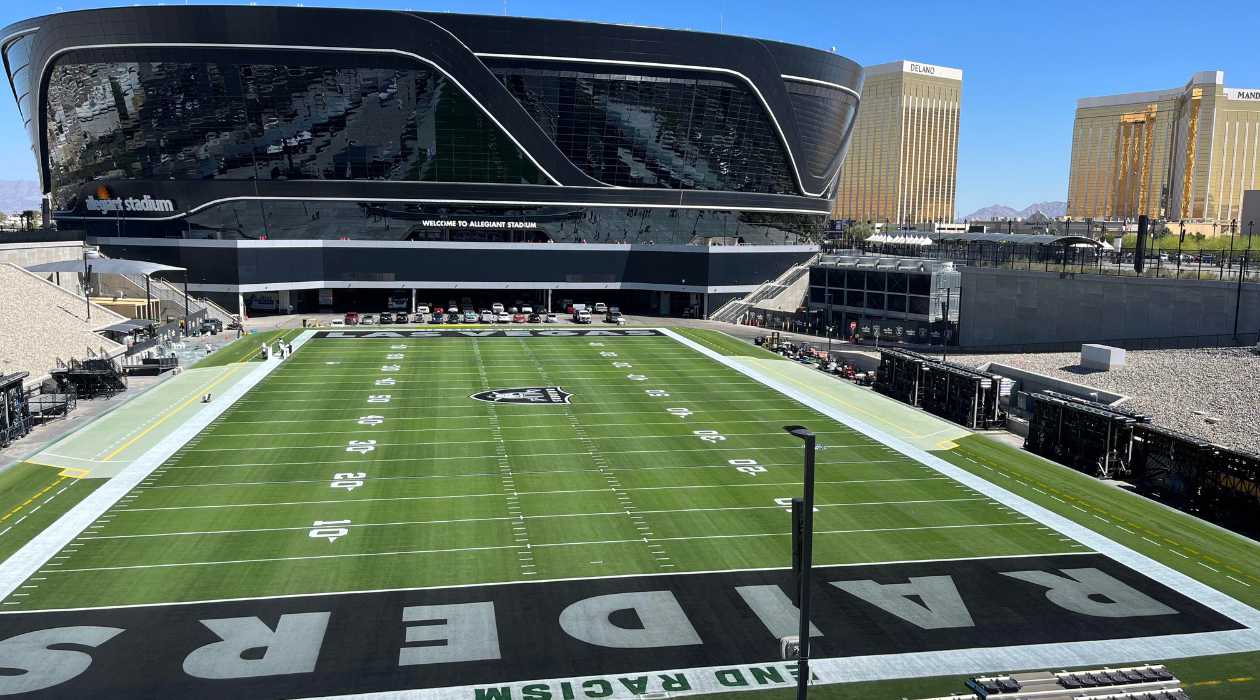
Welcome to the world of golfing right in your own backyard! Building a putting green with real grass is an exciting and rewarding project that can elevate your property’s aesthetics and provide endless hours of enjoyment for golf enthusiasts. Whether you’re a seasoned golfer looking to improve your short game or a homeowner seeking to enhance your outdoor space, a well-crafted putting green can be a valuable addition to any landscape.
In this comprehensive guide, we will walk you through the step-by-step process of creating a stunning putting green using real grass. From selecting the perfect location to choosing the right type of grass and ensuring proper maintenance, we’ll cover everything you need to know to bring your putting green vision to life.
So, roll up your sleeves, grab your putter, and let’s dive into the exciting world of building a putting green with real grass!
Key Takeaways:
- Create a stunning putting green with real grass by choosing the right location, preparing the area, selecting the ideal grass variety, and maintaining it diligently for endless enjoyment and aesthetic appeal.
- Building a putting green with real grass is a rewarding journey that combines passion for golf with dedication to enhancing outdoor spaces, offering timeless leisure and natural beauty.
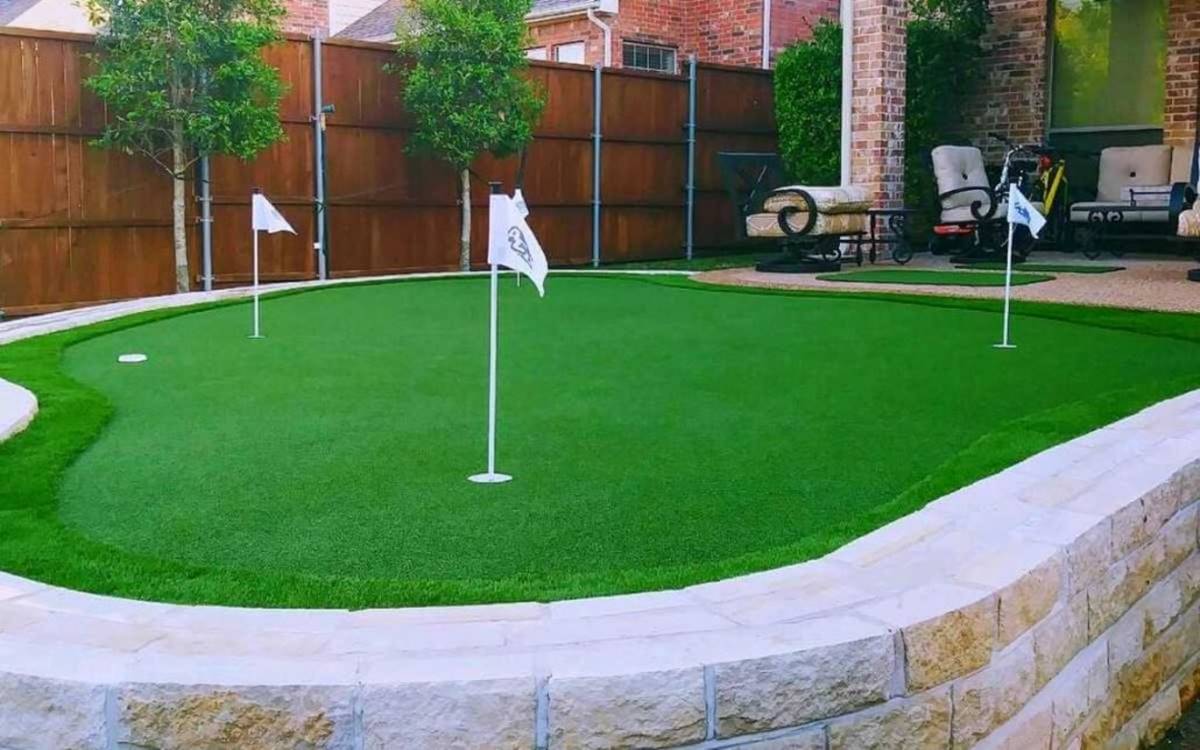
Step 1: Choose the Right Location
Before you start building your putting green, it’s crucial to carefully select the ideal location within your property. The right location can significantly impact the performance and overall enjoyment of your putting green. Here are some essential factors to consider when choosing the perfect spot:
- Sunlight Exposure: Opt for an area that receives a good amount of sunlight throughout the day. Adequate sunlight is essential for the healthy growth of grass, ensuring that your putting green remains lush and vibrant.
- Accessibility: Select a location that is easily accessible and convenient for regular use. Whether it’s near your outdoor living space or in a secluded area, accessibility will enhance the usability of your putting green.
- Surface Stability: Look for a level surface that is free from major slopes or uneven terrain. A stable and flat area will facilitate the installation process and contribute to the smooth, consistent roll of the ball during play.
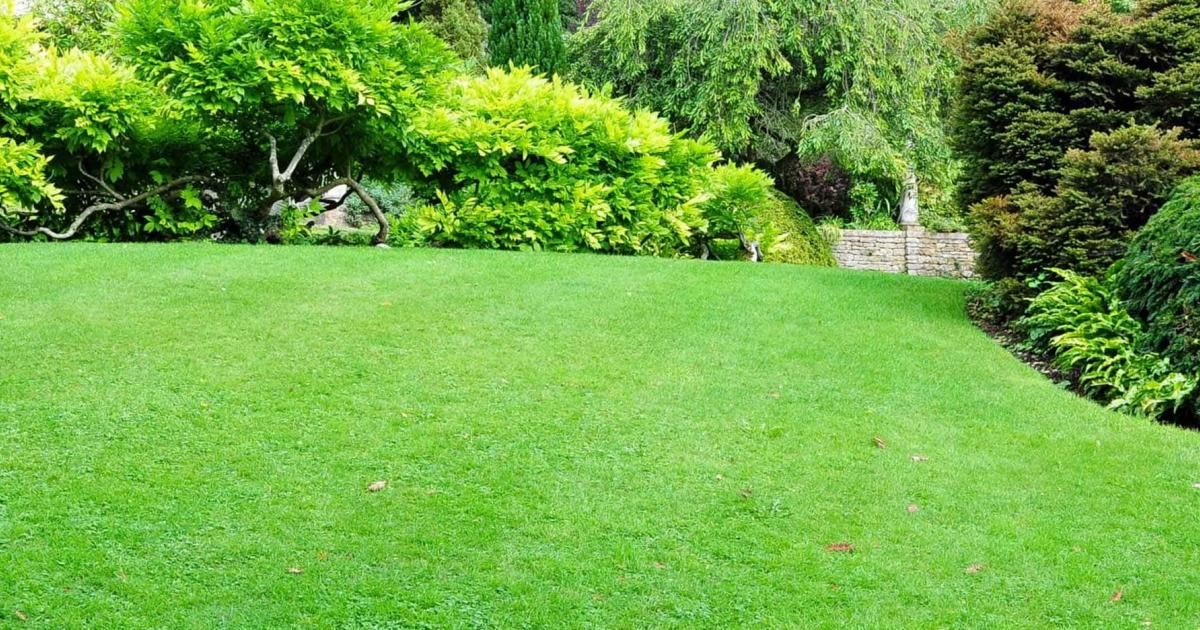
- Privacy and Aesthetics: Consider the surrounding landscape and the level of privacy you desire. Whether you prefer a secluded retreat or a putting green with a picturesque backdrop, the location should align with your aesthetic preferences.
By carefully evaluating these factors, you can pinpoint the optimal location for your putting green. Once you’ve identified the perfect spot, you’ll be one step closer to creating a captivating and functional addition to your outdoor space.
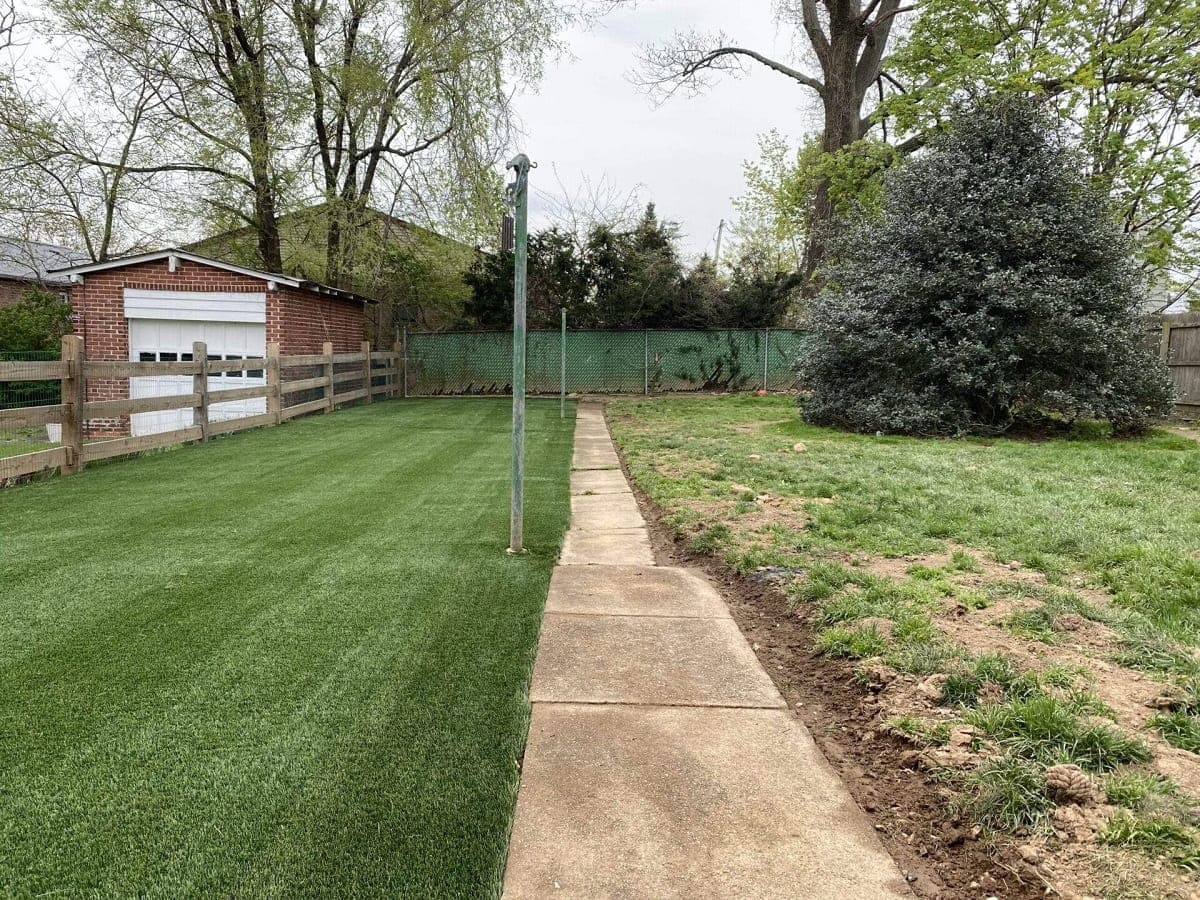
Step 2: Prepare the Area
With the ideal location chosen, it’s time to prepare the designated area for the installation of your putting green. Proper preparation is essential for ensuring a stable foundation and optimal growing conditions for the grass. Follow these key steps to get the area ready for the next phase of the project:
- Clear the Site: Begin by clearing the selected area of any debris, rocks, or existing vegetation. This will provide a clean canvas for the subsequent steps and prevent potential obstructions during the installation process.
- Excavation and Grading: Use a shovel or a small excavator to remove the topsoil from the area, ensuring a uniform depth for the entire space. Proper grading is essential for achieving a level surface, which is crucial for the smooth and consistent play of your putting green.
- Install Edging: Define the boundaries of the putting green by installing edging materials, such as plastic or metal landscape edging. This will help contain the grass and provide a clean, polished look to the finished putting green.
- Compact the Soil: Use a compacting tool, such as a hand tamper or a plate compactor, to firmly compact the soil base. This step is vital for creating a stable foundation that minimizes the risk of uneven settling over time.
- Drainage Considerations: Assess the drainage patterns in the area to prevent potential waterlogging issues. If necessary, incorporate drainage solutions, such as perforated pipes or gravel beds, to ensure proper water runoff and prevent water accumulation on the putting green.
By meticulously preparing the area according to these guidelines, you’ll establish a solid foundation for the successful installation of real grass on your putting green. This careful groundwork sets the stage for the next crucial steps in bringing your putting green to fruition.
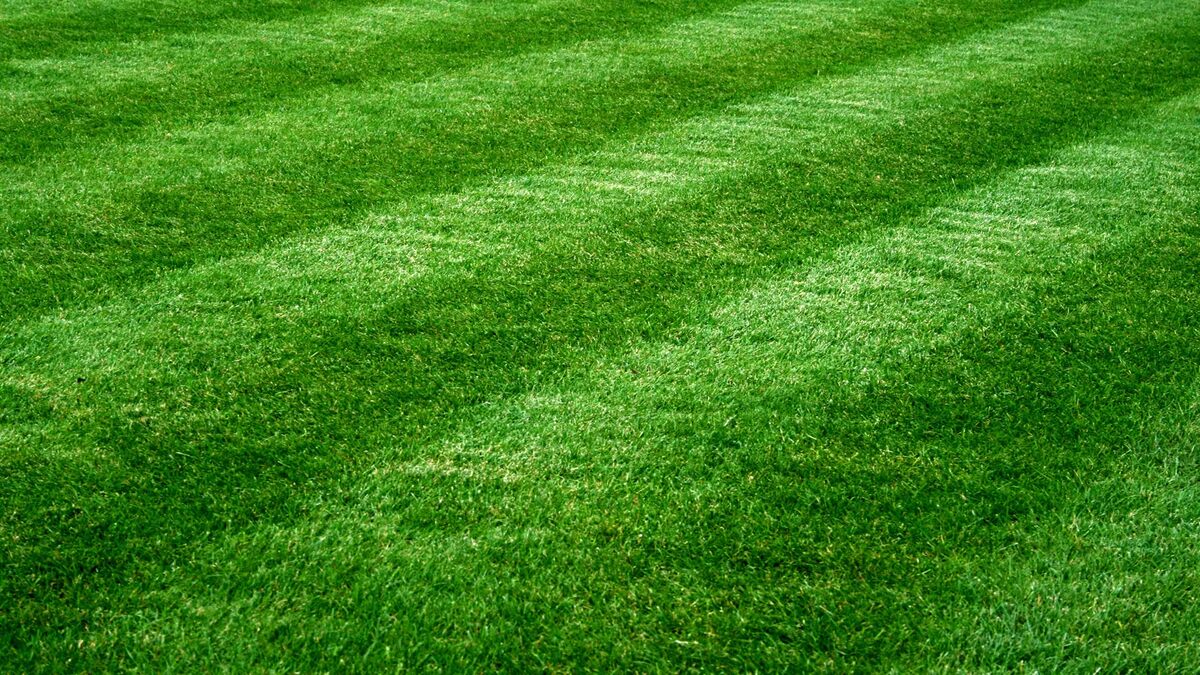
Step 3: Choose the Right Grass
When it comes to creating a lush and resilient putting green, selecting the right type of grass is paramount. The choice of grass will directly influence the playability, appearance, and maintenance requirements of your putting green. Here are key considerations to guide you in choosing the ideal grass variety:
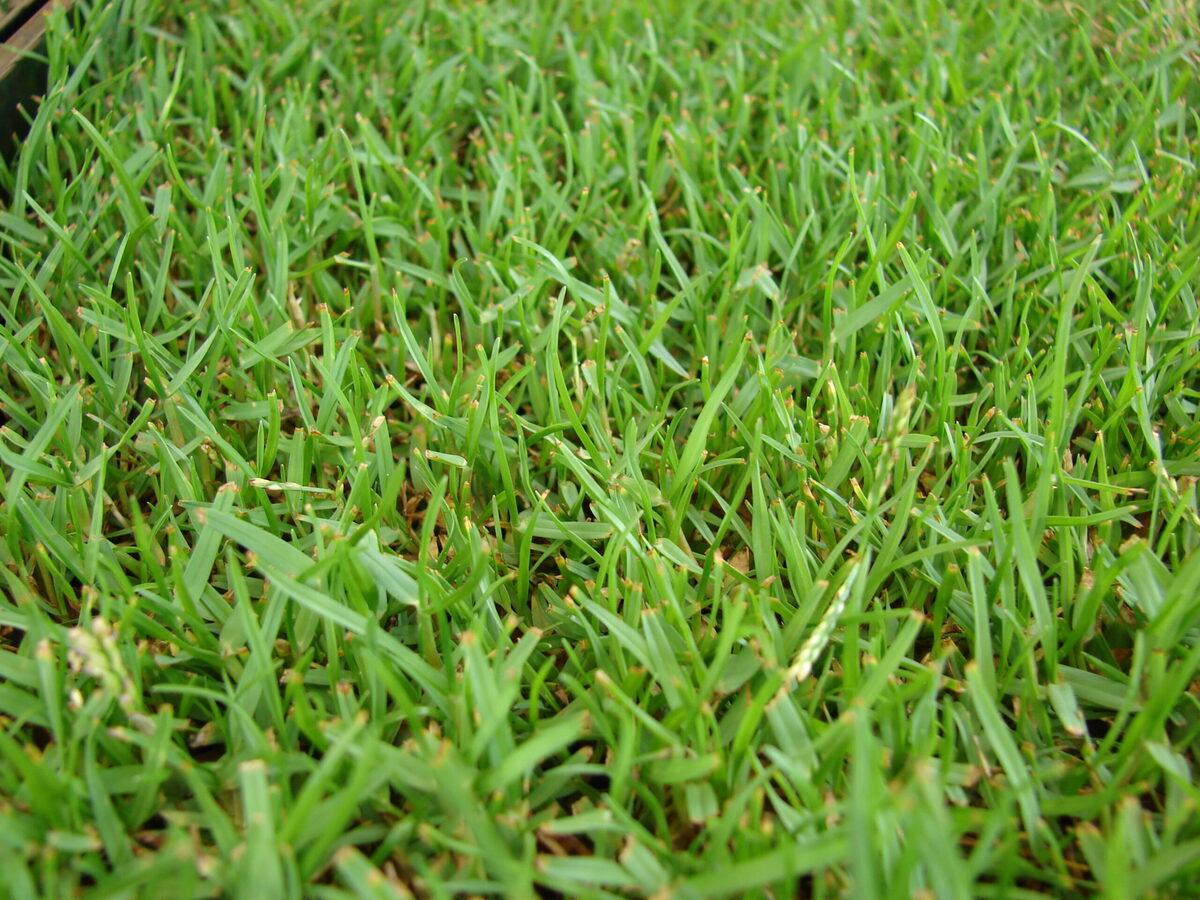
- Bentgrass: Known for its fine texture and exceptional putting surface, bentgrass is a popular choice for putting greens. It thrives in cool climates and provides a smooth, consistent roll for golf balls. However, it requires meticulous maintenance and regular mowing to keep it at an optimal putting height.
- Bermudagrass: Well-suited for warmer climates, bermudagrass offers excellent durability and tolerance to heavy foot traffic. It provides a fast putting surface and requires minimal mowing when maintained at putting green height. Additionally, it exhibits strong heat and drought resistance.
- Zoysiagrass: With its dense growth and ability to withstand wear and tear, zoysiagrass is a resilient choice for putting greens. It maintains good color and texture during the growing season and offers moderate mowing requirements. Zoysiagrass is particularly suitable for areas with moderate to hot climates.
- Fescue: Ideal for cooler regions, fescue grass offers a fine texture and excellent adaptability to different soil types. It requires minimal maintenance and provides a consistent putting surface. Fescue grass is known for its vibrant green color and ability to thrive in shaded areas.
Consider the local climate, maintenance preferences, and anticipated foot traffic when choosing the right grass variety for your putting green. Consulting with a local turf expert can provide valuable insights into the most suitable grass options for your specific location and desired playing characteristics.
By carefully assessing these factors and selecting the optimal grass variety, you’ll lay the foundation for a visually stunning and high-performing putting green that aligns with your unique preferences and environmental conditions.
Choose a grass variety that is suitable for putting greens, such as creeping bentgrass or Bermuda grass, as they can withstand the foot traffic and mowing required for a putting green.
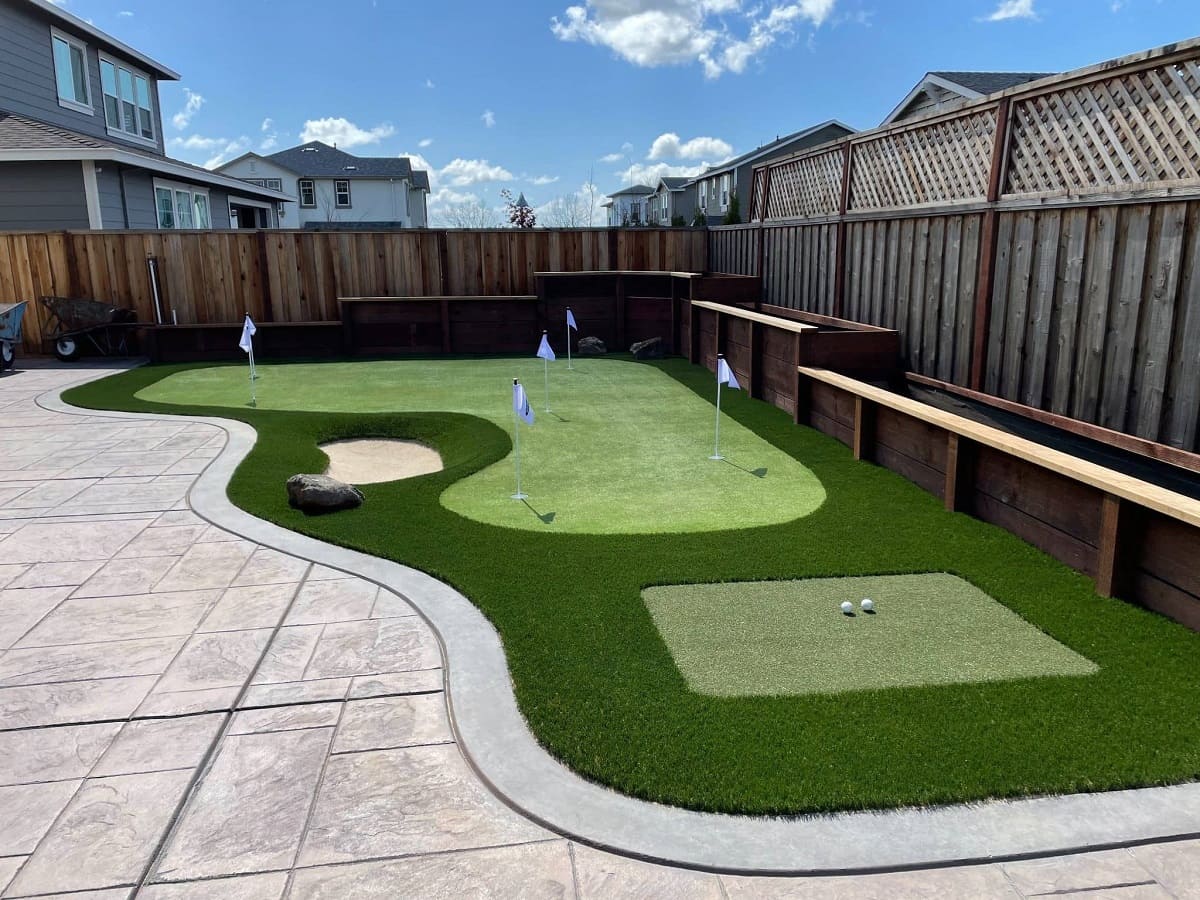
Step 4: Install the Grass
With the groundwork laid and the grass variety chosen, it’s time to embark on the exciting phase of installing real grass on your putting green. This process requires precision and attention to detail to ensure a flawless and resilient playing surface. Follow these essential steps to effectively install the grass for your putting green:
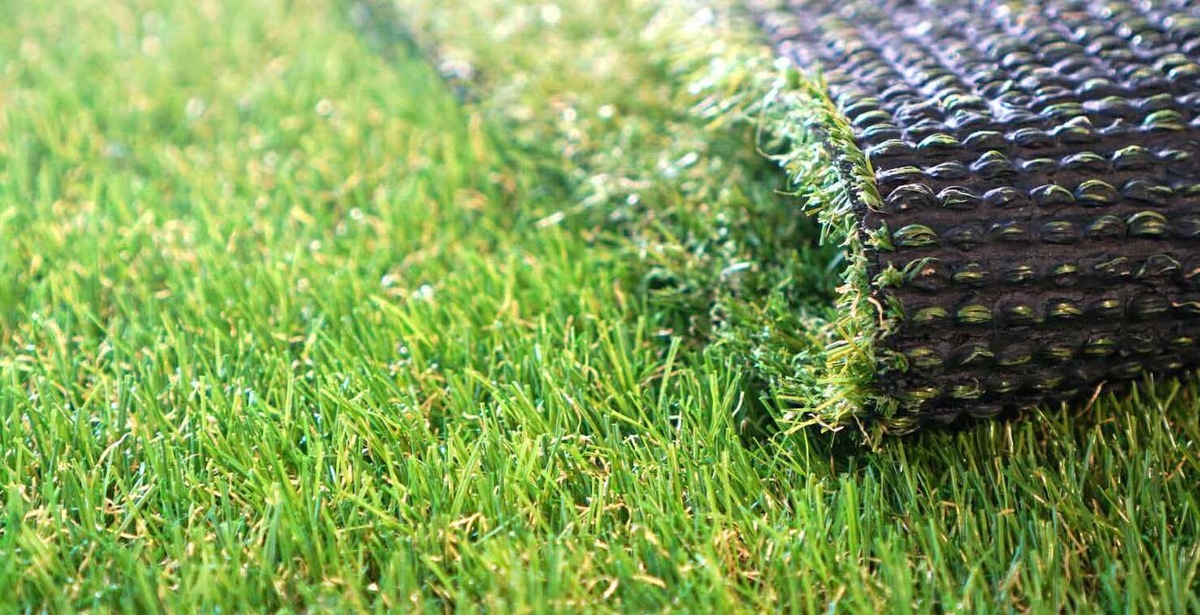
- Sod or Seed Selection: Depending on your preferences and the specific grass variety chosen, decide whether to use sod or seed for the installation. Sod provides an instant, mature surface, while seeding allows for greater customization and potential cost savings.
- Proper Alignment: Begin by carefully aligning the sod pieces or evenly spreading the grass seed across the prepared area. Pay close attention to achieving a seamless and uniform coverage, ensuring a visually appealing and consistent putting surface.
- Thorough Watering: Immediately after installation, thoroughly water the newly laid sod or seeded area to promote root establishment and ensure proper hydration of the grass. Adequate watering is crucial for the initial growth and vitality of the grass.
- Maintenance Regimen: Implement a diligent maintenance regimen, including regular watering, mowing, and fertilization, to encourage healthy growth and optimal playing conditions. Follow the specific care guidelines recommended for the chosen grass variety to promote its long-term vitality.
- Patience and Observation: Allow the newly installed grass to take root and establish itself over time. Observe its progress and make any necessary adjustments to the maintenance routine based on the grass’s response to environmental conditions.
By meticulously executing these steps, you’ll transform the prepared area into a vibrant and resilient putting green adorned with real grass. The installation process sets the stage for the ongoing care and maintenance that will ensure the long-term beauty and playability of your personalized putting green.
Read more: How To Build Outdoor Putting Green
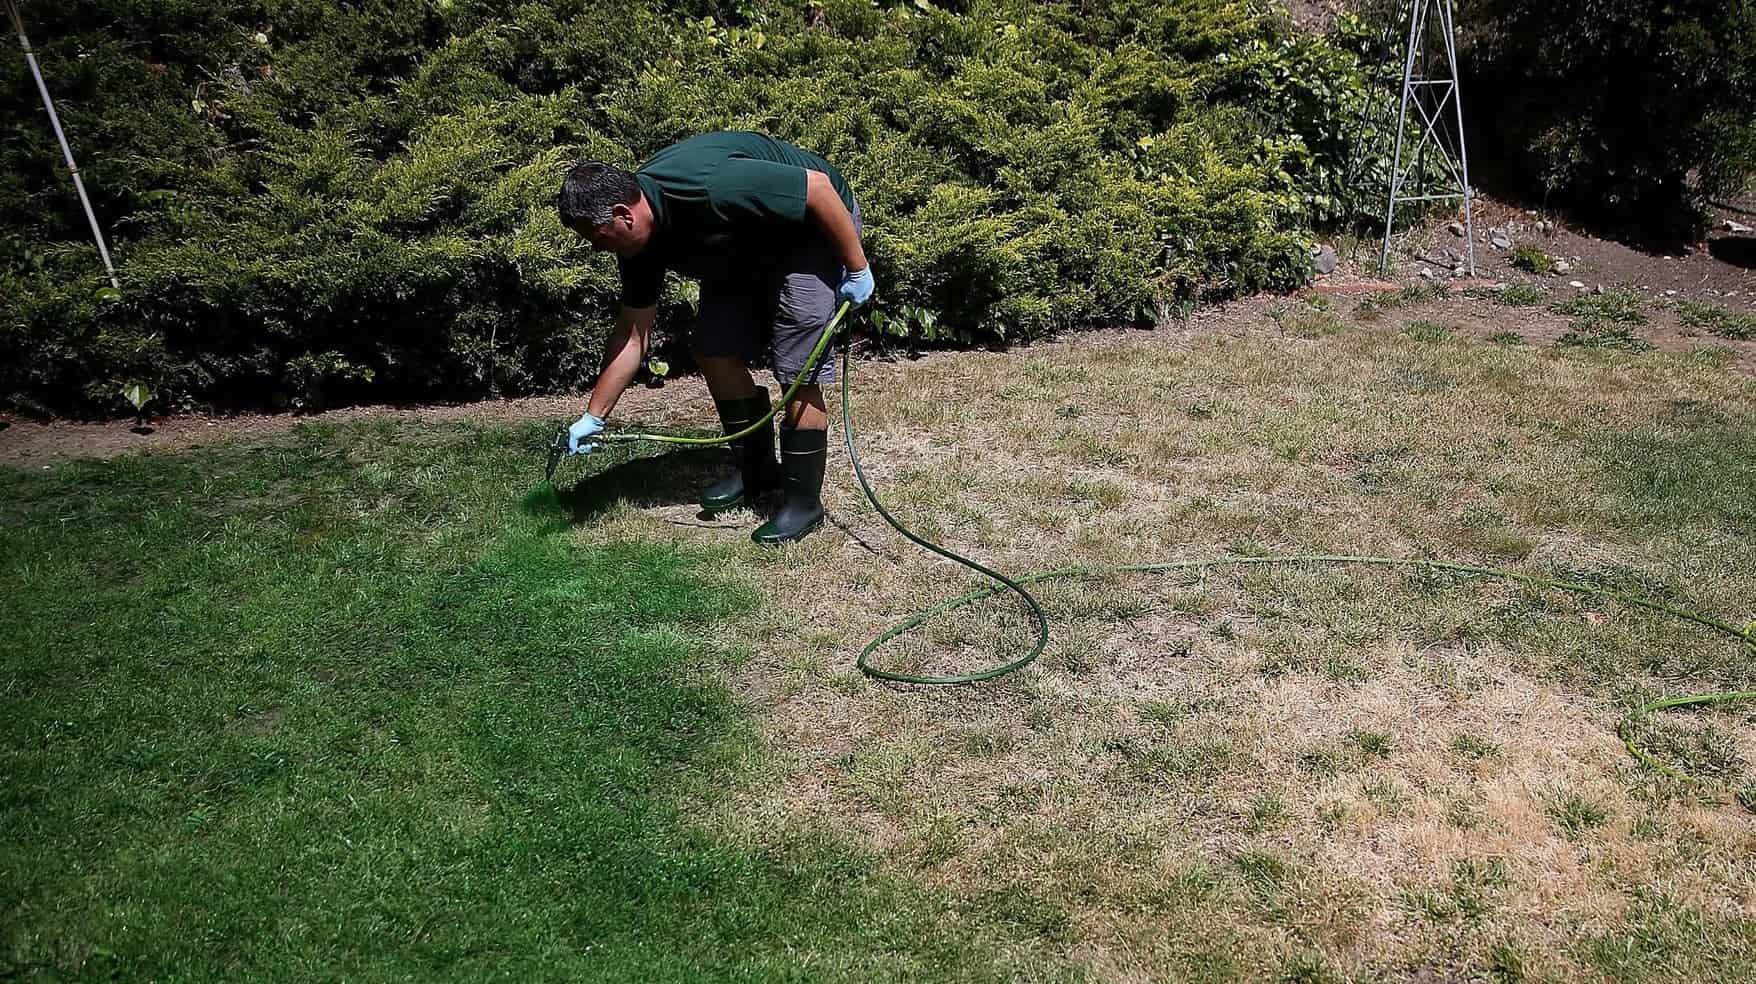
Step 5: Maintain Your Putting Green
After the installation of real grass on your putting green, consistent and attentive maintenance is essential to preserve its pristine condition and optimal playability. By implementing a proactive maintenance routine, you can ensure that your putting green remains a captivating and functional feature of your outdoor space. Here are key maintenance practices to uphold the beauty and performance of your putting green:
- Regular Mowing: Maintain the grass at an appropriate putting green height by regularly mowing it to the recommended height. This ensures a smooth and uniform playing surface while promoting healthy growth and density.
- Watering Schedule: Establish a consistent watering schedule to provide adequate moisture for the grass, taking into account the local climate and seasonal variations. Proper hydration is crucial for sustaining the lush appearance and resilience of the putting green.
- Fertilization and Soil Care: Apply fertilizers and soil amendments as needed to provide essential nutrients and maintain the soil’s health. Regular soil testing can guide the appropriate application of fertilizers, promoting vigorous grass growth and vibrant color.
- Weed and Pest Control: Monitor the putting green for weeds and pests, promptly addressing any signs of infestation. Implement targeted control measures to safeguard the grass from potential threats and preserve its pristine condition.
- Aeration and Dethatching: Periodically aerate the putting green to alleviate soil compaction and enhance air and water penetration. Additionally, dethatching can help remove excess organic debris, promoting a healthy and resilient turf.
- Regular Inspection: Conduct regular inspections of the putting green to identify any signs of stress, disease, or irregularities. Promptly address any issues to maintain the grass’s vitality and overall aesthetic appeal.
By conscientiously adhering to a comprehensive maintenance regimen, you can ensure that your putting green remains a captivating and inviting space for leisure and recreation. The diligent care and attention invested in maintaining the real grass on your putting green will yield enduring enjoyment and visual splendor for years to come.
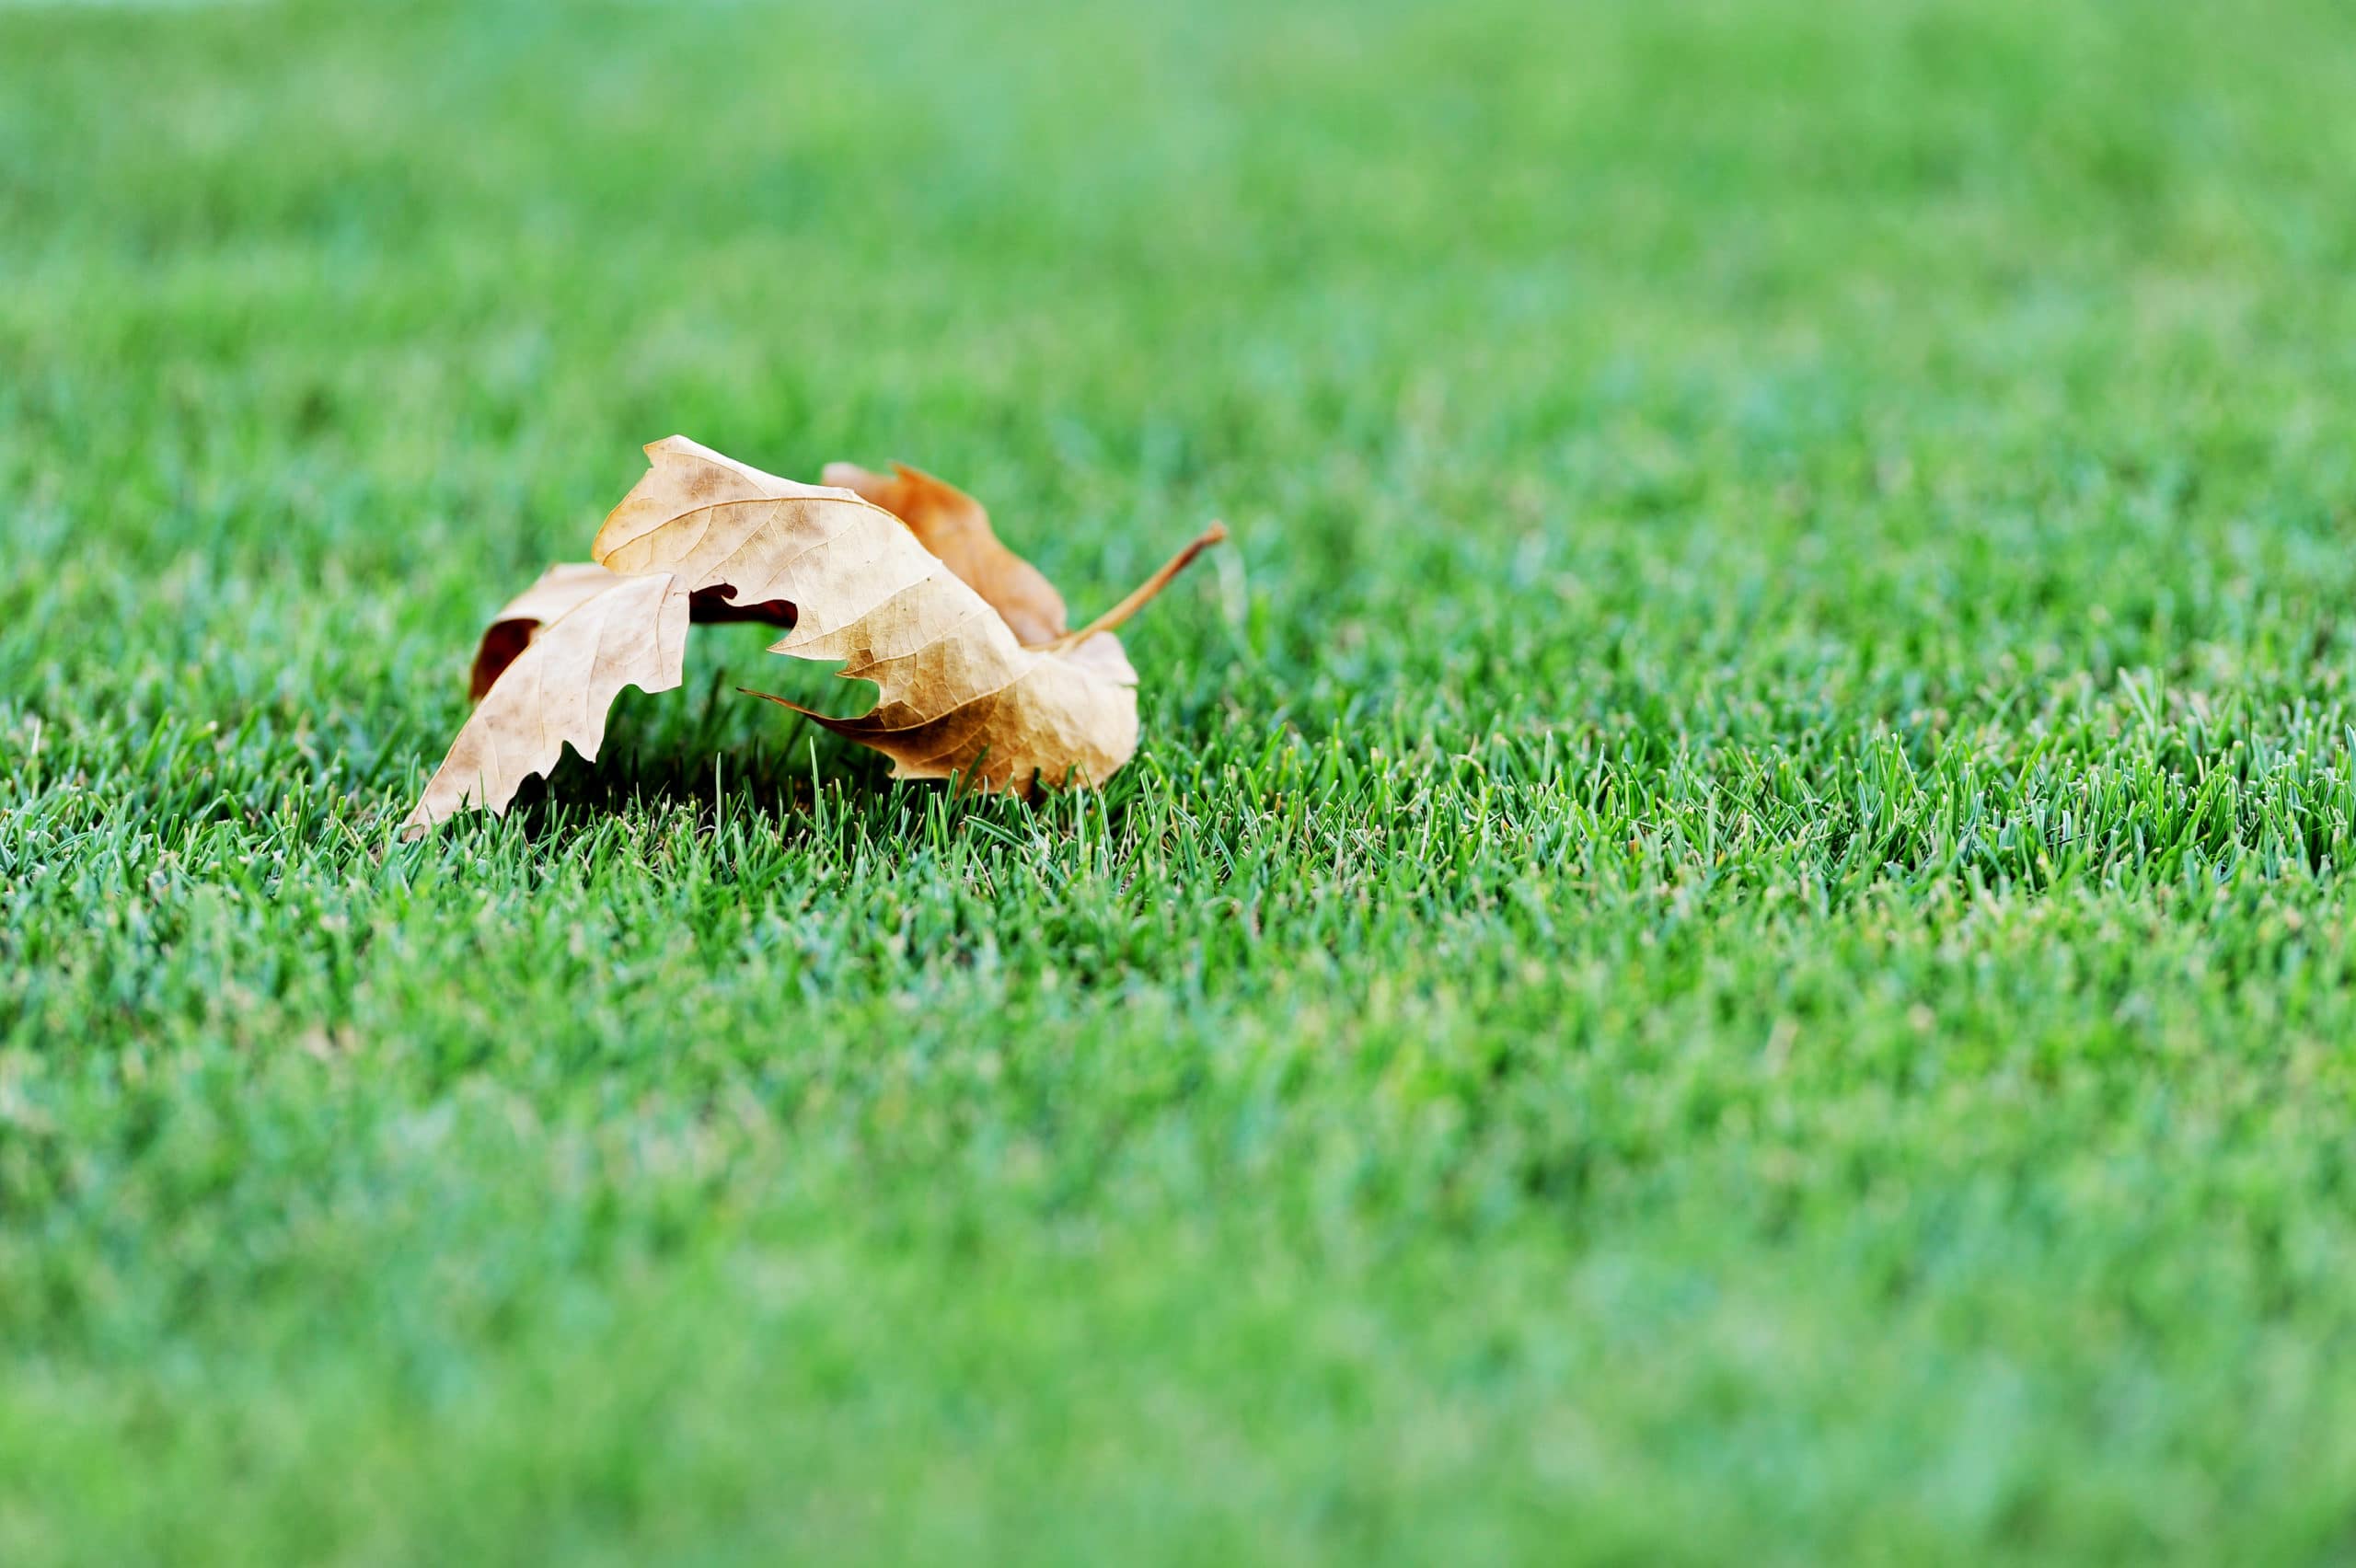
Conclusion
Congratulations on embarking on the journey to create your own putting green with real grass! By following the comprehensive steps outlined in this guide, you’ve gained valuable insights into the meticulous process of bringing your putting green vision to life. From selecting the perfect location to installing and maintaining the real grass, each step contributes to the creation of a stunning and functional outdoor oasis.
Building a putting green with real grass is not only a testament to your passion for golf and outdoor leisure but also a testament to your dedication to enhancing your property with a captivating landscape feature. As you meticulously prepare the area, carefully select the right grass variety, and diligently maintain your putting green, you’re nurturing a space that promises endless moments of relaxation, recreation, and social gatherings.
Whether you’re perfecting your putting technique, hosting friendly golf competitions, or simply savoring the tranquility of your outdoor retreat, your putting green will serve as a focal point of enjoyment and aesthetic allure. The lush, vibrant real grass underfoot will beckon you to immerse yourself in the timeless pleasure of the game, creating cherished memories and fostering a deep appreciation for the natural beauty of your surroundings.
As you witness the grass thrive and the putting green evolve into a polished and inviting space, take pride in the dedication and care you’ve invested in crafting a landscape feature that reflects your unique style and passion. Your putting green with real grass stands as a testament to your commitment to creating a harmonious blend of recreation and natural splendor within your outdoor environment.
So, as you take your first swing on the meticulously groomed surface of your putting green, may the joy of the game and the beauty of the outdoors converge, creating a space that enriches your life and beckons you to savor the simple pleasures of leisure and camaraderie.
Frequently Asked Questions about How To Build A Putting Green With Real Grass
Was this page helpful?
At Storables.com, we guarantee accurate and reliable information. Our content, validated by Expert Board Contributors, is crafted following stringent Editorial Policies. We're committed to providing you with well-researched, expert-backed insights for all your informational needs.


0 thoughts on “How To Build A Putting Green With Real Grass”