Articles
How To Store RV Battery For Winter
Modified: August 17, 2024
Learn how to properly store your RV battery for the winter season with our informative articles. Keep your battery in top condition and avoid any damage.
(Many of the links in this article redirect to a specific reviewed product. Your purchase of these products through affiliate links helps to generate commission for Storables.com, at no extra cost. Learn more)
Introduction
As the winter season approaches, it’s essential to take proper care of your RV battery to ensure its longevity and optimal performance. Storing your RV battery correctly during the winter months is essential to prevent damage caused by freezing temperatures and prolonged inactivity. By following a few simple steps, you can ensure that your RV battery remains in excellent condition and ready for use when spring arrives.
In this article, we will provide a comprehensive guide on how to store your RV battery for winter. We will cover everything from preparing the battery for storage to monitoring its condition throughout the season. By implementing these steps, you can protect your investment and avoid unnecessary expenses on battery replacements.
Key Takeaways:
- Properly storing your RV battery for winter involves thorough cleaning, secure removal, and suitable storage to prevent damage and ensure optimal performance when spring arrives. Following these steps can save you from costly battery replacements.
- Regular monitoring, proper charging, and careful reinstallation are essential for maintaining your RV battery’s health and longevity. By following these guidelines, you can ensure reliable power for your future adventures.
Step 1: Cleaning and Inspection
Before you begin the process of storing your RV battery for winter, it’s important to start with a thorough cleaning and inspection. This step will ensure that your battery is in good condition and identify any potential issues that need to be addressed before storage.
Start by disconnecting the battery from your RV and wearing protective gloves and eyewear. Inspect the battery case for any signs of cracks or damage. If you notice any significant damage, it may be necessary to replace the battery before storage.
Next, clean the battery terminals and posts using a wire brush or battery terminal cleaner. It’s essential to remove any corrosion or buildup on the terminals to maintain proper electrical connections. Make sure to clean both the positive and negative terminals thoroughly.
Once the terminals are clean, inspect the battery cables for any signs of fraying or damage. If you notice any issues, it’s advisable to replace the cables before storing the battery.
Finally, check the electrolyte levels if you have a traditional lead-acid battery. Ensure that the electrolyte is at the recommended levels and add distilled water if necessary. Remember to always follow the manufacturer’s instructions for checking and adding electrolyte.
By cleaning and inspecting your RV battery before storage, you can address any potential issues and ensure that it is in excellent condition for the winter months.
Step 2: Removing the Battery
Once you have completed the cleaning and inspection process, the next step is to remove the RV battery from your vehicle. Removing the battery will prevent any possible drain or damage during the winter season.
Start by locating the battery compartment in your RV. Depending on the model, the battery compartment may be located on the exterior or interior of the vehicle. Refer to your RV’s owner’s manual for specific instructions on accessing the battery compartment.
Before detaching the battery, ensure that you have a clear understanding of the battery’s wiring connections. Take pictures or make notes to aid in reconnecting the battery properly when reinstalling it in the future.
Disconnect the battery by loosening the negative (-) cable first, followed by the positive (+) cable. Use the appropriate size wrench or socket to remove the cables from the battery terminals. Make sure to secure the cables away from the battery to prevent accidental reconnection while in storage.
Once the cables are disconnected, use caution when lifting the battery out of the compartment. RV batteries can be heavy, so enlist the help of a friend or use proper lifting techniques to avoid injury.
Place the battery on a stable and level surface after removal. Avoid placing it directly on the ground or a concrete floor to prevent possible discharge or damage caused by cold temperatures.
Remember to handle the battery with care during the removal process to prevent any accidents or spills. Keep in mind that RV batteries contain corrosive substances and must be handled according to proper safety precautions.
By removing the battery from your RV, you can protect it from potential drain or damage and ensure its longevity during the winter storage period.
Step 3: Cleaning the Battery
After removing the RV battery, it’s important to clean it thoroughly before storing it for the winter. This step will help prevent corrosion and extend the lifespan of the battery.
Start by visually inspecting the battery for any dirt, debris, or corrosion on the battery case. Use a soft brush or cloth to gently wipe away any loose dirt or grime. Avoid using abrasive materials or harsh chemicals that may damage the battery.
If you notice any corrosion on the battery terminals or cables, it’s essential to clean it properly. Corrosion can hinder the battery’s performance and cause electrical issues.
To remove corrosion, prepare a solution of baking soda and water. Mix one tablespoon of baking soda with one cup of water in a small container. Dip an old toothbrush or a battery terminal cleaning brush into the solution and gently scrub the terminals and cables. This will help neutralize any acidic corrosion on the battery’s surface.
After scrubbing off the corrosion, rinse the battery terminals and cables with clean water. Make sure to remove all traces of the baking soda solution. This will prevent any residue from affecting the battery’s performance.
Once you’ve cleaned the battery terminals and cables, allow them to air dry completely before proceeding. Ensure that no moisture remains on the battery or its components.
It’s also a good idea to apply a thin layer of petroleum jelly or a battery terminal protectant to the terminals and cable ends. This will help prevent future corrosion and maintain good electrical connectivity.
By cleaning the RV battery thoroughly before storage, you can remove any dirt, debris, or corrosion that may impact its performance. This will help ensure that the battery remains in optimal condition throughout the winter months.
Step 4: Storage Location
Choosing the right storage location for your RV battery is crucial to ensure its safety and optimal performance throughout the winter season. The ideal storage location should protect the battery from extreme temperatures, moisture, and other potentially damaging factors.
Firstly, find a cool, dry, and well-ventilated area to store the battery. Extreme temperatures can negatively impact battery performance and shorten its lifespan. Look for a location where the temperature remains relatively consistent, ideally between 50-80 degrees Fahrenheit.
Avoid storing the battery in direct sunlight or areas with high humidity, as these conditions can accelerate corrosion and damage the battery.
Additionally, choose a place where the battery will be secure and protected from potential damage. If possible, store the battery in a plastic battery box or a dedicated battery storage container to minimize the risk of accidents and exposure to harmful substances.
Consider elevating the battery off the ground using a wooden pallet or battery storage rack. This helps prevent any moisture seeping into the battery from the floor, which can cause damage or reduce the battery’s performance.
It’s also important to ensure that the storage location is well-ventilated. Good airflow helps prevent the buildup of potentially harmful gases emitted by the battery during charging and discharging.
If you’re storing multiple batteries, make sure to maintain a safe distance between them to prevent any accidental electrical contact.
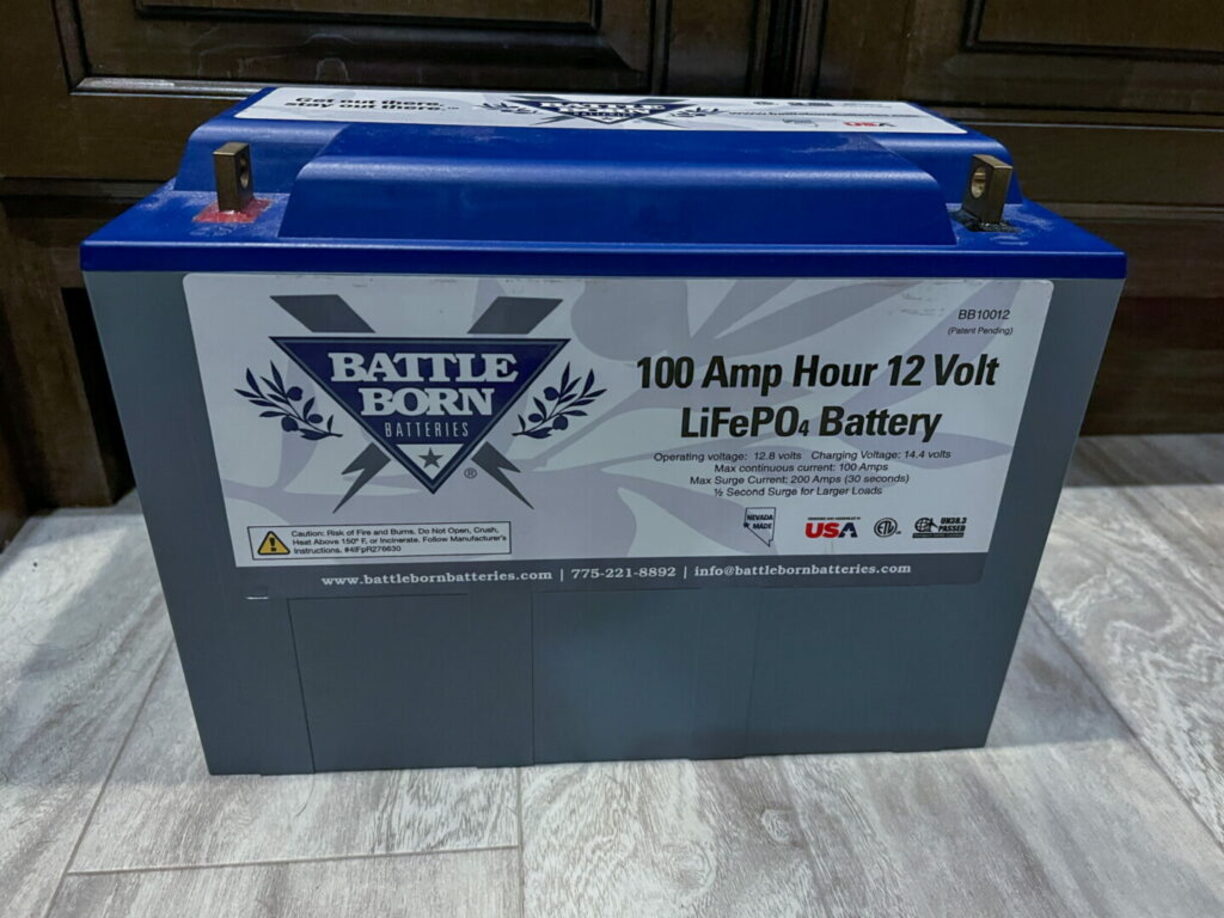
Additionally, if you have a lithium-ion battery, it’s important to store it at a partial state of charge, around 40-50%. This helps prolong the battery’s lifespan and prevents over-discharge or overcharge during the storage period. Refer to your battery manufacturer’s recommendations for specific storage guidelines.
By selecting an appropriate storage location for your RV battery, you can protect it from extreme temperatures, moisture, and other potential hazards. This ensures that the battery remains in excellent condition for future use.
Read more: How To Store EGO Battery Over The Winter
Step 5: Disconnecting the Battery
Once you have selected the proper storage location for your RV battery, the next step is to disconnect it to prevent any unnecessary drain or damage during the winter months.
Start by ensuring that the battery is positioned securely in its storage spot. Make sure it’s stable and won’t shift or tip over, as this can cause damage to the battery or other nearby objects.
Disconnecting the battery involves removing the cables from the terminals. Begin by disconnecting the negative (-) cable first, followed by the positive (+) cable. This order prevents accidental electrical contact and reduces the risk of sparks or other safety hazards.
Use a wrench or socket of the appropriate size to loosen the nuts or screws holding the cable connectors in place. Once the connectors are loose, gently wiggle and pull them away from the battery posts.
Take care not to touch both terminals simultaneously or allow the disconnected cables to come into contact with each other or other metal objects. This can cause a short circuit or other electrical issues.
After removing the cables, cover the exposed terminals with insulated terminal covers or acid-resistant caps. This protects the terminals from dirt, moisture, and corrosion during storage.
It is also recommended to wrap the disconnected cables with electrical tape or use zip ties to secure them and prevent any accidental contact or tangling.
By disconnecting the RV battery, you prevent any potential drain on the battery’s charge during the winter months. This helps maintain the battery’s overall health and ensures it will be ready for use when you reconnect it.
To store an RV battery for winter, fully charge it and then disconnect it from the RV. Store it in a cool, dry place and check the charge every 1-2 months to maintain its health.
Step 6: Charging the Battery
Before storing your RV battery for the winter, it’s crucial to ensure that it is fully charged. A fully charged battery is less susceptible to freezing and can better maintain its overall health during the storage period. Here’s how you can properly charge your RV battery:
1. Prepare a suitable charging area: Find a well-ventilated area away from flammable materials and ensure there is a reliable power source available.
2. Use a compatible charger: Invest in a battery charger that is appropriate for your RV battery type. Follow the manufacturer’s instructions for the specific charging procedure.
3. Verify the charger settings: Set the charger to the correct voltage and charging mode suitable for your battery. For example, if you have a lead-acid battery, select the appropriate charging mode.
4. Connect the charger: Attach the charger’s positive (+) cable to the battery’s positive terminal and the negative (-) cable to the negative terminal. Make sure the connections are secure and tight.
5. Begin the charging process: Turn on the charger and allow it to charge the battery fully. Charging times may vary depending on the battery type and charger specifications. Avoid interrupting the charging process to ensure a full and complete charge.
6. Monitor the charging progress: Keep an eye on the charger and battery during the charging process. If you notice any strange smells, excessive heat, or other signs of trouble, stop the charging immediately and seek professional assistance.
7. Disconnect the charger: Once the battery reaches a full charge, disconnect the charger from the battery by removing the positive cable first and then the negative cable.
It’s important to note that overcharging the battery can be harmful, so be attentive throughout the charging process. Consult the battery manufacturer’s recommendations for specific charging guidelines and precautions for your battery type.
By properly charging your RV battery before storage, you can maximize its lifespan, prevent freezing, and ensure that it retains its charge throughout the winter months.
Step 7: Storing the Battery
Now that your RV battery is fully charged and disconnected, it’s time to properly store it for the winter. Taking the right steps to store your battery ensures its safety and longevity. Here’s how to store your RV battery:
1. Clean the battery storage area: Before placing the battery in storage, clean the area where you will be storing it. Remove any dirt, debris, or flammable materials that could potentially damage the battery.
2. Place the battery in a safe position: Position the battery in its storage spot securely. Make sure it is stable and won’t tip over during storage. If necessary, use blocks or wedges to keep it in place.
3. Protect the terminals: Cover the exposed terminals with insulated terminal covers or acid-resistant caps. This prevents moisture, dirt, or debris from coming into contact with the terminals and causing corrosion or electrical issues.
4. Maintain the battery’s charge: If possible, store the battery in a location where you can periodically recharge it. If that’s not possible, ensure the battery is fully charged before storing it. A fully charged battery is less likely to freeze or suffer from self-discharge during the winter months.
5. Check the storage area’s temperature: Ensure that the storage area remains within a suitable temperature range. Extreme temperatures can negatively affect the battery’s performance. Aim for a temperature between 50-80 degrees Fahrenheit.
6. Avoid exposure to moisture: Keep the battery away from any areas prone to moisture or excessive humidity. Moisture can lead to corrosion and damage the battery. Consider using a moisture-absorbing product or placing a desiccant nearby to reduce humidity levels.
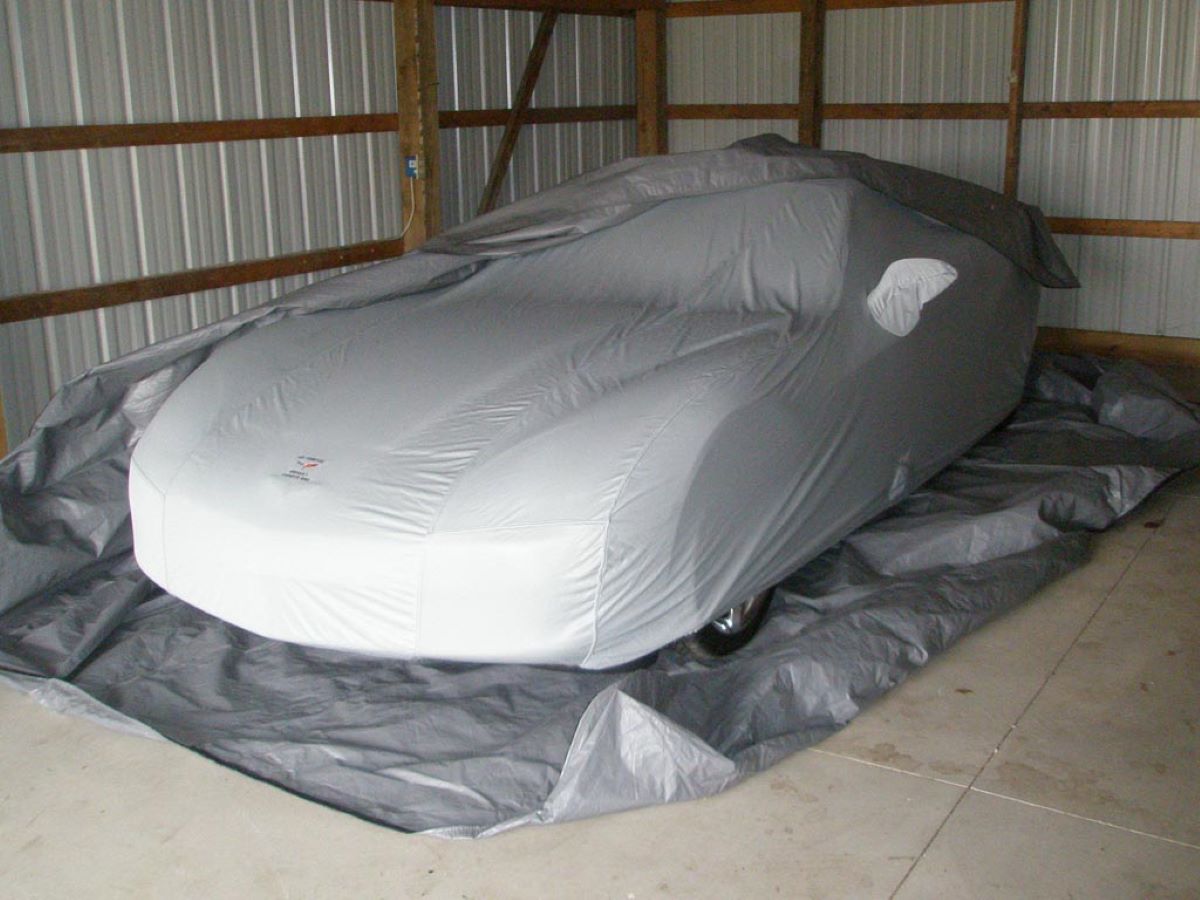
7. Keep the battery away from direct sunlight: Direct sunlight can cause the battery to overheat and potentially damage it. Store the battery in a shaded area or use a battery storage box that provides UV protection.
8. Regularly inspect the battery: Throughout the storage period, periodically check on the battery to ensure it remains in good condition. Look for signs of corrosion, leaks, or any other abnormalities. Take action immediately if any issues are observed.
By following these storage guidelines, you can safeguard your RV battery from potential damage and maintain its overall health during the winter months. This ensures that your battery will be ready for use when spring arrives.
Step 8: Monitoring the Battery
While your RV battery is in storage during the winter months, it’s important to monitor its condition periodically. Regular monitoring ensures that the battery remains in good health and allows you to address any potential issues before they escalate. Here are some tips for monitoring your stored RV battery:
1. Check the battery voltage: Use a multimeter or a battery monitoring device to measure the voltage of the battery. A healthy battery typically maintains a voltage between 12.4-12.7 volts. If the voltage drops significantly, it may indicate a problem with the battery or a drain on the charge.
2. Inspect for physical changes: Regularly inspect the battery for any physical changes or signs of damage. Look for leaks, cracks, or bulges on the battery case. If you notice any abnormalities, it’s important to investigate further or seek professional assistance if necessary.
3. Ensure proper storage conditions: Check on the storage area to ensure it maintains a suitable temperature, remains dry, and is well-ventilated. Extreme temperatures, excessive humidity, or inadequate ventilation can negatively affect the battery’s health.
4. Recharge if necessary: If you notice a significant drop in the battery’s voltage during monitoring, it may be necessary to recharge it. Use a compatible charger and follow the correct charging procedure to restore the battery’s charge. This helps prevent sulfation and ensures the battery remains ready for use in the future.
5. Address any issues promptly: If you observe any problems or concerns during monitoring, take action promptly. Depending on the severity of the issue, this may involve seeking professional assistance or replacing the battery if necessary.
6. Keep a log: Maintain a record of the monitoring activities, including the dates of checks, voltage readings, and any observations or actions taken. This log serves as a valuable reference and helps track the battery’s health over time.
By regularly monitoring your stored RV battery, you can identify and address any potential problems before they escalate. This ensures that your battery remains in optimal condition and extends its overall lifespan.
Read more: How To Store Lawn Mower Battery For Winter
Step 9: Preparing for Reinstallation
As winter comes to an end and you’re ready to prepare your RV for the upcoming season, it’s essential to properly prepare your RV battery for reinstallation. This step ensures that the battery is in good condition and ready to provide reliable power. Here’s how you can prepare your RV battery for reinstallation:
1. Inspect the battery: Before reinstalling the battery, visually inspect it for any signs of damage or corrosion. Check the battery case, terminals, and cables for any abnormalities. If you notice any issues, address them before proceeding.
2. Clean the terminals: If there is any corrosion on the battery terminals or cables, clean them using a wire brush or battery terminal cleaner. Ensure that the terminals are free from dirt, debris, and corrosion before reconnecting the battery.
3. Recharge the battery if necessary: If the battery’s voltage has significantly dropped during storage, it may require recharging. Use a suitable battery charger and follow the manufacturer’s instructions to recharge the battery to its full capacity.
4. Check the electrolyte levels (if applicable): If you have a traditional lead-acid battery, check the electrolyte levels to ensure they are within the recommended range. If necessary, add distilled water to bring the levels up to the appropriate mark.
5. Ensure proper cable connections: Before reconnecting the battery, ensure that the cables are in good condition and free from any fraying or damage. Reconnect the positive (+) cable to the positive terminal and the negative (-) cable to the negative terminal. Tighten the connections securely.
6. Remove any protective covers: If you had covered the battery terminals during storage, remove the insulated terminal covers or acid-resistant caps before reinstalling the battery. Ensure that the terminals are clean and free from any obstructions.
7. Reinstall the battery: Carefully place the battery back into its compartment or mounting position in the RV. Ensure that it is securely positioned and won’t shift during travel.
8. Double-check cable connections: Confirm that the cable connections are tight and properly secured. Take a moment to verify that the positive and negative cables are connected to the appropriate terminals.
9. Test the battery: After reinstalling the battery, test its functionality by turning on the RV’s electrical system. Ensure that all devices and components are working as intended.
By properly preparing your RV battery for reinstallation, you can ensure that it is in good condition and ready to provide reliable power for your upcoming adventures.
Step 10: Reinstalling the Battery
Now that you’ve prepared your RV battery for reinstallation, it’s time to securely reconnect and reinstall it in your vehicle. Properly reinstalling the battery ensures that it is securely connected and ready to power your RV’s electrical systems. Here’s how to reinstall your RV battery:
1. Position the battery: Carefully place the battery back into its designated compartment or mounting position in the RV. Ensure that it is stable and securely positioned to prevent any movement or damage during travel.
2. Align the terminals: Position the battery so that the positive (+) terminal aligns with the positive cable and the negative (-) terminal aligns with the negative cable.
3. Connect the positive cable: Take the positive cable (usually red) and attach it to the positive (+) terminal of the battery. Make sure the connection is secure and tight without over-tightening.
4. Connect the negative cable: Take the negative cable (usually black) and attach it to the negative (-) terminal of the battery. Again, ensure a secure and tight connection.
5. Tighten the connections: Use a wrench or socket of the appropriate size to securely tighten the cable connections to the battery terminals. Avoid over-tightening, as this can damage the terminals.
6. Confirm proper connection: Double-check that the positive cable is connected to the positive terminal and the negative cable is connected to the negative terminal. Reversing the connections can lead to electrical issues or damage the battery and RV’s electrical systems.
7. Inspect surrounding areas: After connecting the cables, visually inspect the area around the battery. Ensure that there are no loose wires, debris, or potential hazards that could interfere with the battery or its connections.
8. Test the electrical system: Turn on the RV’s electrical system to confirm that all devices and components are functioning properly. Check the lights, appliances, and other electrical systems to ensure they are receiving power from the reinstalled battery.
By following these steps, you can safely and effectively reinstall your RV battery, ensuring a secure connection and reliable power for your travels.
Conclusion
Properly storing your RV battery for the winter is a crucial step in maintaining its longevity and performance. By following the steps outlined in this comprehensive guide, you can ensure that your RV battery remains in excellent condition and is ready for use when the warmer seasons arrive.
From cleaning and inspection to disconnecting the battery, charging it, storing it in a suitable location, and monitoring its condition, each step contributes to the overall health and functionality of your RV battery. Taking the time to properly prepare and store your battery can save you from potential damage, costly repairs, and the need for premature battery replacement.
Remember to clean the battery, remove it from your RV, and place it in a cool and well-ventilated storage location. Ensure the battery is fully charged, and periodically monitor its condition to catch and address any potential issues timely. When the winter season comes to an end, take the necessary steps to prepare the battery for reinstallation, secure the connections, and test the electrical system to ensure everything is in proper working order.
By adhering to these guidelines, you can extend the lifespan of your RV battery, optimize its performance, and avoid any unnecessary headaches or inconveniences when you’re ready to hit the road again.
Remember, always refer to your battery manufacturer’s instructions and guidelines specific to your battery model for the best practices in storing and maintaining your RV battery. By prioritizing proper storage and care, your RV battery will continue to provide reliable power for all your adventures for years to come!
Frequently Asked Questions about How To Store RV Battery For Winter
Was this page helpful?
At Storables.com, we guarantee accurate and reliable information. Our content, validated by Expert Board Contributors, is crafted following stringent Editorial Policies. We're committed to providing you with well-researched, expert-backed insights for all your informational needs.


0 thoughts on “How To Store RV Battery For Winter”