Articles
How To Store Snow Peas
Modified: August 20, 2024
Learn how to properly store snow peas with these helpful articles. Preserve the freshness and quality of your snow peas for longer with our storage tips.
(Many of the links in this article redirect to a specific reviewed product. Your purchase of these products through affiliate links helps to generate commission for Storables.com, at no extra cost. Learn more)
Introduction
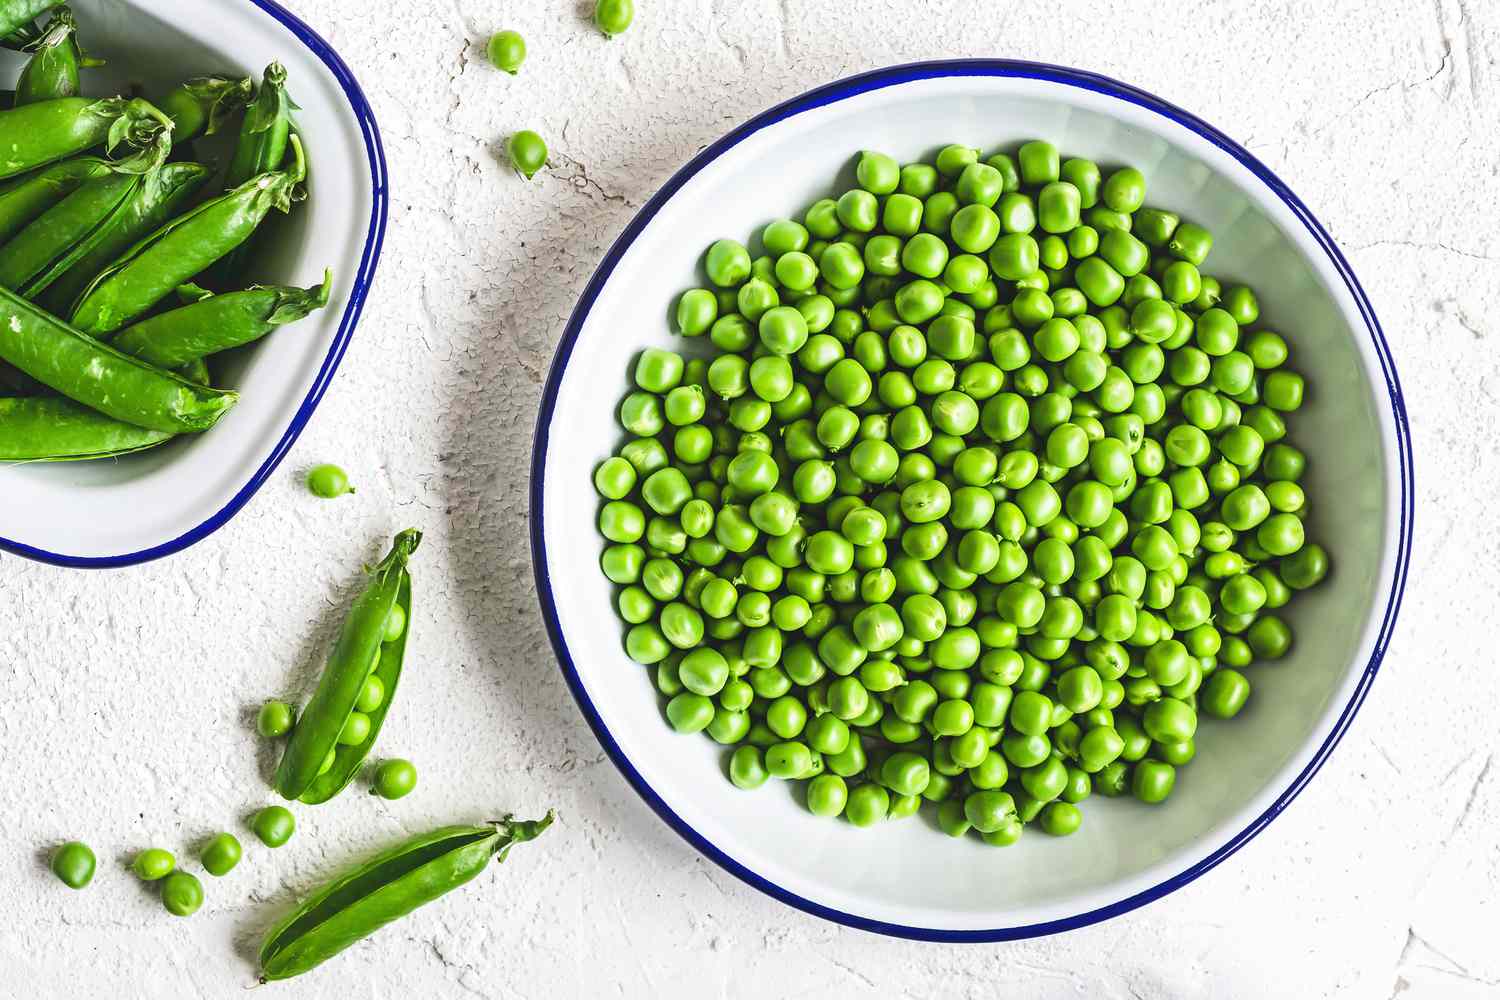
Welcome to the world of snow peas! These delightful green veggies are not only delicious but also packed with nutrients. Snow peas are a versatile ingredient that can be used in a variety of dishes, from stir-fries to salads. However, if you have an abundance of snow peas or want to enjoy them throughout the year, it’s essential to know how to properly store them. In this article, we will guide you through the process of storing snow peas to ensure their freshness and flavor for as long as possible.
Before we delve into the storage methods, let’s take a quick look at how to choose and harvest snow peas. When selecting snow peas, opt for ones that are bright green, plump, and free from wilting or blemishes. The pods should feel crisp and snap easily when bent. As for harvesting, it’s best to pick snow peas when they are still young and the seeds inside are small. This ensures a tender and sweet flavor.
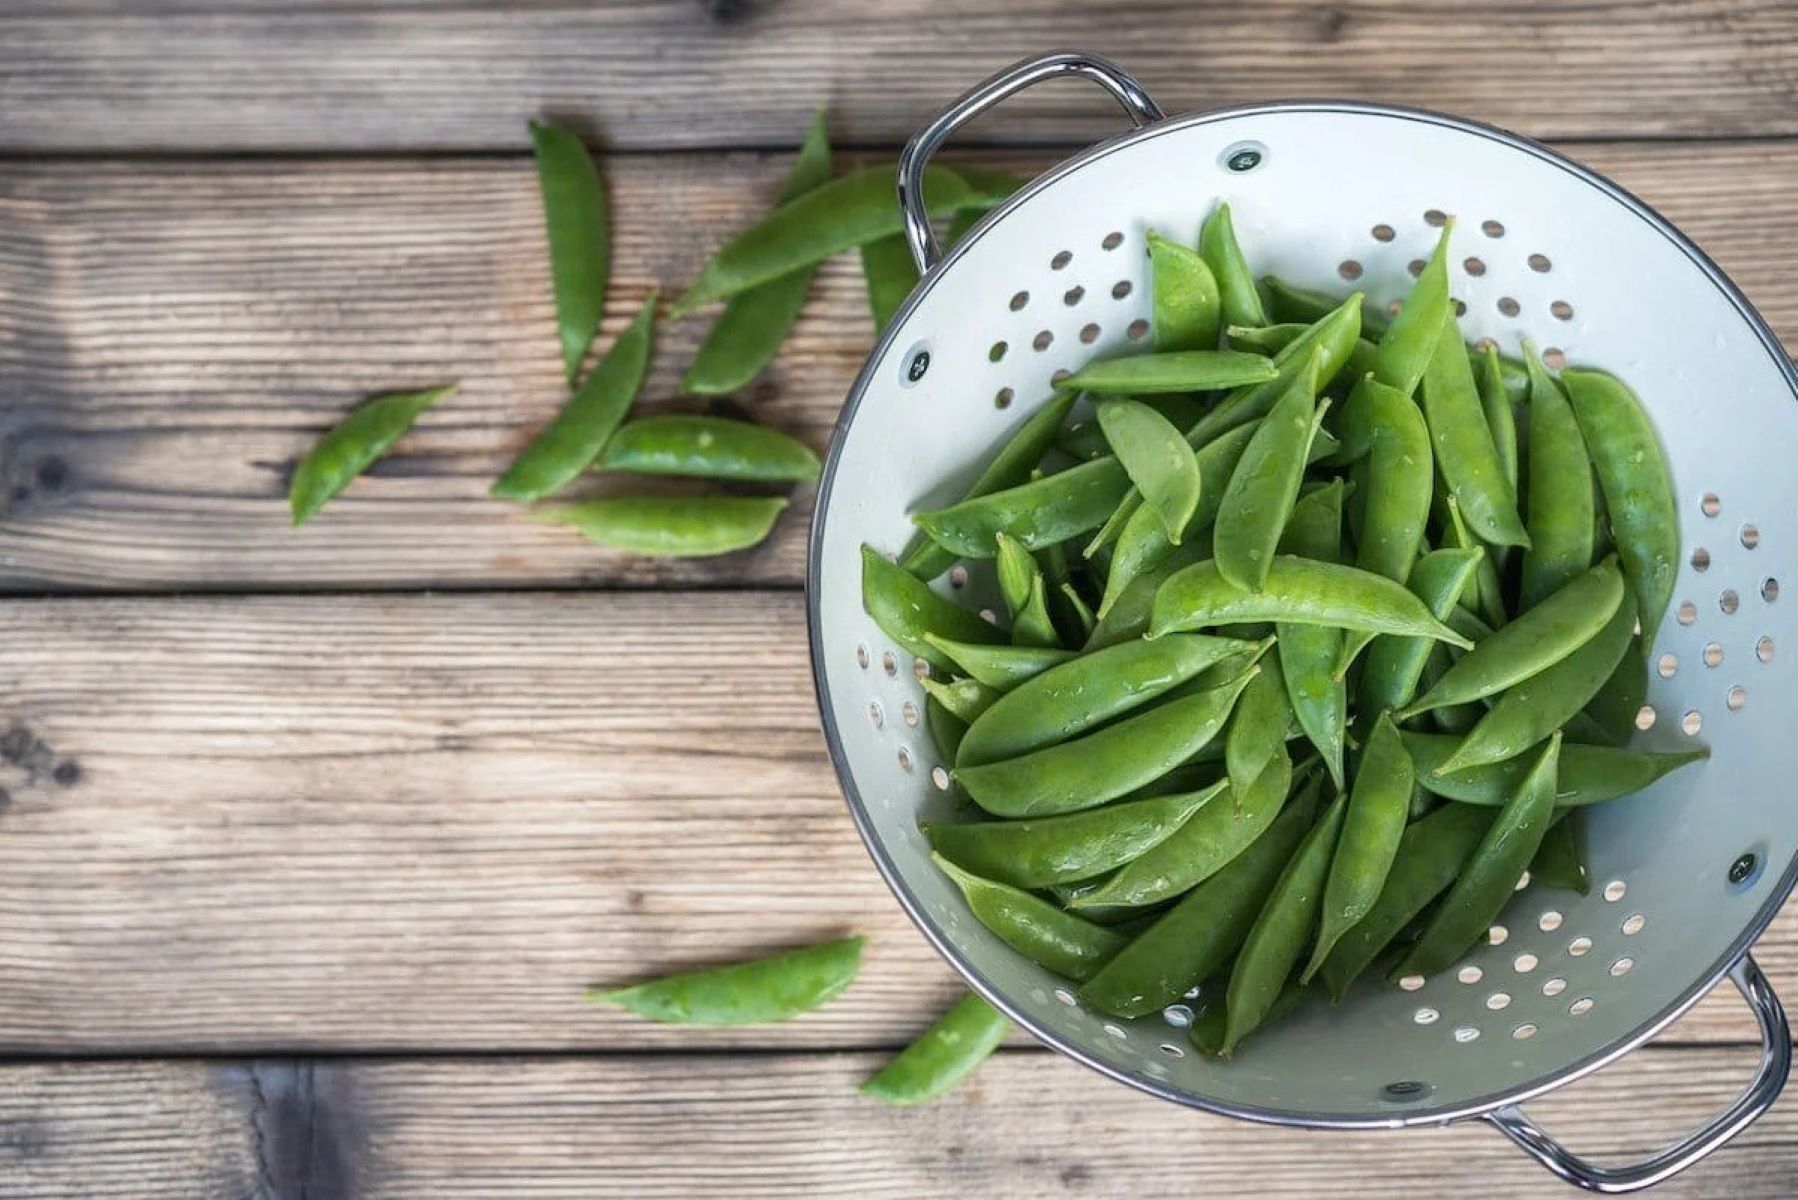
Now that you have your freshly picked snow peas, it’s time to prepare them for storage. Proper preparation is crucial to prevent spoilage and maintain the peas’ quality. Start by removing any damaged or discolored peas, as they can cause others to spoil more quickly. Rinse the remaining snow peas thoroughly under cold water to remove any dirt or debris. Pat them dry with a clean kitchen towel or paper towels before proceeding with the storage methods.
In the following sections, we will discuss two primary methods for storing snow peas – refrigeration and freezing. Each method has its advantages and is suitable for different purposes. Let’s delve into the details of each method so you can choose the one that best suits your needs.
Key Takeaways:
- Properly storing snow peas is essential for maintaining their freshness and flavor. Whether refrigerating, freezing, or vacuum sealing, following the right methods ensures you can enjoy the delightful taste of snow peas year-round.
- Avoid common mistakes like storing damp peas or skipping blanching when freezing to keep your snow peas fresh and delicious. With proper storage techniques, you can savor the crunch of snow peas long after their harvest season.
Read more: How Long Do Snow Peas Take To Germinate
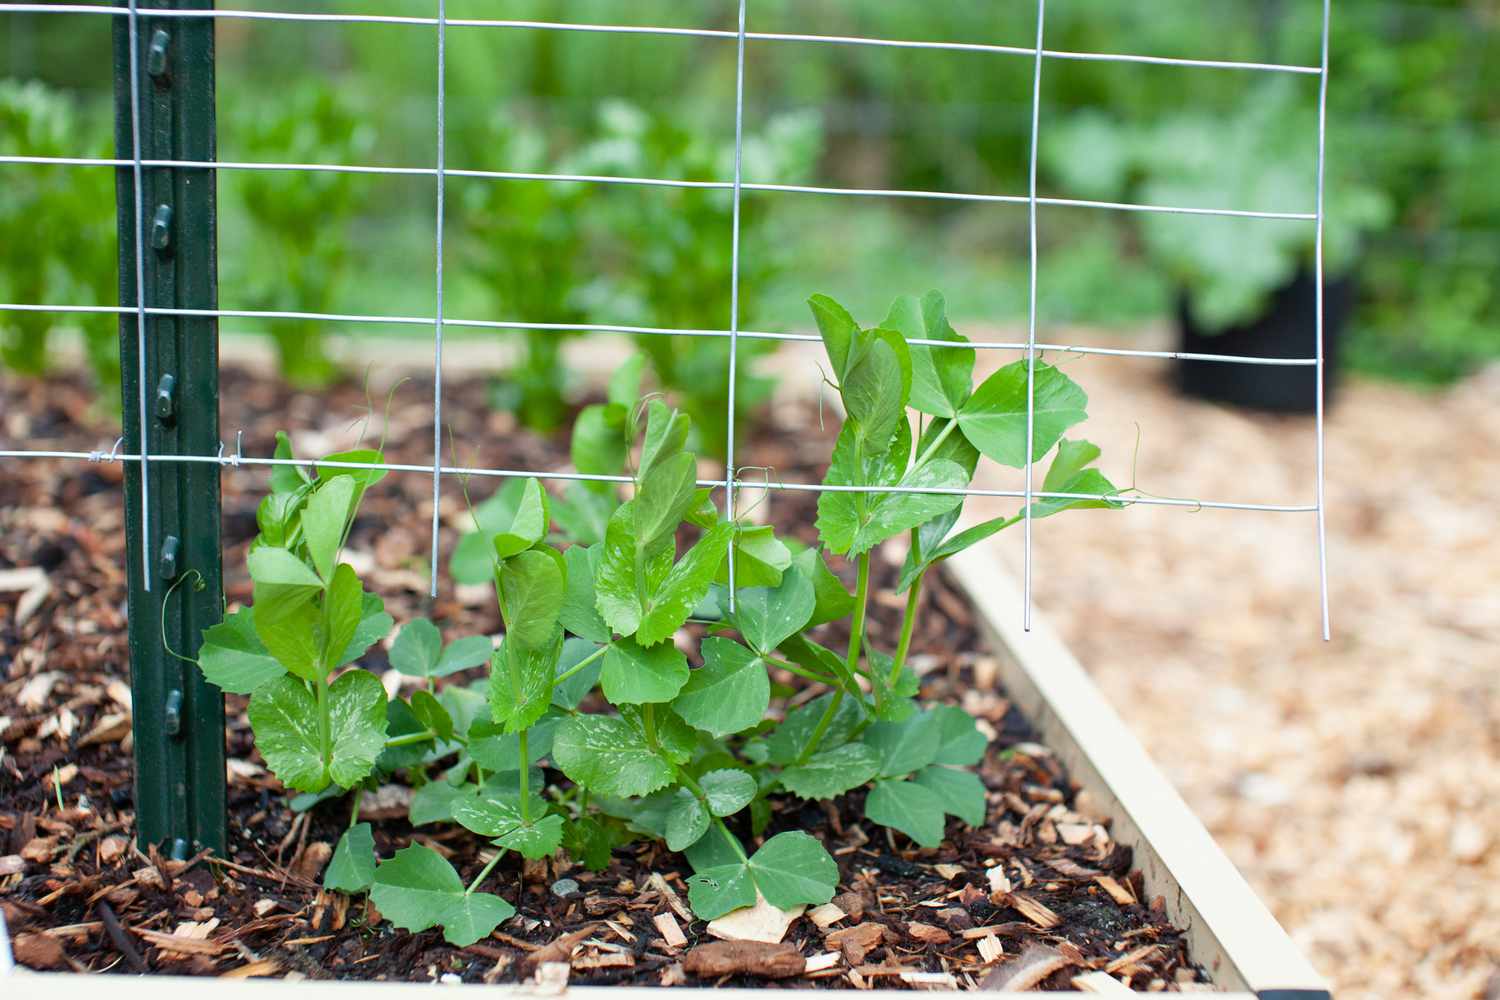
Choosing and Harvesting Snow Peas
When it comes to snow peas, freshness is key. To ensure that you’re getting the best quality, it’s important to know how to choose and harvest them properly.
When selecting snow peas, look for pods that are bright green in color, plump, and crisp. Avoid peas that have yellowing or blemished pods, as this can indicate age or spoilage. The pods should feel firm and snap easily when bent.
When it comes to size, smaller snow peas tend to be more tender and flavorful. Look for peas that are around 2 to 3 inches long. The smaller pods also have smaller seeds, which means a more enjoyable eating experience.
When harvesting snow peas, it’s important to pick them at the right time. Snow peas are typically ready to harvest when the pods are flat and the seeds inside are small. If the pods start to bulge or become swollen, it means that the peas inside are becoming larger and less tender.
To harvest the snow peas, hold the stem with one hand and gently snap or cut the pod off with the other. Be careful not to damage the plant or neighboring pods in the process. Harvesting regularly ensures that the plant continues to produce new pods throughout the season.
Once you’ve harvested the snow peas, it’s important to use them as soon as possible to enjoy their fresh flavor. If you have an abundance of snow peas and want to store them for later use, follow the storage methods discussed in the next sections to maintain their freshness and quality.
Preparing Snow Peas for Storage
Before you can store snow peas, it’s important to properly prepare them to maintain their freshness and quality. Here are some steps to follow:
1. Remove damaged peas: Start by inspecting the snow peas and removing any pods that are discolored, moldy, or damaged. These peas can spoil quickly and affect the quality of the rest, so it’s best to discard them.
2. Wash the peas: Rinse the snow peas under cold running water to remove any dirt or debris. Gently rub the pods with your fingers to ensure a thorough cleaning. You can also use a vegetable brush to remove any stubborn dirt if needed.
3. Trim the ends: After washing, trim the ends of the snow peas, removing any tough or stringy parts. This step helps to enhance the overall eating experience and ensures that the peas are at their freshest.
4. Dry the peas: Pat the snow peas dry with a clean kitchen towel or use a salad spinner to remove excess moisture. Drying the peas thoroughly helps to prevent them from becoming soggy and promotes better storage.
5. Optional blanching: Blanching is a process where the peas are briefly immersed in boiling water and then quickly cooled down in ice water. This step helps to preserve the color, texture, and flavor of the peas. If you plan to freeze the snow peas, blanching is strongly recommended. However, if you’re storing them in the refrigerator, you can skip this step.
By following these steps, you ensure that the snow peas are clean, trimmed, and ready for storage. Whether you choose to refrigerate or freeze them, these preparation steps are essential for maintaining the freshness and taste of the snow peas.
Storing Snow Peas in the Refrigerator
Storing snow peas in the refrigerator is the best method if you plan to use them within a few days. Follow these steps to ensure they stay fresh:
1. Place in a perforated plastic bag: Transfer the prepared snow peas to a perforated plastic bag or a vegetable storage bag. These bags allow for air circulation, preventing moisture buildup and extending the shelf life of the peas. If you don’t have a perforated bag, you can poke a few small holes in a regular plastic bag.
2. Store in the crisper drawer: Put the bagged snow peas in the crisper drawer of your refrigerator. The crisper drawer provides a slightly higher humidity environment compared to other sections of the fridge, which helps to keep the peas fresh and crisp.
3. Keep away from ethylene-producing fruits: Ethylene is a natural gas that certain fruits produce as they ripen. It can speed up the spoiling process of snow peas. Therefore, it’s best to store snow peas away from ethylene-producing fruits like apples, bananas, and tomatoes.
4. Check and use within a week: Regularly check the snow peas for any signs of spoilage. If you notice any sliminess, discoloration, or a foul odor, it’s time to discard them. Aim to use the snow peas within a week for the best flavor and quality.
Storing snow peas in the refrigerator helps to maintain their freshness and crispness, making them perfect for adding to salads or stir-frying. Remember to consume them within a week for the best taste and texture.
Blanching and Freezing Snow Peas
If you have an abundance of snow peas and want to enjoy them year-round, freezing is a great option. Blanching the peas before freezing helps to preserve their color, texture, and flavor. Follow these steps to freeze snow peas:
1. Blanch the snow peas: Bring a large pot of water to a boil and prepare a bowl of ice water. Place the snow peas in the boiling water for about 1-2 minutes, depending on their size. This blanching process helps to deactivate enzymes that can cause the peas to deteriorate. After blanching, immediately transfer the snow peas to the ice water to stop the cooking process. Let them cool for a couple of minutes.
2. Drain and dry: Once the snow peas have cooled, drain them thoroughly and pat them dry with a clean kitchen towel or paper towels. Removing excess moisture helps to prevent ice crystals from forming during freezing, which can negatively affect the texture of the peas.
3. Portion and pack: Divide the blanched snow peas into portion sizes that suit your needs. You can pack them into airtight freezer bags or freezer-safe containers. Squeeze out any excess air from the bags to minimize freezer burn. Label the bags with the date to keep track of their freshness.
4. Freeze: Place the packed snow peas in the freezer, making sure they are laid flat so that they freeze quickly and maintain their shape. For optimal quality, it’s recommended to use the frozen snow peas within 6-8 months.
When you’re ready to use the frozen snow peas, there’s no need to thaw them. Simply add them directly from the freezer to your favorite recipes, such as stir-fries, soups, or pasta dishes. The blanching process ensures that the snow peas retain their vibrant color and delicious taste even after freezing.
By blanching and freezing snow peas, you can enjoy their crispness and nutrients throughout the year, even when they are out of season.
Store snow peas in a perforated plastic bag in the refrigerator’s crisper drawer. They will stay fresh for up to a week. Avoid washing them until ready to use.
Read more: How To Store Snow Globes
Vacuum Sealing Snow Peas
Another excellent method for storing snow peas is vacuum sealing. Vacuum sealing helps to remove air from the packaging, preventing freezer burn and prolonging the shelf life of the peas. Here’s how to vacuum seal snow peas:
1. Prep the snow peas: Start by properly preparing the snow peas as discussed earlier – removing damaged pods, washing, trimming, and drying them thoroughly.
2. Freeze the snow peas: Place the prepared snow peas in the freezer for around 30 minutes. Freezing them slightly beforehand prevents the delicate pods from getting crushed during the vacuum sealing process.
3. Get a vacuum sealer: If you don’t own a vacuum sealer, consider borrowing from a friend or purchasing one. Vacuum sealers are readily available in home and kitchen appliance stores, and they come in various types and price ranges.
4. Seal the snow peas: Once the snow peas are slightly frozen, take them out of the freezer and start packaging them using the vacuum sealer. Place the snow peas in the vacuum bags or rolls, making sure they are in a single layer and not overcrowded. Seal the bags according to the instructions of your vacuum sealer model.
5. Label and store: After vacuum sealing, label the bags with the date of packaging. This helps you keep track of their freshness. Store the vacuum-sealed snow peas in the freezer, preferably laying them flat to optimize space. The sealed snow peas can typically be stored for up to a year without compromising their quality.
Vacuum-sealed snow peas retain their freshness, flavor, and nutritional value for an extended period. When you’re ready to use them, simply remove the desired portion from the freezer and thaw them in the refrigerator before cooking.
Vacuum sealing is an excellent method for long-term storage of snow peas, ensuring that you can enjoy their taste and nutritional benefits whenever you desire.
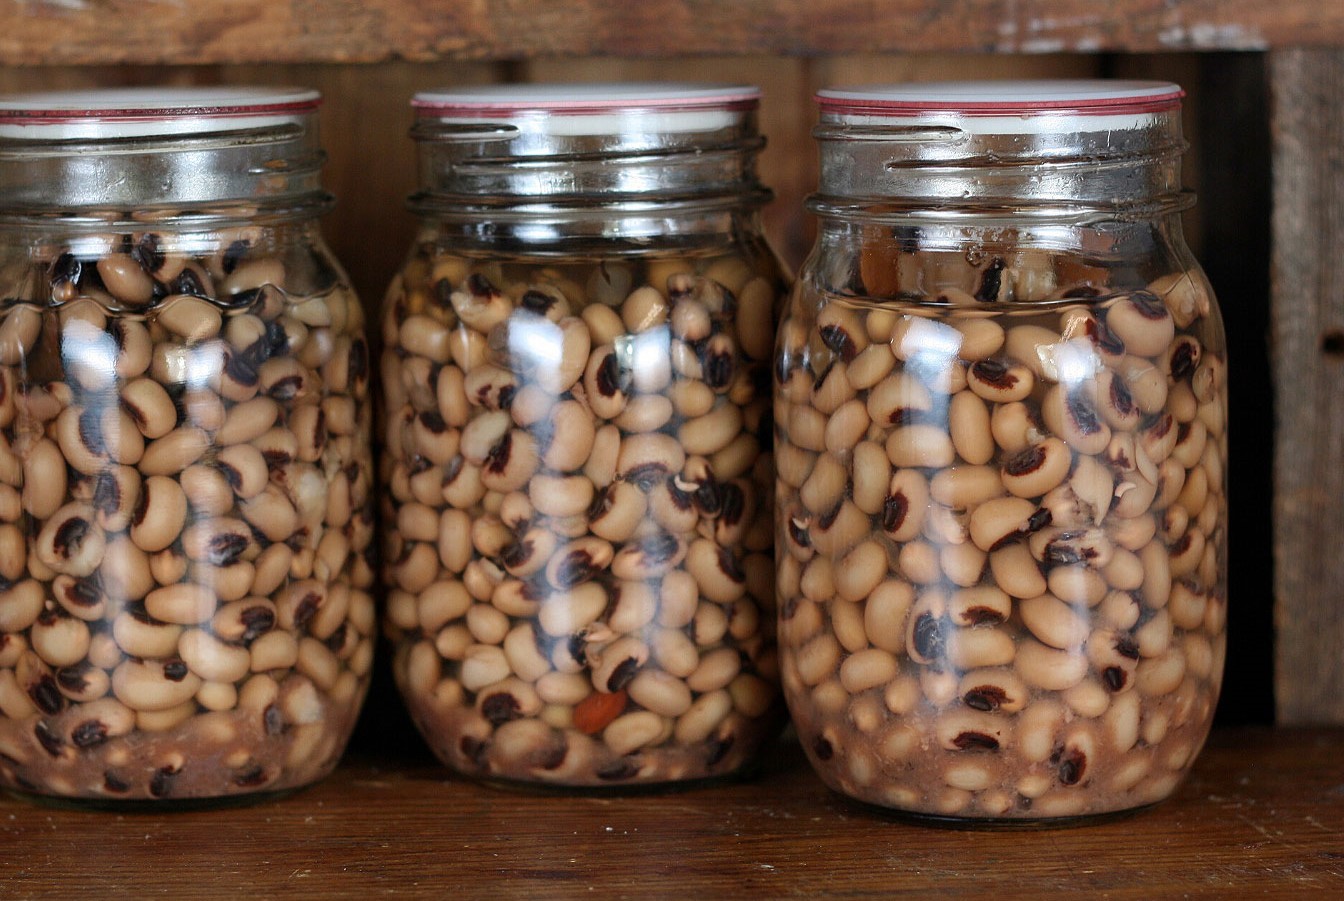
Making Snow Pea Preserves
Preserving snow peas through canning is a fantastic way to enjoy their flavor even when they are out of season. Snow pea preserves make a delicious addition to sandwiches, salads, and charcuterie boards. Here’s how to make snow pea preserves:
1. Prepare the snow peas: Start by washing the snow peas thoroughly under cold running water. Remove the stem ends and any tough strings along the pods. Cut the snow peas into desired sizes, such as halves or slices. Blanch the snow peas in boiling water for about 1-2 minutes, then transfer them to an ice bath to cool quickly. This step helps preserve their color and texture.
2. Make the preserving liquid: In a saucepan, combine water, white vinegar, sugar, and desired spices. Common spices for snow pea preserves include mustard seeds, dill seeds, and red pepper flakes. Bring the mixture to a boil and simmer for a few minutes until the sugar dissolves and the flavors meld together.
3. Pack the jars: Sterilize canning jars and lids by boiling them in water for a few minutes. Pack the blanched snow peas into the jars, leaving a bit of headspace at the top. Pour the hot preserving liquid over the snow peas, covering them completely. Use a spoon or a chopstick to remove any air bubbles and ensure proper filling.
4. Seal and process: Wipe the jar rims clean to remove any residue. Place the lids on the jars, ensuring they are tightly secured. Process the jars in a water bath canner for the specified time according to your recipe and altitude. Once the processing time is complete, carefully remove the jars and let them cool on a towel-lined surface.
5. Test the seal and store: After the jars have cooled, check for a proper seal by pressing the center of the lids. If the lids do not flex or make a popping sound, the jars are properly sealed. Label the jars with the date and store them in a cool, dark place. The snow pea preserves can be stored for up to a year, but make sure to consume them within a year for the best quality.
Snow pea preserves add a delightful burst of flavor to various dishes, making them a wonderful addition to your pantry. Enjoy the fresh taste of snow peas year-round with these homemade preserves.
Common Mistakes to Avoid
When it comes to storing snow peas, there are a few common mistakes that people make. By avoiding these errors, you can ensure that your snow peas remain fresh and delicious. Here are some mistakes to watch out for:
1. Not checking for spoilage: One of the biggest mistakes is not regularly checking your snow peas for signs of spoilage. It’s important to inspect them for any sliminess, discoloration, or a foul odor. Removing any spoiled peas immediately helps prevent the spread of spoilage to the rest of the batch.
2. Storing damp snow peas: Moisture is the enemy when it comes to storing snow peas. If you don’t dry the peas thoroughly after washing or blanching them, they can become soggy and more prone to spoilage. Make sure to pat them dry with a clean towel or use a salad spinner to remove excess moisture before storing.
3. Storing overripe or large snow peas: Overripe snow peas tend to have tough or fibrous pods and are not ideal for storing. It’s best to choose young snow peas with small seeds for the best flavor and texture. Additionally, larger snow peas can become mealy and lose their crispness during storage.
4. Not using proper storage containers: Using the right storage containers is crucial for maintaining the quality of snow peas. Ensure that the containers you use are airtight and freezer-safe if you plan to freeze the peas. If storing in the refrigerator, use perforated or breathable bags to allow for proper airflow.
5. Freezing without blanching: If you plan to freeze snow peas, blanching is a vital step that should not be skipped. Blanching helps to preserve the color, texture, and flavor of the peas by deactivating enzymes that can cause deterioration. Skipping this step can result in frozen snow peas with a compromised quality.
6. Storing snow peas near ethylene-producing fruits: Ethylene gas can accelerate the spoilage of snow peas. Keep them away from fruits like apples, bananas, and tomatoes, as they naturally produce ethylene gas as they ripen. Storing snow peas separately from these fruits helps to maintain their freshness.
By avoiding these common mistakes, you can ensure that your snow peas stay fresh, crisp, and full of flavor for as long as possible. Proper storage techniques and regular inspections will help you make the most of your snow pea harvest.
Frequently Asked Questions
1. Can I store snow peas without blanching them?
While it is possible to store snow peas without blanching, blanching is highly recommended to maintain their quality. Blanching helps to preserve the color, texture, and flavor of the peas by deactivating enzymes that can cause deterioration. It also helps to kill bacteria and other microorganisms that may be present on the surface of the peas.
2. How long can I store snow peas in the refrigerator?
Snow peas can be stored in the refrigerator for up to a week. It’s important to check them regularly for any signs of spoilage, such as sliminess or discoloration. To extend their freshness, store snow peas in a perforated plastic bag or a vegetable storage bag in the crisper drawer of your refrigerator.
3. Can I freeze snow peas without blanching them?
While blanching is not absolutely necessary for freezing snow peas, it is highly recommended. Blanching helps to preserve the color, texture, and flavor of the peas by deactivating enzymes that can cause deterioration. It also helps to kill any bacteria present on the surface of the peas. Skipping the blanching step may result in reduced quality and a shorter shelf life for the frozen snow peas.
4. What is the best way to thaw frozen snow peas?
To thaw frozen snow peas, transfer them from the freezer to the refrigerator and allow them to thaw slowly overnight. Thawing at a gradual pace helps to retain the quality of the peas. Avoid thawing snow peas at room temperature or using hot water, as this can lead to loss of texture and flavor.
5. Can I can snow peas using a water bath canner?
Water bath canning is not recommended for snow peas. Snow peas have low acidity levels that make them prone to spoilage and the growth of harmful bacteria, such as the bacteria that causes botulism. To safely preserve snow peas, use pressure canning, which is the recommended method to ensure that the preserved snow peas are safe for consumption.
Remember to always follow proper food safety guidelines and consult reputable sources or experts for specific instructions on canning and preserving snow peas.
Read more: How To Store Pea Shoots
Conclusion
Snow peas are a versatile and nutritious vegetable that can be enjoyed in a variety of dishes. Knowing how to properly store snow peas is essential to maintain their freshness and quality for as long as possible. Whether you choose to store them in the refrigerator, freeze them, vacuum seal them, or create delicious preserves, each method offers its own benefits.
When storing snow peas in the refrigerator, make sure to remove any damaged peas, wash them thoroughly, dry them properly, and store them in a perforated plastic bag in the crisper drawer. Checking for spoilage regularly and using the snow peas within a week will ensure their optimal flavor and texture.
If you have an abundance of snow peas, freezing them is a great option. The blanching method helps to preserve their color and flavor. Vacuum sealing snow peas removes air and prevents freezer burn, extending their shelf life. Making snow pea preserves through canning allows you to enjoy their delicious taste throughout the year.
By avoiding common mistakes like not checking for spoilage, storing damp peas, using improper storage containers, or skipping blanching, you can ensure that your snow peas stay fresh and delicious for longer.
Remember to follow proper food safety guidelines and consult reputable sources for canning and preserving methods to ensure the safety and quality of the stored snow peas.
With these storage methods and tips, you can enjoy the delightful flavor and crunch of snow peas long after their harvest season. So go ahead, stock up on snow peas, and savor their freshness in your favorite dishes any time of the year!
Frequently Asked Questions about How To Store Snow Peas
Was this page helpful?
At Storables.com, we guarantee accurate and reliable information. Our content, validated by Expert Board Contributors, is crafted following stringent Editorial Policies. We're committed to providing you with well-researched, expert-backed insights for all your informational needs.


0 thoughts on “How To Store Snow Peas”