Articles
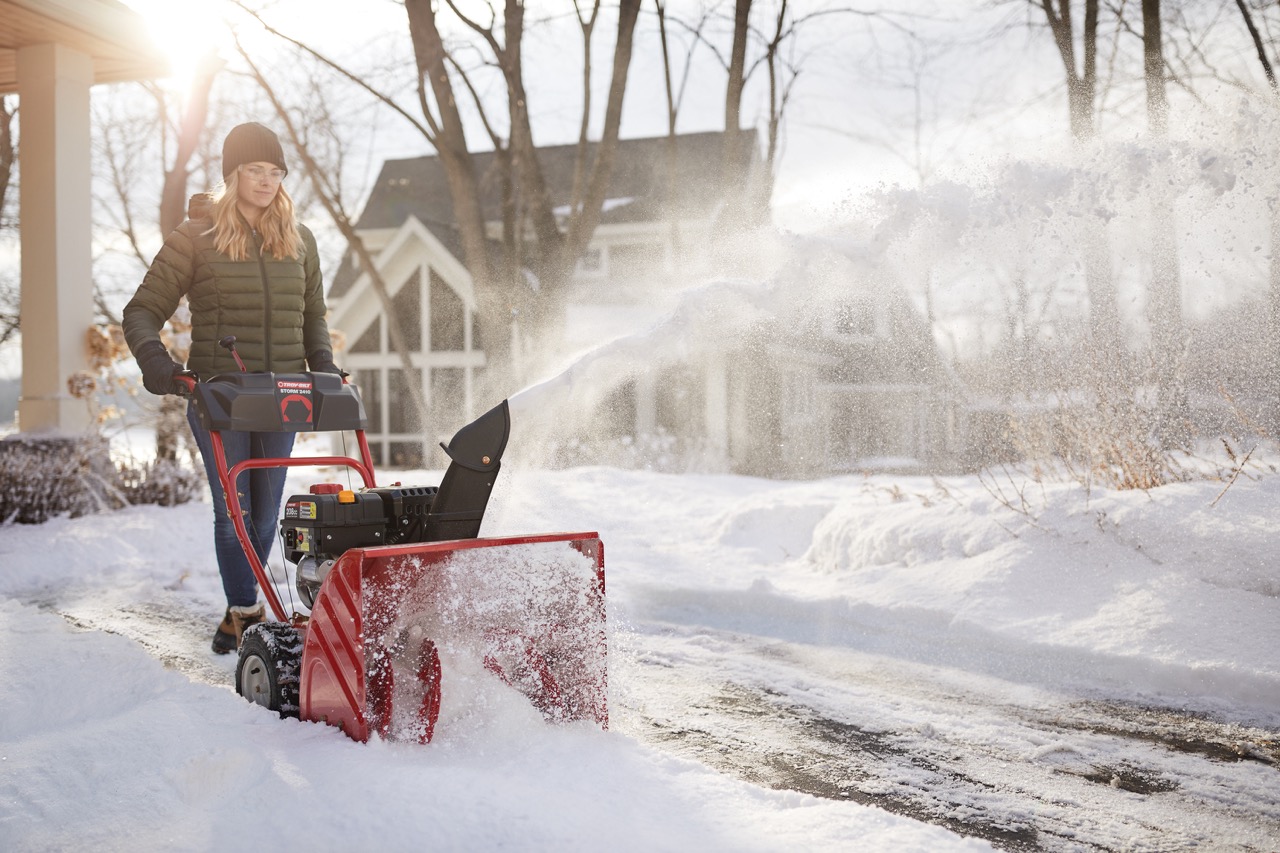
How To Store Snow Blower
Modified: October 19, 2024
Learn the best methods for storing your snow blower in this informative article. Keep your machine protected and ready for the next winter season.
(Many of the links in this article redirect to a specific reviewed product. Your purchase of these products through affiliate links helps to generate commission for Storables.com, at no extra cost. Learn more)
Introduction
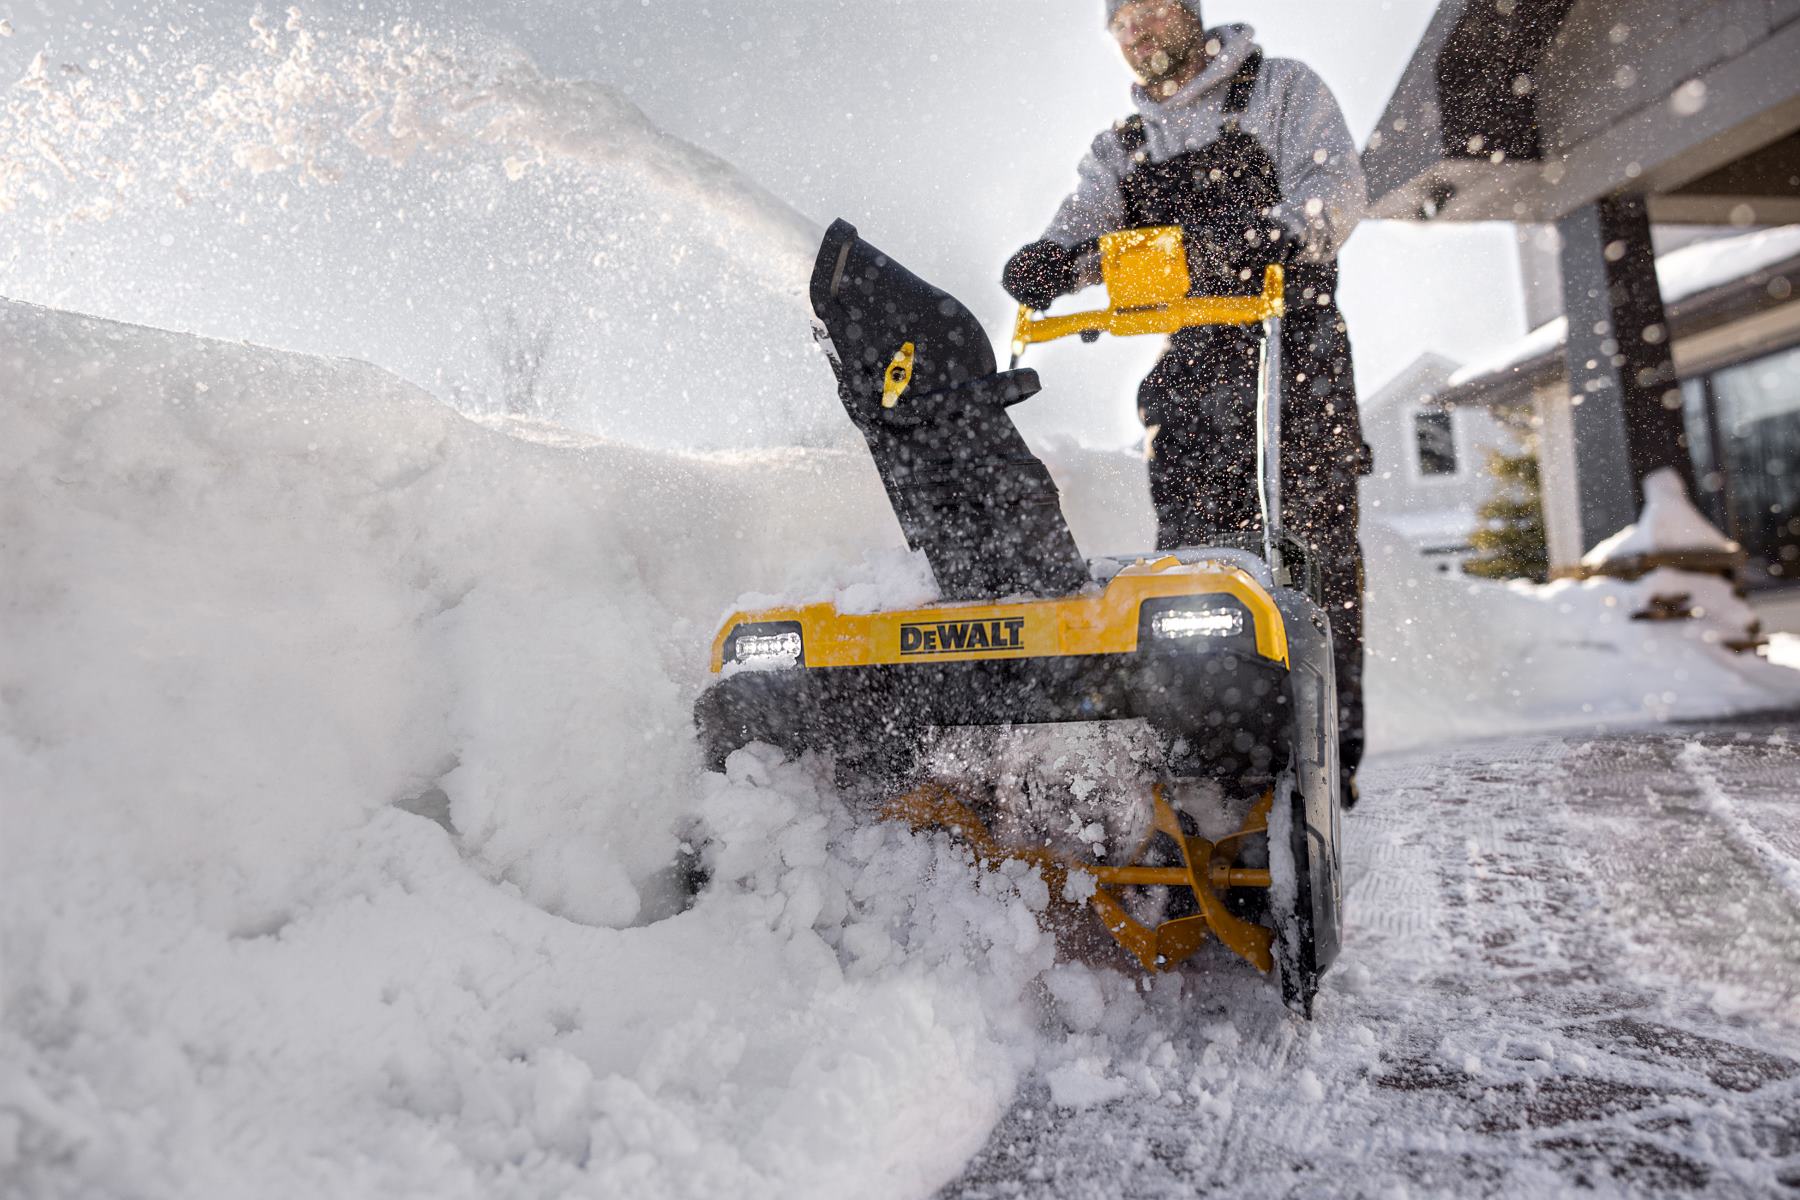
When the winter season comes to an end, it’s important to properly store your snow blower to ensure its longevity and optimal performance for the next snowfall. Storing a snow blower correctly helps protect it from damage, rust, and other issues that can arise during periods of inactivity. Whether you have a gas-powered or electric snow blower, following these steps will help you store it safely and prepare it for the next winter season. In this article, we will guide you through the process of storing your snow blower to keep it in top shape.
Before starting the storage process, it’s worth noting that this guide applies to both single and two-stage snow blowers. However, it’s always a good idea to consult your snow blower’s user manual for specific instructions as different models may have unique storage requirements.
In the following steps, we will cover everything from choosing an appropriate storage location to cleaning the snow blower, draining fuel and oil, lubricating moving parts, and covering or enclosing the machine. By following these steps, you will prolong the life of your snow blower and ensure its readiness when the next winter arrives.
Remember, proper maintenance and storage will not only extend the lifespan of your snow blower but also save you time and money in the long run. Now let’s get started with step one: choosing an appropriate storage location.
Key Takeaways:
- Properly storing your snow blower, from choosing the right location to disconnecting the battery and covering the machine, ensures its longevity and readiness for the next winter season. Following these steps saves time and money in the long run.
- By taking the time to clean, lubricate, and securely store your snow blower, you not only extend its lifespan but also ensure optimal performance when the snow starts falling again. Following these steps preserves the integrity of your valuable snow removal equipment.
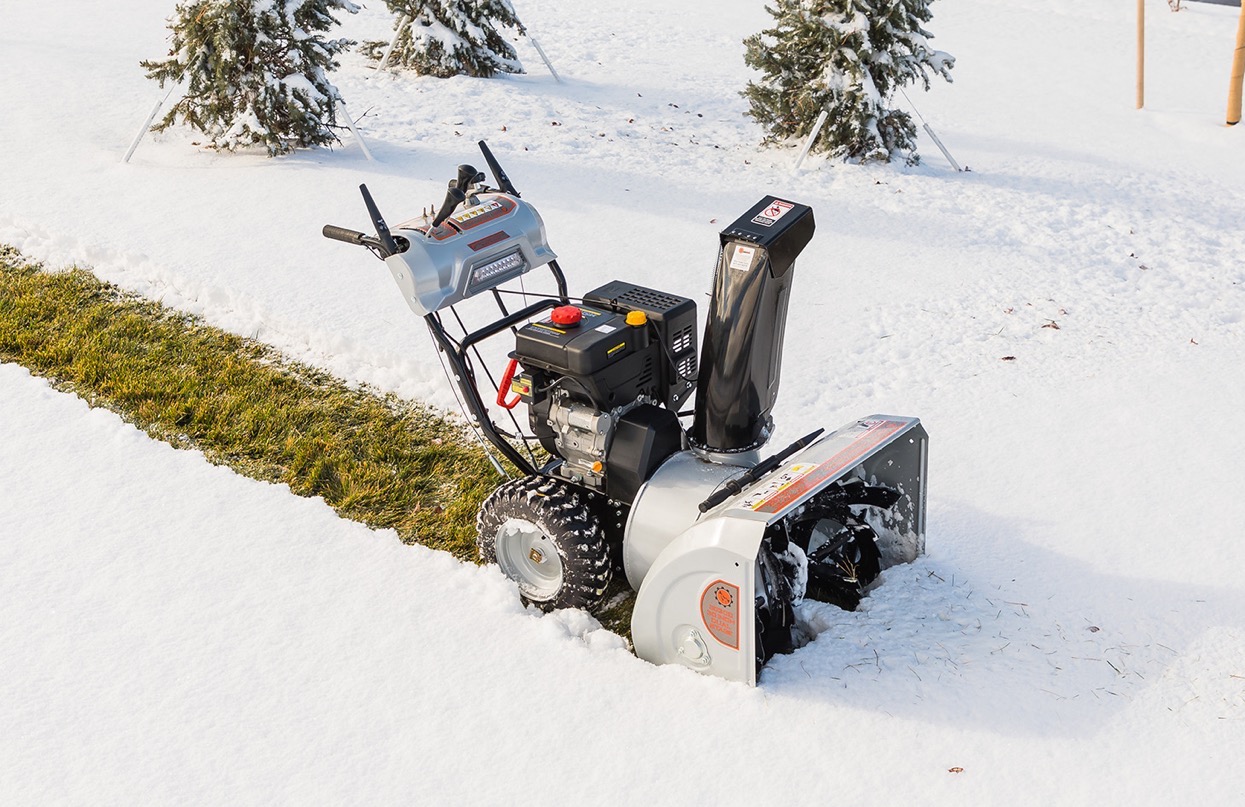
Step 1: Choosing an Appropriate Storage Location
The first step in properly storing your snow blower is to find an appropriate storage location. Ideally, you want to choose a spot that is sheltered from extreme temperatures, moisture, and direct sunlight. Here are some factors to consider when selecting a storage location for your snow blower:
1. Shelter: Look for a covered area such as a garage, shed, or storage unit. This will protect your snow blower from rain, snow, and UV rays, which can cause damage to the machine over time.
2. Temperature: Avoid storing your snow blower in areas that experience extreme temperatures, as this can affect the performance and longevity of its components. If possible, choose a location with a moderate and consistent temperature throughout the year.
3. Ventilation: Ensure that the storage area has proper ventilation to prevent the buildup of moisture, which can lead to rust and corrosion. Good airflow will help keep your snow blower in optimal condition.
4. Accessibility: Consider how easily you can access the storage location when you need to retrieve your snow blower for the next winter season. The location should be convenient and easily accessible without any obstacles.
5. Security: If security is a concern, choose a storage location that offers added protection, such as a locked garage or a secure storage facility. This will help safeguard your snow blower from theft and unauthorized use.
Once you have identified a suitable storage location, make sure to clear out any debris or clutter that could potentially damage your snow blower or hinder its functionality. Additionally, it’s a good idea to clean the area and ensure that it is free from any chemicals or substances that could harm your machine.
By selecting an appropriate storage location, you create a safe and protected environment for your snow blower, ensuring that it remains in good condition and ready for use when the next winter season arrives. With step one complete, let’s move on to step two: cleaning the snow blower.
Step 2: Cleaning the Snow Blower
Cleaning your snow blower is an essential step in the storage process. Over time, debris, dirt, and salt can accumulate on your machine, potentially causing damage if left unaddressed. By thoroughly cleaning your snow blower before storing it, you prevent corrosion, extend its lifespan, and ensure optimal performance in the next winter season. Here’s how to clean your snow blower effectively:
1. Safety First: Before starting the cleaning process, make sure the engine is turned off and the spark plug wire is disconnected to prevent any accidental starts. It’s also a good idea to wear protective gloves and eyewear to shield yourself from any debris.
2. Remove Large Debris: Begin by removing any visible debris, such as twigs, leaves, or chunks of ice, from the snow blower. Use a broom or a brush to gently sweep away the larger pieces. Pay close attention to the auger blades, chute, and any other areas where debris may accumulate.
3. Clean the Chute: Next, focus on cleaning the chute, as it is a common area for clogs and debris buildup. Use a scraper or a brush to remove any compacted snow or ice from the chute. Be careful not to damage the chute while cleaning.
4. Scrub the Surface: Use a mild detergent or snow blower cleaner mixed with water to scrub the exterior surfaces of the snow blower. This will help remove any dirt or grime that may have accumulated during use. Avoid using harsh chemicals that can damage the machine’s paint or plastic parts.
5. Rinse and Dry: After scrubbing, rinse the snow blower with clean water to remove any leftover detergent. Make sure to rinse thoroughly to avoid any residue. Once rinsed, use a clean cloth or towel to dry all the surfaces of the snow blower, ensuring that there is no moisture left behind.
6. Lubricate Moving Parts: Before storing, it’s a good idea to lubricate the moving parts of your snow blower to prevent corrosion and ensure smooth operation. Consult your snow blower’s manual for the recommended lubricant and apply it to the auger shaft, gears, and any other moving components as instructed.
By following these cleaning steps, you ensure that your snow blower is free from debris, dirt, and moisture, reducing the risk of damage during storage. With step two complete, let’s move on to step three: draining fuel and oil.
Step 3: Draining Fuel and Oil
Draining the fuel and oil from your snow blower is a crucial step in preparing it for storage. Storing your snow blower with fuel and old oil can lead to engine damage and performance issues in the future. Follow these steps to safely drain the fuel and oil from your snow blower:
1. Fuel Draining:
a. Start by running the snow blower until the fuel tank is empty. This ensures that there is minimal fuel left in the system.
b. If there is any remaining fuel in the tank, you can use a hand pump or a siphon to extract the fuel and transfer it to an approved container for proper disposal.
c. Once the fuel tank is completely empty, check the fuel line and carburetor if your snow blower has one. Drain any remaining fuel from these parts as well.
2. Oil Draining:
a. Refer to your snow blower’s manual to locate the oil drain plug. Place an appropriate container to collect the oil underneath the drain plug.
b. Carefully remove the oil drain plug and let the old oil flow into the container. Tilt the snow blower if necessary to ensure all the oil has drained.
c. Once all the oil has been drained, replace the oil drain plug and tighten it securely.
3. Dispose of Fuel and Oil Properly:
a. It’s important to dispose of the fuel and oil in an environmentally friendly manner. Check with your local waste management facility for guidelines on how to dispose of these substances safely and responsibly.
b. Never pour fuel or oil down the drain, into the soil, or into regular trash bins, as this can harm the environment.
By draining the fuel and oil from your snow blower, you avoid fuel deterioration and oil contamination during storage. This step helps to maintain the integrity of your snow blower’s engine and ensures better performance when you’re ready to use it again. With step three complete, let’s move on to step four: lubricating moving parts.
Step 4: Lubricating Moving Parts
Lubricating the moving parts of your snow blower is essential for keeping them in good working condition during storage. This step helps prevent rust and corrosion, ensuring that your snow blower will be ready to perform efficiently when the snow starts falling again. Follow these steps to properly lubricate the moving parts of your snow blower:
1. Auger and Impeller:
a. Begin by applying a lubricant specifically designed for snow blowers to the auger and impeller blades. This will help maintain their smooth operation and prevent them from rusting.
b. Use a spray or a brush to evenly coat the blades with the lubricant, making sure to reach all the nooks and crannies.
2. Cables and Chute Mechanism:
a. Check the cables that control the chute rotation and deflection. Apply a few drops of lubricant to the cable ends and work it in by manually operating the controls back and forth.
b. Lubricate any other moving parts like the chute rotation mechanism, ensuring smooth movement during operation.
3. Wheels and Bearings:
a. Inspect the wheels and bearings of your snow blower. If necessary, apply a light coat of lubricant to keep them rolling smoothly and to prevent rusting or seizing.
b. Rotate the wheels to distribute the lubricant evenly and ensure proper coverage.
4. Drive System:
a. Check the drive system, including the drive belt or chains. Apply an appropriate lubricant to the moving parts, ensuring they maintain flexibility and prevent rust.
b. Follow the manufacturer’s recommendations for lubricating the drive system to ensure optimal performance and avoid potential damage.
5. Electric Start (if applicable):
a. If your snow blower has an electric start feature, ensure it’s well lubricated. Apply a small amount of lubricant to the moving parts according to the manufacturer’s recommendations.
Remember to use lubricants specifically formulated for snow blowers, as they are designed to withstand the harsh winter conditions. Avoid using excessive amounts of lubricant, as it may attract dust and debris. Properly lubricating the moving parts of your snow blower will help prevent friction, rust, and corrosion, keeping your machine in excellent condition during the storage period. With step four complete, let’s move on to step five: disconnecting the battery (if applicable).
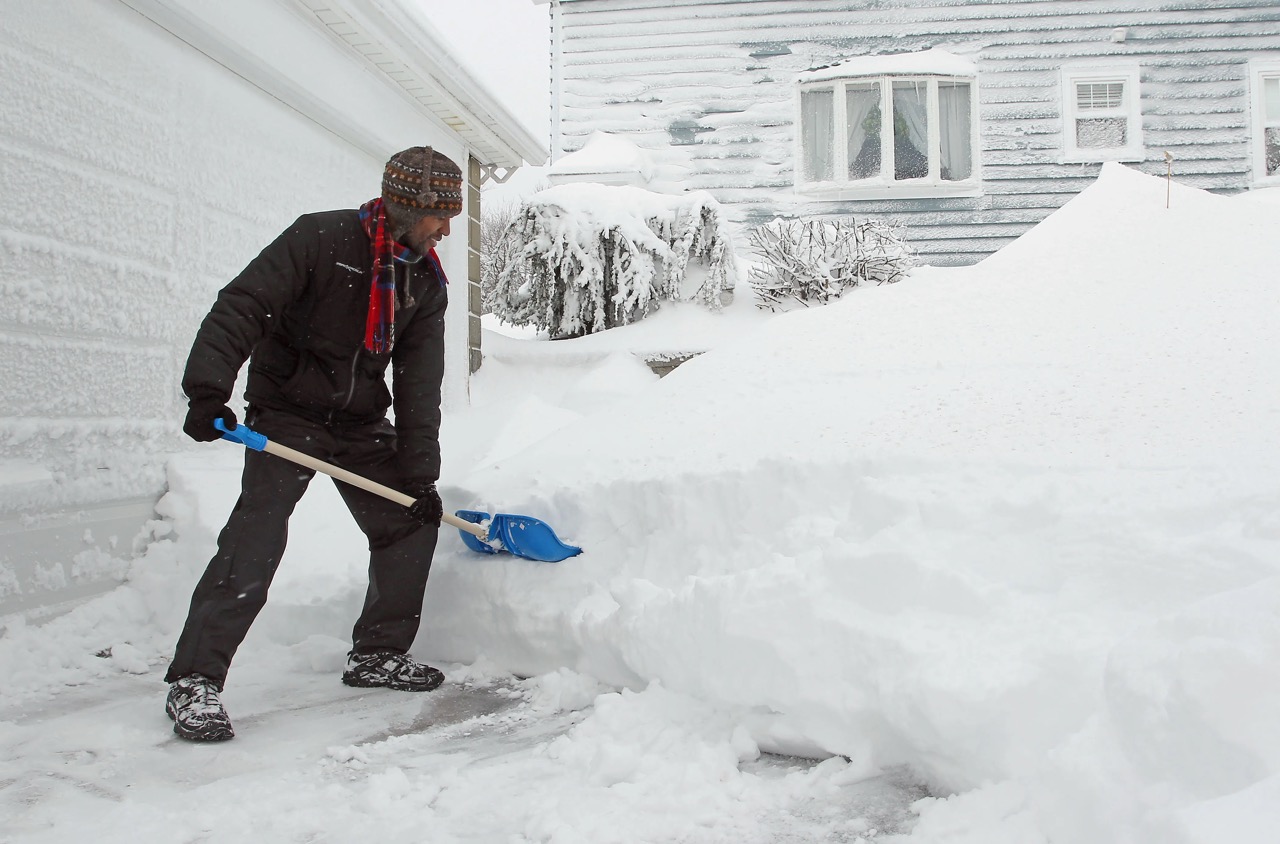
When storing a snow blower, it’s important to drain the fuel and run the engine until it’s out of gas to prevent damage. Additionally, clean the machine and store it in a dry, covered area to protect it from rust and corrosion.
Read more: How To Store Snow Globes
Step 5: Disconnecting the Battery (if applicable)
If your snow blower is equipped with a battery, it’s important to disconnect it before storing the machine for an extended period. By disconnecting the battery, you prevent loss of charge, corrosion, and potential damage. Follow these steps to safely disconnect the battery from your snow blower:
1. Locate the Battery:
a. Refer to your snow blower’s manual to determine the location of the battery. It is typically found near the engine or in a designated battery compartment.
2. Safety Precautions:
a. Before disconnecting the battery, ensure that the snow blower’s engine is turned off and the ignition key is in the “off” position.
b. Put on safety gloves and safety glasses to protect yourself from any potential acid exposure or electrical hazards.
3. Remove the Negative Terminal:
a. Locate the negative terminal on the battery. The negative terminal is usually marked with a “-“, a black wire, or a negative sign.
b. Use a wrench or a battery terminal puller to loosen the nut securing the negative cable to the negative terminal.
c. Once loosened, carefully remove the negative cable from the negative terminal.
4. Remove the Positive Terminal (optional):
a. If desired, you can also disconnect the positive terminal using the same method as described in step 3.
b. Note that disconnecting the positive terminal is not necessary in all cases, but it can provide an additional layer of safety and peace of mind.
5. Inspect the Battery and Terminals:
a. Take this opportunity to inspect the battery and terminals for any signs of corrosion, loose connections, or damage. If any issues are found, clean or replace the necessary components before reconnecting the battery.
6. Battery Maintenance (if applicable):
a. If your snow blower’s battery is rechargeable, it’s important to maintain it properly during the storage period.
b. Consider removing the battery from the snow blower and storing it in a cool and dry location. Regularly check the battery’s charge level and recharge it as needed, following the manufacturer’s instructions.
By disconnecting the battery, you prevent any potential drain or damage to the electrical system of your snow blower. This step helps preserve the battery’s lifespan and ensures that it will be in good condition for the next winter season. With step five complete, let’s move on to step six: detaching accessories or adjustments.
Step 6: Detaching Accessories or Adjustments
Before storing your snow blower, it is important to detach any accessories or adjustments that are not required for storage. This step ensures that these additional components are safely stored separately and reduces the risk of damage or misplacement. Follow these steps to properly detach accessories or adjustments from your snow blower:
1. Remove Snow Blower Attachments:
a. Check if your snow blower has any additional attachments or accessories, such as snow shields, drift cutters, or tire chains.
b. Carefully detach these items from the snow blower according to the manufacturer’s instructions.
c. Clean the attachments if necessary, and store them in a separate, designated space to keep them organized and easily accessible for the next winter season.
2. Adjustments and Settings:
a. Take note of any adjustments or settings you have made on your snow blower, such as auger height, chute direction, or speed controls.
b. If applicable, return these adjustments to their default settings or document the current settings to easily restore them when you use the snow blower again.
3. Inspection and Maintenance:
a. While removing accessories and adjustments, take the opportunity to inspect the components for any signs of damage or wear.
b. If you notice any issues, address them promptly by repairing or replacing the parts as needed.
By detaching accessories and adjustments, you reduce the risk of damage to these components while the snow blower is in storage. Storing them separately also keeps them organized and readily available for future use. With step six complete, let’s move on to step seven: covering or enclosing the snow blower.
Step 7: Covering or Enclosing the Snow Blower
Covering or enclosing your snow blower is an important step in protecting it from dust, moisture, and other elements during storage. By providing a barrier, you minimize the risk of corrosion and ensure that your snow blower stays in optimal condition. Follow these steps to effectively cover or enclose your snow blower:
1. Choose a Protective Cover:
a. Select a cover specifically designed for snow blowers or outdoor equipment. These covers are typically made from durable materials that provide sufficient protection against dust, moisture, and UV rays.
b. Ensure that the cover is the right size for your snow blower, allowing for a snug fit that covers the entire machine.
2. Clean and Dry:
a. Before covering the snow blower, ensure that it is clean and dry. This helps prevent the buildup of moisture and potential corrosion during storage.
b. Refer to previous steps to ensure you have thoroughly cleaned and dried the snow blower before proceeding with this step.
3. Cover the Snow Blower:
a. Place the cover over the snow blower, starting from the top and working your way down. Make sure the cover is securely fastened and that it fully covers the snow blower, including the handlebars, engine, chute, and auger.
b. Tuck in any excess fabric or use straps or cords (if provided) to secure the cover in place.
4. Enclosure Option:
a. Alternatively, you can store your snow blower in an enclosed space, such as a shed or garage. This provides an added layer of protection from the elements.
b. Ensure that the space is clean, dry, and free from any chemicals or substances that could harm the snow blower.
5. Maintain Ventilation:
a. If you choose to enclose the snow blower in a space, ensure that there is sufficient ventilation to prevent the buildup of moisture. This helps to reduce the risk of rust and corrosion.
By covering or enclosing your snow blower, you add an extra layer of protection that shields it from dust, moisture, and other potential hazards during storage. This step helps to maintain the integrity of the machine, extending its lifespan and ensuring optimal performance when you need it again. With step seven complete, let’s move on to the final step: storing the snow blower in a secure area.
Step 8: Storing the Snow Blower in a Secure Area
Storing your snow blower in a secure area is crucial to protect it from theft, damage, and unauthorized use. By taking appropriate measures to store it safely, you ensure that your snow blower remains in proper condition and ready for use when the next winter season arrives. Follow these steps to securely store your snow blower:
1. Secure Storage Area:
a. Choose a storage area that provides adequate security, such as a locked garage, shed, or storage unit. This helps protect your snow blower from theft and vandalism.
b. If possible, consider installing additional security measures like a sturdy lock or an alarm system to further safeguard your equipment.
2. Elevation:
a. Store your snow blower off the ground, if feasible. This helps prevent potential moisture damage and improves airflow around the machine.
3. Accessibility:
a. Ensure that the storage area allows for easy access to the snow blower when you need it. Clear any obstacles or clutter that may hinder retrieval.
b. Keep in mind that your snow blower may need regular maintenance, such as oil changes or spark plug checks, during the storage period. Plan accordingly to access the machine comfortably.
4. Snow Blower Position:
a. Store your snow blower in a position that helps prevent any unnecessary strain on the machine. If feasible, place it in an upright position to alleviate pressure on the tires or other components.
5. Security Measures:
a. If storing your snow blower in an outdoor area, consider using a chain or cable lock to secure it to a fixed object. This adds an extra layer of protection against theft.
b. Remove any personal identification or registration documents from the snow blower before storage. Keep these documents somewhere safe and easily accessible.
6. Regular Inspections:
a. Periodically check on your stored snow blower to ensure that everything is in order. Look for any signs of damage, pests, or moisture accumulation.
b. If possible, start the snow blower and let it idle for a few minutes to prevent any mechanical issues that may arise from prolonged storage.
By storing your snow blower in a secure area, you minimize the risk of damage, theft, and unauthorized use. Taking these measures ensures that your snow blower remains in excellent condition and ready to tackle the next winter season. With step eight complete, you have successfully completed the process of storing your snow blower.
Conclusion
Properly storing your snow blower is essential for maintaining its performance, longevity, and reliability. By following the steps outlined in this guide, you can ensure that your snow blower remains in optimal condition during the off-season and is ready to tackle the next winter’s snowfall.
From choosing an appropriate storage location to cleaning the snow blower, draining fuel and oil, lubricating moving parts, disconnecting the battery (if applicable), detaching accessories or adjustments, covering or enclosing the snow blower, and storing it in a secure area, each step plays a crucial role in preserving the machine’s integrity.
Remember to consult your snow blower’s user manual for any specific instructions or recommendations tailored to your model. Additionally, it’s important to maintain a regular maintenance schedule throughout the year, including oil changes, spark plug checks, and general inspections.
By taking the time to properly store your snow blower, you not only extend its lifespan but also save time and money in the long run. You can rest assured that when the winter season returns, your snow blower will be in optimal condition, ready to efficiently clear snow from your driveways and walkways.
So, take the necessary steps outlined in this guide, create a safe and secure storage space, and preserve the performance and reliability of your valuable snow blower. With proper care, your snow blower will continue to serve you for many winters to come. Stay prepared, stay safe, and enjoy hassle-free snow removal!
Frequently Asked Questions about How To Store Snow Blower
Was this page helpful?
At Storables.com, we guarantee accurate and reliable information. Our content, validated by Expert Board Contributors, is crafted following stringent Editorial Policies. We're committed to providing you with well-researched, expert-backed insights for all your informational needs.


0 thoughts on “How To Store Snow Blower”