Articles
How To Store Soaked Beans
Modified: December 7, 2023
Discover the best storage methods for soaked beans with our insightful articles. Keep your beans fresh and flavorful for your next cooking adventure.
(Many of the links in this article redirect to a specific reviewed product. Your purchase of these products through affiliate links helps to generate commission for Storables.com, at no extra cost. Learn more)
Introduction
Soaking beans is a vital step in the cooking process that helps to soften and hydrate the beans, making them easier to cook and digest. Whether you’re planning to make a big batch of chili, a hearty soup, or a delicious bean salad, soaking beans can greatly improve their texture and taste. However, once you’ve soaked your beans, you may wonder how to store them properly to ensure their freshness and maintain their quality.
In this article, we will guide you on how to store soaked beans effectively, keeping them ready for your next culinary adventure. We will explore the benefits of soaking beans, the step-by-step process of soaking, draining, and storing, as well as important tips to maximize the shelf life of your soaked beans. With our helpful tips and guidance, you’ll never have to worry about wasting soaked beans again.
Key Takeaways:
- Soaking beans offers benefits like improved digestibility, reduced cooking time, and enhanced flavor. Proper storage in airtight containers or freezer bags ensures freshness and convenience for future culinary creations.
- Whether refrigerating for short-term use or freezing for extended storage, portioning and labeling soaked beans is key. Follow thawing guidelines and inspection tips to maximize shelf life and maintain quality for delicious, nutritious meals.
Read more: How To Store Beans After Soaking
Benefits of Soaking Beans
Before we dive into the storage process, let’s briefly discuss the benefits of soaking beans. Soaking is an essential step in preparing beans for cooking, as it offers several advantages:
- Improved digestibility: Soaking beans helps to reduce the complex sugars responsible for causing gas. This can make beans easier on the digestive system, reducing discomfort.
- Enhanced nutritional value: Soaking beans activates enzymes that increase the availability of nutrients, making them more easily absorbed by the body.
- Reduced cooking time: Soaked beans can cook more quickly and evenly, saving you valuable time in the kitchen.
- Improved flavor and texture: Soaking beans can result in a creamier texture and a more flavorful end product.
Now that we understand the benefits of soaking, let’s explore the step-by-step process of storing soaked beans.
Key Takeaways:
- Soaking beans offers benefits like improved digestibility, reduced cooking time, and enhanced flavor. Proper storage in airtight containers or freezer bags ensures freshness and convenience for future culinary creations.
- Whether refrigerating for short-term use or freezing for extended storage, portioning and labeling soaked beans is key. Follow thawing guidelines and inspection tips to maximize shelf life and maintain quality for delicious, nutritious meals.
Read more: How To Store Beans After Soaking
Benefits of Soaking Beans
Soaking beans is a traditional method of preparation that offers numerous benefits. While it may require a bit of extra time and planning, the advantages far outweigh the convenience of skipping this step. Let’s take a closer look at some of the key benefits of soaking beans:
- Improved Digestibility: Raw beans contain complex sugars called oligosaccharides that are indigestible by the human body. These sugars can lead to bloating, gas, and discomfort. However, soaking beans helps to break down these sugars, making them easier to digest and minimizing gastrointestinal side effects.
- Nutritional Enhancement: Soaking beans activates enzymes that promote the release of essential nutrients and reduce the presence of anti-nutrients. Phytic acid, for example, can inhibit the absorption of certain minerals, but soaking reduced its levels, boosting the overall nutritional value of the beans.
- Reduced Cooking Time: Soaked beans cook more quickly and evenly. The soaking process softens the beans, allowing heat to penetrate more efficiently during cooking. This can significantly reduce the cooking time and ensure that the beans are cooked evenly throughout.
- Improved Texture and Flavor: Soaking beans can result in a creamier texture and a more pleasant taste. The hydration process helps soften the beans, leading to a softer and less grainy texture. Additionally, soaked beans tend to better absorb flavors, enhancing the overall taste of your dishes.
- Increased Nutrient Absorption: Soaking beans can improve the bioavailability of certain nutrients, making them easier for our bodies to absorb. This is particularly true for minerals like iron, calcium, and magnesium. By soaking beans before cooking, you can maximize the nutritional benefits they provide.
Overall, soaking beans is a worthwhile step that yields numerous benefits. By taking the time to soak your beans, you can enhance their digestibility, improve their nutritional content, reduce cooking time, and enhance their texture and flavor. Now that we understand the advantages of soaking, let’s dive into the step-by-step process of storing soaked beans.
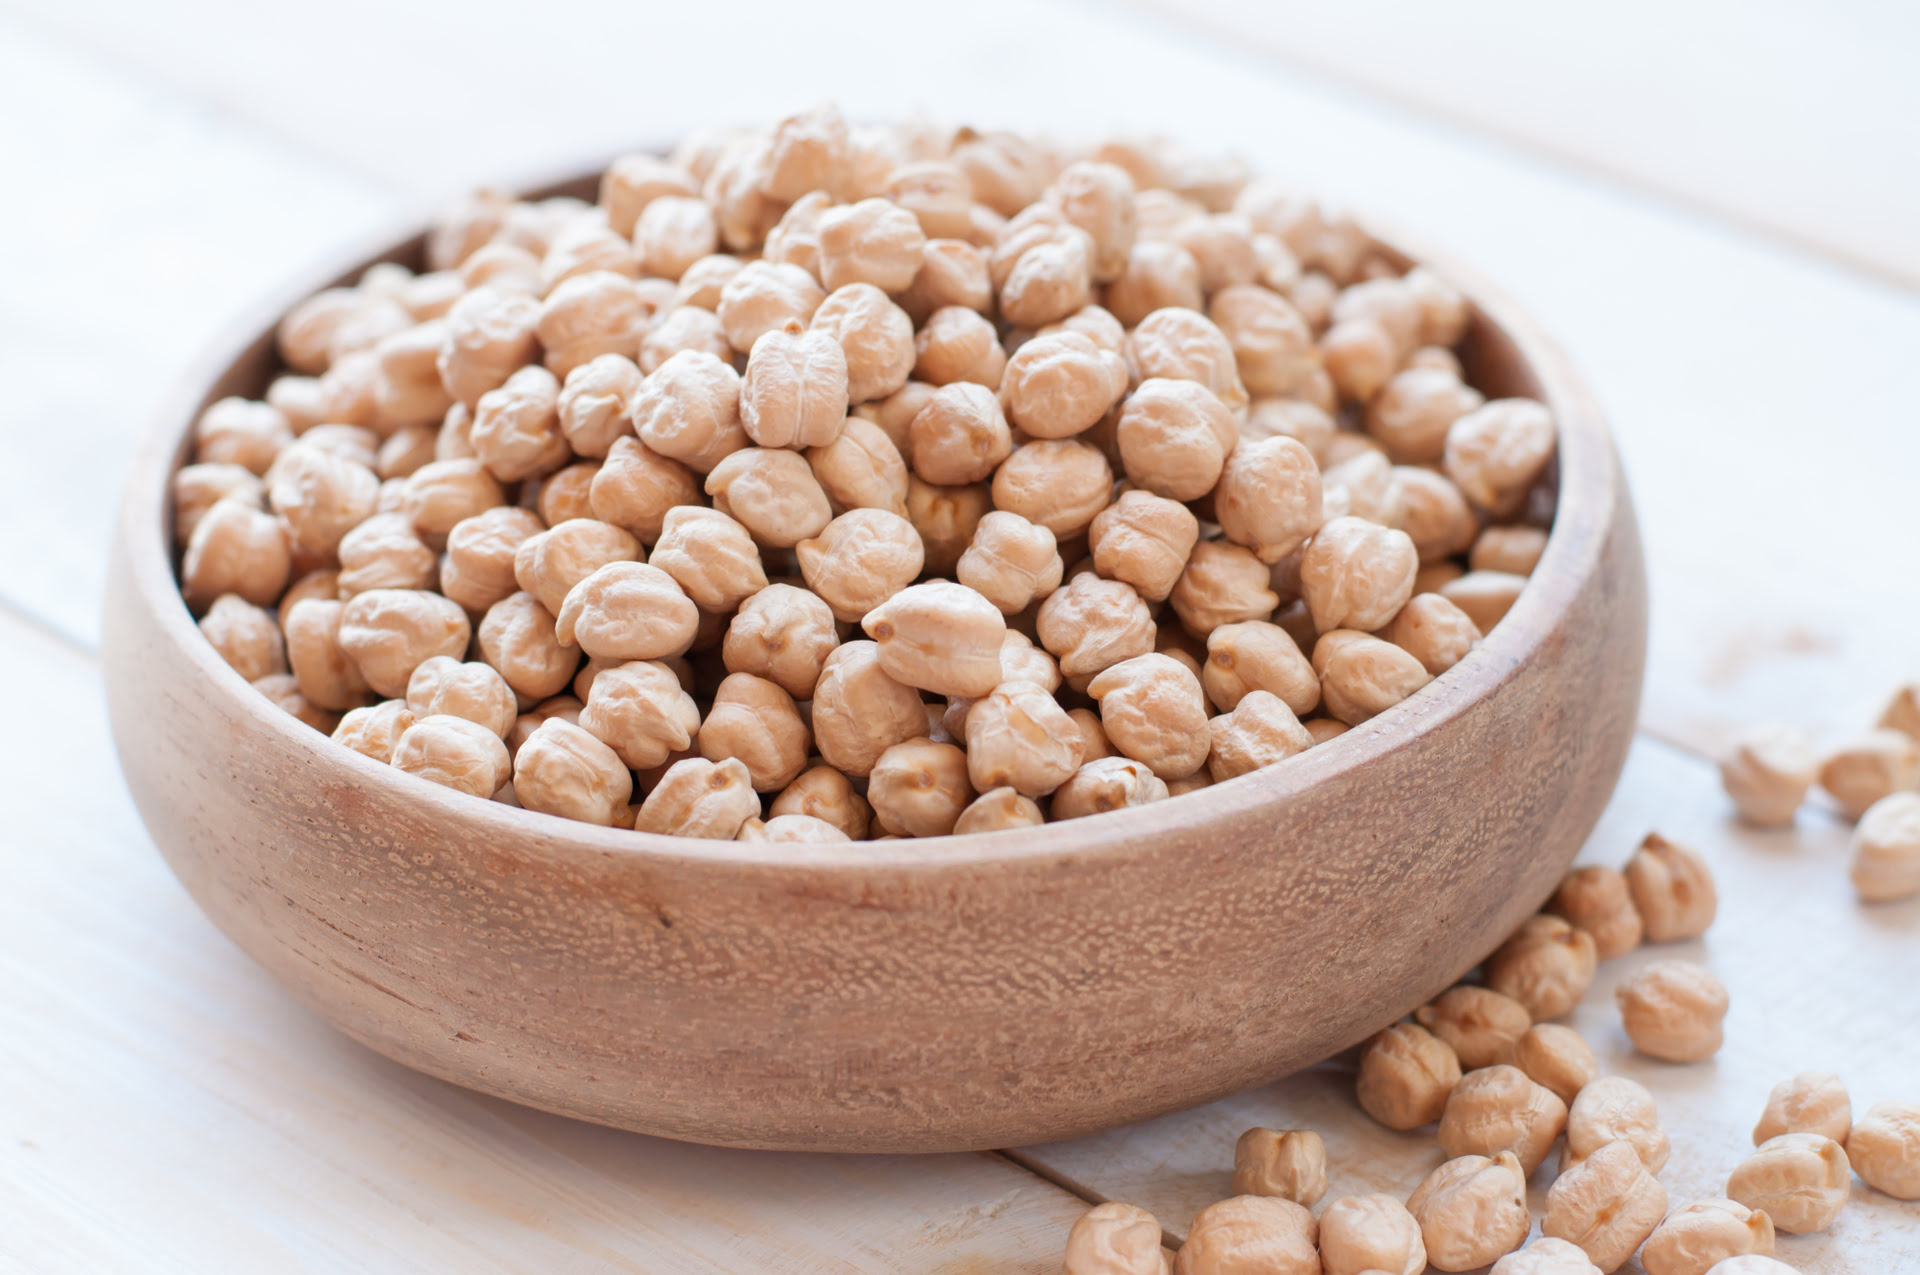
Step 1: Soaking the Beans
Soaking beans is a simple yet crucial step in preparing them for cooking. This process helps to rehydrate the beans and soften their texture, making them easier to cook and reducing their cooking time. Here’s a step-by-step guide on how to soak beans:
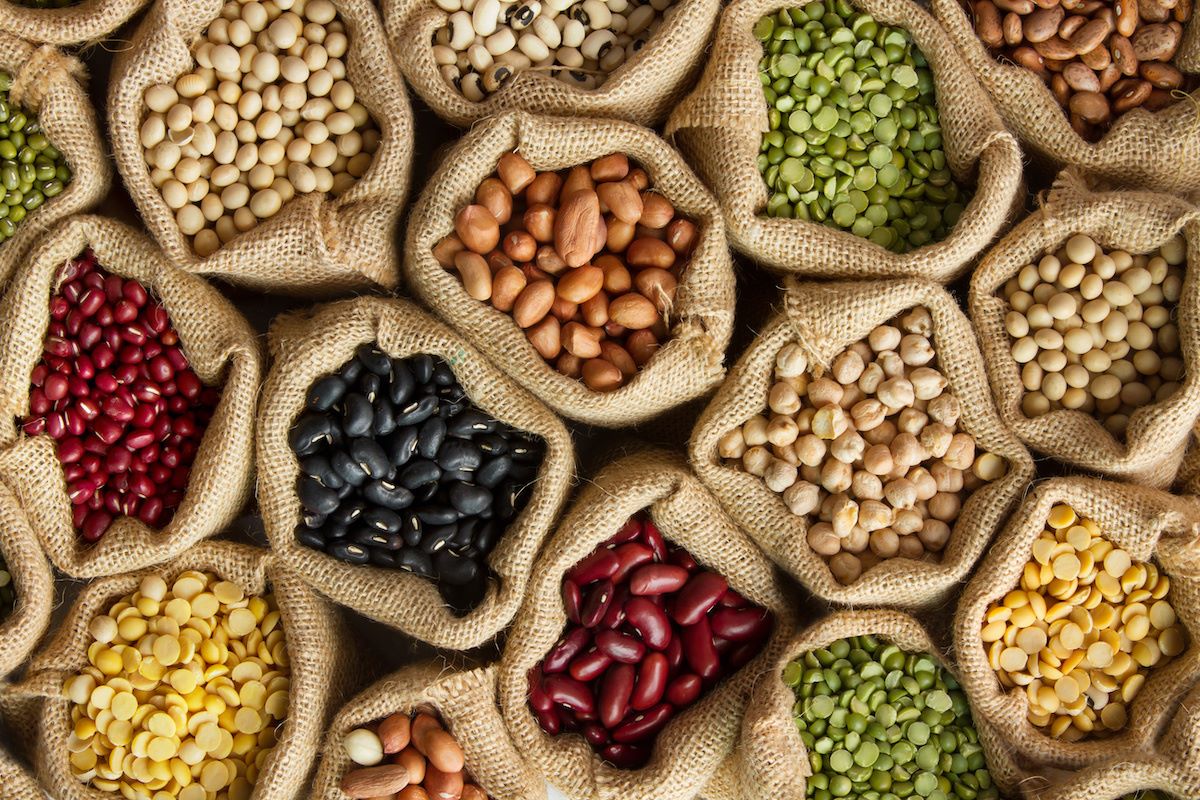
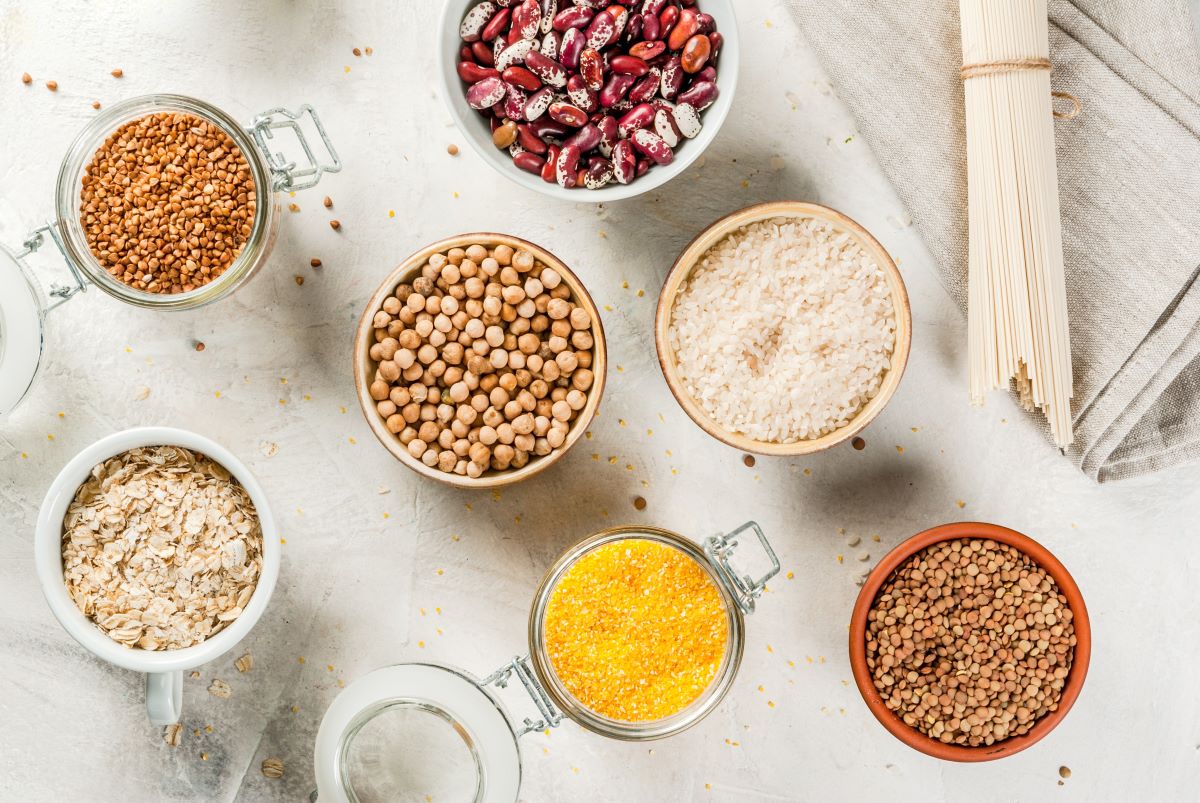
- Selecting the Beans: Start by choosing high-quality dried beans. Look for beans that are undamaged, uniform in size, and free from any signs of mold or insect damage.
- Sorting and Rinsing: Spread out the beans on a clean surface and sort through them to remove any debris or damaged beans. Then, rinse the beans thoroughly under cold water to remove any dirt or residue.
- Choosing a Soaking Method: There are two common methods for soaking beans: the traditional overnight method and the quick soak method. Choose the method that best suits your schedule and preference.
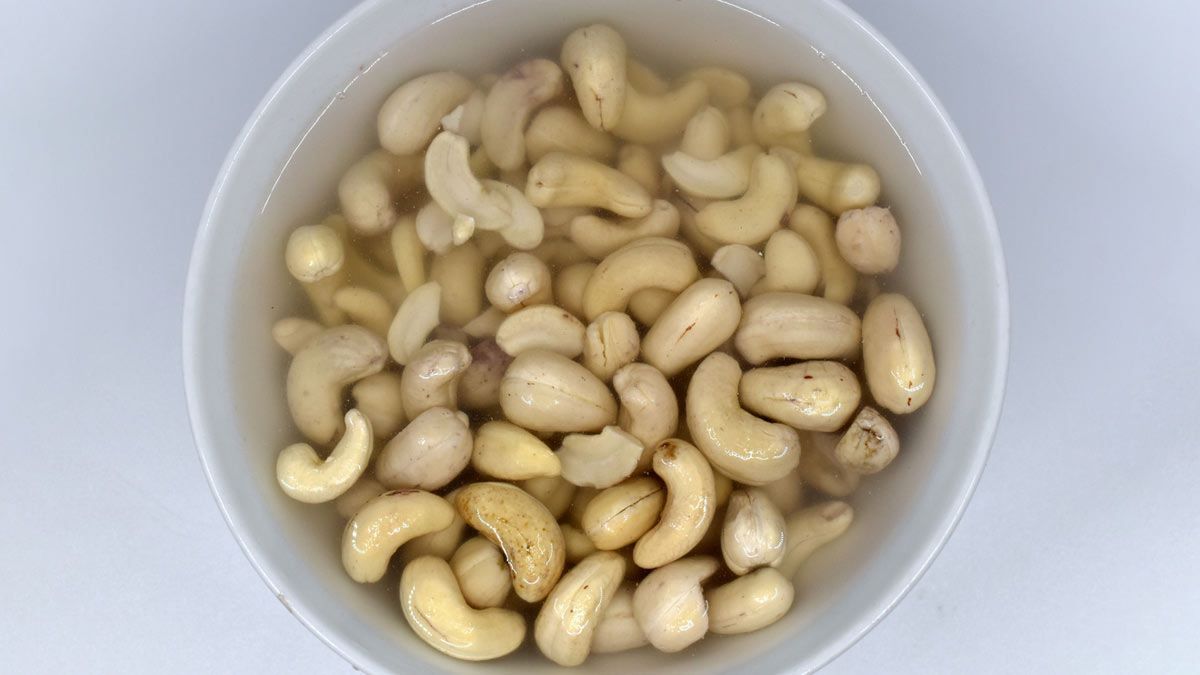
- Traditional Overnight Method: Place the rinsed beans in a large bowl and cover them with enough water to allow for expansion. The general rule is to use three cups of water for every one cup of dried beans. Leave the beans to soak overnight, or for at least 8-12 hours.
- Quick Soak Method: If you’re short on time, you can opt for the quick soak method. In a large pot, bring the beans and enough water to a boil. Let the beans boil for 2-3 minutes, then remove the pot from the heat and let the beans sit in the hot water for 1 hour.
- Checking for Proper Soaking: After the soaking time is complete, the beans should have doubled in size and have a swollen appearance. This indicates that they have absorbed enough water to soften their texture.
Now that you’ve successfully soaked your beans, it’s time to move on to the next step: draining them.
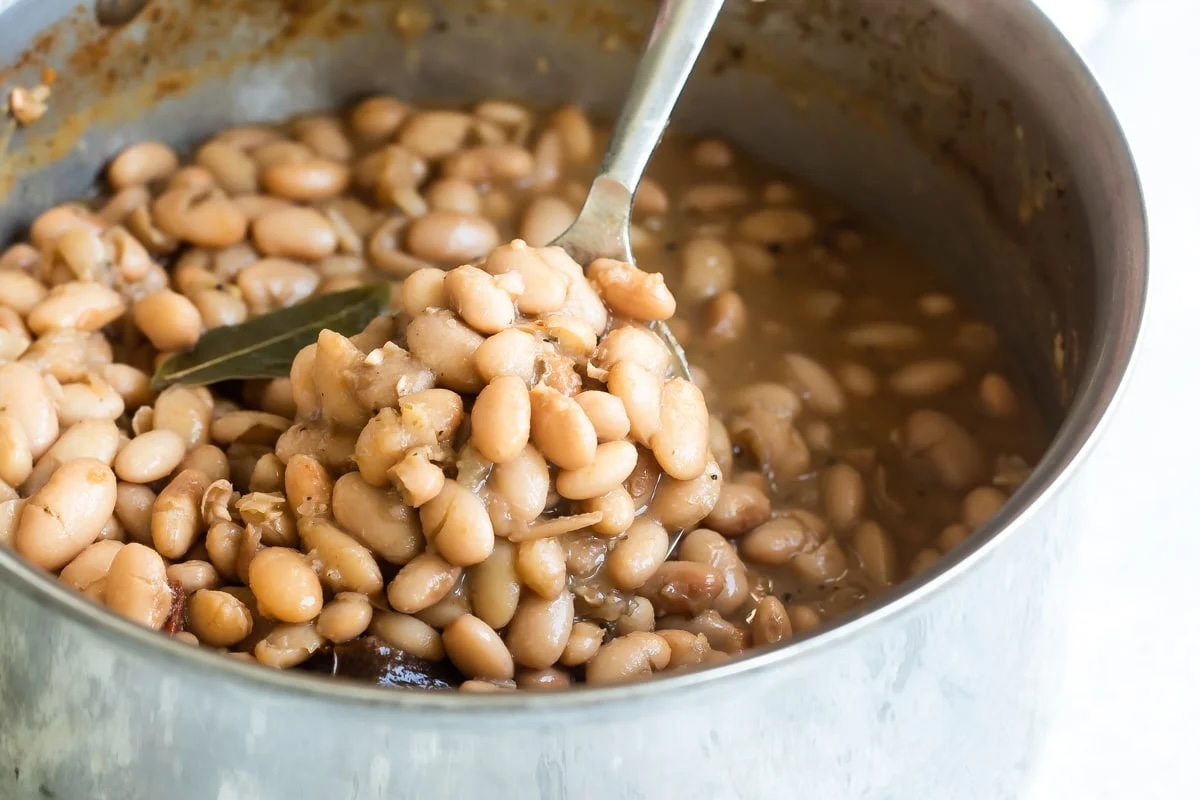
After soaking beans, store them in an airtight container in the refrigerator for up to 3 days. Make sure to change the water daily to prevent fermentation.
Step 2: Draining the Beans
Once your beans have finished soaking, it’s important to drain them properly before moving on to the next step. Draining the beans removes any excess water and prepares them for storage. Here are the steps to effectively drain your soaked beans:
- Prepare a Colander or Sieve: Set up a colander or sieve in your sink or a large bowl. Ensure that it is clean and free from any debris.
- Transfer the Soaked Beans: Carefully pour the soaked beans into the colander or sieve. Allow the excess water to drain away.
- Gently Rinse (Optional): Some individuals prefer to give the soaked beans a gentle rinse under cold water to remove any residual starches that may have loosened during soaking. This step is optional, and its necessity may vary depending on personal preference and the desired outcome of the dish you are preparing.
- Shake and Tap: After rinsing (if desired), shake the colander or sieve gently to remove any excess water. You can also tap the sides of the colander or sieve with your hand to further remove any lingering water.
- Air-Dry: Leave the drained beans in the colander or sieve for a few minutes to air-dry. This step helps to ensure that no excess moisture is retained, which can cause the beans to spoil or harbor bacteria during storage.
Once you have thoroughly drained the beans, you are now ready to move on to the final step: storing the soaked beans.
Read more: How To Store Soaked Beans For Later Use
Step 3: Storing the Soaked Beans
Proper storage is essential to maintain the freshness and quality of your soaked beans. Follow these steps to store your soaked beans effectively:
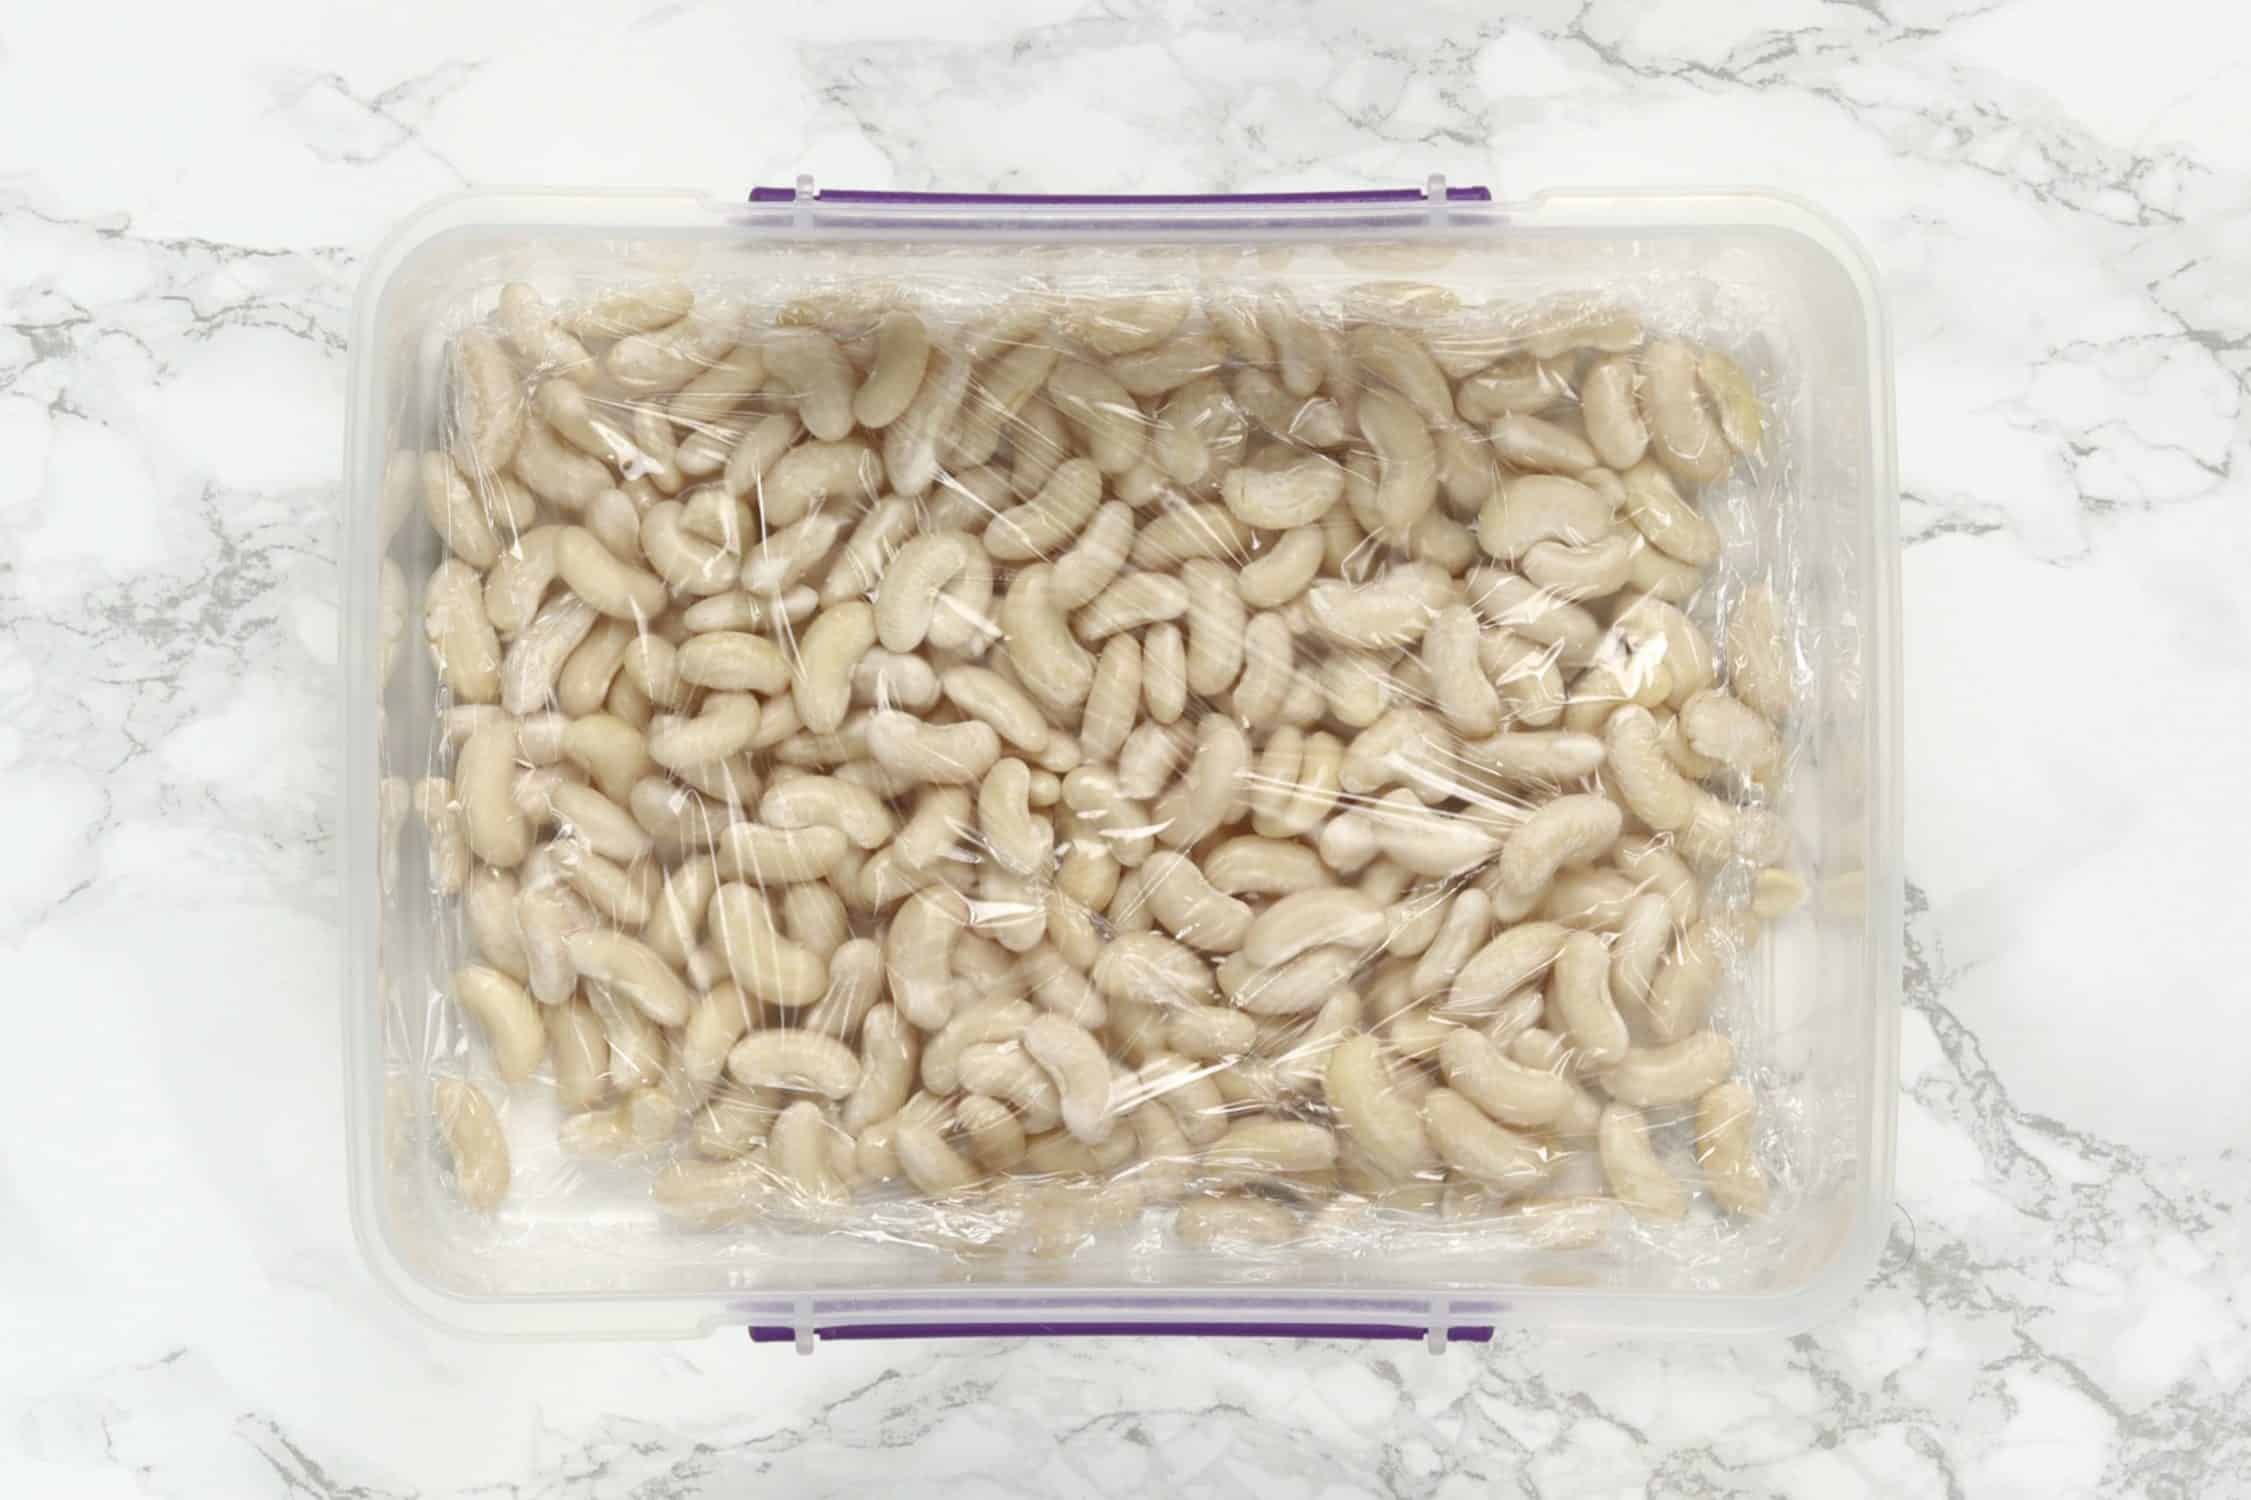
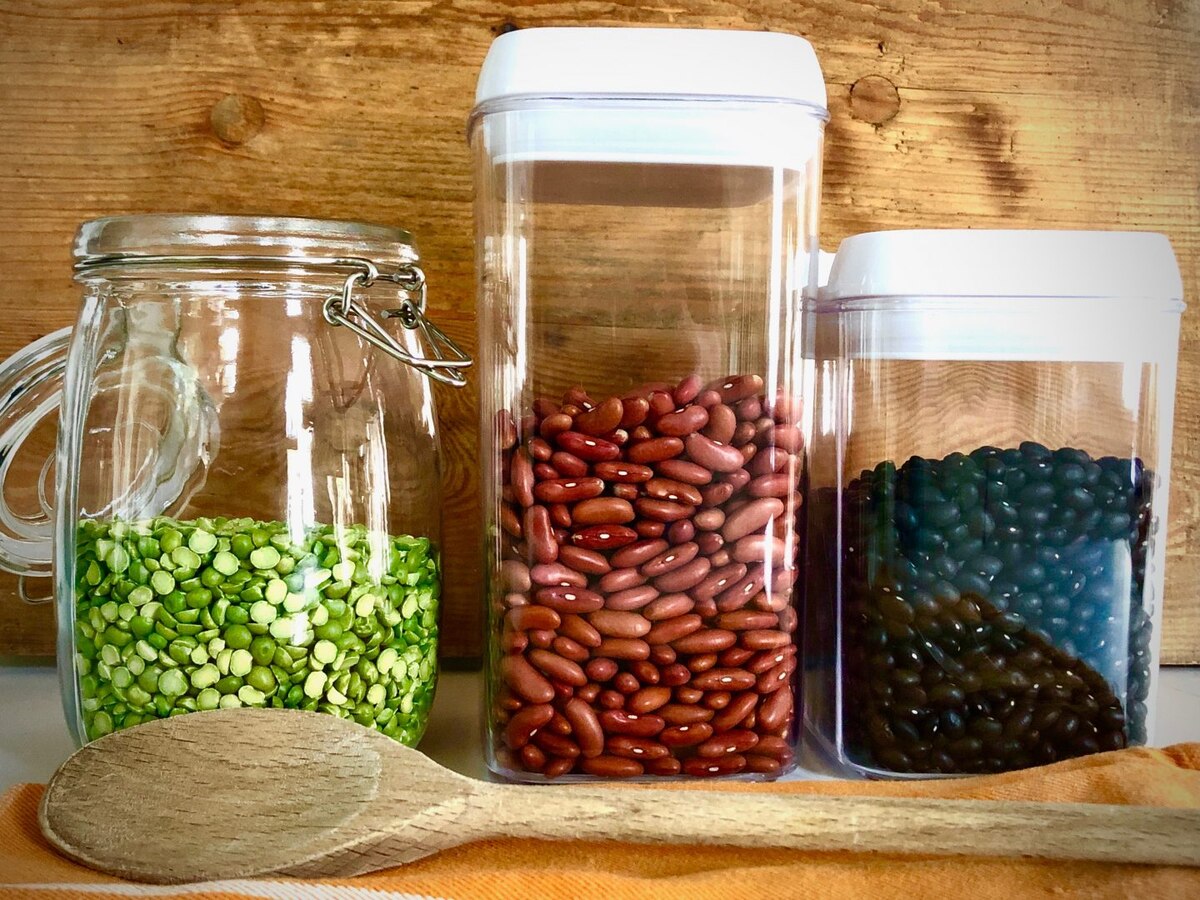
- Choose the Right Container: Select a clean, airtight container with a lid that is large enough to hold the soaked beans. Glass jars, food-grade plastic containers, or resealable bags are suitable options.
- Portion the Beans: Divide your soaked beans into manageable portions based on your future cooking needs. This will make it easier to use the appropriate amount without having to thaw and re-soak a large batch each time.
- Transfer the Beans: Gently transfer the soaked beans into the chosen container. Make sure to leave some headspace at the top to allow for expansion during freezing or refrigeration.
- Seal the Container: Securely seal the container to create an airtight environment. This will help prevent moisture loss and keep the beans fresh.
- Label and Date: Use a marker or a label to write the name of the beans and the date of storage on the container. This will help you keep track of the storage time and avoid confusion.
Note: If you do not plan to use the soaked beans immediately, you have two storage options: refrigeration or freezing.
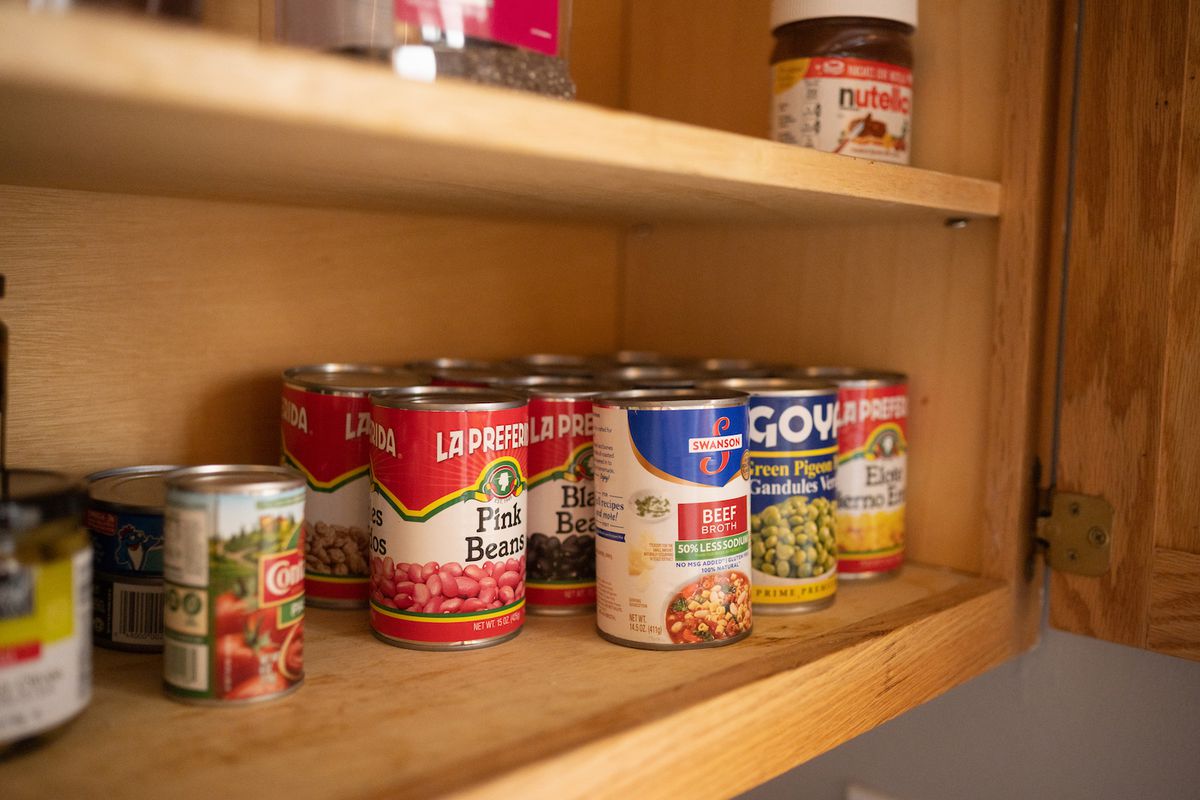
Refrigeration: If you intend to use the soaked beans within the next couple of days, store them in the refrigerator. Place the tightly sealed container of soaked beans in the refrigerator and use them within 2-3 days to ensure their freshness.
Freezing: If you want to store the soaked beans for an extended period, freezing is the best option. Freezing helps retain the freshness and quality of the beans for several months. Place the sealed container in the freezer, ensuring it is kept away from strong odors or potential contaminants.
Pro Tip: To make using frozen soaked beans more convenient, you can freeze them in individual portions or in an ice cube tray. Once frozen, transfer the cubes or portions to a resealable freezer bag for easier storage and quicker thawing.
Now that you have successfully stored your soaked beans, you can easily incorporate them into your favorite recipes whenever you’re ready!
Tips for Storing Soaked Beans
To ensure the freshness and quality of your soaked beans during storage, consider these helpful tips:
- Label and Date: Always label the container with the type of beans and the date of storage. This will help you keep track of the beans and use them in a timely manner.
- Airtight Containers: Use airtight containers or freezer bags to store the soaked beans. This will help prevent moisture loss, freezer burn, and the absorption of odors from other foods in the refrigerator or freezer.
- Avoid Temperature Fluctuations: Implement proper temperature control to maintain the quality of the soaked beans. Keep them in the coldest part of the refrigerator or freezer to minimize temperature fluctuations.
- Portion Control: Divide the soaked beans into smaller portions based on your usage. This will allow you to thaw and cook only the amount you need, reducing waste.
- Thawing Properly: When you’re ready to use the soaked beans, thaw them overnight in the refrigerator or using the defrost setting on your microwave. Avoid thawing at room temperature, as this can promote the growth of harmful bacteria.
- Use Soaked Beans Promptly: It’s best to use the soaked beans within 2-3 days if stored in the refrigerator, or within 3-6 months if stored in the freezer. This will ensure they maintain optimal quality and flavor.
- Optimal Freezer Conditions: Maintain a consistent freezer temperature of 0°F or below to preserve the texture, taste, and nutritional value of the soaked beans for an extended period.
- Consider Blanching: To further enhance the quality and preservation of soaked beans before freezing, blanch them for a few minutes in boiling water and then immediately transfer them to an ice bath. This blanching process can help maintain their color, texture, and nutrient content.
- Rotate Beans: If you frequently cook with different types of beans, rotate your storage by using the older batches first. This will help prevent the beans from sitting in storage for too long.
- Inspect Before Use: Before cooking or using the soaked beans, always inspect them for any signs of spoilage or off odors. Discard any beans that appear moldy, slimy, or have a foul smell.
By following these tips, you can ensure that your soaked beans are stored properly and ready to be used whenever you’re ready to add them to your favorite dishes.
Conclusion
Storing soaked beans properly is essential to maintain their freshness and quality for future use. By following the simple steps of soaking, draining, and storing, you can ensure that your beans remain ready for your next culinary adventure.
Soaking beans offers numerous benefits, including improved digestibility, enhanced nutritional value, reduced cooking time, and improved flavor and texture. It is worth taking the extra time to soak your beans before cooking to reap these advantages.
When it comes to storing soaked beans, choose a clean, airtight container or freezer bag, and portion the beans based on your cooking needs. Proper labeling with the name and date of storage will help you keep track of your beans and ensure they are used in a timely manner.
If you plan to use the soaked beans within a couple of days, refrigeration is the best option. For long-term storage, freezing is the most effective method to preserve their freshness and quality. Proper thawing techniques should be used when using frozen soaked beans.
Following additional tips such as using airtight containers, maintaining temperature control, and inspecting the beans before use will further maximize their shelf life and prevent any potential issues.
So the next time you soak a batch of beans for your favorite recipes, remember the importance of proper storage. By practicing these guidelines, you’ll ensure that your soaked beans are always ready and bursting with flavor when it’s time to cook.
Happy cooking!
Frequently Asked Questions about How To Store Soaked Beans
Was this page helpful?
At Storables.com, we guarantee accurate and reliable information. Our content, validated by Expert Board Contributors, is crafted following stringent Editorial Policies. We're committed to providing you with well-researched, expert-backed insights for all your informational needs.


0 thoughts on “How To Store Soaked Beans”