
Articles
How To Store Spring Bulbs
Modified: December 7, 2023
Learn the best techniques for storing spring bulbs in this comprehensive article. Discover how to keep your bulbs healthy and ready for planting next season.
(Many of the links in this article redirect to a specific reviewed product. Your purchase of these products through affiliate links helps to generate commission for Storables.com, at no extra cost. Learn more)
Introduction
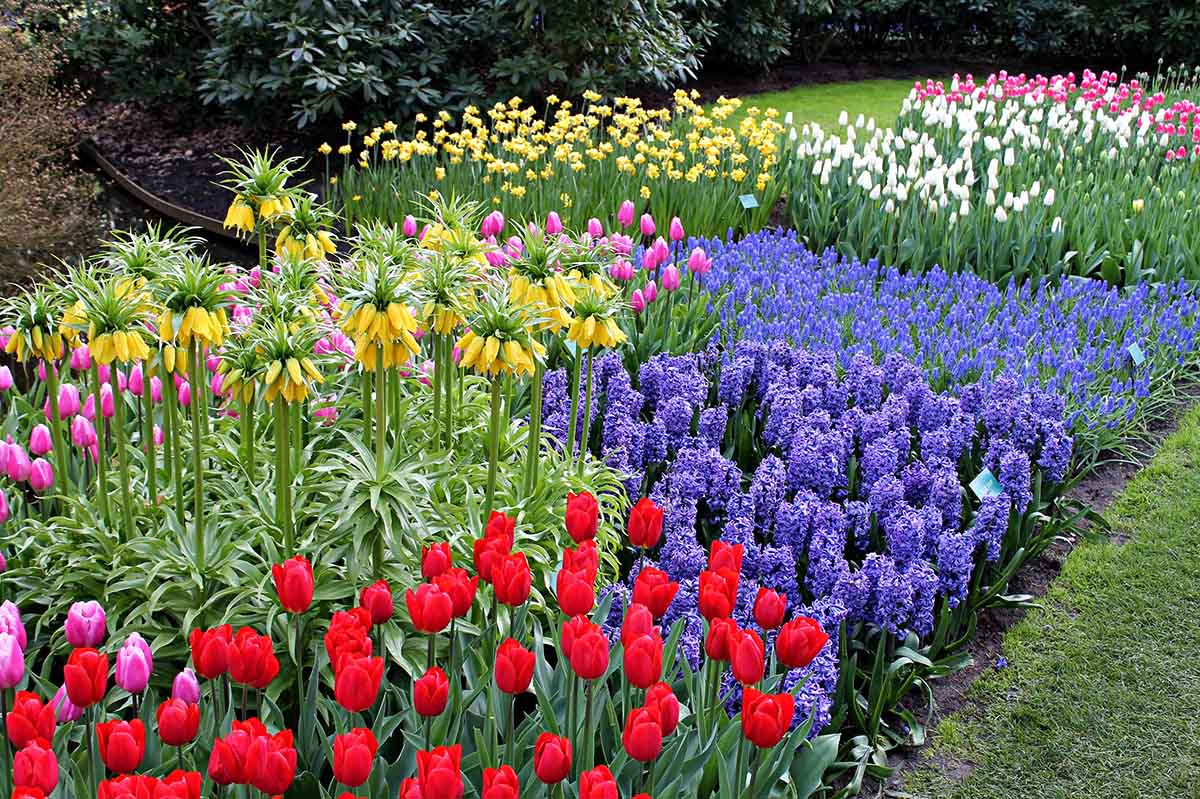
Spring-blooming bulbs like tulips, daffodils, and hyacinths bring vibrant colors and beauty to our gardens. However, as the seasons change, it becomes necessary to store these bulbs properly to ensure their survival and future blooms. Whether you need to store bulbs due to limited garden space, harsh winter conditions, or simply to replant them in different areas, knowing how to store spring bulbs is essential.
This article will guide you through the process of storing spring bulbs effectively. We will cover everything from choosing the right bulbs to preparing them for storage and various storage methods. By following these guidelines, you can preserve the bulbs’ health and ensure their successful regrowth when the time comes.
Key Takeaways:
- Choose healthy, freshly cured bulbs suitable for your climate and storage method. Properly prepare bulbs by trimming, drying, and inspecting for disease. Label and store in containers or ground for successful future growth.
- Monitor and maintain bulb storage by controlling temperature, humidity, and pest infestation. Regularly check bulbs for rot, mold, and disease. Replant with proper timing, soil preparation, and ongoing care for vibrant, beautiful blooms.
Read more: How To Store Spring Onion
Choosing the Right Bulbs
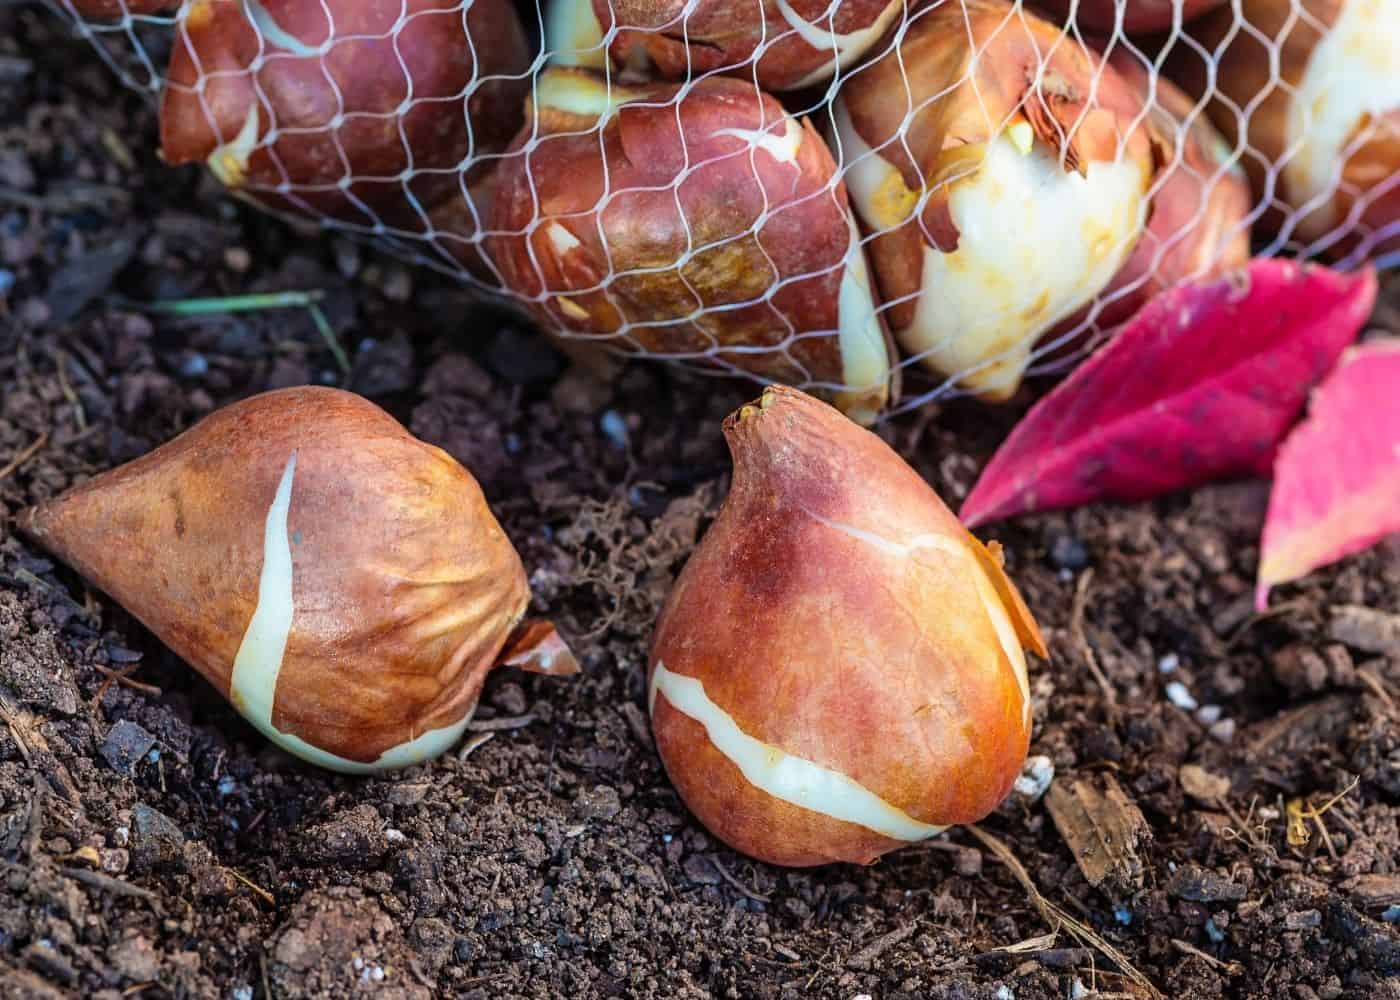
Before you can begin storing spring bulbs, it’s important to choose the right bulbs for storage. Select bulbs that are healthy and free from any signs of disease or damage. Look for firm bulbs with intact skins and no soft spots.
Consider the variety and bloom time of the bulbs. Different types of bulbs require specific storage conditions and have varying dormancy periods. Some bulbs, like tulips and daffodils, thrive in cool climates and go dormant during the winter. Others, such as gladiolus and dahlias, prefer warmer conditions.
Take into account factors like the hardiness zone in which you live and the specific requirements of the bulbs you want to store. Choose bulbs that are suitable for your climate. If you are unsure about the hardiness of a particular bulb, consult gardening resources or ask your local garden center for guidance.
Additionally, consider the age of the bulbs. Freshly purchased bulbs are usually more viable and have a better chance of regrowing than bulbs that have been stored for an extended period. If possible, opt for recently obtained bulbs to ensure the best results.
Lastly, select bulbs that have been properly cured. Curing refers to the process of allowing the bulbs to dry and develop a protective skin before storage. Look for bulbs that have been cured for at least a few weeks to ensure their longevity in storage.
By choosing the right bulbs for storage, you lay the foundation for successful storage and future growth. Keeping these considerations in mind will contribute to the overall vitality and bloom potential of your stored bulbs.
Preparing the Bulbs for Storage
Before storing spring bulbs, proper preparation is crucial to ensure their health and longevity. Follow these steps to prepare your bulbs for storage:
- Trimming: Start by removing any dead or diseased foliage from the bulbs. This helps prevent the spread of diseases and reduces the chances of rotting during storage. Cut off the leaves, leaving about an inch of the stem attached to the bulb.
- Drying: Bulbs need to be thoroughly dried before storage to prevent mold and rot. Lay the bulbs out in a single layer in a well-ventilated area, away from direct sunlight. Allow them to air dry for at least a few days or until the outer layer feels dry and papery to the touch. Avoid using artificial heat sources to speed up the drying process, as this can damage the bulbs.
- Cleaning: Gently brush off any excess soil or debris from the bulbs. You can use a soft brush or your hands to remove the dirt. Be careful not to scrub or wash the bulbs as this can cause damage and introduce excessive moisture.
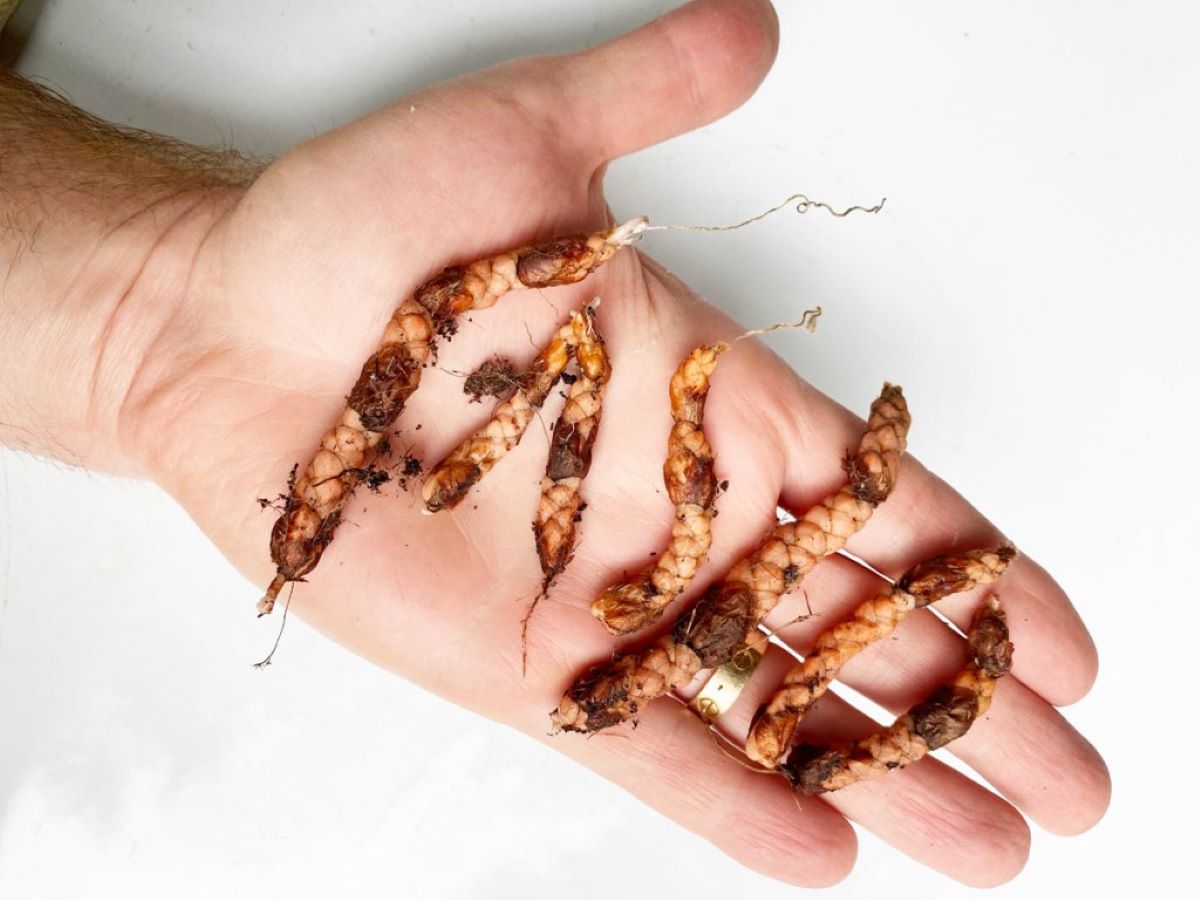
- Inspecting: Before storing the bulbs, carefully inspect them for signs of disease, damage, or pests. Discard any bulbs that show signs of rot, mold, or pest infestation. This helps prevent the spread of problems to other bulbs during storage.
- Labeling: To keep track of your stored bulbs and their specific varieties, it’s essential to label them. Use waterproof markers or labels to indicate the type of bulb and the date of storage. This will help you accurately plan and organize your future planting.
By following these preparation steps, you ensure that your bulbs are clean, dry, and free from any potential issues that may compromise their storage quality. Proper preparation sets the stage for successful bulb storage and replanting in the future.
Storing Bulbs in Containers
If you have limited garden space or need more control over the storage conditions, storing bulbs in containers can be a convenient and effective option. Follow these steps to store bulbs in containers:
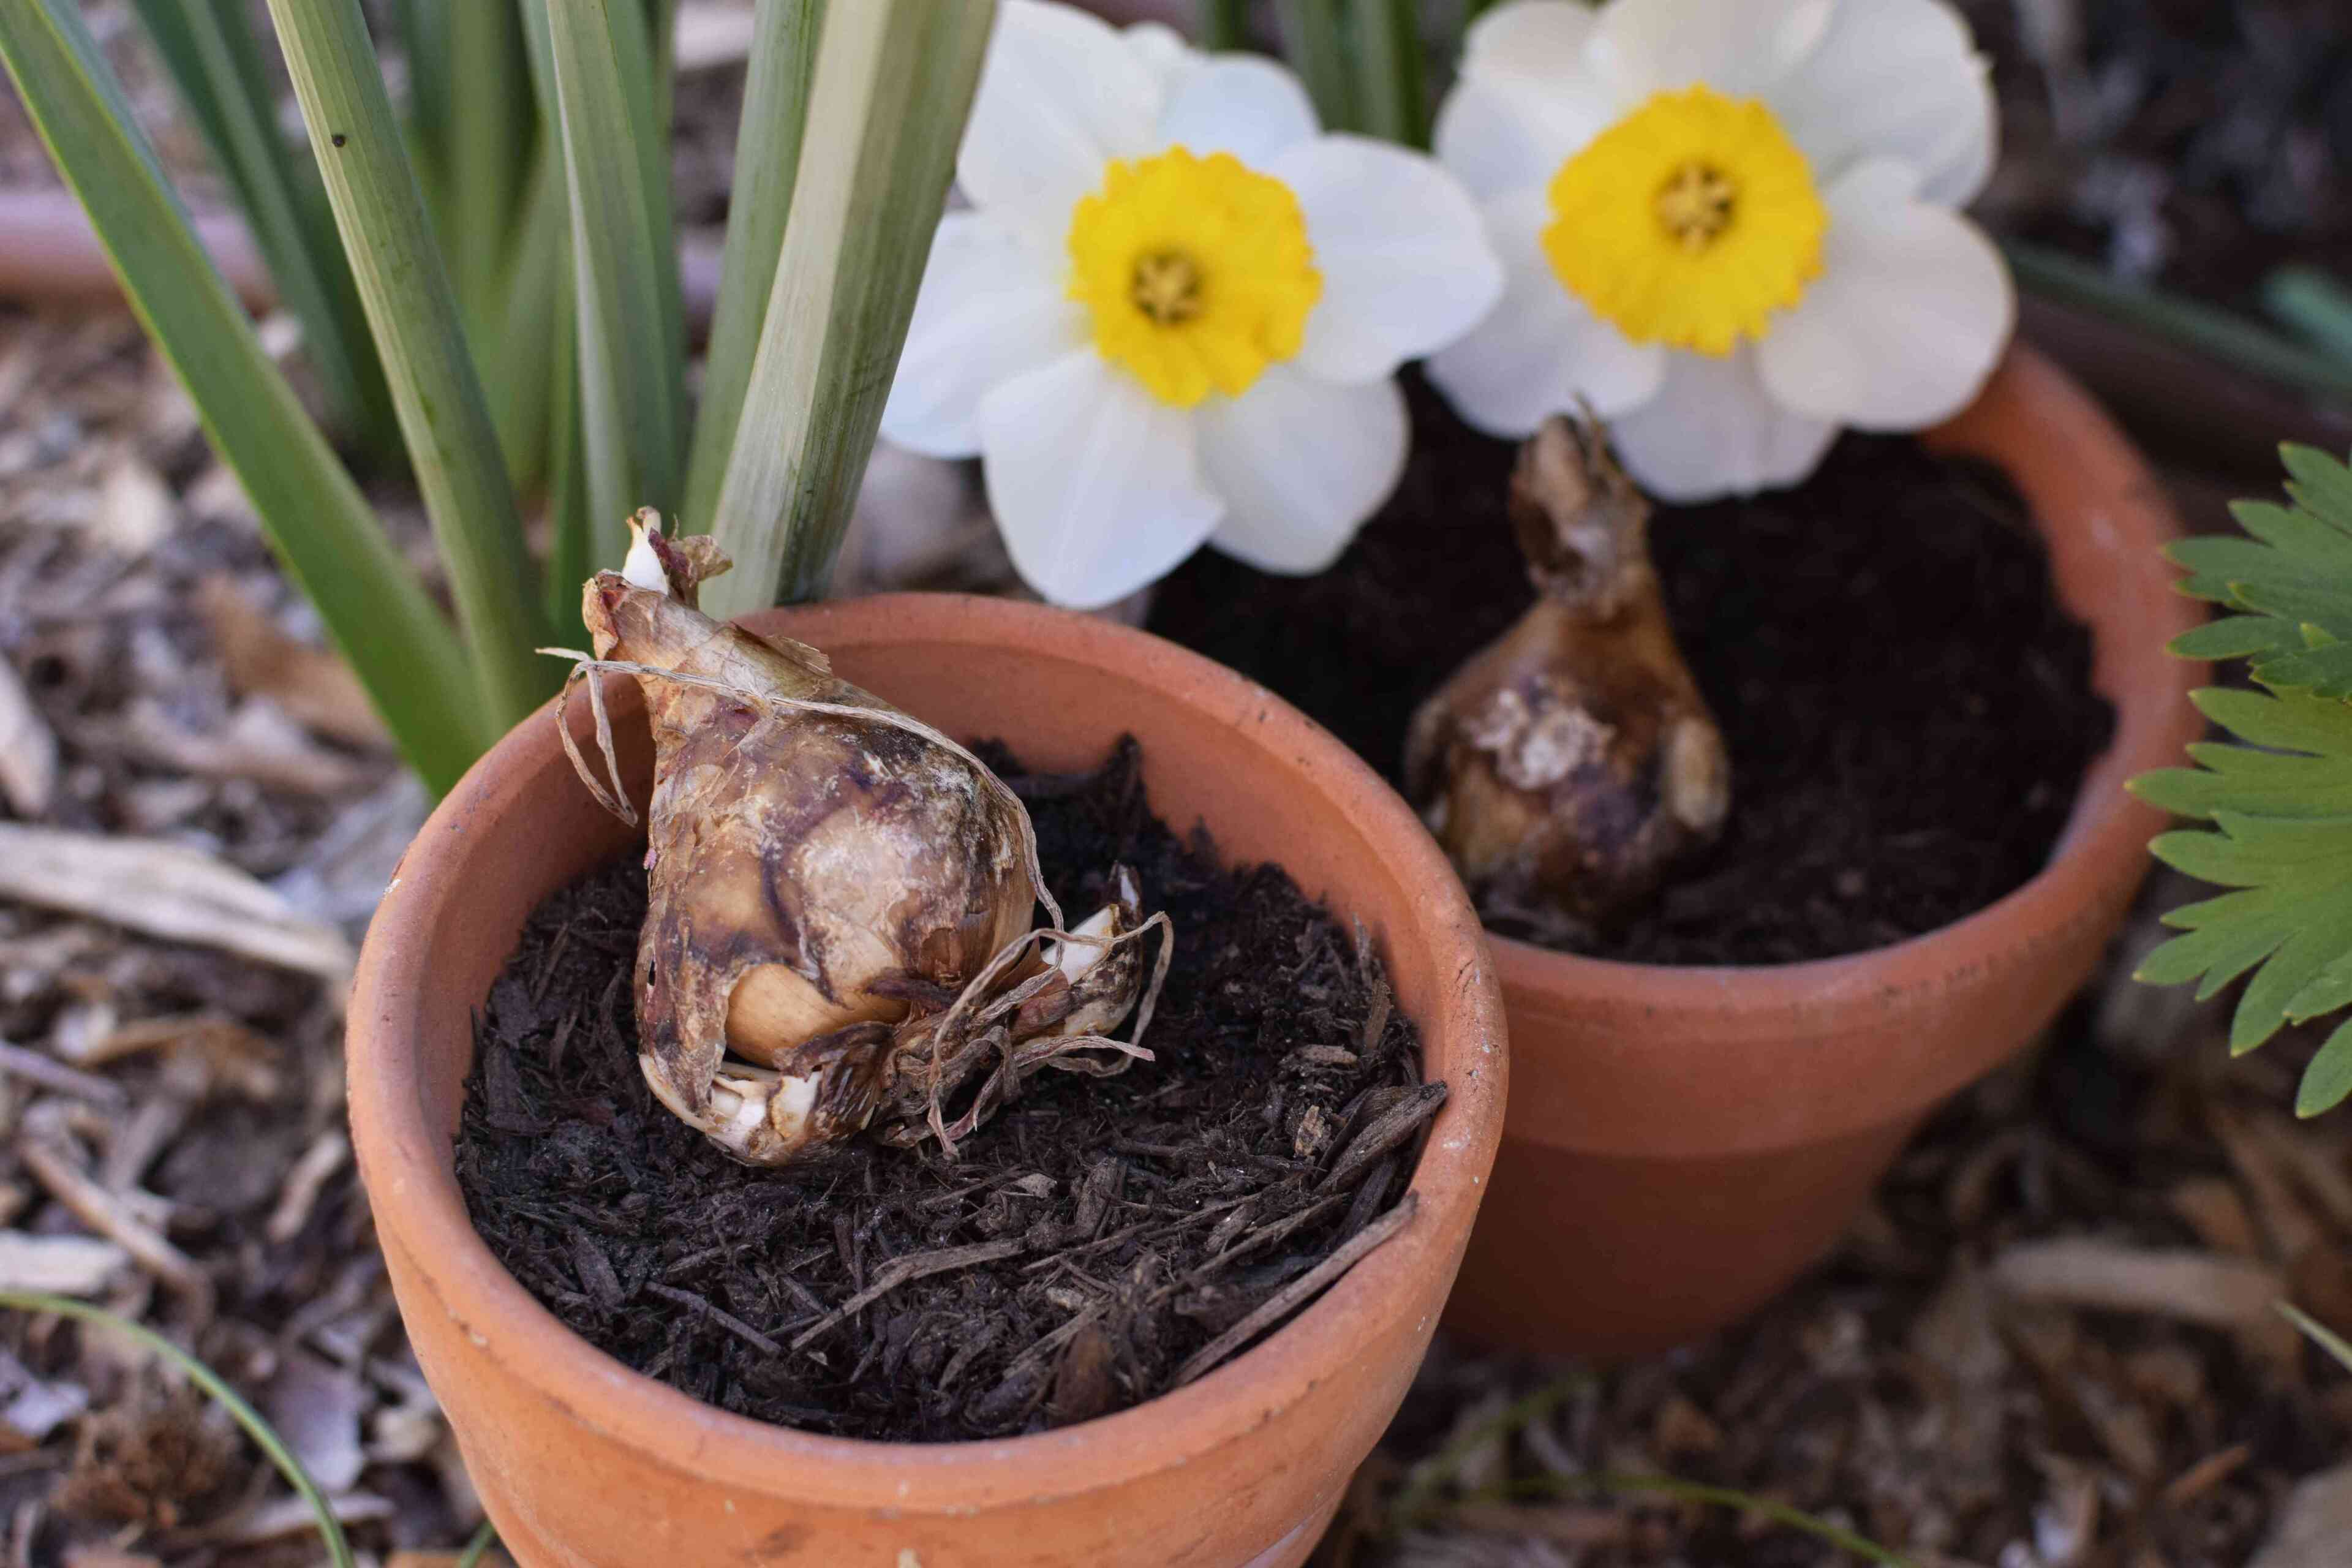
- Selecting Containers: Choose containers that are well-draining and have enough depth to accommodate the bulbs. Terra cotta pots, plastic containers, or wooden crates are all suitable options. Ensure that the containers have drainage holes to prevent waterlogging.
- Preparing the Containers: Before filling the containers with bulbs, clean them thoroughly to remove any dirt or debris. You can use a bleach solution (1 part bleach to 10 parts water) to sanitize the containers and minimize the risk of disease contamination.
- Add a Drainage Layer: To ensure proper drainage and prevent the bulbs from sitting in water, add a layer of gravel, sand, or small stones to the bottom of the containers. This layer will facilitate the drainage of excess moisture.
- Arranging the Bulbs: Place the prepared bulbs in the containers, leaving some space between each bulb. Avoid overcrowding, as this can lead to rotting. Position the bulbs upright or on their sides, depending on the requirements of the particular bulb variety.
- Adding Storage Medium: Cover the bulbs with a storage medium like peat moss, vermiculite, or dry sand. This medium helps maintain the bulbs’ moisture levels and provides insulation during storage. Ensure that the bulbs are completely covered but not tightly packed.
- Choosing a Storage Location: Store the containers in a cool, dark, and well-ventilated area. This can be a garage, basement, or shed where temperatures remain between 35°F (1.6°C) and 50°F (10°C). Avoid storing the containers in areas prone to extreme temperatures or fluctuations.
- Monitoring and Maintenance: Regularly check the containers for any signs of rot, mold, or excessive moisture. If you notice any issues, remove the affected bulbs and adjust the storage conditions as needed. Ensure the storage medium remains slightly moist but not wet.
Storing bulbs in containers provides you with more flexibility and control over the storage environment. By following these steps, you can effectively store your bulbs and ensure their health and viability for replanting in the future.
After the bulbs have finished flowering, allow the foliage to die back naturally before cutting it off. Store the bulbs in a cool, dry place until the next planting season.
Storing Bulbs in the Ground
If you prefer a more natural and hands-off approach to storing bulbs, you can choose to store them directly in the ground. This method works best for bulbs that are hardy in your climate and can withstand winter temperatures without damage. Follow these steps to store bulbs in the ground:
- Selecting the Location: Choose a suitable spot in your garden with well-draining soil. Avoid areas prone to waterlogging or where bulbs may be exposed to excessive moisture.
- Preparing the Ground: Prepare the soil by removing any weeds, rocks, or debris. Loosen the soil to a depth of about 8 to 12 inches (20 to 30 cm) to provide a loose and welcoming environment for the bulbs.
- Arranging the Bulbs: Dig a trench or individual holes to accommodate the bulbs. Place the bulbs in the ground, following the recommended planting depth and spacing for the particular bulb variety. Ensure that the bulbs are positioned upright and cover them with soil.
- Adding Protection: To protect the bulbs from extreme cold or frost, consider adding a layer of mulch or straw over the planted bulbs. This helps insulate the bulbs and prevent them from freezing during the winter.
- Marking the Location: To easily locate the stored bulbs in the future, mark the area with plant labels or other markers. This will prevent accidental disturbance or damage to the bulbs while gardening or landscaping.
- Maintaining Moisture: While bulbs stored in the ground do not require regular watering, ensure that the soil remains slightly moist. If there is a prolonged period of drought or dryness, water the area to provide sufficient moisture for the bulbs.
- Monitoring and Maintenance: Periodically check the storage area for any signs of pest infestation or disease. If necessary, take appropriate measures to address any issues that may arise.
Storing bulbs in the ground is a hassle-free method that allows the bulbs to go through their natural growth and dormancy cycles. By following these steps, you can store your bulbs in the ground and look forward to their emergence in the coming seasons.
Read more: How To Store Spring Rolls
Monitoring and Maintaining Bulb Storage
Once you have stored your spring bulbs, it is important to monitor and maintain their storage conditions to ensure their health and viability. Here are some tips for effective monitoring and maintenance:
- Temperature Control: Regularly check the storage area to ensure that temperatures remain within the appropriate range for bulb storage. Extreme temperature fluctuations or prolonged exposure to high or low temperatures can damage the bulbs. Make adjustments if needed to maintain a stable and ideal storage temperature.
- Humidity Levels: Bulbs prefer a slightly humid storage environment, but excessive moisture can lead to rotting. Monitor the humidity levels in the storage area and ensure that it remains balanced. If necessary, use a dehumidifier or add moisture-absorbing materials like silica gel to control the humidity.
- Pest Control: Regularly inspect your stored bulbs for any signs of pest infestation, such as insects or rodents. If you notice any pest activity, take appropriate measures to eliminate them. You can use natural repellents, traps, or consult a professional pest control service for assistance.
- Periodic Check-ups: Regularly check the bulbs for any signs of rot, mold, or disease. Remove any affected bulbs immediately to prevent the spread of problems to other bulbs. Inspect the storage medium and replace or adjust it if it becomes too wet or excessively dry.
- Organizational System: Maintain a record or system to keep track of the stored bulbs, their varieties, and storage dates. This will help you plan and prioritize your replanting efforts. Additionally, label containers or use markers in the ground to identify stored bulbs for easy retrieval.
- Re-evaluation and Replanting: Periodically evaluate the stored bulbs for viability. Some bulbs may lose their vigor or viability over time, while others may thrive. Discard any bulbs that show signs of deterioration and focus on replanting the healthy ones in the appropriate season.
By diligently monitoring and maintaining the storage conditions, you increase the chances of successful bulb storage and future growth. Regular check-ups and necessary adjustments will ensure the optimal conditions for your stored bulbs.
Tips for Replanting Stored Bulbs
After successfully storing your spring bulbs, it’s time to plan for their replanting. Follow these tips to ensure a successful transition from storage to the garden:
- Timing: Pay attention to the recommended planting time for each specific bulb variety. Different bulbs have different planting seasons, so make sure to plant them at the appropriate time for optimal growth and bloom.
- Soil Preparation: Prepare the planting area by loosening the soil and removing any weeds or debris. Adding organic matter like compost or well-rotted manure will improve the soil’s fertility and drainage, creating a favorable environment for the bulbs.
- Planting Depth and Spacing: Follow the recommended planting depth and spacing for each type of bulb. Planting too deep or too shallow can affect their growth and flowering. Proper spacing allows room for the bulbs to grow and prevents overcrowding.
- Watering: After planting the bulbs, water them thoroughly to ensure the soil is evenly moist. This will provide the bulbs with the necessary moisture for root development. However, be cautious not to overwater, as excessive moisture can lead to rot.
- Mulching: Consider adding a layer of mulch around the planted bulbs. Mulch helps retain moisture, suppress weeds, and regulate soil temperature. Use organic mulch like straw, wood chips, or shredded leaves.
- Protection from Pests: Take precautions to protect your newly planted bulbs from pests. Install physical barriers, use organic pest-control methods, or employ natural repellents to deter pests from damaging the bulbs.
- Maintenance: Once the bulbs are replanted, provide them with regular care and maintenance. This includes watering as needed, removing weeds, and monitoring for any signs of disease or pest issues. Promptly address any problems that arise.
- Enjoy the Blooms: With proper care and attention, your stored bulbs will reward you with beautiful blooms. Once they start flowering, appreciate their colors and fragrance, and remember the effort you put into storing and replanting them.
Replanting stored bulbs gives you the opportunity to witness their growth and enjoy their beauty all over again. By following these tips, you can ensure a successful transition from storage to the garden, creating a stunning display of spring blooms.
Conclusion
Storing spring bulbs is a crucial step in preserving their health and ensuring beautiful blooms in the seasons to come. By following the guidelines outlined in this article, you can effectively store your bulbs and set them up for success. From choosing the right bulbs to preparing them for storage, selecting storage methods, and monitoring their condition, each step is vital to maintaining bulb viability.
Whether you opt for storing bulbs in containers or in the ground, proper preparation and maintenance are key. Trimming foliage, drying bulbs, labeling, and inspecting for disease or damage are essential steps in preparing bulbs for storage. Choosing suitable containers or locating the right spots in the garden will determine the success of storing bulbs.
Monitoring and maintaining bulb storage entails controlling temperature and humidity, protecting against pests, and conducting regular check-ups. By staying vigilant and making necessary adjustments, you safeguard the stored bulbs and increase their chances of thriving when replanted.
In the replanting phase, timing, soil preparation, proper depth and spacing, and ongoing maintenance play vital roles. Mulching and protecting bulbs from pests ensure their healthy growth. With care and attention, you can enjoy the vibrant colors and fragrances of your stored bulbs as they bloom once more.
Remember, successful bulb storage not only preserves the bulbs but also allows you to beautify your garden and create stunning displays year after year. So, follow the steps outlined in this article, and with a little patience and effort, you can enjoy the beauty of spring bulbs for seasons to come.
Frequently Asked Questions about How To Store Spring Bulbs
Was this page helpful?
At Storables.com, we guarantee accurate and reliable information. Our content, validated by Expert Board Contributors, is crafted following stringent Editorial Policies. We're committed to providing you with well-researched, expert-backed insights for all your informational needs.


0 thoughts on “How To Store Spring Bulbs”