Articles
How To Store Gladiolus Bulbs
Modified: December 7, 2023
Looking for articles on how to store gladiolus bulbs? Find expert tips and techniques to keep your bulbs healthy and ready for the next growing season.
(Many of the links in this article redirect to a specific reviewed product. Your purchase of these products through affiliate links helps to generate commission for Storables.com, at no extra cost. Learn more)
Introduction
Gladiolus bulbs are a popular choice among gardeners for their vibrant and majestic blooms. These bulbs, also known as corms, need to be dug up and stored properly during certain times of the year to ensure their health and vitality. Whether you live in an area with harsh winters or simply want to preserve your gladiolus bulbs for the next season, proper storage techniques are essential.
In this article, we will guide you through the process of storing gladiolus bulbs to help you maintain the quality of your plants and maximize their longevity. We will discuss the ideal time for digging up the bulbs, the steps for preparing them for storage, different storage methods, and tips for monitoring and checking the bulbs during the storage period.
By following these guidelines, you can ensure that your gladiolus bulbs remain in top condition, ready to be replanted and bloom vigorously when the growing season returns.
Key Takeaways:
- Properly storing gladiolus bulbs is crucial for preserving their health and vitality. From choosing the right time for digging to inspecting for damage, following the outlined steps ensures successful storage and vibrant blooms.
- Whether stored in containers or paper bags, regular monitoring and checking of gladiolus bulbs are essential. Creating an optimal storage environment and providing proper care during replanting result in stunning and vibrant flowers year after year.
Read more: How Long To Germinate Gladiolus From Bulbs
Choosing the Right Time for Digging
The timing of when to dig up your gladiolus bulbs for storage is crucial for their successful preservation. The appropriate time to dig up the bulbs depends on your specific climate and the natural growth cycle of gladiolus plants.
In general, it is recommended to dig up the bulbs after the foliage has turned yellow or brown and started to die back. This typically occurs in late summer or early fall. By waiting until this stage, you allow the bulbs to fully ripen and store up enough energy for the next growing season.
Before digging up the bulbs, it’s essential to check the local weather forecast. Try to choose a dry and sunny day for the process. This will ensure that the bulbs are not exposed to excess moisture, which could lead to rotting or fungal diseases.
If you live in an area with mild winters, you may choose to leave the gladiolus bulbs in the ground year-round. However, it’s still a good idea to periodically check the bulbs for signs of damage or disease. In regions with harsh winter conditions, it is necessary to dig up and store the bulbs to protect them from freezing temperatures.
By selecting the right time to dig up your gladiolus bulbs, you can ensure that they are in the optimal state for storage and will have the best chance of thriving when replanted.
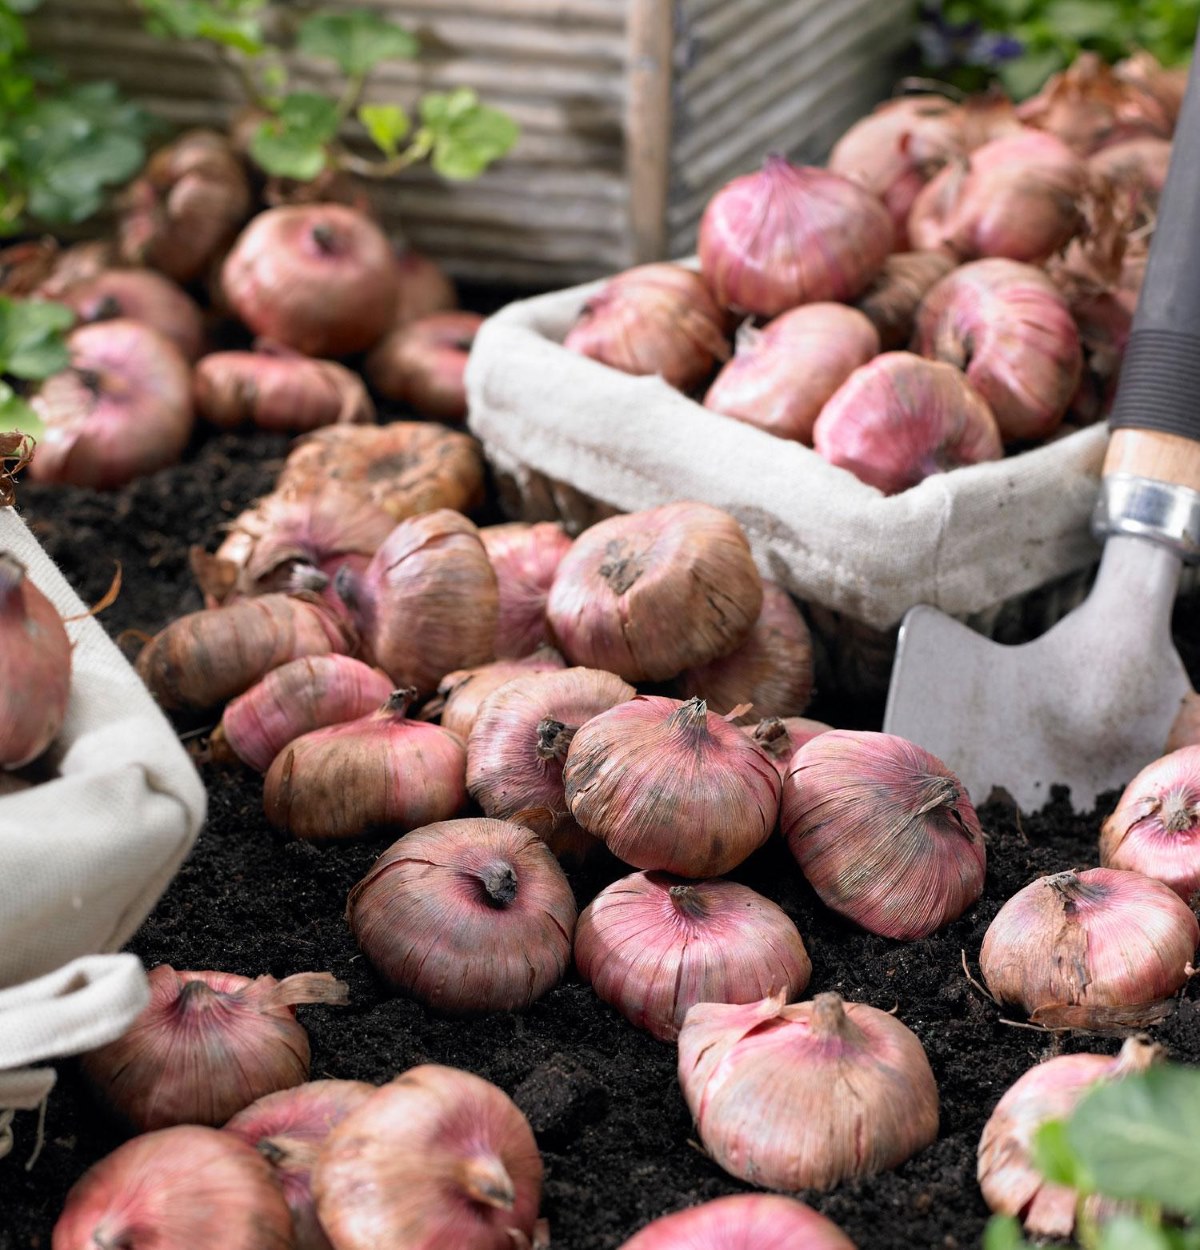
Preparing the Bulbs for Storage
Before storing your gladiolus bulbs, it’s important to properly prepare them to ensure their health and longevity during the storage period. Follow these steps to prepare the bulbs for storage:
- Trimming the Foliage: Start by trimming the foliage down to about 2-3 inches above the corm. This helps to prevent any excess moisture loss and reduces the risk of fungal diseases during storage.
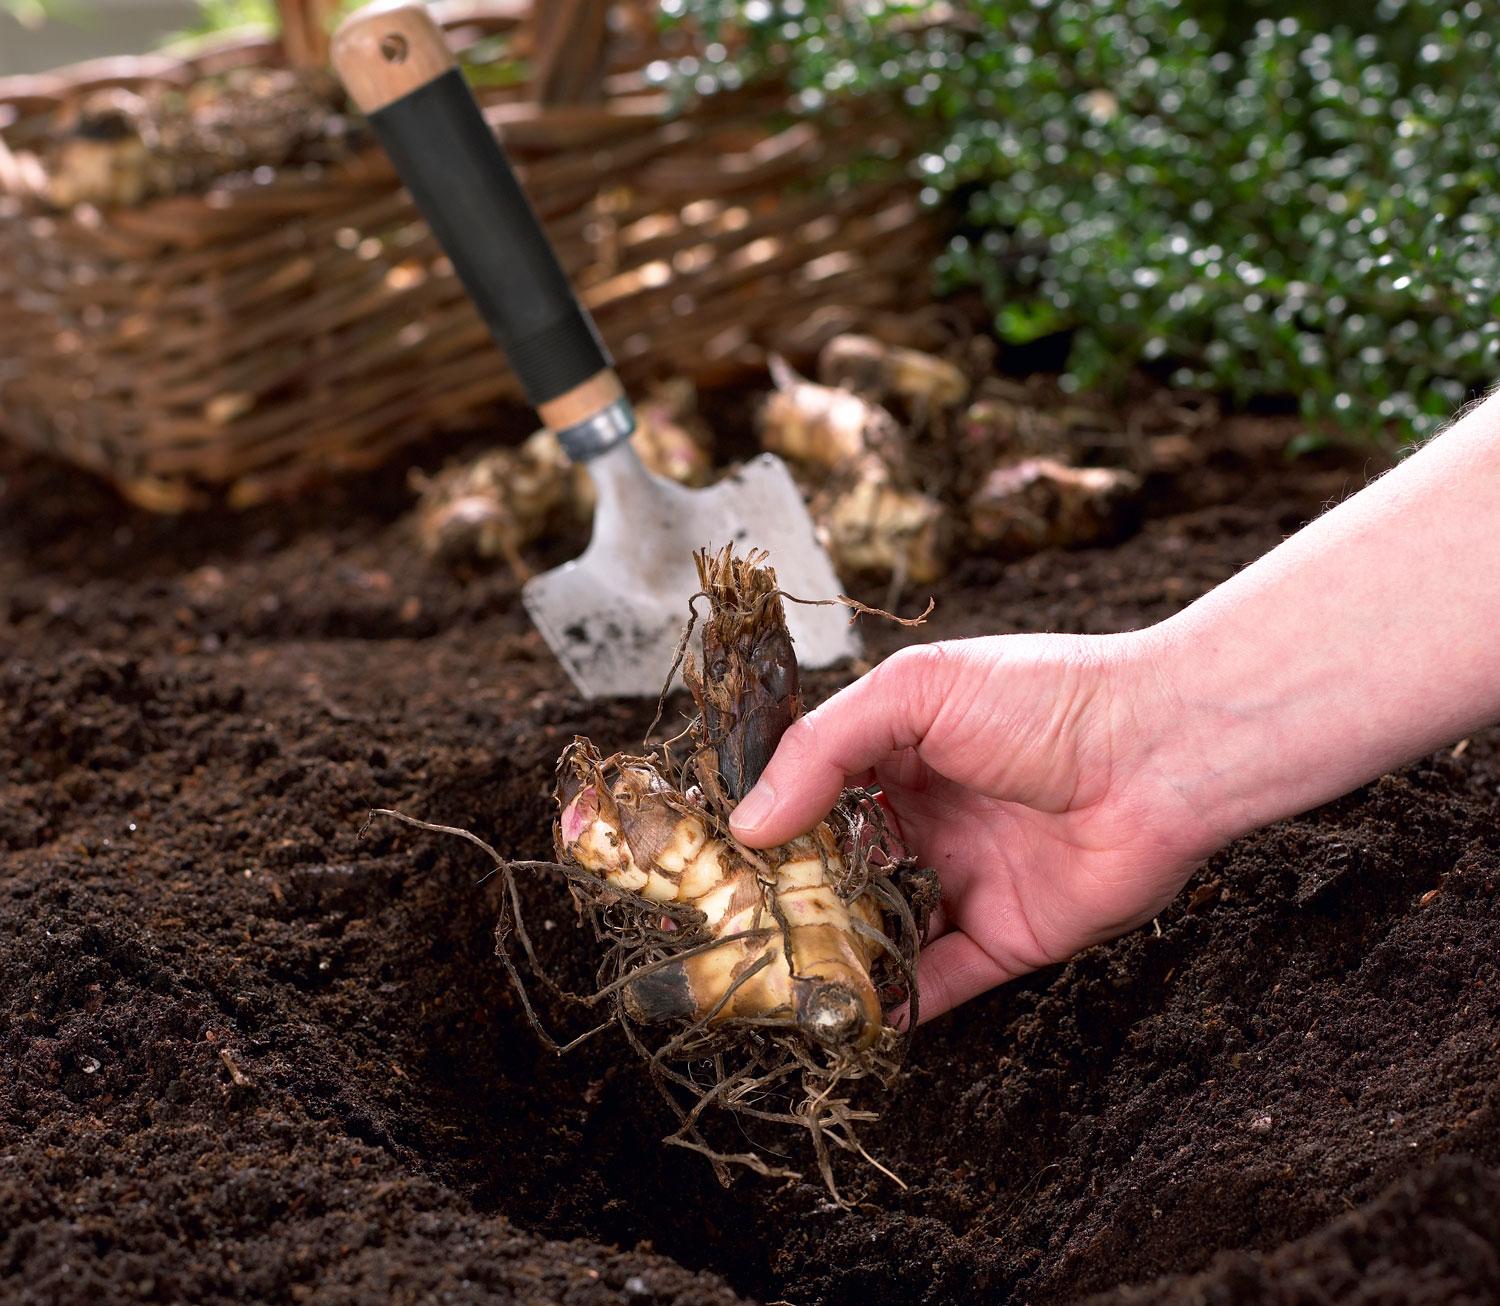
- Removing Soil: Gently remove the bulbs from the soil, taking care not to damage or bruise them. Gently shake off any excess soil, or you can lightly brush it off. Do not wash the bulbs, as this can introduce moisture and increase the risk of rot.
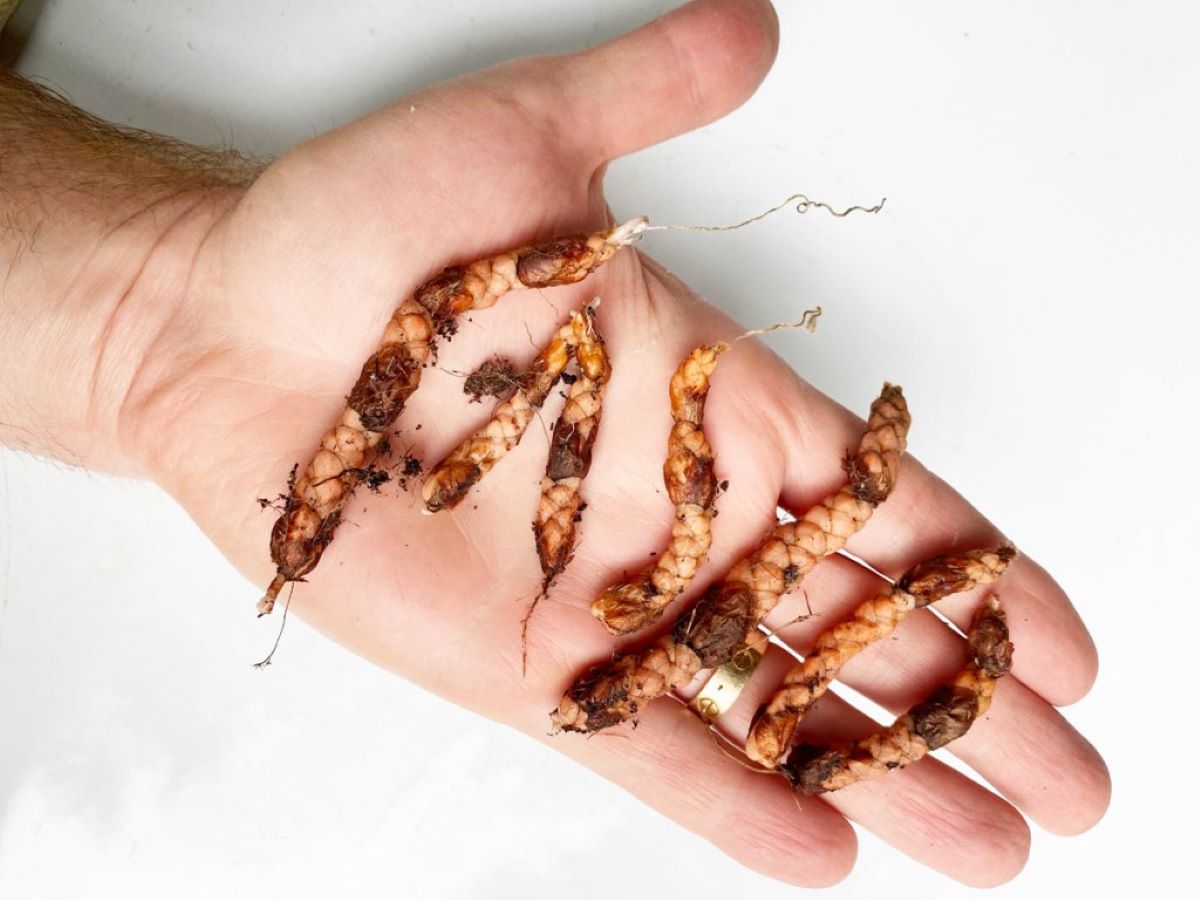
- Separating Bulbs: Inspect the bulbs carefully and separate any smaller corms or offsets from the bigger ones. These offsets can be replanted in the future to propagate new gladiolus plants.
- Labeling: It’s a good idea to label the bulbs or keep a record of the different varieties and colors to avoid confusion when replanting. You can use small tags or markers to indicate the specific details.
- Drying Out: Allow the bulbs to dry naturally for a few days in a well-ventilated area, out of direct sunlight. This will help to further reduce moisture and prevent the bulbs from rotting during storage.
Properly preparing the gladiolus bulbs before storage sets the foundation for their successful preservation. By following these steps, you can ensure that the bulbs are in the best possible condition for the upcoming storage period.
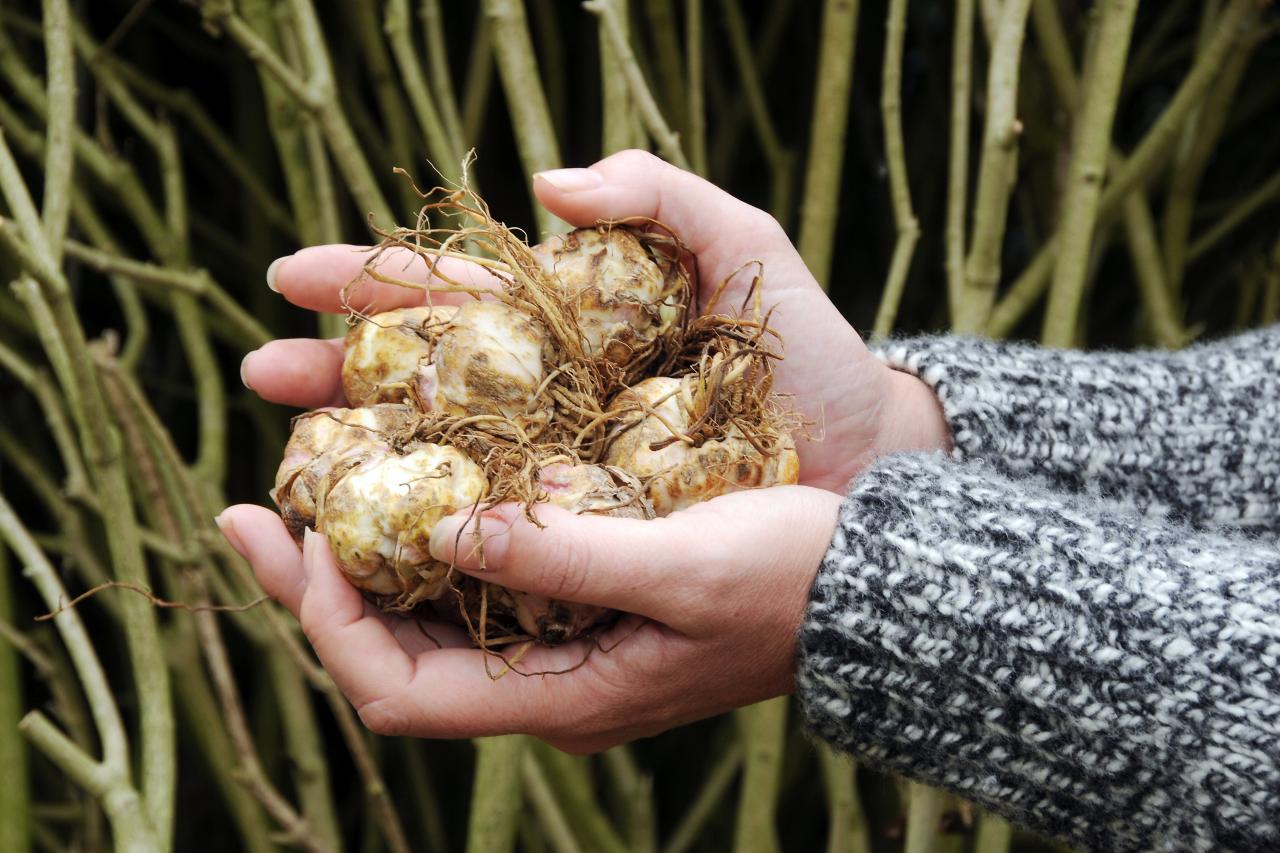
Cleaning and Drying the Bulbs
After preparing the gladiolus bulbs for storage, the next step is to clean and dry them thoroughly. Cleaning the bulbs helps remove any dirt or debris that may have accumulated during the digging process, while drying them ensures that excess moisture is eliminated, reducing the risk of rot or fungal infestation.
Follow these steps to clean and dry your gladiolus bulbs:
- Brushing off Excess Dirt: Use a soft brush, such as a clean paintbrush or a toothbrush, to gently brush off any loose dirt or debris from the bulbs. Be careful not to brush too hard and damage the outer layer of the bulbs.
- Inspecting for Damage: While cleaning, take the opportunity to inspect the bulbs for any signs of damage or disease. Look for any soft or mushy spots, discoloration, or unusual growths. If you notice any abnormalities, it’s best to discard those bulbs to prevent the spread of disease.
- Air Drying: Once cleaned, place the bulbs in a single layer on a clean, dry surface. Allow them to air dry for about one to two weeks in a well-ventilated area. Avoid direct sunlight, as it can cause the bulbs to dry out too quickly. Turn the bulbs occasionally to ensure even drying.
During the drying process, check on the bulbs regularly to make sure they are drying properly and not showing any signs of mold or rot. If you notice any bulbs starting to deteriorate, remove them immediately to prevent the spread of disease to other bulbs.
By cleaning and drying the gladiolus bulbs before storage, you remove any potential sources of contamination and create an environment that discourages the growth of pathogens, ensuring the bulbs remain healthy and viable throughout the storage period.
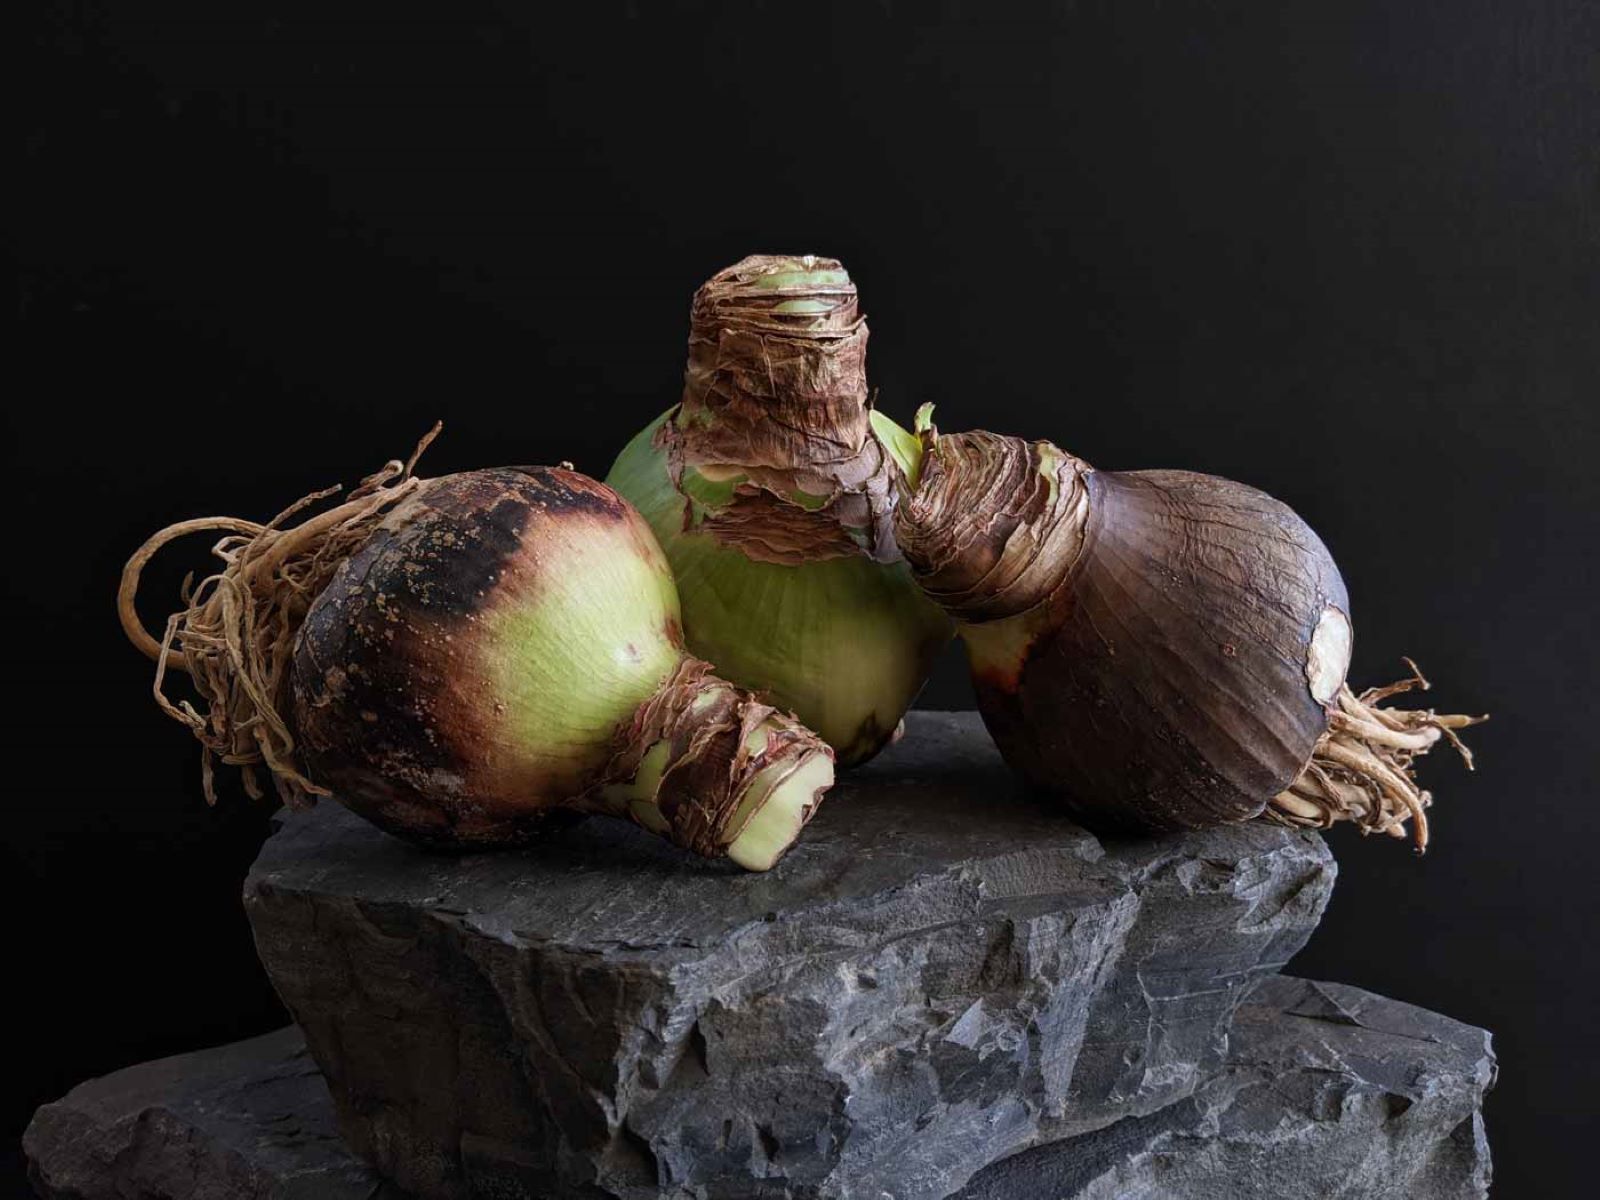
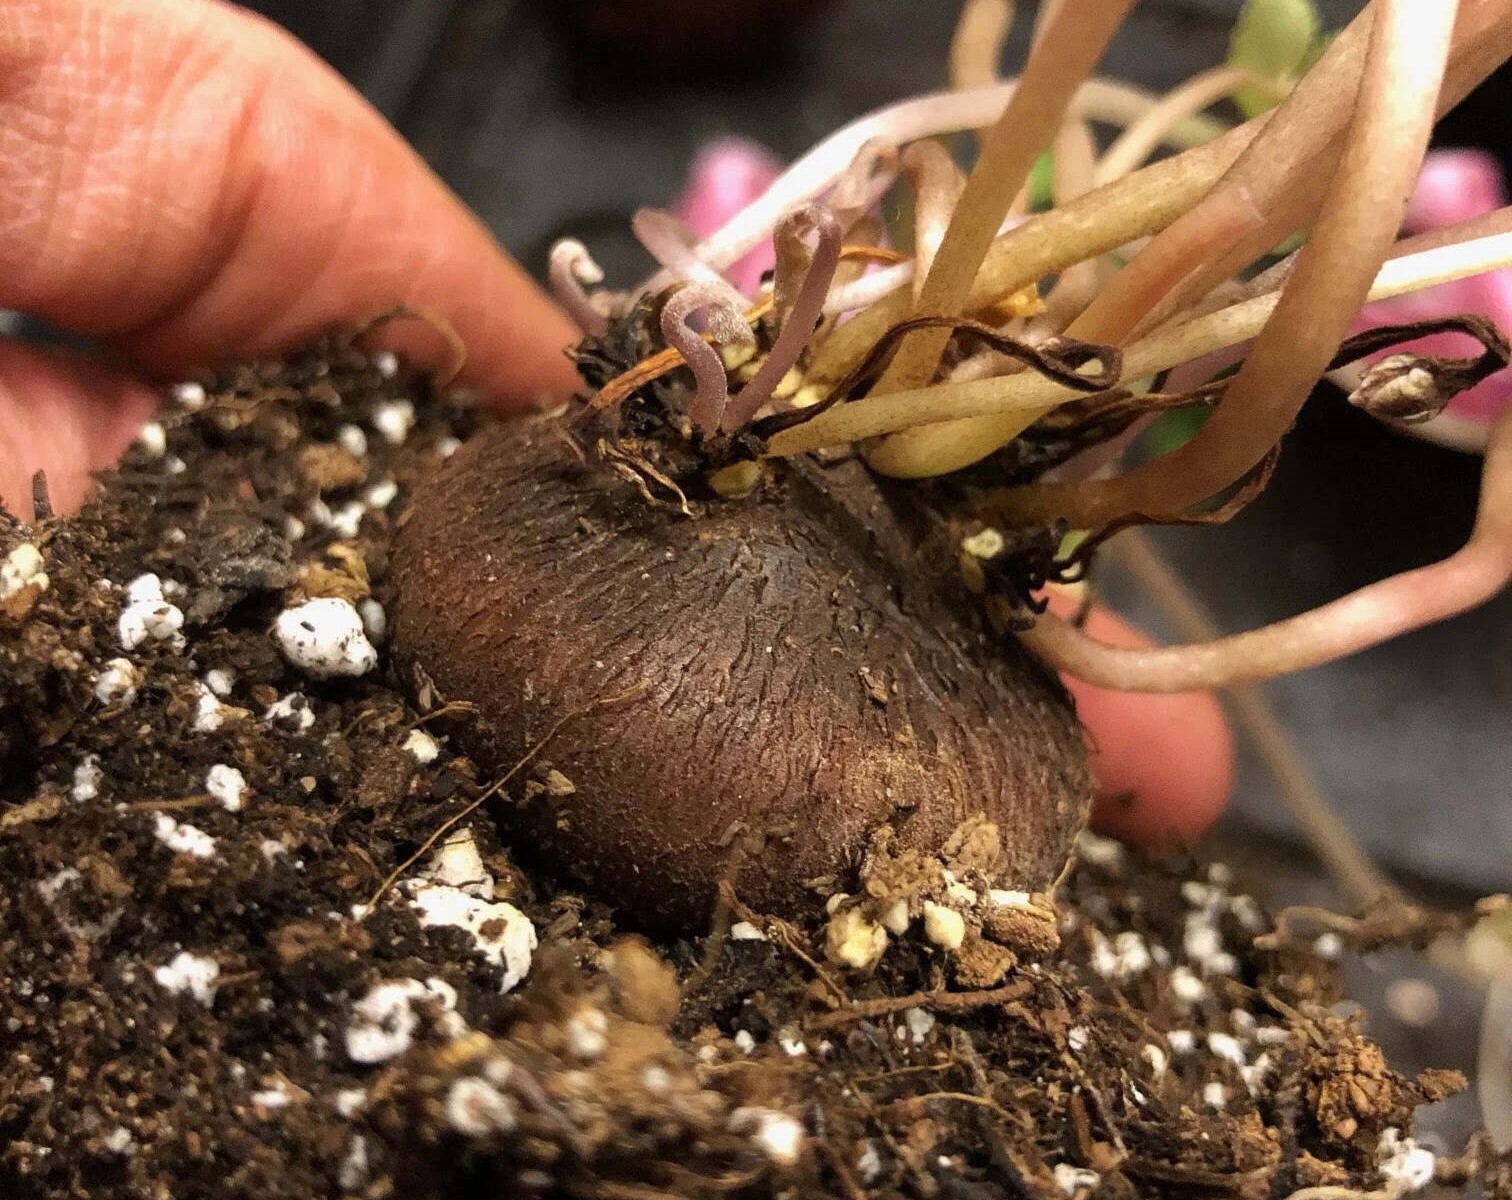
Inspecting for Damage or Disease
Before storing your gladiolus bulbs, it’s important to thoroughly inspect them for any signs of damage or disease. Identifying and addressing any issues early on will help prevent the spread of diseases and ensure the health of your bulbs. Here are some key steps to follow when inspecting your gladiolus bulbs:
- Visual Examination: Carefully examine each bulb, looking for any visible signs of damage or disease. Check for soft or mushy areas, discoloration, and any unusual growths or blemishes. Be thorough in your inspection, as even small irregularities can indicate potential problems.
- Rot: If you notice any bulbs with soft or mushy spots, chances are they are affected by rot. Rot can be caused by fungal or bacterial infections, and it can spread to other bulbs if not addressed promptly. Remove any rotten bulbs from the batch to prevent the spread of the disease.
- Disease Symptoms: Familiarize yourself with common gladiolus bulb diseases such as Fusarium rot, bulb mites, or basal plate rot. Look for specific symptoms associated with these diseases, such as discolored or shriveled bulbs, blackened or decayed tissue, or the presence of pests. If you suspect disease, it’s best to consult a local gardening expert for proper identification and treatment options.
- Damage: Check for any physical damage to the bulbs, such as cuts, bruises, or punctures. While minor damage may not be as severe as disease, it can still compromise the bulb’s health and increase the risk of infection. Remove any damaged bulbs and store only the healthy ones.
By conducting a thorough inspection, you can identify any issues that may affect the storage and future growth of your gladiolus bulbs. Taking proactive measures to remove damaged or diseased bulbs ensures that the remaining ones remain healthy and ready for planting in the next season.
Read more: How To Store Light Bulbs
Selecting the Storage Location
Choosing the right storage location for your gladiolus bulbs is crucial for their preservation. The storage area should provide optimal conditions to maintain the quality and viability of the bulbs. Here are some factors to consider when selecting a storage location:
- Temperature: Gladiolus bulbs require a cool, dry environment for successful storage. The ideal temperature range for storing these bulbs is around 35-45°F (1-7°C). Avoid storing them in excessively cold or warm areas, as extreme temperatures can affect their quality and viability.
- Humidity: Too much moisture in the storage area can lead to rot and fungal infections, while low humidity can cause the bulbs to dry out prematurely. Aim for a storage location with moderate humidity levels, around 50-60%. You can use a hygrometer to monitor the humidity and make necessary adjustments if needed.
- Air Circulation: Proper air circulation is essential for preventing the buildup of excess moisture and maintaining a healthy storage environment. Choose a storage area that has good ventilation or consider using a small fan or dehumidifier to ensure adequate air movement.
- Light: Gladiolus bulbs should be stored in a dark location to prevent them from sprouting prematurely. Exposure to light can trigger growth, reducing their vitality and potential for blooming. Store the bulbs in a place where they are protected from direct sunlight.
- Pest Control: Ensure that the storage area is free from pests such as mice, rats, or insects that may damage or consume the bulbs. Consider using natural pest deterrents or placing the bulbs in secure containers to protect them from unwanted visitors.
When selecting a storage location, aim for a place like a basement, garage, or cool closet that meets these criteria. Remember to regularly check the storage area for any changes in temperature, humidity, or signs of pests. By choosing the right storage location, you can create an environment that promotes the longevity and health of your gladiolus bulbs during the storage period.
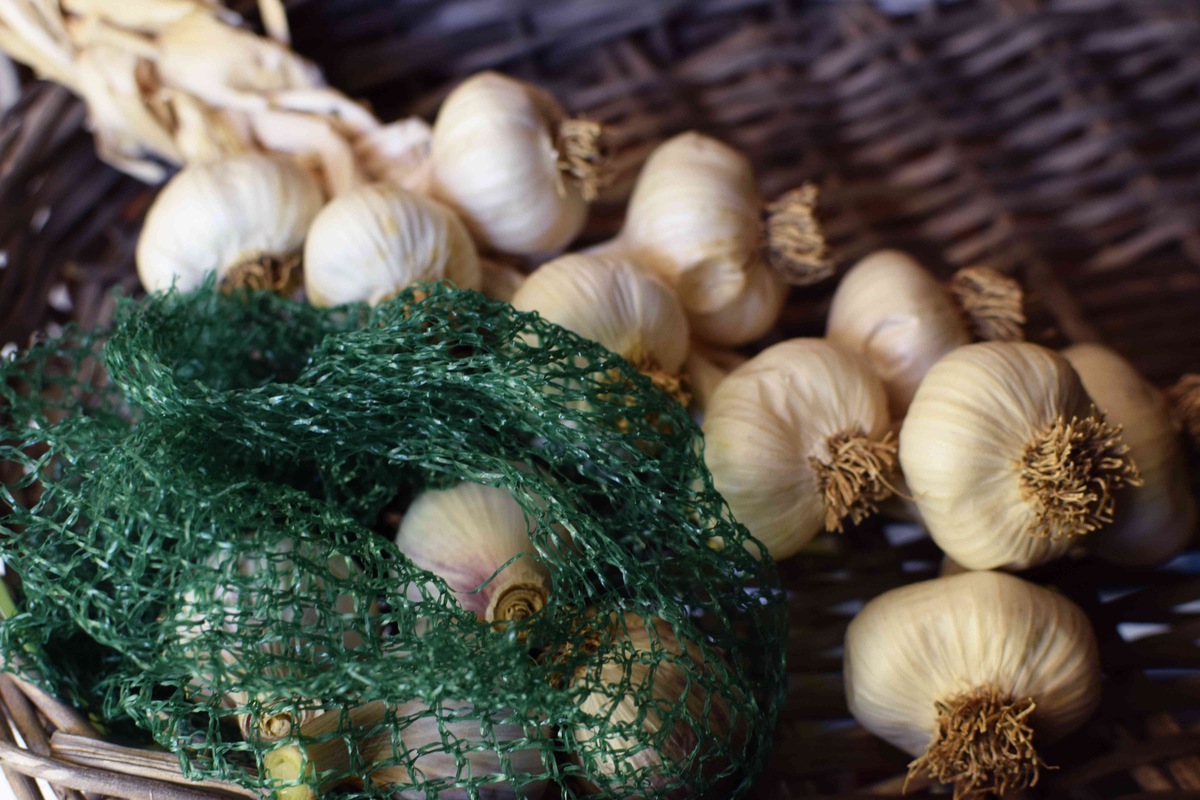
After digging up gladiolus bulbs, let them dry in a warm, well-ventilated area for 2-3 weeks. Once dry, store them in a cool, dry place in a paper bag or mesh bag to prevent mold.
Storing in Containers
Storing gladiolus bulbs in containers is a popular and effective method to keep them safe and preserved during the dormant season. Containers provide a controlled environment that helps maintain the proper temperature, humidity, and airflow for the bulbs. Here’s how to store gladiolus bulbs in containers:
- Selecting Containers: Choose containers that are clean, sturdy, and have adequate drainage. Plastic or wooden crates, boxes, or breathable containers are suitable options. Avoid using airtight containers, as this can trap moisture and promote rot.
- Layering the Bulbs: Place a layer of dry peat moss, vermiculite, or dry sand at the bottom of the container. This acts as a cushion and helps absorb excess moisture. Then, arrange the bulbs in a single layer on top of the bed, making sure they do not touch each other.
- Adding a Bulb Storage Medium: Gently cover the bulbs with another layer of peat moss, vermiculite, or dry sand. The medium should cover the bulbs completely but not be excessively compacted. This layer provides insulation, prevents moisture buildup, and helps maintain a consistent temperature around the bulbs.
- Labeling: Label the containers with the variety and color of the gladiolus bulbs stored inside. This will facilitate easy identification when it’s time to replant them.
- Storing the Containers: Place the containers in a cool storage area, such as a basement or garage, where the temperature is consistently around 35-45°F (1-7°C). Ensure that the storage location meets the humidity and airflow requirements discussed earlier.
- Checking Periodically: Regularly inspect the containers to ensure there are no signs of rot, mold, or pest infestations. Remove any bulbs showing signs of damage or disease promptly to prevent spreading to other bulbs.
Storing gladiolus bulbs in containers allows for easy access and provides a controlled environment that helps maintain their health and vitality. By following these steps, you can safely store your gladiolus bulbs and ensure they are primed for successful replanting come the next growing season.
Storing in Paper Bags
Another effective method for storing gladiolus bulbs is to use paper bags. Storing bulbs in paper bags allows for airflow while protecting them from excess moisture and light. Here’s how to store gladiolus bulbs using this method:
- Gather Supplies: Collect clean paper bags that are large enough to comfortably accommodate the bulbs without crowding them. Ensure the bags are dry and in good condition.
- Preparing the Bulbs: Clean and dry the gladiolus bulbs as mentioned earlier in this article. Trim the foliage and remove excess soil, but do not wash the bulbs.
- Grouping the Bulbs: Sort the bulbs according to size and variety if desired. Large bulbs can be stored separately from smaller ones. This will make it easier to replant or propagate them in the future.
- Labeling: Label each paper bag with the variety and color of the gladiolus bulbs stored inside. This will help with easy identification when replanting them.
- Placing in Bags: Place a small number of bulbs in each paper bag, leaving enough space between them to allow for airflow. Avoid overstuffing the bags as this can lead to increased moisture retention and potential rotting.
- Closing the Bags: Fold the tops of the paper bags over to secure them, ensuring they are sealed but also allow some airflow. This will protect the bulbs from light exposure while still allowing proper ventilation.
- Storage Location: Choose a cool, dry, and dark storage area, such as a basement or closet, where the temperature remains consistent and is around 35-45°F (1-7°C). Proper humidity levels and airflow, as discussed earlier, are also necessary.
- Monitoring: Periodically check the bags for any signs of rot, mold, or pest infestations. Remove any bulbs showing signs of damage or disease to prevent them from affecting others.
Storing gladiolus bulbs in paper bags is a simple and effective method to keep them safely preserved while allowing for proper ventilation. By following these steps, you can ensure your gladiolus bulbs remain in good condition and ready for planting in the next growing season.
Monitoring and Checking the Bulbs
During the storage period, it’s important to regularly monitor and check the gladiolus bulbs to ensure they remain healthy and free from any issues that could affect their viability. Here are some key steps for monitoring and checking your stored bulbs:
- Regular Inspections: Set a schedule to inspect the bulbs every few weeks. Check for any signs of damage, disease, or decay. Look for soft spots, mold growth, unusual odor, or any other abnormalities.
- Remove Affected Bulbs: If you encounter any bulbs showing signs of damage or disease, promptly remove and discard them. This will help prevent the spread of issues to other bulbs.
- Check for Moisture: Assess the moisture levels in the storage containers or paper bags. The bulbs should be stored in a cool and dry environment, so check for any signs of excess moisture or condensation. If needed, adjust the airflow or humidity levels in the storage area to maintain optimal conditions.
- Ensure Proper Air Circulation: Check that there is sufficient air circulation around the bulbs. Stagnant air can increase the risk of mold or fungal growth. Consider periodically opening the containers or gently shaking the paper bags to allow fresh air to circulate.
- Monitor Temperature: Regularly monitor the storage area’s temperature to ensure it remains within the ideal range of 35-45°F (1-7°C). Extreme temperature fluctuations can negatively impact the bulbs’ viability, so take measures to regulate and stabilize the temperature if necessary.
- Check for Pests: Inspect the storage area for any signs of pests like rodents or insects that may be damaging the bulbs. Set up traps or use natural pest deterrents to keep the storage space pest-free.
By actively monitoring and checking your stored gladiolus bulbs, you can quickly identify and address any issues that may arise. This proactive approach helps ensure the bulbs remain healthy and in optimal condition for successful replanting when the time comes.
Read more: How To Store Crocus Bulbs
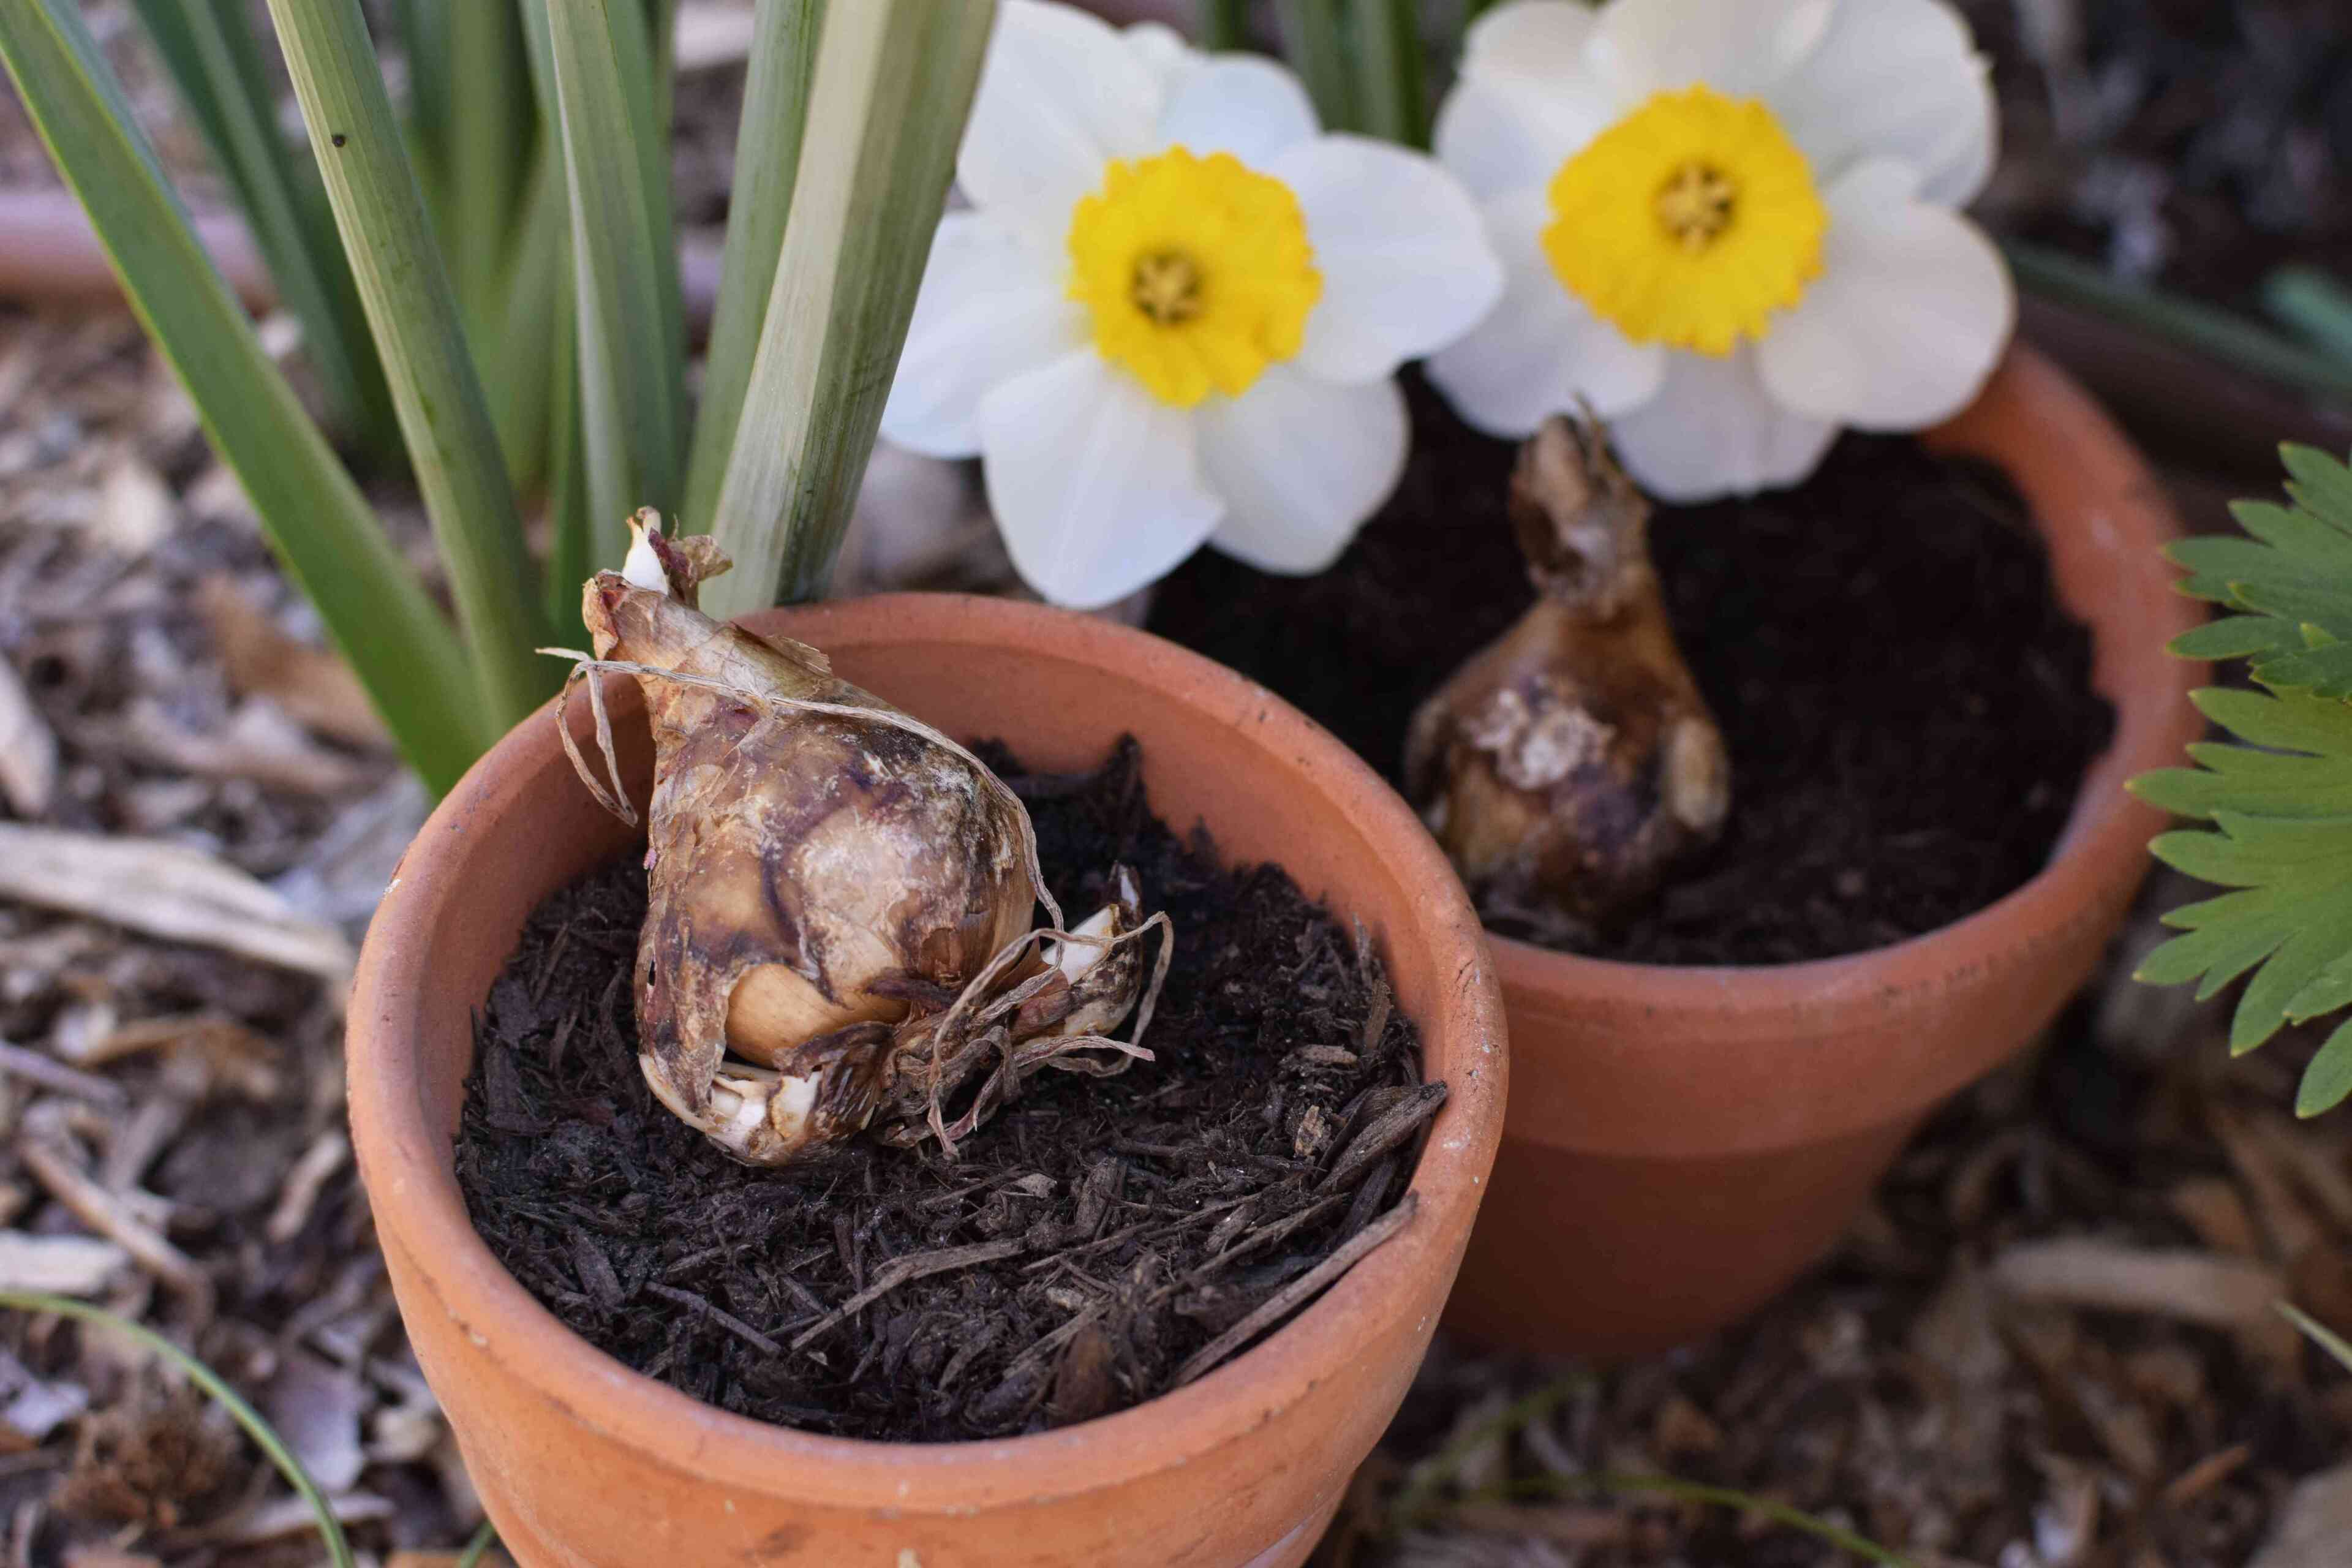
Replanting the Bulbs
After storing your gladiolus bulbs during the dormant season, it’s time to prepare for their replanting. By following these steps, you can ensure a successful transition from storage to the garden:
- Timing: Choose the appropriate time to replant your gladiolus bulbs based on your local climate and the recommended planting schedule. Typically, this is in the spring when the soil has warmed up and the frost danger has passed.
- Preparing the Garden: Select a well-draining location in your garden that receives at least six to eight hours of direct sunlight each day. Clear the area of any weeds or debris, and work the soil to a depth of about 8-10 inches, adding organic matter if needed to improve fertility and drainage.
- Inspecting the Bulbs: Before planting, thoroughly inspect the bulbs for any signs of damage or disease. Discard any bulbs that appear soft, rotten, or discolored to prevent spreading issues to healthy plants.
- Spacing and Planting: Dig holes or trenches that are approximately 4-6 inches deep, spacing the bulbs about 6-8 inches apart. Place the bulbs in the holes with the pointed end facing upward, covering them with soil and gently firming it around the bulbs.
- Watering: After planting, give the newly planted bulbs a thorough watering to settle the soil and ensure good soil-to-bulb contact. Maintain regular watering throughout the growing season, keeping the soil consistently moist but not waterlogged.
- Supporting the Stems: As the gladiolus plants grow, they may require support to prevent them from bending or collapsing under the weight of the flower spikes. Use stakes or trellises to provide support and keep the plants upright.
- Maintenance and Care: Regularly monitor the plants for any signs of pests or diseases. Remove any weeds that may compete for nutrients and water. Apply a balanced fertilizer according to the package instructions to promote healthy growth and abundant blooms.
- Harvesting and Aftercare: When the gladiolus blooms have faded, you can cut the flower spikes for floral arrangements. At the end of the growing season, allow the foliage to wither and turn yellow before cutting it back. Dig up and store the bulbs again following the proper storage techniques discussed earlier.
By replanting your gladiolus bulbs with care and providing proper maintenance throughout the growing season, you can enjoy the beauty and splendor of their vibrant blooms year after year.
Conclusion
Storing gladiolus bulbs properly during the dormant season is essential for preserving their health and ensuring their vitality for the next growing season. By following the steps outlined in this article, you can effectively store your gladiolus bulbs and set them up for success when it’s time to replant.
From choosing the right time for digging up the bulbs to preparing them for storage, cleaning and drying, inspecting for damage or disease, and selecting the ideal storage location, each step plays a crucial role in maintaining the bulbs’ quality.
Whether you opt for storing the bulbs in containers or paper bags, always monitor and check them regularly for signs of rot, disease, or pests. Making necessary adjustments to temperature, humidity, and airflow will help create an optimal storage environment.
Finally, when the planting season arrives, carefully replant the bulbs in a suitable location and provide them with proper care and maintenance throughout the growing season. Regular inspections, watering, fertilizing, and supporting the plants will encourage healthy growth and abundant blooms.
By following these guidelines, both beginners and experienced gardeners can revel in the beauty and splendor of gladiolus flowers year after year. With proper storage and care, your gladiolus bulbs will reward you with their stunning display and vibrant colors.
So, take the time to store your gladiolus bulbs correctly, and get ready to enjoy a bountiful and magnificent garden filled with these graceful and captivating flowers.
Frequently Asked Questions about How To Store Gladiolus Bulbs
Was this page helpful?
At Storables.com, we guarantee accurate and reliable information. Our content, validated by Expert Board Contributors, is crafted following stringent Editorial Policies. We're committed to providing you with well-researched, expert-backed insights for all your informational needs.

0 thoughts on “How To Store Gladiolus Bulbs”