Articles
How To Store Straw Hats
Modified: December 7, 2023
Learn how to properly store straw hats and keep them in top condition with our informative articles. Find expert tips and tricks to maintain your favorite straw hats for years to come.
(Many of the links in this article redirect to a specific reviewed product. Your purchase of these products through affiliate links helps to generate commission for Storables.com, at no extra cost. Learn more)
Introduction
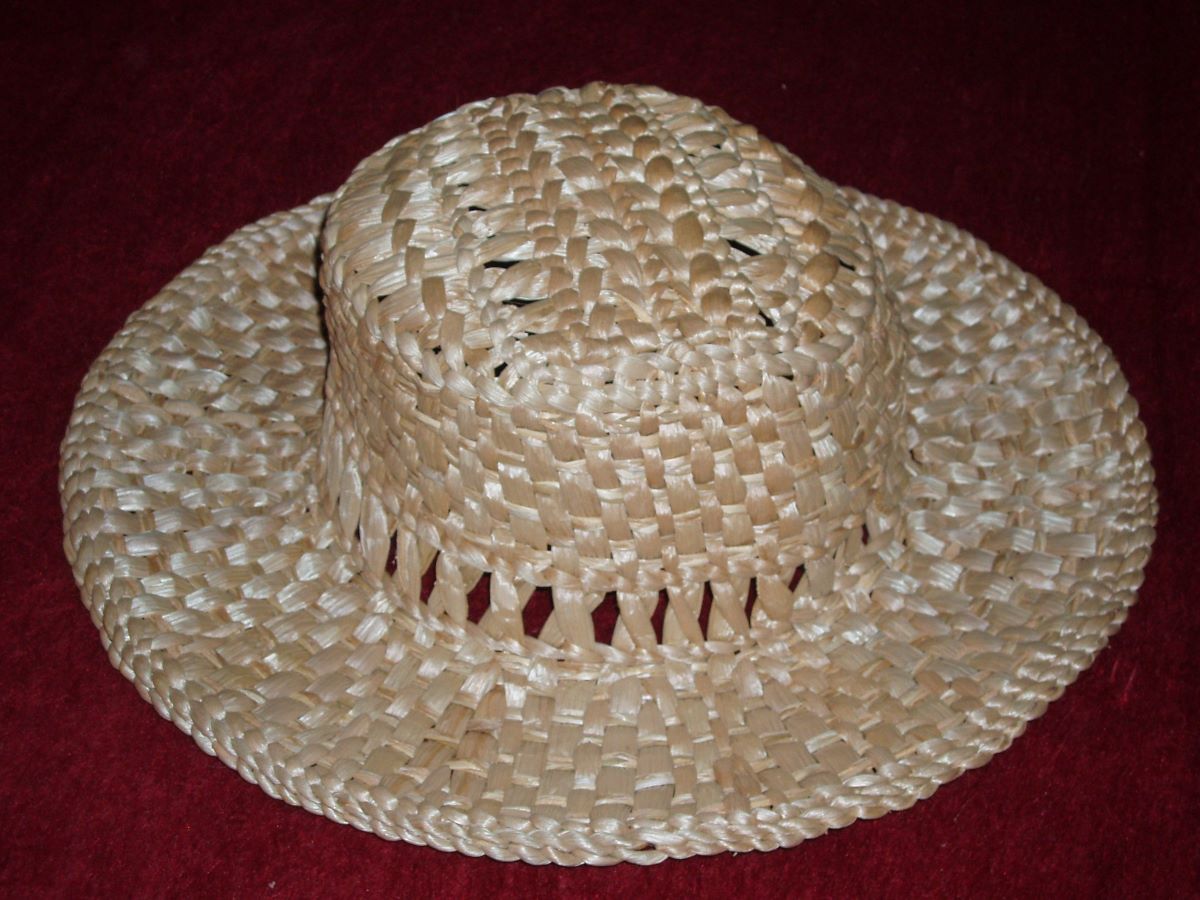
Straw hats are not just a fashion statement; they are a timeless accessory that adds a touch of style and elegance to any outfit. Whether you own a classic Panama hat, a trendy wide-brimmed floppy hat, or a casual straw fedora, proper storage is essential to preserve their shape and longevity.
Storing your straw hats correctly not only keeps them looking their best but also extends their lifespan. The delicate nature of straw hats makes them susceptible to damage from environmental factors such as moisture, heat, and dust. In this article, we will guide you through the steps to store your straw hats properly, ensuring that they remain in pristine condition for years to come.
Before diving into the storage process, it’s important to mention that prevention is key. By choosing the right storage location and following a regular cleaning routine, you can avoid potential damage and maintain the quality of your straw hats.
So let’s get started and learn how to store your straw hats effectively!
Key Takeaways:
- Preserve your straw hats by choosing a cool, dry storage spot away from direct sunlight and moisture sources. Clean and reshape your hats before storing them in a hat box or dust bag to maintain their shape and quality.
- Safeguard your straw hats from dust and sunlight by regular dusting, rotating displayed hats, and avoiding excessive handling. Be mindful of potential damage and periodically replace old or damaged storage materials to ensure your hats remain in excellent condition.
Read more: How To Store Hats
Choosing the Right Storage Location
When it comes to storing your straw hats, the first step is to choose the right storage location. Ideally, you want a place that is cool, dry, and well-ventilated to prevent moisture build-up, which can lead to mold or mildew growth. Here are some factors to consider when selecting a storage spot:
- Avoid Direct Sunlight: Exposure to sunlight can cause fading and discoloration of your straw hats. Choose a location away from windows or invest in UV-blocking window coverings to protect your hats.
- Stable Temperature: Extreme temperature fluctuations can weaken the straw material and cause it to become brittle. Look for a storage area with a consistent and moderate temperature, preferably between 60°F and 75°F.
- Low Humidity: High humidity levels can cause straw hats to become damp, leading to the growth of mold or mildew. Aim for a storage area with humidity levels below 50%.
- No Moisture Sources: Avoid storing your hats near water sources, such as sinks, bathrooms, or laundry areas. Even a small amount of moisture can damage your straw hats.
Keep in mind that some straw hats, particularly delicate or vintage pieces, may require extra precautions. In such cases, you might want to consider storing them in a closet or armoire with a dehumidifier or using a moisture-absorbing product like silica gel packets to maintain optimal conditions.
Once you’ve identified the ideal storage location, it’s time to prepare your hats for storage.
Cleaning and Preparing Your Straw Hat
Before storing your straw hat, it’s important to give it a thorough cleaning to remove any dirt, dust, or sweat that may have accumulated. Here’s how to clean and prepare your straw hat:
- Inspect Your Hat: Check your hat for any visible stains, spots, or marks. If you notice any, treat them before cleaning the entire hat. You can use a mild detergent or stain remover specifically designed for straw hats. Test it on a small, inconspicuous area of the hat first to ensure it doesn’t cause any discoloration or damage.
- Dust Off: Gently use a soft brush or a clean cloth to remove any loose dirt or dust from the surface of your hat. Be careful not to apply too much pressure or scrub vigorously, as this can damage the straw material.
- Spot Clean: If you have any specific areas that need extra attention, dampen a clean cloth with warm water and a mild soap solution. Gently dab the stained area, being careful not to saturate the straw. Rinse the cloth with clean water and dab again to remove any soap residue.
- Air Dry: After spot cleaning, allow your straw hat to air dry in a cool, shaded area. Avoid using heat sources like hairdryers or placing your hat in direct sunlight, as this can cause the straw to warp or shrink. Ensure that the hat is completely dry before moving on to the next step.
- Reshape Your Hat: In some cases, the straw material may become misshapen over time. To restore its original form, hold the hat over steam for a few seconds, being careful not to get it too close to the steam source. Once the straw is slightly softened, reshape the hat with your hands by gently molding it back into its desired shape.
By following these cleaning and preparation steps, you’ll ensure that your straw hat is fresh, clean, and ready for storage. Now, let’s move on to the next section to learn how to store your straw hat effectively.
Storing Your Straw Hat
Now that your straw hat is clean and prepared, it’s time to store it properly. Follow these steps to ensure that your hat remains in pristine condition during storage:
- Use a Hat Box or Dust Bag: One of the best ways to store your straw hat is by using a hat box or a dust bag. These provide protection from dust, moisture, and potential damage. If you don’t have a hat box or dust bag, you can use a clean pillowcase or a breathable fabric bag as an alternative.
- Place a Soft Lining: Before putting your straw hat inside the storage container, it’s a good idea to line the bottom with a soft material like acid-free tissue paper or clean cotton fabric. This helps to cushion the hat and prevent any potential indentations or creases.
- Position Your Hat: Gently place your straw hat inside the hat box or dust bag, making sure it’s positioned in a way that maintains its shape. If you’re storing multiple hats, avoid stacking them to prevent any deformation.
- Add Supporting Material: If you notice any areas of the hat that may lose their shape during storage, you can place some soft, acid-free tissue paper or clean cotton fabric inside those areas to provide support and help retain the hat’s original structure.
- Secure the Storage Container: Close the lid of the hat box securely or tie the dust bag to avoid any dust or moisture from entering. If you’re using a pillowcase or fabric bag, tie it tightly with a string or ribbon to prevent it from opening.
Remember to store your straw hat in an upright position rather than laying it flat to prevent any potential misshaping or damage to the brim. Additionally, try to keep your hat in a location where it won’t be subject to frequent movement or pressure.
By following these storage steps, you’ll help preserve the shape and quality of your straw hat. But there are a few more precautions to take to ensure it stays protected from dust and sunlight. Let’s explore those in the next section.
Store straw hats in a cool, dry place away from direct sunlight to prevent fading and damage. Use a hat box or shelf to help maintain their shape and avoid crushing.
Protecting Your Straw Hat from Dust and Sunlight
While storing your straw hat in a hat box or dust bag provides some level of protection, it’s also important to take additional measures to safeguard it from dust and sunlight. Here are some tips to keep your straw hat safe:
- Regular Dusting: Even when stored, straw hats can accumulate dust over time. To keep them clean and dust-free, gently dust your hats regularly using a soft bristle brush or a clean cloth. This will help maintain their appearance and prevent any dust particles from settling deep into the straw.
- Keep Away from Direct Sunlight: Direct sunlight can cause the straw material of your hat to fade and become brittle. To protect your hat from harmful UV rays, store it in a shaded area or use a UV-blocking window covering if it’s displayed in a room with natural light. Avoid leaving your hat exposed to the sun for extended periods, especially if it’s made of more delicate straw material.
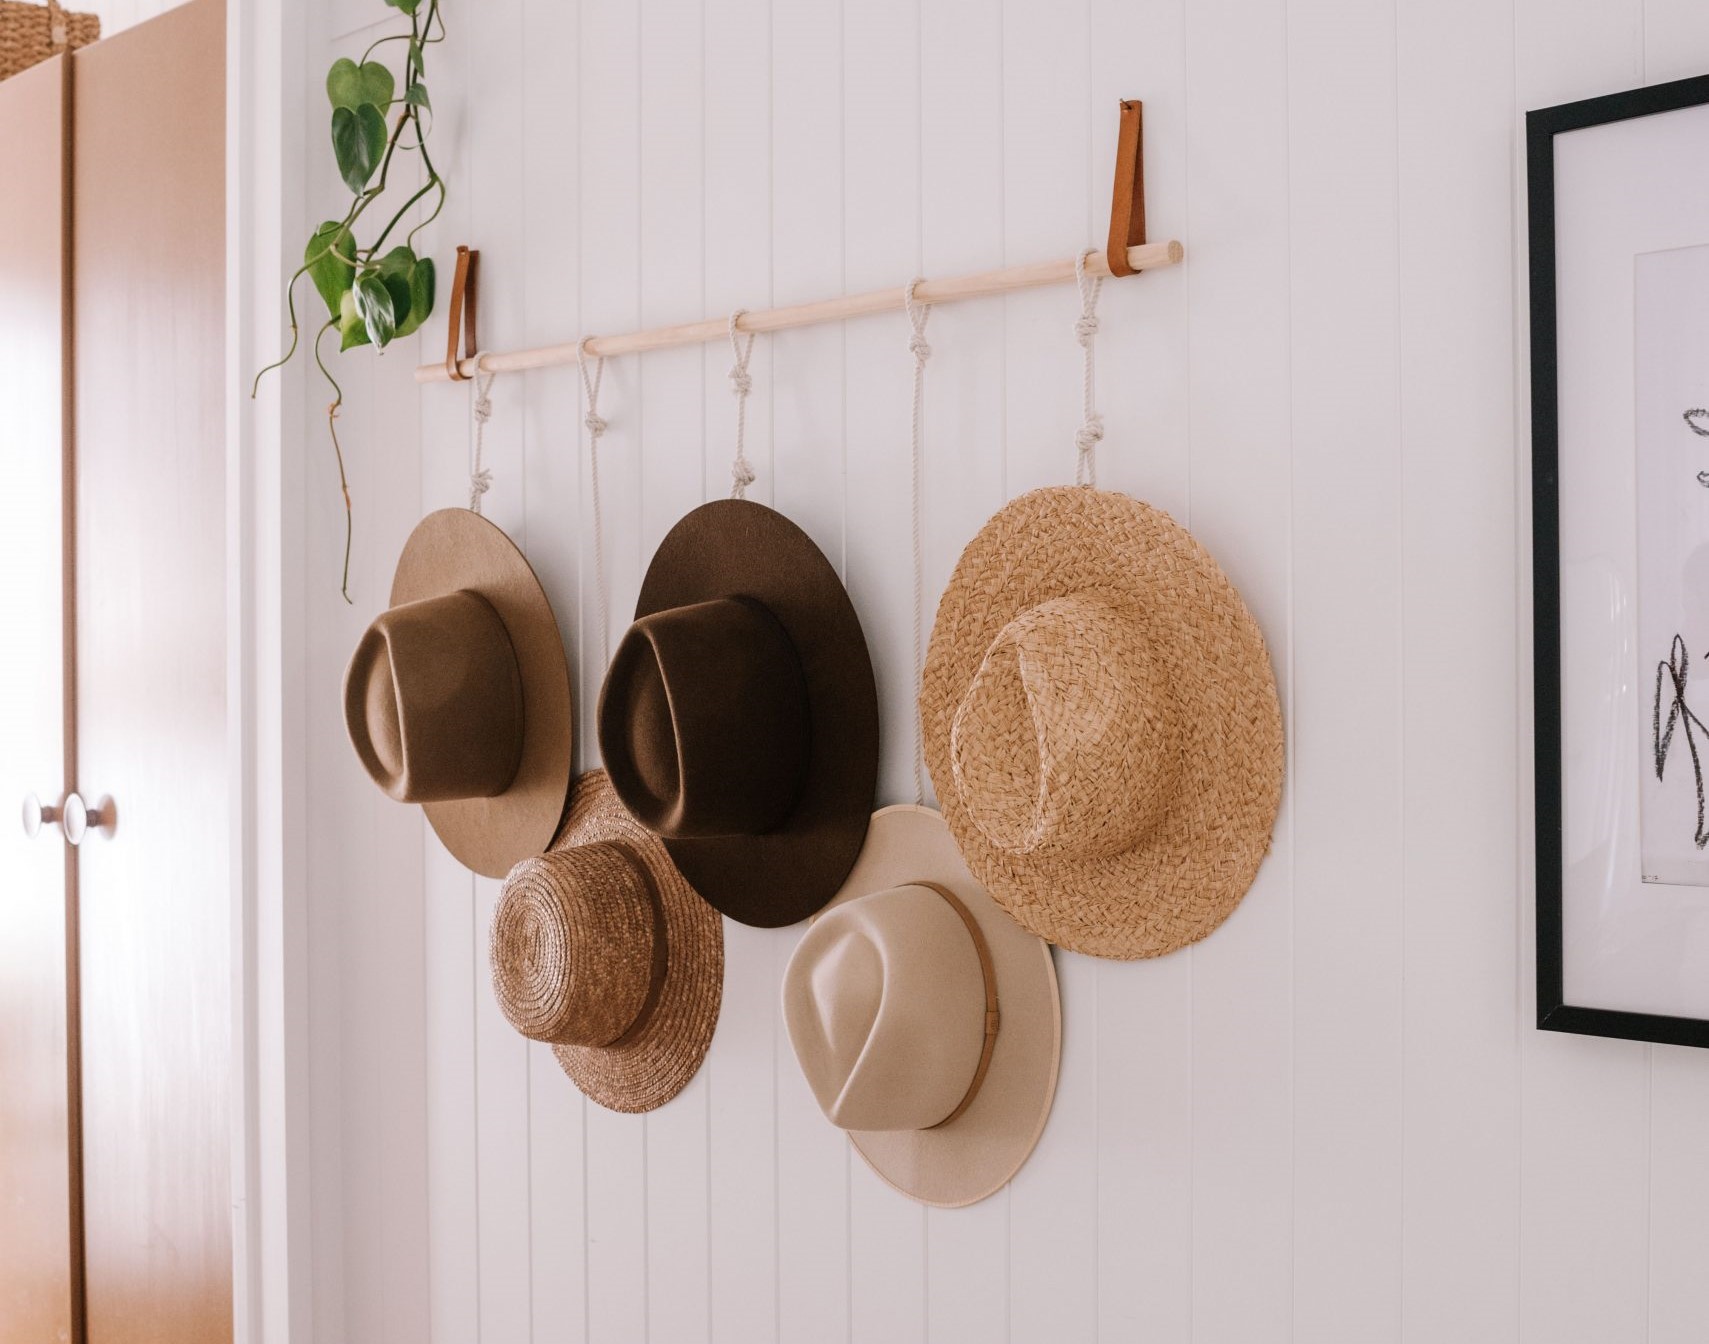
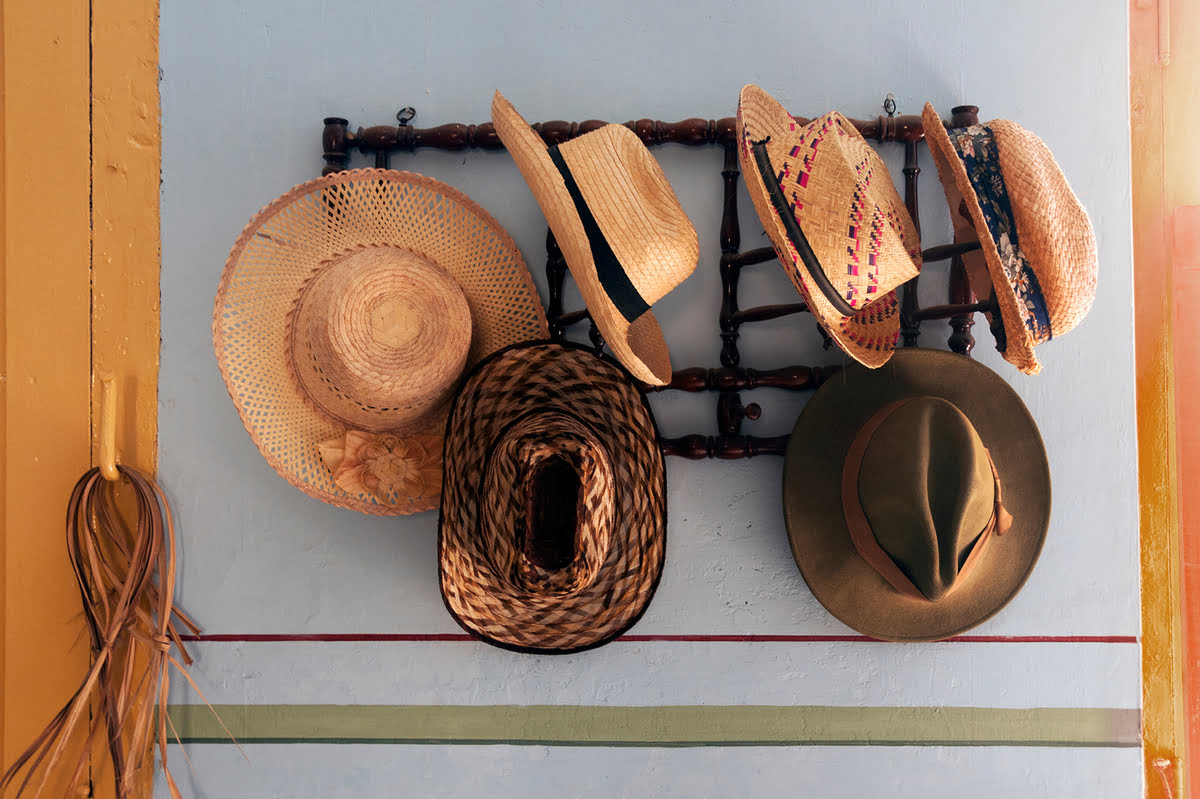
- Rotate Displayed Hats: If you have a collection of straw hats and like to display them, it’s a good idea to rotate them periodically. By doing so, you minimize the exposure of a single hat to sunlight, ensuring that they all age evenly.
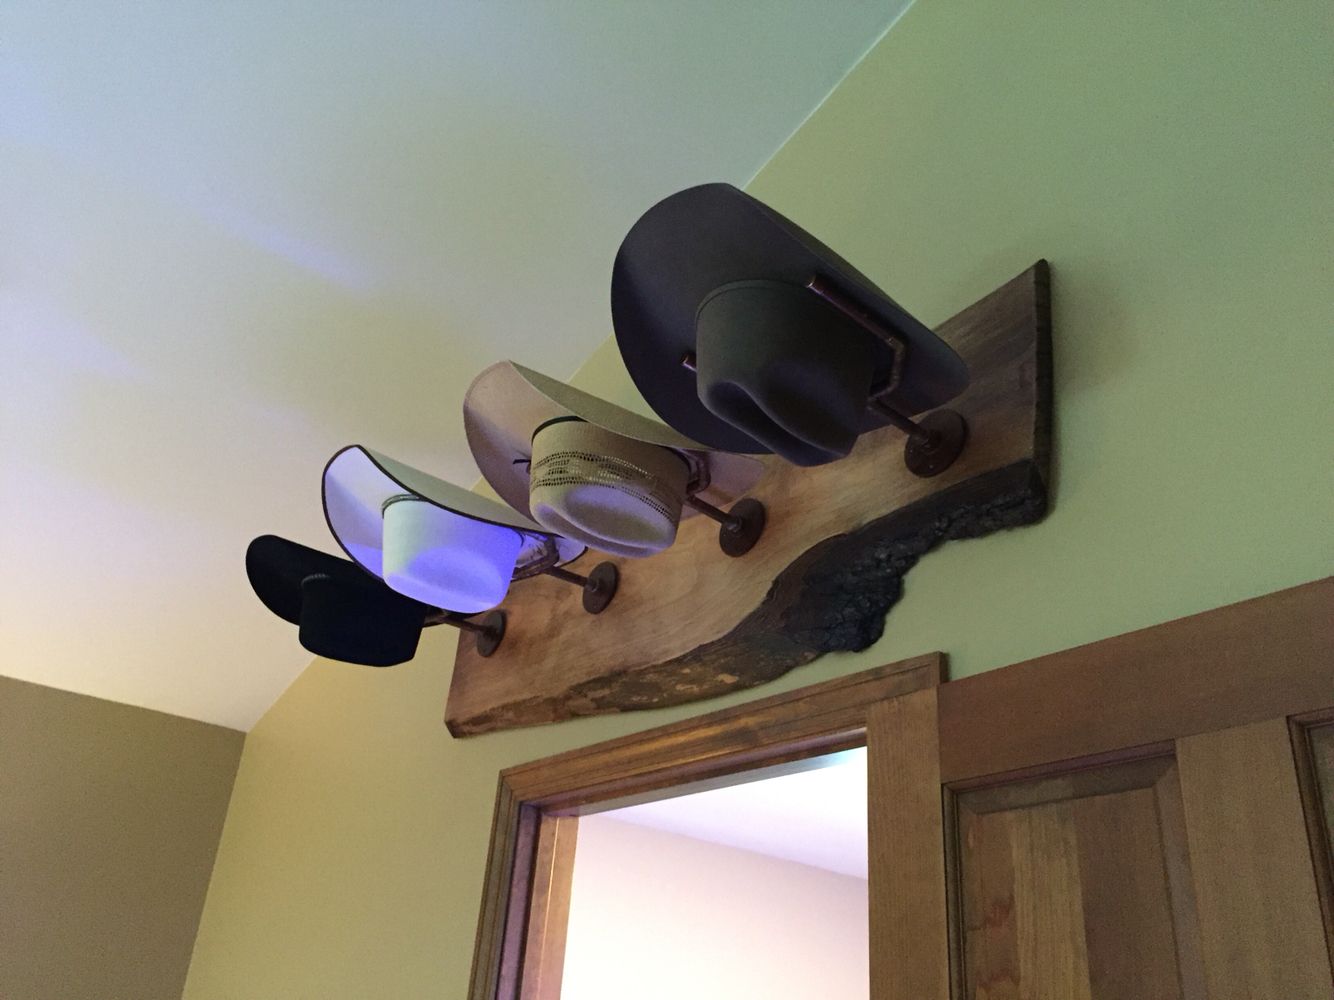
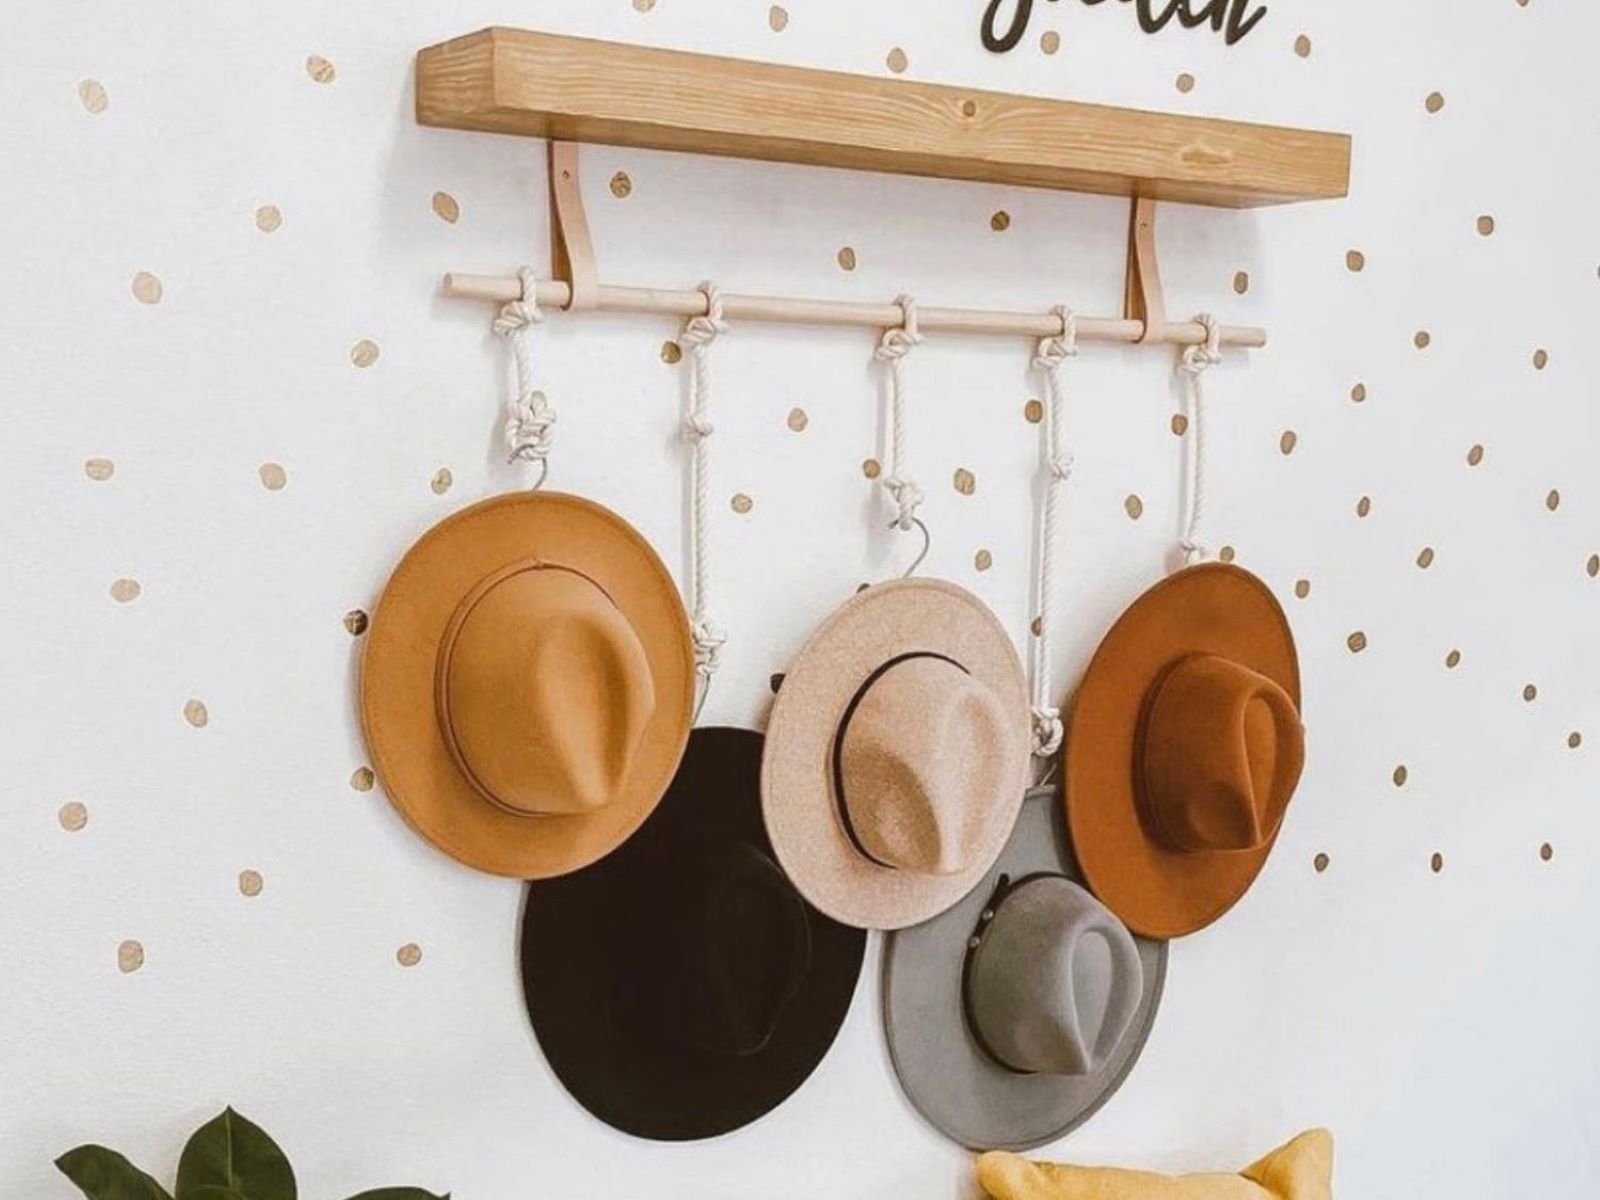
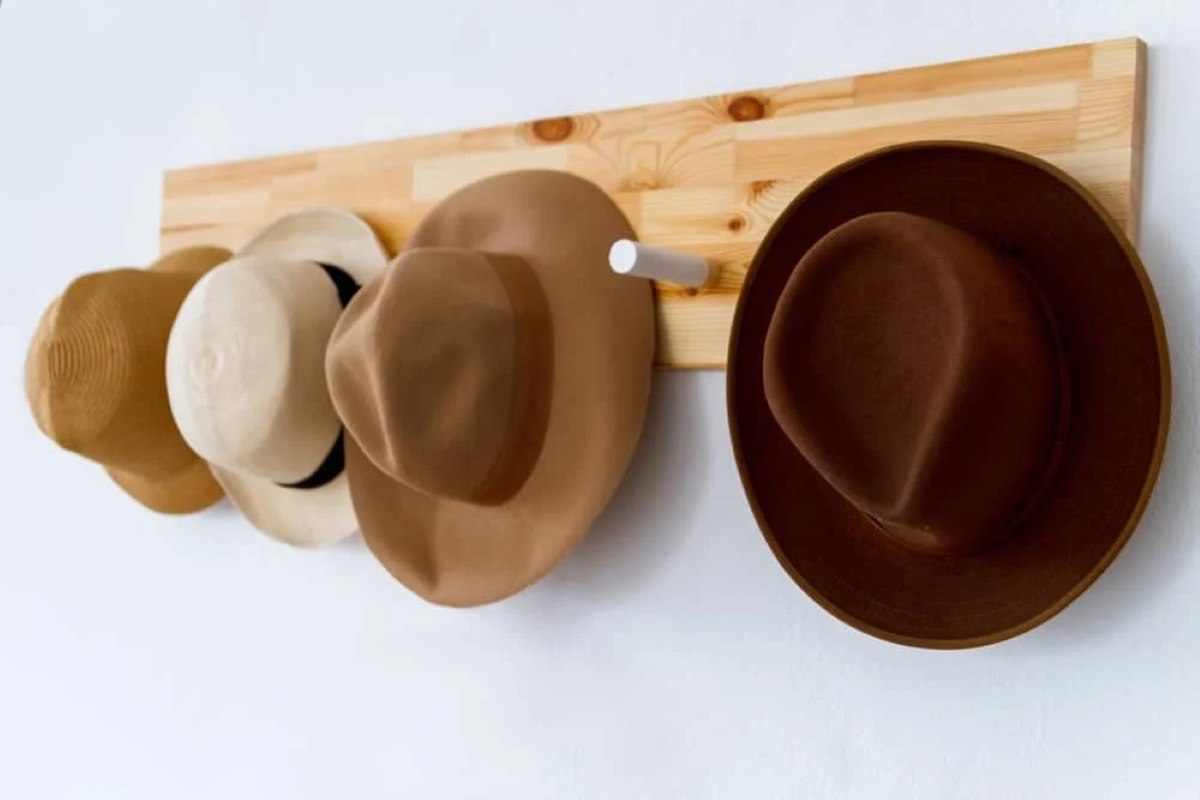
- Consider Using Hat Stands: Hat stands or hat racks can be useful for displaying your hats while providing additional protection from dust. These accessories keep the hats off surfaces, preventing them from getting flattened or damaged. Hat stands made of non-reactive materials like wood or acrylic are ideal.
By taking these precautions, you’ll keep your straw hats looking fresh and vibrant for years to come. However, it’s essential to be mindful of potential risks and damages that could occur during storage. Let’s discuss some ways to avoid these in the next section.
Read more: How To Store A Hat
Avoiding Damage and Deformation
While storing your straw hat properly goes a long way in preserving its shape and quality, there are still a few additional measures you can take to avoid potential damage and deformation:
- Avoid Crushing or Sitting on Your Hat: As tempting as it may be to place something on top of your hat or use it as a cushion, avoid doing so. The weight and pressure can cause the straw to bend or warp, resulting in permanent damage.
- Avoid Excessive Handling: Limit the amount of handling your straw hat receives, as excessive touching can weaken the straw and cause it to fray or break. When handling your hat, hold it by the brim or crown instead of grabbing it by the edges.
- Protect from Pets and Children: Keep your straw hats out of reach of pets and children who may be tempted to play with or damage them. Store them in a location that is inaccessible to curious hands or paws.
- Avoid Moisture: Moisture is a straw hat’s worst enemy. Ensure that your storage area remains dry and free from any potential water leaks or sources of humidity. If your hat gets wet, allow it to air dry naturally before storing it.
- Store with Care: When handling your straw hat or taking it out of storage, always do so with care. Support the underside of the brim to prevent any unnecessary stress on the straw material. Avoid pulling on the brim or forcing the hat into unnatural shapes.
By following these guidelines, you minimize the risk of damage and keep your straw hat looking its best. However, it’s important to periodically assess the condition of your storage materials to ensure they’re not causing any harm. Let’s discuss this in the next section.
Replacing Old or Damaged Storage Materials
Over time, the storage materials you use for your straw hats may deteriorate or become damaged. It’s essential to periodically inspect and replace these materials to ensure the continued protection of your hats. Here are some signs that indicate it’s time to replace your storage materials:
- Torn or Worn Fabric: If your hat box lining, dust bag, or pillowcase shows signs of tears, fraying, or excessive wear, it’s time to replace them. Damaged fabric can introduce dust, moisture, or even snag and damage your hats.
- Dust Build-Up: If you notice a significant amount of dust collecting inside your hat box or dust bag, it’s a sign that the materials are no longer effectively keeping dust out. Replace them with fresh, clean alternatives to maintain a clean storage environment.
- Mold or Mildew Growth: If you discover mold or mildew on your storage materials, it’s crucial to replace them immediately. Mold can transfer to your straw hats and cause irreversible damage.
- Lack of Cushioning: If the lining inside your hat box has become flat, crushed, or no longer provides adequate cushioning, it’s time to replace it. Insufficient cushioning can lead to deformation and loss of shape in your straw hats.
When replacing your storage materials, opt for high-quality, breathable fabrics such as acid-free tissue paper or cotton. Avoid using materials that shed lint or have dyes that may transfer onto your hats. These materials will help protect your hats from dust, moisture, and potential damage.
By regularly inspecting and replacing your storage materials, you ensure that your straw hats remain well-protected and in excellent condition. Now that we’ve covered all the necessary steps, let’s conclude our guide on storing straw hats.
Conclusion
Properly storing your straw hats is essential for maintaining their shape, quality, and longevity. By following the steps outlined in this guide, you can effectively protect your hats from dust, sunlight, moisture, and potential damage.
Choosing the right storage location, cleaning your straw hat, and using suitable storage materials are all crucial steps in the process. Additionally, taking precautions to protect your hat from dust and sunlight, avoiding damage and deformation, and replacing old or damaged storage materials are essential practices to ensure the longevity of your straw hats.
Remember to regularly inspect your hats for any signs of wear or damage, and take timely action to address any issues. By giving your straw hats the care and attention they deserve, you can enjoy wearing them for many seasons to come.
So go ahead, store your straw hats with confidence, knowing that you’re following the best practices to preserve their beauty and style. Whether you’re storing your straw hats during the off-season or simply keeping them safe between outings, this guide will help ensure that they remain in pristine condition.
Now it’s time to gather your straw hats, prepare the storage location, and start implementing these storage techniques. Your collection of straw hats will thank you!
Frequently Asked Questions about How To Store Straw Hats
Was this page helpful?
At Storables.com, we guarantee accurate and reliable information. Our content, validated by Expert Board Contributors, is crafted following stringent Editorial Policies. We're committed to providing you with well-researched, expert-backed insights for all your informational needs.


0 thoughts on “How To Store Straw Hats”