Home>Garden Essentials>How Much Straw To Put Over Grass Seed
Garden Essentials
How Much Straw To Put Over Grass Seed
Modified: October 18, 2024
Looking to protect your grass seed? Learn how much straw to put over your garden to promote healthy growth and ensure successful germination.
(Many of the links in this article redirect to a specific reviewed product. Your purchase of these products through affiliate links helps to generate commission for Storables.com, at no extra cost. Learn more)
Introduction
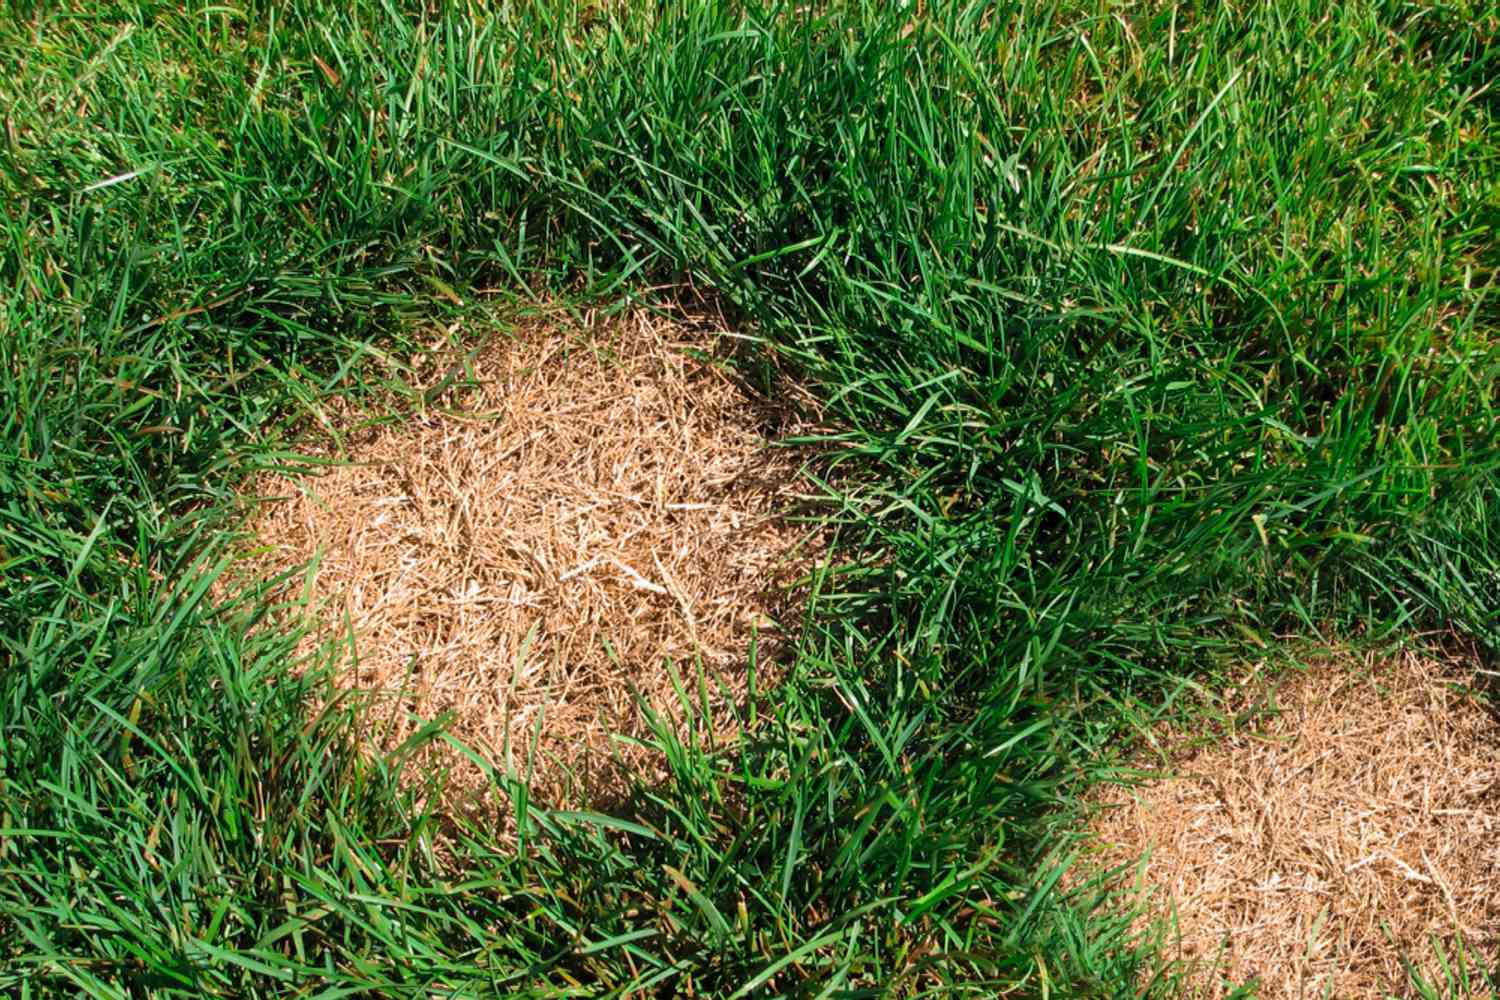
When it comes to planting grass seed, ensuring proper germination and growth is crucial for establishing a lush and healthy lawn. One effective method to aid in this process is by using straw as a covering over the freshly sown grass seed. This practice has been employed by gardeners and landscapers for years, and for good reason. In this article, we will explore the benefits of using straw over grass seed, discuss how to determine the amount of straw needed, guide you through the process of spreading and securing the straw, and provide essential tips for caring for the covered grass seed.
Key Takeaways:
- Covering grass seed with straw offers benefits like erosion protection, moisture retention, and weed suppression. Calculate the right amount of straw needed and care for the covered seed to ensure a healthy lawn.
- Prepare the area, spread the straw evenly, and secure it in place to protect and promote the growth of grass seed. Regular watering, monitoring, and sunlight are essential for successful germination.
Read more: How Thick Should Straw Be Over Grass Seed
Benefits of Using Straw Over Grass Seed
Using straw as a covering over grass seed offers a range of benefits that contribute to successful germination and establishment. Let’s explore some of the key advantages:
- Protection from Erosion: By spreading a layer of straw over the grass seed, you create a physical barrier that helps prevent erosion caused by wind and water runoff. This is especially important on sloped areas or in regions with heavy rainfall.
- Moisture Retention: Straw acts as an insulating layer, helping to retain moisture in the soil and around the grass seed. It prevents the soil from drying out too quickly, which is vital for proper seed germination.
- Temperature Regulation: In colder climates, straw covering can provide some insulation for the seed, protecting it from potential frost damage. Conversely, in hot climates, it can shade the soil, preventing excessive heat and promoting better seedling growth.
- Reduced Weed Competition: Straw covering suppresses weed growth by blocking sunlight and inhibiting weed seed germination. This helps the grass seedlings to establish themselves without having to compete with weeds for nutrients and resources.
- Protection from Birds and Pests: Straw acts as a deterrent to birds and other pests that may be inclined to eat grass seed. With a layer of straw in place, the seed is less accessible, reducing the chance of it being consumed.
- Enhanced Seed-to-Soil Contact: Straw covering ensures better seed-to-soil contact, which is crucial for successful germination. It prevents the seed from being washed away or blown off the soil surface, keeping it in direct contact with the soil for optimal growth.
Now that we understand the benefits, let’s move on to determine the amount of straw needed for your grass seed project.
Determining the Amount of Straw Needed
Calculating the right amount of straw needed to cover your grass seed project is essential to ensure proper coverage and achieve the desired results. The following steps will help you determine the quantity required:
- Measure your seeding area: Begin by measuring the total square footage of the area where you will be spreading the grass seed. This can be done by multiplying the length and width of the space.
- Research the recommended coverage: Consult with your local garden center or refer to the grass seed packaging for guidance on the recommended coverage rate. Typically, it is suggested to apply 1 to 2 inches of straw covering over the seed.
- Calculate the volume of straw: To determine the volume of straw needed, multiply the square footage by the desired depth of coverage. For instance, if you have a 500 square foot area and plan to apply 2 inches of straw, the calculation would be as follows:
500 sq ft * (2/12 ft) = 83.33 cubic feet of straw - Consider variations in straw density: Keep in mind that straw density can vary, so it’s advisable to purchase an extra amount to account for any inconsistencies. It’s better to have extra straw than to run out in the middle of the project.
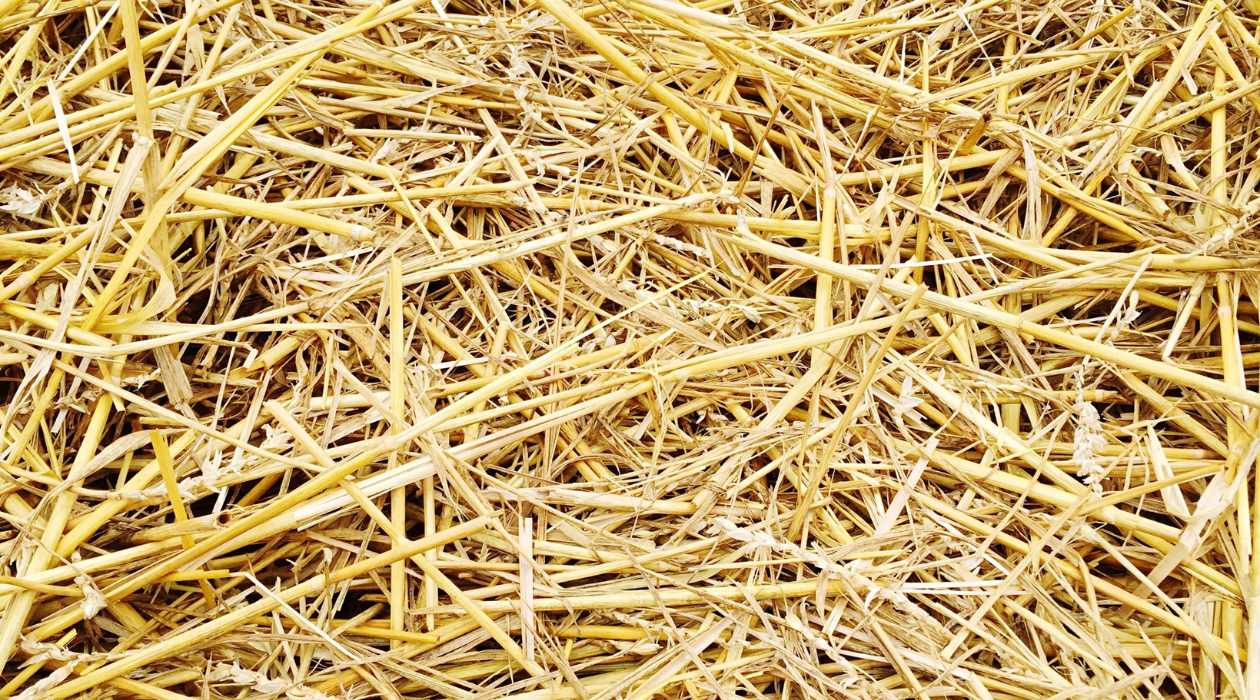
- Purchase the appropriate amount: Once you have calculated the volume of straw needed, purchase the required amount from a reputable supplier. Be sure to choose straw that is clean, free of weeds, and has not been treated with harmful chemicals.
Now that you have determined the amount of straw required, let’s move on to preparing the area for straw covering.
Preparing the Area for Straw Covering
Before spreading straw over your grass seed, it’s important to properly prepare the area to maximize the effectiveness of the covering. Follow these steps to ensure a suitable foundation:
- Clear the area: Remove any debris, rocks, or existing vegetation from the seeding area. This will provide a clean and even surface for the straw and allow for better seed-to-soil contact.
- Loosen the soil: Use a rake or garden tiller to lightly loosen the top layer of soil. This will facilitate better seed penetration and aid in the grass seed’s germination process.
- Level the area: Smooth out any uneven spots in the soil to create a flat and uniform surface. This will prevent water pooling and ensure consistent coverage when spreading the straw.
- Address any drainage issues: If there are drainage problems in the area, such as excessive water accumulation, consider implementing drainage solutions like adding topsoil or creating a slight slope to redirect water away from the seeded area.
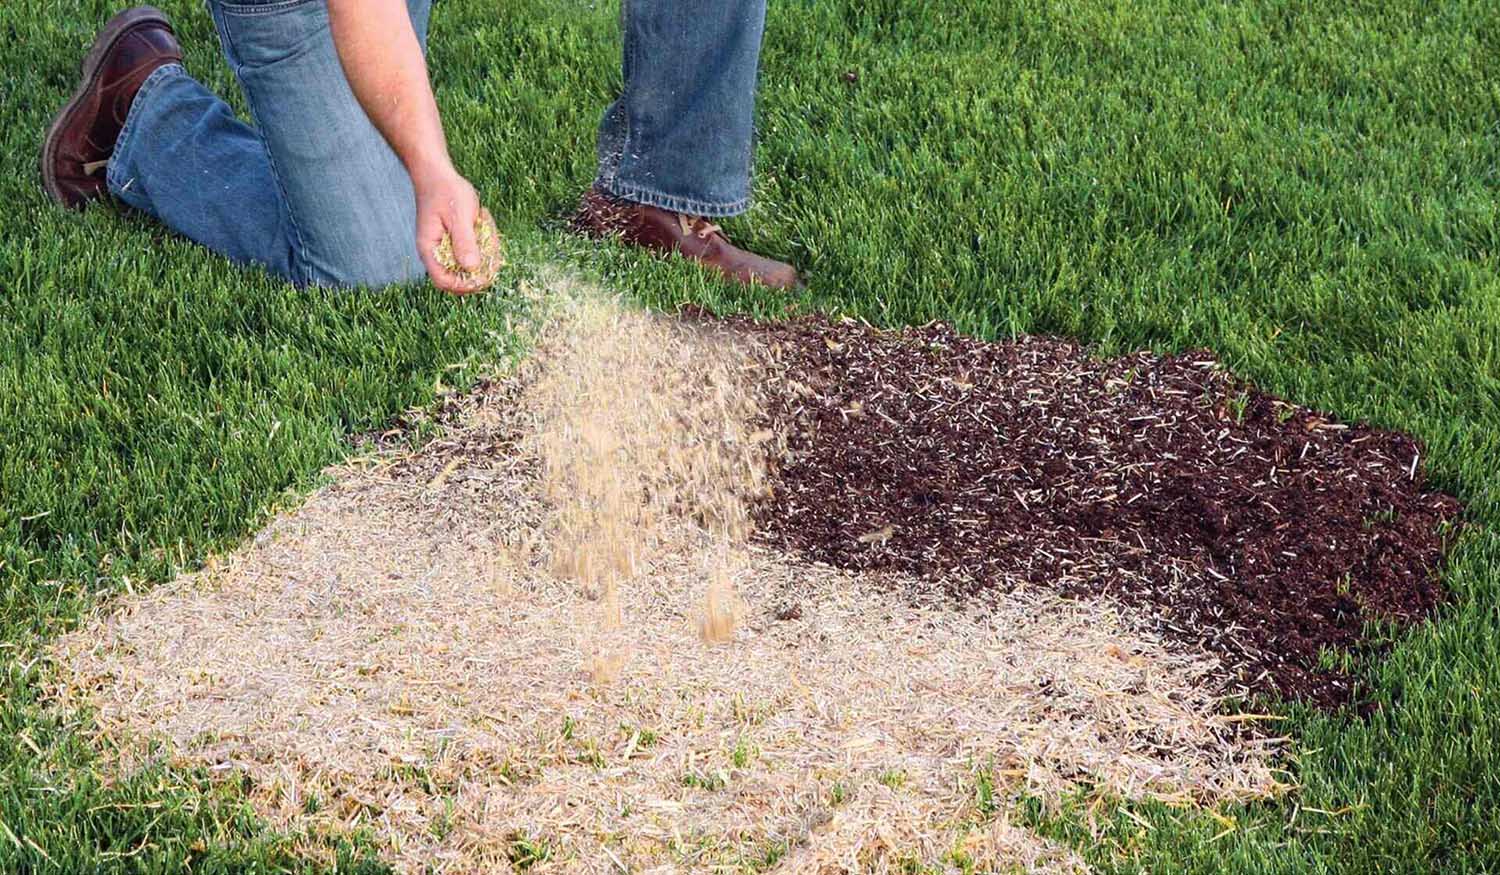
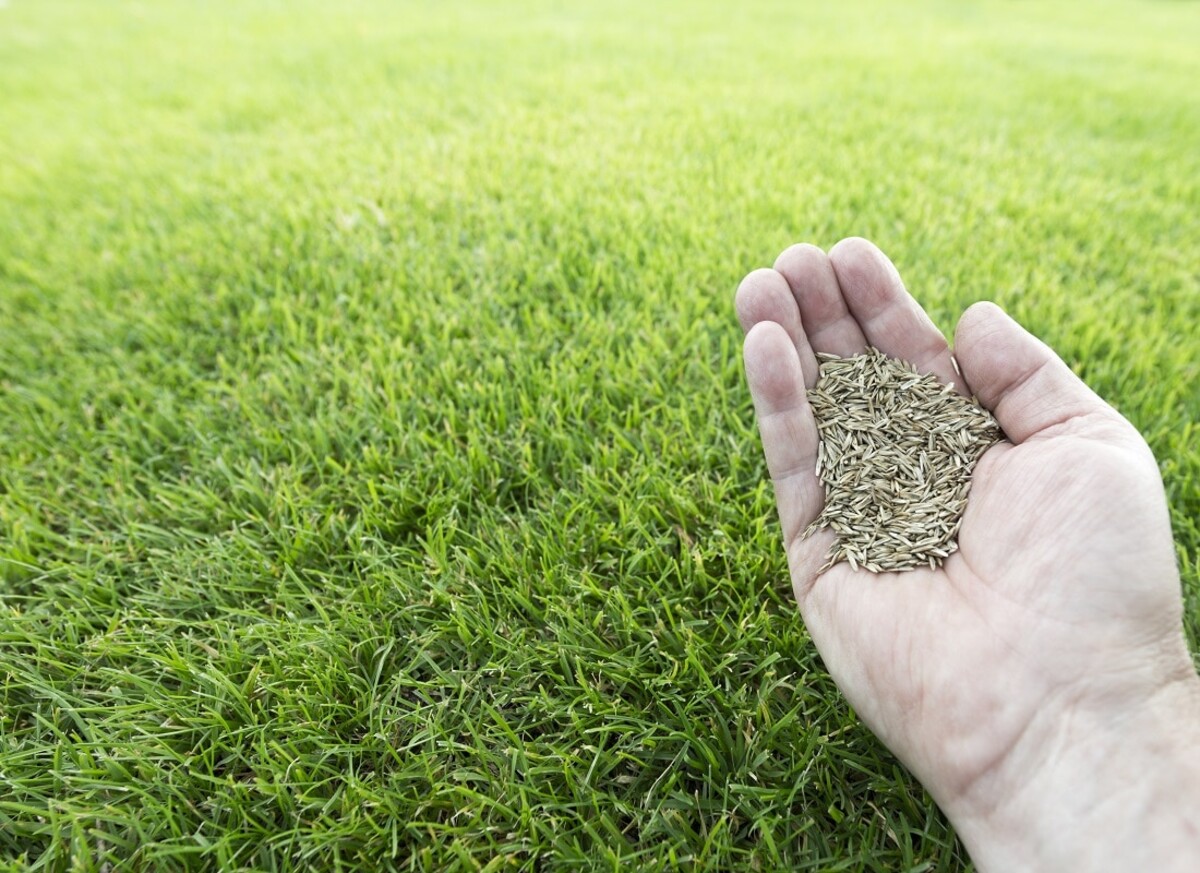
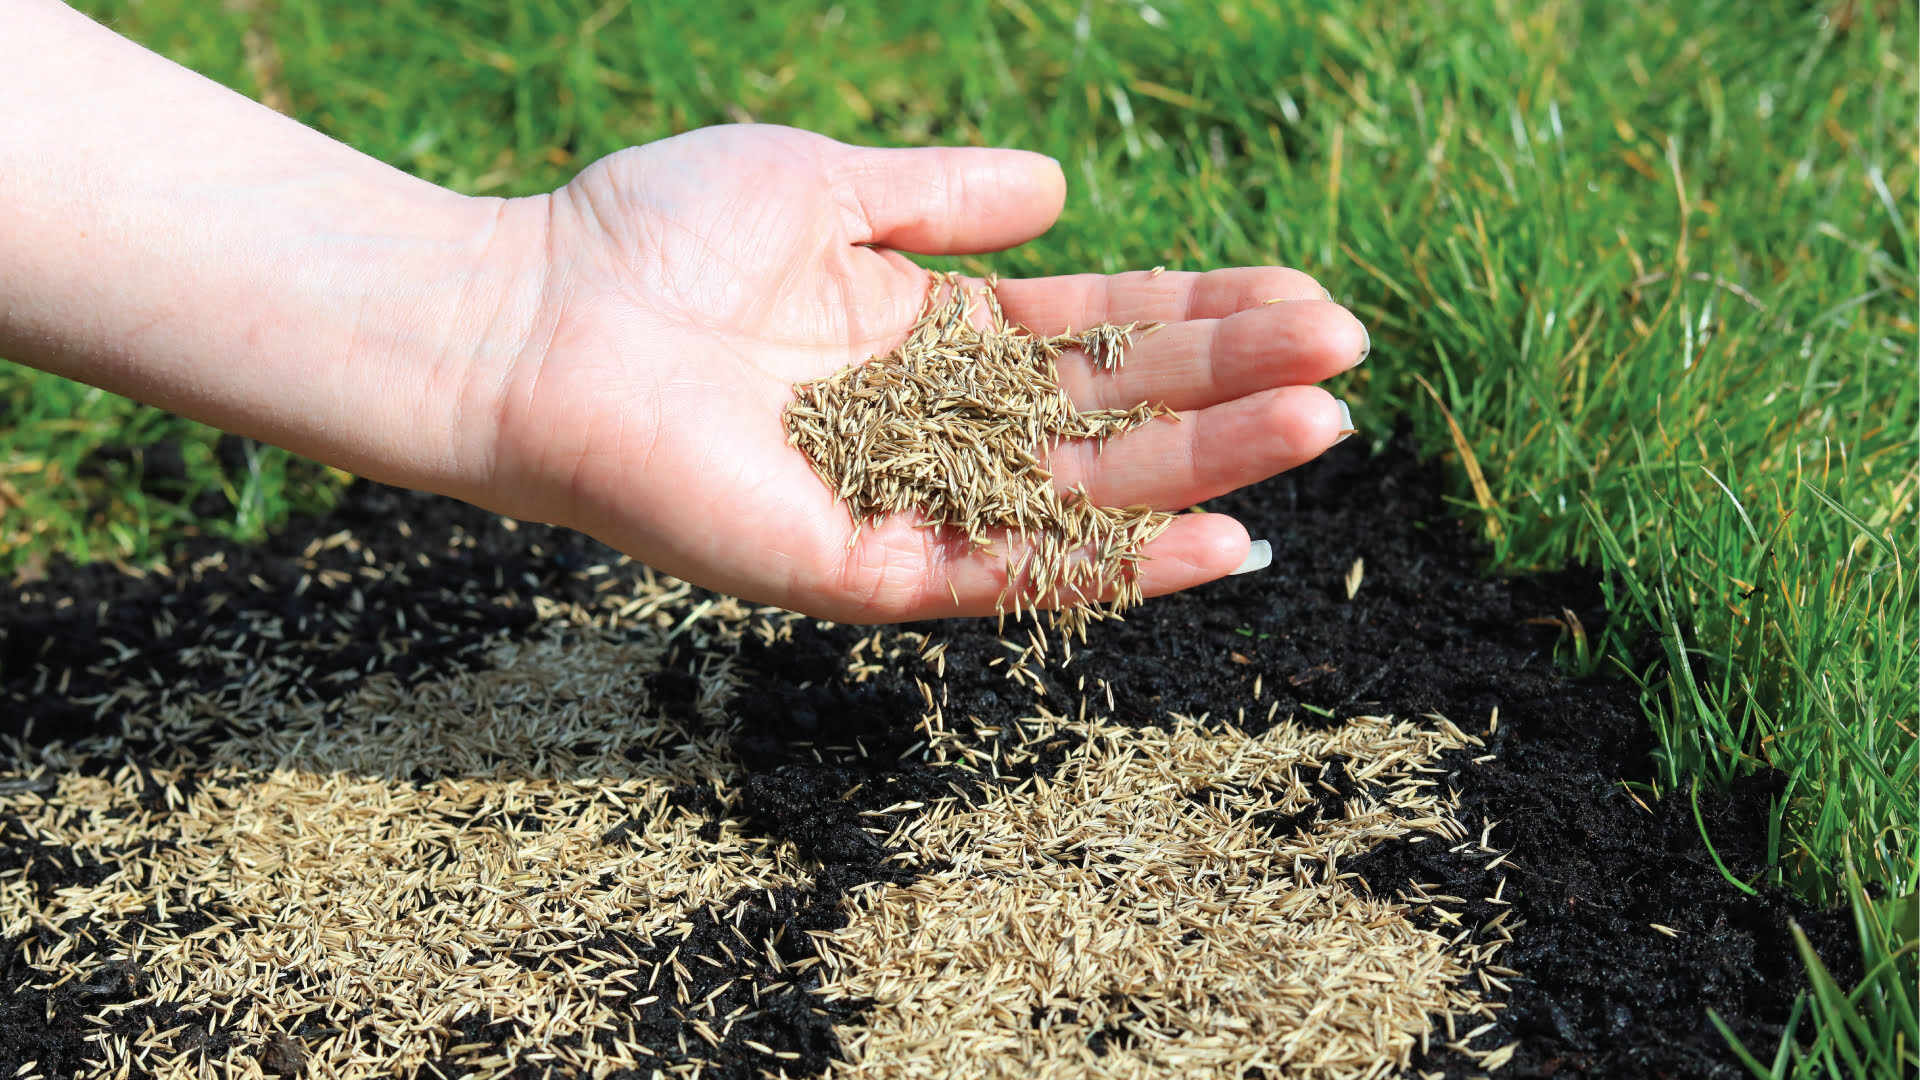
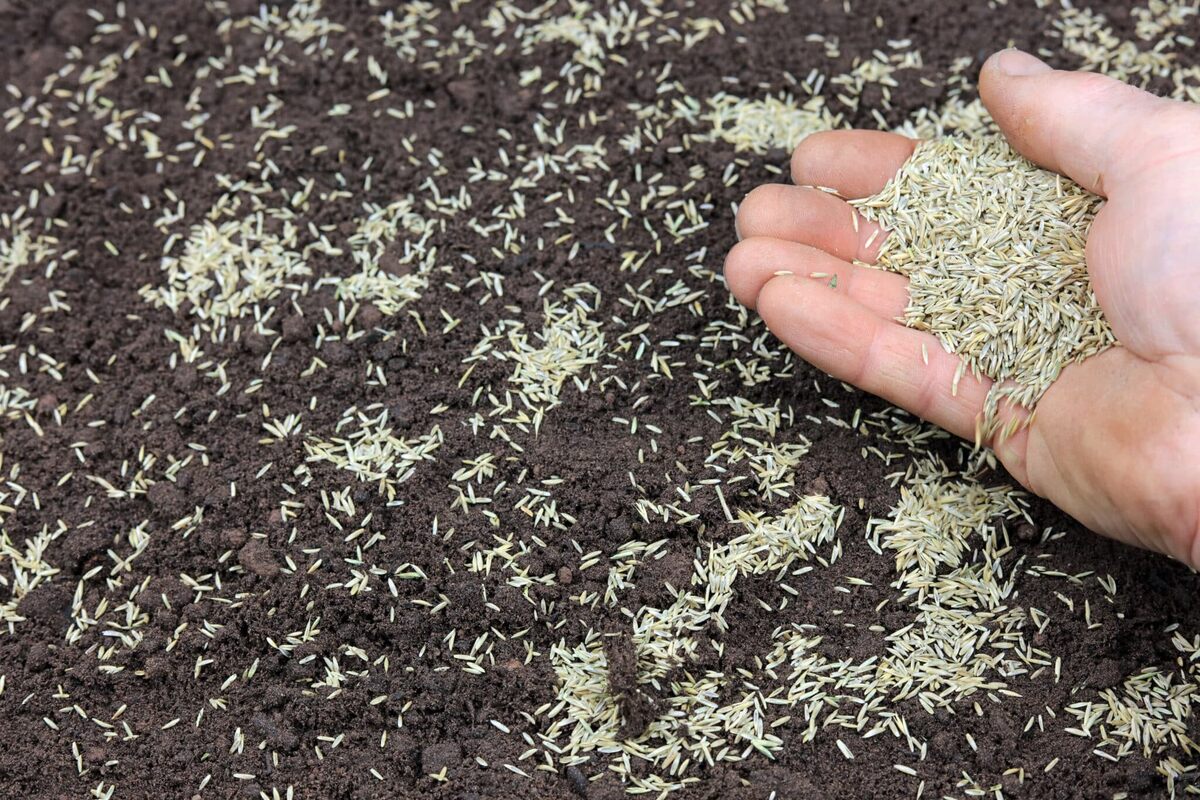
- Apply grass seed: It’s recommended to first sow the grass seed before spreading the straw. Follow the instructions on the seed packaging for the appropriate seeding rate and method.
Once you have prepared the area, you are ready to move on to the next step: spreading the straw over the grass seed.
A general rule of thumb is to spread a thin layer of straw over newly seeded grass, about 1/4 to 1/2 inch thick. This will help protect the seeds and retain moisture for better germination.
Spreading Straw Over Grass Seed
Now that you have prepared the area for straw covering and have sown the grass seed, it’s time to spread the straw. Follow these steps to ensure proper distribution:
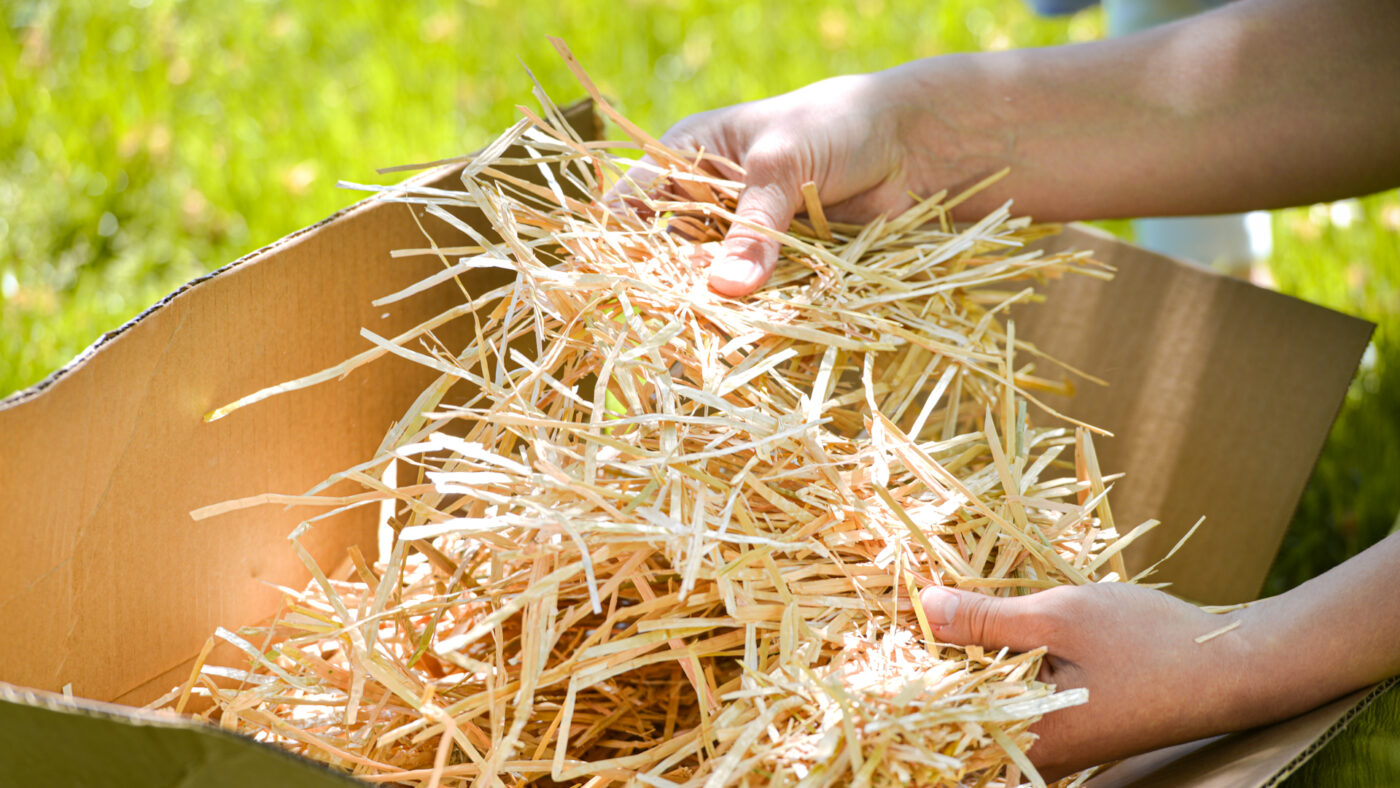
- Gather the necessary tools: You will need a pitchfork, rake, or shovel to help spread the straw evenly.
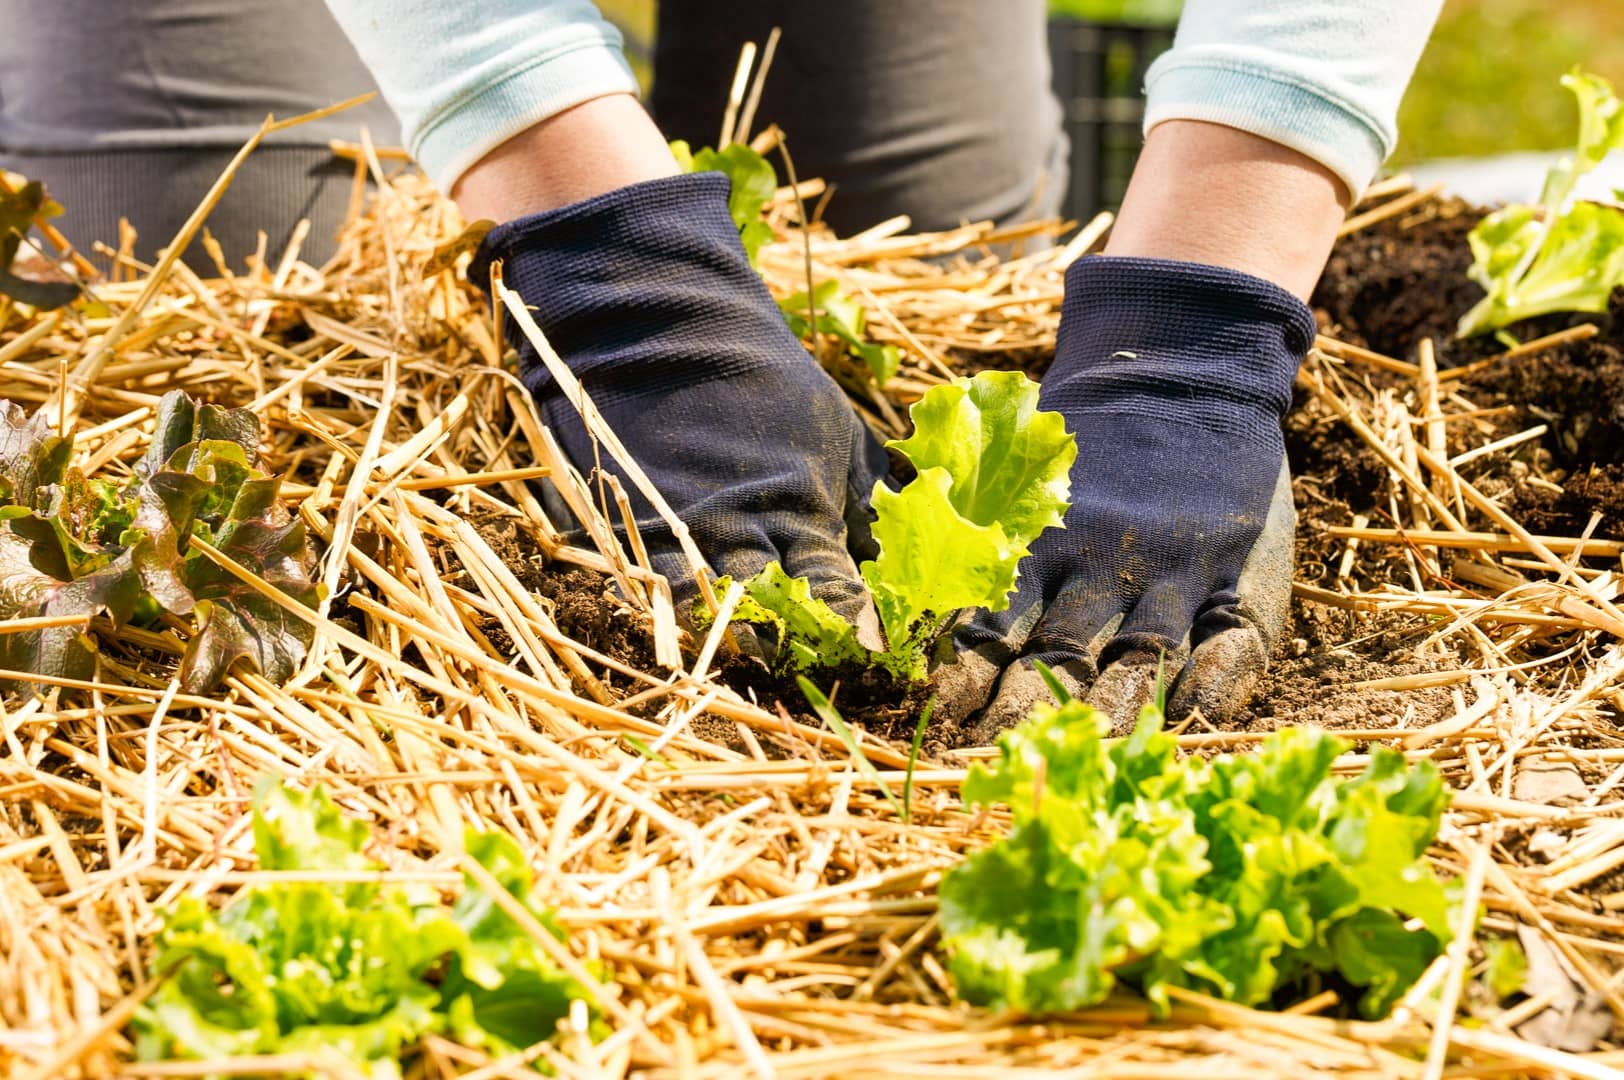
- Start from one corner: Begin spreading the straw from one corner of the seeded area. Take small handfuls or forkfuls of straw and distribute them evenly over the grass seed. Avoid clumping the straw, as it can impede the growth of the grass seedlings.
- Work in a systematic pattern: Move methodically across the area, spreading the straw in a back-and-forth motion. This will ensure even coverage and prevent any gaps where the grass seed may be exposed.
- Aim for 1 to 2 inches of coverage: The recommended depth of straw covering is typically 1 to 2 inches. However, if your area experiences strong winds or heavy rainfall, you may want to increase the depth slightly to provide extra protection and prevent erosion.
- Pay attention to problem areas: If you have areas prone to erosion or where the soil is more exposed, such as sloped sections, apply a thicker layer of straw to provide additional stability and protection.
- Use a gentle touch: Be careful not to press the straw down too firmly, as this can prevent sunlight and water from reaching the grass seed. Aim for a light and fluffy layer that allows for air circulation and encourages seed germination.
Once you have spread the straw evenly over the grass seed, it’s time to secure it in place to prevent displacement. We will discuss this in the next section.
Read more: How To Put Concrete Over Grass
Securing the Straw in Place
After spreading the straw over the grass seed, it’s crucial to secure it in place to prevent it from being blown away by wind or washed away by heavy rain. Follow these methods to ensure the straw remains in place:
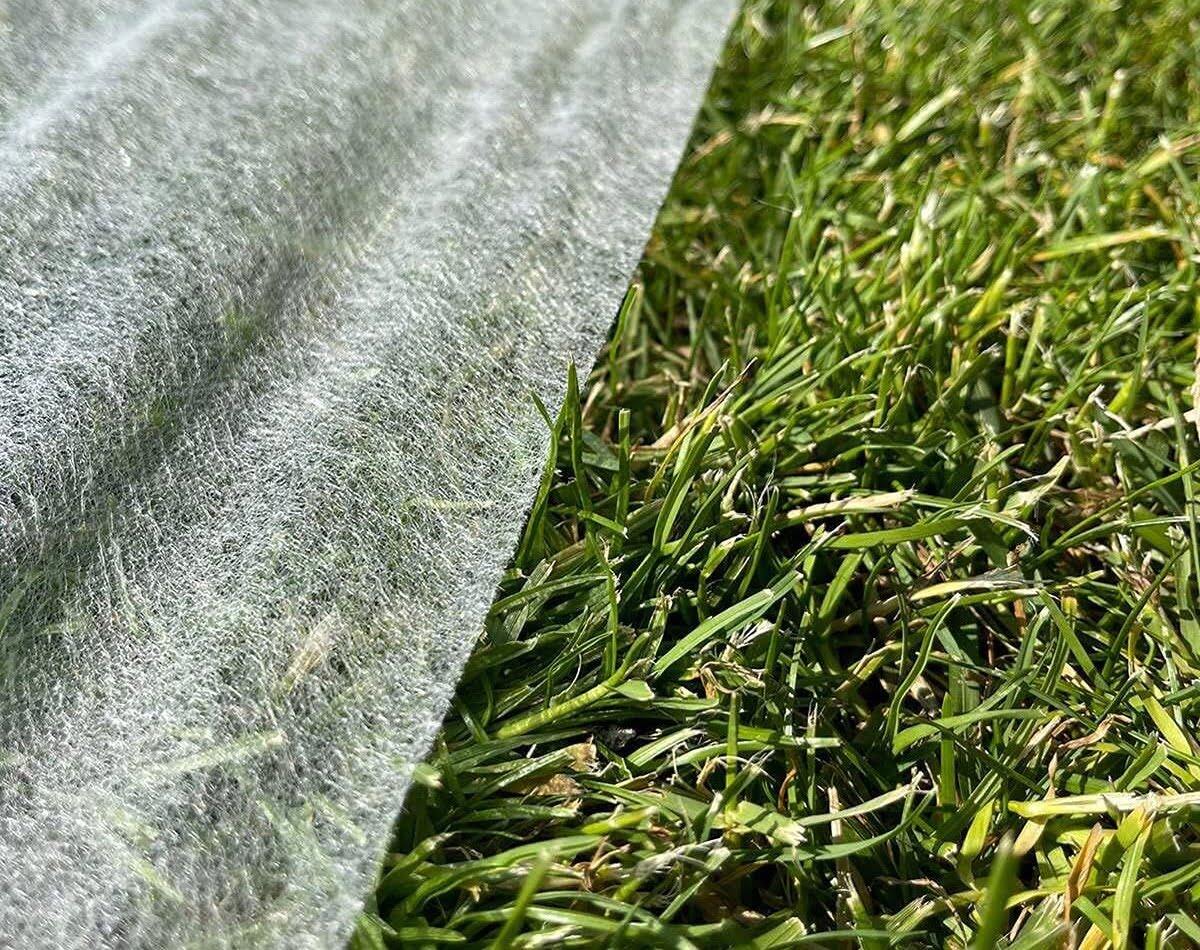
- Use netting or mesh: One effective method is to lay down netting or mesh over the straw. This creates a physical barrier that holds the straw in place, especially in areas prone to windy conditions. Secure the edges of the netting with landscape staples or pins.
- Anchor with biodegradable stakes: Another option is to use biodegradable stakes made from materials such as bamboo or wood. These can be inserted into the ground along the edges of the covered area to keep the straw from shifting.
- Water lightly: After spreading the straw, lightly mist the area with water. This helps the straw settle into place and provides some initial adherence to the soil surface. Avoid overwatering, as it can cause the straw to become compacted and hinder grass seed germination.
- Monitor and reapply as needed: Regularly check the straw covering to ensure it remains intact. If you notice any areas where the straw has thinned or shifted, add more straw to those spots to maintain even coverage.
Securing the straw in place will help protect the grass seed beneath and ensure optimal conditions for germination and growth. However, it’s equally important to care for the covered grass seed throughout the process, which we will discuss in the next section.
Caring for the Covered Grass Seed
Once you have spread and secured the straw over the grass seed, it’s crucial to provide proper care and maintenance to ensure successful germination and growth. Here are some essential tips to follow:
- Water regularly: Watering is essential for seed germination. Keep the covered area consistently moist by watering lightly and frequently. Avoid heavy watering that can displace the straw or saturate the soil excessively. Aim for a gentle sprinkle or misting to prevent the straw from becoming compacted.
- Monitor moisture levels: Check the moisture level of the soil regularly. Poke your finger into the soil to a depth of about an inch. If it feels dry, it’s time to water. Conversely, if it feels too wet, reduce your watering frequency to prevent overwatering.
- Avoid foot traffic: Minimize foot traffic on the covered area to prevent the straw from being disturbed. Stepping on the straw can displace it and potentially damage the delicate grass seedlings. Place signs or markers to remind family members or visitors to avoid walking on the area.
- Inspect for weed growth: Keep an eye out for any weed growth that may emerge through the straw. Remove any weeds promptly to prevent competition for nutrients and space with the growing grass seedlings.
- Provide sufficient sunlight: Grass seed requires sunlight for germination and growth. Ensure the seeded area receives adequate sunlight, ideally at least 6 to 8 hours per day. Trim back any nearby overhanging branches or foliage that may be blocking sunlight.
- Monitor and adjust moisture levels: As the grass seed germinates and grows, continue to monitor and adjust your watering schedule accordingly. Gradually reduce the frequency of watering while increasing the amount of water applied to encourage deeper root growth.
By following these care guidelines, you can help ensure the success of your covered grass seed and promote the establishment of a healthy, vibrant lawn. Now let’s wrap up what we’ve covered in this article.
Conclusion
Using straw as a covering over grass seed offers numerous benefits, including protection from erosion, moisture retention, temperature regulation, weed suppression, and safeguarding against birds and pests. Determining the right amount of straw needed is crucial to ensure proper coverage, and preparing the area by clearing debris and loosening the soil sets a strong foundation for successful growth. When spreading the straw, aim for even coverage of 1 to 2 inches and secure it in place with netting, stakes, or light watering.
Caring for the covered grass seed requires regular watering, monitoring moisture levels, minimizing foot traffic, inspecting for weed growth, providing sufficient sunlight, and adjusting watering as the seed germinates and establishes. By following these care guidelines, you can promote healthy seedling growth and increase the chances of a vibrant and lush lawn.
Remember to consult local experts or refer to specific grass seed packaging for any additional recommendations or considerations based on your region’s climate and soil conditions.
So, next time you embark on a grass seed planting project, don’t forget the benefits of using straw as a covering. With proper preparation, thoughtful spreading, and diligent care, you can create optimal conditions for grass seed germination and establish a beautiful and thriving lawn for years to come.
Frequently Asked Questions about How Much Straw To Put Over Grass Seed
Was this page helpful?
At Storables.com, we guarantee accurate and reliable information. Our content, validated by Expert Board Contributors, is crafted following stringent Editorial Policies. We're committed to providing you with well-researched, expert-backed insights for all your informational needs.


0 thoughts on “How Much Straw To Put Over Grass Seed”