Articles
How To Store Sugar Scrub
Modified: December 7, 2023
Discover the best methods for storing your homemade sugar scrub and keep it fresh for longer. Read our articles for helpful tips and tricks.
(Many of the links in this article redirect to a specific reviewed product. Your purchase of these products through affiliate links helps to generate commission for Storables.com, at no extra cost. Learn more)
Introduction
Welcome to our guide on how to properly store sugar scrub! Sugar scrub is a popular skincare product that can exfoliate and moisturize the skin, leaving it soft and smooth. Whether you purchase a pre-made sugar scrub or make your own at home, knowing how to store it correctly is crucial to maintain its quality and effectiveness. In this article, we will provide you with step-by-step instructions on choosing the right container, preparing the sugar scrub, implementing proper storage techniques, and more.
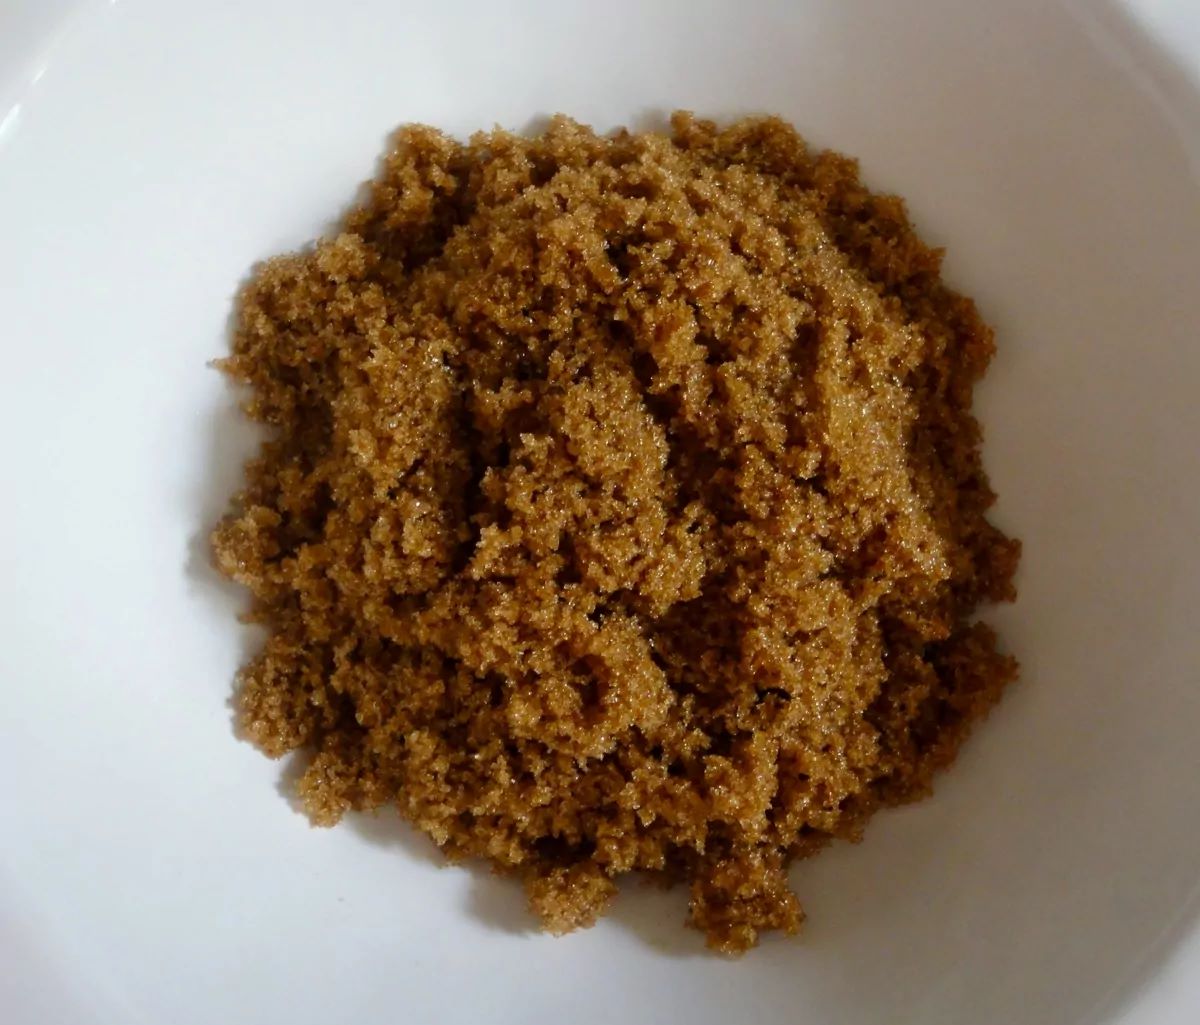
One of the main factors to consider when storing sugar scrub is maintaining its texture and consistency. The scrub is typically made with ingredients such as sugar, oil, and essential oils, which can separate or degrade if not stored correctly. By following our guidelines, you can ensure that your sugar scrub stays fresh and effective for a longer period.
So, let’s dive into the details of storing your sugar scrub to keep it in optimal condition and get the most out of this delightful skincare product!
Key Takeaways:
- Properly storing your sugar scrub is essential to maintain its quality and effectiveness. From choosing the right container to considering temperature and placement, each step plays a significant role in preserving the scrub’s quality.
- By following the guidelines for proper sugar scrub storage, you can ensure that your scrub stays fresh and effective for an extended period. Enjoy the benefits of a delightful skincare experience every time you use it.
Read more: How To Store Scrubs
Materials Needed
Before we start the process of storing your sugar scrub, let’s gather all the necessary materials. Having these items on hand will help ensure that you can properly store your sugar scrub without any hassle. Here’s a list of the materials you will need:
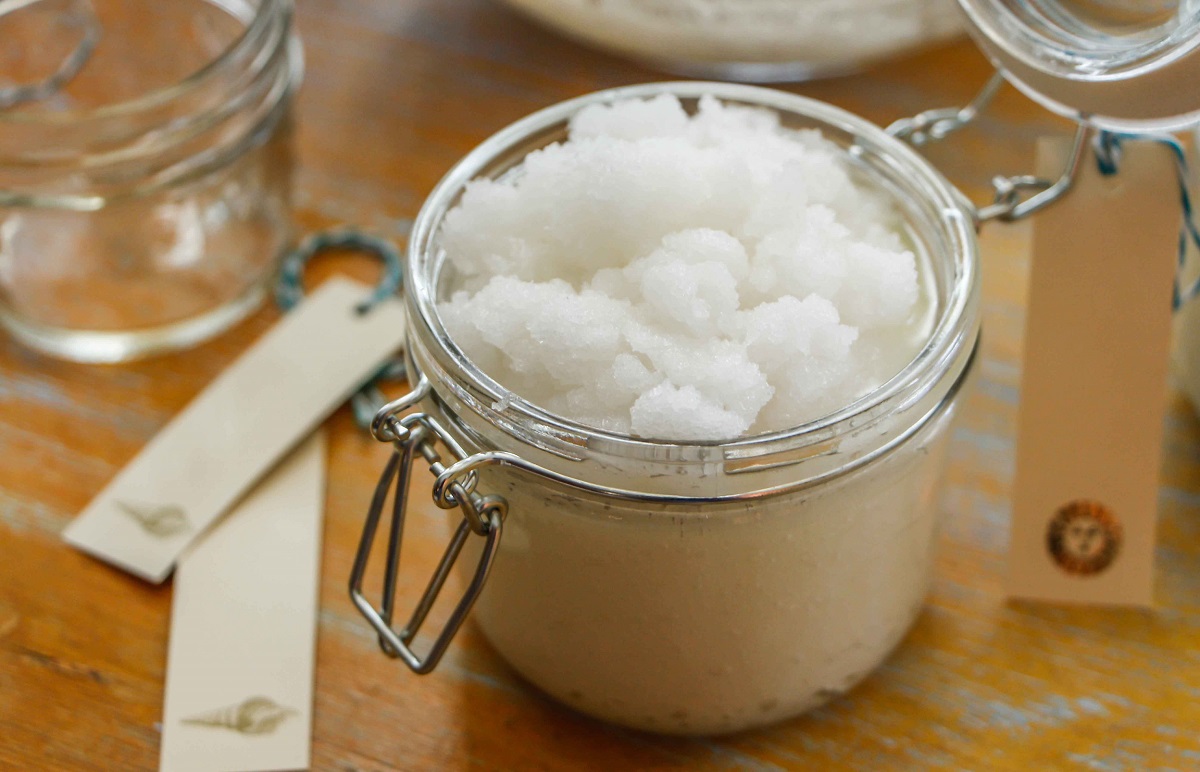
- Container: Choose a container that is airtight and leak-proof to prevent any moisture from seeping in or the scrub from drying out. It can be made of glass, plastic, or metal, based on your preference.
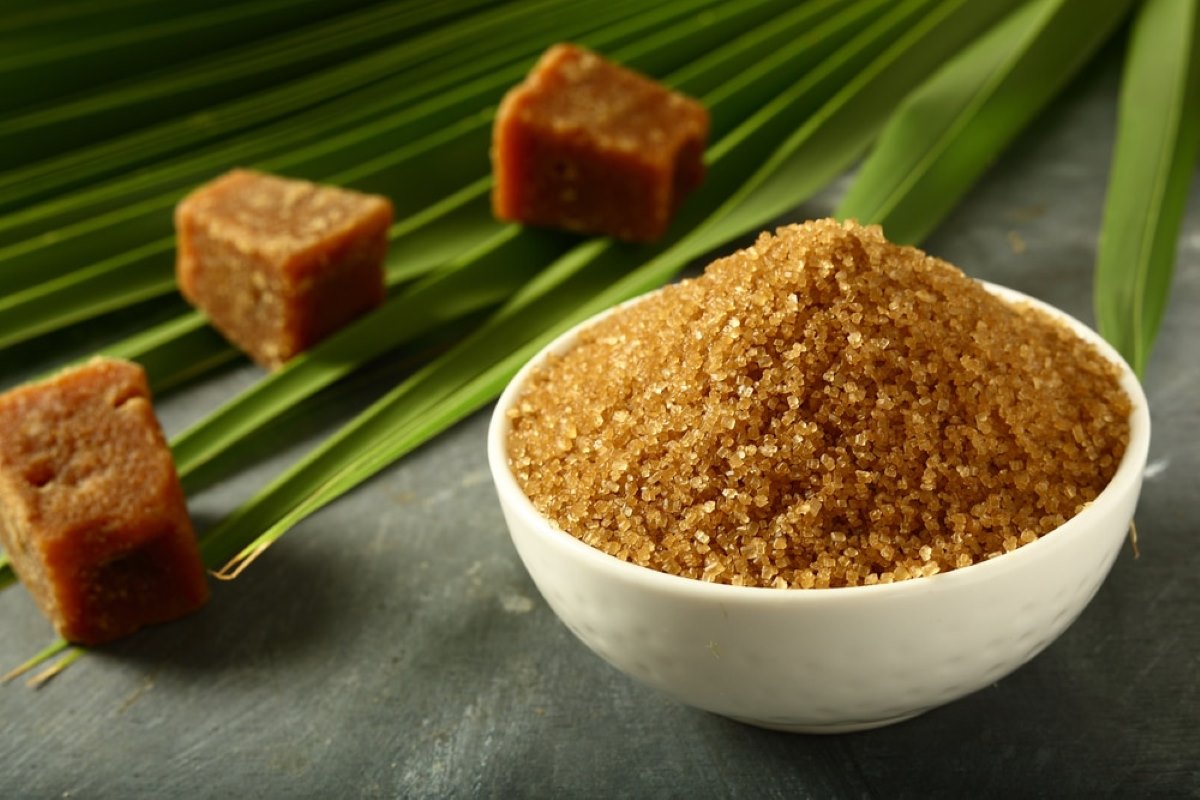
- Sugar Scrub: Make sure you already have your sugar scrub ready. You can either purchase a pre-made scrub from a store or create your own using a recipe of your choice.
- Funnel (optional): A funnel can be handy when transferring the scrub into the container to avoid any spills or mess.
- Labels: It is essential to label your sugar scrub container to know its contents and track its expiration date. You can use adhesive labels or write directly on the container using a permanent marker.
Now that you have gathered all the necessary materials let’s move on to the next steps, where we will guide you on choosing the right container and preparing the sugar scrub for storage.
Step 1: Choosing a Container
Choosing the right container is crucial for storing your sugar scrub effectively. Here are some factors to consider when selecting a container:
- Airtight and Leak-proof: Opt for a container that has a tight seal to prevent air and moisture from entering. This will help keep the sugar scrub fresh and maintain its texture.
- Material: Glass, plastic, and metal are common options for sugar scrub containers. Each has its pros and cons. Glass containers are non-reactive and can be easily cleaned but are prone to breakage. Plastic containers are lightweight and unbreakable but may absorb certain scents. Metal containers are durable but may rust over time.
- Size: Consider the amount of sugar scrub you have and how much you typically use. Choose a container size that comfortably fits the quantity of scrub you have without leaving too much empty space.
- Opaque or Transparent: Sugar scrubs with essential oils can be sensitive to light. If your scrub contains light-sensitive ingredients, opt for an opaque or tinted container to protect it from UV rays. However, if your scrub does not contain light-sensitive ingredients, a transparent container can allow you to easily see the contents.
Once you have considered these factors, you can choose a container that best suits your preferences and the characteristics of your sugar scrub. Now that you have selected a container let’s proceed to the next step, where we will guide you through preparing the sugar scrub for storage.
Step 2: Preparing the Sugar Scrub
Before storing your sugar scrub, it’s important to prepare it properly to ensure its longevity and effectiveness. Here are the steps to follow:
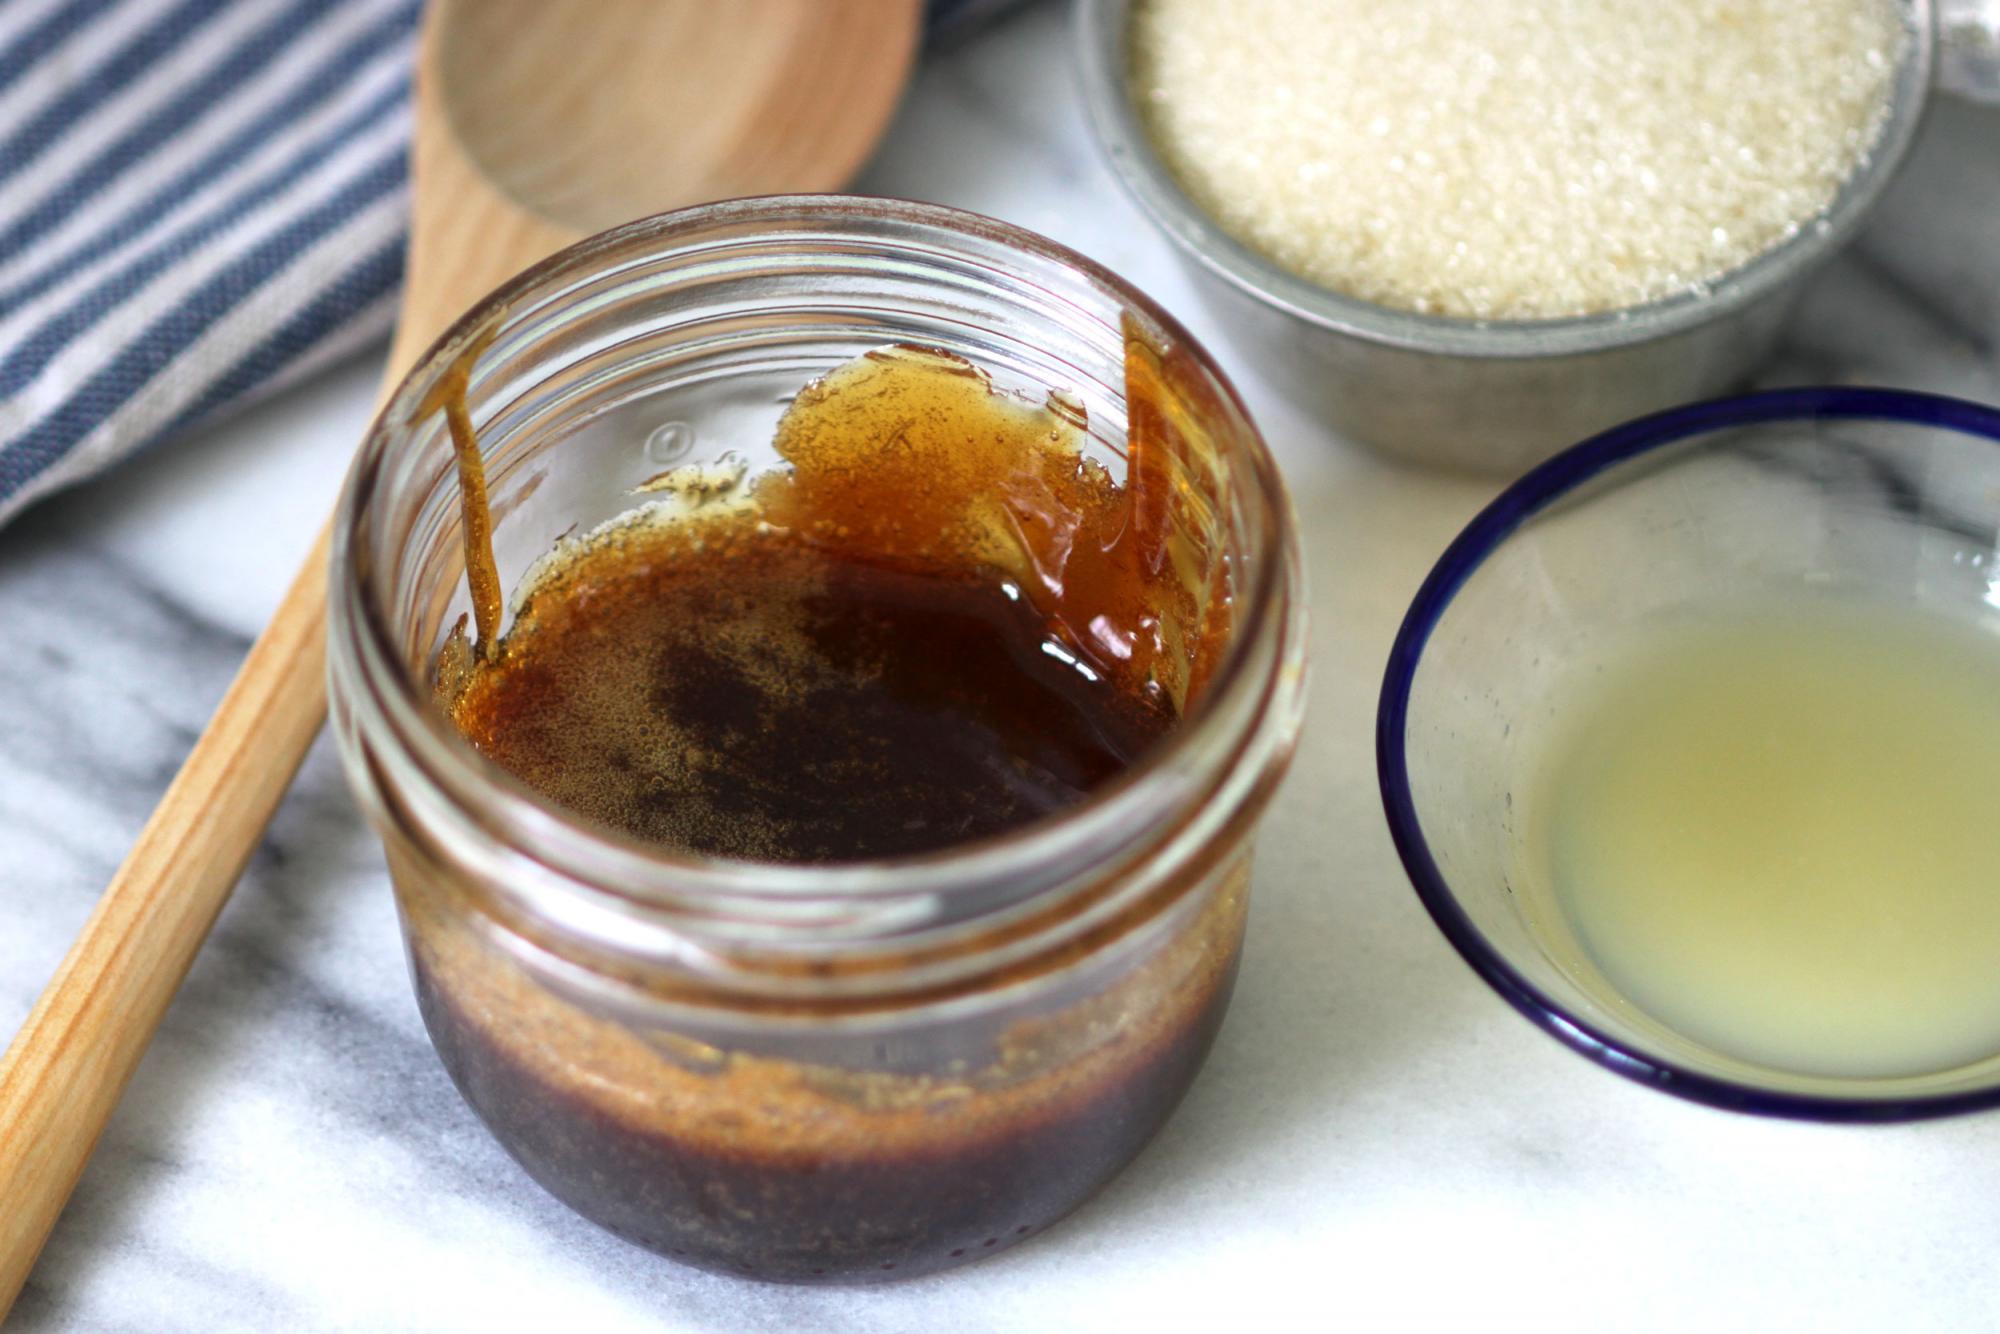
- Thoroughly mix the ingredients: If you’re using a pre-made sugar scrub, give it a good stir to ensure that all the ingredients are evenly distributed. If you’re making your own sugar scrub, follow the recipe instructions to combine the sugar, oils, and any other desired ingredients.
- Check the consistency: Make sure your sugar scrub has the desired consistency. If it’s too dry, add a little more oil to moisturize it. If it’s too wet, add a bit more sugar to balance it out. Adjust the ingredients as needed until you achieve the desired texture.
- Add preservatives (optional): If you prefer to extend the shelf life of your sugar scrub, you can add preservatives such as vitamin E oil or rosemary extract. Be sure to follow the recommended usage amounts and instructions for the preservative you choose.
Once you have prepared the sugar scrub, it’s time to move on to the next step and learn about the proper storage techniques to keep your scrub fresh and effective.
Step 3: Proper Storage Techniques
Properly storing your sugar scrub is essential to maintain its quality, texture, and effectiveness. Follow these techniques to ensure your scrub stays in optimal condition:
- Transfer the scrub into the chosen container: If you made the sugar scrub at home, use a funnel to transfer it into the selected container. This will help avoid any spills or mess. If you purchased a pre-made scrub, transfer it directly into the container.
- Ensure the container is clean and dry: Before transferring the scrub, make sure the container is clean and dry to prevent any contamination or moisture buildup.
- Seal the container tightly: Close the container with a tight seal to prevent air, moisture, and contaminants from entering. This will help preserve the freshness and quality of the sugar scrub.
- Store in a cool, dry place: Choose a cool and dry area to store your sugar scrub. Avoid locations exposed to direct sunlight, as it can degrade the quality of the ingredients and alter the scrub’s effectiveness.
- Avoid extreme temperature fluctuations: Fluctuating temperatures can affect the consistency and overall quality of the sugar scrub. Keep it away from areas with temperature extremes, such as near heaters, air vents, or windows.
- Keep away from water and humidity: Moisture can cause sugar scrub to become clumpy or degrade. Store it in a place where it won’t be exposed to excessive humidity or water.
By following these storage techniques, you can ensure that your sugar scrub remains fresh and effective for an extended period. In the next step, we will discuss labeling and dating your scrub to keep track of its shelf life.
Store your sugar scrub in a sealed, airtight container to prevent it from drying out and to maintain its freshness. Keep it in a cool, dry place away from direct sunlight to prolong its shelf life.
Read more: How To Store Granulated Sugar
Step 4: Labeling and Dating the Scrub
Labeling and dating your sugar scrub is an essential step to keep track of its contents and expiration date. Here’s how you can properly label and date your scrub:
- Write the name of the scrub: Clearly label the container with the name of the sugar scrub. This will help you identify it easily among your skincare products.
- List the ingredients: If you made the scrub at home, list the ingredients used in the sugar scrub on the label. This is especially important if you have any allergies or sensitivities.
- Add expiration date: Determine the shelf life of your sugar scrub and write the expiration date on the label. The shelf life may vary depending on the ingredients used and any preservatives added.
By properly labeling and dating your sugar scrub, you can keep track of its freshness and know when it’s time to replace it. This ensures that you are always using a high-quality scrub on your skin. In the next step, we will discuss the placement and temperature considerations when storing your sugar scrub.
Step 5: Placement and Temperature Considerations
Where you place your sugar scrub and the temperature at which it is stored can have a significant impact on its longevity and effectiveness. Consider the following placement and temperature considerations:
- Avoid sunlight exposure: Sunlight can degrade the quality of the sugar scrub and affect its effectiveness. Store the container in a place that is not exposed to direct sunlight.
- Choose a cool and dry area: Find a cool and dry place to store your sugar scrub. Avoid storing it in areas with high humidity or frequent temperature fluctuations, such as near the bathroom or kitchen.
- Keep it away from water sources: Moisture can cause the sugar scrub to become clumpy or spoil. Store it away from sinks, showers, or any other water source to prevent accidental exposure to water.
- Consider the shelf life of the ingredients: Sugar scrubs can have different shelf lives depending on the ingredients used. Take into account the shortest shelf life of any ingredient and choose a storage location that aligns with it.
By placing your sugar scrub in an appropriate location and maintaining a consistent temperature, you can ensure that it remains fresh and effective for a longer period. In the next step, we will provide you with some tips for long-term storage of your sugar scrub.
Step 6: Tips for Long-Term Storage
If you’re looking to store your sugar scrub for an extended period, here are a few additional tips to ensure its long-term freshness:
- Use a vacuum sealer: Consider using a vacuum sealer if you want to store your sugar scrub for an extended period. Vacuum-sealed containers can help remove excess air and maintain the scrub’s texture and quality for a longer duration.
- Store in the refrigerator: If you live in a hot and humid climate or want to maintain the freshness of your scrub, storing it in the refrigerator can be beneficial. The cool temperature helps preserve the ingredients and prevents any potential spoilage.
- Avoid double-dipping: To maintain the hygiene of your sugar scrub, avoid double-dipping or using wet fingers directly into the container. Moisture can introduce bacteria and contaminate the scrub. Instead, use a clean spatula or spoon to scoop out the desired amount.
- Monitor for changes: Regularly check your sugar scrub for any unusual changes in color, texture, or smell. If you notice any signs of spoilage or degradation, it’s best to discard the scrub and make a fresh batch.
- Keep away from children and pets: Ensure that your stored sugar scrub is kept out of reach of children or pets. The ingredients in the scrub may not be safe for ingestion or application on sensitive skin.
By following these tips, you can prolong the shelf life of your sugar scrub and continue to enjoy its benefits in the long run. Now that you have learned all the steps and tips for proper sugar scrub storage, let’s conclude our guide.
Conclusion
Properly storing your sugar scrub is crucial to maintain its quality, texture, and effectiveness. By following the steps outlined in this guide, you can ensure that your sugar scrub stays fresh and effective for a longer period. From choosing the right container to preparing the scrub, implementing proper storage techniques, and considering temperature and placement, each step plays a significant role in preserving the scrub’s quality.
Remember to transfer the scrub into an airtight and leak-proof container, label it with the name, ingredients, and expiration date. Store the scrub in a cool, dry place, away from sunlight and excessive moisture. Additionally, consider the shelf life of the ingredients used and monitor the scrub for any changes or signs of spoilage.
By following these guidelines, you can enjoy the benefits of your sugar scrub for an extended period, keeping your skin exfoliated and moisturized. Proper storage will help maintain the scrub’s effectiveness and ensure that you enjoy a delightful skincare experience every time you use it.
Now that you have all the knowledge and tips on how to properly store your sugar scrub, go ahead and apply this information to keep your scrub in optimal condition. Enjoy the benefits of a fresh and invigorating sugar scrub each time you indulge in a pampering skincare routine.
Frequently Asked Questions about How To Store Sugar Scrub
Was this page helpful?
At Storables.com, we guarantee accurate and reliable information. Our content, validated by Expert Board Contributors, is crafted following stringent Editorial Policies. We're committed to providing you with well-researched, expert-backed insights for all your informational needs.


0 thoughts on “How To Store Sugar Scrub”