
Articles
How To Store Flour Container
Modified: January 5, 2024
Discover the best articles on how to store flour in a container to keep it fresh and prevent pests. Find expert tips and advice to maintain the quality of your flour.
(Many of the links in this article redirect to a specific reviewed product. Your purchase of these products through affiliate links helps to generate commission for Storables.com, at no extra cost. Learn more)
Introduction
When it comes to baking and cooking, flour is an essential ingredient that can make or break the final result. But did you know that proper storage of flour is just as important as choosing the right type? Storing flour in a container that provides protection from moisture, pests, and air can help maintain its freshness and quality, resulting in better-tasting dishes and baked goods.
In this article, we will explore the importance of proper flour storage and guide you on how to choose the right flour container. We will also provide step-by-step instructions on how to prepare the container and effectively store flour to keep it fresh for an extended period. Whether you are a seasoned baker or an occasional cook, this article will equip you with valuable tips and insights to optimize your flour storage.
Key Takeaways:
- Proper flour storage is essential for maintaining freshness, quality, and safety. Choose an airtight container, prepare it thoroughly, and store flour in a cool, dark place to ensure optimal results in your recipes.
- Additional tips, such as using airtight packaging, storing different types of flour separately, and monitoring expiry dates, can further contribute to maintaining flour freshness and quality. Enjoy the benefits of using high-quality flour in your culinary creations!
Read more: How To Store Flour
Importance of Proper Flour Storage
Proper storage of flour is crucial for several reasons. Firstly, exposing flour to moisture can lead to the growth of mold and bacteria, rendering it unusable and potentially harmful to consume. Moisture can also cause the flour to clump together, making it difficult to measure accurately or achieve the desired texture in your recipes.
In addition to moisture, pests such as insects and rodents are attracted to flour. They can easily find their way into improperly sealed containers, contaminating the flour and making it unsafe to use. Not only are these unwanted visitors a nuisance, but they can also cause health issues if their droppings or bodies end up in your food.
Air is another factor to consider when storing flour. Exposure to air can lead to oxidation, causing the flour to go rancid and develop a stale taste. This not only affects the flavor of your baked goods but also reduces the nutritional value of the flour.
By properly storing your flour in a suitable container, you can prevent these issues and ensure that you always have fresh, high-quality flour on hand. Not only will this enhance the taste and texture of your dishes, but it will also save you from wastage and the need to constantly replenish your supply.
Choosing the Right Flour Container
When it comes to choosing a flour container, there are a few key factors to consider:
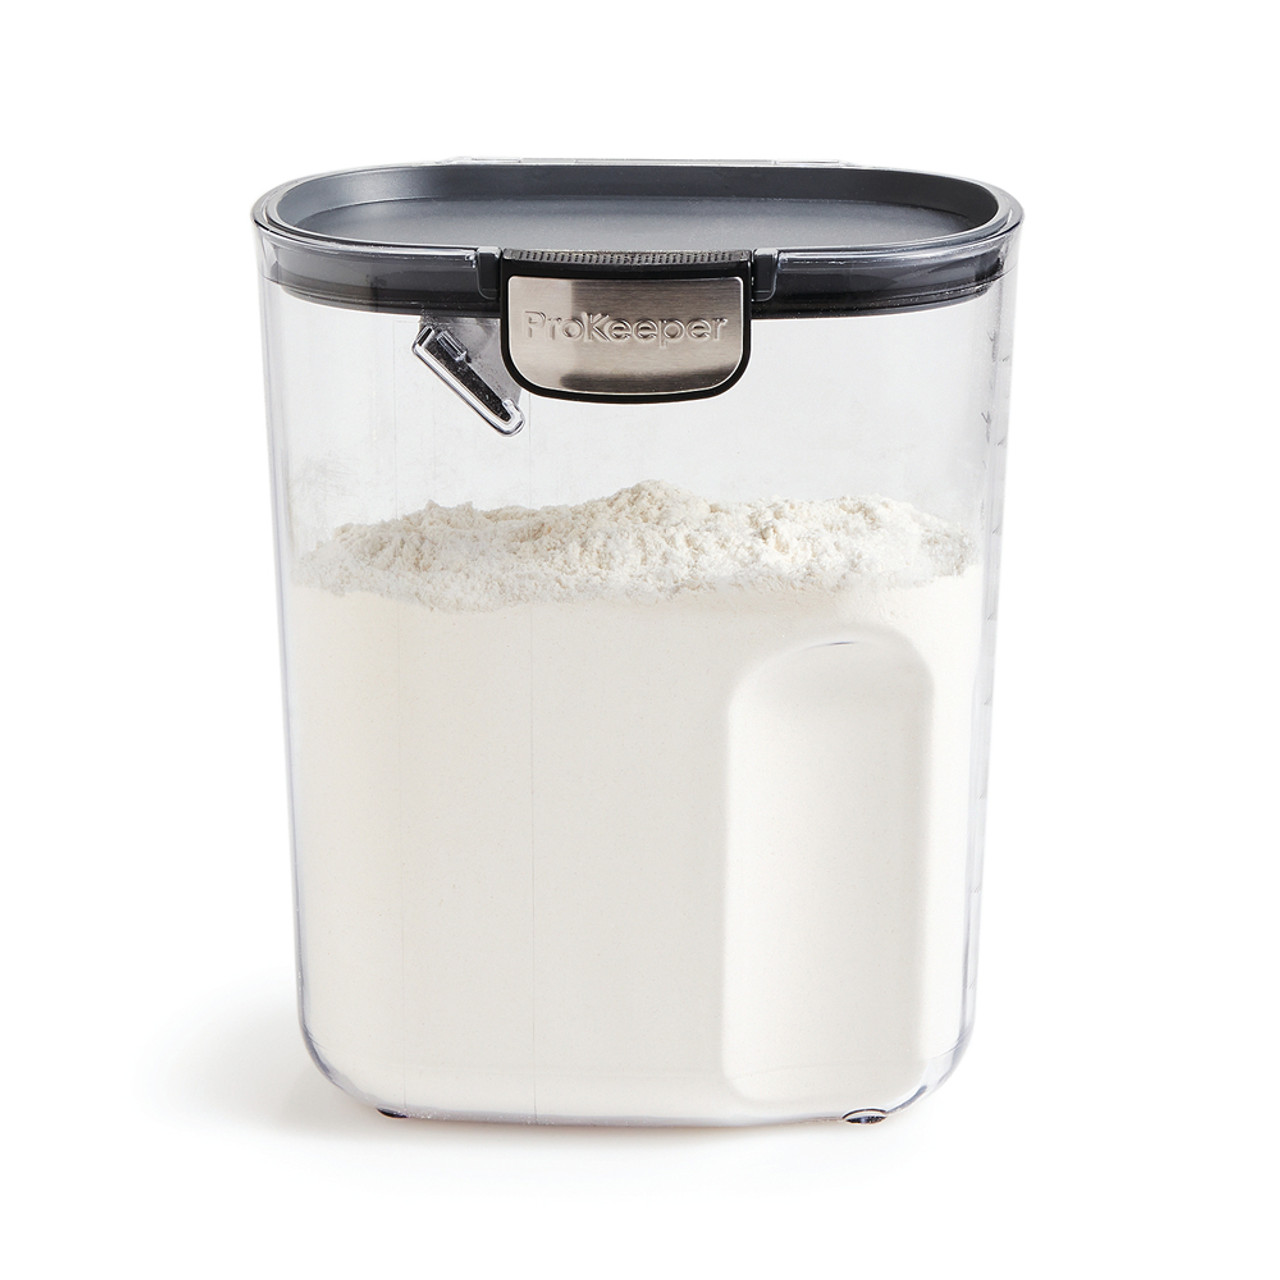
- Airtightness: Look for a container that provides a tight seal to prevent air from entering. This will help maintain the freshness and quality of your flour.
- Material: Opt for containers made of food-grade materials such as stainless steel, glass, or BPA-free plastic. These materials are safe for storing food and will not interact with the flour, affecting its flavor or quality.
- Size: Consider the amount of flour you typically use and choose a container that can accommodate your needs. It’s better to have a container that is slightly larger than your current flour quantity to allow room for expansion and ease of use.
- Visibility: Choosing a transparent or semi-transparent container allows you to easily see the contents, making it convenient to identify the type and quantity of flour.
- Shape: Look for containers with a wide opening for easy scooping or pouring. This will make it simpler to measure and access the flour without creating a mess.
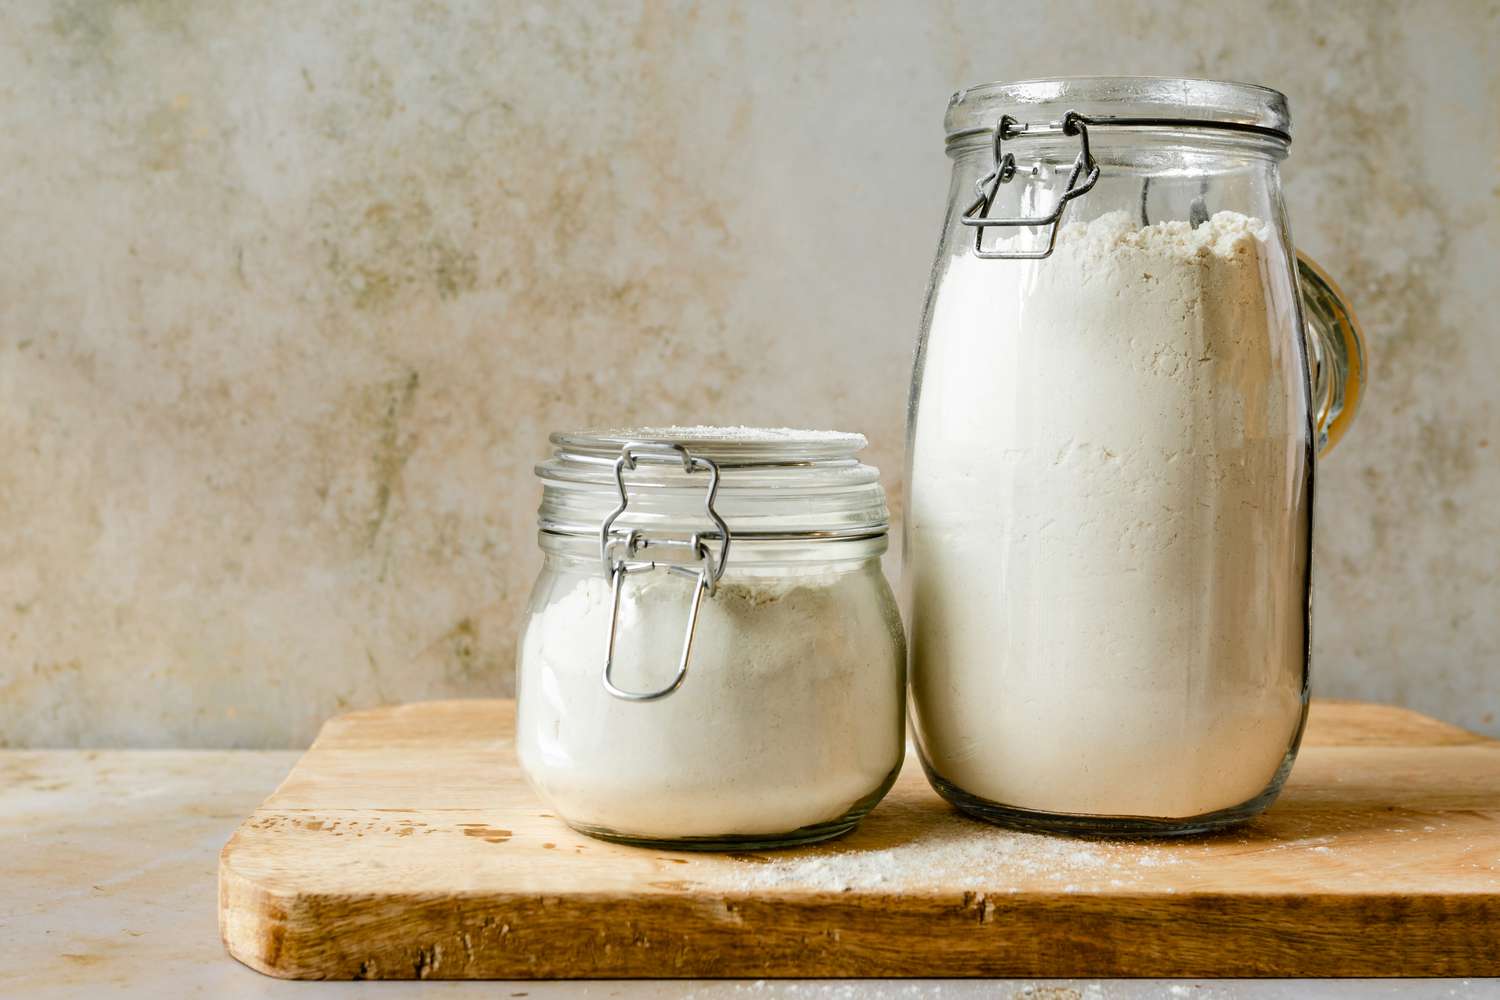
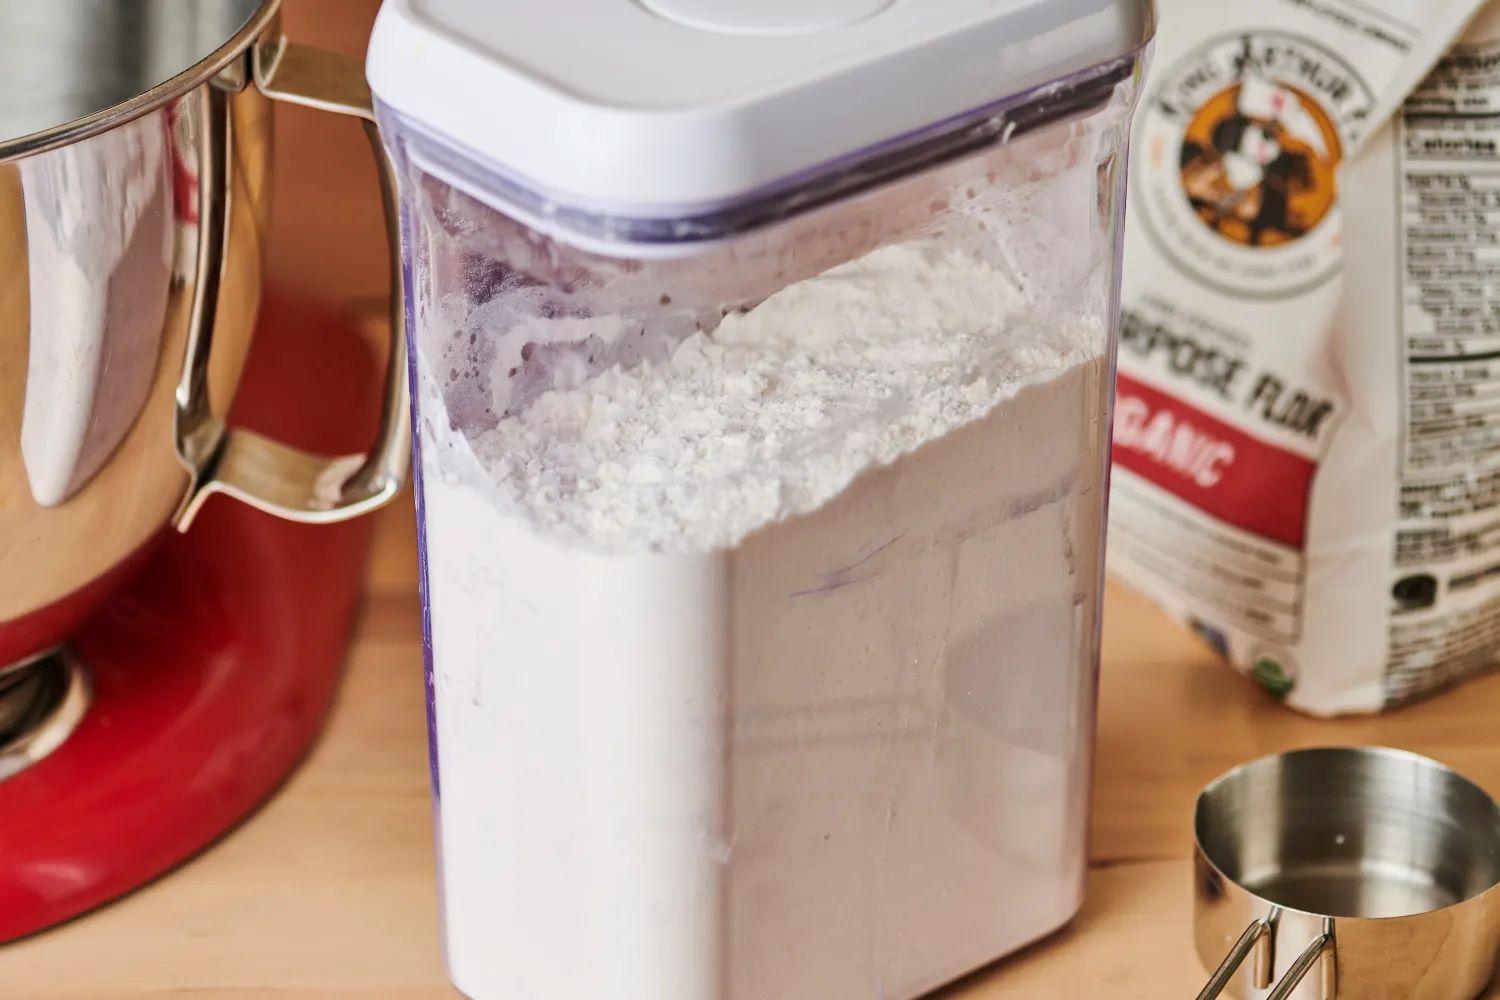
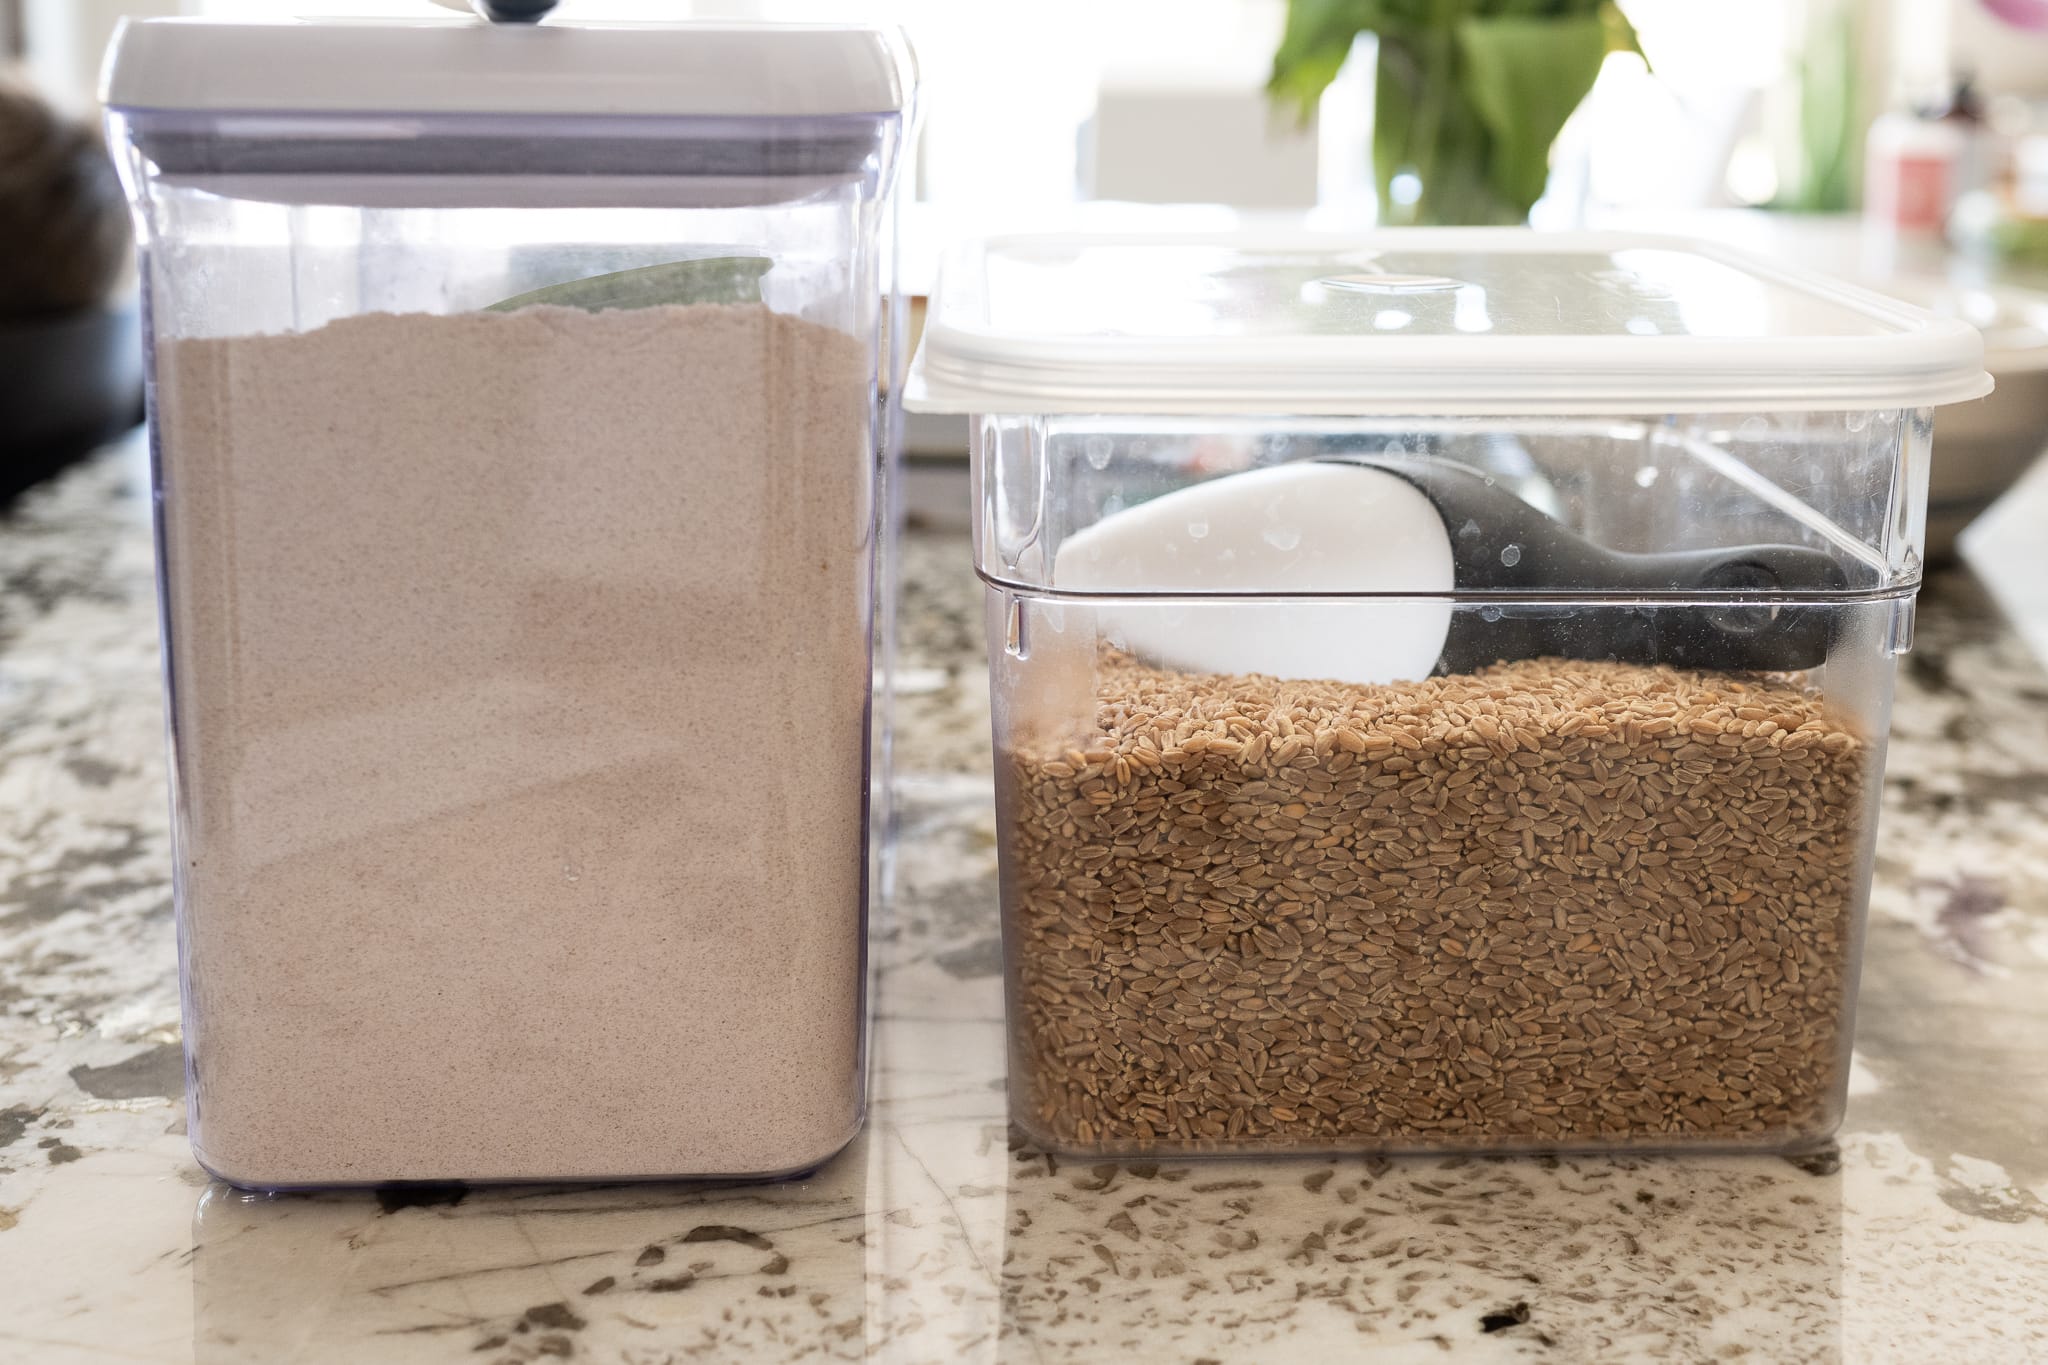
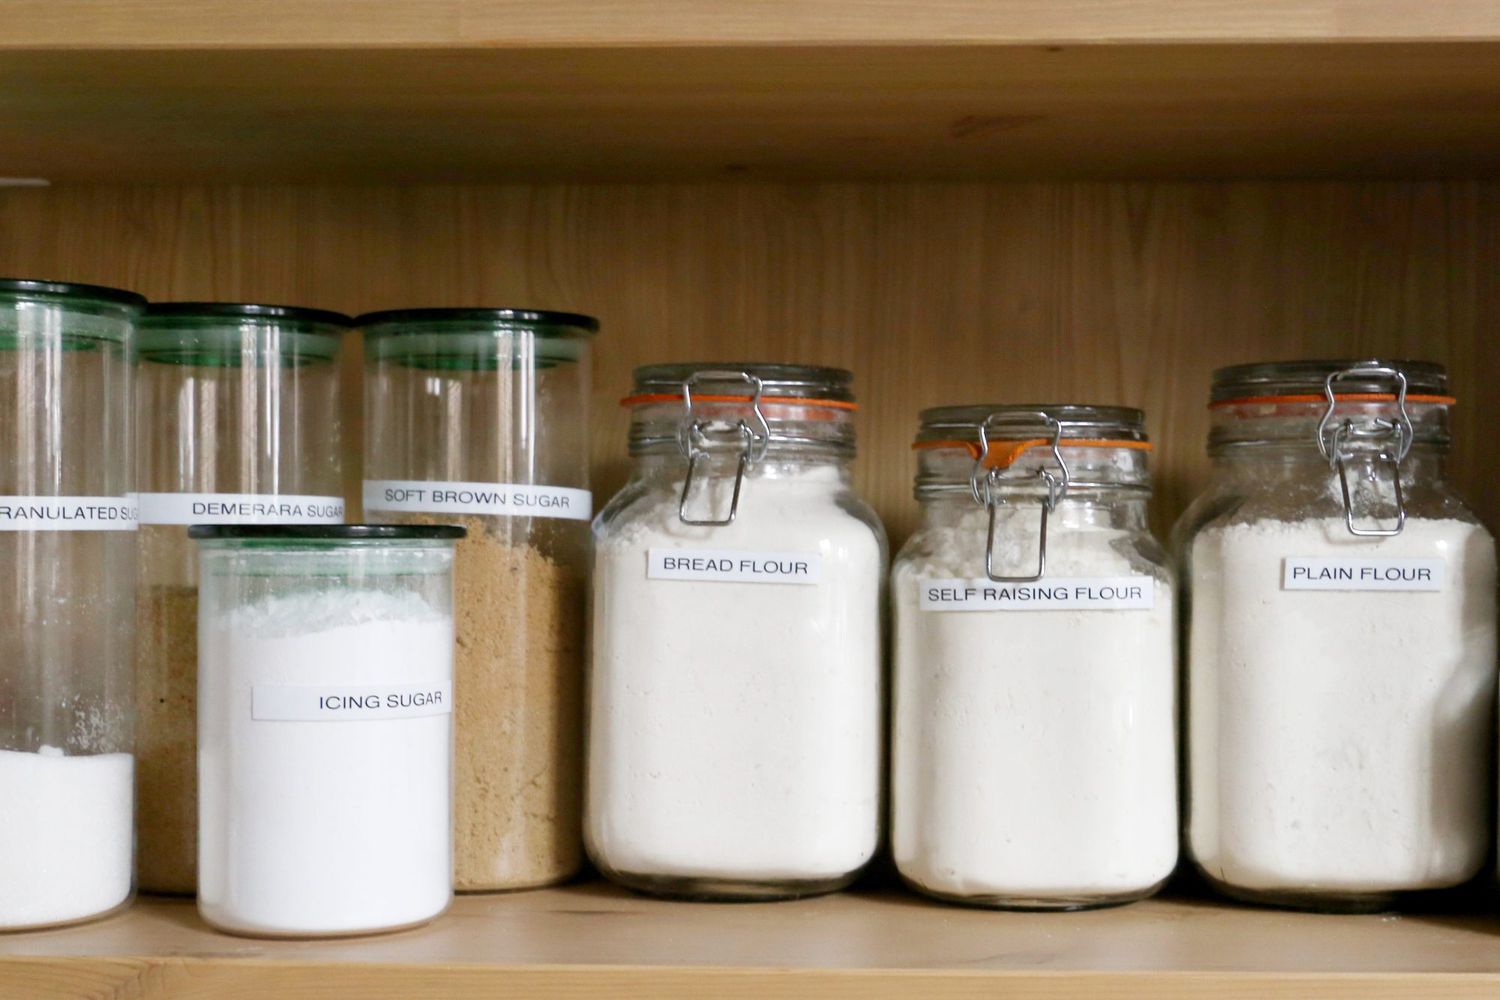
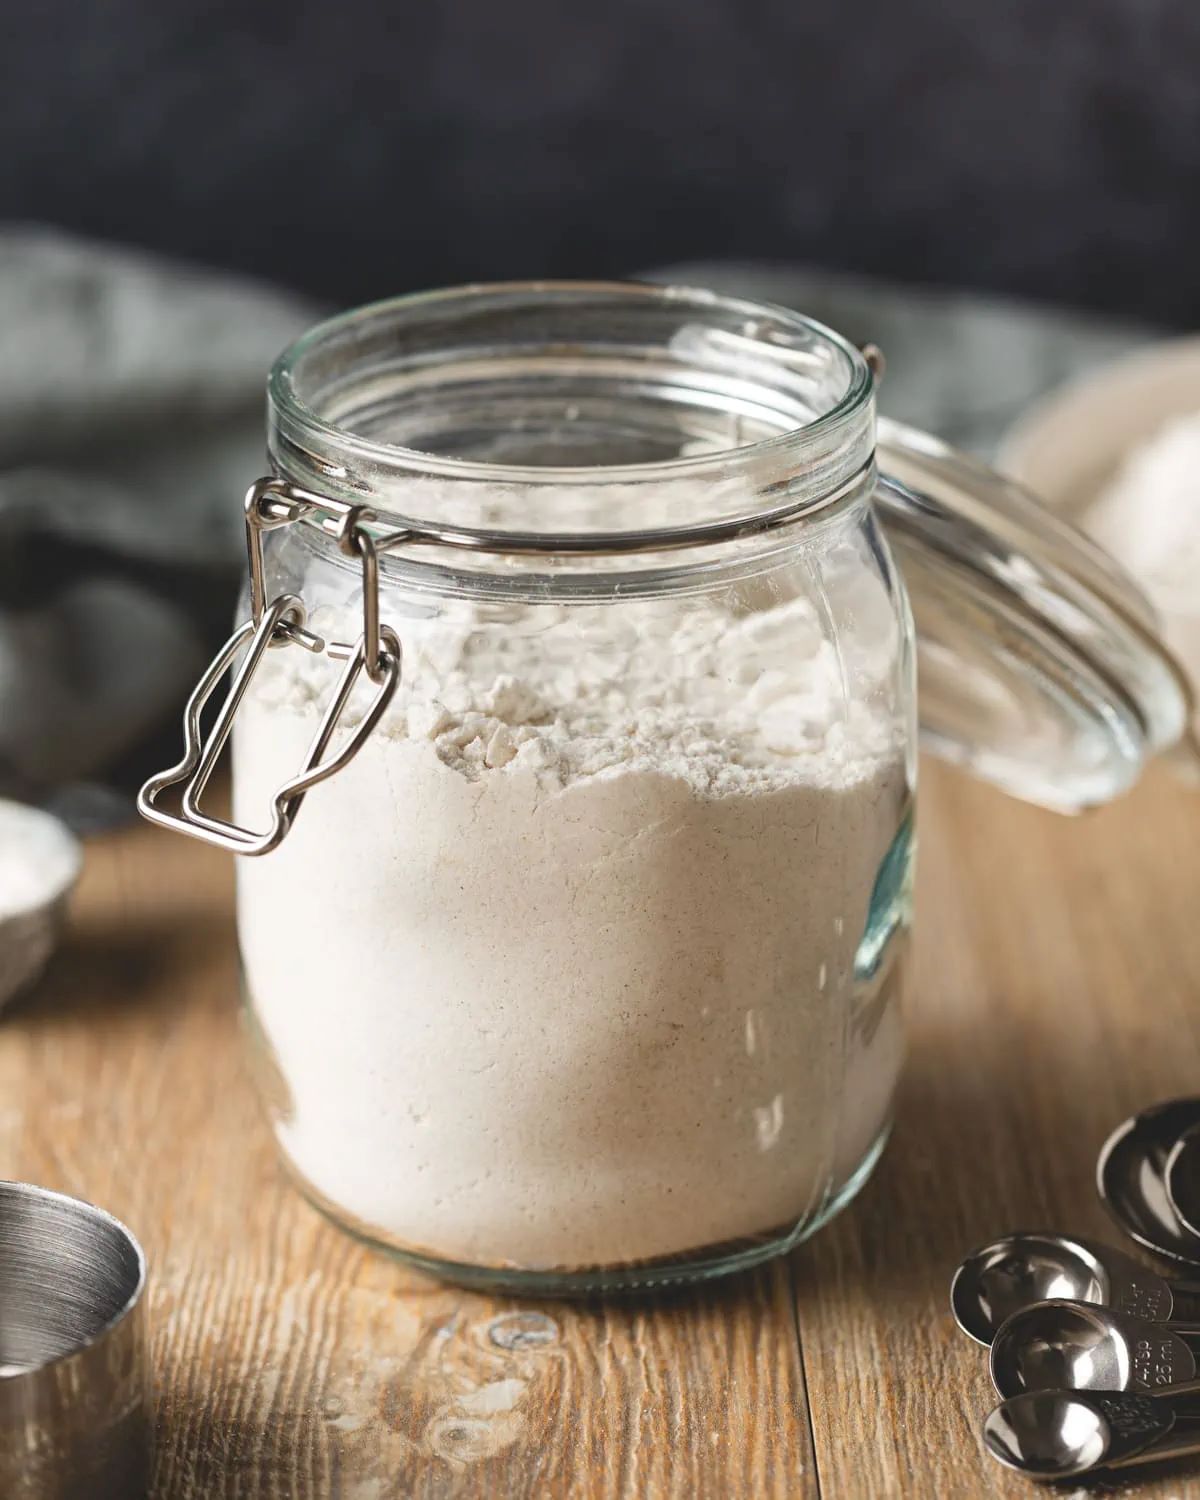
There are various options available in the market that meet these criteria. Consider investing in a dedicated flour container or repurpose an airtight container you already have at home. Mason jars, large glass jars, or plastic storage containers with locking lids can serve as excellent flour storage options.
Remember to clean the container thoroughly before using it to remove any residue or odors that may affect the quality of your flour. Properly sanitizing the container will ensure that your flour remains fresh and uncontaminated.
Preparing the Container
Before storing flour in your chosen container, it is essential to properly prepare it to ensure a clean and suitable environment for your flour. Follow these steps:
- Wash and dry: Wash the container with warm, soapy water, and rinse it thoroughly to remove any dirt or residue. Allow it to air dry completely before proceeding.
- Remove odors: If your container has lingering odors from previous use, you can eliminate them by placing a clean, dry cloth inside the container and sealing it for a day or two. The cloth will absorb any odors, leaving the container fresh and odor-free.
- Check for damage: Inspect the container for any cracks, chips, or damaged seals. A damaged container may compromise the airtightness, allowing air or pests to enter. If there are any issues, it’s best to choose a different container or invest in a new one to ensure proper flour storage.
Once you’re confident that the container is clean, odor-free, and in good condition, you are ready to proceed with storing your flour.
Store flour in an airtight container in a cool, dark place to prevent it from spoiling. Make sure the container is clean and dry before adding the flour.
Storing Flour in the Container
Now that you have your clean and suitable flour container, it’s time to store your flour properly to maintain its freshness and quality. Follow these steps:
- Label the container: Using a marker or label, clearly mark the container with the type of flour and the date of storage. This will help you easily identify and track the freshness of your flour.
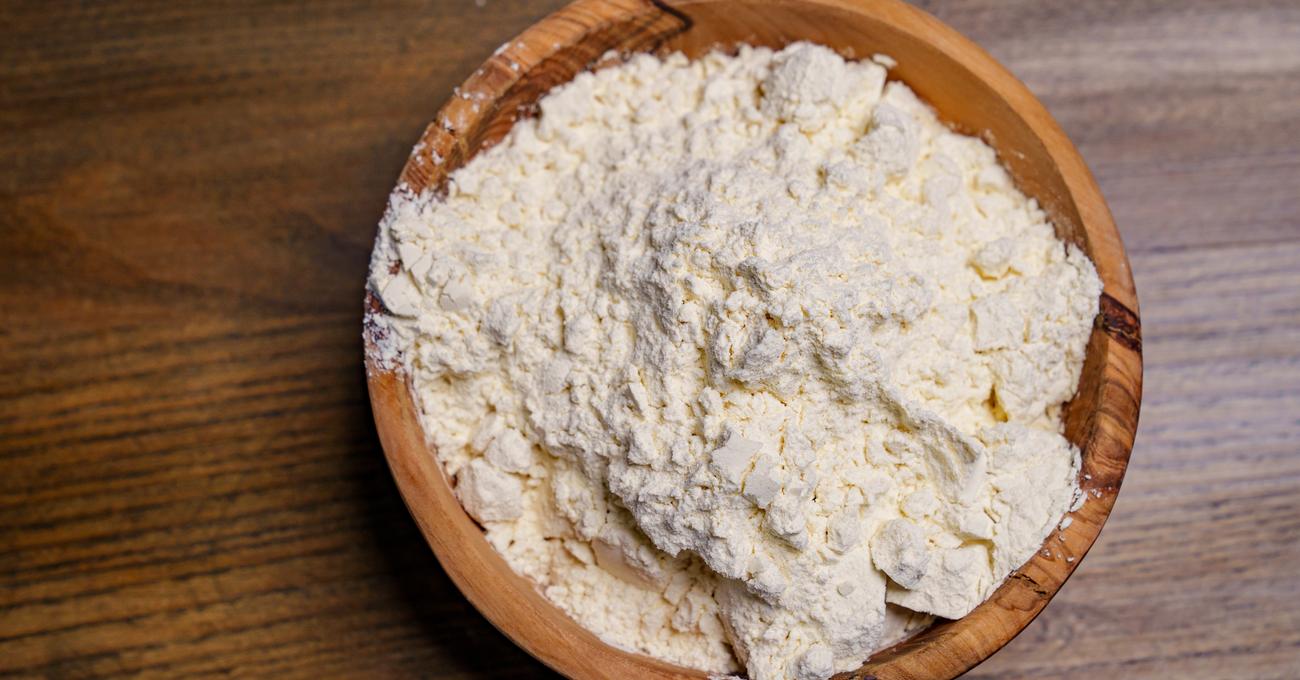
- Sift the flour: Before transferring the flour to the container, sift it to remove any lumps or foreign particles. This will ensure a smooth texture and prevent clumping during storage.
- Pour the flour: Carefully pour the sifted flour into the container, leaving some headspace at the top to allow for any expansion. Avoid compacting the flour by gently tapping the container to settle it.
- Seal the container: Ensure that the container is tightly sealed to prevent air, moisture, and pests from entering. Locking lids, silicone gaskets, or snap-on lids are effective in creating an airtight seal.
- Store in a cool, dark place: Place the sealed flour container in a cool and dry pantry, away from direct sunlight and heat sources. Avoid storing flour near sources of humidity, such as the stove or sink, as it can lead to moisture absorption.
By following these steps, you can ensure that your flour remains fresh and free from contaminants for an extended period.
Remember to periodically check on your stored flour for any signs of spoilage, such as off smells, discoloration, or pest infestation. If you notice any issues, discard the flour and clean the container thoroughly before storing a new batch.
Now that you know how to store flour in a container, let’s explore some additional tips for maintaining its freshness.
Read more: How To Store Almond Flour
Additional Tips for Maintaining Flour Freshness
While proper storage in a suitable container is crucial for maintaining flour freshness, there are a few additional tips you can follow to prolong its shelf life and ensure optimal quality:
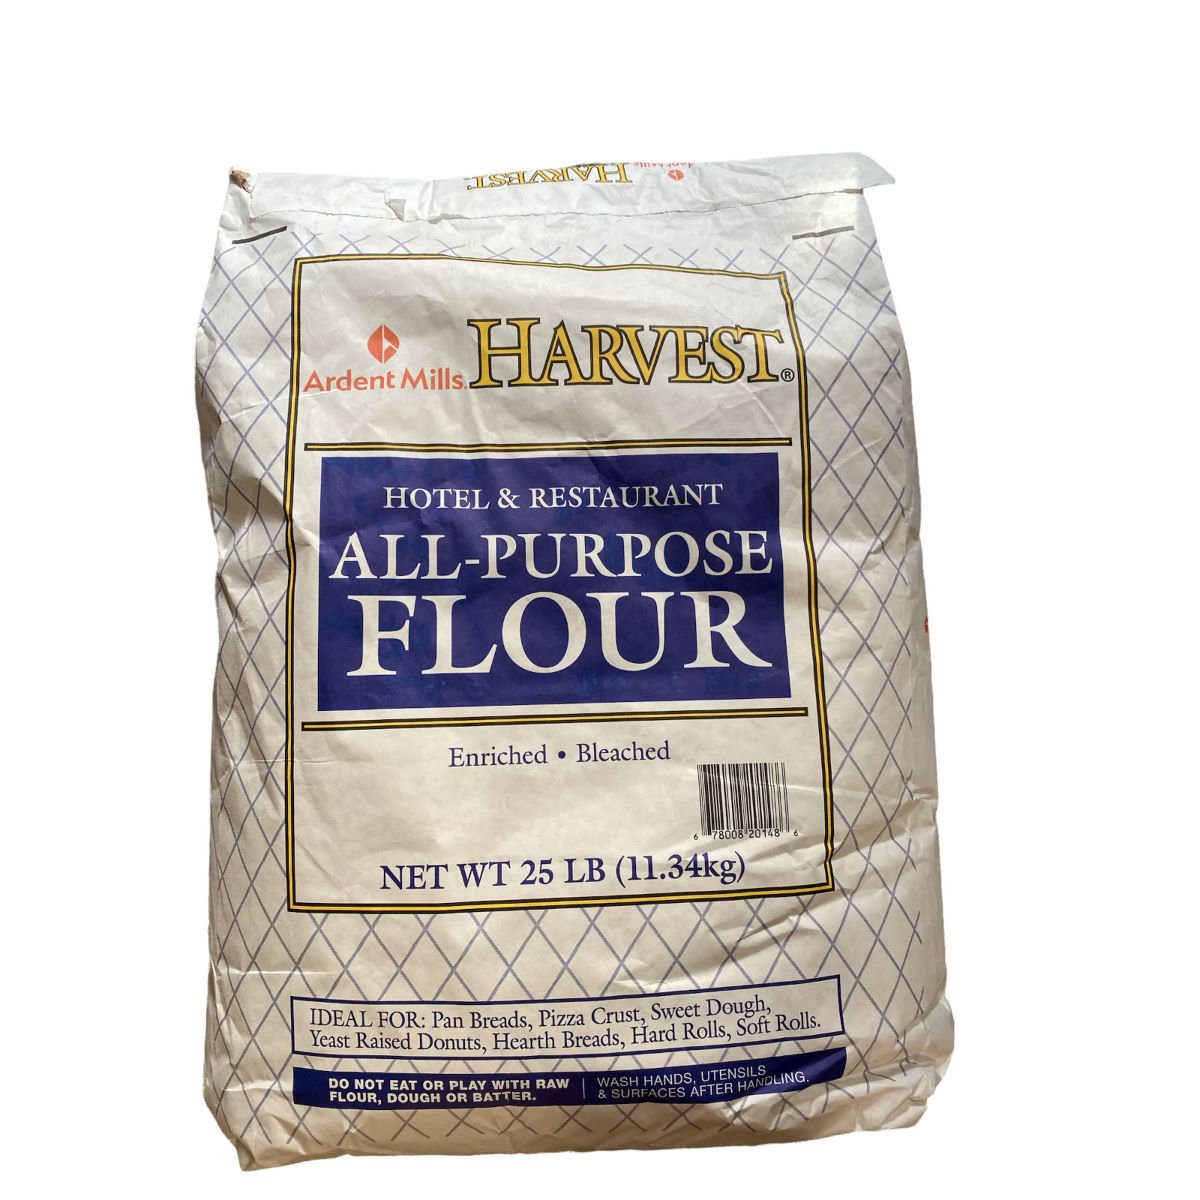
- Use airtight packaging: If you buy flour in bulk and do not plan to use it all at once, consider repackaging it into smaller airtight bags or containers. This prevents exposure to air and helps preserve the freshness of the unused portion.
- Store different types separately: It is best to store different types of flour in separate containers to prevent flavor transfer and maintain their individual qualities. Whole wheat flour, for example, tends to have a shorter shelf life and can turn rancid more quickly. Keeping it separate from other types of flour can help avoid any undesirable flavors.
- Avoid temperature fluctuations: Fluctuations in temperature can cause condensation inside the container, leading to moisture build-up and potential spoilage. Aim to keep the storage area at a consistently cool temperature to minimize temperature fluctuations.
- Rotate your flour: To ensure you are always using the freshest flour, practice the “first in, first out” rule. Use the oldest flour in your storage before opening a new bag or container. Labeling the containers with the storage date can help you keep track of the order of usage.
- Keep an eye on expiry dates: While flour can typically stay usable for several months or even years, it is still important to keep an eye on expiry dates. If the flour has passed its expiration date, it may have lost some of its flavor and nutritional value. It’s best to replace it with a fresh batch.
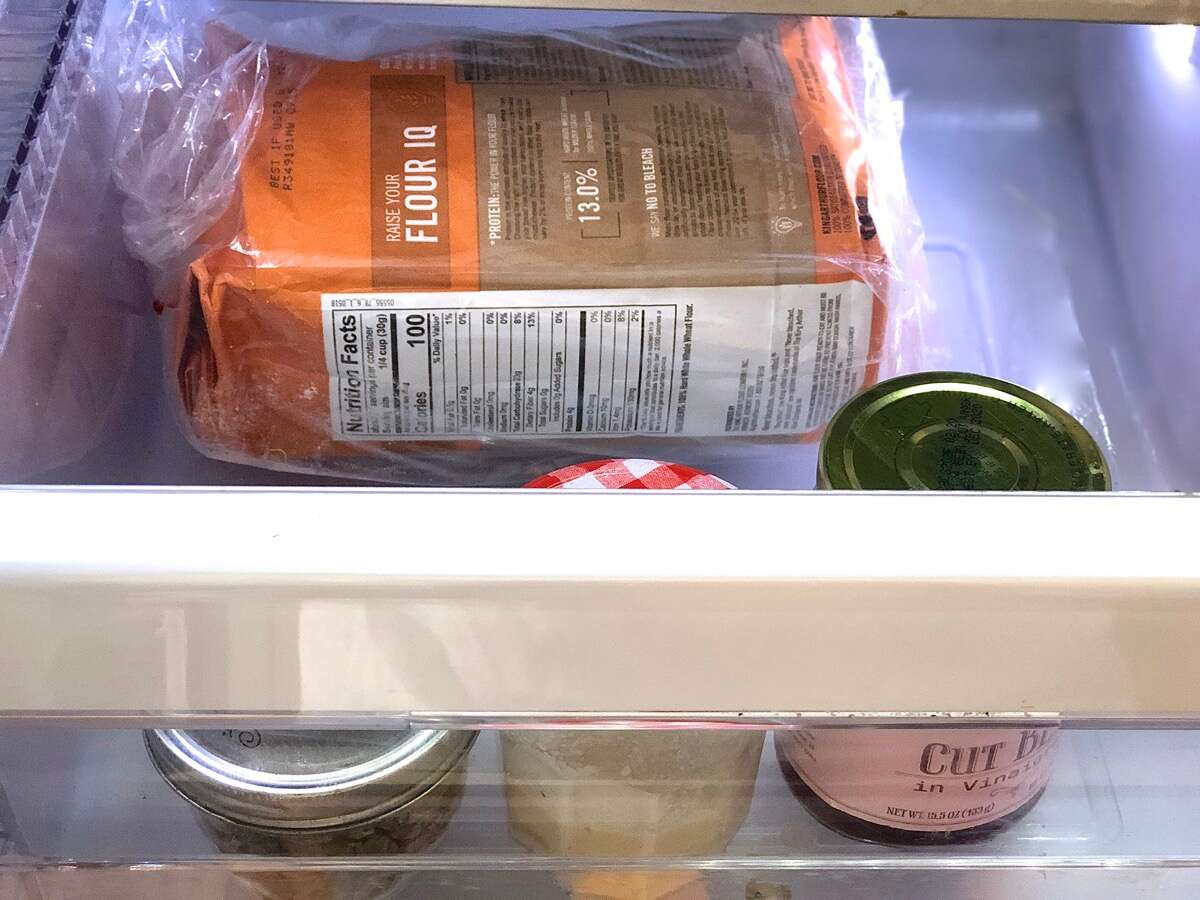
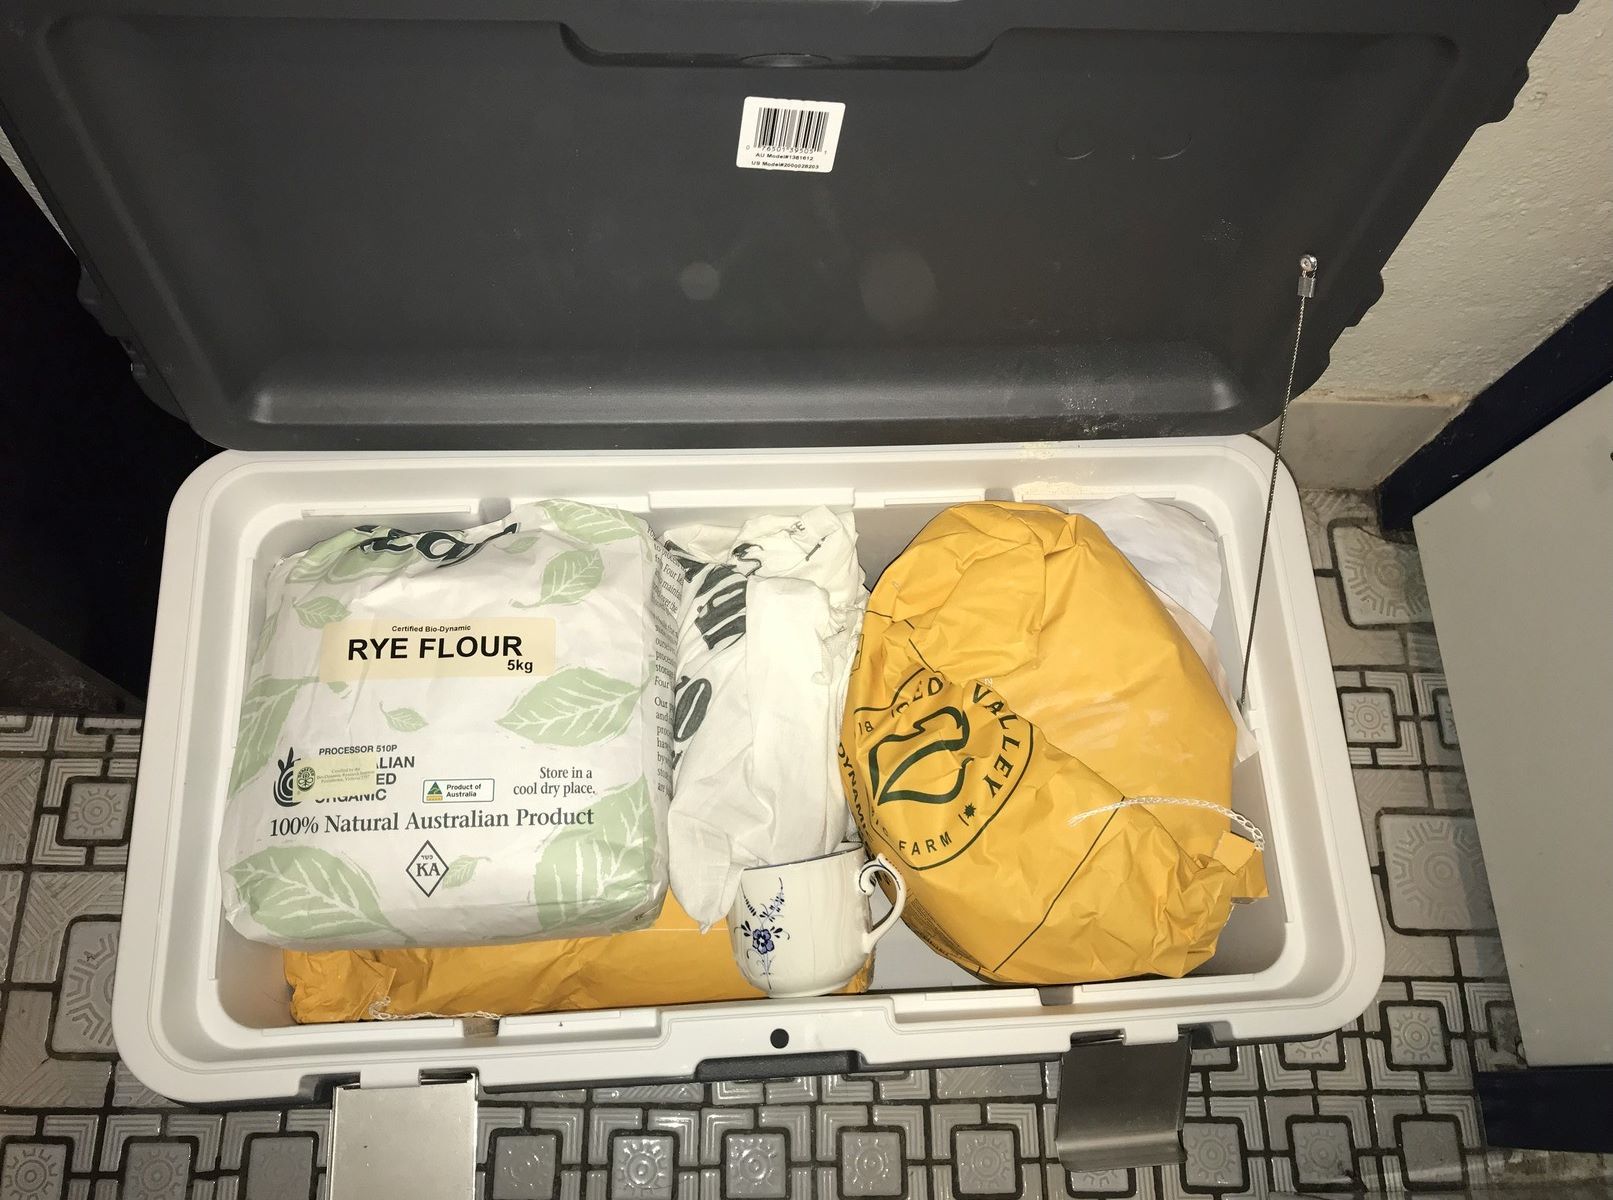
- Consider refrigeration or freezing: While flour can be stored at room temperature, if you live in a hot and humid climate, you may consider refrigerating or freezing your flour to extend its shelf life. However, be mindful that extreme cold can affect the texture of the flour, so it’s important to let it come to room temperature before using it in your recipes.
By following these additional tips, you can ensure that your flour stays fresh and of the highest quality, guaranteeing delicious results in your baking and cooking endeavors.
Now that you are equipped with the knowledge of how to properly store and maintain flour in a container, you can enjoy the benefits of using fresh, flavorful flour in all of your culinary creations.
Conclusion
Proper flour storage is crucial for maintaining the freshness, quality, and safety of this essential baking ingredient. By choosing the right flour container, preparing it correctly, and storing the flour in a cool, dry place, you can prolong its shelf life and ensure optimal results in your recipes.
Remember, moisture, air, and pests are the enemies of flour, so it’s important to invest in a container that provides an airtight seal, such as a glass jar or airtight plastic container. Taking the time to properly clean and prepare the container will create a suitable environment for storing flour.
When storing your flour, label the container, sift the flour before pouring, and seal it tightly to prevent any contaminants from entering. Keep the container in a cool, dark place away from direct sunlight and heat sources.
Additional tips, such as using airtight packaging, storing different types of flour separately, avoiding temperature fluctuations, rotating your flour, monitoring expiry dates, and considering refrigeration or freezing options, can further contribute to maintaining flour freshness and quality.
By following these guidelines, you can ensure that your flour remains fresh and ready to use whenever you need it. Enjoy the benefits of using high-quality flour in your baking and cooking endeavors, creating delicious and impressive dishes every time.
Frequently Asked Questions about How To Store Flour Container
Was this page helpful?
At Storables.com, we guarantee accurate and reliable information. Our content, validated by Expert Board Contributors, is crafted following stringent Editorial Policies. We're committed to providing you with well-researched, expert-backed insights for all your informational needs.

0 thoughts on “How To Store Flour Container”