Articles
How To Store Toys With Small Pieces
Modified: October 20, 2024
Discover effective ways to store toys with small pieces in this informative article. Keep your play area organized and clutter-free with these helpful storage tips.
(Many of the links in this article redirect to a specific reviewed product. Your purchase of these products through affiliate links helps to generate commission for Storables.com, at no extra cost. Learn more)
Introduction
When it comes to organizing and storing toys with small pieces, many parents find themselves facing a difficult task. The scattered Lego blocks, puzzle pieces, and tiny action figures can quickly become a chaotic nightmare if not properly managed. However, with a strategic approach and the right storage solutions, you can transform the mess into a tidy and efficient system that both kids and parents will appreciate.
In this article, we will explore step-by-step how to store toys with small pieces effectively. From gathering the necessary supplies to creating an organized storage system, we will provide you with practical tips and tricks to make toy organization a breeze.
So, if you’re tired of stepping on Lego pieces in the middle of the night or spending hours searching for missing puzzle parts, let’s dive in and learn how to keep those small pieces in order!
Key Takeaways:
- Say goodbye to toy chaos! Gather supplies, sort toys, choose suitable storage, label and organize, store small pieces separately, establish storage systems, and maintain regularly for stress-free playtime.
- Transform toy storage into a breeze! Involve your child, create a designated play area, enforce the “one toy at a time” rule, and regularly reassess and adjust for an organized and stress-free playtime.
Read more: How To Store Toys In A Small Room
Step 1: Gather Supplies
The first step in organizing and storing toys with small pieces is to gather the necessary supplies. By having the right tools on hand, you’ll be well-prepared to tackle the task at hand.
Here are some essential supplies to consider:
- Storage containers: Look for containers that are durable, stackable, and transparent. This will allow you to easily see what’s inside and access the toys when needed.
- Dividers or compartments: Invest in dividers or compartmentalized containers to keep small pieces separated and prevent them from getting jumbled together.
- Labels: Labeling your storage containers will not only help you quickly identify what’s inside but also make it easier for your child to clean up their toys independently.
- Zip-lock bags or small containers: These are perfect for storing small accessories or pieces that may easily get lost.
- Marker or label maker: Use a marker or label maker to clearly label each container or bag, making it easy to find and return items to their rightful place.
Once you have gathered these supplies, you’ll be ready to move on to the next step: sorting the toys.
Step 2: Sort the Toys
Now that you have your supplies ready, it’s time to tackle the task of sorting the toys. This step is crucial for effective organization and will help you identify which toys have small pieces that need special attention.
Here’s how to approach the sorting process:
- Categorize by type: Start by separating the toys into different categories such as building blocks, puzzles, action figures, and board games. This will help you better understand the specific needs of each type of toy.
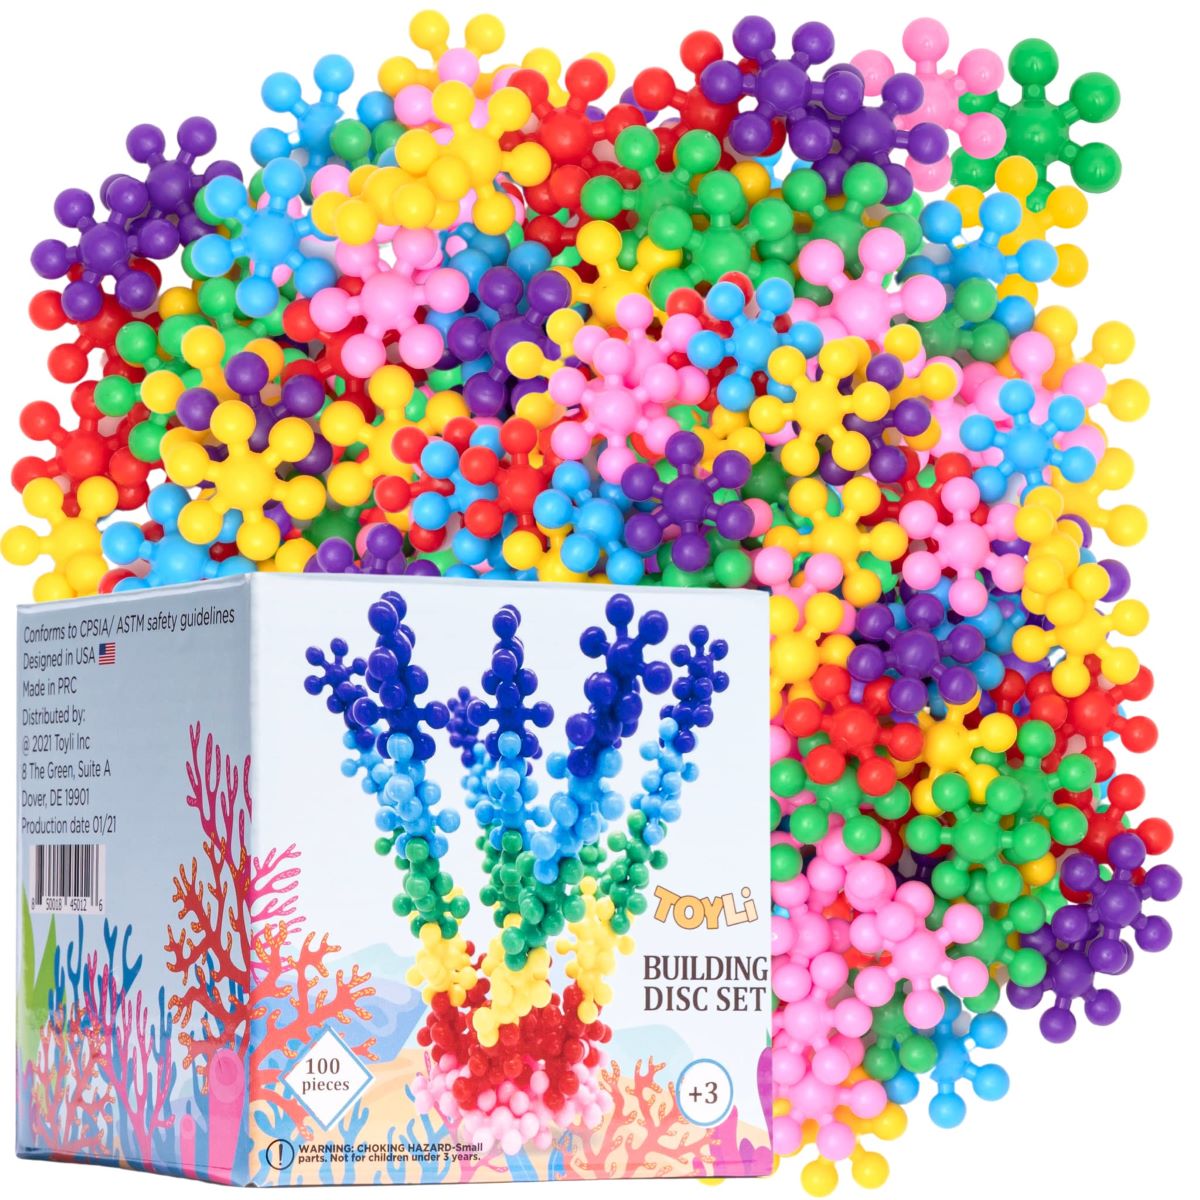
- Identify toys with small pieces: Within each category, identify the toys that have small pieces that require extra care. This could include Lego sets, jigsaw puzzles, or toy sets with tiny accessories.
- Remove broken or incomplete toys: Take this opportunity to weed out any broken or incomplete toys. Keeping only the toys that are in good condition will make storage and organization much easier.
- Group similar pieces together: Within each category, group similar pieces together. For example, in a Lego set, keep all the bricks, plates, and accessories in separate sections or containers.
By sorting the toys, you gain a better understanding of what you’re working with and can move on to the next step: choosing suitable storage solutions.
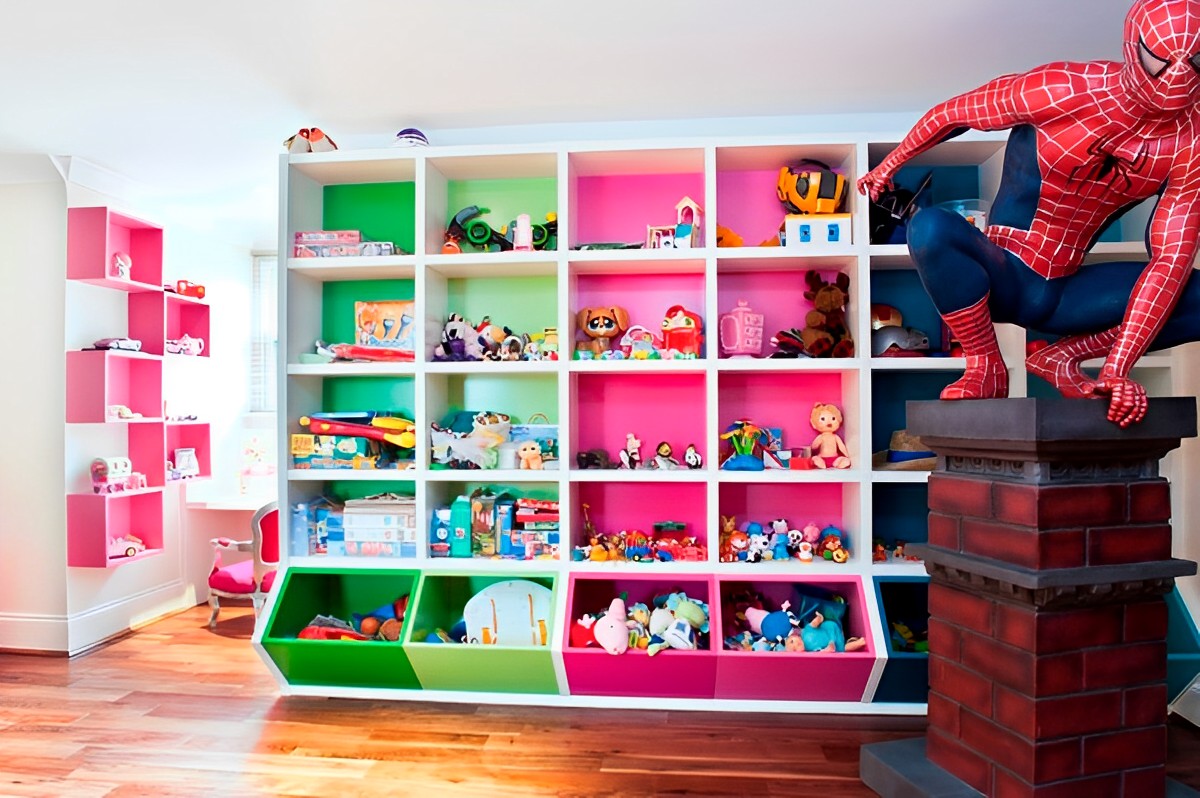
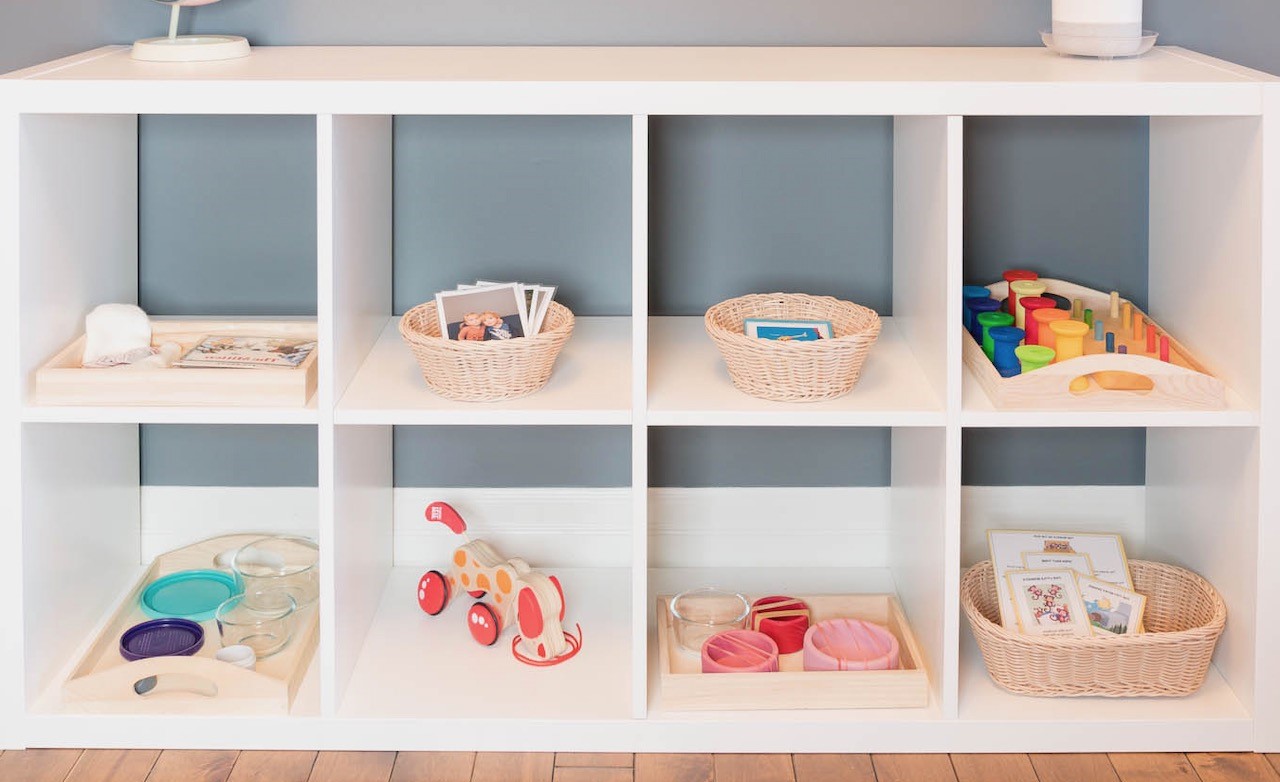
Step 3: Choose Suitable Storage Solutions
With your toys sorted and categorized, it’s time to find the right storage solutions that will keep small pieces organized and easily accessible. Depending on the type and quantity of toys you have, there are various options to consider:
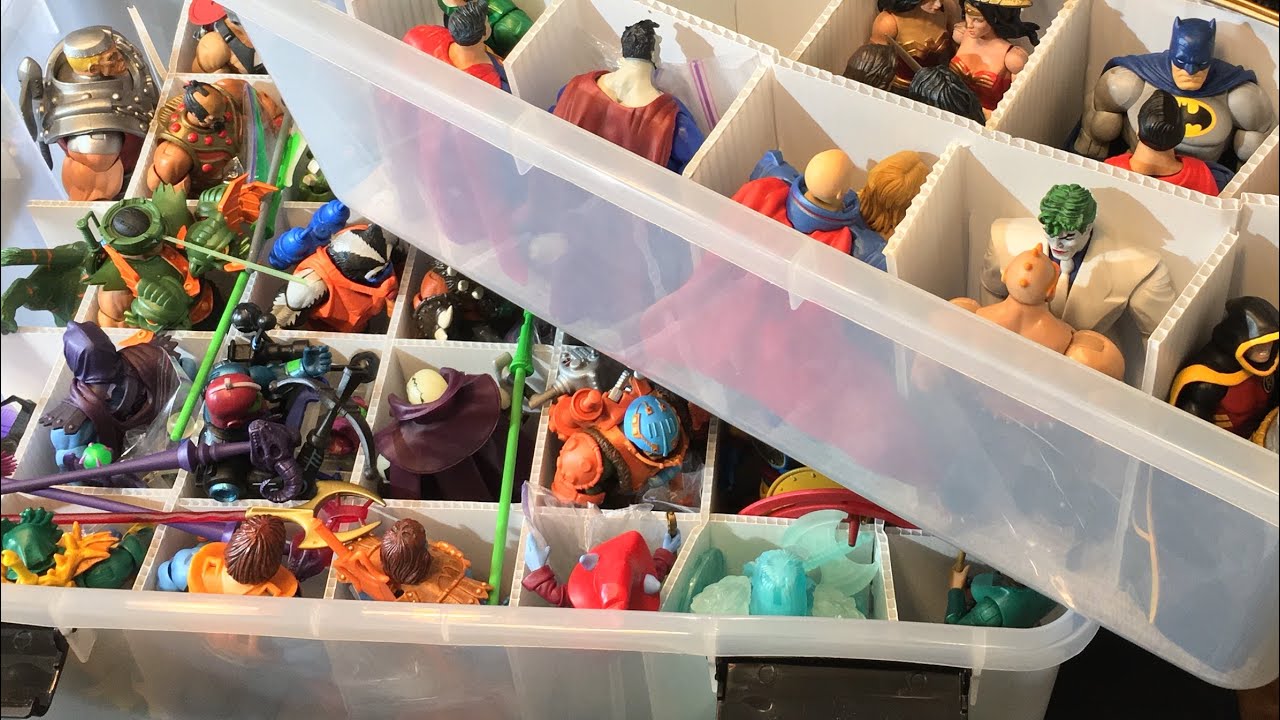
- Plastic bins with dividers: Plastic bins with adjustable dividers are perfect for keeping small toy pieces separated. You can customize the size of each compartment to accommodate different types of toys.
- Clear shoebox containers: Clear shoebox containers allow you to easily see the contents and stack them neatly. They are great for storing small toys like action figures or doll accessories.
- Drawer organizers: Drawer organizers with multiple compartments are ideal for storing small toy pieces. Whether it’s for puzzles, craft supplies, or building sets, these organizers can keep everything in its place.
- Hanging organizers: Hanging organizers with pockets can be a creative solution for storing small toys. Hang them on the back of a door or on a wall to keep the toys easily accessible and visible.
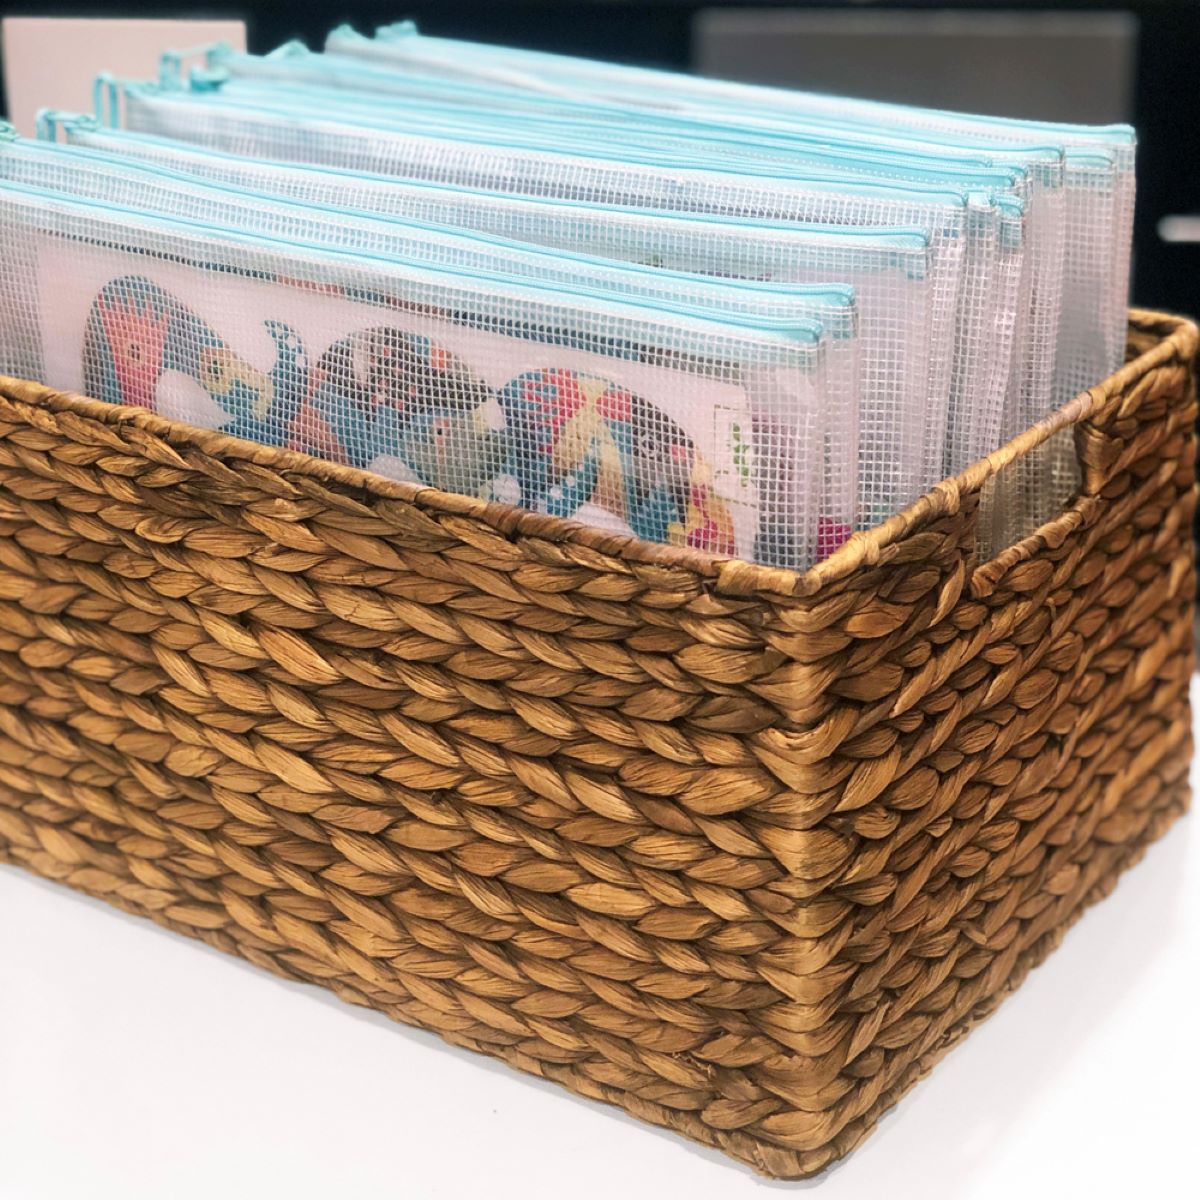
- Clear storage bags: Clear storage bags, such as zip-lock bags or reusable pouches, are perfect for storing small accessories or pieces that need to stay together. Label each bag for quick identification.
Consider the size, quantity, and accessibility of your toys when choosing the storage solutions. Remember that it’s important to make it easy for your child to access and return the toys independently.
Once you have chosen the storage solutions, it’s time to move on to the next step: labeling and organizing.
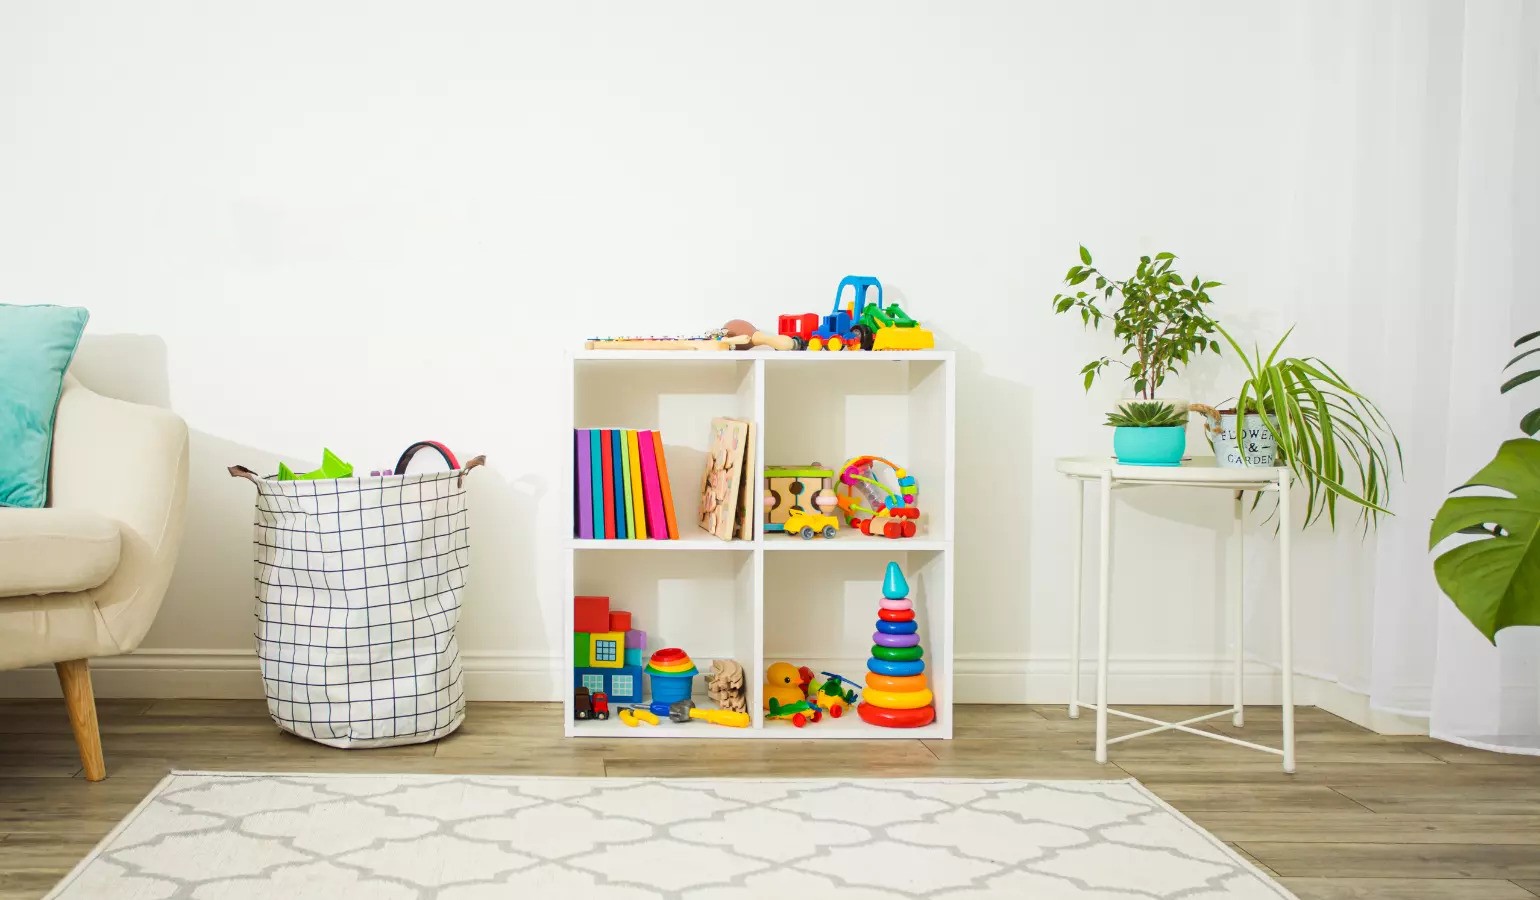
Step 4: Label and Organize
Now that you have your storage solutions in place, it’s time to label and organize the toys with small pieces. This step is crucial for maintaining a system where everything has a designated place and is easy to find.
Here’s what you can do:
- Label each storage container: Take a marker or use a label maker to label each storage container. Be clear and specific with your labeling, indicating the type of toy and its contents. This will make it easier for both you and your child to locate and return toys to their proper places.
- Create a color-coded system: If you have multiple categories of toys, consider implementing a color-coded system. Assign a specific color for each category and use colored labels or markers to indicate which toys belong to each group. This visual cue will help your child quickly identify where each toy belongs.
- Use visual aids: For younger children who cannot read yet, use visual aids such as pictures or symbols to represent different toy categories. Attach these visual cues to the corresponding storage bins or containers to make it easier for your child to identify where each toy goes.
- Organize toys by frequency of use: Consider organizing the toys based on the frequency of use. Place the most frequently used toys within easy reach, while lesser-used toys can be placed in higher or harder-to-reach areas. This way, your child can easily access their favorite toys without creating a mess searching for them.
- Rotate toys: To prevent toy overload and keep things fresh and exciting, consider implementing a system of toy rotation. Store some toys out of sight and periodically swap them with the ones currently in use. This helps keep the play area organized while bringing back a sense of novelty to familiar toys.
By labeling and organizing the toys, you create a system that promotes independence and makes it easier for your child to participate in tidying up.
Now that you have successfully labeled and organized the toys, let’s move on to the next step: storing toys with small pieces separately.
Consider using clear, stackable containers with dividers to store toys with small pieces. This will keep everything organized and easily accessible while minimizing the risk of losing pieces.
Read more: How To Store Pool Toys
Step 5: Store Toys with Small Pieces Separately
When it comes to toys with small pieces, it’s essential to store them separately to avoid them getting mixed up or lost. This step ensures that the small parts remain organized and easily accessible when needed.
Here’s what you can do to store toys with small pieces:
- Use compartmentalized storage containers: Invest in storage containers with built-in dividers or compartments. These containers allow you to separate and store small toy pieces within their own designated section. This helps to prevent pieces from getting mixed up and makes it easier to find what you need.
- Utilize small bags or containers: For toys with numerous small pieces, consider using small zip-lock bags, reusable pouches, or even pill organizers to store each set of pieces. Ensure that each bag or container is labeled with the toy’s name and contents.
- Consider magnetic storage: For toys like building blocks or magnetic tiles, consider using magnetic storage options. Magnetic boards or trays can keep the pieces in place and readily accessible for creative play.
- Separate delicate pieces: If you have toys with delicate or easily breakable pieces, separate and store them in their own containers with extra padding or protective inserts. This will help to prevent damage and ensure they remain intact for extended use.
- Place small pieces on a tray: Consider using a tray or shallow container to corral small pieces that belong to multiple toys. This way, you can keep them together in one place while still preserving their organization.
By storing toys with small pieces separately, you reduce the likelihood of losing or misplacing small parts, ultimately saving time and frustration when it’s time to play.
Now that you have successfully organized toys with small pieces, let’s move on to the next step: establishing storage systems.
Step 6: Establish Storage Systems
Now that you have everything sorted, labeled, and stored, it’s time to establish storage systems that will keep your toy organization sustainable in the long run. This step involves creating routines and habits to maintain the order and ensure that toys are consistently put away after use.
Here are some tips to help you establish effective storage systems:
- Create a designated play area: Dedicate a specific area in your home as a play zone. This not only encourages your child to keep their toys in one place but also provides a clear boundary for organization and cleanup.
- Involve your child: Teach your child the importance of toy organization and involve them in the process. Encourage them to participate in putting away their toys, following the designated storage system. This fosters a sense of ownership and responsibility over their belongings.
- Implement a cleanup routine: Establish a daily cleanup routine where you and your child set aside specific time to tidy up the play area. Make it a fun activity by setting a timer or playing upbeat music during cleanup sessions.
- Enforce the “one toy at a time” rule: Encourage your child to focus on playing with one toy at a time and to clean up before moving on to another activity. This reduces clutter and keeps the play area organized.
- Regularly assess and adjust: Periodically assess your storage systems to ensure they are still effective and meet your needs. Adjust as necessary, considering the changing toy collections and play interests of your child.
By establishing storage systems, you not only create an organized environment but also instill valuable habits that will benefit your child’s overall development.
Now that you have successfully established storage systems, let’s move on to the final step: maintenance and regular check-ups.
Step 7: Maintenance and Regular Check-ups
Keeping an organized toy storage system requires ongoing maintenance and regular check-ups to ensure that everything remains in order. This final step involves periodically monitoring and adjusting your organization strategies to accommodate any changes in your child’s toy collection or play habits.
Here’s how you can maintain your toy storage system:
- Regularly clean and sanitize: Toys can accumulate dust and germs over time. Set a routine to clean and sanitize the toys and storage containers regularly. This helps maintain a hygienic environment and prolongs the life of the toys.
- Perform regular toy inventory: Conduct regular toy inventories to assess what toys are being used frequently and what toys are no longer being played with. This way, you can make informed decisions about decluttering or donating toys that are no longer appealing to your child.
- Reassess storage solutions: As your child’s toy collection evolves, reevaluate your storage solutions to ensure they still meet your needs. You may need to adjust the size, quantity, or organization of the storage containers to accommodate new toys.
- Involve your child in maintenance: Encourage your child to participate in the maintenance process. Teach them how to clean up their toys, return them to their designated storage spots, and assist with any organization adjustments as needed.
- Regularly re-label and reorganize: Over time, labels may fade or become outdated. Periodically go through your storage containers, re-labeling them as necessary, and reorganize the toys to maintain a logical and efficient system.
By performing regular maintenance and check-ups, you can ensure that your toy organization system remains effective and functional, providing a clean and organized play area for your child.
With these steps, you have learned how to store toys with small pieces effectively. By gathering supplies, sorting the toys, choosing suitable storage solutions, labeling and organizing, storing toys with small pieces separately, establishing storage systems, and maintaining the organization, you are on your way to creating a clutter-free and hassle-free toy storage solution.
So go ahead, put these steps into action, and enjoy the benefits of an organized and stress-free playtime for both you and your child!
Conclusion
Organizing and storing toys with small pieces can be a challenging task, but with the right approach and strategies, it becomes much more manageable. By following the steps outlined in this article, from gathering supplies to implementing storage systems and conducting regular maintenance, you can create an organized and efficient toy storage solution.
Through the process of sorting, labeling, and storing toys with small pieces separately, you not only reduce the risk of losing or misplacing small parts but also facilitate easy access and cleanup. By involving your child in the process, you promote a sense of responsibility and independence in managing their toys.
Remember, it’s important to regularly reassess your storage systems and adjust them as needed. As your child’s toy collection grows and changes, you may need to modify your organization strategies to accommodate new toys and play interests.
By maintaining an organized play area, you create an environment that encourages creativity, promotes independent play, and reduces stress for both you and your child. Investing time in organizing and storing toys with small pieces now will save you time and frustration in the long run.
So roll up your sleeves, gather your supplies, and put these steps into action. Enjoy the benefits of a tidy, clutter-free play area where toys are easily accessible and put away with ease. Happy organizing!
Frequently Asked Questions about How To Store Toys With Small Pieces
Was this page helpful?
At Storables.com, we guarantee accurate and reliable information. Our content, validated by Expert Board Contributors, is crafted following stringent Editorial Policies. We're committed to providing you with well-researched, expert-backed insights for all your informational needs.

0 thoughts on “How To Store Toys With Small Pieces”