Home>Furniture & Design>Interior Design Trends>How To Clean Glass Pieces
Interior Design Trends
How To Clean Glass Pieces
Modified: October 19, 2024
Learn the latest interior design trends for cleaning glass pieces and keeping your space looking fresh and stylish. Discover expert tips and techniques for maintaining a sparkling, modern aesthetic.
(Many of the links in this article redirect to a specific reviewed product. Your purchase of these products through affiliate links helps to generate commission for Storables.com, at no extra cost. Learn more)
Introduction
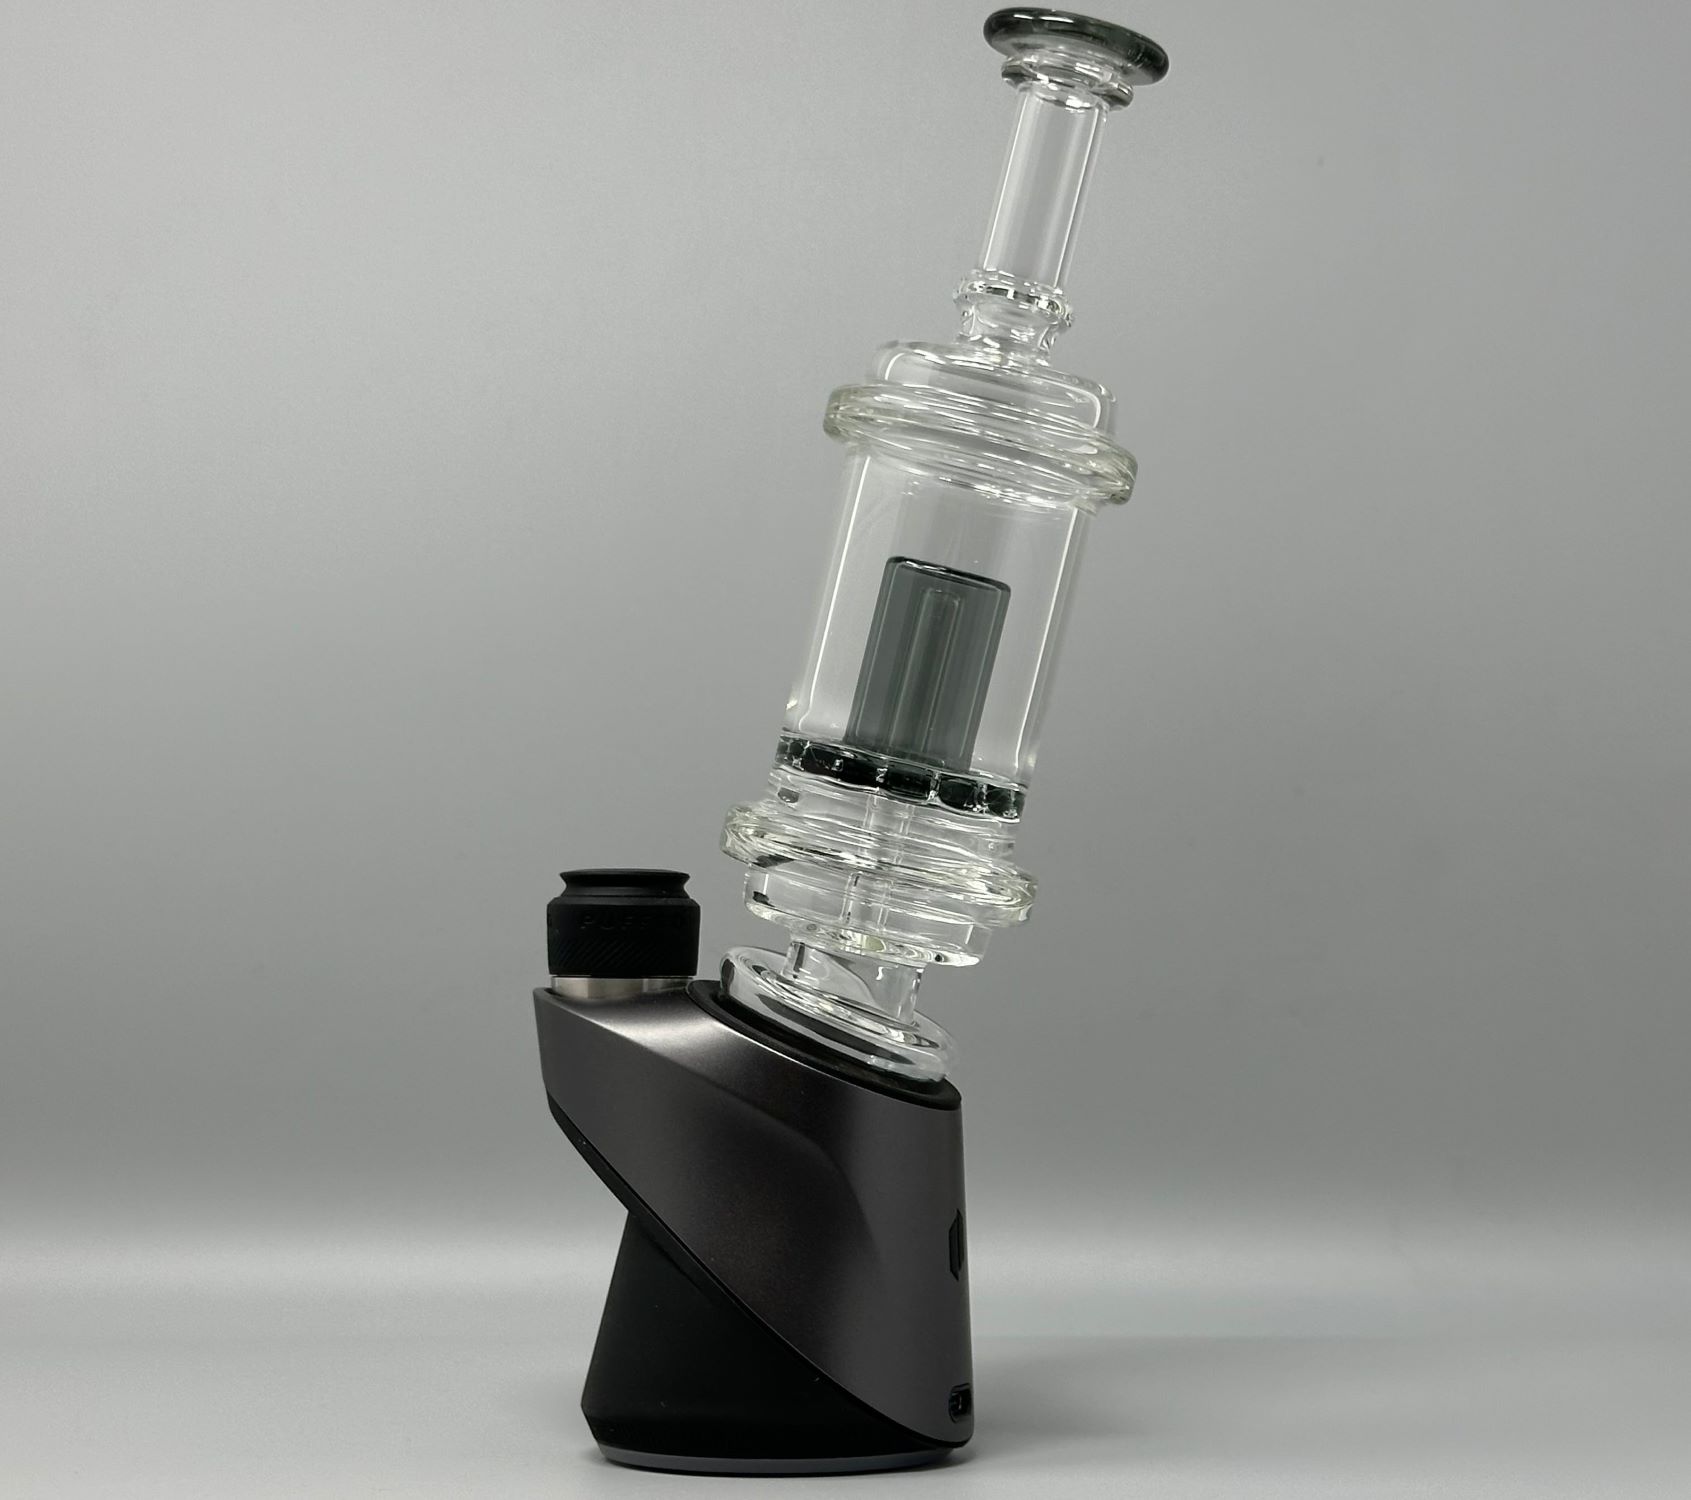
Cleaning glass pieces is an essential aspect of maintaining their functionality and aesthetic appeal. Whether it's a beloved bong, a cherished pipe, or a delicate glass ornament, regular cleaning not only ensures a pristine appearance but also contributes to a better overall experience. Over time, residue from smoke, ash, and other contaminants can accumulate, affecting the taste and purity of the substances being consumed. Additionally, neglecting to clean glass pieces can lead to the buildup of harmful bacteria and mold, posing potential health risks.
By following a few simple steps and using the right materials, you can restore your glass pieces to their original glory, ensuring a clean and enjoyable experience every time. This comprehensive guide will walk you through the process, providing valuable insights and tips to help you achieve sparkling results. From disassembling the glass piece to soaking, scrubbing, and reassembling it, each step is crucial in revitalizing your glassware.
Whether you're a seasoned enthusiast or a newcomer to the world of glassware, learning how to clean your glass pieces effectively is a valuable skill. Not only does it prolong the lifespan of your glassware, but it also enhances the purity of the substances you consume. With the right approach and a little effort, you can maintain your glass pieces in top condition, ensuring a delightful and hygienic experience every time you put them to use.
Now, let's delve into the materials needed and the step-by-step process to achieve immaculately clean glass pieces that will elevate your enjoyment and appreciation of these cherished items.
Key Takeaways:
- Regularly cleaning glass pieces with isopropyl alcohol, coarse salt, and cleaning brushes ensures a hygienic and enjoyable experience, prolonging the lifespan and enhancing the purity of substances consumed.
- Disassembling, soaking, scrubbing, rinsing, and reassembling glass pieces with care and precision results in immaculately clean and visually appealing glassware, elevating satisfaction and enjoyment with each use.
Read more: Where To Get A Piece Of Glass Cut
Materials Needed
Cleaning your glass pieces effectively requires the right materials to ensure thorough and safe cleaning. Before embarking on the cleaning process, gather the following items to facilitate a seamless and efficient cleaning experience:
-
Isopropyl Alcohol (91% or higher): This high-concentration alcohol is a potent solvent that effectively dissolves and removes stubborn residue and buildup from glass surfaces. It is readily available at most pharmacies and is a staple for cleaning glass pieces.
-
Coarse Salt: Coarse salt serves as an abrasive agent, aiding in the removal of tough stains and residue from the glass. When combined with isopropyl alcohol, it creates a powerful cleaning solution that can dislodge even the most stubborn buildup.
-
Cleaning Brushes: Invest in a set of cleaning brushes specifically designed for glassware. These brushes come in various sizes and shapes, allowing you to reach every nook and cranny of your glass pieces, ensuring a thorough cleaning process.
-
Resealable Plastic Bags: Large resealable plastic bags are essential for soaking and shaking the glass pieces in the cleaning solution. They provide a convenient and mess-free way to ensure that the cleaning solution reaches every part of the glassware.
-
Rubber or Silicone Gloves: Protect your hands from the cleaning solution and residue by wearing rubber or silicone gloves. These gloves provide a barrier against harsh chemicals and ensure a hygienic cleaning process.
-
Paper Towels or Microfiber Cloths: Absorbent paper towels or microfiber cloths are indispensable for drying the glass pieces after cleaning. They help to remove any remaining moisture and ensure a streak-free finish.
-
Warm Water: Having access to warm water is essential for rinsing the glass pieces after cleaning. The warm water helps to remove any residual cleaning solution and ensures a thorough rinse.
By ensuring that you have these materials on hand, you can proceed with confidence, knowing that you have everything you need to achieve optimal results in cleaning your glass pieces. With the materials gathered, you are now ready to embark on the step-by-step cleaning process, which will be detailed in the subsequent sections.
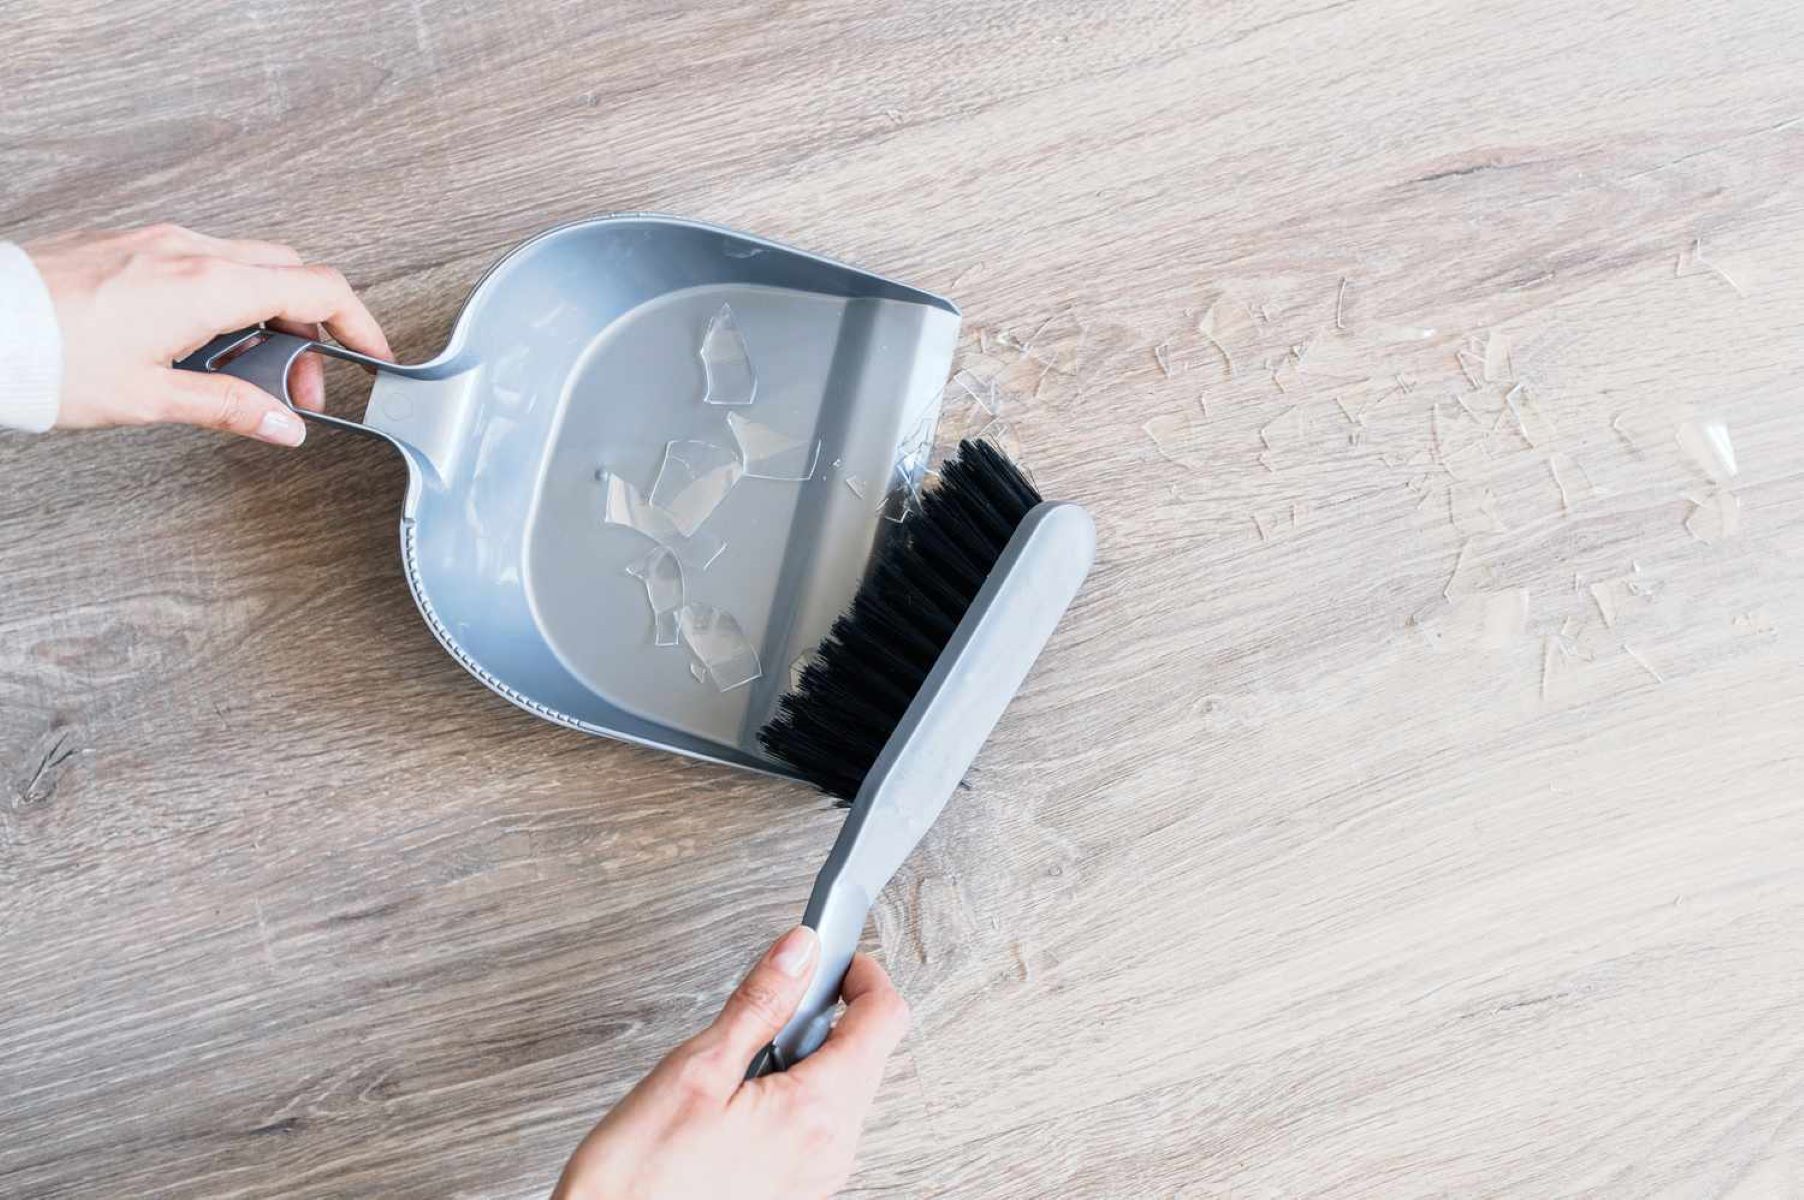
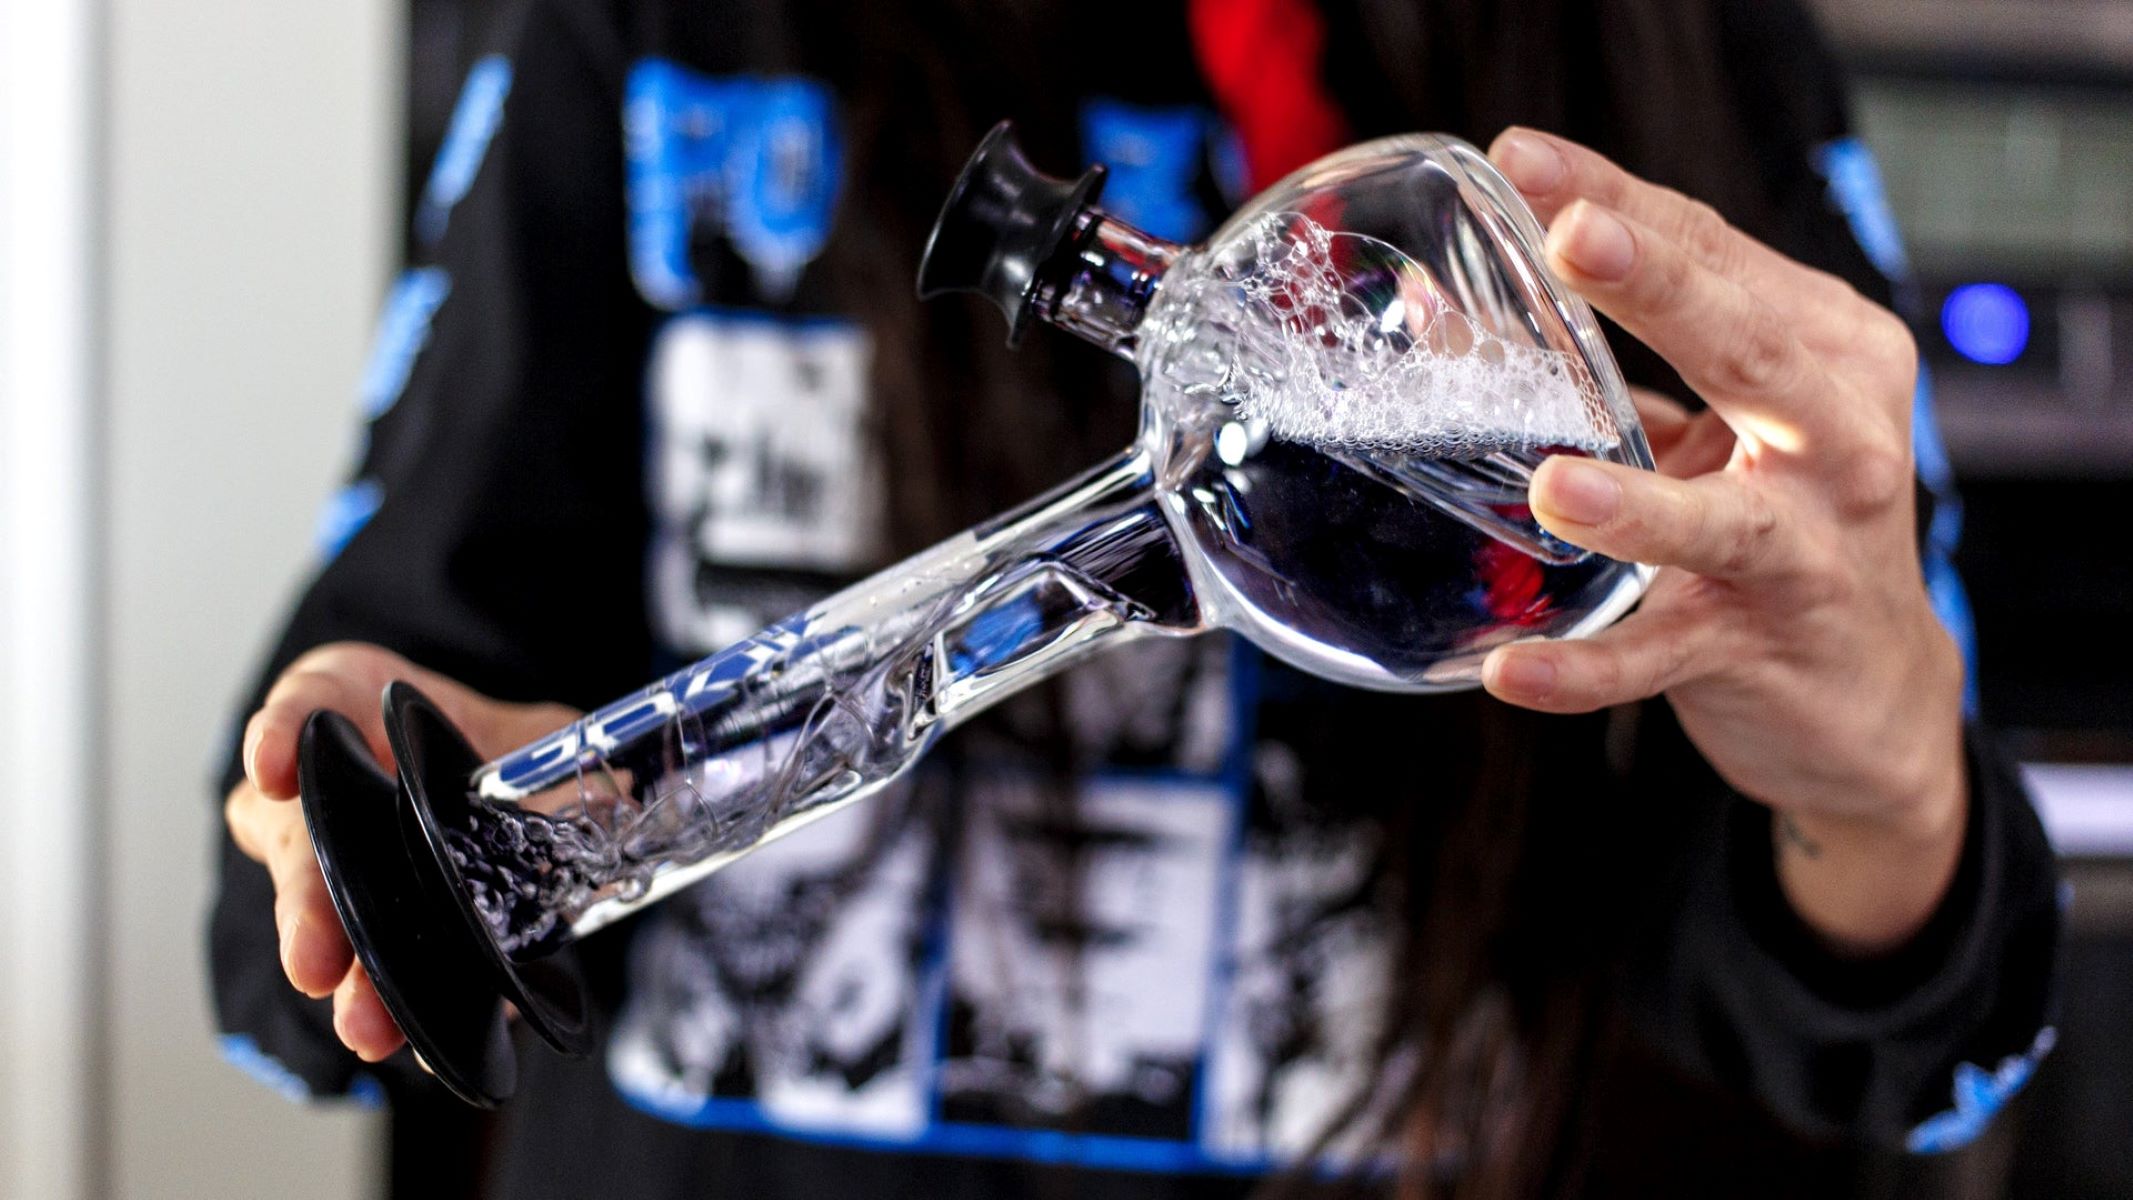
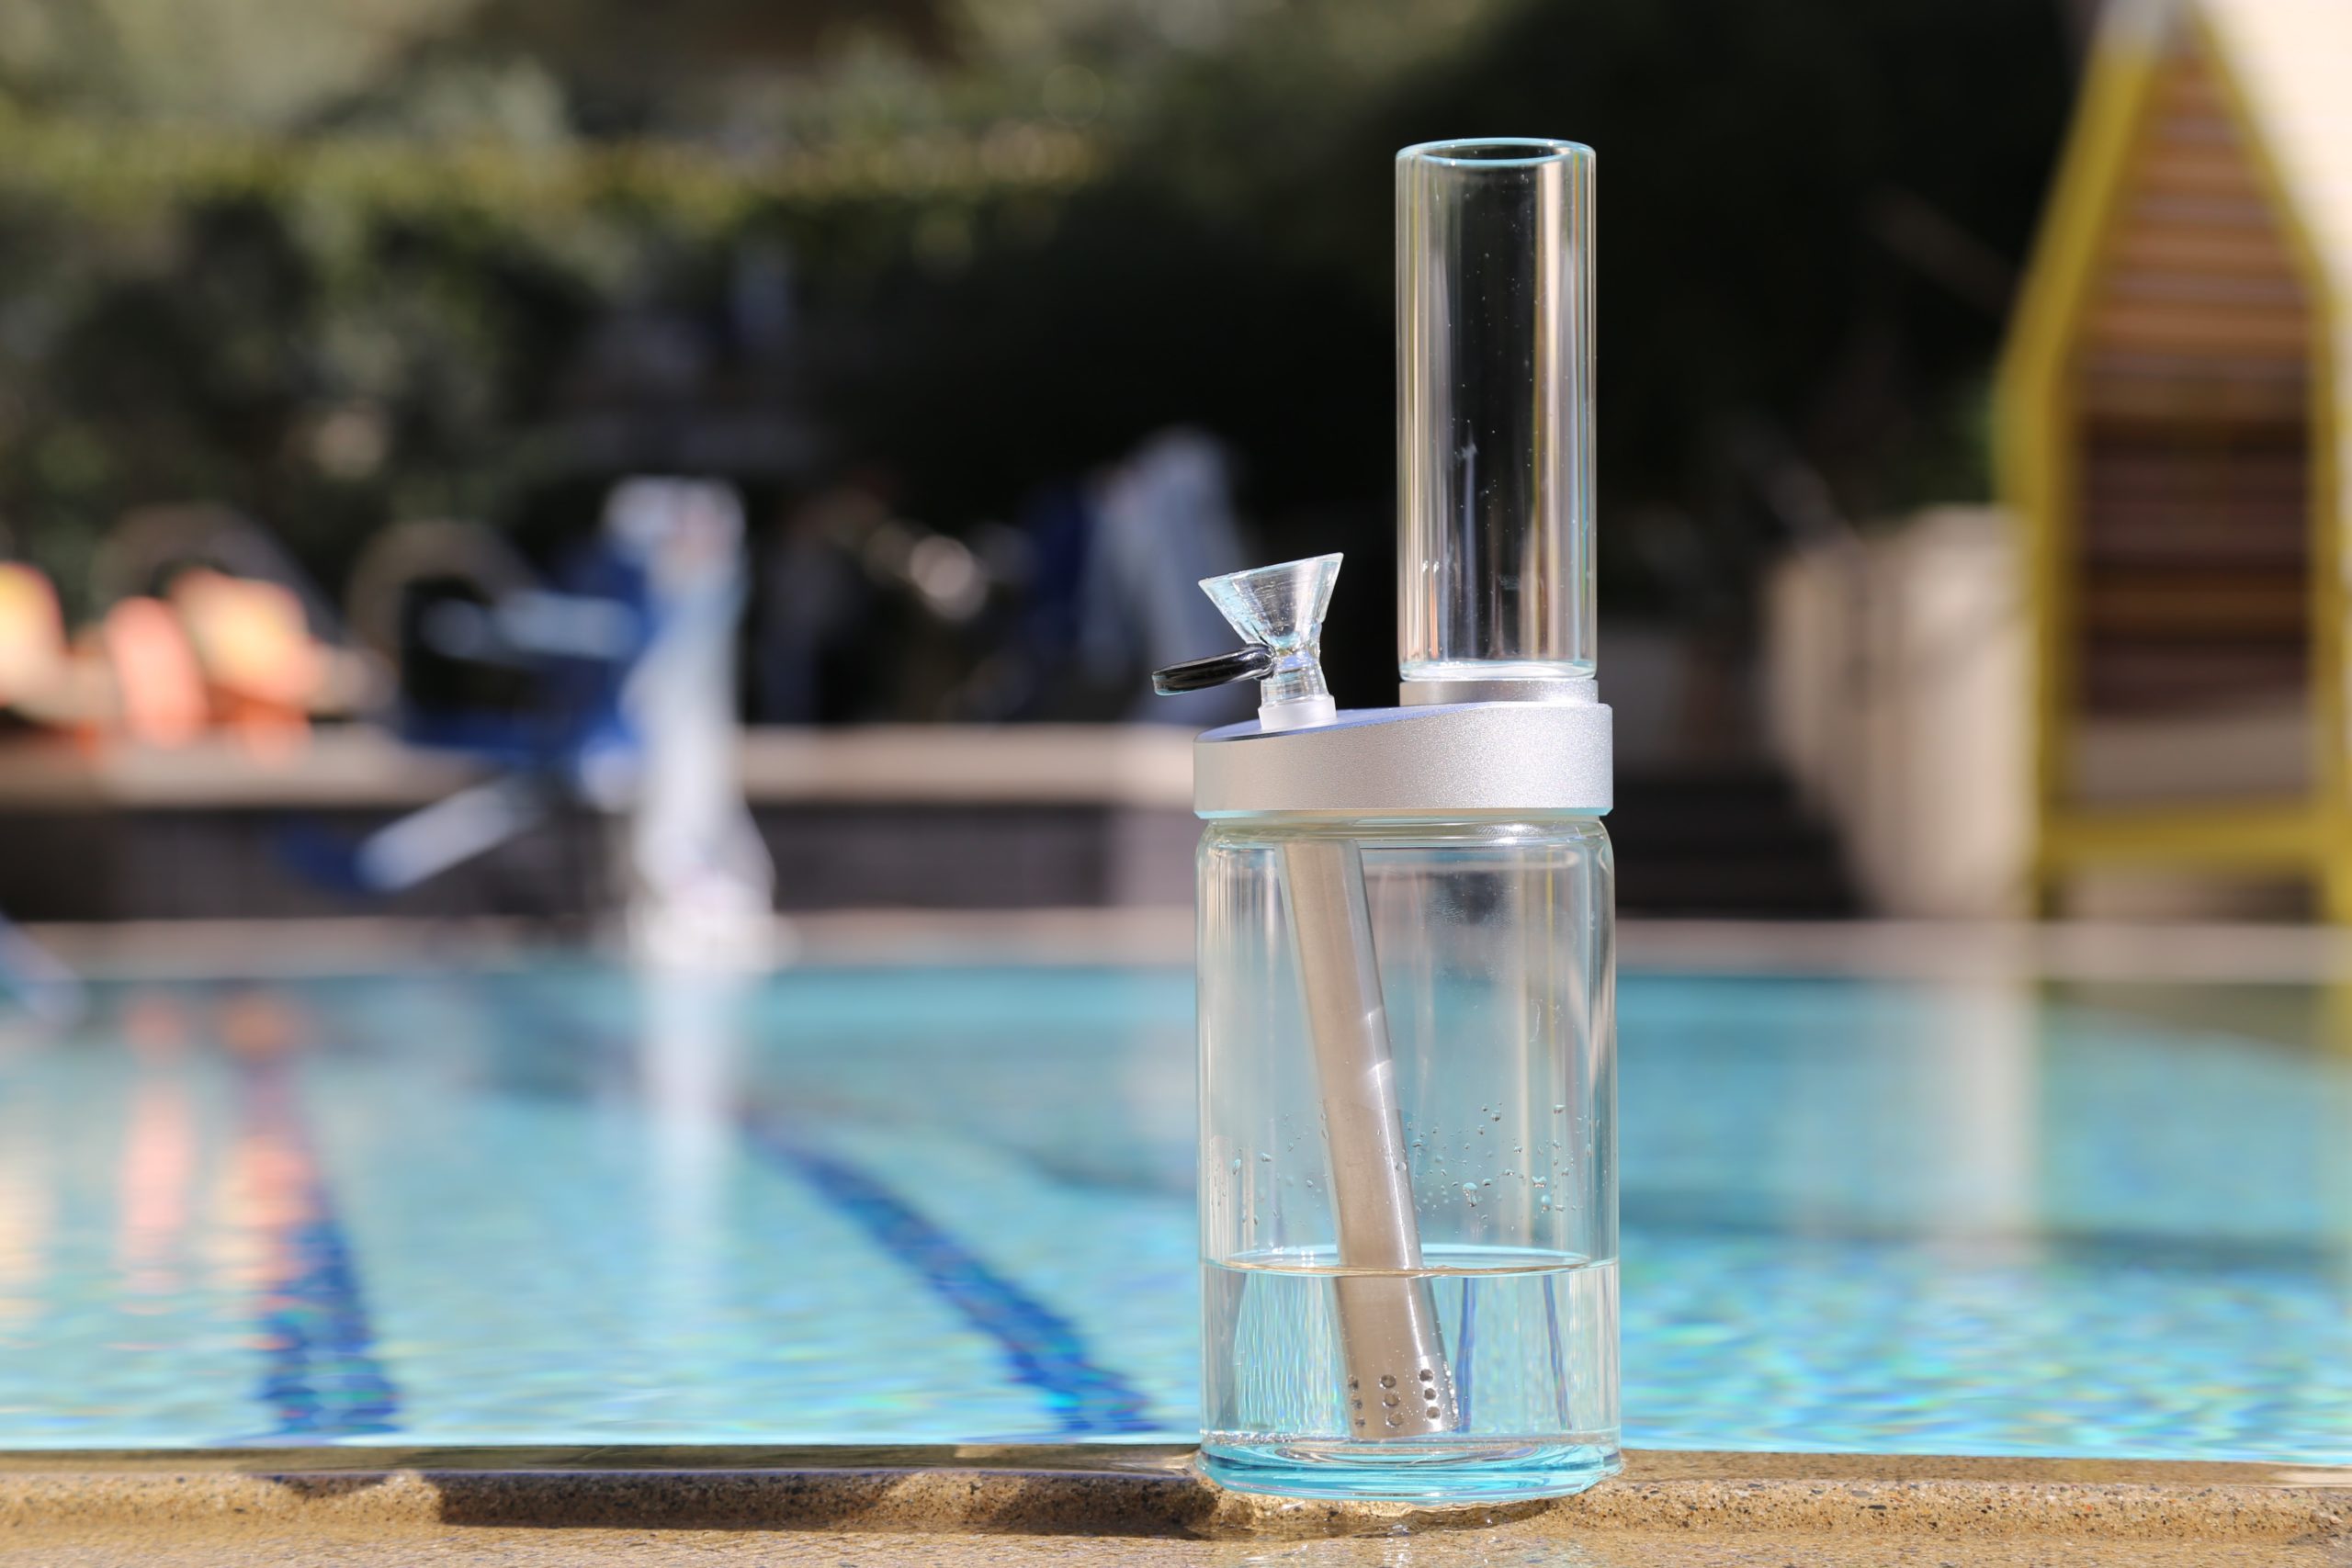
Step 1: Disassemble the Glass Piece
Before commencing the cleaning process, it is crucial to disassemble the glass piece to facilitate thorough cleaning of each component. Disassembling the glass piece allows for better access to hard-to-reach areas, ensuring that no residue or buildup is overlooked during the cleaning process.
Begin by carefully disassembling the glass piece, separating the individual components such as the bowl, downstem, and any other detachable parts. Take note of how the pieces fit together to ensure seamless reassembly later. It is advisable to handle the glass components with care to prevent any accidental breakage or damage.
For intricate pieces such as bongs or elaborate glassware, refer to any manufacturer-provided instructions for disassembly. Some glass pieces may have specific mechanisms or attachment points that require careful attention during disassembly. By following the manufacturer's guidelines, you can disassemble the glass piece with precision and confidence.
Once the glass piece is disassembled, visually inspect each component for any visible residue, buildup, or debris. This initial inspection provides insight into the areas that may require focused cleaning attention. Additionally, it allows you to assess the overall condition of the glass components, identifying any potential areas of concern that may require extra care during the cleaning process.
By disassembling the glass piece and conducting a thorough inspection, you set the stage for a comprehensive cleaning process that addresses every part of the glassware. This meticulous approach ensures that no area is overlooked, and each component receives the attention it needs to be restored to a pristine state.
With the glass piece successfully disassembled and inspected, you are now ready to proceed to the next step in the cleaning process, which involves soaking the components in a potent cleaning solution to dissolve and remove stubborn residue and buildup. This critical step sets the foundation for achieving immaculately clean glass pieces, ensuring a hygienic and enjoyable experience with your glassware.
Step 2: Soak in Cleaning Solution
Once the glass pieces are disassembled and inspected, the next crucial step in the cleaning process involves soaking the components in a potent cleaning solution. This soaking phase is instrumental in dissolving and loosening stubborn residue, tar, and buildup that may have accumulated over time. By immersing the glass components in a powerful cleaning solution, you create an environment that effectively breaks down and dislodges the contaminants, preparing the pieces for thorough cleaning.
To initiate the soaking process, begin by preparing the cleaning solution. In a large resealable plastic bag, combine isopropyl alcohol with coarse salt. The coarse salt serves as an abrasive agent, enhancing the cleaning action of the alcohol. The recommended ratio is approximately one cup of isopropyl alcohol to a generous amount of coarse salt, ensuring a potent cleaning solution that can tackle even the most stubborn residue.
Carefully place the disassembled glass components into the resealable plastic bag containing the cleaning solution. Ensure that each piece is fully submerged in the solution, allowing the potent mixture to penetrate and loosen any accumulated residue. Once the components are in the bag, seal it securely, and gently shake the bag to agitate the cleaning solution, facilitating the dislodging of stubborn buildup from the glass surfaces.
The soaking duration is a critical factor in achieving optimal cleaning results. It is recommended to allow the glass components to soak in the cleaning solution for an extended period, ideally several hours or overnight. This prolonged soaking period ensures that the cleaning solution effectively penetrates and dissolves the residue, making it easier to remove during the subsequent cleaning steps.
During the soaking process, periodically agitate the bag to ensure that the cleaning solution reaches every part of the glass components. This gentle agitation helps to dislodge the residue and promotes thorough cleaning. Additionally, the combination of isopropyl alcohol and coarse salt creates a dynamic cleaning environment, effectively breaking down and dissolving the accumulated contaminants, preparing the glass pieces for the next phase of the cleaning process.
By allowing the glass components to soak in the potent cleaning solution, you lay the foundation for a comprehensive cleaning process that targets even the most stubborn residue and buildup. This crucial step sets the stage for the subsequent cleaning and scrubbing phase, ensuring that the glass pieces are thoroughly prepared for the restoration of their pristine condition.
To clean glass pieces, soak them in a mixture of hot water and dish soap for 30 minutes, then scrub with a brush or pipe cleaner. Rinse thoroughly with hot water and let air dry.
Step 3: Scrub with Cleaning Brush
After the glass components have undergone the soaking process and the potent cleaning solution has effectively loosened the accumulated residue and buildup, the next pivotal step involves scrubbing the glass pieces with dedicated cleaning brushes. This step is instrumental in dislodging and removing the softened residue, ensuring a thorough and meticulous cleaning process.
Begin by carefully removing the glass components from the resealable plastic bag containing the cleaning solution. As you retrieve each piece, visually inspect it to assess the extent to which the residue has been loosened. You may notice that the residue appears softened and more manageable, indicating the effectiveness of the soaking process in preparing the glass pieces for scrubbing.
Equipped with a set of dedicated cleaning brushes designed for glassware, proceed to scrub each glass component meticulously. The cleaning brushes come in various sizes and shapes, allowing you to access and clean even the most intricate and hard-to-reach areas of the glass pieces. The bristles of the cleaning brushes effectively dislodge the softened residue, ensuring a comprehensive cleaning process.
Dip the cleaning brushes in warm water to moisten the bristles, enhancing their cleaning action. With gentle yet firm motions, scrub the interior and exterior surfaces of each glass component, paying particular attention to areas where residue and buildup were prevalent. The combination of the softened residue and the cleaning action of the brushes facilitates the removal of contaminants, restoring the glass pieces to their original pristine state.
For intricate glassware such as bongs or ornate pipes, utilize specialized cleaning brushes designed to navigate the complex shapes and structures of the glass components. These brushes are tailored to address the unique cleaning challenges posed by elaborate glassware, ensuring that every part of the glass pieces receives the attention it requires for thorough cleaning.
As you scrub each glass component, periodically rinse the brushes in warm water to remove dislodged residue and ensure continued cleaning effectiveness. This process prevents the re-deposition of dislodged residue onto the glass surfaces, maintaining the integrity of the cleaning process.
By meticulously scrubbing the glass components with dedicated cleaning brushes, you ensure that every part of the glass pieces is thoroughly cleaned and restored to its original pristine condition. This step represents a pivotal stage in the cleaning process, setting the stage for the subsequent rinsing and drying phase, which will be detailed in the following section.
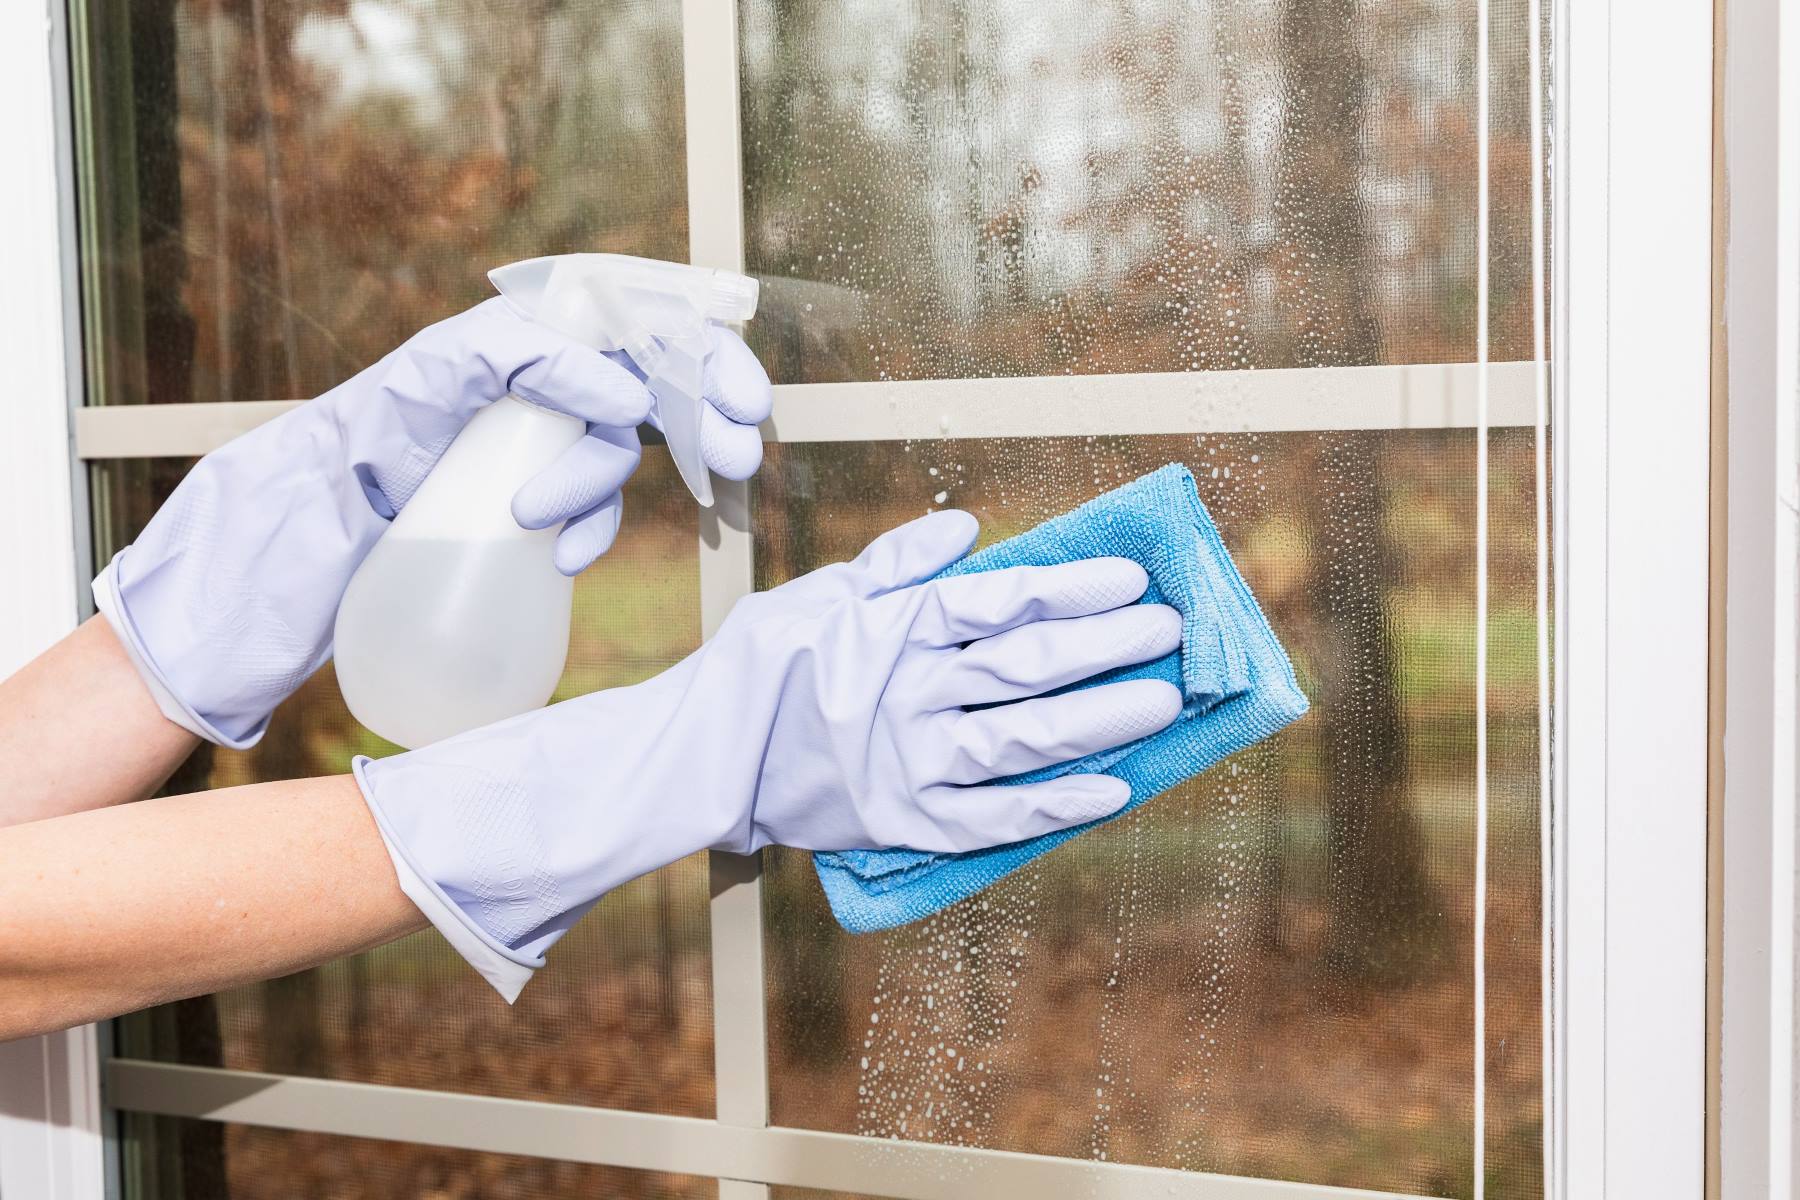
Step 4: Rinse and Dry
After the meticulous scrubbing of the glass components, the next crucial step in the cleaning process involves rinsing and drying the pieces to ensure the complete removal of residue and cleaning solution. This step is essential in achieving a streak-free and pristine finish, preparing the glass pieces for reassembly and subsequent use.
Begin by rinsing each glass component thoroughly under warm running water. The warm water effectively removes any remaining residue and cleaning solution, ensuring that the glass pieces are free from contaminants. As you rinse the components, visually inspect them to confirm that all traces of residue and cleaning solution have been effectively removed. This visual inspection provides assurance that the cleaning process has been thorough and meticulous.
Once the glass components have been rinsed, proceed to dry them using absorbent paper towels or microfiber cloths. Gently pat the components dry, ensuring that all moisture is effectively removed. Pay particular attention to intricate areas and crevices, ensuring that no moisture is retained, which could compromise the cleanliness of the glass pieces.
As you dry each component, take note of the clarity and sparkle that emerges, indicating the successful restoration of the glass pieces to their original pristine state. The removal of moisture and residue culminates in a streak-free finish, enhancing the visual appeal of the glassware and preparing it for reassembly.
For intricate glass pieces with complex structures, consider utilizing compressed air or cotton swabs to remove any residual moisture from hard-to-reach areas. This meticulous approach ensures that every part of the glass components is thoroughly dried, leaving no room for residual moisture or streaks.
Upon completing the rinsing and drying process, take a moment to appreciate the revitalized appearance of the glass pieces. The removal of residue and the restoration of clarity and cleanliness contribute to an enhanced aesthetic appeal, reaffirming the value of the meticulous cleaning process.
With the glass components thoroughly rinsed and dried, you are now ready to proceed to the final step of the cleaning process, which involves reassembling the glass pieces. This pivotal step marks the culmination of the comprehensive cleaning process, ensuring that the glassware is primed for future use, providing a clean and enjoyable experience with each use.
Step 5: Reassemble the Glass Piece
With the glass components thoroughly cleaned, rinsed, and dried, the final step in the comprehensive cleaning process involves reassembling the glass piece. This pivotal stage marks the culmination of the meticulous cleaning journey, ensuring that the glassware is restored to its original functionality and aesthetic appeal.
Begin by carefully reassembling the glass components, referring to any notes or mental images of their original configuration. Take care to align and fit each component securely, ensuring a snug and stable assembly. For intricate glass pieces with multiple components, exercise patience and precision to ensure that each part is reattached correctly, maintaining the integrity of the overall structure.
As you reassemble the glass piece, take a moment to appreciate the revitalized appearance and cleanliness of the components. The removal of residue and the restoration of clarity contribute to a renewed visual appeal, reaffirming the value of the thorough cleaning process. This visual transformation serves as a testament to the effectiveness of the cleaning steps undertaken, instilling confidence in the cleanliness and hygiene of the glassware.
Once the glass piece is successfully reassembled, conduct a final visual inspection to confirm that each component is securely attached and that the overall assembly is structurally sound. This inspection ensures that the glass piece is ready for subsequent use, providing assurance of its cleanliness and functionality.
With the glass piece reassembled and restored to its original state, you have successfully completed the comprehensive cleaning process, revitalizing the glassware and ensuring a hygienic and enjoyable experience with each use. The meticulous attention to detail and the adherence to the cleaning steps have resulted in immaculately clean glass pieces, ready to enhance your enjoyment and appreciation of these cherished items.
By following the step-by-step cleaning process and utilizing the recommended materials, you have not only restored the cleanliness and visual appeal of your glass pieces but also contributed to their longevity and performance. With the glassware now primed for future use, you can indulge in the delightful experience of using impeccably clean and well-maintained glass pieces, elevating your enjoyment and satisfaction with each use.
Conclusion
In conclusion, mastering the art of cleaning glass pieces is a valuable skill that ensures the longevity, functionality, and visual appeal of these cherished items. By following the comprehensive cleaning process outlined in this guide, you have embarked on a journey to revitalize your glassware, ensuring a hygienic and enjoyable experience with each use.
The meticulous approach of disassembling the glass pieces, soaking them in a potent cleaning solution, scrubbing with dedicated cleaning brushes, and finally rinsing and drying each component has resulted in immaculately clean glassware. The removal of stubborn residue and the restoration of clarity and sparkle affirm the effectiveness of the cleaning process, instilling confidence in the cleanliness and hygiene of the glass pieces.
As you reassemble the glass pieces, the visual transformation serves as a testament to the value of the thorough cleaning process. The revitalized appearance and restored functionality of the glassware reaffirm its significance in enhancing your enjoyment and appreciation of these items.
By investing the time and effort in cleaning your glass pieces, you have not only preserved their aesthetic appeal but also contributed to their longevity and performance. The removal of residue, tar, and buildup ensures a pristine and hygienic experience with each use, elevating your satisfaction and enjoyment.
Moving forward, the knowledge and skills acquired in cleaning glass pieces will continue to benefit you, ensuring that your glassware remains in top condition for years to come. The ability to maintain impeccably clean and well-maintained glass pieces enhances your overall experience, allowing you to indulge in the delightful use of these items with confidence and satisfaction.
In essence, the comprehensive cleaning process detailed in this guide empowers you to preserve the cleanliness, functionality, and visual allure of your glass pieces, enriching your interaction with these cherished items. With each use, you can now revel in the pristine condition and hygienic appeal of your glassware, enhancing your overall enjoyment and appreciation of these valuable possessions.
Frequently Asked Questions about How To Clean Glass Pieces
Was this page helpful?
At Storables.com, we guarantee accurate and reliable information. Our content, validated by Expert Board Contributors, is crafted following stringent Editorial Policies. We're committed to providing you with well-researched, expert-backed insights for all your informational needs.


0 thoughts on “How To Clean Glass Pieces”