Articles
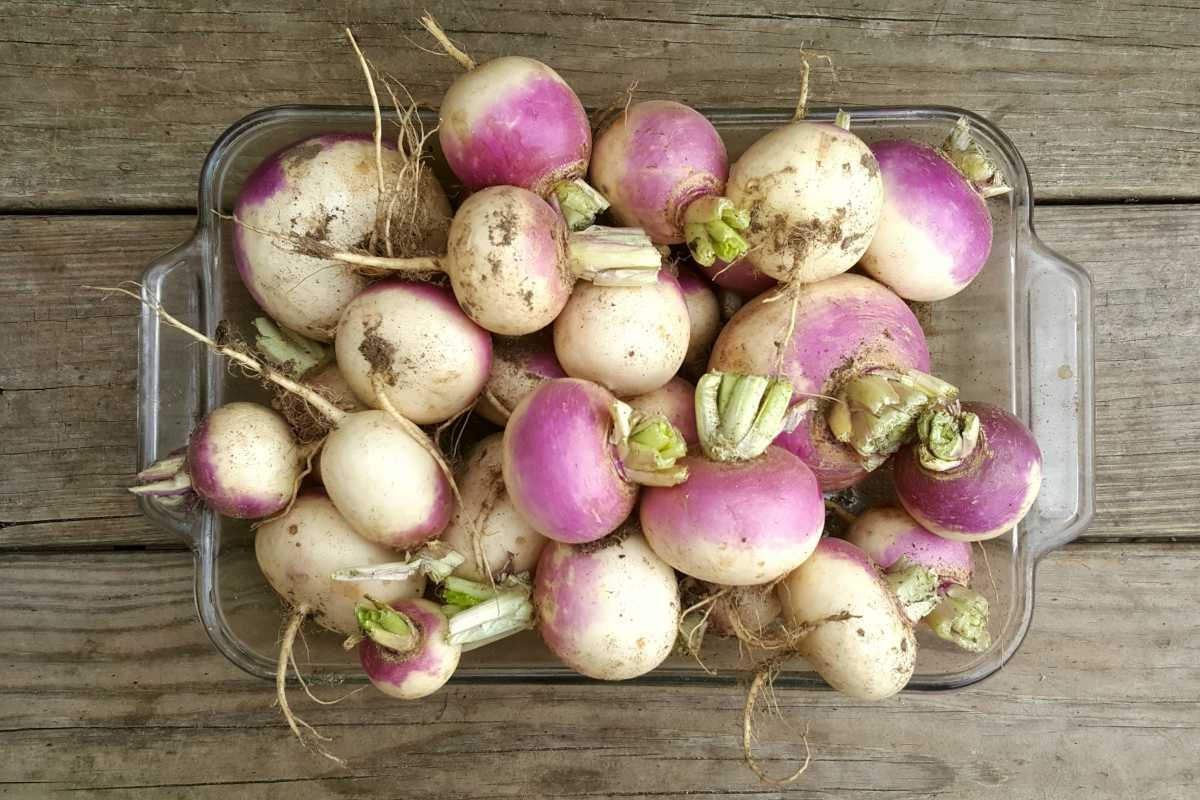
How To Store Turnips In The Fridge
Modified: December 7, 2023
Learn the best techniques for storing turnips in the fridge with these informative articles. Keep your turnips fresh and flavorful for longer with these helpful tips.
(Many of the links in this article redirect to a specific reviewed product. Your purchase of these products through affiliate links helps to generate commission for Storables.com, at no extra cost. Learn more)
Introduction
When it comes to storing vegetables, turnips may not be the first thing that comes to mind. However, storing turnips properly can help prolong their freshness and flavor, ensuring you have a tasty and nutritious ingredient on hand whenever you need it. One of the best ways to store turnips is by utilizing the convenient and controlled environment of your refrigerator.
In this article, we will discuss the importance of storing turnips in the fridge, the steps involved in preparing turnips for storage, the right storage container to use, the optimal temperature and humidity conditions, and additional tips to maintain the freshness of your turnips. So let’s dive in!
Key Takeaways:
- Store turnips in the fridge to prolong freshness, preserve nutrients, and minimize spoilage. Proper preparation, airtight containers, and ideal temperature and humidity are key for successful storage.
- Maximize turnip shelf life by handling with care, keeping them dry, and checking for spoilage signs. Enjoy fresh and nutritious turnips for weeks with proper fridge storage.
Read more: How To Store Turnip Greens
Why Store Turnips in the Fridge?
Storing turnips in the fridge offers several benefits compared to other storage methods. Here are a few reasons why using the fridge is an ideal choice:
- Prolongs Shelf Life: Turnips are root vegetables that contain a high amount of moisture. Storing them in the fridge helps to slow down the natural degradation process, extending their shelf life. This means you can enjoy fresh turnips for a longer period.
- Preserves Freshness: Refrigeration helps to maintain the crispness and texture of turnips. This is especially important if you plan to use them in salads, stir-fries, or other recipes that require a firm and crunchy texture.
- Retains Nutritional Value: Turnips are packed with essential nutrients like vitamins, minerals, and fiber. By storing them in the fridge, you can help preserve their nutritional content, ensuring you receive all the health benefits they offer.
- Minimizes Spoilage: Turnips are prone to spoilage when exposed to warm temperatures, excessive humidity, or microorganisms. Refrigeration creates a controlled environment that inhibits the growth of bacteria, molds, and other harmful organisms, reducing the chances of spoilage.
Overall, storing turnips in the fridge is a reliable and effective way to maintain their freshness, flavor, and nutritional value. By doing so, you can ensure that you have delicious and healthy turnips readily available whenever you need them.
Preparing Turnips for Storage
Properly preparing turnips before storing them in the fridge is essential to maintain their quality. Follow these steps to ensure your turnips are in the best condition for storage:
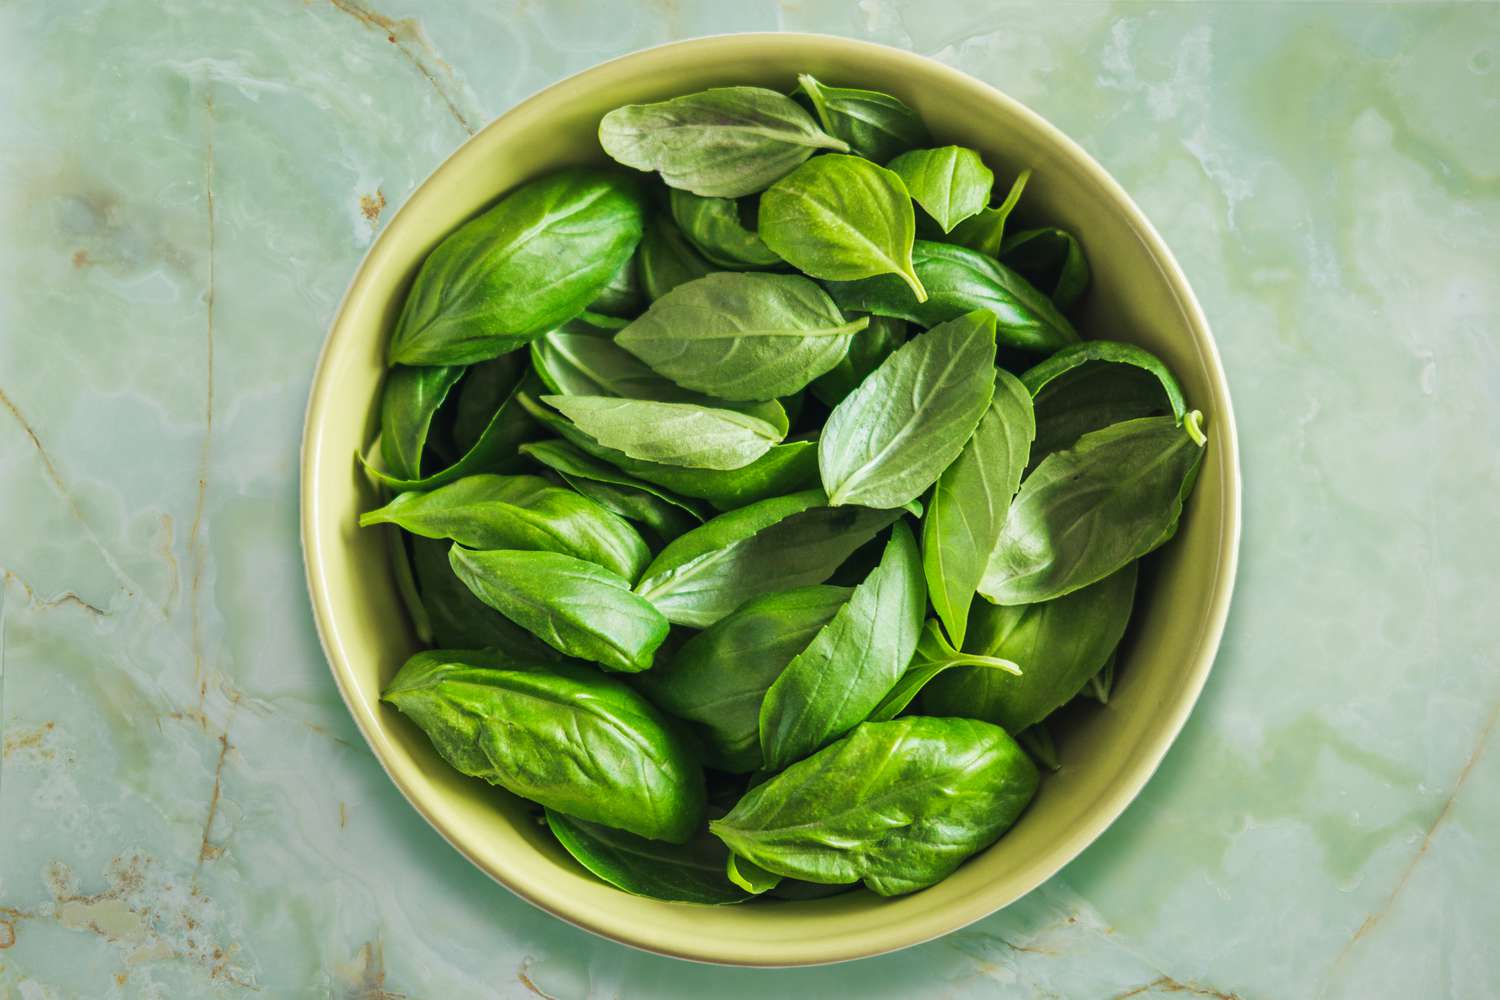
- Remove the Tops: Start by cutting off the green tops of the turnips. The greens can draw moisture from the root, causing the turnips to lose their freshness quickly. However, you can save the greens for cooking or using them in other recipes if desired.
- Trim the Roots: Trim any excess roots attached to the turnips. This helps to prevent the roots from rotting during storage.
- Gently Clean: Rinse the turnips under cold running water to remove any dirt or debris. Use a soft brush or cloth to scrub away stubborn dirt.
- Dry Thoroughly: After washing, make sure to dry the turnips thoroughly. Excess moisture can promote decay and spoilage. Pat them dry with a clean kitchen towel or paper towels.
- Avoid Cuts or Bruises: Inspect the turnips for any cuts, bruises, or other signs of damage. Remove any damaged parts as they are more susceptible to spoilage. It’s best to store only the healthy and intact turnips.
By following these preparation steps, you are setting the stage for successfully storing turnips in the fridge. It ensures that your turnips are clean, dry, and free from any potential sources of decay or spoilage.
Choosing the Right Storage Container
When it comes to storing turnips in the fridge, selecting the appropriate storage container is crucial to maintaining their quality and freshness. Consider the following factors when choosing the right storage container:
- Airtight Containers: Opt for airtight containers that provide a tight seal. This prevents moisture loss and helps to retain the natural moisture content of the turnips, keeping them fresh for a longer period.
- BPA-Free Plastic Bags: If you prefer to store turnips in plastic bags, choose BPA-free options. BPA (Bisphenol A) is a chemical commonly found in certain plastics and can potentially seep into the food. Using BPA-free bags ensures the safety and quality of your stored turnips.
- Perforated Bags: Consider using perforated bags or containers with ventilation holes. These allow for proper air circulation, preventing excess moisture buildup that could lead to spoilage.
- Transparent Containers: Using transparent containers allows you to easily see the turnips without opening the container. This eliminates the need for unnecessary handling and exposure to air, which can lead to faster deterioration.
- Reusable Containers: Opt for reusable containers that are durable and can be easily cleaned. This helps minimize waste and promotes eco-friendly storage solutions.
Remember to choose containers that are appropriately sized for the number of turnips you wish to store. Containers that are too large will leave excess air space, while containers that are too small may cause the turnips to become crushed or bruised.
By selecting the right storage container, you are creating an ideal environment for preserving the freshness and quality of your turnips in the fridge. It’s an important step towards maximizing their shelf life and minimizing waste.
Temperature and Humidity Requirements
For optimal storage of turnips in the fridge, it is crucial to maintain the right temperature and humidity levels. The ideal conditions help to prevent the turnips from drying out or becoming overly moist, preserving their freshness and flavor. Here are the recommended temperature and humidity requirements:
- Temperature: Turnips should be stored at a temperature range of 32°F to 40°F (0°C to 4°C). This cool environment helps to slow down the natural deterioration process and extends the shelf life of the turnips. Avoid storing them near the freezer compartment or in areas of the fridge with temperature fluctuations.
- Humidity: Turnips prefer a humid environment to prevent them from drying out but not excessively moist to avoid spoilage. Aim for a humidity level of around 90% to 95%. If your refrigerator has adjustable humidity settings, set it to this range or use a perforated plastic bag to regulate moisture levels around the turnips.
It’s important to note that this temperature and humidity range may vary slightly depending on your specific refrigerator model and settings. Always refer to the manufacturer’s guidelines for the best practices in storing vegetables.
By maintaining the proper temperature and humidity levels, you can ensure that your turnips remain fresh, crisp, and full of flavor. These conditions create an optimal storage environment that helps extend the shelf life and preserve the quality of your turnips in the fridge.
Read more: How To Plant Turnip Seeds
Proper Cleaning and Drying Techniques
Before storing turnips in the fridge, it is important to clean them thoroughly and ensure they are properly dried. Proper cleaning and drying techniques contribute to maintaining the quality and freshness of the turnips. Here are some steps to follow:
- Rinse Under Cold Water: Start by rinsing the turnips under cold running water. Use your hands to gently rub away any dirt or debris on the surface.
- Use a Soft Brush or Cloth: For stubborn dirt or hard-to-reach areas, use a soft brush or cloth to gently scrub the turnips. This will help remove any remaining dirt or impurities.
- Inspect for Damage: While cleaning, inspect the turnips for any signs of cuts, bruises, or other damages. Remove any damaged parts, as they are more prone to spoilage.
- Dry Thoroughly: After washing, make sure to dry the turnips thoroughly. Excess moisture can lead to faster spoilage. Pat the turnips dry with a clean kitchen towel or paper towels.
It is important to note that you should only clean the turnips right before storing them. Water or excessive moisture can promote decay and spoilage if the turnips are not dried thoroughly.
By following these proper cleaning and drying techniques, you can ensure that your turnips are free from dirt and debris and ready to be stored in the fridge. Clean and dry turnips will have an extended shelf life and maintain their quality for a longer period.
Store turnips in the fridge by removing the greens, placing them in a perforated plastic bag, and storing them in the crisper drawer. They can last for up to 3 weeks when stored properly.
Storing Turnips in the Fridge
Now that your turnips are cleaned and dried, it’s time to store them in the fridge. Follow these steps to ensure proper storage and maximum freshness:
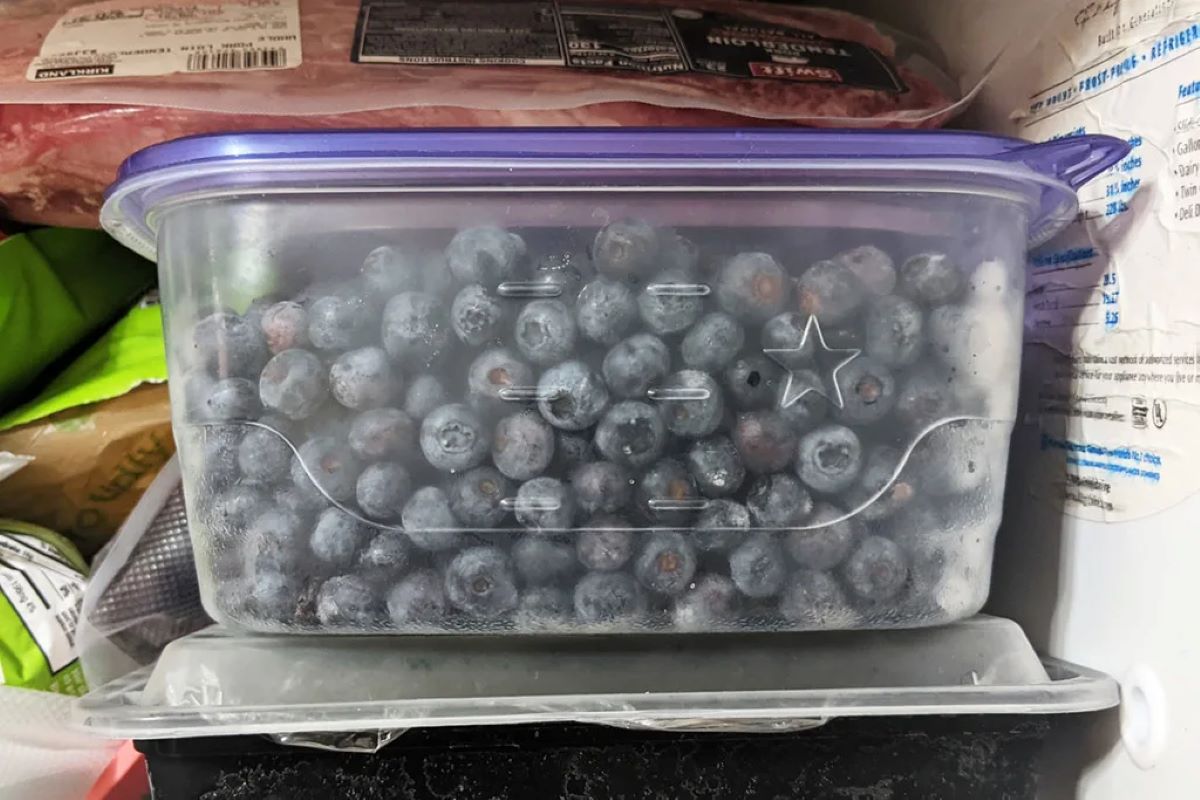
- Choose an Airtight Container: Select a clean and airtight container or BPA-free plastic bags for storing your turnips. Ensure that it provides a tight seal to minimize air exposure.
- Arrange the Turnips: Place the turnips in the storage container in a single layer. Avoid overcrowding to allow for proper air circulation.
- Label and Date: It’s helpful to label the container or bags with the date of storage. This allows you to keep track of the turnips’ freshness and use them in a timely manner.
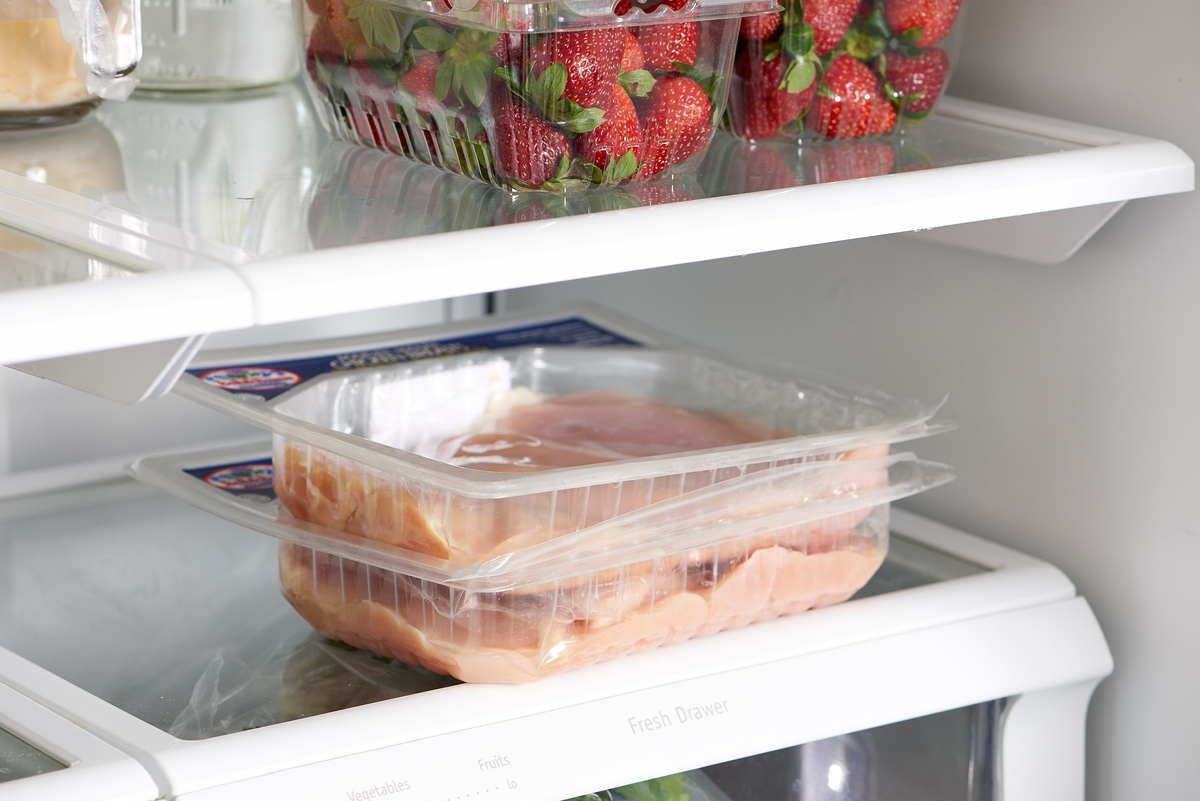
- Store in the Fridge: Place the container with the turnips in the refrigerator, preferably on one of the lower shelves. This area often has a more consistent temperature, ensuring optimal storage conditions.
- Avoid Ethylene-Producing Fruits: Keep the turnips away from fruits that produce ethylene gas, such as apples, bananas, or avocados. Ethylene gas can accelerate the ripening process and cause the turnips to spoil faster.
It is important to note that turnips stored in the fridge typically have a shelf life of up to 2-4 weeks, depending on their initial freshness and the conditions they are stored in.
By following these storage steps, you can maintain the freshness, flavor, and quality of your turnips for an extended period. This ensures that you have a readily available ingredient packed with nutrition whenever you need it.
Recommended Shelf Life of Stored Turnips
Properly stored turnips in the fridge can maintain their quality and freshness for a significant period. However, it is important to be aware of the recommended shelf life to ensure you consume them at their best. Here are some guidelines for the shelf life of stored turnips:
- Whole Turnips: If you store whole turnips in the fridge, they can typically last for 2-4 weeks. It is best to consume them within this timeframe to enjoy the optimal flavor and texture.
- Cut or Peeled Turnips: If you have cut or peeled turnips, they have a shorter shelf life and are best consumed within 1-2 weeks. Once turnips are exposed to air, they begin to degrade faster, so it’s important to use them promptly.
- Stored with Greens: If you prefer to store the turnips with their greens intact, it is recommended to remove the greens before storing. The greens draw moisture from the roots, causing the turnips to lose their freshness quicker. However, you can use the greens separately within a few days of harvest.
It is important to note that these are general guidelines, and the actual shelf life may vary based on the freshness of the turnips when purchased and the storage conditions in your fridge. Always use your senses of sight and smell to assess the quality of the turnips before consuming them.
By being mindful of the recommended shelf life and consuming your stored turnips within that timeframe, you can ensure that you enjoy them at their peak flavor and quality.
Tips for Maintaining Freshness
To prolong the freshness and quality of stored turnips in the fridge, consider the following tips:
- Handle with Care: Avoid rough handling or dropping the turnips, as this can cause bruising or damage, leading to faster spoilage.
- Keep Them Dry: Moisture can accelerate spoilage, so ensure the turnips are completely dry before storing them in the fridge. Excess moisture can lead to the growth of mold or bacteria, causing the turnips to spoil.
- Check Regularly: Periodically inspect the stored turnips for any signs of spoilage or decay. Remove any damaged or spoiled turnips to prevent them from affecting the others.
- Store Separately: It’s best to store turnips separately from other fruits and vegetables. The ethylene gas emitted by certain fruits can speed up the ripening process of turnips, causing them to spoil faster.
- Avoid Extreme Temperatures: Keep the storage container with turnips away from areas with fluctuating temperatures, such as near the fridge door or above the air vent. Extreme temperature changes can affect the freshness and quality of the turnips.
- Use First-In, First-Out: When using the stored turnips, follow the first-in, first-out method. This means using the oldest turnips first to ensure they are consumed before they start to deteriorate.
By incorporating these tips into your storage routine, you can maximize the shelf life and maintain the freshness of your turnips in the fridge. This allows you to enjoy delicious and nutritious turnips in your meals for an extended duration.
Read more: How Deep To Plant Turnip Seeds
Potential Signs of Spoilage
While properly stored turnips can maintain their freshness for a considerable time, it’s essential to be aware of the signs of spoilage. Here are some potential indicators that your turnips may have spoiled:
- Mold: The presence of fuzzy mold on the surface of the turnips is a clear sign of spoilage. Discard any turnips that show visible mold growth.
- Softening: If the turnips become mushy or excessively soft to the touch, it’s a sign that they have started to deteriorate.
- Discoloration: If the turnips develop dark or brown spots, especially on the flesh, it indicates that they are no longer fresh and should be discarded.
- Off Odor: If the turnips emit an unpleasant or foul odor, distinct from their natural earthy smell, it suggests that they have spoiled. Trust your nose and discard any turnips with an off odor.
- Sliminess: A slimy texture on the surface of the turnips indicates spoilage. If the turnips feel slimy to the touch, it’s best to discard them immediately.
It’s important to note that these signs may vary depending on the degree of spoilage and the specific condition of the turnips. If you are unsure about the freshness of the turnips, it’s best to err on the side of caution and discard them.
Regularly checking for these potential signs of spoilage ensures that you consume fresh and safe turnips. This allows you to enjoy their delicious flavor and reap the nutritional benefits while minimizing the risk of consuming spoiled produce.
Conclusion
Storing turnips in the fridge is a simple and effective way to extend their shelf life and maintain their freshness. By following the proper cleaning, drying, and storage techniques outlined in this article, you can enjoy crisp and flavorful turnips for an extended period.
Keeping turnips in the fridge offers numerous benefits, including prolonging their shelf life, preserving their freshness, retaining their nutritional value, and minimizing the risk of spoilage. The recommended temperature and humidity conditions, along with careful handling and regular inspection, play key roles in maintaining turnips’ quality.
By selecting the appropriate storage container, removing the greens, and ensuring proper cleaning and drying, you set the stage for successful turnip storage. Following the recommended shelf life guidelines, using the first-in, first-out approach, and being aware of signs of spoilage further ensures that you consume your turnips at their best.
Whether you use turnips in your favorite recipes or incorporate them into a healthy and well-balanced diet, storing them in the fridge allows you to have this versatile vegetable on hand whenever needed. So, make the most of your turnips by following these storage techniques and enjoy delicious and nutritious meals for weeks to come!
Frequently Asked Questions about How To Store Turnips In The Fridge
Was this page helpful?
At Storables.com, we guarantee accurate and reliable information. Our content, validated by Expert Board Contributors, is crafted following stringent Editorial Policies. We're committed to providing you with well-researched, expert-backed insights for all your informational needs.


0 thoughts on “How To Store Turnips In The Fridge”