Home>Garden Essentials>How To Plant Turnip Seeds
Garden Essentials
How To Plant Turnip Seeds
Modified: August 17, 2024
Learn how to plant turnip seeds in your garden and enjoy a bountiful harvest. Follow our step-by-step guide for successful gardening.
(Many of the links in this article redirect to a specific reviewed product. Your purchase of these products through affiliate links helps to generate commission for Storables.com, at no extra cost. Learn more)
Introduction
Planting turnip seeds is an exciting and rewarding endeavor for gardeners of all skill levels. Whether you’re a seasoned gardener or just starting, turnips are a versatile and nutritious vegetable to add to your garden. They are easy to grow, requiring minimal maintenance and offering a bountiful harvest.
In this article, we will guide you through the process of planting turnip seeds, from preparing the soil to caring for the plants and harvesting the delicious roots. By following these steps, you’ll be able to cultivate healthy turnips that you can enjoy in a variety of culinary creations.
So, put on your gardening gloves and let’s get started!
Key Takeaways:
- Turnip seeds thrive in well-drained, sunny spots. Choose high-quality seeds, plant them ½ inch deep, and water regularly. Harvest when roots reach 2-3 inches in diameter for delicious, versatile culinary options.
- Prepare the soil, choose quality seeds, and provide consistent care for a bountiful turnip harvest. Enjoy the nutritious greens and store the roots properly for weeks of fresh flavor.
Read more: How Deep To Plant Turnip Seeds
Step 1: Prepare the Soil
Before planting turnip seeds, it’s essential to prepare the soil properly to provide the best growing conditions for the seeds. Here are some steps to follow:
- Choose a suitable location: Find a sunny spot in your garden where the turnips will receive at least 6 hours of direct sunlight. Turnips prefer well-draining soil, so ensure the location has good drainage.
- Clear the area: Remove any weeds or debris from the designated area. Turnips thrive best in clean soil without competition from other plants.
- Loosen the soil: Use a garden fork or a tiller to loosen the soil to a depth of about 6-8 inches. This helps improve drainage and allows the turnip roots to grow freely.
- Amend the soil: Turnips prefer soil with a pH between 6.0 and 7.0. Test the soil pH and amend it accordingly with lime or sulfur. Additionally, adding organic matter such as compost or well-rotted manure will enrich the soil and promote healthy growth.
Once you have diligently prepared the soil, you have created the ideal foundation for planting your turnip seeds. This step is crucial as it ensures that the plants have access to the nutrients and growing environment necessary for vigorous growth.
Step 2: Choose the Right Seeds
Choosing the right turnip seeds is essential to ensure a successful and productive garden. When selecting seeds, consider the following factors:
- Variety: Turnips come in various varieties, each with its own characteristics. Some common varieties include Purple Top, White Globe, and Tokyo Cross. Consider the size, flavor, and maturity time of different varieties to match your preferences and growing conditions.
- Quality: Opt for seeds from reputable seed companies or nurseries to ensure high-quality seeds. It’s best to choose fresh seeds that haven’t expired to maximize germination rates.
- Hybrid vs. Heirloom: Decide whether you want to grow hybrid or heirloom turnips. Hybrid varieties are bred for specific traits, such as disease resistance or larger yields, while heirlooms are open-pollinated and offer unique flavors and characteristics.
- Organic vs. Conventional: Consider whether you prefer organic or conventional seeds. Organic seeds are grown without synthetic pesticides or fertilizers and are a great choice if you prioritize environmental sustainability.
Take your time to research different turnip seed options and choose the ones that align with your preferences and gardening goals. Remember, selecting high-quality seeds is the first step towards a successful harvest.
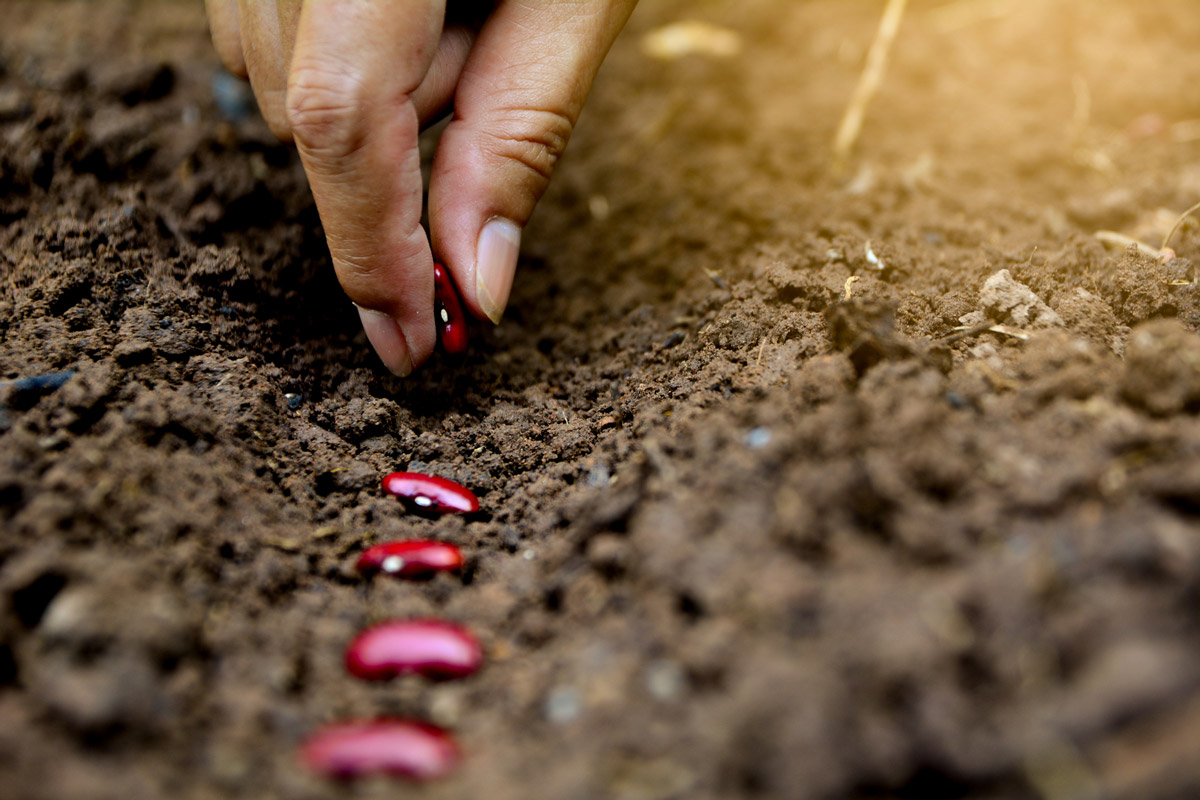
Step 3: Planting the Seeds
Now that you have prepared the soil and selected the perfect turnip seeds, it’s time to plant them. Follow these steps to ensure successful seed planting:
- Timing: Turnips can be planted in both spring and fall. For a spring crop, plant the seeds as soon as the soil can be worked, typically a few weeks before the last frost date. For a fall crop, plant the seeds 6-8 weeks before the first expected fall frost.
- Spacing: Sow the turnip seeds about ½ inch deep and 1-2 inches apart. Leave at least 12-18 inches between each row to allow sufficient space for the plants to grow and develop.
- Watering: After planting the seeds, water the area thoroughly to promote germination. Keep the soil consistently moist but avoid overwatering, as it can lead to rotting of the seeds.
- Thinning: Once the seeds have germinated and the seedlings have grown a few inches tall, thin them out to ensure proper spacing. Remove the weaker seedlings, leaving only the healthiest ones spaced about 4-6 inches apart.
It’s important to note that turnips can tolerate light frost, so there’s no need to worry if the temperature drops slightly after planting. The seeds will sprout once the soil reaches the optimal temperature for germination.
By following these planting guidelines, you’ll give your turnip seeds the best chance to grow into healthy, robust plants.
Plant turnip seeds in well-drained soil with full sun. Sow seeds 1/4 inch deep and 1 inch apart. Keep soil consistently moist for best germination.
Step 4: Watering and Care
Proper watering and care are essential for the growth and development of turnip plants. Follow these guidelines to ensure healthy and thriving turnips:
- Watering: Turnips require consistent moisture to thrive. Water the plants regularly, aiming for about 1 inch of water per week. Be cautious not to overwater, as it can lead to root rot. Monitor the soil moisture level and adjust the watering schedule accordingly.
- Weeding: Keep the area around the turnip plants free from weeds. Weeds can compete with turnips for nutrients and water, inhibiting their growth. Regularly remove weeds by hand or use mulch to suppress their growth.
- Fertilizing: Turnips are moderate feeders and benefit from balanced fertilization. Apply a balanced fertilizer, such as a 10-10-10 or a similar formulation, according to the package instructions. Apply the fertilizer when the plants have established a good root system, usually around 4-6 weeks after planting.
- Pest and Disease Control: Keep an eye out for common pests that can affect turnips, such as aphids, flea beetles, and caterpillars. Monitor the plants regularly and take appropriate pest control measures if necessary. Additionally, practice crop rotation and maintain good hygiene to prevent diseases such as clubroot and powdery mildew.
By providing adequate water, managing weeds, fertilizing appropriately, and addressing pest and disease issues, you’ll ensure the health and productivity of your turnip plants.
Read more: How Long Does It Take Turnips To Germinate
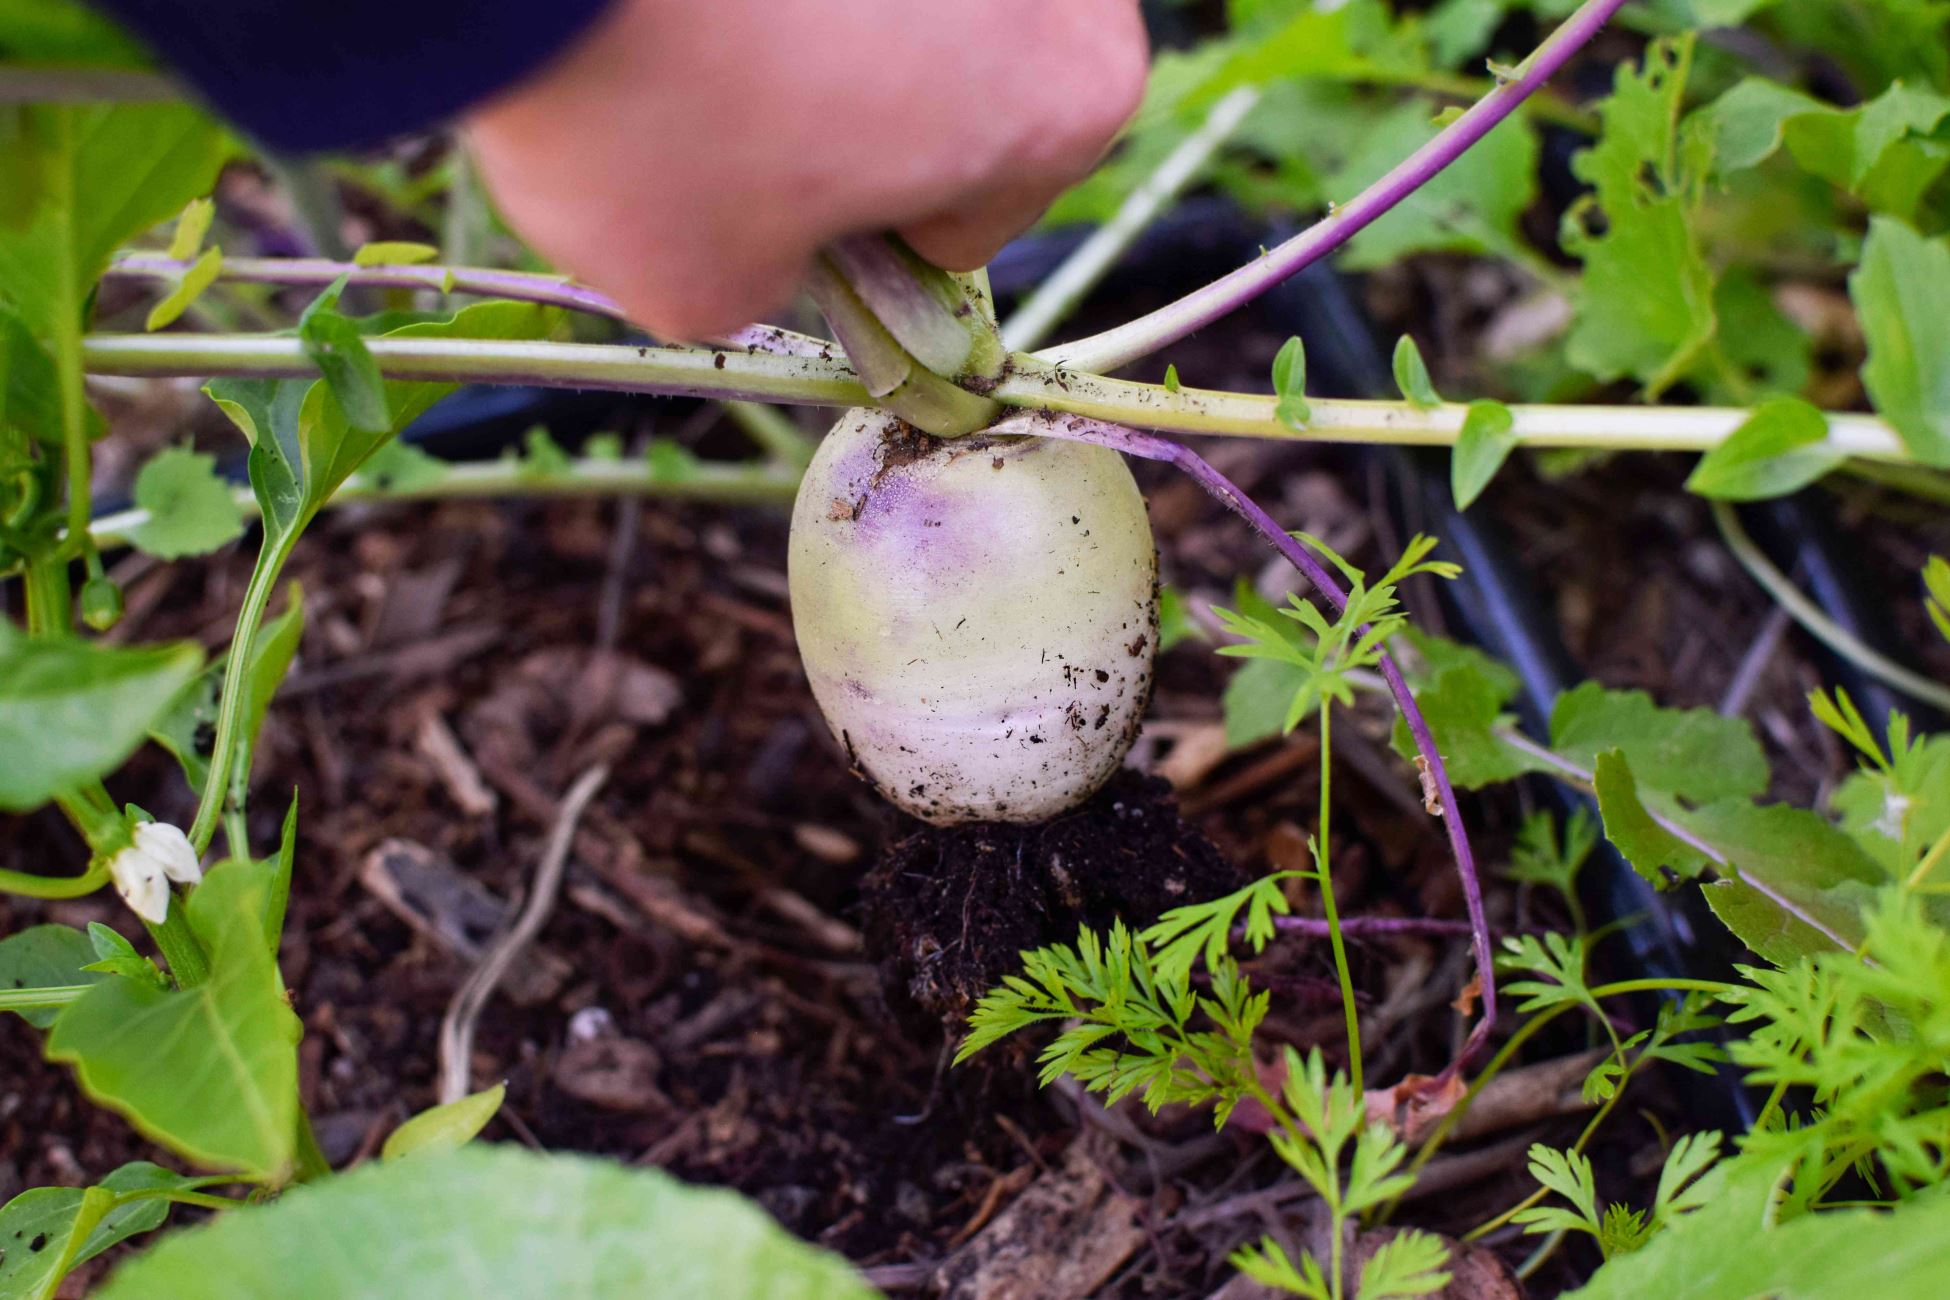
Step 5: Harvesting and Storage
Harvesting turnips at the right time is crucial to ensure optimal flavor and texture. Here’s what you need to know about harvesting and storing your turnips:
- Harvesting: Turnips can be harvested when the roots reach their desired size, typically around 2-3 inches in diameter. Use a garden fork or a spade to gently lift the turnips from the soil. Harvest them carefully to avoid damaging the roots.
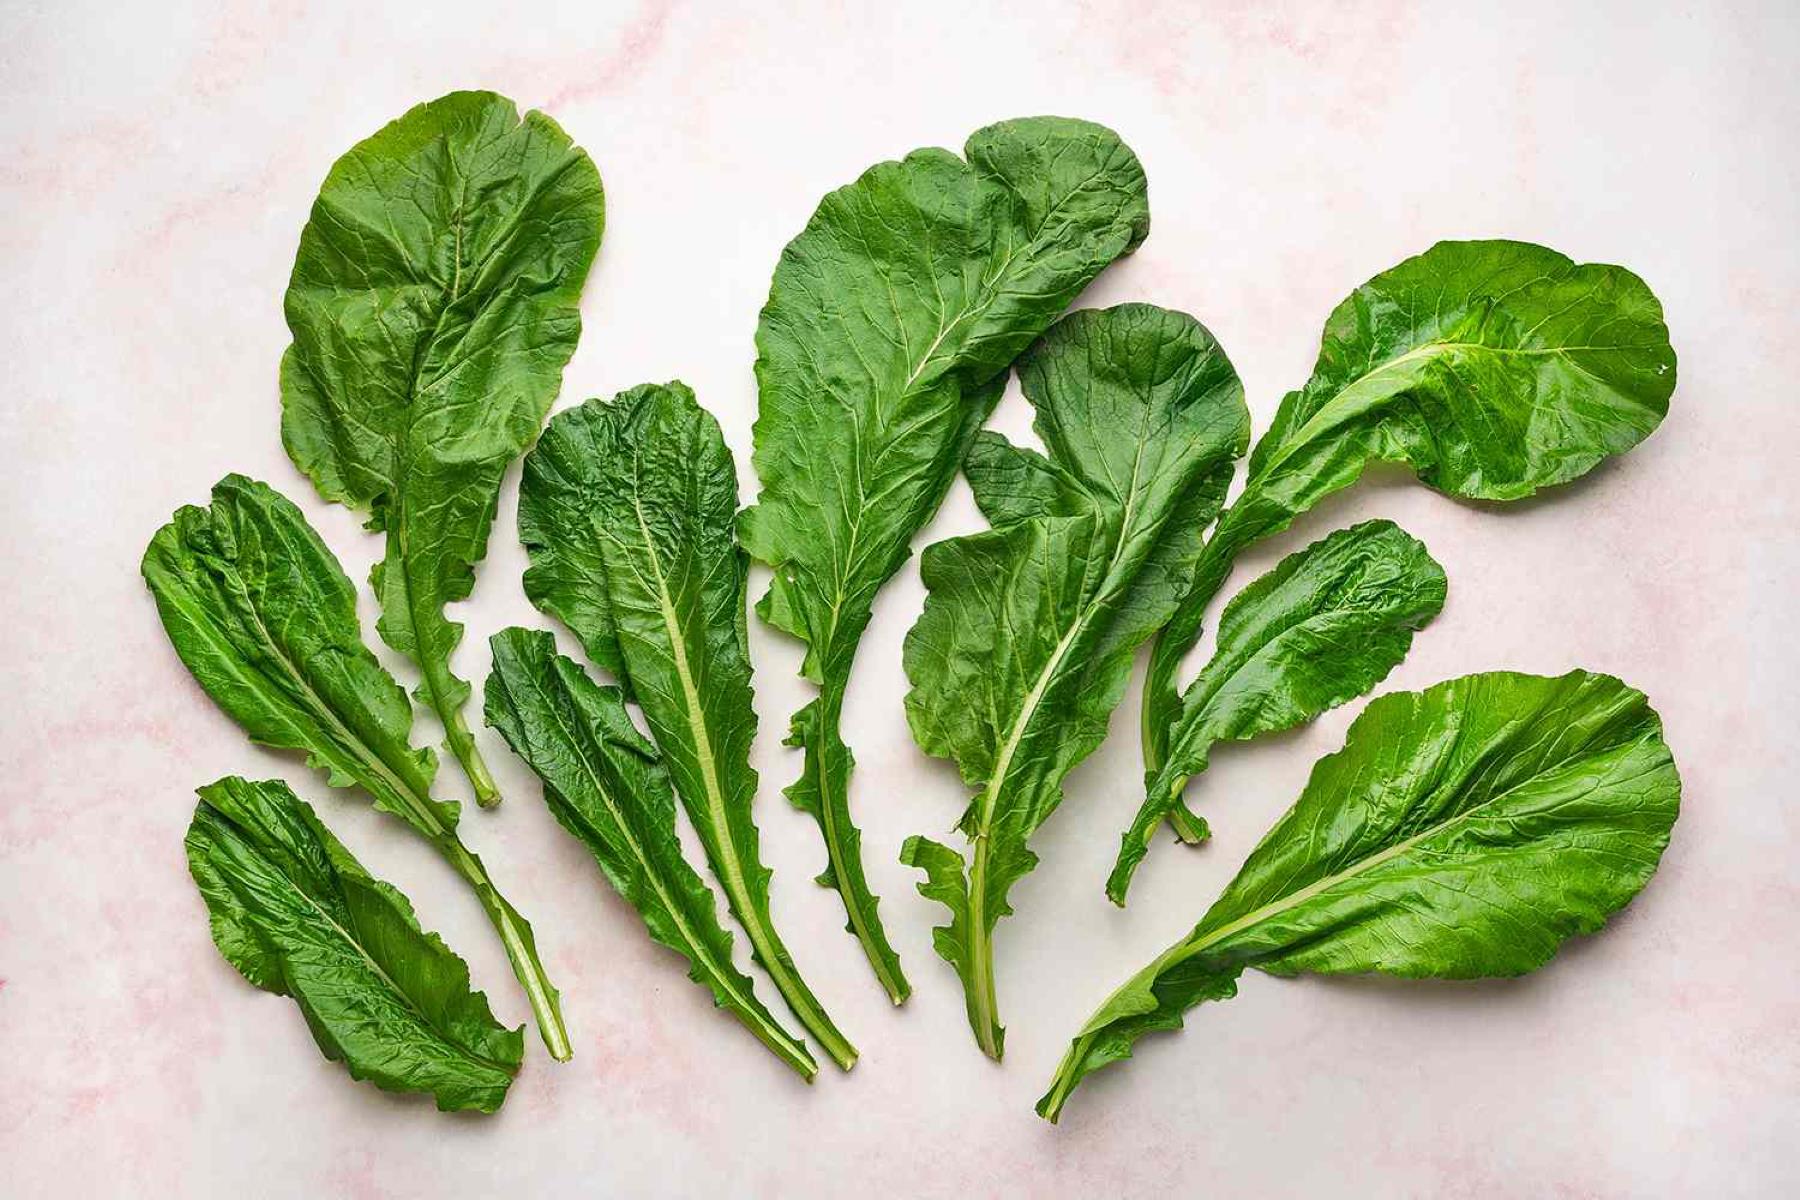
- Leafy Greens: Don’t forget about the nutritious tops of the turnips! The greens are also edible and can be enjoyed raw in salads or cooked like spinach or collard greens. Harvest the greens at any time once they are large enough to use.
- Storage: To store turnips, it’s important to remove the tops. Cut off the greens, leaving about an inch of stem attached to the root. The greens can be stored separately and used within a few days. Store the turnip roots in a cool, dark, and humid place, such as the refrigerator’s vegetable crisper drawer. They can last for several weeks when stored properly.
- Culinary Usage: Freshly harvested turnips can be used in a variety of culinary creations. They can be enjoyed raw in salads, sliced and pickled, roasted, boiled, or added to soups and stews. The greens can be sautéed, added to smoothies, or used as a flavorful addition to soups.
Remember, turnips are best enjoyed when they are fresh, so try to use them as soon as possible after harvesting. The greens should be used within a few days for the best flavor and nutritional value.
By following these guidelines, you’ll be able to harvest and store your turnips properly, ensuring that you can enjoy their delicious flavor for weeks to come.
Conclusion
Congratulations! You’ve learned the essential steps to successfully plant, grow, and harvest turnips in your garden. By following the steps outlined in this article, you can enjoy a bountiful harvest of nutritious and delicious turnips.
Remember, preparation is key. Take the time to prepare the soil, choose the right seeds, and provide proper care and maintenance for your turnip plants. Regular watering, weeding, and fertilizing will ensure healthy growth and optimum yield.
When it comes time to harvest, enjoy the rewards of your hard work and pick the turnips when they have reached the desired size. Don’t forget about the nutritious tops, which can be used in a variety of culinary dishes.
Properly storing your turnips will extend their shelf life, allowing you to enjoy their fresh flavor for longer periods. And when it’s time to use them in the kitchen, turnips offer versatile options for both raw and cooked preparations.
So, put your newfound knowledge into action and start planting those turnip seeds. With a little attention and care, you’ll be rewarded with an abundant harvest of tasty turnips that will elevate your meals and bring joy to your gardening endeavors. Happy gardening!
Frequently Asked Questions about How To Plant Turnip Seeds
Was this page helpful?
At Storables.com, we guarantee accurate and reliable information. Our content, validated by Expert Board Contributors, is crafted following stringent Editorial Policies. We're committed to providing you with well-researched, expert-backed insights for all your informational needs.


0 thoughts on “How To Plant Turnip Seeds”