
Articles
How To Store Weed Eater In Garage
Modified: January 18, 2024
Learn the best tips on how to store your weed eater in the garage with our informative articles. Keep your tools organized and protected for long-lasting use.
(Many of the links in this article redirect to a specific reviewed product. Your purchase of these products through affiliate links helps to generate commission for Storables.com, at no extra cost. Learn more)
Introduction
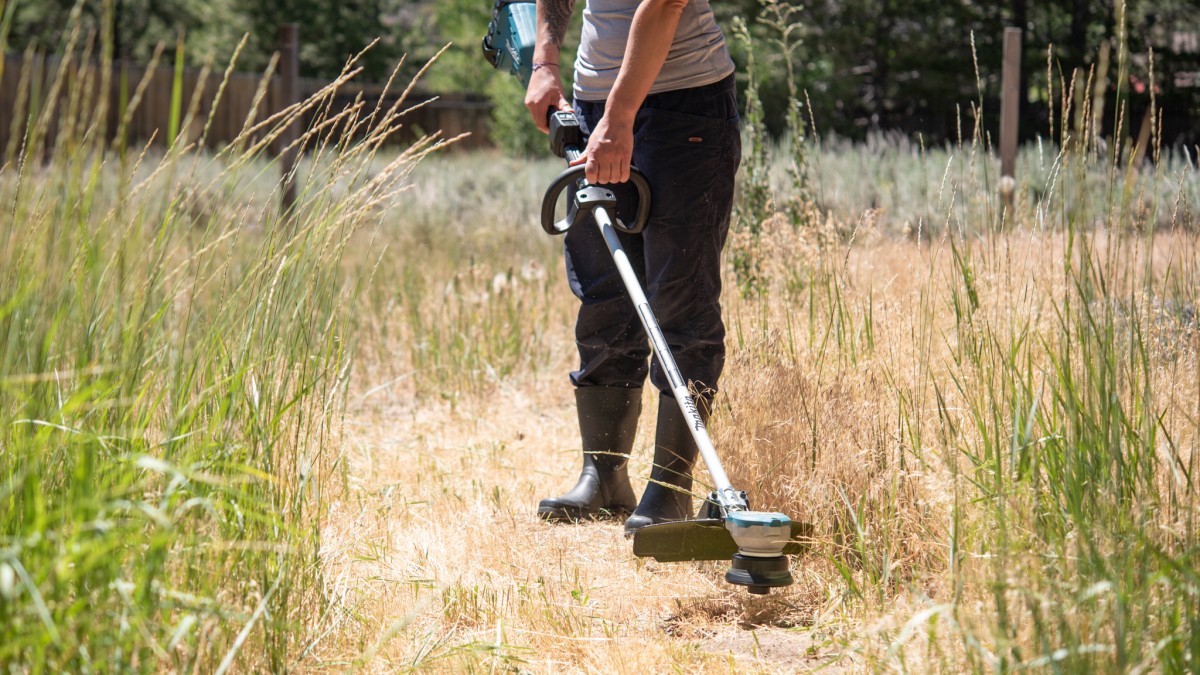
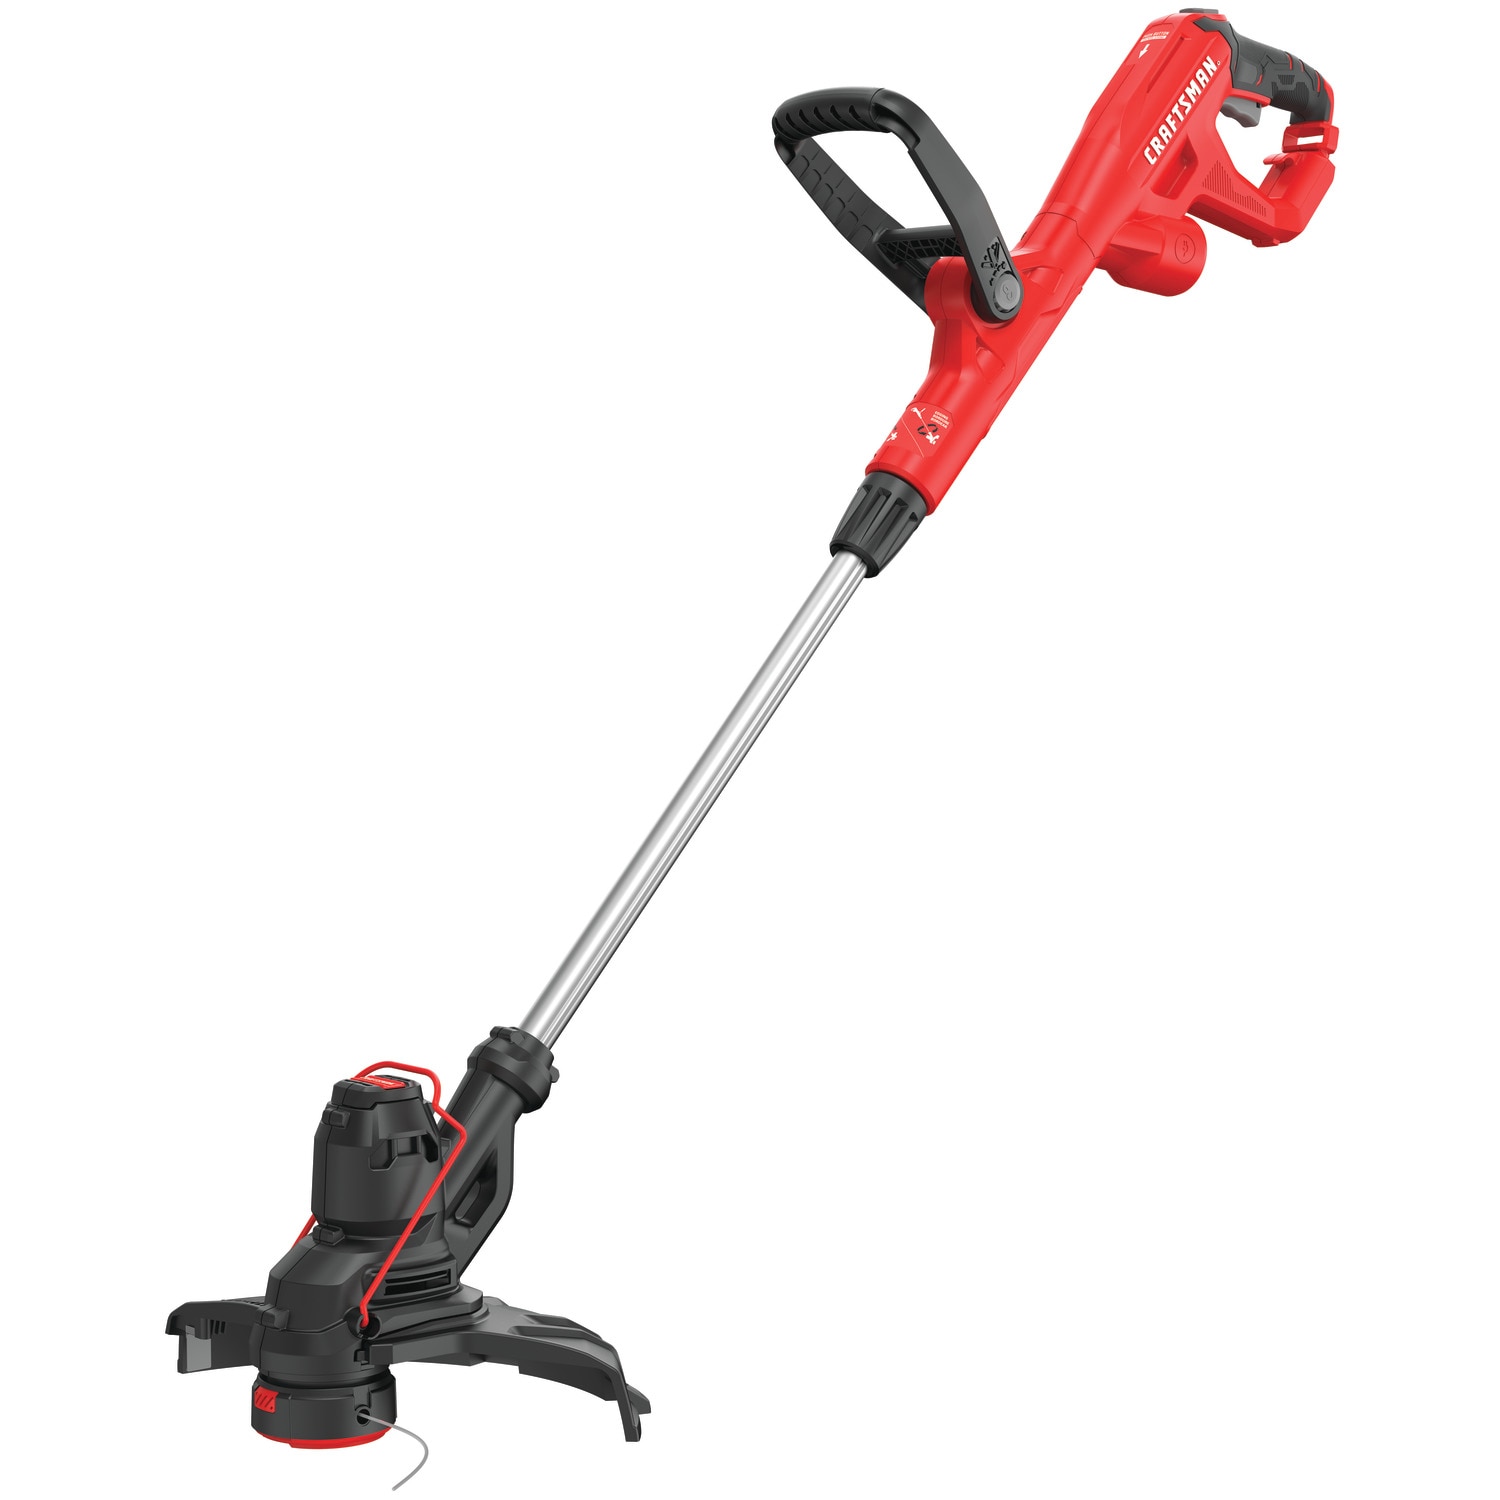
Having a weed eater, also known as a string trimmer, is essential for maintaining a well-groomed yard. However, when it comes to storing your weed eater, it’s important to take proper precautions to ensure its longevity and functionality. Storing your weed eater in the garage is a popular choice for many homeowners. It keeps the tool easily accessible and protected from the elements.
In this article, we will guide you through the process of storing your weed eater in the garage. We will cover everything from clearing the necessary space to ensuring proper maintenance. By following these steps, you can extend the lifespan of your weed eater and ensure that it’s always ready for use when you need it.
Key Takeaways:
- Properly storing your weed eater in the garage involves clearing space, cleaning, and disassembling for storage. Organizing accessories and choosing a suitable storage spot are also crucial for maintaining its longevity.
- Preventing damage and rust, along with regular maintenance and inspections, are essential for keeping your weed eater in optimal condition. Proper storage and care will ensure a well-maintained trimmer for years to come.
Read more: How To Store A Weed Eater
Clearing the Garage Space
The first step in storing your weed eater in the garage is to clear out the necessary space. Start by removing any unnecessary clutter, such as tools, toys, or boxes, to create an open area for your weed eater. This will help prevent any accidents or damage to the trimmer during storage.
Consider setting up a designated area or shelf for your weed eater and its accessories. This will help keep everything organized and easily accessible. Clearing out space specifically for your trimmer will also prevent it from getting bumped or knocked over by other items in the garage.
If your garage is tight on space, consider utilizing hooks or wall mounts to hang your weed eater. This will not only free up valuable floor space but also protect the trimmer from potential damage caused by being leaned against other objects or falling over.
It’s important to note that the garage should ideally be a cool, dry, and well-ventilated area. Extreme temperatures, high humidity, or excessive moisture can cause damage to the weed eater, especially its engine and other sensitive components.
By clearing out the necessary space in your garage, you can ensure that your weed eater is properly stored and protected from potential hazards.
Cleaning the Weed Eater
Before storing your weed eater in the garage, it’s crucial to give it a thorough cleaning. This will not only help maintain its appearance but also prevent the buildup of dirt, debris, and potentially damaging substances.
Start by removing any visible dirt or grass clippings from the surface of the trimmer. You can use a brush or a rag to gently wipe away the debris. Pay special attention to the areas around the cutting head, as this is where a significant amount of buildup may occur.
Next, inspect the air filter and clean or replace it if necessary. A clogged or dirty air filter can restrict airflow and impact the performance of the weed eater. Refer to the manufacturer’s instructions for proper cleaning or replacement procedures.
Check the spark plug and remove any carbon deposits using a wire brush. Ensure that the spark plug is in good condition to ensure easy starting when you use the trimmer again.
Inspect the trimmer line for any signs of wear or damage. Replace it if needed to ensure optimal cutting performance. If you have a blade attachment, sharpen it and remove any rust or corrosion using a fine-grit sandpaper.
Lastly, wipe down the entire weed eater with a clean cloth or towel to remove any remaining dirt or grease. This will help prevent the buildup of grime and keep the trimmer looking its best.
By cleaning your weed eater before storing it in the garage, you can maintain its performance and prevent any potential damage or deterioration.
Removing the Trimmer Line
Before storing your weed eater in the garage, it’s important to remove the trimmer line. This is especially crucial if the line is worn out or damaged, as it can become brittle and break during storage, potentially causing harm or damage to the trimmer.
To remove the trimmer line, first, make sure the weed eater is turned off and the engine is cool. Look for the trimmer head, which is typically located at the bottom of the cutting head assembly.
Next, locate the tabs or knobs on the trimmer head that secure the trimmer line in place. Press or rotate these tabs, depending on the model, to release the tension and remove the old line. Be cautious when handling the trimmer line, as it can be sharp.
Once you’ve removed the old line, inspect the trimmer head for any dirt or debris that may have accumulated. Use a brush or rag to clean out any residue, ensuring that the head is clean and free of obstructions.
If you need to replace the trimmer line, refer to the manufacturer’s instructions for the appropriate line size and installation process. Follow the instructions carefully to ensure the line is properly secured and ready for use when you need it again.
By removing the trimmer line before storing your weed eater, you can prevent any potential damage or accidents that may arise from a worn or broken line.
Draining the Fuel
Before storing your weed eater in the garage, it’s essential to drain the fuel from the tank. Fuel that sits idle for an extended period can cause damage to the engine components and make it difficult to start the trimmer when you need it again.
To drain the fuel, start by turning off the weed eater and allowing it to cool down. Locate the fuel tank, which is typically located near the engine.
Place a suitable container, such as a gas can or a funnel, beneath the fuel tank to collect the fuel. You may want to consider using a fuel siphon pump to make the draining process easier and to avoid spills.
Remove the fuel cap from the tank and carefully drain the fuel into the container. Tilt the weed eater to ensure all the fuel is emptied from the tank. Take care not to spill any fuel on the trimmer or surrounding area, as gasoline is highly flammable.
Once the fuel has been drained, it’s important to dispose of it properly. Check with your local recycling center or hazardous waste collection facility for information on how to safely dispose of gasoline in your area.
After draining the fuel, it’s a good practice to start the weed eater and let it run until it stalls. This will burn any remaining fuel in the carburetor and help prevent any potential blockages or damage caused by residual fuel.
By draining the fuel from your weed eater before storage, you can protect the engine and ensure that the trimmer will start smoothly when you need it again.
Read more: How To Store A Gas Weed Eater
Lubricating the Weed Eater
Proper lubrication of your weed eater is crucial for maintaining its optimal performance and preventing the rusting or corrosion of its moving parts. Before storing your trimmer in the garage, it’s essential to lubricate certain components to ensure their longevity.
Start by referring to the manufacturer’s instructions to identify the specific parts that require lubrication on your weed eater. Common areas that may need lubrication include the cutting head, gearbox, throttle trigger, and other moving parts.
For lubrication, it’s recommended to use a high-quality lubricant designed specifically for outdoor power equipment. Avoid using general-purpose oils or greases as they may not provide sufficient protection and could potentially damage the trimmer.
Apply a small amount of lubricant to each designated area, following the manufacturer’s recommendations. Use a clean cloth or a small brush to ensure even distribution of the lubricant. Be cautious not to over-lubricate, as excess lubricant can attract dirt and debris, affecting the trimmer’s performance.
Pay extra attention to the cutting head and the gearbox, as these areas are subjected to high levels of friction and can benefit greatly from proper lubrication. A well-lubricated cutting head will ensure smooth and efficient cutting, while a lubricated gearbox will help prevent wear and tear.
Additionally, don’t forget to lubricate the throttle trigger and any other moving parts that may require it. This will help maintain their smooth operation and prevent them from becoming stiff or seized during storage.
By lubricating your weed eater before storing it, you can protect its crucial components, prevent rust or corrosion, and ensure that it performs reliably when you’re ready to use it again.
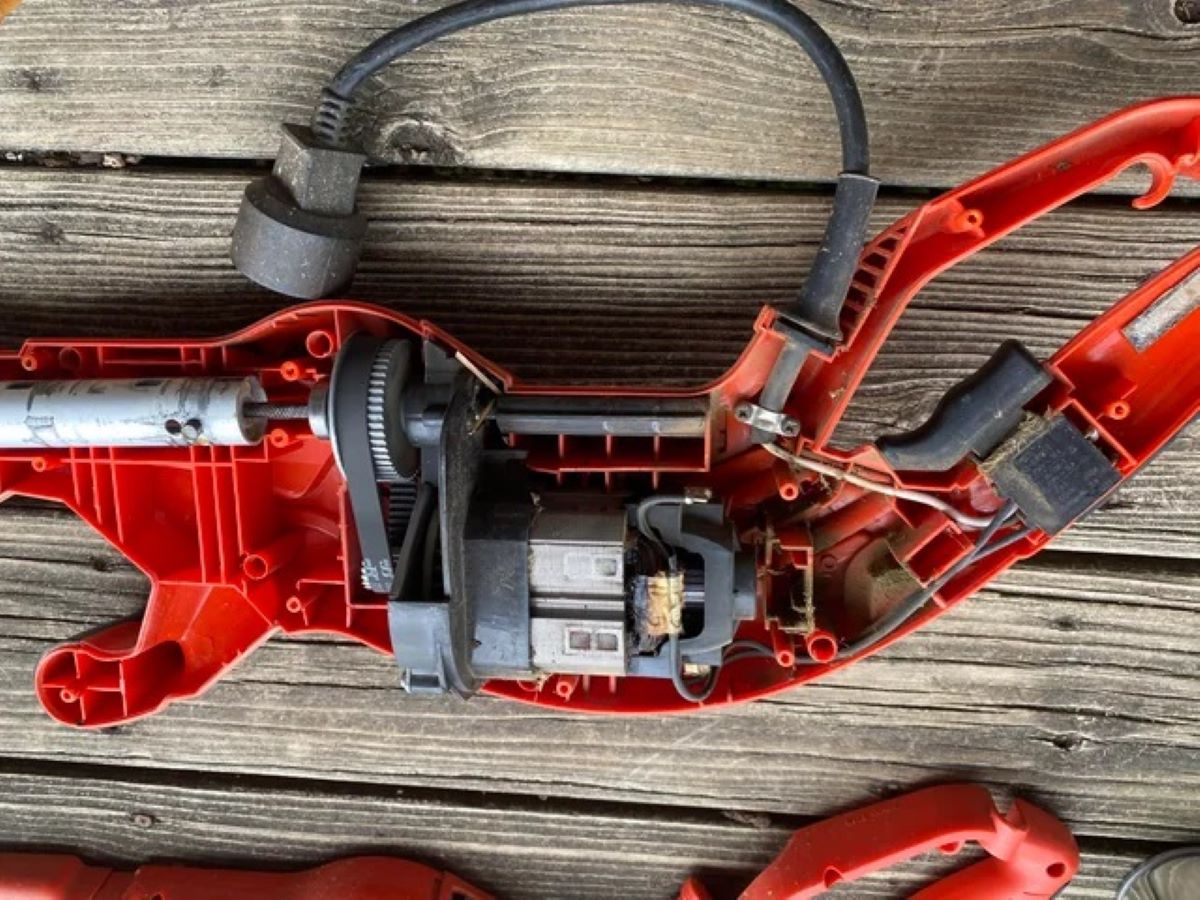
Disassembling for Storage
Disassembling your weed eater before storing it in the garage can help save space, protect its delicate components, and make it easier to transport if needed. Follow these steps to disassemble your trimmer for storage:
1. Remove the trimmer head: Start by removing the trimmer head from the shaft. This is usually done by unscrewing it counterclockwise. Be careful not to lose any small parts or screws in the process. Set aside the trimmer head for cleaning or maintenance if necessary.
2. Detach accessory attachments: If your weed eater has any accessory attachments, such as brush cutter blades or edger attachments, detach them from the shaft. Clean and lubricate these attachments before storing them separately.
3. Separate the shaft from the engine: Depending on the design of your weed eater, there may be a detachable shaft that connects the cutting head to the engine. Follow the manufacturer’s instructions to safely detach the shaft from the engine.
4. Clean and inspect the disassembled parts: Once the weed eater is disassembled, take the time to clean each part thoroughly. Use a brush or a rag to remove any dirt, grease, or debris. Inspect the parts for any signs of damage or wear and make any necessary repairs before storing.
5. Secure and label the parts: To keep all the components organized, consider using zip-top bags or small containers to store the disassembled parts. Label each bag or container to make reassembly easier when you’re ready to use the trimmer again.
6. Store the disassembled parts in a safe place: Find a designated storage area in the garage to keep the disassembled parts. Ensure that the location is dry, cool, and protected from any potential damage.
By disassembling your weed eater for storage, you can save space, prevent damage to the delicate components, and ensure that the trimmer is ready for use when you need it again.
Organizing Accessories and Attachments
Properly organizing the accessories and attachments of your weed eater is essential for easy accessibility and maintaining their condition during storage. Follow these steps to effectively organize these items:
1. Clean the accessories: Before organizing your weed eater attachments, make sure to clean them thoroughly. Remove any dirt, debris, or grass clippings that may have accumulated. Use a brush or a rag to wipe them down and ensure they are free from any moisture.
2. Group similar items together: Categorize your weed eater attachments based on their functionality or type. For example, group together brush cutter blades, edger attachments, or trimmer line spools. This will help you locate the specific accessory you need more efficiently in the future.
3. Use storage containers or bags: Invest in small storage containers, toolboxes, or bags to store your weed eater accessories. These containers will help keep the attachments organized, protect them from damage, and prevent them from getting lost amongst other garage items.
4. Label the containers: To make it easier to identify the accessories, label each storage container or bag with its contents. Use waterproof labels or markers to ensure the labels remain intact and legible over time.
5. Utilize wall-mounted storage: If space allows, consider installing wall-mounted storage solutions, such as hooks or racks, in your garage. These can be used to hang larger attachments or toolboxes, keeping them visible and easily accessible.
6. Store attachments near the weed eater: Keep your weed eater attachments in close proximity to the trimmer itself. This way, when you need to use the trimmer, you can easily locate the appropriate attachment without searching extensively.
By organizing your weed eater accessories and attachments, you can keep them in good condition, save time when searching for specific items, and ensure that you have everything you need for various yard maintenance tasks.
To store a weed eater in the garage, make sure to clean it thoroughly to remove any grass or debris, then hang it on a wall-mounted hook or shelf to keep it off the ground and out of the way. This will help prevent damage and keep the garage organized.
Choosing a Suitable Storage Spot
When it comes to storing your weed eater in the garage, selecting a suitable storage spot is crucial in ensuring its safety, accessibility, and longevity. Here are some factors to consider when choosing a storage spot:
1. Accessibility: Choose a location in the garage that allows for easy access to your weed eater. You’ll want to be able to retrieve it quickly and effortlessly whenever you need it.
2. Protection from the elements: Select an area that offers protection from moisture, extreme temperatures, and direct sunlight. Exposure to these elements can cause damage to the trimmer and its components over time.
3. Space availability: Ensure that the chosen spot provides enough space to accommodate the size of your weed eater comfortably. Avoid placing it in an area where it may get knocked over or become a tripping hazard.
4. Ventilation: Proper ventilation is important to prevent the buildup of fumes and moisture, which can lead to rust and corrosion. Make sure the storage spot allows for adequate air circulation.
5. Away from flammable materials: Keep your weed eater away from any flammable materials, such as gasoline, oil, or other combustible substances, to reduce the risk of fire or accidents.
6. Child and pet safety: If you have children or pets, choose a storage spot that is out of their reach. This will help prevent any accidental injuries or damage caused by tampering with the weed eater.
7. Secure from theft: Consider how secure the chosen storage spot is. If possible, store your weed eater in a locked cabinet, shed, or utilize security measures like padlocks or security cameras to deter theft.
When selecting a storage spot, it’s important to strike a balance between convenience, protection, and safety to ensure that your weed eater remains in good condition and easily accessible for future use.
Read more: How To Clean Ryobi Weed Eater Carburetor
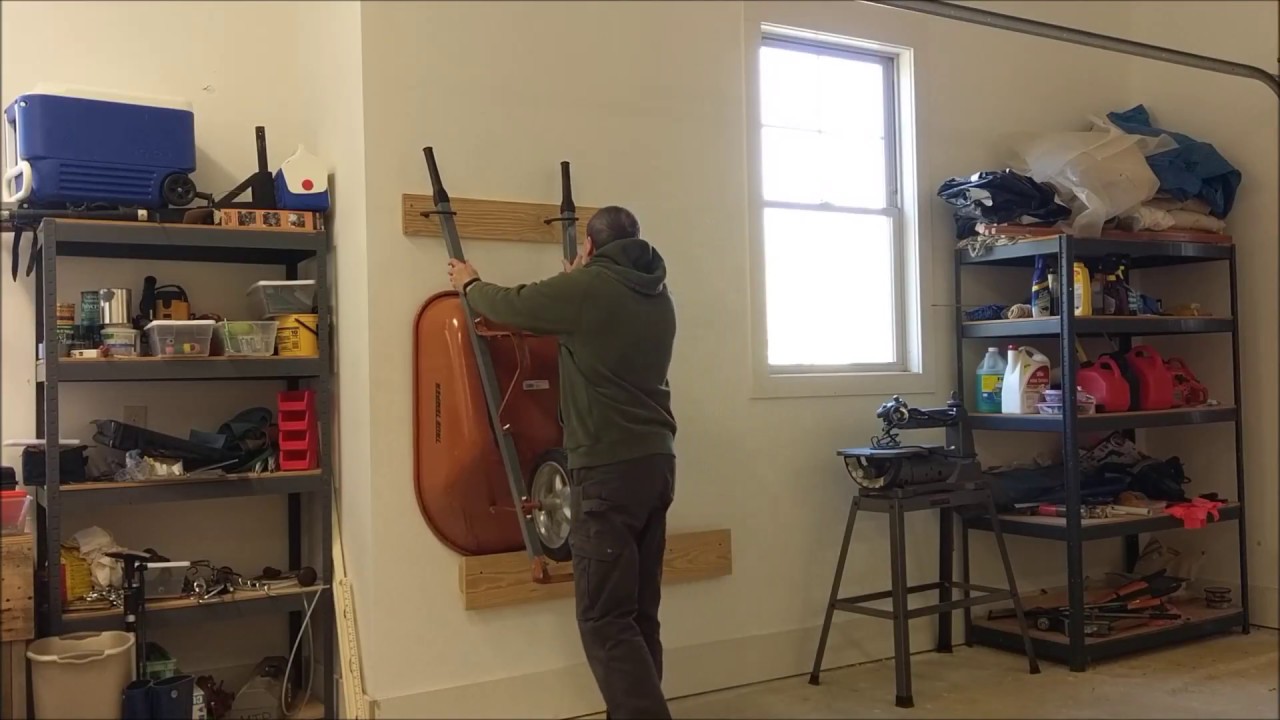
Hanging the Weed Eater
Hanging your weed eater in the garage is a space-saving and convenient storage option. It helps protect the trimmer from accidental damage and keeps it easily accessible whenever you need it. Follow these steps to hang your weed eater:
1. Choose a sturdy wall: Look for a sturdy wall in your garage that can support the weight of the weed eater. Avoid hanging it on flimsy or weak surfaces that may cause the trimmer to fall and get damaged.
2. Install hooks or wall mounts: Purchase heavy-duty hooks or wall mounts designed for hanging tools and equipment. Install them securely on the wall, making sure they are properly anchored to provide stability.
3. Position the hooks or mounts: Determine the ideal position for hanging the weed eater. It should be at a height that is convenient for reaching but high enough to keep it out of the way. Consider leaving some space between the trimmer and the ground to prevent accidental bumps or damage.
4. Hang the weed eater: Carefully hang the weed eater on the hooks or wall mounts. Ensure that it is securely held and balanced. Use caution when hanging the trimmer to avoid any unnecessary strain or damage to its components.
5. Secure loose cords or hoses: If your weed eater has any loose cords or hoses, make sure they are neatly organized and secured to prevent them from tangling or getting caught on anything.
6. Inspect the hanging setup: Once the weed eater is hung, give it a gentle shake to make sure it’s securely in place. Double-check that the hooks or wall mounts are holding the weight properly and that there is no risk of the trimmer falling down.
Hanging your weed eater in the garage not only saves space but also keeps it protected from potential damage. Additionally, it allows for easy access, making it a convenient storage solution for your trimmer.
Using Wall Mounts or Hooks
Wall mounts and hooks are commonly used in garages to hang various tools and equipment, including weed eaters. They provide a secure and organized storage option, keeping the trimmer easily accessible and protected. Here’s a step-by-step guide on using wall mounts or hooks to hang your weed eater:
1. Select suitable wall mounts or hooks: Choose wall mounts or hooks that are sturdy, durable, and designed to support the weight of your weed eater. Look for models specifically designed for garage storage and appropriate for the size and weight of your trimmer.
2. Locate the ideal hanging spot: Identify a suitable location on your garage wall where the weed eater can be safely and conveniently hung. Ensure that there is sufficient space for the trimmer and that it won’t interfere with other items or activities in the garage.
3. Prepare the wall surface: Before installing the wall mounts or hooks, clean the chosen area on the wall. Remove any dirt, dust, or debris to ensure a proper and secure attachment.
4. Use a level: To ensure accuracy and proper alignment, use a level to mark and position the wall mounts or hooks. This will help create a balanced and visually pleasing setup.
5. Mount the wall hooks or mounts: Depending on the specific instructions provided with your chosen mounts or hooks, use the appropriate hardware to affix them to the wall. Make sure to secure them firmly to provide stability and support for the weight of the weed eater.
6. Hang the weed eater: Once the wall mounts or hooks are securely installed, carefully hang the weed eater on them. Ensure that the trimmer is balanced and properly supported. Avoid placing excessive strain on the hooks or mounts to prevent any potential damage.
7. Test the stability: Give the weed eater a gentle shake to ensure it is securely hung. Check that the hooks or mounts are holding the weight properly and that there is no risk of the trimmer falling or becoming dislodged.
Using wall mounts or hooks to hang your weed eater is an efficient and space-saving solution. It keeps the trimmer organized, easily accessible, and protected from accidental damage or clutter in your garage.
Storing in a Protective Case or Bag
Storing your weed eater in a protective case or bag offers an additional layer of protection against dust, moisture, and potential damage. It is especially beneficial if you need to transport the trimmer or store it in an area where it may be exposed to external elements. Here’s how you can store your weed eater in a protective case or bag:
1. Choose the right case or bag: Select a case or bag that is specifically designed to accommodate your weed eater’s size and shape. Look for a durable material that provides adequate protection from impacts, moisture, and dust. Consider options such as hard plastic cases or heavy-duty nylon bags with padded interiors.
2. Clean and dry the weed eater: Before storing the trimmer, it’s essential to clean it thoroughly and allow it to dry completely. Removing any dirt, grass, or debris will help prevent potential damage and ensure that the trimmer remains in optimal condition during storage.
3. Disassemble if necessary: If your weed eater can be disassembled into smaller components, it may be beneficial to do so before placing it in the protective case or bag. This will help save space and reduce the risk of any parts getting damaged or tangled.
4. Place the weed eater in the case or bag: Carefully place the weed eater into the protective case or bag, ensuring that it fits comfortably and there is no excessive pressure or strain on any of the components. Ensure that any loose cords or hoses are neatly organized and secured.
5. Secure and close the case or bag: Follow the manufacturer’s instructions to securely close the case or bag, ensuring that it is properly sealed and protected. Double-check that any zippers, clasps, or straps are in place and secure.
6. Store in a suitable location: Find a suitable location in your garage to store the protective case or bag. Make sure it is in an area where there is minimal risk of damage from other objects or foot traffic.
7. Regularly inspect and maintain: Periodically inspect the protective case or bag for any signs of wear or damage. Clean it as needed and ensure that it remains in good condition to continue providing adequate protection for your weed eater.
Storing your weed eater in a protective case or bag helps preserve its condition and safeguards it against potential hazards. It also provides a convenient and organized storage solution, whether you are storing it in the garage or transporting it to a different location.
Preventing Damage and Rust
Preventing damage and rust is essential for maintaining the performance and longevity of your weed eater. Rust and other forms of damage can compromise the trimmer’s functionality and shorten its lifespan. Here are some tips to help prevent damage and rust:
1. Keep it clean and dry: After each use, make sure to clean your weed eater thoroughly to remove any dirt, grass clippings, or debris that may have accumulated. Use a brush or a rag to wipe down the trimmer, paying attention to the cutting head and other nooks and crannies. It’s also crucial to ensure that the trimmer is completely dry before storing it to prevent moisture from causing rust or corrosion.
2. Store in a dry area: Choose a storage location in your garage that is dry and well-ventilated. Moisture is one of the main causes of rust, so it’s important to keep your weed eater away from any damp or humid environments. Avoid storing the trimmer in areas prone to water leaks or condensation.
3. Apply a rust inhibitor: Consider using a rust inhibitor to protect your weed eater from corrosion. These products create a protective barrier on metal surfaces, preventing moisture and oxygen from reaching the metal and causing rust. Follow the instructions provided with the rust inhibitor product for proper application.
4. Lubricate moving parts: Regularly lubricate the moving parts of your weed eater to prevent friction and reduce the risk of damage. Use a high-quality lubricant recommended by the manufacturer and apply it to areas such as the cutting head, gearbox, and throttle trigger.
5. Check for damage: Regularly inspect your weed eater for any signs of damage or wear. Look for loose screws, cracked casings, or worn-out parts. Address any damage promptly by replacing or repairing the affected components to avoid further issues that could lead to more severe damage or safety hazards.
6. Maintain proper fuel mixture: If your weed eater operates on a fuel mixture, ensure that you are using the correct fuel-to-oil ratio as specified by the manufacturer. Incorrect fuel mixture can cause damage to the engine and other internal components. It’s also important to use clean and quality fuel to prevent contamination.
7. Perform regular maintenance: Follow the manufacturer’s recommended maintenance schedule for your weed eater. This may include tasks such as air filter cleaning or replacement, spark plug inspection, and general tune-ups. Regular maintenance helps keep your trimmer in optimal condition and prevents potential damage from neglected maintenance issues.
By following these preventive measures, you can minimize the risk of damage and rust on your weed eater, ensuring that it remains in good condition for long-term use.
Read more: How To Store Weed Wacker In Garage
Regular Maintenance and Inspections
Regular maintenance and inspections are crucial for keeping your weed eater in optimal condition and ensuring its long-term performance. By following a routine maintenance schedule and conducting regular inspections, you can identify and address any issues before they turn into major problems. Here are some key maintenance and inspection tasks to consider:
1. Air filter cleaning or replacement: The air filter in your weed eater plays a vital role in preventing dust and debris from entering the engine. Regularly inspect the air filter and clean or replace it as needed. A clogged or dirty air filter can restrict airflow and affect the trimmer’s performance.
2. Spark plug inspection: The spark plug is responsible for igniting the fuel-air mixture in the engine. Periodically inspect the spark plug for signs of wear, such as carbon deposits or damage. Clean or replace the spark plug if necessary, following the manufacturer’s recommendations.
3. Check for loose screws and connections: With regular use, vibrations can loosen screws and connections on your weed eater. Regularly inspect and tighten any loose screws or connections to ensure that all parts are securely in place.
4. Lubricate moving parts: Proper lubrication of the moving parts is important to prevent friction and reduce the risk of damage. Refer to the manufacturer’s instructions and lubricate the cutting head, gearbox, and other designated areas with a suitable lubricant. Avoid over-lubrication, as excess lubricant can attract dirt and debris.
5. Inspect the trimmer line: Check the condition of the trimmer line and replace it if it’s worn or damaged. A sharp and intact line ensures efficient cutting performance and reduces strain on the trimmer motor.
6. Check for fuel and oil leaks: Inspect the weed eater for any signs of fuel or oil leaks. A leak can indicate a damaged gasket, fuel line, or other components. Address any leaks promptly to prevent performance issues and potential safety hazards.
7. Clean and maintain the cutting head: Regularly clean and inspect the cutting head for any debris, grass clippings, or tangled vegetation. Ensure that the cutting head rotates freely and that the blades or trimmer line are in good condition. Clean or replace any worn-out or damaged components.
8. Follow manufacturer’s maintenance guidelines: Consult the manufacturer’s manual for specific maintenance instructions and guidelines. It provides valuable information regarding routine maintenance schedules, recommended lubricants, and any other specific tasks applicable to your weed eater model.
By adhering to a regular maintenance and inspection routine, you can identify and resolve any issues before they lead to performance problems or costly repairs. Keeping your weed eater well-maintained will ensure its reliability and prolong its lifespan.
Conclusion
Storing your weed eater properly in the garage is essential for maintaining its performance, extending its lifespan, and ensuring easy access when you need it. By following the steps outlined in this article, you can store your weed eater in a way that protects it from damage and keeps it in optimal condition.
From clearing the garage space and cleaning the weed eater to removing the trimmer line and draining the fuel, each step contributes to the overall maintenance and storage process. Disassembling the trimmer, organizing accessories and attachments, and choosing a suitable storage spot will further enhance the convenience and protection of your weed eater.
Whether you opt to hang the weed eater using wall mounts or hooks, or store it in a protective case or bag, these methods offer extra protection from dust, moisture, and accidental damage. Additionally, taking proper measures to prevent rust and regularly maintaining and inspecting your trimmer will ensure its long-term functionality and reliability.
By incorporating these practices into your weed eater storage routine, you can be confident that your trimmer will be well-preserved, easily accessible, and ready to tackle any yard maintenance tasks. Remember to consult the manufacturer’s instructions for specific maintenance and storage recommendations tailored to your weed eater model.
Investing time and effort in storing your weed eater properly will pay off in the long run. Not only will it save you from potential repair costs, but it will also make your gardening experience more enjoyable and hassle-free.
So, follow these guidelines, store your weed eater with care, and enjoy a well-maintained trimmer that will help you achieve a beautifully groomed yard for years to come.
Frequently Asked Questions about How To Store Weed Eater In Garage
Was this page helpful?
At Storables.com, we guarantee accurate and reliable information. Our content, validated by Expert Board Contributors, is crafted following stringent Editorial Policies. We're committed to providing you with well-researched, expert-backed insights for all your informational needs.


0 thoughts on “How To Store Weed Eater In Garage”