Articles
How To Remove Pressure Washer Pump
Modified: February 29, 2024
Learn how to remove a pressure washer pump with our helpful articles. Get step-by-step instructions and expert tips to safely and easily replace your pump.
(Many of the links in this article redirect to a specific reviewed product. Your purchase of these products through affiliate links helps to generate commission for Storables.com, at no extra cost. Learn more)
Introduction
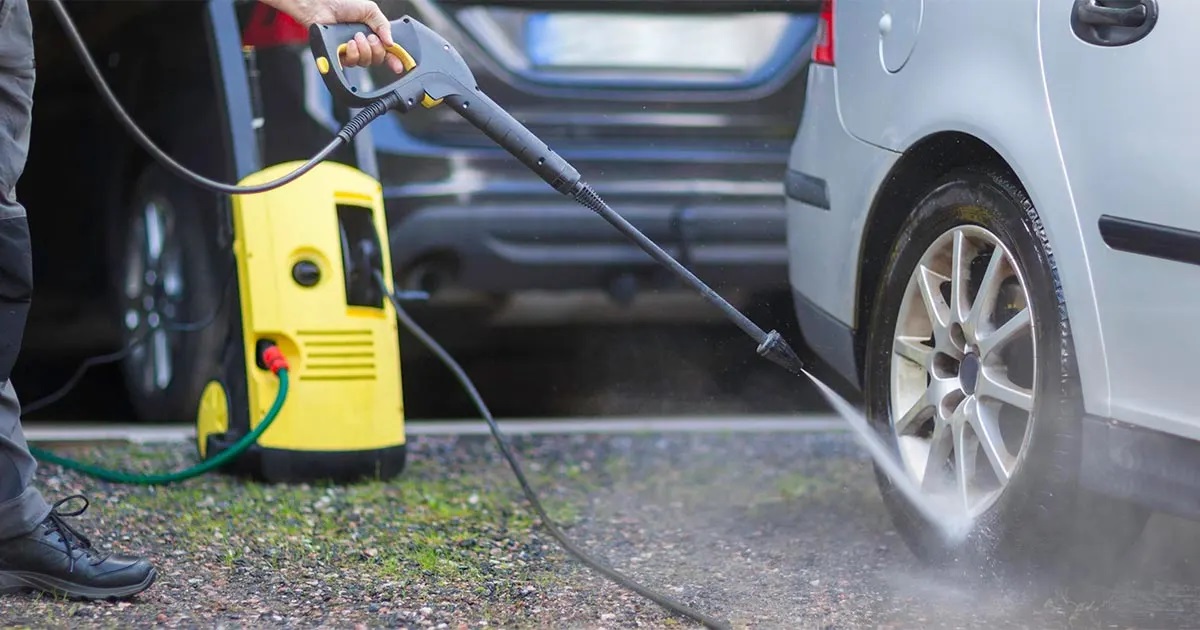
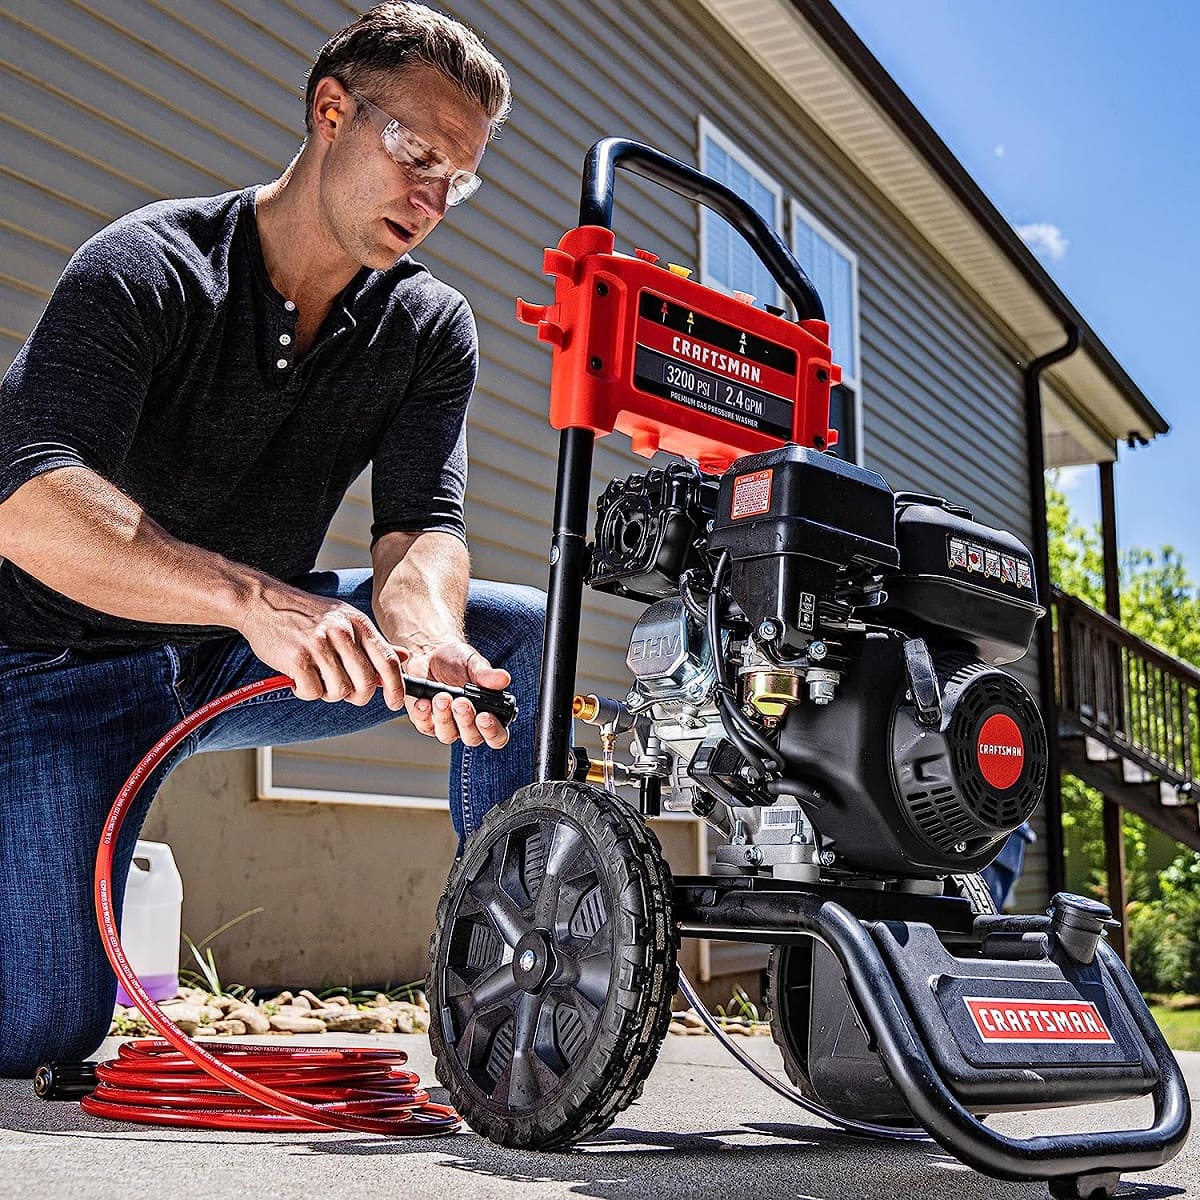
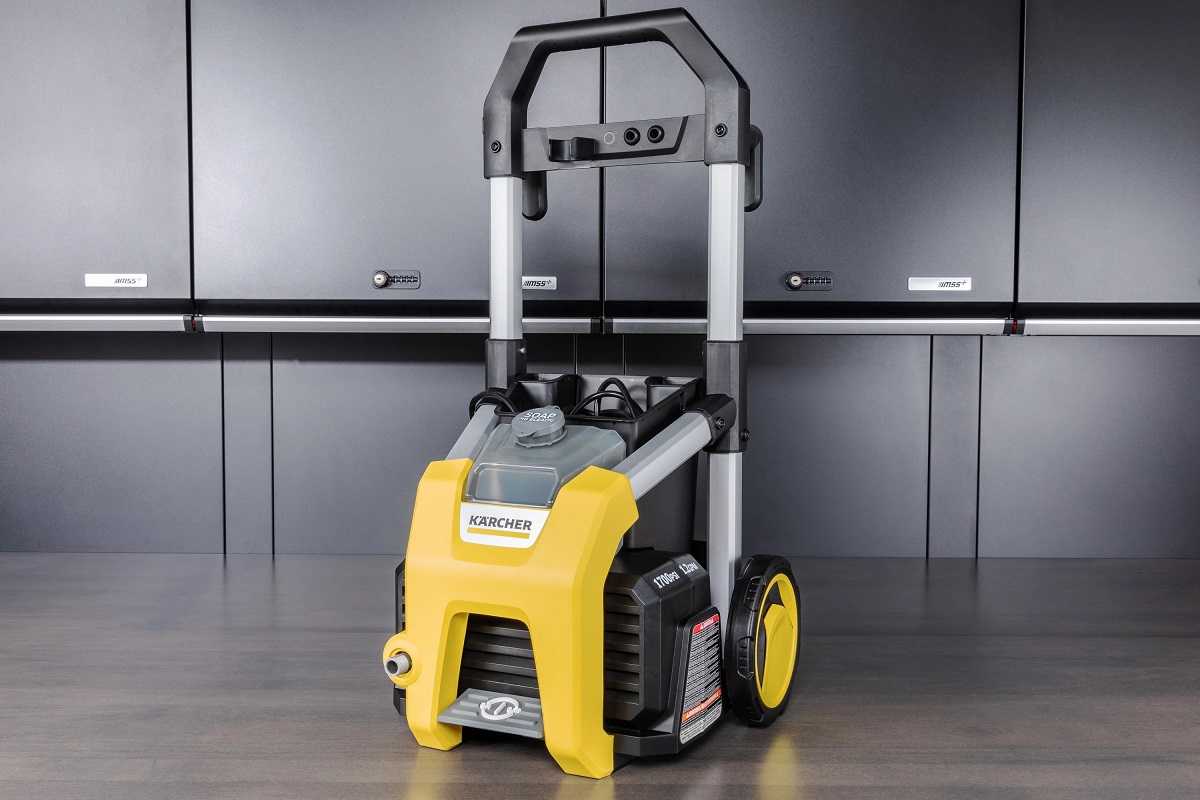
Pressure washers are incredible tools that help us keep our homes, driveways, and vehicles clean and spotless. These powerful machines rely on a crucial component called the pressure washer pump, which is responsible for generating the high-pressure water stream. However, over time, the pump may wear out or become damaged, affecting the performance of the pressure washer. In such cases, it is essential to know how to remove the pressure washer pump so that it can be repaired or replaced.
In this article, we will guide you through the step-by-step process of removing a pressure washer pump effectively. We will also provide important safety precautions and the necessary tools and materials needed for the task. So, if you’re ready to get your hands dirty and bring your pressure washer back to its optimal performance, let’s dive in!
Key Takeaways:
- Prioritize safety by wearing protective gear, disconnecting power sources, and relieving pressure before removing the pressure washer pump. Following safety precautions reduces the risk of accidents and ensures a safe working environment.
- Whether replacing or repairing the pump, thorough inspection, proper installation, and testing are crucial. Carefully following the step-by-step process outlined in the article will help maintain the performance and efficiency of your pressure washer.
Read more: How To Remove Pressure Washer Nozzle
Safety Precautions
Before starting any maintenance or repair work on your pressure washer, it is crucial to prioritize your safety. Pressure washers operate at high pressures and can cause serious injuries if not handled properly. Here are some essential safety precautions to keep in mind:
- Wear protective gear: Always wear safety goggles, gloves, and protective clothing to shield yourself from potential hazards like flying debris and chemical splashes.
- Turn off the pressure washer: Ensure that the pressure washer is turned off and unplugged from the power source before attempting any work. This will prevent accidental activation and reduce the risk of electric shocks.
- Relieve pressure: Release any built-up pressure in the system by squeezing the trigger of the spray gun several times until the water flow stops.
- Avoid hot surfaces: Allow the pressure washer’s engine and pump to cool down before attempting any maintenance. Hot surfaces can cause severe burns.
- Work in a well-ventilated area: Use the pressure washer in an area with proper ventilation to prevent the accumulation of harmful fumes or gases.
- Read the manufacturer’s instructions: Familiarize yourself with the specific safety guidelines provided by the manufacturer for your pressure washer model.
- Use proper lifting techniques: Pressure washer pumps can be heavy, so make sure to use proper lifting techniques and seek assistance if needed to avoid strain or injury.
- Avoid contact with water: Do not touch the spray nozzle or any other part of the pressure washer while it is powered on. This will prevent accidental injuries.
By following these safety precautions, you can ensure a safe working environment and minimize the risk of accidents or injuries while removing the pressure washer pump.
Tools and Materials Needed
Before you begin removing the pressure washer pump, it is important to gather the necessary tools and materials. Here is a list of items you will need:
- Adjustable wrench: This versatile tool will be used to loosen and tighten nuts and bolts.
- Socket set: A socket set with various sizes will come in handy for removing and securing bolts.
- Screwdrivers: Both flathead and Phillips screwdrivers may be required to remove any screws holding the pump in place.
- Shop rags: Having some shop rags or towels nearby will help you clean up any spills or excess water during the process.
- Pump oil: If you plan on inspecting the pump or replacing any damaged parts, having pump oil on hand is essential for lubrication.
- Replacement parts: If you have determined that the pump needs to be repaired or replaced, make sure you have the necessary replacement parts beforehand.
- Owner’s manual: Keep the owner’s manual for your pressure washer handy. It will provide you with specific information and guidelines for removing the pump.
- Safety goggles and gloves: Always prioritize safety by wearing protective goggles and gloves to avoid any injuries while working with your pressure washer.
By having these tools and materials ready, you will be well-prepared for the task of removing the pressure washer pump smoothly and efficiently.
Step 1: Disconnecting the Pressure Washer
Before you can begin removing the pressure washer pump, it’s crucial to disconnect the pressure washer from its power source and water supply. Follow these steps:
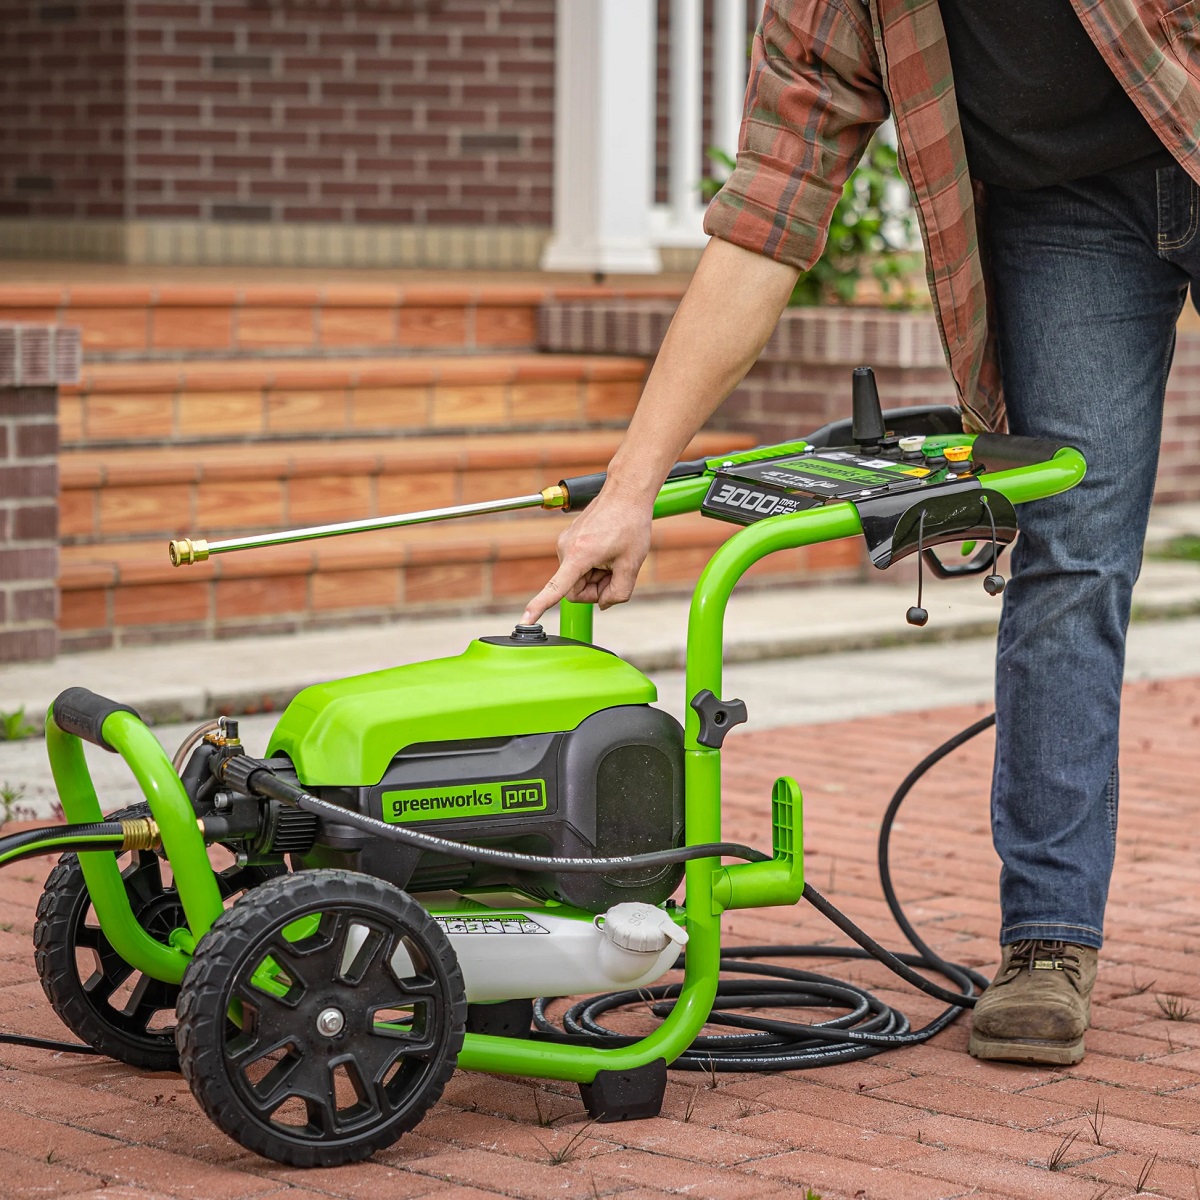
- Turn off the pressure washer: Locate the power switch on your pressure washer and ensure it is in the “Off” position. If the pressure washer is gas-powered, also turn off the engine.
- Unplug the power cord: If your pressure washer is electric, unplug it from the power outlet to prevent any accidental starts.
- Shut off the water supply: Locate the water source valve or faucet connected to your pressure washer and turn it off. This will prevent water from flowing while you work on removing the pump.
- Release any built-up pressure: Squeeze the trigger of the spray gun to release any remaining pressure in the system. Keep squeezing until water flow ceases completely.
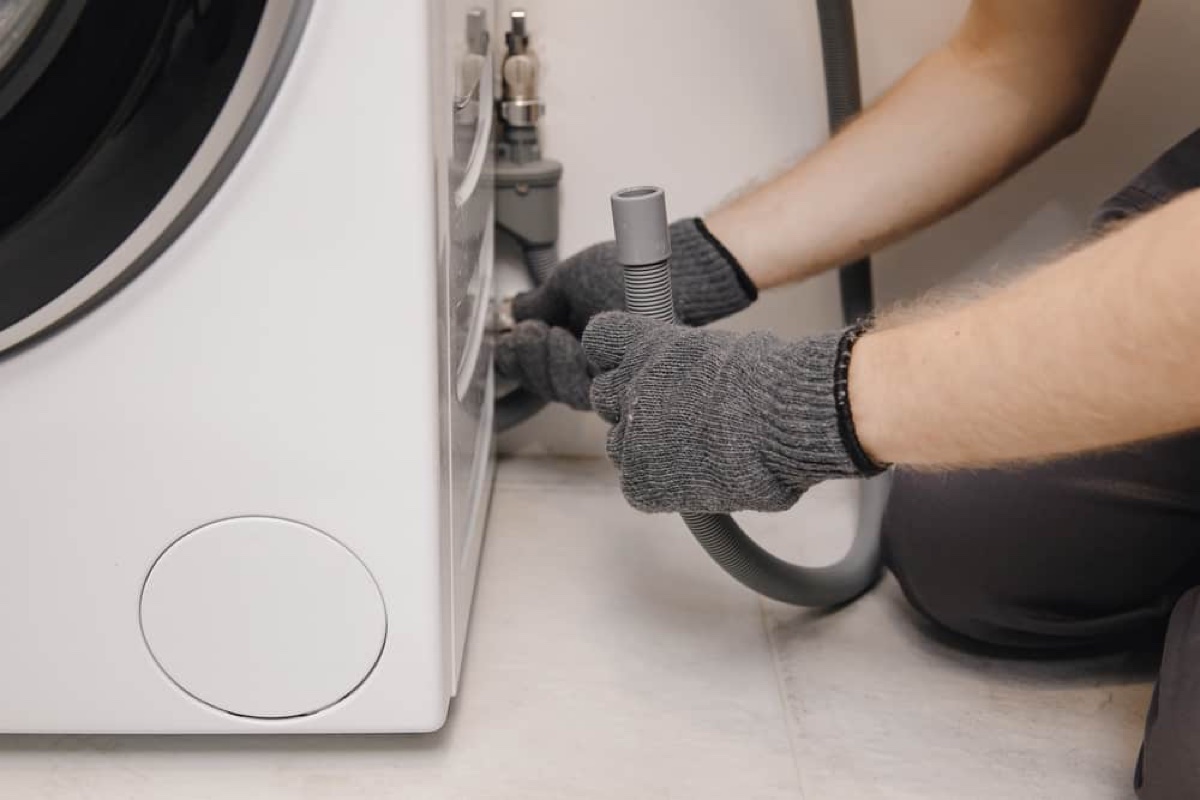
- Disconnect hoses and attachments: Remove any hoses or attachments connected to the pressure washer, including the high-pressure hose and any nozzles or wands. This will make it easier to access the pump.
By following these steps, you will ensure that the pressure washer is properly disconnected and ready for the next stages of removing the pump. Safety should always be your top priority, so take the time to double-check that all power sources have been turned off and the water supply has been shut off.
Step 2: Draining the Pump
Before removing the pressure washer pump, it’s important to drain any remaining water or fluids from the system. This will prevent any potential leaks or spills during the removal process. Follow these steps to drain the pump:
- Locate the drain plug: The drain plug is typically located on the bottom or side of the pump. Consult your pressure washer’s owner’s manual for the exact location.
- Place a container or bucket underneath: Position a container or bucket beneath the drain plug to catch the draining water.
- Loosen the drain plug: Using an adjustable wrench or the appropriate tool, loosen the drain plug counterclockwise to create an opening for the water to flow out. Be careful not to fully remove the plug just yet.
- Allow the water to drain: Once the drain plug is loosened, allow the water to drain completely into the container. This may take a few minutes depending on the amount of water in the pump.
- Tighten the drain plug: Once the water has completely drained, use the wrench to tighten the drain plug back into place to prevent any leaks.
By following these steps, you will effectively drain the water from the pump, reducing the risk of spills or leaks when removing it from the pressure washer. Be cautious while loosening and tightening the drain plug to ensure a secure seal.
Read more: How To Adjust Pressure On Pressure Washer
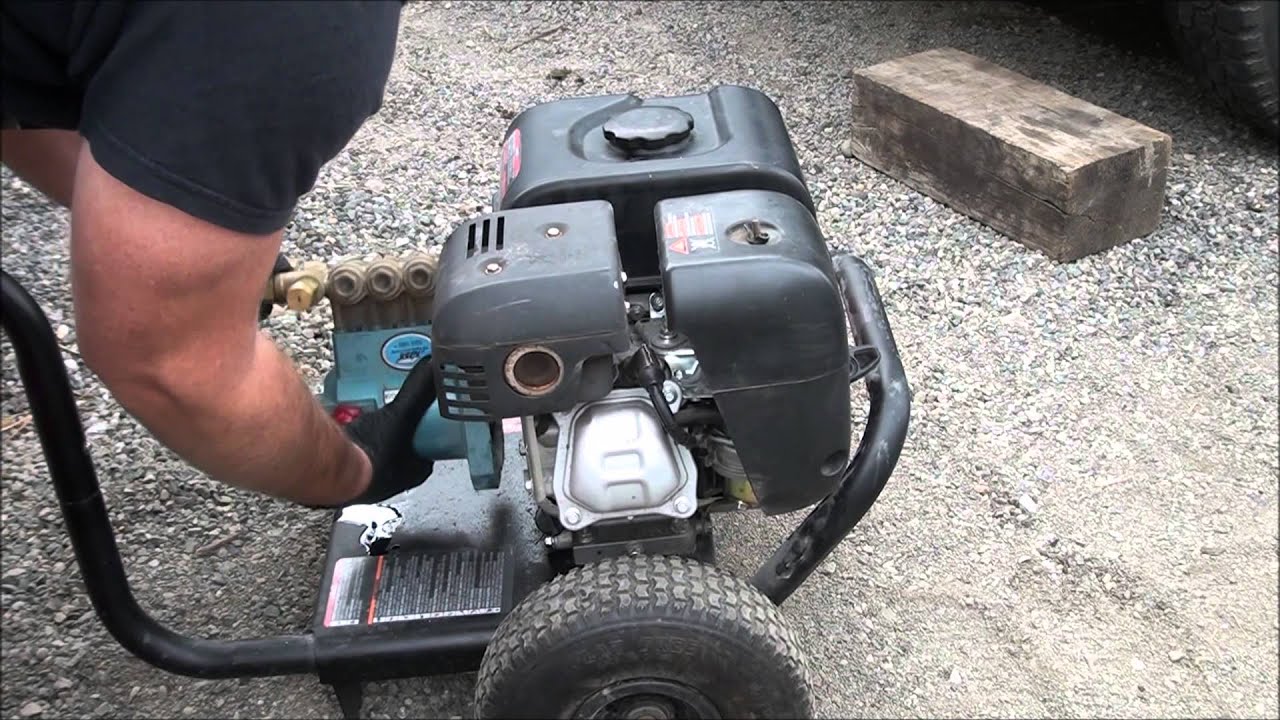
Step 3: Removing the Pump from the Pressure Washer
Now that you have disconnected the pressure washer and drained the pump, it’s time to remove the pump from the pressure washer. Follow these steps:
- Locate the mounting bolts: Look for the mounting bolts that secure the pump to the pressure washer frame or engine. These bolts are usually located on the sides or bottom of the pump.
- Use the appropriate tools: Depending on the type of mounting bolts, use a wrench or socket set to loosen and remove them. Make sure to keep track of the bolts to avoid misplacing them.
- Safely lift the pump: With the mounting bolts removed, carefully lift the pump, ensuring you have a firm grip. Pumps can be heavy, so it’s recommended to have a second person assist you with lifting.
- Inspect the pump connections: As you remove the pump, take note of any hoses, fittings, or electrical connections attached to it. Disconnect these connections carefully, ensuring you don’t damage any components.
- Set aside the removed pump: Once the pump is completely disconnected from the pressure washer, place it on a clean and flat surface. This will allow you to inspect the pump and determine whether it needs repair or replacement.
By following these steps, you will be able to safely remove the pump from the pressure washer. Take your time to ensure all connections are properly disconnected before lifting the pump to avoid any accidental damage or injuries.
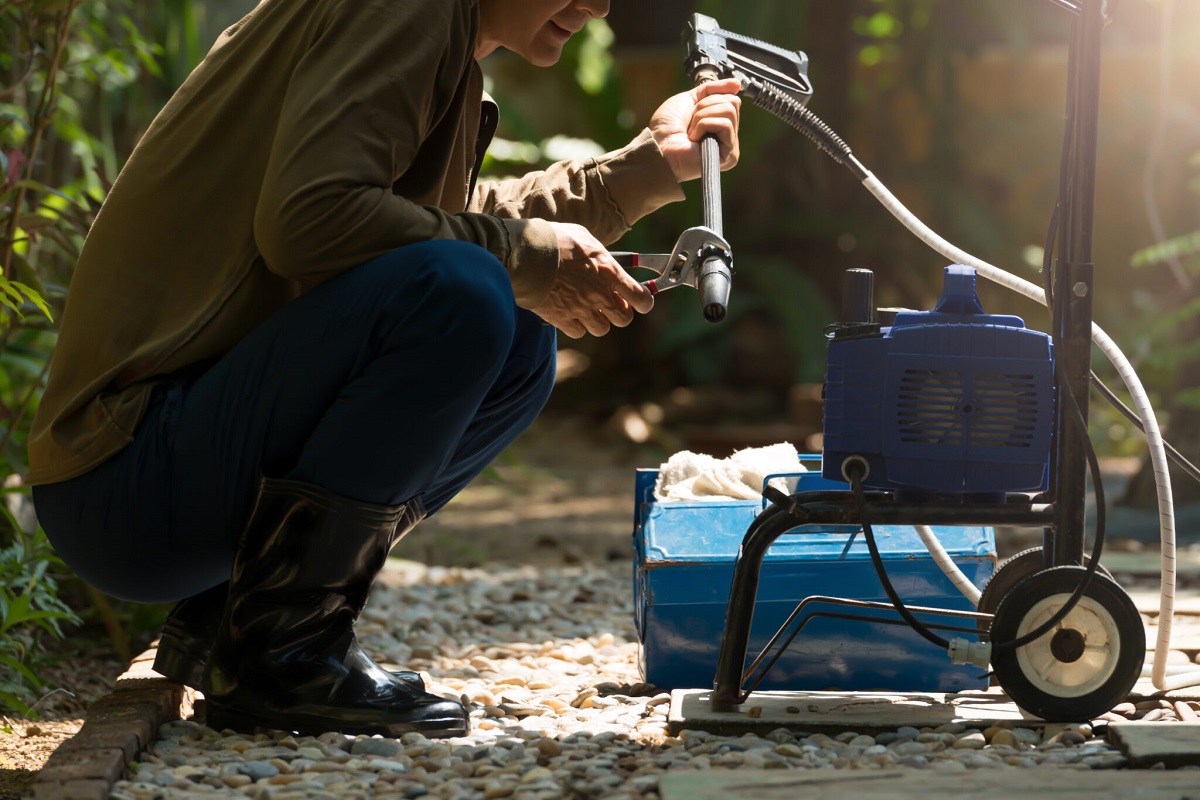
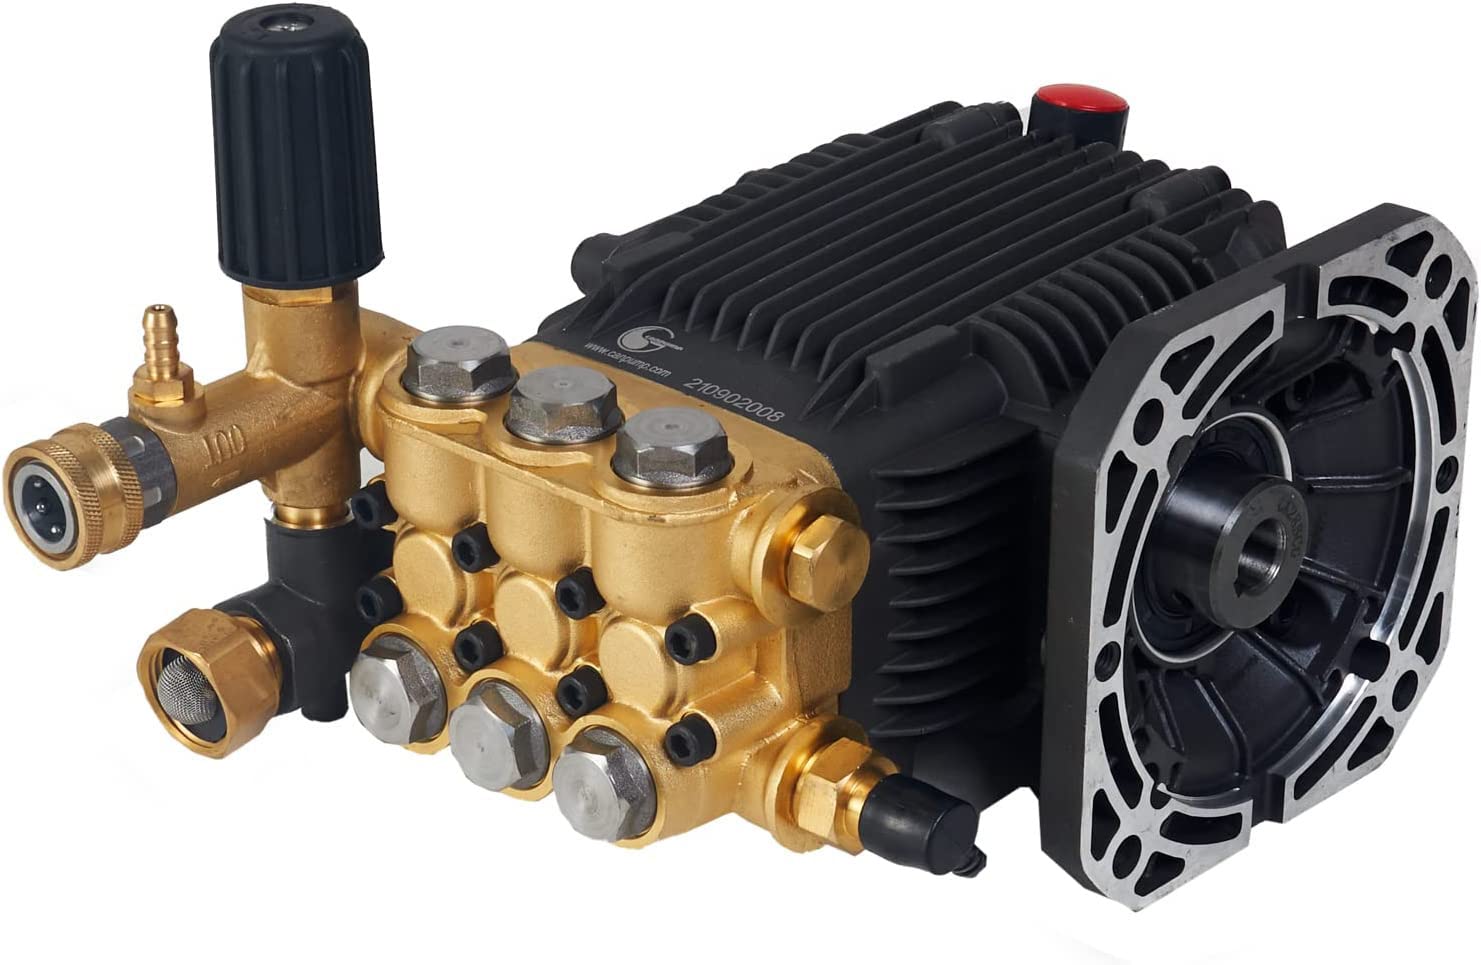
Step 4: Inspecting the Pump
After removing the pump from the pressure washer, it’s time to thoroughly inspect it to assess its condition and determine if any repairs or replacements are needed. Follow these steps to inspect the pump:
- Clean the pump: Start by wiping away any dirt, grime, or debris on the surface of the pump using a shop rag or towel. This will allow for better visibility during the inspection.
- Check for visible damages: Examine the pump for any visible damages such as cracks, leaks, or broken components. Pay close attention to the pump housing, seals, and fittings.
- Inspect the valves: Check the valves for any signs of wear or damage. Ensure they move freely without sticking or binding. If necessary, clean or replace the valves.
- Examine the seals and gaskets: Inspect the seals and gaskets for signs of wear, deterioration, or leakage. Damaged seals and gaskets should be replaced to ensure proper pump functionality.
- Check the pistons and plungers: If your pump has pistons or plungers, inspect them for any wear or scoring. Make sure they move smoothly without any resistance or excessive play.
- Inspect the motor or engine: If your pressure washer has an attached motor or engine, check for any issues such as loose connections, worn belts, or damaged components. Address any motor or engine-related problems accordingly.
During the inspection, take note of any issues or concerns you observe with the pump. If you’re unsure about any specific component or how it should look, refer to the manufacturer’s manual or consult a professional for guidance.
Once you have completed the inspection, you can determine whether the pump requires repair or replacement. If the pump is repairable, proceed to the next step to perform the necessary repairs. If the damage is extensive or irreparable, it might be time to consider replacing the pump.
Before removing the pressure washer pump, make sure to disconnect the spark plug wire to prevent accidental starting. This will ensure your safety while working on the pump.
Step 5: Replacing or Repairing the Pump
After inspecting the pump and identifying any issues, you have two options: replacing the pump entirely or repairing the existing pump. Follow these steps to either replace or repair the pump:
Replacing the Pump:
- Identify the correct replacement pump: Determine the make and model of your pressure washer to ensure compatibility with the replacement pump. Consult the manufacturer’s manual or contact a reliable supplier to help you find the correct pump.
- Order the replacement pump: Once you have identified the correct replacement pump, place your order and ensure timely delivery.
- Prepare for installation: Before installing the new pump, thoroughly clean the area where the pump will be mounted. Remove any debris or dirt that may affect the installation or performance of the new pump.
- Follow the manufacturer’s instructions: Refer to the manufacturer’s manual for specific installation instructions. Follow the step-by-step guidelines provided to ensure proper installation of the new pump.
- Secure the new pump: Once the new pump is properly installed, tighten the mounting bolts securely to ensure stability and prevent any leaks.
- Reconnect hoses and attachments: Reattach any hoses, fittings, or electrical connections that were disconnected during the removal process. Ensure they are properly connected and secured.
Repairing the Pump:
- Identify the specific issue: Based on your inspection, identify the specific problem with the pump, such as a damaged seal, cracked housing, or malfunctioning valve.
- Gather the necessary materials: Depending on the issue, gather the required repair materials, such as replacement seals, gaskets, or valves.
- Follow repair instructions: Refer to the manufacturer’s manual or seek guidance from a professional to obtain the proper instructions for repairing the specific issue. Follow the step-by-step guidelines provided for repairing the pump.
- Perform the necessary repairs: Use the appropriate tools and techniques to repair or replace the damaged components of the pump. Take your time and ensure each repair is done accurately.
- Reassemble the pump: Once the repairs are complete, reassemble the pump, ensuring that all parts are correctly aligned and securely fastened.
Whether you choose to replace the pump or repair it, be sure to double-check all connections, fasteners, and components to ensure everything is properly installed or repaired. This will help to prevent further issues and ensure the optimal performance of your pressure washer.
Step 6: Reinstalling the Pump
Now that you have either replaced or repaired the pump, it’s time to reinstall it back into the pressure washer. Follow these steps to reinstall the pump:
- Position the pump correctly: Place the pump in the appropriate position on the pressure washer frame or engine. Ensure that it is aligned properly with the mounting holes.
- Reconnect hoses and attachments: Carefully reconnect any hoses, fittings, or electrical connections that were disconnected earlier. Ensure that each connection is secure, tight, and properly aligned.
- Insert and tighten mounting bolts: Insert the mounting bolts into the respective holes on the pump. Use the appropriate wrench or socket set to tighten the bolts securely, fixing the pump in place.
- Double-check connections: Before proceeding, double-check all connections and fittings to ensure they are properly secured and aligned. This will prevent any leaks or performance issues with the pressure washer.
- Verify pump orientation: Confirm that the pump is in the correct orientation as indicated by the manufacturer’s instructions. This is important for the proper functioning and longevity of the pump.
- Inspect for any leaks: Turn on the water supply and run the pressure washer for a short time to check for any leaks or abnormalities. If you notice any leaks, tighten the corresponding connections or seek professional assistance if needed.
By carefully following these steps, you will be able to reinstall the pump securely and ensure that all connections are properly reestablished. Taking the time to check for any leaks before proceeding will help prevent potential issues in the future.
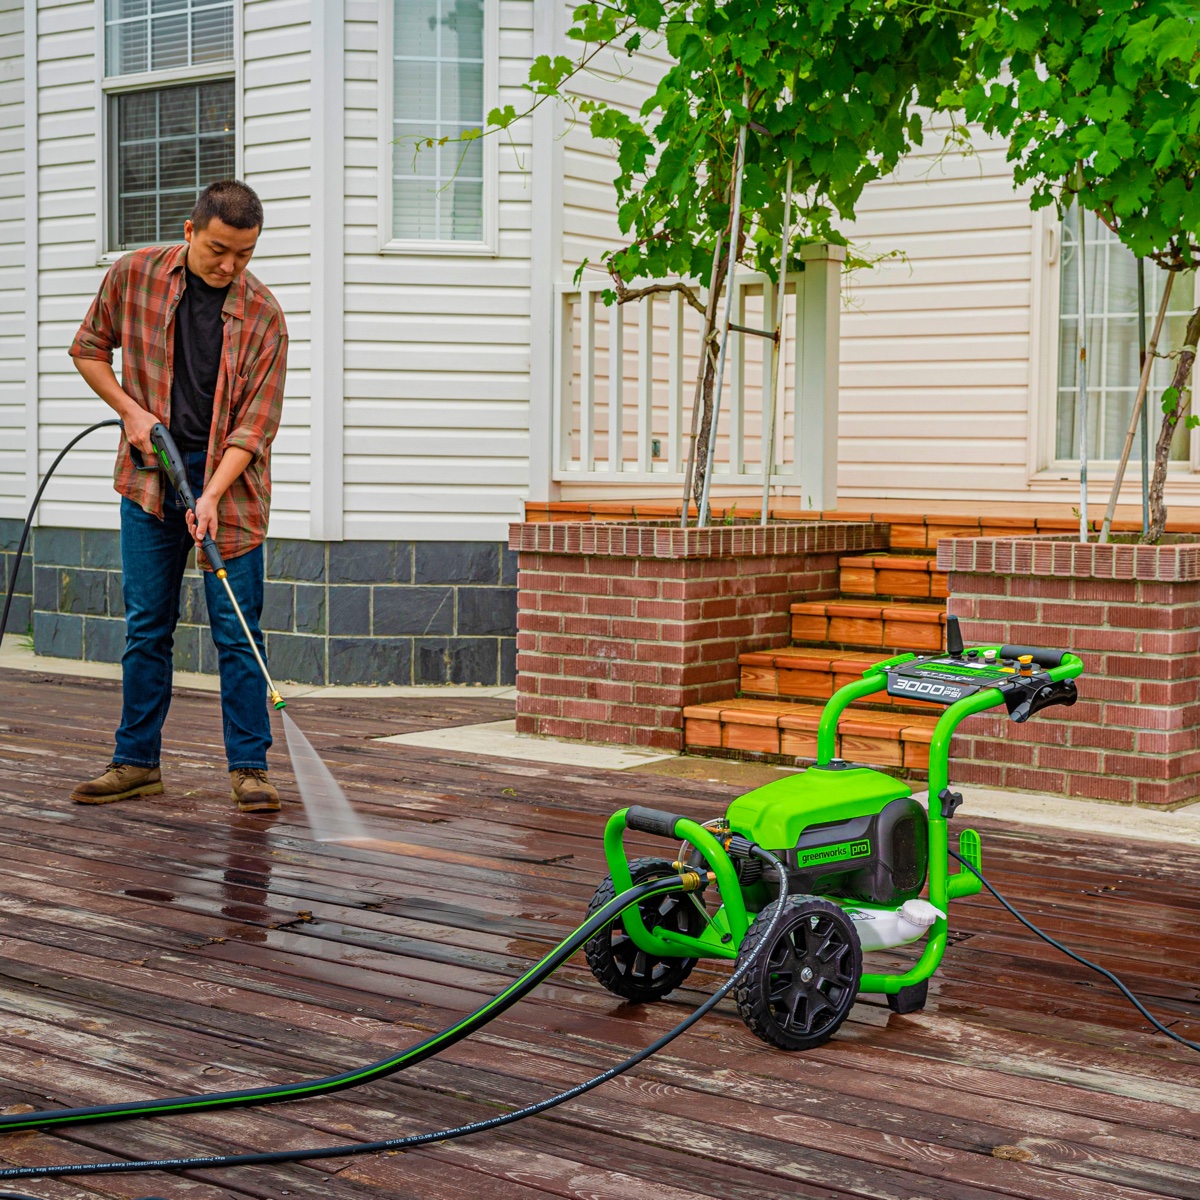
Step 7: Testing the Pressure Washer
After reinstalling the pump, it’s essential to test your pressure washer to ensure that it is functioning properly. Follow these steps to test the pressure washer:
- Close all connections: Double-check that all connections, including hoses, fittings, and electrical connections, are properly closed and secured.
- Turn on the water supply: Open the water supply valve to allow water to flow into the pressure washer. Ensure that there are no obstructions or leaks in the water supply line.
- Start the pressure washer: Turn on the pressure washer’s engine or power it up according to the manufacturer’s instructions. Pay attention to any unusual noises or vibrations.
- Test the spray gun: Attach the appropriate nozzle or wand to the spray gun and squeeze the trigger. Observe the water flow and pressure. Ensure that the spray is consistent and forceful.
- Check for any leaks: While the pressure washer is running, carefully inspect all connections, hoses, and fittings for any leaks. Address any leaks promptly by tightening connections or replacing faulty parts.
- Inspect overall performance: Test the pressure washer on different surfaces to evaluate its cleaning power. Check if the pressure washer is providing the desired level of cleaning performance.
- Monitor for any issues: Pay attention to any unusual behavior or performance issues, such as fluctuating pressure, loss of power, or abnormal sounds. If you notice any problems, make note of them for further investigation.
By testing your pressure washer after reinstalling the pump, you can ensure that it is operating correctly and delivering the expected performance. Monitoring for any issues will help you identify and address any potential problems before they worsen.
Conclusion
Removing and replacing a pressure washer pump may seem like a daunting task, but with the right knowledge and guidance, it can be accomplished successfully. By following the step-by-step instructions outlined in this article, you can safely remove, inspect, repair or replace the pump, and reinstall it back into your pressure washer.
It is important to prioritize safety throughout the process by wearing protective gear and following the manufacturer’s guidelines. Taking the necessary precautions will reduce the risk of accidents or injuries.
Remember to inspect the pump thoroughly to identify any damages or issues that require attention. Whether you opt to replace the pump entirely or repair it, ensure that the correct procedures and tools are used. Proper installation is crucial to guarantee the pressure washer’s optimal functionality.
Finally, testing the pressure washer after reinstalling the pump is vital in verifying that everything is in working order. Check for leaks, monitor the water flow and pressure, and assess the overall performance on different surfaces.
By following these steps carefully, you can effectively remove and replace your pressure washer pump, allowing you to maintain the performance and efficiency of your machine. Remember to consult your pressure washer’s owner’s manual for any specific instructions or seek professional assistance if needed.
Now, armed with the knowledge and guidance provided in this article, you’re ready to take on the task of removing and replacing your pressure washer pump with confidence!
Frequently Asked Questions about How To Remove Pressure Washer Pump
Was this page helpful?
At Storables.com, we guarantee accurate and reliable information. Our content, validated by Expert Board Contributors, is crafted following stringent Editorial Policies. We're committed to providing you with well-researched, expert-backed insights for all your informational needs.
0 thoughts on “How To Remove Pressure Washer Pump”