Articles
How To Store Yeast Long Term
Modified: January 6, 2024
Learn how to store yeast long term with our informative articles. Discover the best methods to keep your yeast fresh and extend its shelf life.
(Many of the links in this article redirect to a specific reviewed product. Your purchase of these products through affiliate links helps to generate commission for Storables.com, at no extra cost. Learn more)
Introduction
Yeast is an essential ingredient in baking and brewing, responsible for the fermentation process that gives rise to delicious breads, flavorful wines, and aromatic beers. While yeast can be easily purchased and used immediately, there may be occasions when you need to store yeast for longer periods. Whether you have excess yeast from a bulk purchase, want to save a specific strain for future use, or simply want to be prepared for any baking or brewing emergencies, proper yeast storage is crucial for preserving its viability and effectiveness.
In this article, we will explore the best practices for storing yeast long term. We will discuss the factors that affect yeast longevity, the importance of choosing the right storage container, the necessary preparations before storing yeast, and the recommended methods for storing yeast in both the refrigerator and the freezer. Additionally, we will cover the steps to revive and test stored yeast to ensure its quality and potency when it is time to use it.
By following the guidelines provided in this article, you will be equipped with the knowledge to effectively store yeast for extended periods, ensuring that you always have a reliable supply on hand for your baking and brewing endeavors. So let’s dive in and discover the secrets to successful long-term yeast storage!
Key Takeaways:
- Proper yeast storage is crucial for maintaining its viability and effectiveness, ensuring a reliable supply for baking and brewing needs. Factors like temperature, moisture, and container choice play a key role in preserving yeast quality.
- Storing yeast in the refrigerator or freezer, using airtight containers, and performing activation and rising tests are essential for long-term yeast storage success. Fresh yeast is always best for optimal baking and brewing results.
Read more: How To Store Dry Yeast Long Term
Understanding Yeast Storage
Before we delve into the specifics of yeast storage, it’s important to understand the factors that can impact the longevity of yeast. Yeast is a living organism, and its viability can be affected by various environmental conditions. Temperature, humidity, exposure to oxygen, and contamination are some of the key factors to consider when storing yeast.
Yeast, especially when in a dormant state, can be relatively fragile and sensitive to changes in its surroundings. Exposing yeast to extreme temperatures, excessive moisture, or oxygen can lead to the deterioration of its quality and viability. This is why proper storage techniques are crucial for maintaining the potency of yeast.
When it comes to yeast storage, there are two primary methods: storing yeast in the refrigerator and storing yeast in the freezer. Both methods have their advantages and considerations, but they ultimately serve the purpose of prolonging the lifespan of the yeast.
Now that we have a general understanding of yeast storage, let’s discuss the factors that can affect the longevity of yeast and how we can mitigate them to ensure optimal storage conditions.
Factors Affecting Yeast Longevity
Several factors can influence the longevity of yeast during storage. Understanding these factors will help you create the ideal conditions for preserving the viability and effectiveness of your yeast. Here are some key factors to consider:
1. Temperature: Yeast is sensitive to temperature fluctuations. Storing yeast at temperatures below 40°F (4°C) is crucial to maintaining its integrity. Avoid exposing yeast to extreme heat as it can quickly degrade its quality.
2. Moisture: Moisture is the enemy of yeast storage. Excessive moisture can lead to clumping and encourage the growth of unwanted bacteria and mold. Make sure that your yeast storage containers are completely dry before adding the yeast.
3. Oxygen exposure: Yeast requires a low-oxygen environment to maintain its vitality. Oxygen exposure can lead to oxidation and compromise the quality of the yeast. Seal your yeast container tightly to minimize oxygen exposure.
4. Contamination: Contamination can occur if yeast comes into contact with other microorganisms, such as bacteria or wild yeast strains. Ensure that your yeast storage containers are clean and sanitized to prevent contamination.
5. Light exposure: Yeast is sensitive to light, especially direct sunlight. Ultraviolet light can damage yeast cells and reduce their viability. Store yeast in opaque containers or in a dark area to protect it from light exposure.
By considering these factors and implementing proper storage techniques, you can significantly extend the lifespan of your yeast and ensure its effectiveness when it comes time to use it. In the next sections, we will explore the best storage containers and procedures for preparing and storing yeast in the refrigerator and freezer.
Choosing the Right Container
When it comes to storing yeast, the choice of container is crucial. The container you use should provide an airtight and moisture-resistant environment to protect the yeast from external elements. Here are some considerations to keep in mind when selecting a container for yeast storage:
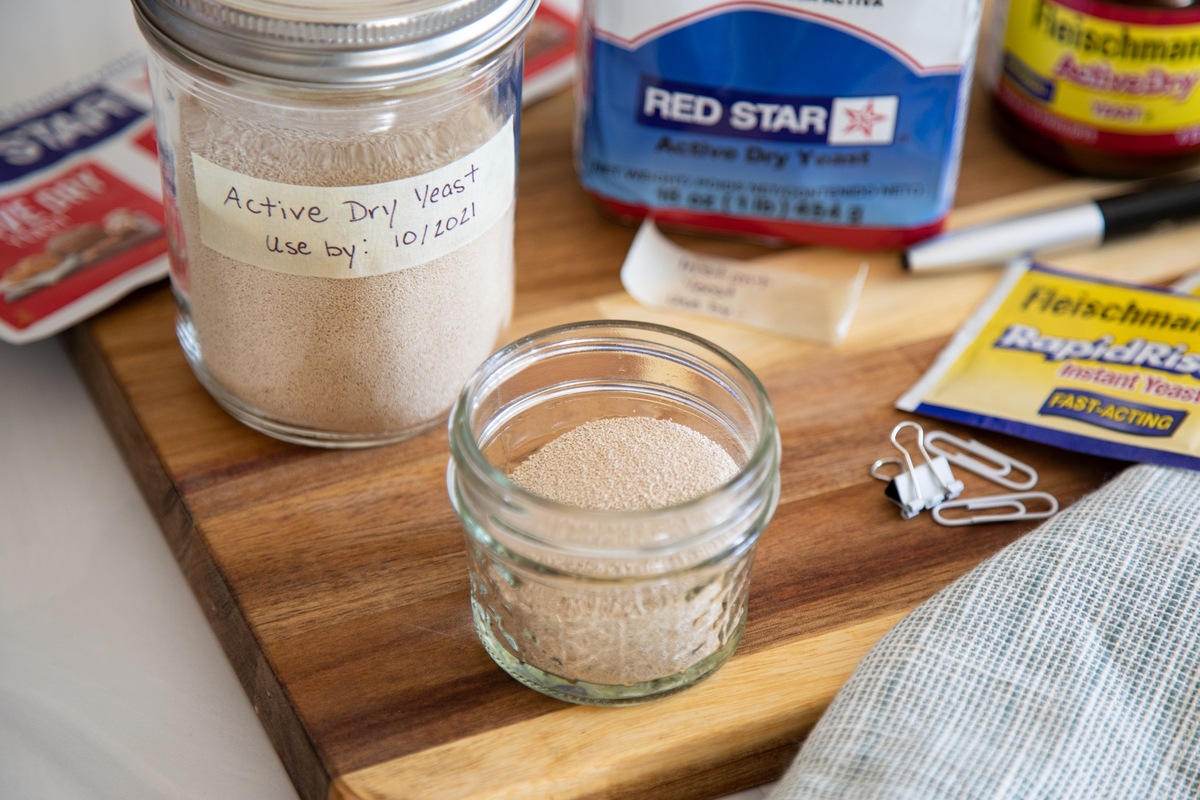
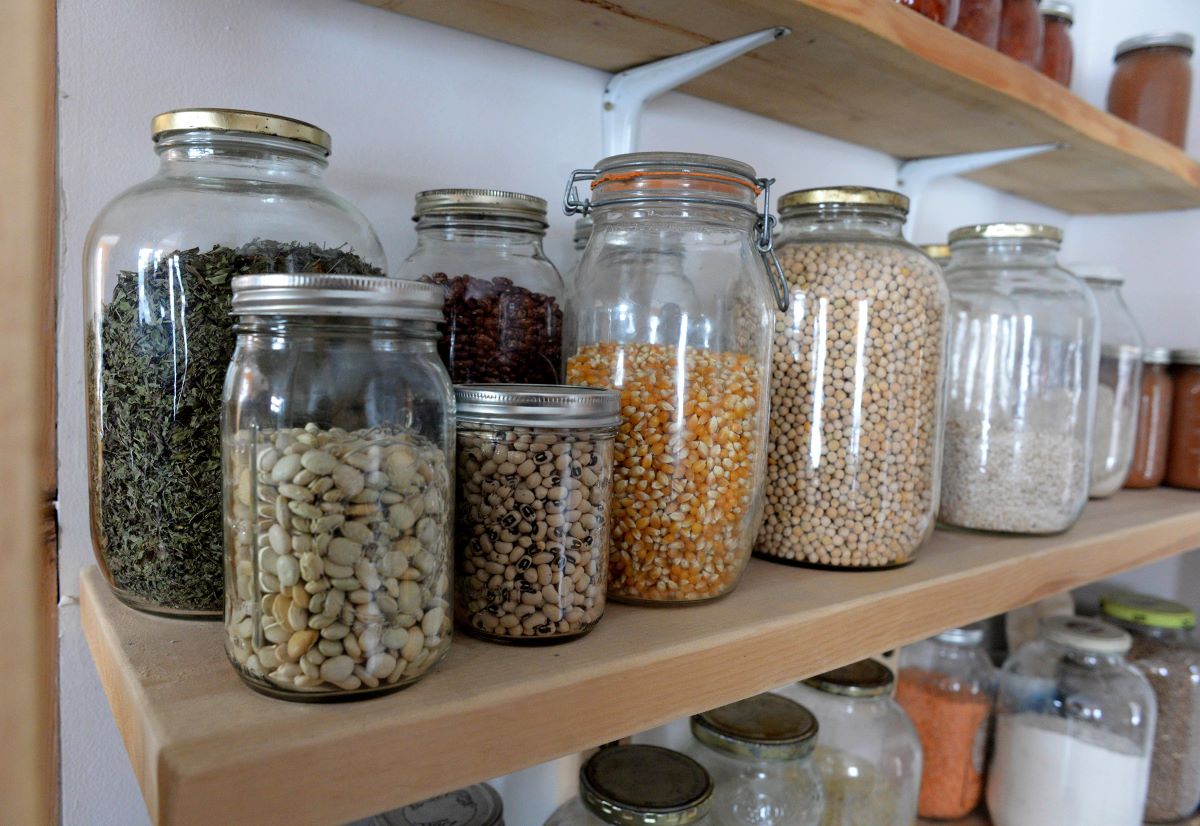
1. Glass Jars: Glass jars with airtight lids are an excellent choice for yeast storage. They are non-reactive and do not absorb odors or flavors. Look for jars with rubber gaskets or silicone seals to ensure a tight seal and prevent air and moisture from entering the container.
2. Food-Grade Plastic Containers: If you prefer using plastic containers, make sure they are food-grade and have a tight-fitting lid. Look for containers made from high-density polyethylene (HDPE) or polypropylene (PP) plastics, as they are more resistant to moisture and provide a reliable seal.
3. Vacuum Sealed Bags: Vacuum-sealed bags or pouches are another option for storing yeast. These bags remove excess air and create a sealed environment that protects the yeast from moisture and oxygen. However, it is important to note that once opened, these bags cannot be resealed, so ensure that you use them for single-use portions.
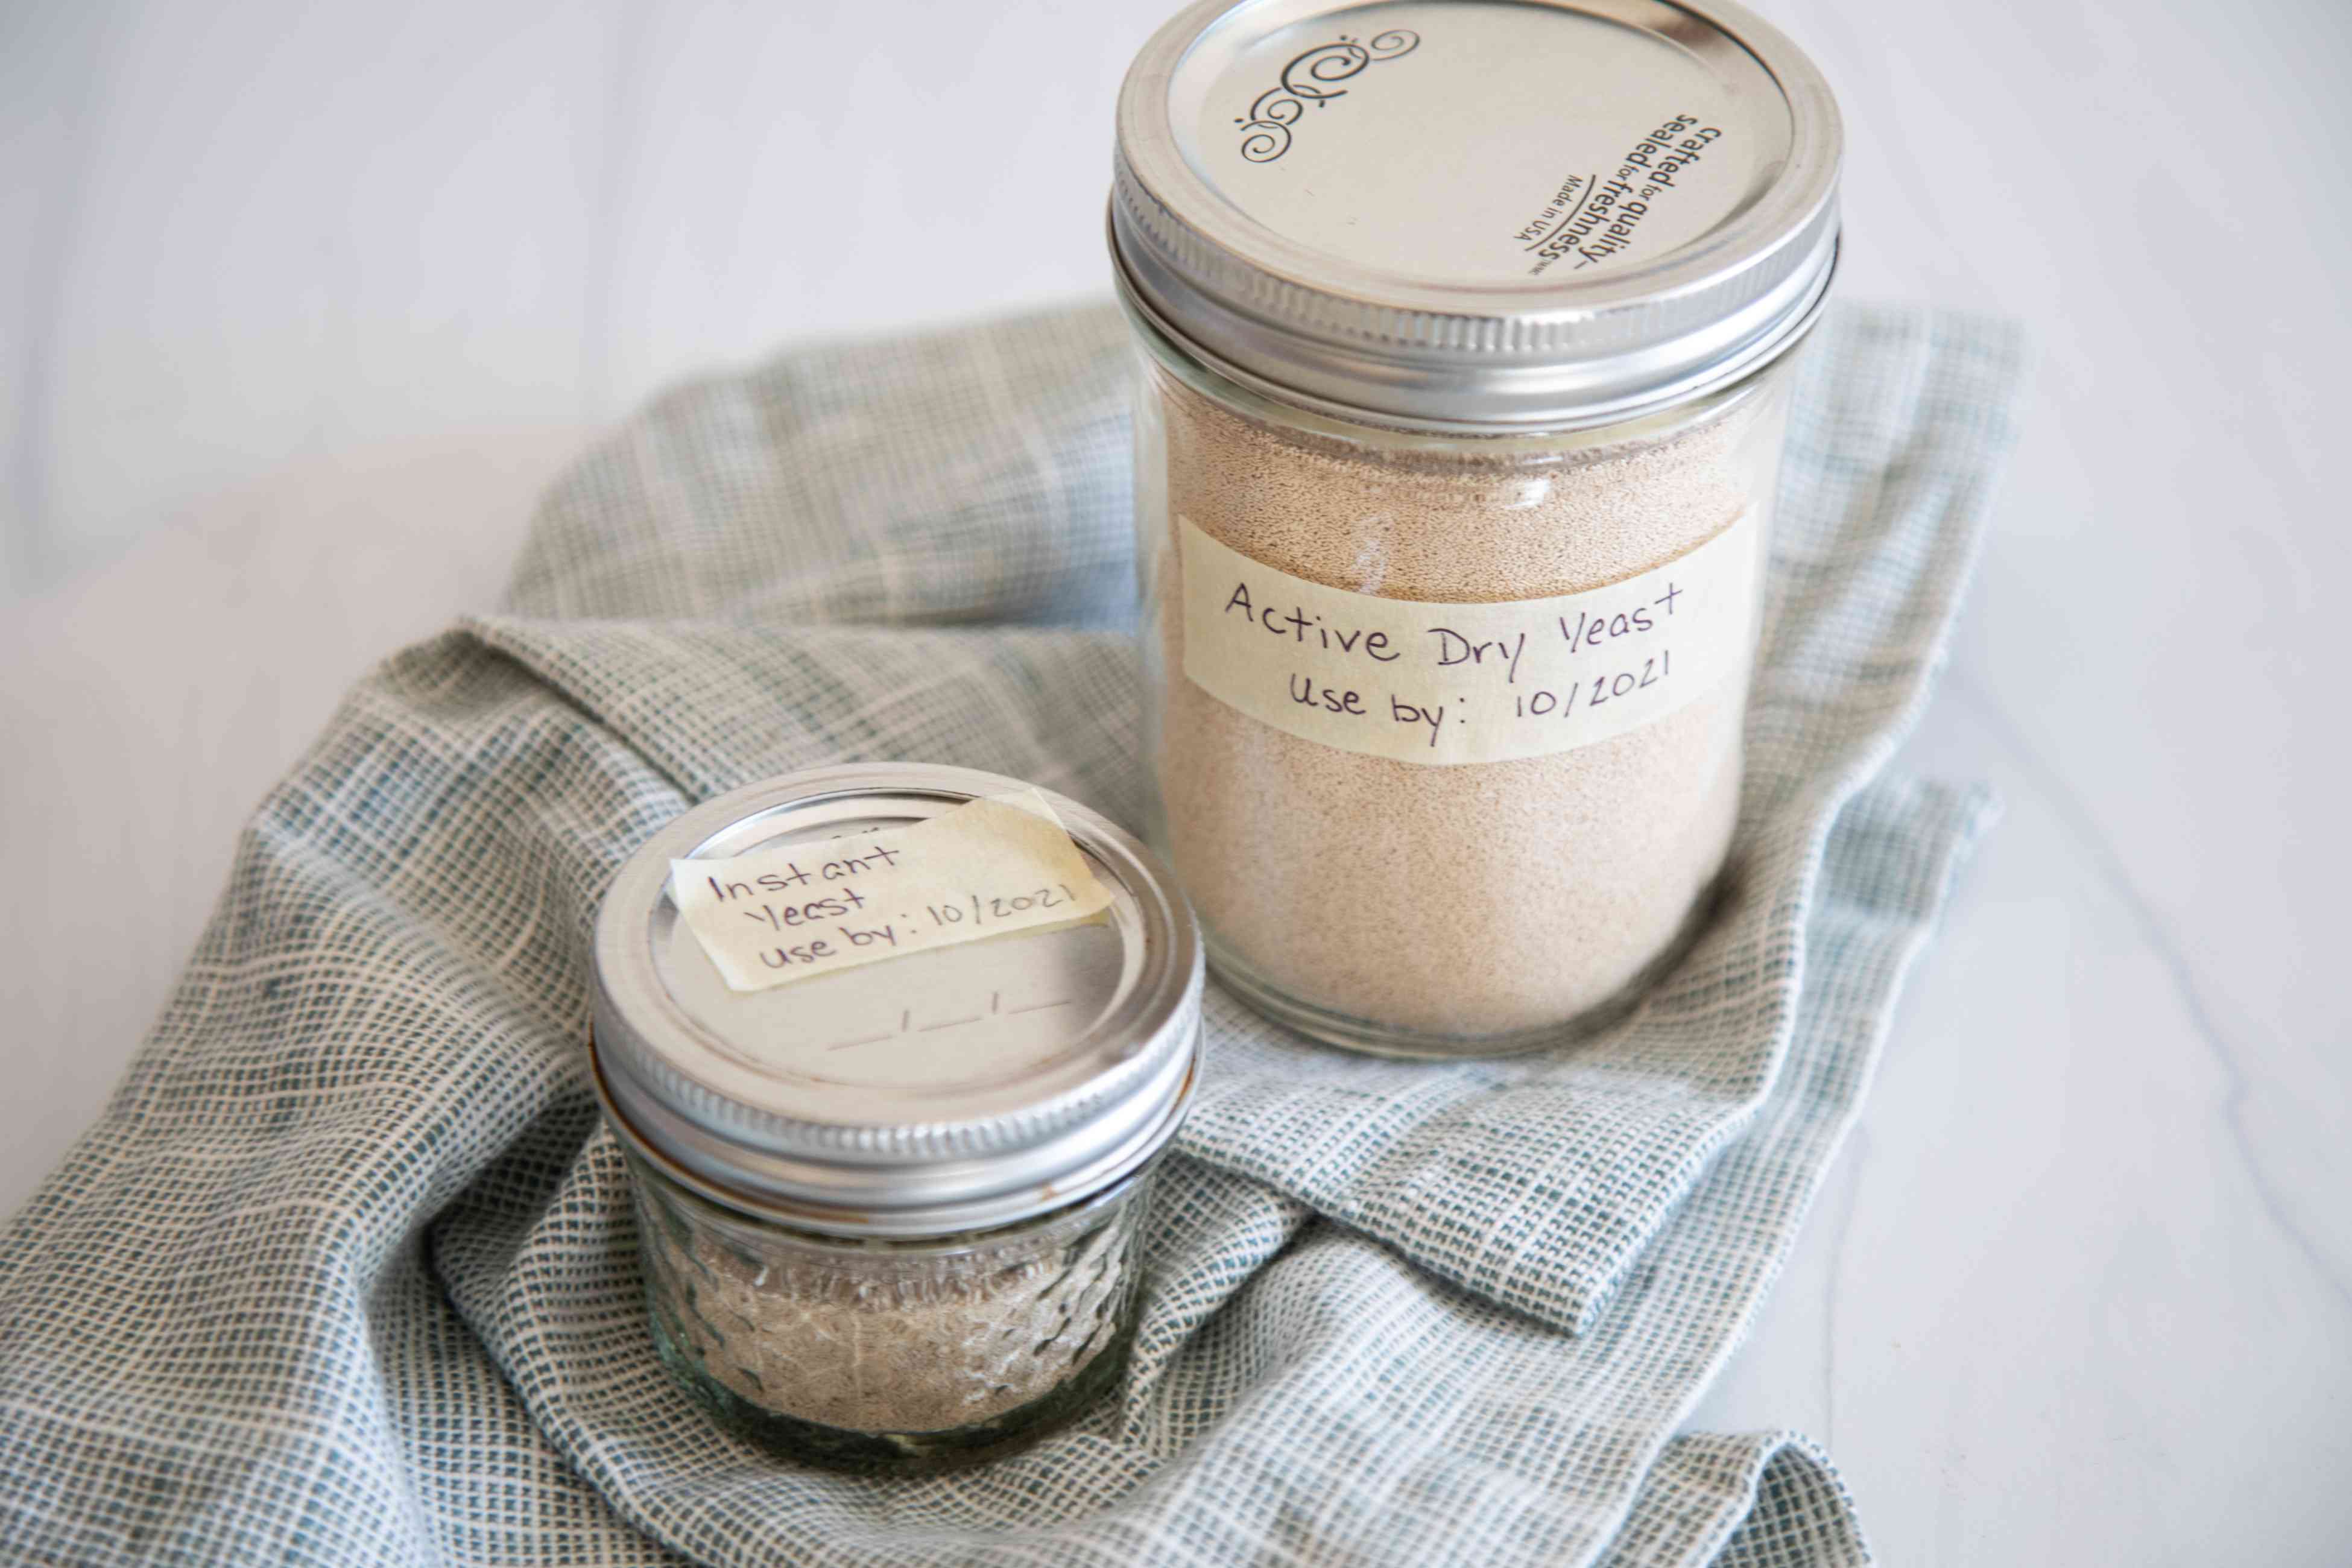
4. Mason Jars: Mason jars are a popular choice for yeast storage due to their durability and versatility. They provide an airtight seal when properly closed and can be easily labeled for better organization. However, it is important to use new lids or rubber seals each time you open the jar to ensure a tight seal.
When selecting a container, it is important to thoroughly clean and sanitize it before adding the yeast. Any residue or contaminants left in the container can affect the quality and longevity of the yeast. Rinse the container with hot water and use a mild detergent to clean it. Rinse again with hot water and allow it to air dry completely. Avoid using harsh chemicals or strong-smelling cleaners, as they can leave behind residues that may impact the yeast.
Additionally, label the container with the date of storage and the type or strain of yeast stored. This will help you keep track of the yeast’s freshness and make it easier to identify different types of yeast when you need them.
By selecting the right container and ensuring proper cleanliness, you can create an optimal storage environment for yeast, extending its shelf life and maintaining its quality. In the next section, we will explore the necessary preparations before storing yeast for the long term.
Prepping Yeast for Long-Term Storage
Before you store yeast for the long term, it’s important to make some preparations to ensure its viability and longevity. Follow these steps to properly prep your yeast for storage:
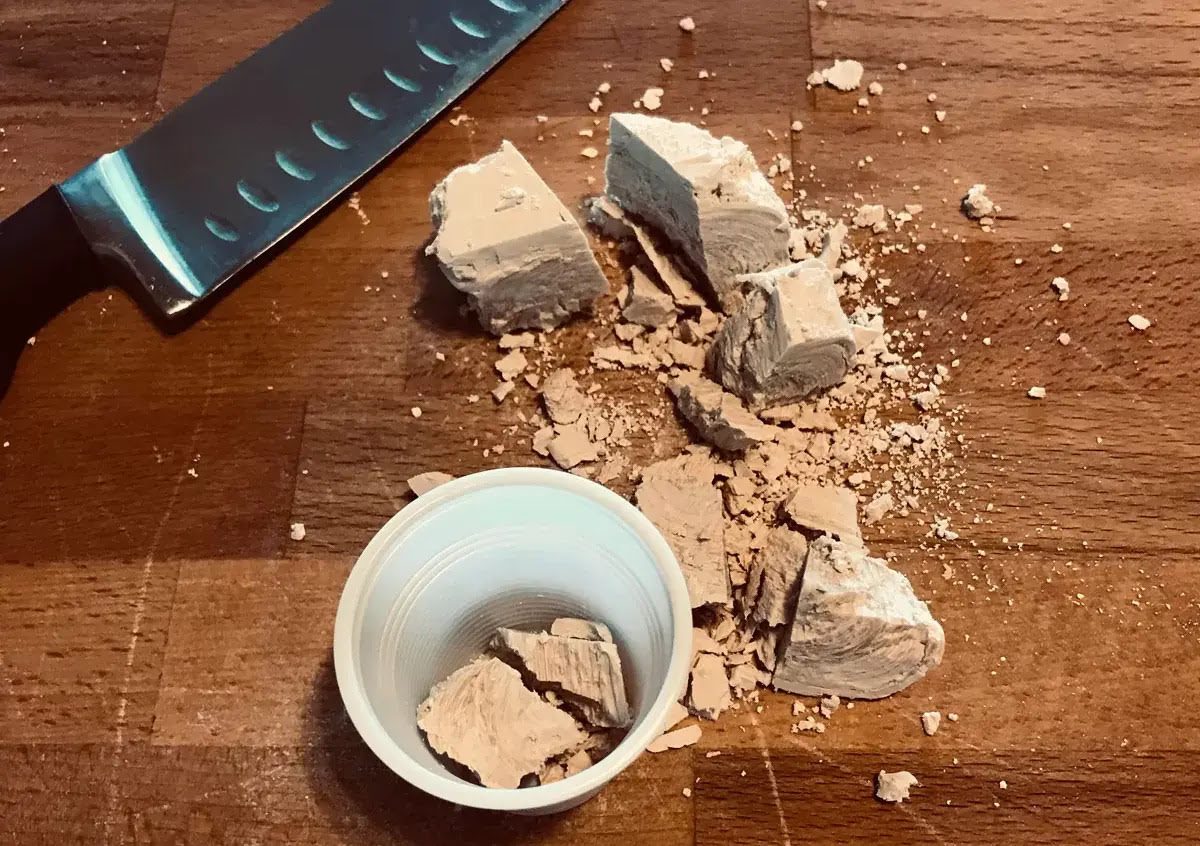
1. Choose Fresh Yeast: Start with fresh yeast that is within its expiration date. Using old or expired yeast can significantly reduce its viability and affect the quality of your baked goods or brews.
2. Activate the Yeast: If you’re using dry yeast, it’s a good idea to activate it before storing. Dissolve the yeast in warm water (around 100-110°F or 38-43°C) with a pinch of sugar. Let it sit for about 10 minutes until the yeast becomes foamy and bubbly. This step helps ensure that the yeast is active and viable before storing.
3. Measure and Divide: Determine the amount of yeast you’ll need for future recipes and divide the activated yeast into smaller portions accordingly. Storing yeast in smaller quantities makes it easier to use without compromising the entire supply.
4. Dehydrate (Optional): If you want to store yeast for an extended period, you can consider dehydrating it. Spread the yeast on a baking sheet lined with parchment paper and let it air dry at room temperature for a few hours or until it becomes crumbly. This helps remove excess moisture, prolonging the yeast’s shelf life.
5. Storage Preparation: Ensure that your chosen storage container is clean and completely dry. If using glass jars, sanitize them by boiling them in water for a few minutes or running them through the dishwasher. Plastics containers should be washed with hot soapy water and thoroughly rinsed.
6. Fill the Container: Fill the prepared container with the prepped yeast, leaving some headspace to accommodate any expansion during freezing. If using a vacuum-sealed bag, squeeze out as much air as possible before sealing.
7. Label and Date: Label the storage container with the date of storage and any relevant information, such as the yeast strain or type. This will help you keep track of the yeast and its freshness.
Stored properly, yeast can remain viable and usable for up to several months in the refrigerator and even longer in the freezer. However, it’s recommended to use the yeast within the first few months for optimal results.
By following these preparation steps, you can ensure that your yeast is ready for long-term storage, maintaining its quality and providing you with a reliable supply for your baking and brewing needs. In the next sections, we will explore the specific methods of storing yeast in the refrigerator and freezer.
Store yeast long term in the refrigerator or freezer to extend its shelf life. Keep it in an airtight container to prevent moisture and air exposure, which can decrease its effectiveness.
Read more: How To Store Yeast
Storing Yeast in the Refrigerator
The refrigerator is a suitable environment for short to medium-term yeast storage. It provides a stable and cool temperature, which helps to slow down the yeast’s activity and extend its shelf life. Here’s how to store yeast in the refrigerator:
1. Transfer the Prepped Yeast: Take your prepared yeast and transfer it to a suitable airtight container. Ensure that the container is clean, dry, and can be tightly sealed.
2. Refrigerator Placement: Place the yeast container in the refrigerator, preferably on a shelf closer to the back, away from the door. This location provides a more consistent and cooler temperature, as the door is exposed to temperature fluctuations when opened frequently.
3. Optimal Refrigerator Temperature: Set your refrigerator temperature between 36-40°F (2-4°C). This range provides the ideal cool environment for yeast storage.
4. Avoid Contamination: Store yeast away from strong-smelling foods or items, as yeast can absorb odors. This will help maintain the integrity of the yeast and prevent cross-contamination of flavors.
5. Check for Condensation: Periodically check the yeast container for any signs of condensation. If you notice moisture inside the container, gently remove the yeast, blot any excess moisture with a paper towel, and ensure the container is completely dry before returning the yeast.
Stored in the refrigerator under these conditions, yeast can remain viable for several weeks to a few months. However, it’s best to use the yeast within the first month to ensure optimal fermentation results.
Remember to always label the container with the storage date and any relevant information. This will help you keep track of the yeast and facilitate proper rotation when using stored yeast.
In the next section, we will explore another method of storing yeast for the long term — the freezer.
Storing Yeast in the Freezer
When you need to store yeast for an extended period, the freezer is an excellent option. Freezing yeast dramatically slows down its activity and preserves its viability for up to a year or even longer. Here’s how you can store yeast in the freezer:
1. Prepare the Yeast: Start by following the steps mentioned earlier for prepping the yeast for long-term storage. Measure out the desired amount of yeast and divide it into smaller portions if needed.
2. Freezer-Safe Container: Choose a freezer-safe container that is airtight and moisture-resistant. Glass jars or plastic containers with tight-fitting lids are suitable for this purpose. Leave some headspace in the container to allow for any expansion during freezing.
3. Transfer and Label: Transfer the prepped yeast into the freezer-safe container and label it with the date of storage and any other relevant information. Clear labeling will help you identify the yeast when needed and keep track of its freshness.
4. Freezer Placement: Place the yeast container in the freezer. It is recommended to position it towards the back of the freezer where the temperature remains the most consistent.
5. Optimal Freezer Temperature: Set your freezer temperature at or below 0°F (-18°C). This freezing temperature ensures the yeast remains in a dormant state and retains its viability.
6. Thawing and Usage: When you are ready to use the yeast, remove the container from the freezer and allow it to thaw gradually in the refrigerator. Avoid thawing the yeast at room temperature, as rapid temperature changes can impact its viability. Once thawed, use the yeast immediately for best results.
Stored properly in the freezer, yeast can stay viable for up to a year or longer. However, it’s advisable to use the yeast within the first six months to ensure optimal fermentation and rise in your baking or brewing.
Remember to keep track of your yeast inventory and use the first-in, first-out (FIFO) approach. This ensures that you rotate your yeast supply, using the oldest stock first and maintaining a fresh supply of yeast for future use.
In the next section, we will explore the steps to revive and test stored yeast to ensure its quality before incorporating it into your recipes.
Reviving and Testing Stored Yeast
When it’s time to use the yeast you have stored, it’s essential to revive and test it to ensure its viability and quality. Follow these steps to revive and test stored yeast:
1. Thawing Process: If you have stored yeast in the freezer, transfer the container to the refrigerator and allow it to thaw slowly. This gradual thawing process helps maintain the viability of the yeast.
2. Warm-Up Stage: Once thawed, you need to bring the yeast back to room temperature before using it. Let the container sit at room temperature for about 1-2 hours to warm up. Avoid exposing the yeast to direct heat or sunlight during this time.
3. Activation Test: To test the viability of the yeast, prepare a small amount of sugar water solution. Dissolve 1 teaspoon of sugar in 1/4 cup of warm water (around 100-110°F or 38-43°C). Add a small portion of your revived yeast and stir gently. Let it sit undisturbed for 10-15 minutes.
4. Look for Activity: After 10-15 minutes, check for signs of yeast activity. Look for bubbling, foaming, or a layer of froth on the surface of the sugar water solution. These are indications that the yeast is active and viable.
5. Rising Test: If the activation test shows signs of yeast activity, you can perform a rising test to further confirm its viability. Prepare a small batch of dough or a bread recipe using a portion of the revived yeast. Follow the recipe instructions and allow the dough to rise according to the recommended time. If the dough rises as it should, this confirms that the yeast is still viable and can be used confidently in your baking or brewing.
6. Adjusting If Necessary: If the yeast does not show any signs of activity during the activation test or fails to produce a satisfactory rise during the rising test, it is likely that the yeast has lost its potency. In this case, you will need to obtain fresh yeast and discard the stored yeast.
By following these steps, you can determine the viability and quality of your stored yeast. This ensures that the yeast you use in your recipes will yield the desired results. Whether you’re baking bread or brewing beer, having active and viable yeast is crucial for successful fermentation.
Remember to discard any yeast that does not pass the activation or rising tests. It’s always best to rely on fresh, active yeast for optimal results in your baking and brewing projects.
In the final section, we will conclude our discussion on storing yeast long-term and highlight the key points to remember.
Conclusion
Properly storing yeast for the long term is essential for maintaining its viability and effectiveness. Whether you’re a home baker or a passionate brewer, having a reliable supply of yeast on hand ensures that your culinary creations are always a success. By understanding the factors that affect yeast longevity and following the right storage techniques, you can extend the shelf life of your yeast and preserve its quality.
Choosing the right container, such as a glass jar or a food-grade plastic container, is the first step in creating an optimal storage environment. The container should be airtight, moisture-resistant, and kept away from strong odors to prevent contamination or flavor absorption. Labeling the container with the storage date and yeast information helps you keep track of freshness and organize your yeast supply.
When it comes to storing yeast, you have two main options: the refrigerator or the freezer. The refrigerator provides a cool and stable environment for short to medium-term storage. On the other hand, the freezer is ideal for long-term storage, with the capability to preserve yeast viability for up to a year or longer. Thawing the yeast gradually and performing activation and rising tests will ensure its viability before incorporating it into your recipes.
It’s important to note that while properly stored yeast can maintain its effectiveness for an extended period, it’s always advisable to use it within the first few months for optimal results. Fresh yeast will yield the best fermentation and rise in your baking or brewing endeavors.
By following the guidelines provided in this article, you can confidently store yeast for the long term, ensuring that you always have a reliable supply on hand. So, whether it’s baking fluffy bread or creating flavorful brews, you can confidently embark on your culinary adventures and enjoy the delicious results!
Frequently Asked Questions about How To Store Yeast Long Term
Was this page helpful?
At Storables.com, we guarantee accurate and reliable information. Our content, validated by Expert Board Contributors, is crafted following stringent Editorial Policies. We're committed to providing you with well-researched, expert-backed insights for all your informational needs.


0 thoughts on “How To Store Yeast Long Term”