Articles
How To Make Fluffy Bread In Bread Machine
Modified: August 25, 2024
Learn how to make fluffy bread in a bread machine with these helpful articles. Master the art of homemade bread with step-by-step guides and expert tips.
(Many of the links in this article redirect to a specific reviewed product. Your purchase of these products through affiliate links helps to generate commission for Storables.com, at no extra cost. Learn more)
Introduction
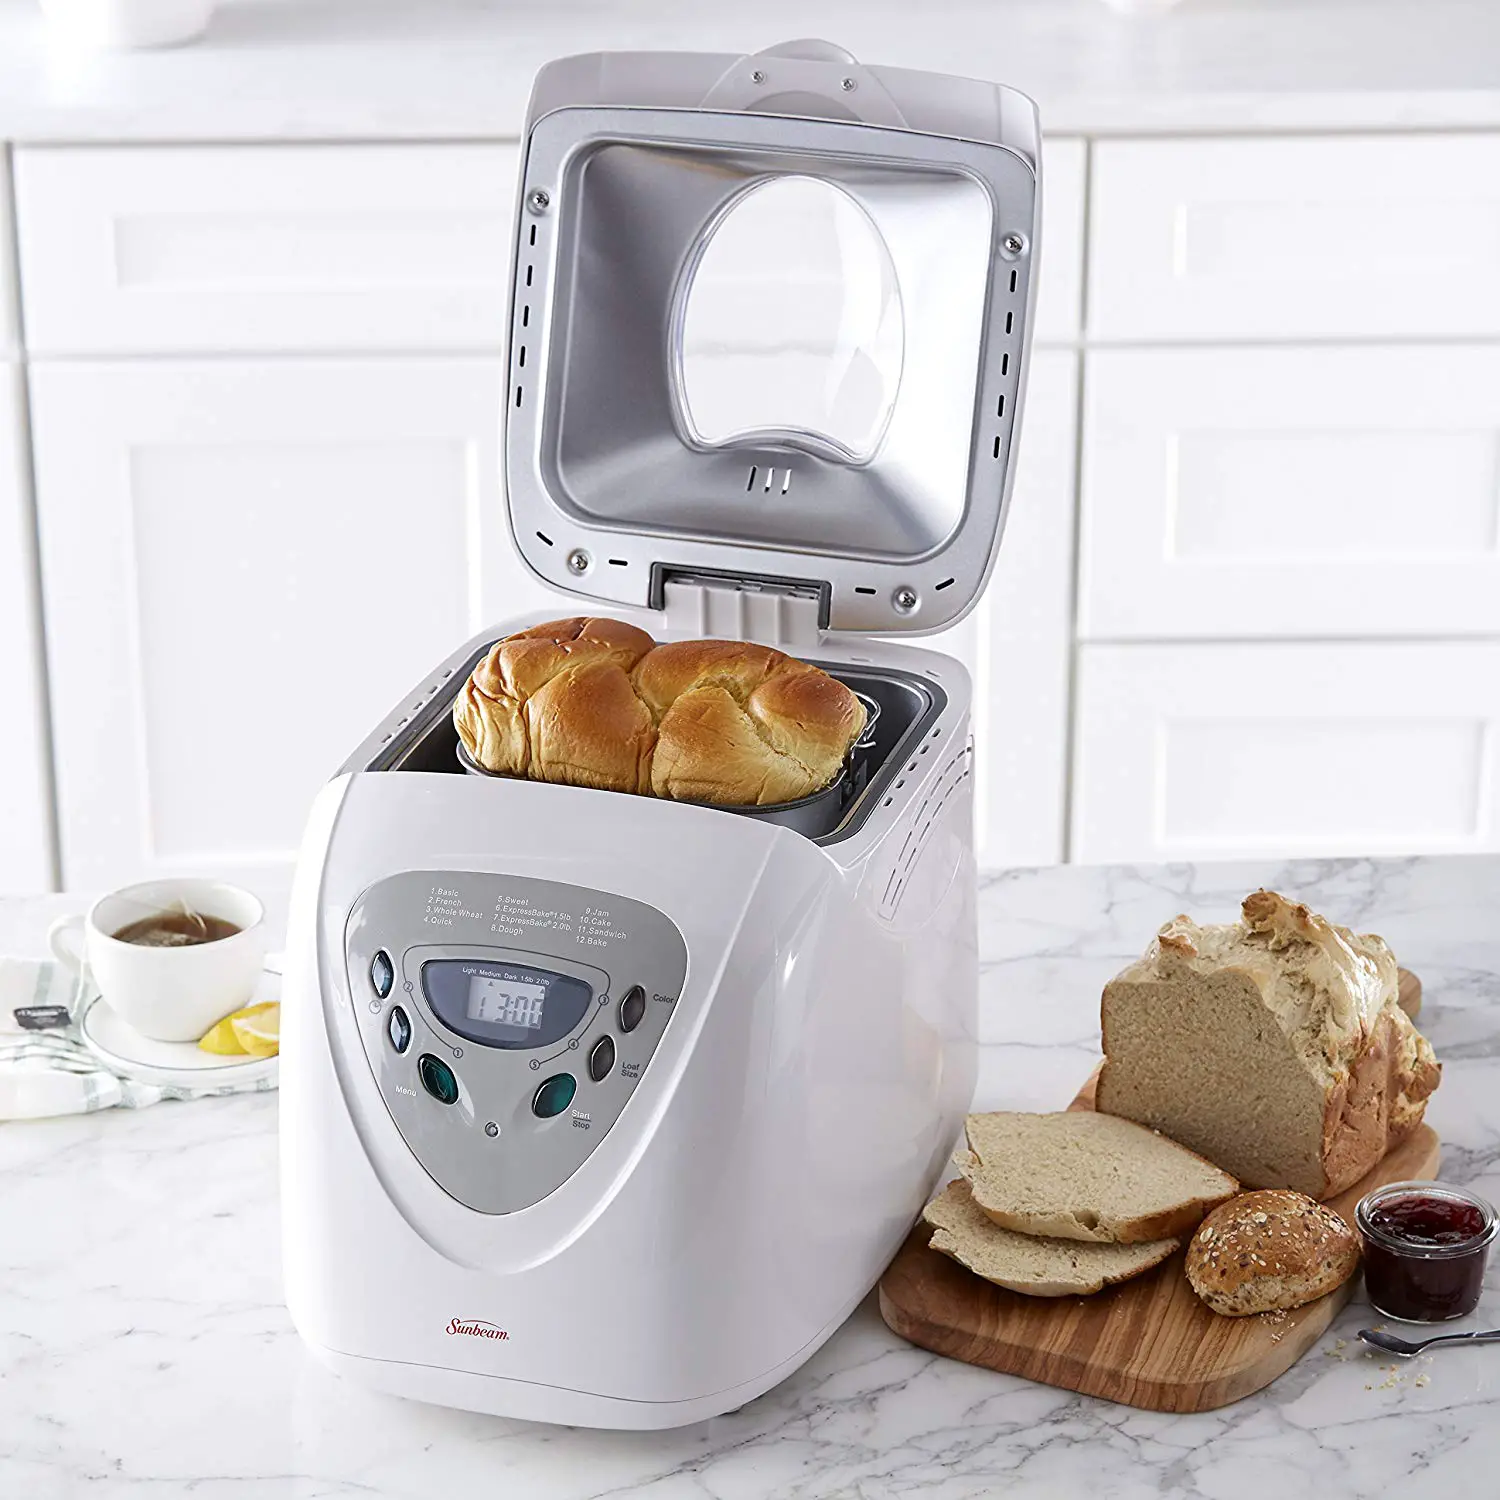
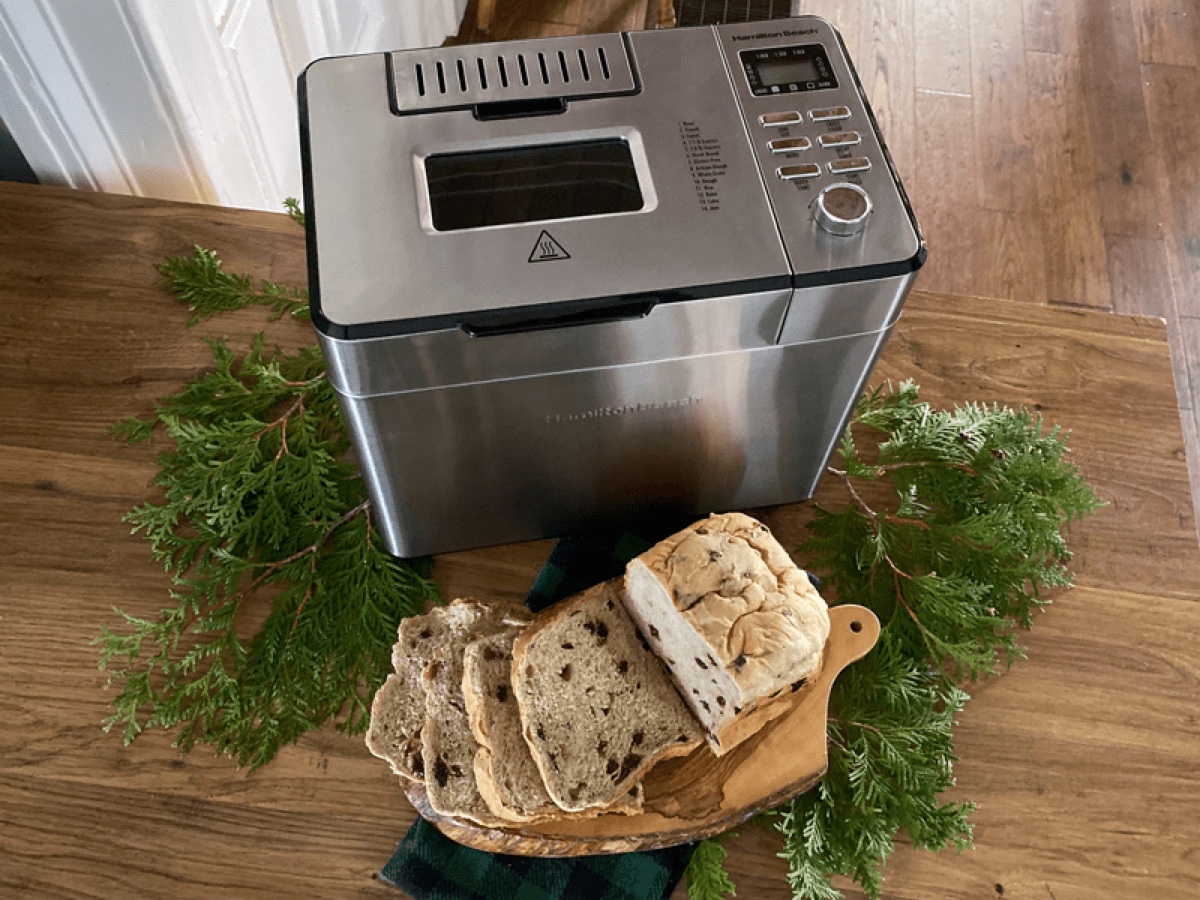
There’s nothing quite like the aroma of freshly baked bread wafting through the air. The crisp outer crust, coupled with the soft and fluffy interior, is a pure delight for the senses. While baking bread traditionally may seem like a daunting task, a bread machine can make the process much simpler and more accessible, even for novice bakers.
In this article, we will guide you through the process of making fluffy bread in a bread machine. From choosing the right ingredients to selecting the perfect setting, we will equip you with the knowledge you need to achieve bakery-worthy results from the comfort of your own kitchen.
So, let’s roll up our sleeves, gather our ingredients, and dive into the world of homemade, fluffy bread!
Key Takeaways:
- Achieving fluffy bread in a bread machine is a delightful journey that requires choosing the right ingredients, precise measurements, and selecting the appropriate settings for optimal results.
- Experimenting with additional ingredients, being mindful of rising time, and troubleshooting common issues are key to mastering the art of creating irresistibly fluffy bread at home.
Read more: How To Make Dough In Bread Machine
Choosing the Right Ingredients
When it comes to making fluffy bread, selecting the right ingredients is crucial. Here are some key considerations:
- Flour: The type of flour you use will greatly impact the texture of your bread. For fluffy bread, opt for bread flour or all-purpose flour with a high protein content. These flours have more gluten, which provides structure and contributes to the light and airy texture.
- Yeast: Yeast is responsible for the rise and fluffiness of bread. Use active dry yeast or instant yeast to ensure proper leavening. Follow the instructions on the yeast package for the correct amount to use in your bread machine.
- Sugar: While optional, adding a small amount of sugar can help activate the yeast and promote fermentation. It also adds a touch of sweetness to the final loaf. Experiment with different types of sugars, such as white sugar, brown sugar, or honey, to find your preferred flavor profile.
- Salt: Salt not only adds flavor but also helps regulate yeast activity. It strengthens the dough structure and prevents it from becoming too slack. Be sure to use fine-grained salt or bread machine salt for better distribution throughout the dough.
- Fat: Adding fat, such as butter or oil, to your bread dough can make it tender and contribute to its fluffiness. It also helps extend the shelf life of the bread. Experiment with different types of fats to find the taste and texture you prefer.
- Liquid: The liquid component of your bread dough, usually water or milk, hydrates the flour and activates the yeast. Use room temperature liquids to ensure optimal yeast activity. Adjust the amount of liquid depending on the type of flour and humidity in your environment.
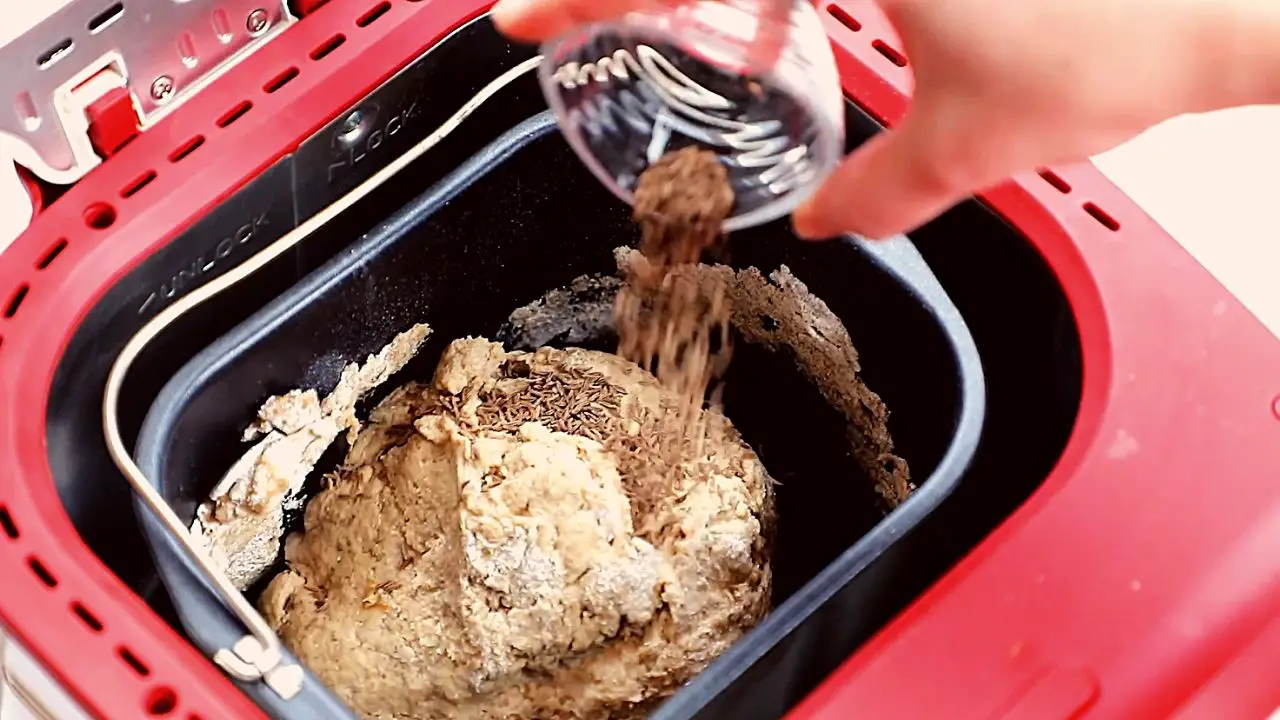
- Additional Ingredients: Feel free to get creative and add extra ingredients to enhance the flavor and texture of your bread. This could include herbs, spices, cheese, nuts, or dried fruits. Just make sure they are compatible with the bread machine and won’t hinder the rising process.
Remember that the quality and freshness of your ingredients can also impact the final result of your bread. Opt for high-quality ingredients whenever possible for the best tasting and fluffiest loaves.
Measuring Accurately
Accurate measurements are essential for achieving consistent and fluffy bread results. Here are some tips for measuring your ingredients correctly:
- Use a Digital Scale: While measuring cups and spoons are commonly used, a digital scale provides more precise measurements. This is especially important for flour, which can be easily compacted or aerated, affecting the volume measurement. Weighing ingredients in grams or ounces ensures accuracy and consistency.
- Fluff and Scoop Flour: To accurately measure flour, fluff it up with a fork or whisk to break up any clumps. Then use a spoon or scoop to gently transfer the flour into your measuring cup, and level off the excess with a straight edge. Avoid packing or tapping the cup, as this can lead to too much flour and dense bread.
- Level Liquid Measurements: For liquids, use a liquid measuring cup placed on a flat surface. Pour the liquid to the desired mark at eye level, ensuring precision and avoiding spills or over-pouring.
- Spoon and Level Dry Ingredients: When measuring ingredients such as sugar, salt, or baking powder, use a spoon to scoop them into your measuring cup. Then level off the excess with a straight edge. This ensures consistent measurements and prevents overly sweet or salty bread.
- Follow the Recipe: Always refer to the specific measurements provided in your bread machine recipe. Different recipes may have variations in ingredient ratios, and following the specific measurements will ensure the intended texture and flavor of your bread.
- Consistency is Key: Once you find a recipe that yields fluffy bread, stick to it and maintain consistency in your measurements. Small deviations can lead to different results, so it’s best to develop a reliable routine through accurate measuring.
Remember, precision in measuring contributes to the balance of ingredients and the science behind bread-making, resulting in consistently fluffy loaves.
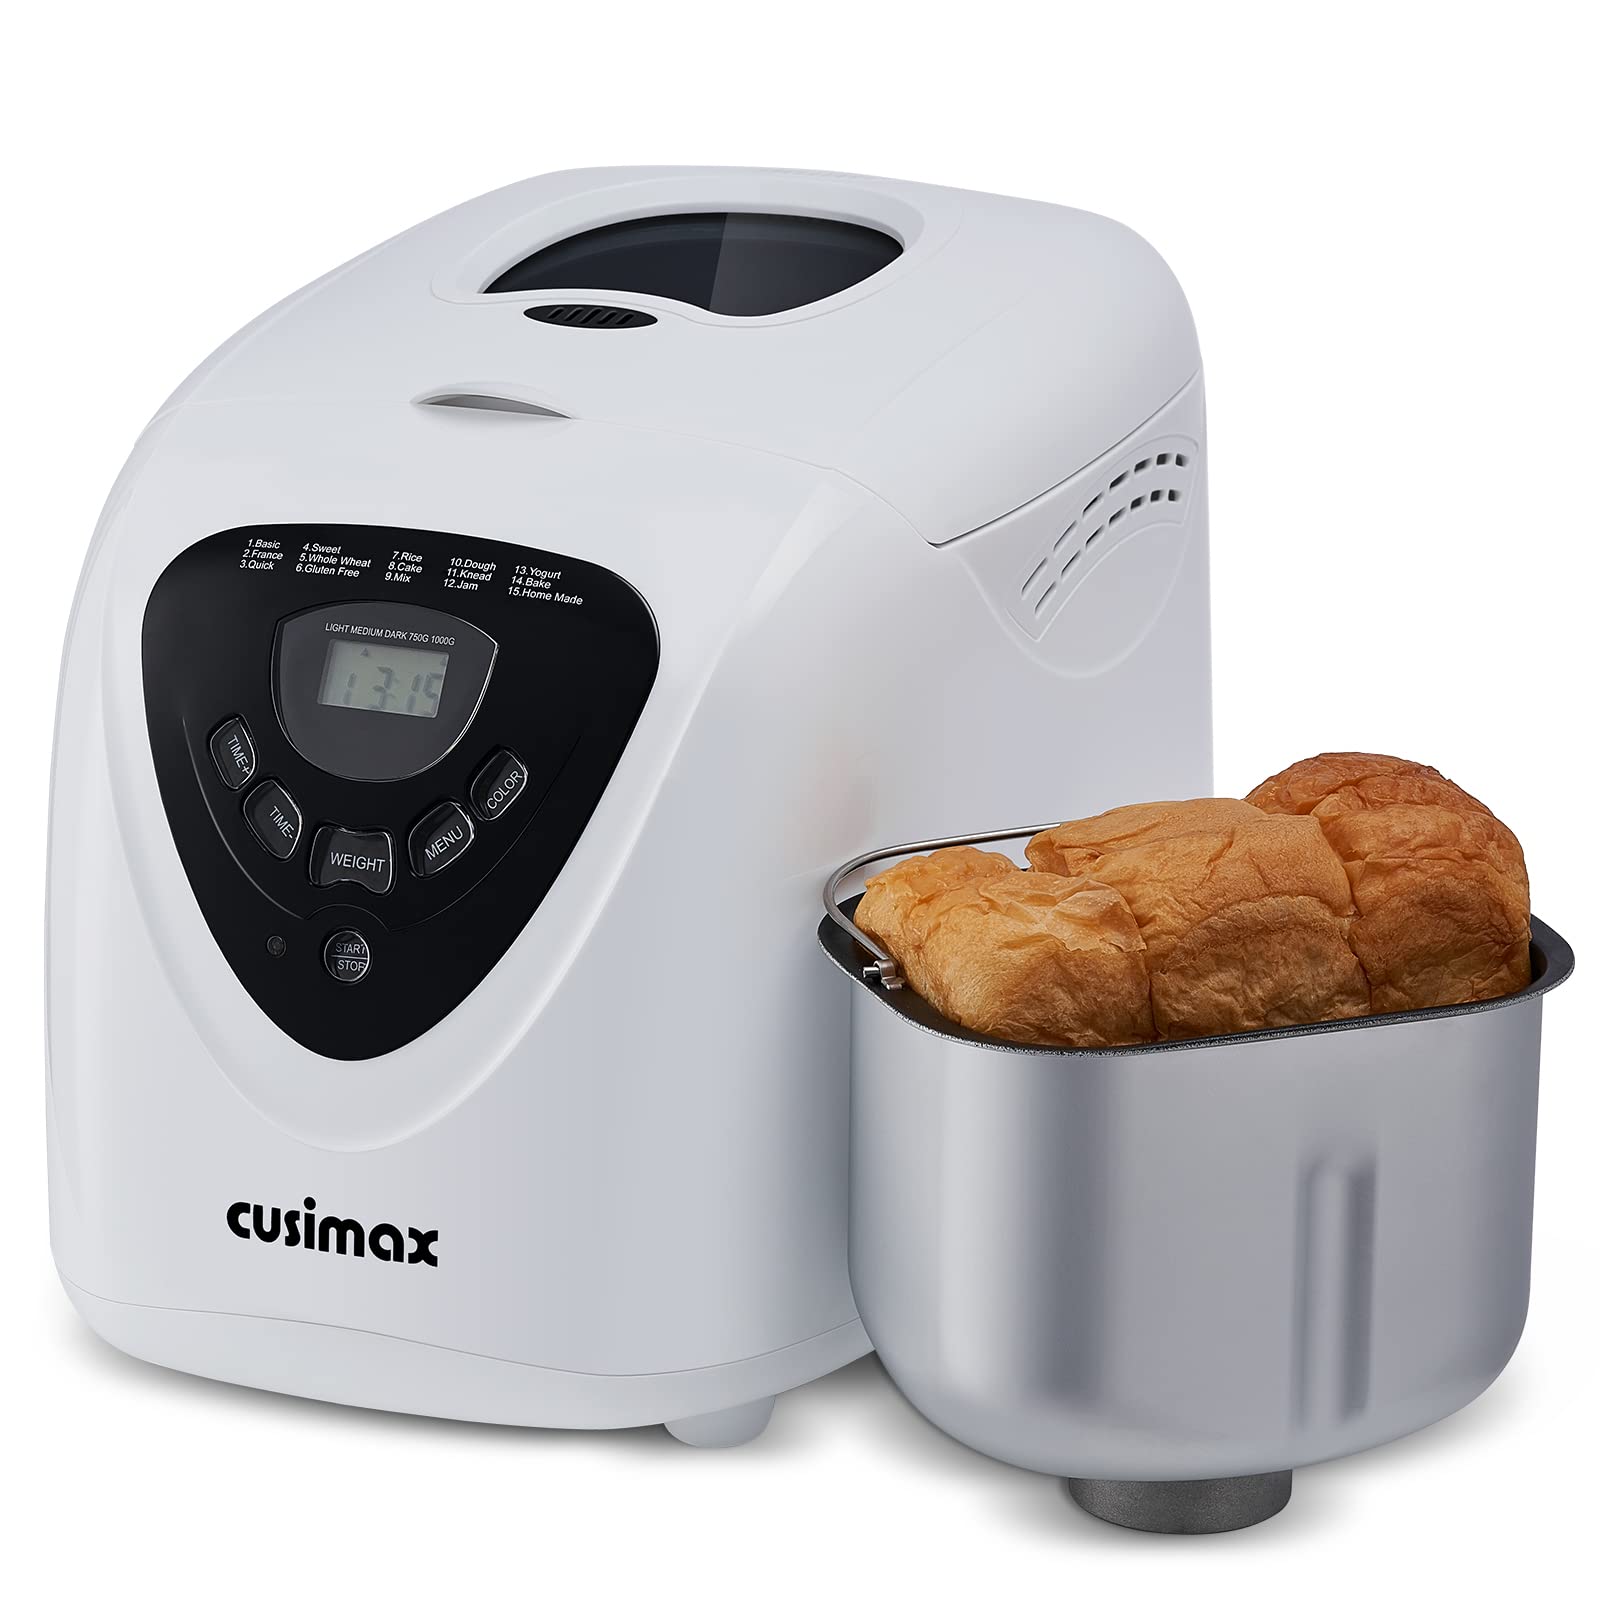
Selecting the Right Bread Machine Setting
Choosing the appropriate bread machine setting is crucial for achieving fluffy bread. While the available settings may vary depending on your specific bread machine model, here are some general guidelines to help you make the right selection:
- White Bread: This setting is ideal for basic bread recipes that use all-purpose or bread flour. It provides a longer rise and bake time, resulting in a well-rounded and fluffy loaf. If you’re unsure, the white bread setting is a good starting point for most recipes.
- Whole Wheat Bread: If you’re using whole wheat flour, opt for the whole wheat bread setting. Whole wheat flour requires a longer rise time due to its higher fiber content. This setting adjusts the timing and temperature accordingly to ensure a properly baked and fluffy whole wheat loaf.
- Sweet Bread: For recipes that include sugar, honey, or other sweeteners, use the sweet bread setting. Sweeteners can affect the yeast activity and fermentation process, so this setting provides the appropriate temperature and timing to accommodate these ingredients and achieve fluffy results.
- Quick Bread or Rapid Cycle: If you’re short on time and prefer a quicker baking process, the quick bread or rapid cycle setting can come in handy. This setting reduces the rise and bake time, resulting in a slightly denser loaf but still maintaining a fluffy texture.
- Dough Setting: The dough setting is useful if you want to shape and bake your bread manually. It kneads the dough thoroughly and provides an adequate rise, allowing you to shape it as desired and bake it in a conventional oven for a more customizable result.
- Custom Settings: Some bread machines offer custom settings where you can adjust the time, temperature, and other parameters to suit your specific recipe or preferences. These settings allow for even more control over the baking process and can help you achieve ultimate fluffiness.
Refer to your bread machine’s manual for specific details on the available settings and their recommended uses. Experimenting with different settings and observing the results will help you determine the most suitable setting for your preferred bread texture.
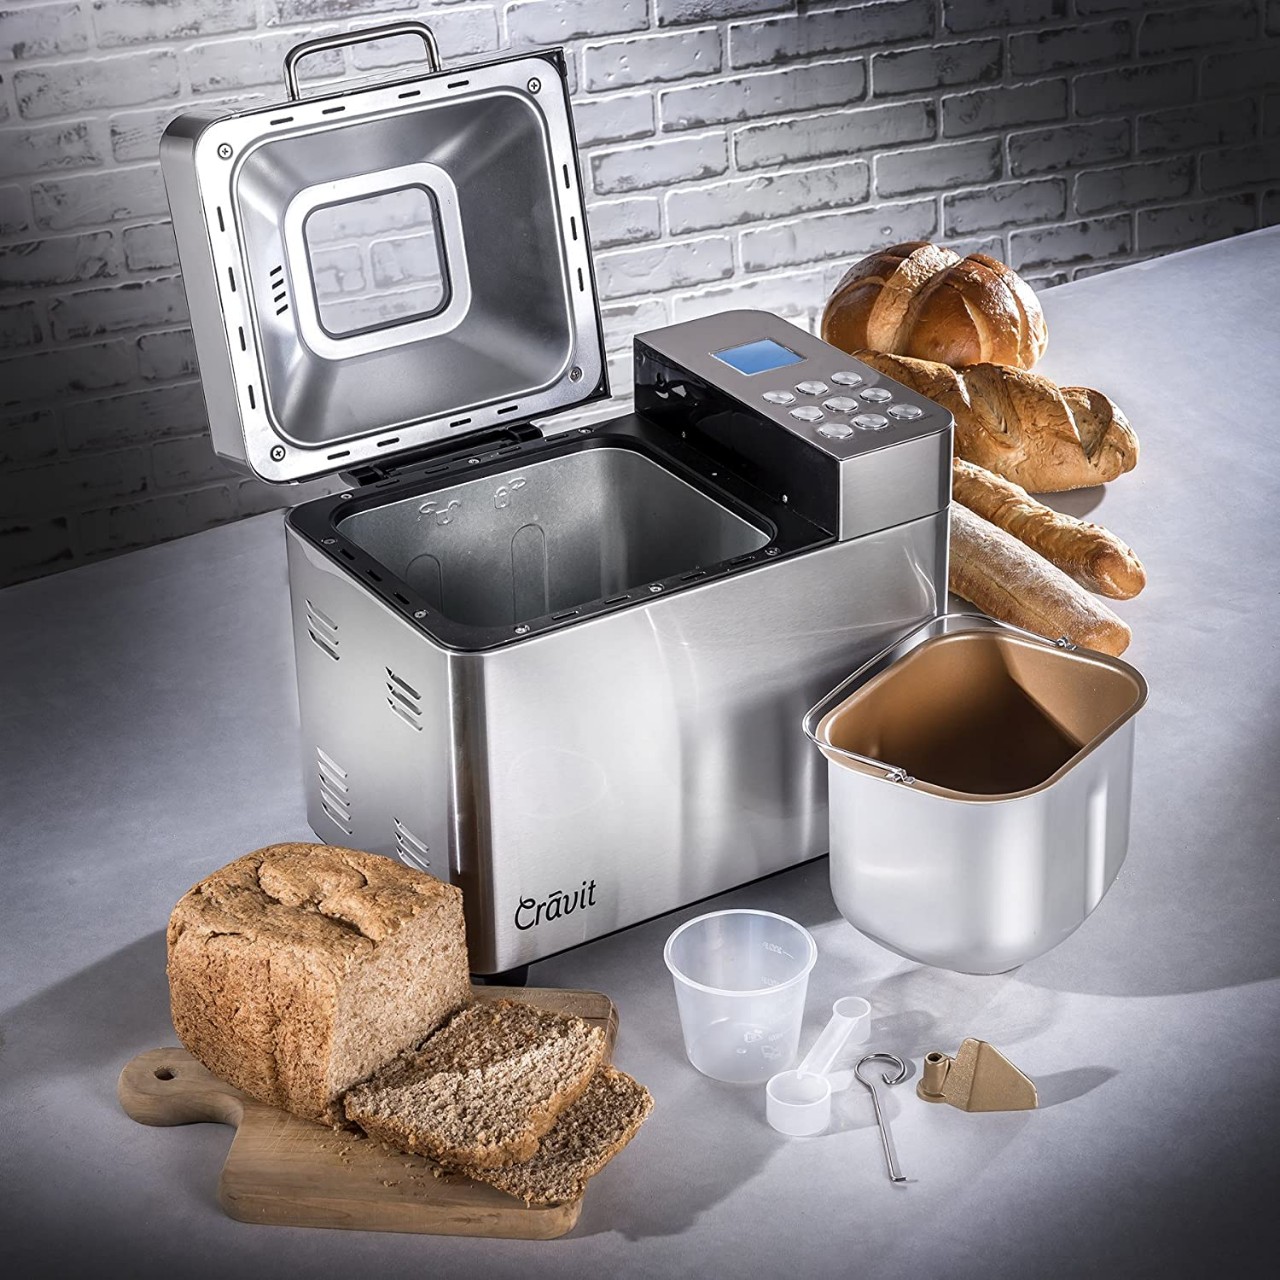
Adding the Ingredients to the Bread Machine
Properly adding the ingredients to your bread machine is key to achieving fluffy bread. Here’s a step-by-step guide:
- Check the Bread Machine: Ensure that your bread machine is clean and in good working condition. Follow the manufacturer’s instructions for preparing the baking pan, such as greasing it if necessary.
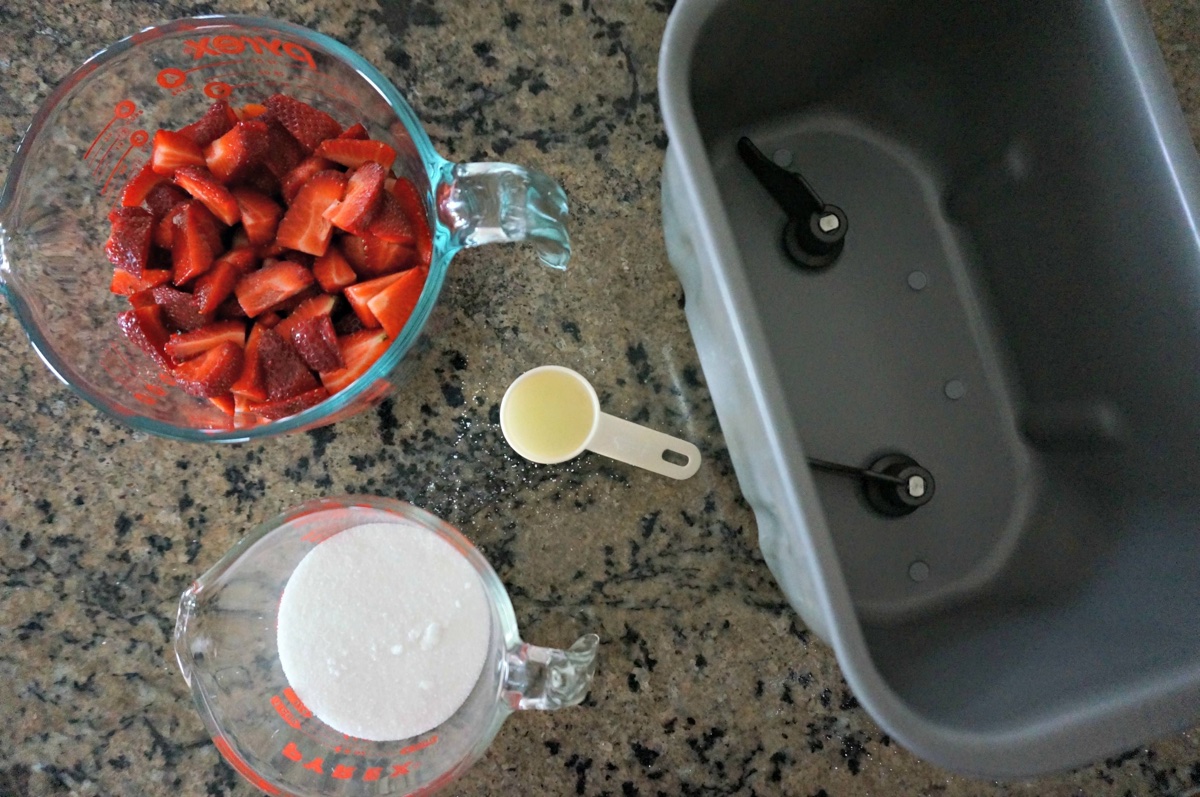
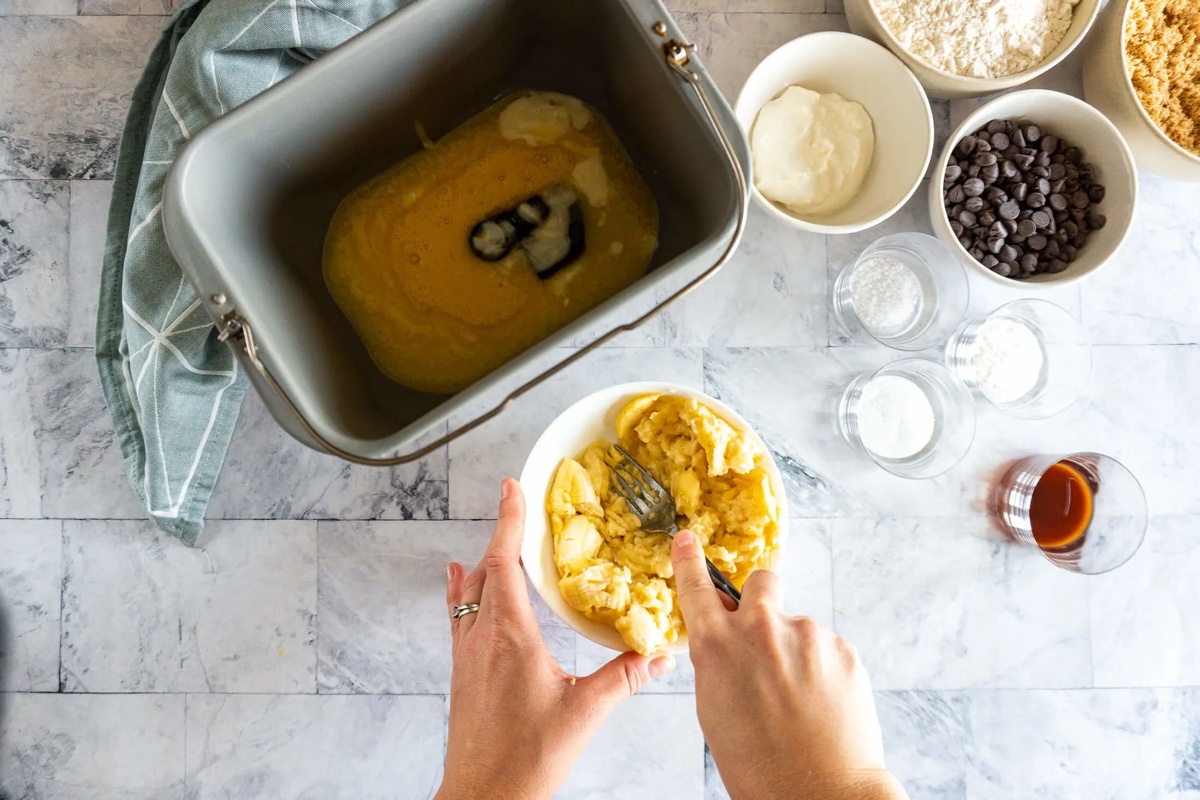
- Layer the Ingredients: Start by adding the liquid ingredients to the bread machine pan. This typically includes water or milk, followed by any fats (such as butter or oil) and sweeteners (like sugar or honey). Next, add the dry ingredients, such as the flour, salt, and any additional spices or herbs.
- Make a Well for the Yeast: Create a small well or indentation in the center of the dry ingredients. This is where you will add the yeast. Keeping the yeast separate from direct contact with the liquids initially helps prevent premature activation and ensures proper rising during the baking process.
- Add the Yeast: Carefully measure the appropriate amount of yeast according to your recipe and the yeast package instructions. Place it in the well you created in the dry ingredients. Avoid letting the yeast touch the liquids at this stage.
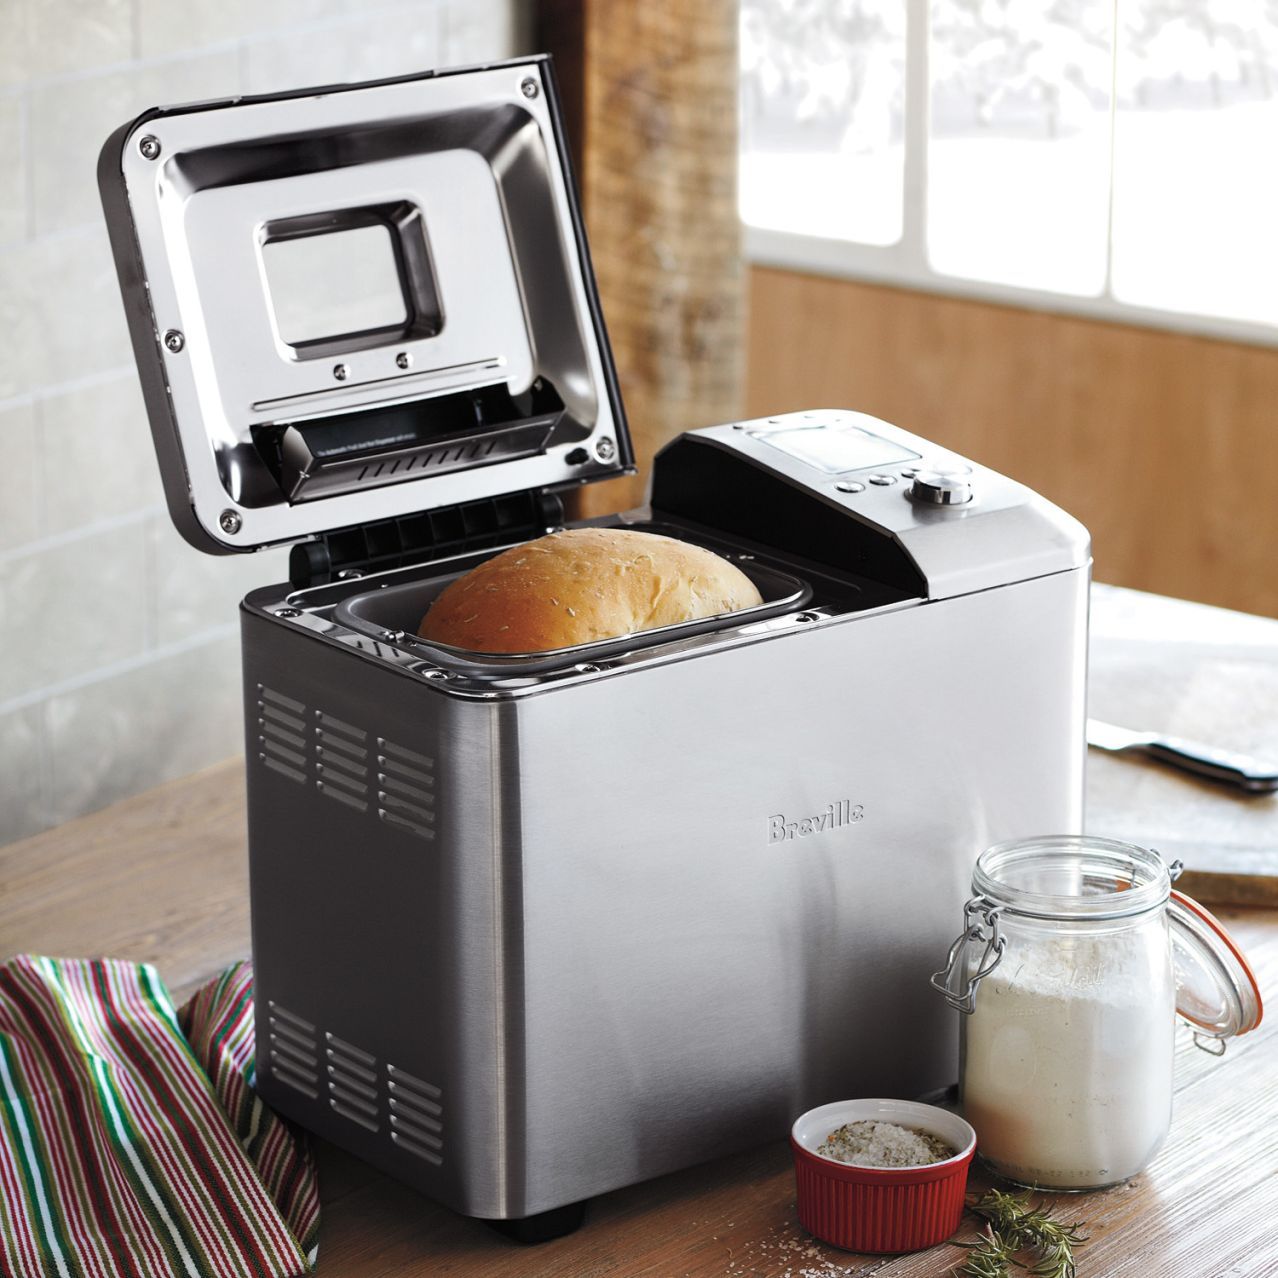
- Start the Bread Machine: After adding all the ingredients to the bread machine pan, securely place the pan inside the machine. Close the lid and select the desired settings for your fluffy bread. Follow the manufacturer’s instructions for setting the crust color, loaf size, and any other specific options your machine offers.
- Start the Baking Cycle: Begin the baking cycle by pressing the appropriate button or starting the machine, depending on your model. The bread machine will now mix, knead, rise, and bake the bread according to the selected settings.
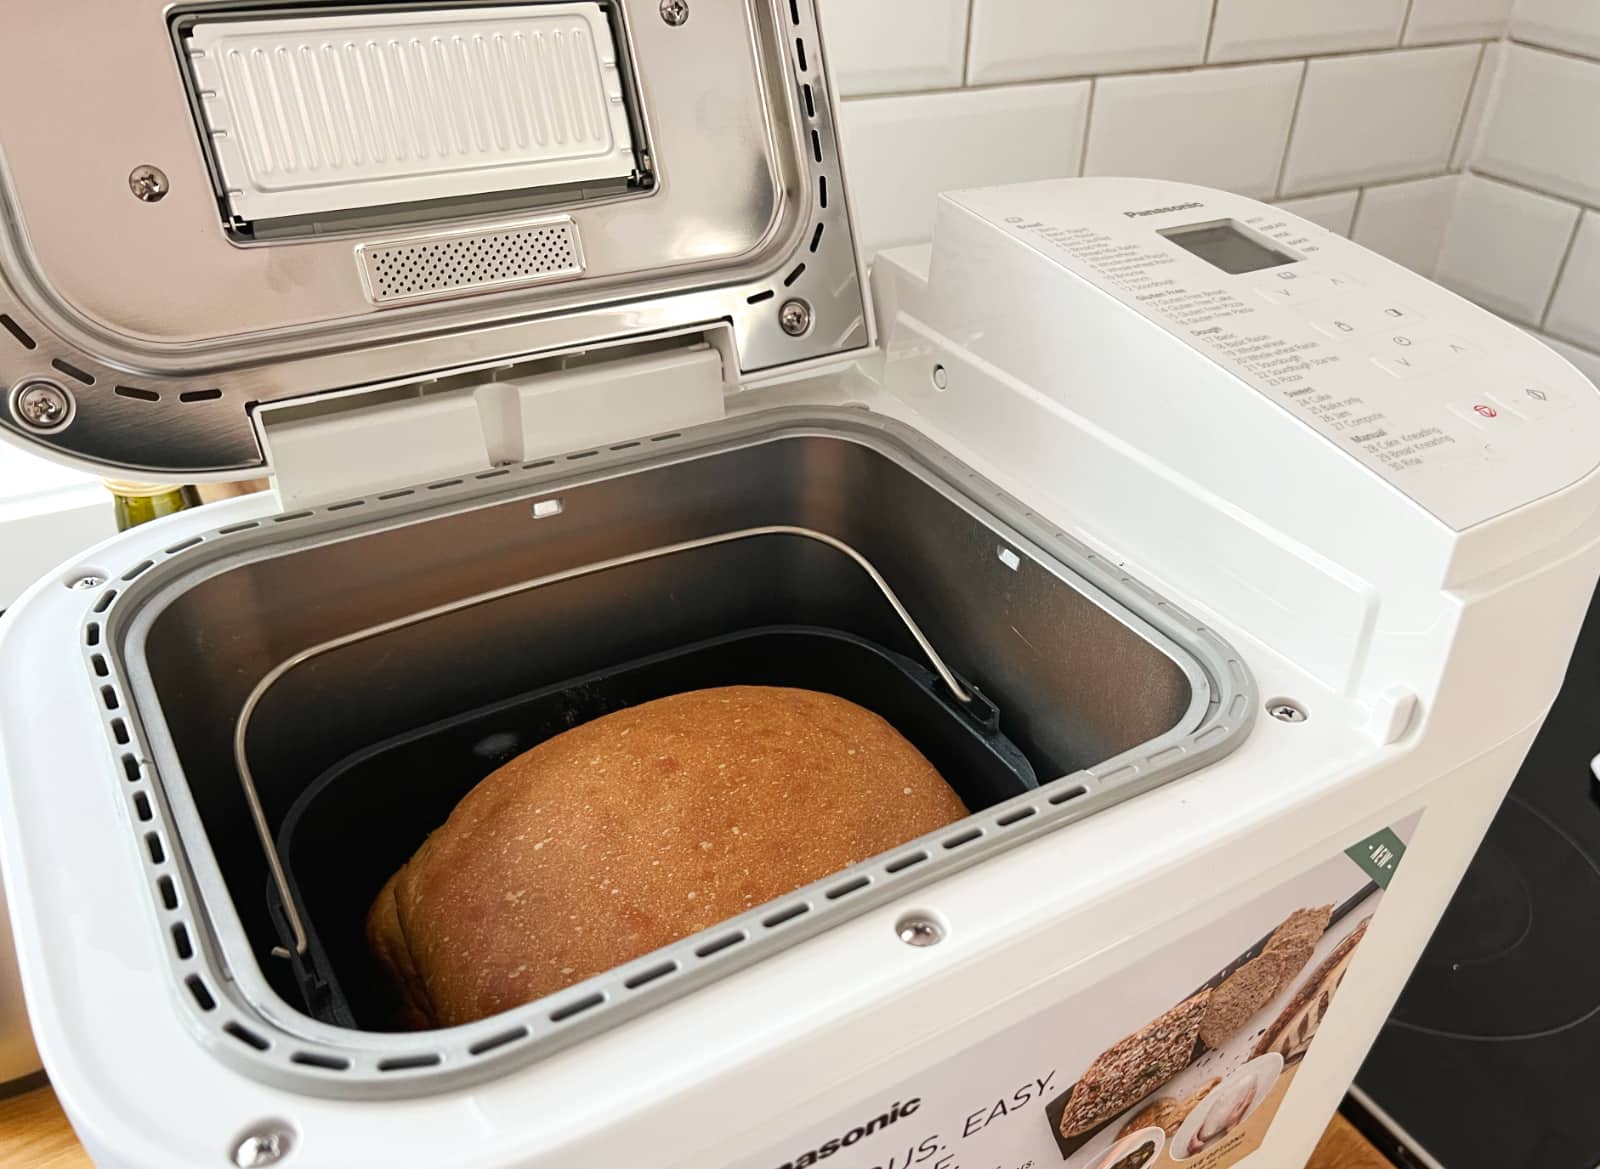
- Monitor the Progress: Throughout the baking process, take a peek inside the bread machine occasionally to observe the dough’s progress. It should form a smooth and elastic ball during the kneading stage and rise properly during the rising phase.
- Avoid Opening the Lid: While it may be tempting to open the lid to check on the bread, it’s best to resist the urge. Opening the lid can disrupt the baking process and cause the bread to collapse or become dense. Trust the bread machine to do its job, and let it work its magic without interference.
- Use Oven Mitts when Removing: Once the bread machine has completed its cycle, carefully remove the pan using oven mitts or heat-resistant gloves. Invert the pan to release the freshly baked bread onto a wire rack to cool.
Adding the ingredients in the correct order and following these steps will ensure that your bread machine operates efficiently and produces fluffy loaves every time.
Add a small amount of vital wheat gluten to your bread machine recipe to help improve the texture and rise of your bread, resulting in a fluffier loaf.
Read more: How To Make Sourdough In Bread Machine
Adding the Yeast Properly
Adding yeast properly is crucial for achieving fluffy bread with your bread machine. Here are some important tips to consider:
- Choose the Right Yeast: There are different types of yeast available, including active dry yeast and instant yeast. Both can be used in a bread machine, but it’s important to follow the specific instructions provided by the yeast manufacturer. Check the label or packaging to ensure you have the appropriate type of yeast for your recipe.
- Check the Freshness: Yeast is a living organism, so its freshness is key to its effectiveness. Check the expiration date on the yeast package to make sure it is still within its usable period. Expired yeast may not activate properly, resulting in bread that doesn’t rise properly or lacks fluffiness.
- Use the Correct Amount: Follow the recipe instructions and the recommended amount of yeast specified on the yeast package. Adding too much yeast can cause the bread to rise and collapse too quickly, resulting in a dense and deflated loaf. Conversely, using too little yeast may result in insufficient rise and a heavier texture.
- Keep the Yeast Separate: When adding the ingredients to the bread machine pan, it’s important to keep the yeast separate from the liquid ingredients initially. Place the yeast in a small well or indentation in the dry ingredients, away from direct contact with any liquid. This prevents the yeast from being activated too early and ensures consistent results.
- Avoid Mixing the Yeast: It’s not necessary to stir or mix the yeast into the dry ingredients when adding it to the bread machine pan. The machine’s mixing and kneading process will distribute the yeast evenly throughout the dough as it combines all the ingredients. Simply place the measured yeast in the designated well and let the machine do the work.
- Care for Temperature: Yeast is sensitive to temperature, as it activates and produces carbon dioxide gas through fermentation. The ideal temperature for yeast activation is typically between 110°F (43°C) and 115°F (46°C). Follow your bread machine’s instructions for liquid temperature recommendations, as some machines may require the liquid to be warmed beforehand.
- Avoid Salt Contact: Salt can inhibit yeast activity if it comes into direct contact before the mixing process begins. To prevent this, place the yeast well away from the salt in the dry ingredients. This will ensure that the yeast activates properly and allows the bread to rise and become fluffy.
By selecting the appropriate yeast, measuring accurately, and following these tips, you can ensure that your bread machine produces fluffy and perfectly risen loaves every time.
Tips for Achieving Fluffier Bread
If you’re aiming for bread that is wonderfully fluffy and light, consider these tips to enhance your baking results:
- Follow the Recipe: Stick to the bread machine recipe and follow the instructions carefully. Baking is a science, and precise measurements and methods provide reliable results for achieving fluffy bread.
- Knead Thoroughly: Ensure that your bread machine kneads the dough adequately. Proper kneading helps develop the gluten, creating an elastic structure that can trap air during the rising process, resulting in a lighter and fluffier texture.
- Be Mindful of Rising Time: Pay attention to the rising time in your bread machine. Too short of a rise may not allow the dough to develop fully, while an overly long rise could deflate the bread. Adjust the rising time if needed, keeping in mind that every recipe and machine may vary.
- Avoid Overloading: Avoid overloading your bread machine with too much flour or other ingredients. Overloading can lead to dense and undercooked bread. Make sure to adhere to the machine’s capacity recommendations for the best results.
- Consider Using Bread Enhancers: Bread enhancers, such as vital wheat gluten or dough conditioners, can improve the texture and rise of your bread. These ingredients help strengthen the gluten structure, resulting in a fluffier and more consistent crumb.
- Experiment with Additional Ingredients: Don’t be afraid to experiment with different ingredients to enhance the flavor and texture of your bread. Adding ingredients like dried fruits, cheese, or herbs can provide additional moisture and complexity to your bread, resulting in a more enjoyable and flavorful eating experience.
- Choose the Appropriate Crust Color: The crust color can impact the overall texture of the bread. If you prefer a softer crust and a lighter texture, choose a lighter crust color setting on your bread machine. A darker crust can sometimes result in a denser texture.
- Allow Proper Cooling: Once the bread is baked, transfer it to a wire rack and allow it to cool completely before slicing. Cutting into hot bread can cause it to become compressed and lose some of its fluffiness. Patience is key to achieving the best texture.
- Store Properly: To maintain the fluffiness of your bread, store it properly. Wrap the cooled bread in a plastic bag or an airtight container to prevent it from drying out. Keeping it at room temperature is ideal for maintaining the best texture.
- Keep Practicing: Achieving fluffy bread takes practice and experimentation. Don’t get discouraged if your first attempt isn’t perfect. Learn from each baking experience, make adjustments along the way, and soon you’ll master the art of fluffy bread.
With these tips in mind, you’ll be well on your way to baking bread that is light, airy, and irresistibly fluffy.
Baking and Cooling the Bread
Once you’ve prepared the dough and added it to the bread machine, it’s time to start the baking process. Follow these steps for optimal baking and cooling to achieve perfectly fluffy bread:
- Select the Desired Settings: Set the appropriate program and options on your bread machine according to your recipe and preferences. Ensure that the crust color, loaf size, and any other settings are adjusted accordingly.
- Start the Baking Cycle: Begin the baking cycle by pressing the start button or activating the appropriate function on your bread machine. The machine will now control the temperature, time, and other variables to bake the bread to perfection.
- Avoid Opening the Lid: While it may be tempting to check on the bread during baking, it’s best to resist the urge to open the lid. Opening the lid can cause heat loss, which may interfere with the baking process and result in uneven rising or a collapsed loaf. Trust the machine to do its job and keep the lid closed until the baking cycle is complete.
- Monitor the Progress: Keep an eye on the baking process through the viewing window, if available, or by observing the time remaining on the machine’s display. This allows you to ensure that the bread is rising evenly and not developing any issues, such as over-browning or uneven cooking.
- Perform the Toothpick Test: Towards the end of the baking cycle, you can perform the toothpick test to check the doneness of the bread. Insert a toothpick into the center of the loaf, and if it comes out clean or with just a few moist crumbs clinging to it, the bread is done. If the toothpick comes out with wet batter, continue baking for a few more minutes until it is fully cooked.
- Cool the Bread: Once the baking cycle is complete, carefully remove the bread pan from the machine, using oven mitts or heat-resistant gloves to protect your hands. Invert the pan to release the loaf onto a wire rack for cooling.
- Allow Proper Cooling: It’s crucial to let the bread cool completely before slicing or consuming it. Cooling allows the interior of the bread to set and retain its fluffy texture. Place the bread on a wire rack and allow it to cool for at least an hour before cutting into it.
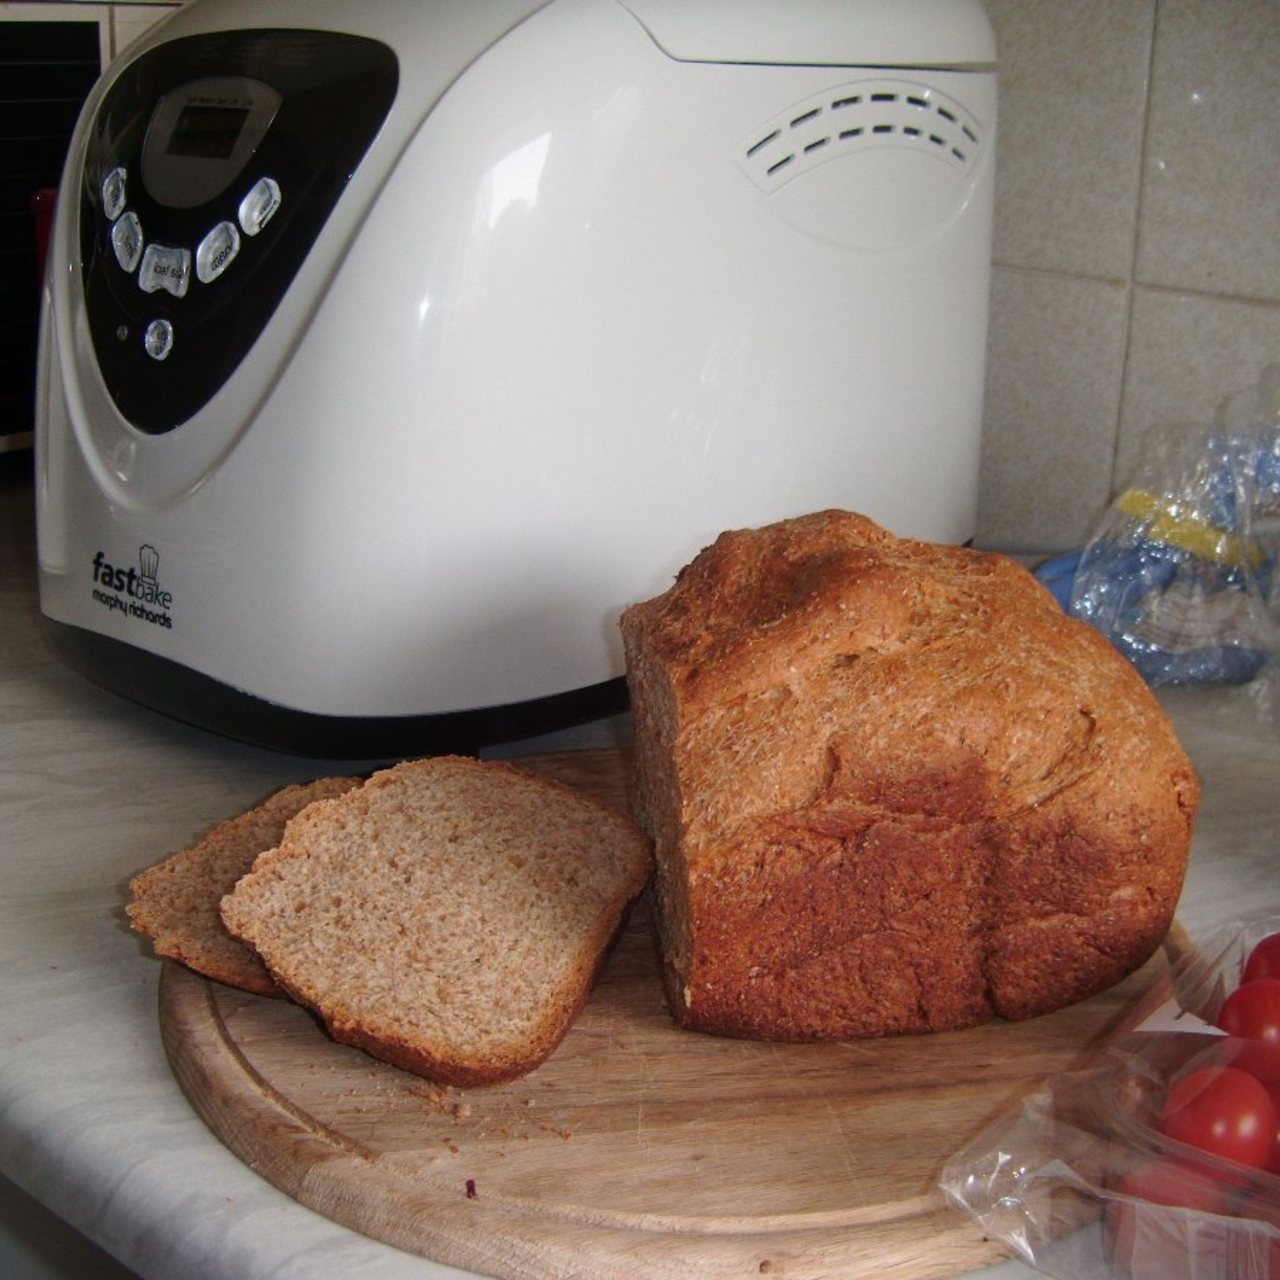
- Slice and Enjoy: Once the bread has cooled, it’s time to slice and enjoy your fluffy creation. Use a serrated bread knife to cut even slices, appreciating the soft crumb and the wonderful aroma of freshly baked bread.
- Store the Bread Properly: To maintain the fluffiness and freshness of your bread, store it correctly. Wrap the cooled bread in plastic wrap or place it in an airtight container to protect it from drying out. Keep it at room temperature for a couple of days, or to extend the shelf life, store it in the refrigerator or freezer.
By following these steps, you’ll ensure that your bread is baked to perfection and retains its fluffy texture for a truly enjoyable eating experience.
Troubleshooting Common Issues
Even with the best intentions and following all the necessary steps, it’s possible to encounter some common issues when making bread in a bread machine. Here are some troubleshooting tips to address these problems and achieve fluffier bread:
- Dense or Sunken Loaf: If your bread turns out dense or sunken, it may be due to inadequate rising. Check that you used the correct amount of yeast and that it is fresh. Also, ensure that the bread machine had enough time for the dough to rise properly. Adjust the rising time or the yeast amount, if necessary, to achieve a better rise in future batches.
- Overly Dense Texture: An overly dense texture can result from using too much flour or not enough liquid. Double-check your measurements and ensure that you are using the right ratio of ingredients. Experiment with adjusting the flour and liquid amounts to achieve a lighter and fluffier texture.
- Crust Too Dark: If the crust of your bread is consistently turning too dark, try using a lighter crust color setting on your bread machine. You can also reduce the baking time slightly or place a foil tent over the bread during the last few minutes of baking to prevent further browning.
- Collapsing or Shrinking: A loaf that collapses or shrinks after baking may be a sign of over-proofing or over-rising. Make sure you are following the recommended rising time in your recipe and avoid excessive rising or unnecessary delay before starting the baking cycle. If necessary, reduce the rising time to prevent over-proofing and collapse.
- Tough Crumb: A tough crumb can result from over-kneading the dough. Be mindful of the kneading time and avoid letting the machine knead the dough for longer than necessary. Additionally, using too much flour or cutting the bread too soon after baking can also contribute to a tough texture. Adjust the kneading time and allow the bread to cool completely before slicing to achieve a softer crumb.
- Uneven Rising: If your bread is rising unevenly, it could be a result of uneven distribution of ingredients during the mixing process. Double-check that all ingredients are added properly and evenly. Also, make sure the bread machine pan is properly positioned and locked in place. If this issue persists, consider rotating the bread pan halfway through the rising process to encourage more even rising.
- Foul Odor or Off Taste: A foul odor or off taste in your bread could be a sign of stale yeast or spoiled ingredients. Make sure to use fresh yeast and high-quality ingredients. Additionally, ensure that your bread machine is clean and free from any residue or buildup that could affect the taste and aroma of your bread.
Remember, troubleshooting is part of the learning process. By identifying and addressing common issues, you can improve your bread-making skills and achieve fluffier loaves over time.
Read more: How To Make Yogurt In A Bread Machine
Conclusion
With the help of a bread machine, you can create delicious, fluffy bread right in the comfort of your own kitchen. By choosing the right ingredients, measuring accurately, selecting the appropriate bread machine setting, and adding the yeast properly, you lay the foundation for achieving fluffier bread with ease.
Implementing tips such as kneading thoroughly, being mindful of rising time, and experimenting with additional ingredients allows you to further enhance the texture and flavor of your bread. Remember to properly bake and cool your bread, taking care to follow the specific instructions for your bread machine model. Troubleshooting common issues that may arise will also contribute to your success in making spectacular loaves of bread.
Through patience, practice, and a dash of creativity, you’ll soon be savoring slices of perfectly fluffy bread, made to your exact preferences. The process of making bread is not just about the end result but also about the joy and fulfillment that comes from creating something from scratch.
So, fire up your bread machine, gather your ingredients, and embark on the delightful journey of making fluffy bread. Fill your home with the intoxicating aroma of fresh-baked bread, and share the satisfaction of homemade goodness with your loved ones. Whether it’s a simple white loaf, a specialty whole wheat bread, or a sweet treat dotted with raisins, the possibilities are endless.
Remember to enjoy the process, embrace experimentation, and have fun along the way. Happy baking!
Frequently Asked Questions about How To Make Fluffy Bread In Bread Machine
Was this page helpful?
At Storables.com, we guarantee accurate and reliable information. Our content, validated by Expert Board Contributors, is crafted following stringent Editorial Policies. We're committed to providing you with well-researched, expert-backed insights for all your informational needs.


0 thoughts on “How To Make Fluffy Bread In Bread Machine”