Articles
How To Put A Flat Sheet On A Bed
Modified: November 1, 2024
Learn how to properly put a flat sheet on a bed with this helpful article. Improve your bed-making skills and achieve a flawless look for your sheets.
(Many of the links in this article redirect to a specific reviewed product. Your purchase of these products through affiliate links helps to generate commission for Storables.com, at no extra cost. Learn more)
Introduction
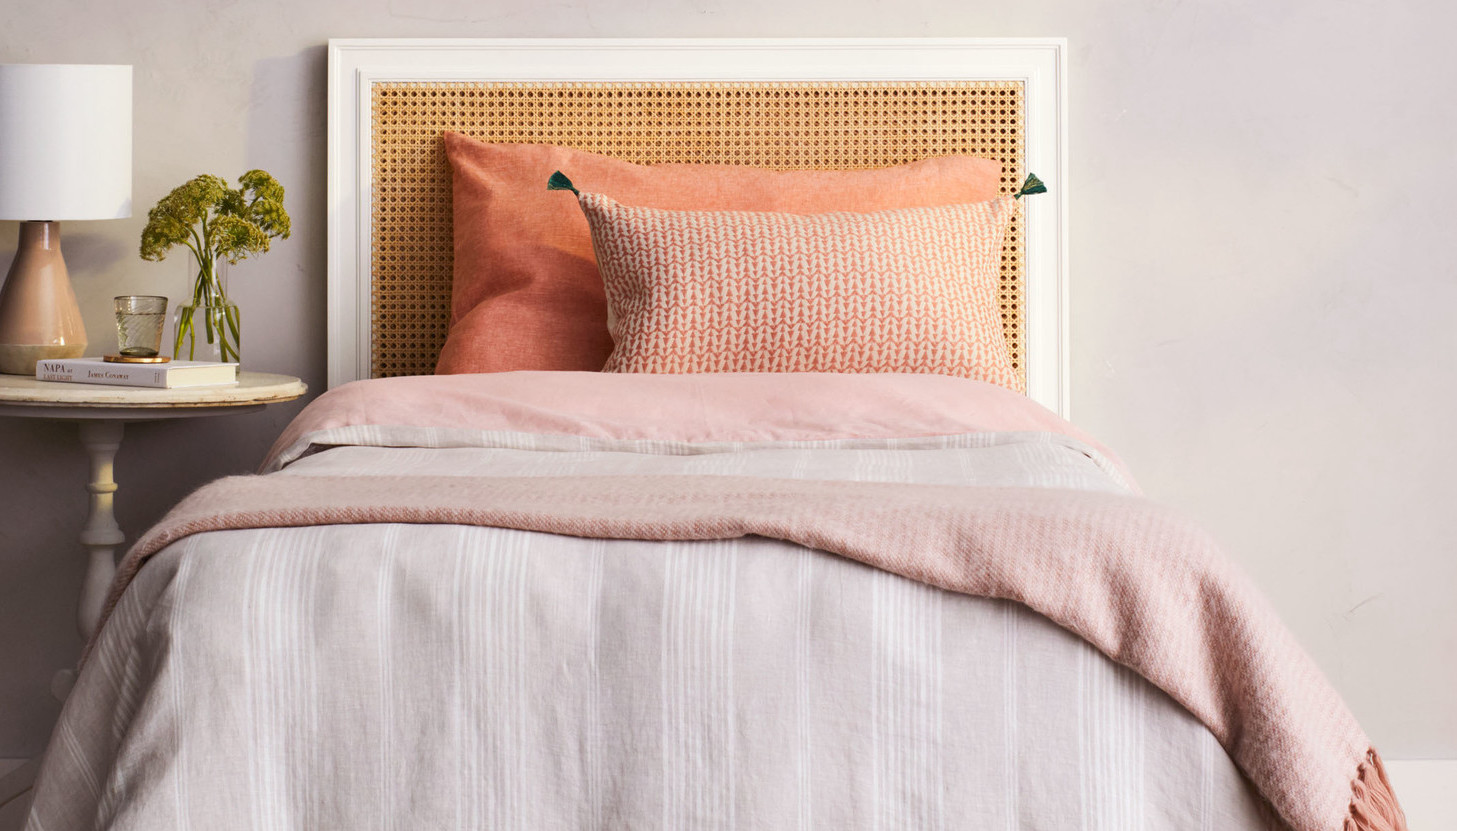
Putting a flat sheet on a bed may seem like a simple task, but achieving a smooth and wrinkle-free result can sometimes be a challenge. A well-made bed not only enhances the overall appearance of your bedroom but also provides a comfortable and inviting space to rest and relax.
In this article, we will guide you through the step-by-step process of how to put a flat sheet on a bed effortlessly. Whether you’re a seasoned bed-making pro or a novice, these tips and techniques will help you achieve that perfectly made bed you’ve always dreamed of.
By following our instructions and incorporating a few handy tricks, you’ll be able to transform your bed into a cozy sanctuary that invites a peaceful night’s sleep. So, let’s dive in and learn how to put a flat sheet on a bed like a pro!
Key Takeaways:
- Transform your bed into a cozy sanctuary by following our step-by-step guide on putting a flat sheet on a bed. Achieve a polished and inviting look for a peaceful night’s sleep.
- Making your bed isn’t just about appearances – it’s about creating a comforting and nurturing environment. Follow our tips to create a beautifully made bed that sets the stage for a restful night’s sleep.
Read more: How To Put On Bed Sheets
Step 1: Gather your supplies
Before you begin, it’s important to gather all the necessary supplies to make the process easier and more efficient. Here’s what you’ll need:
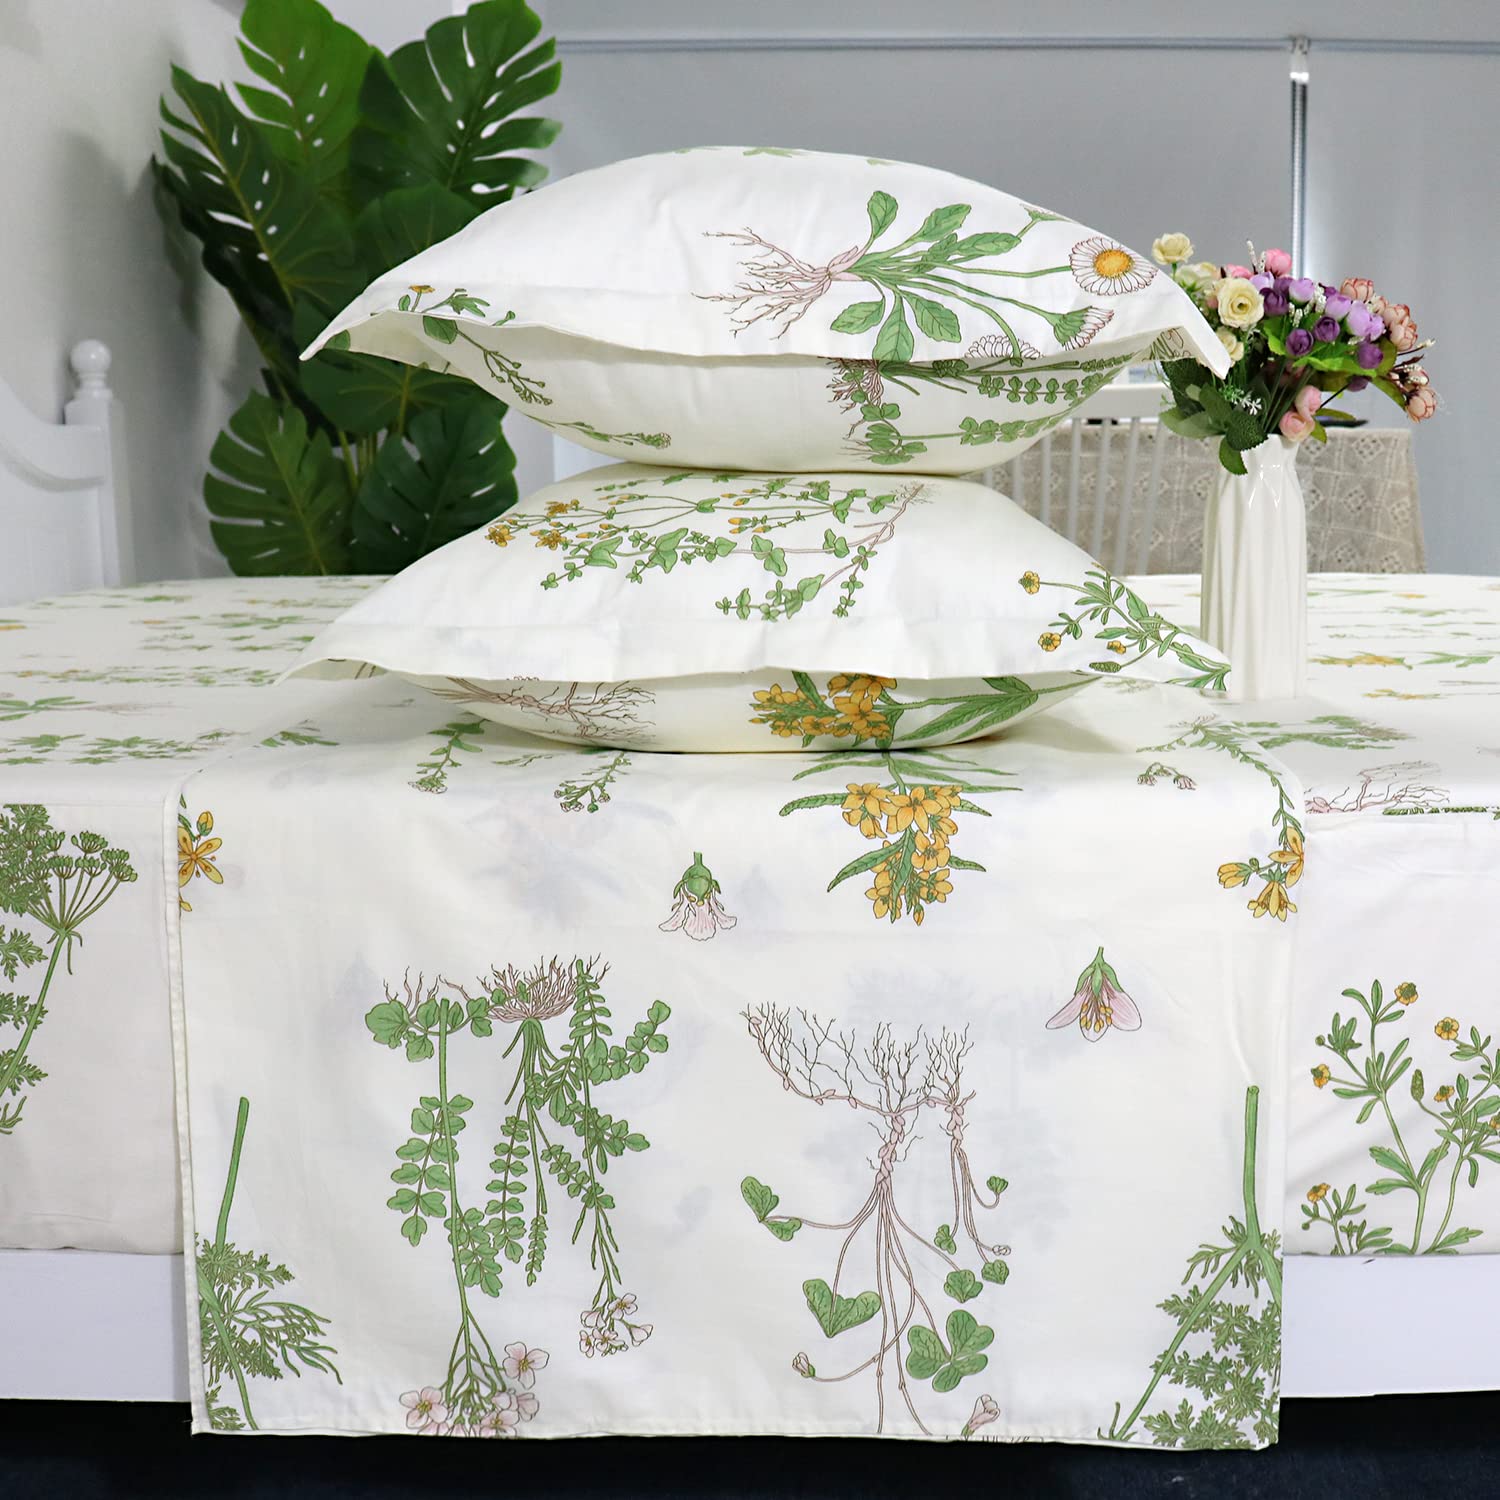
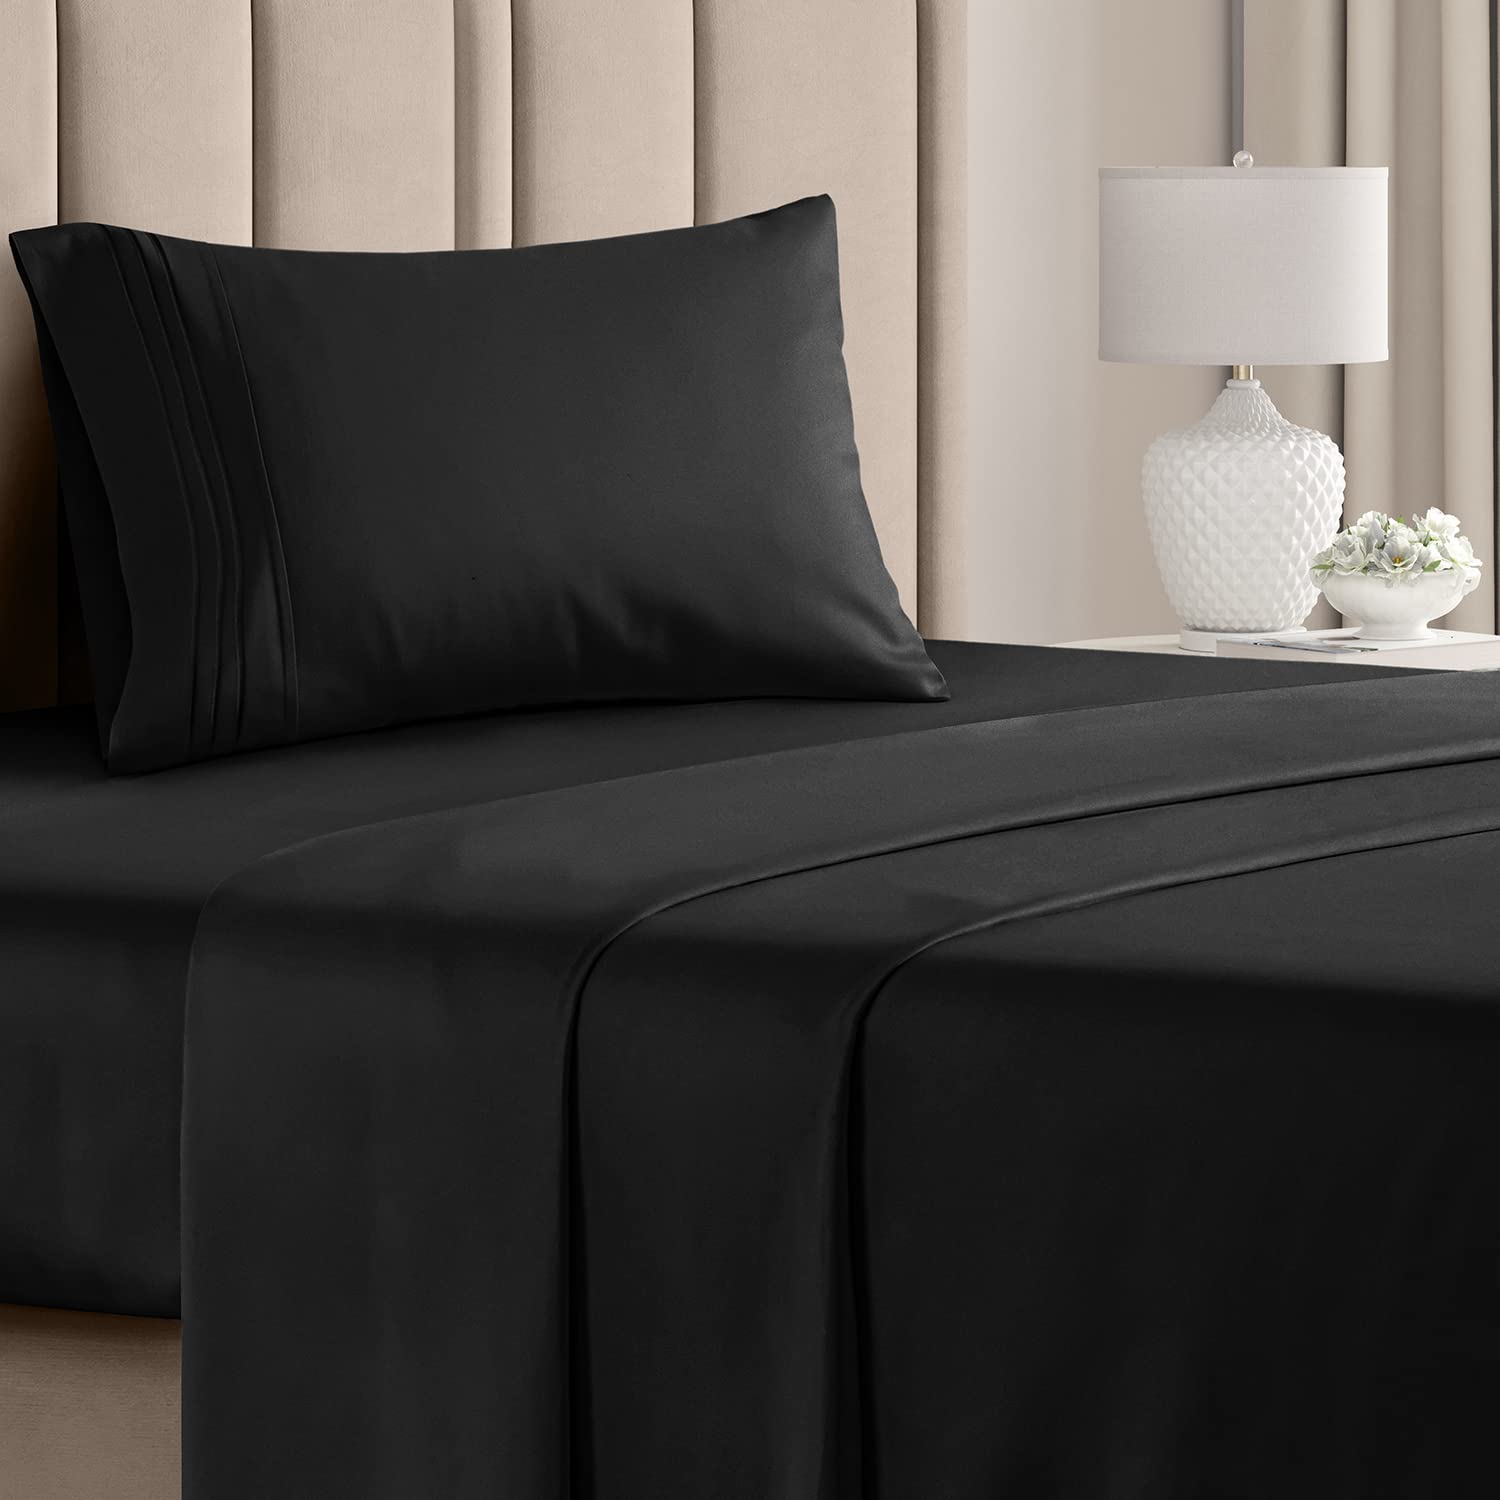
- A flat sheet that matches the size of your bed. Choose a high-quality sheet made from a comfortable fabric such as cotton or linen.
- Pillows and pillowcases to complete the bed’s ensemble.
- An optional mattress protector to keep your mattress clean and free from stains.
- If desired, a bed skirt or dust ruffle to add a decorative touch to your bed.
Having these supplies ready will ensure a smooth and uninterrupted bed-making experience. Now that you have everything you need, let’s move on to the next step.
Step 2: Prepare the flat sheet
Before you can begin putting the flat sheet on the bed, it’s important to prepare it properly. Follow these steps to ensure a clean and smooth sheet:
- Start by washing and drying the sheet according to its care instructions. This will remove any wrinkles or creases that may have formed during storage.
- Once the sheet is dry, give it a quick ironing if necessary. Ironing will help create a crisp and wrinkle-free surface, ensuring a neater appearance when the bed is made.
- If desired, fold the top edge of the flat sheet about 1/4 of the way down. This creates a decorative fold known as a “hospital corner” and adds a touch of elegance to the bed.
By following these steps, you will have a clean and well-prepared flat sheet ready for placement on the bed. Now, let’s move on to the next step where we’ll align the sheet with the mattress.
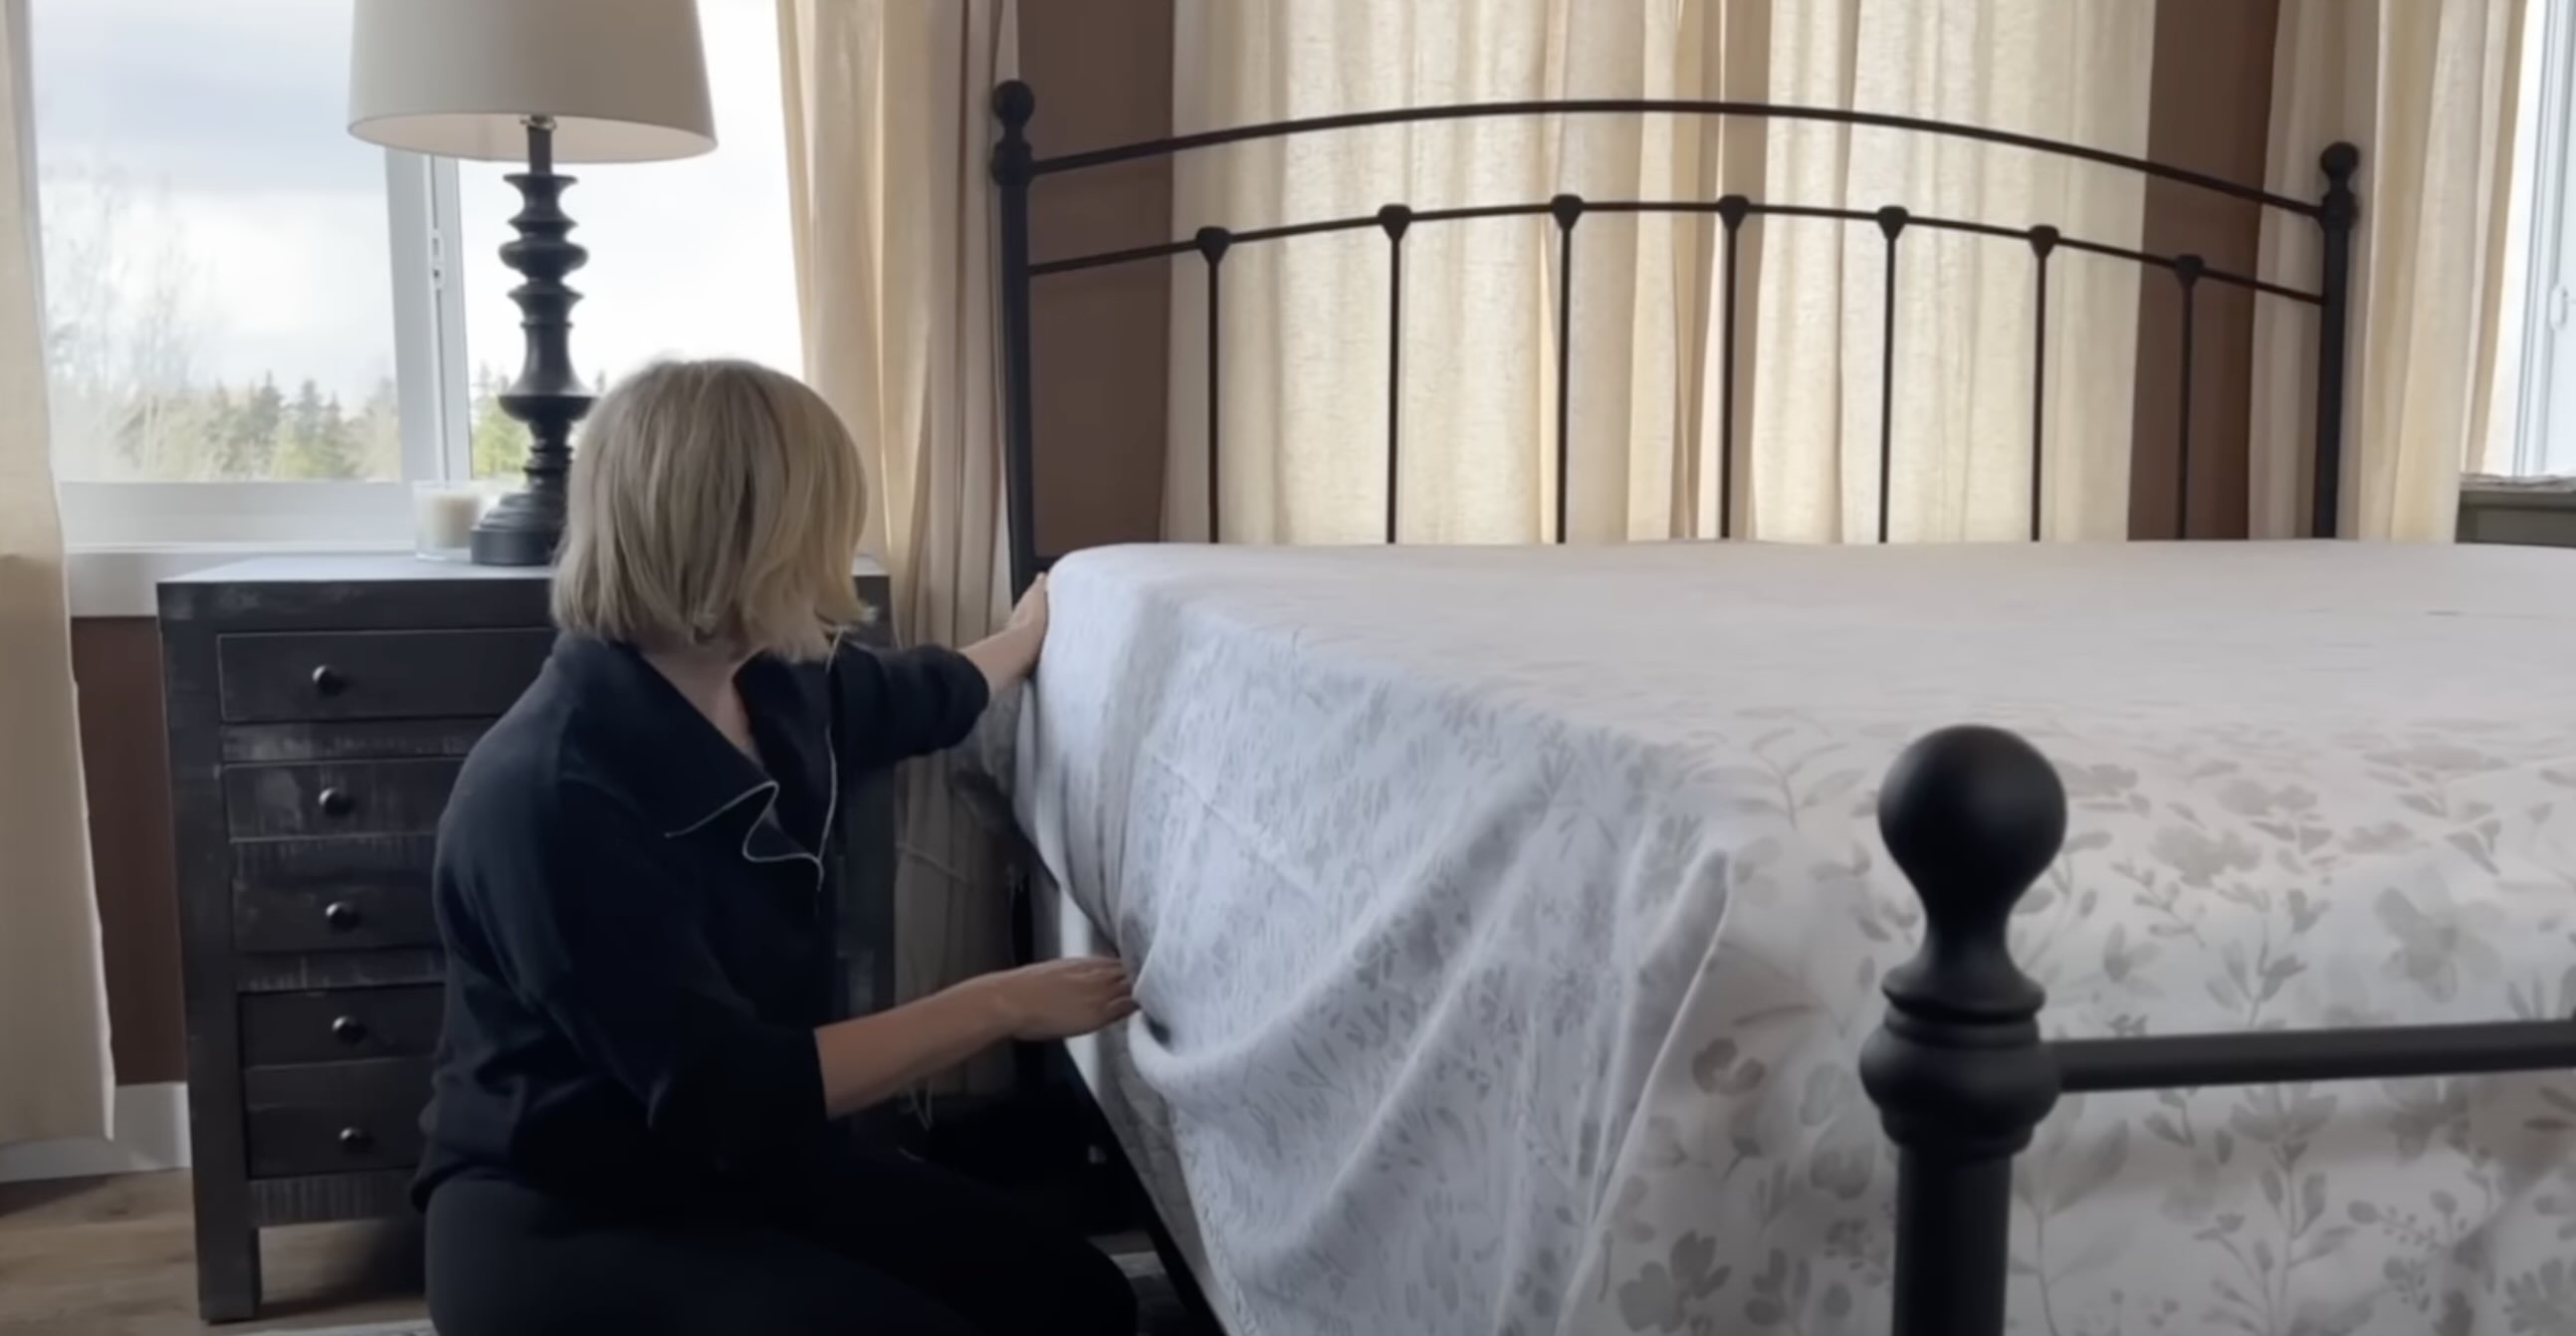
Step 3: Align the sheet with the mattress
Now that you have prepared the flat sheet, it’s time to align it with the mattress. Follow these steps to ensure a snug and proper fit:
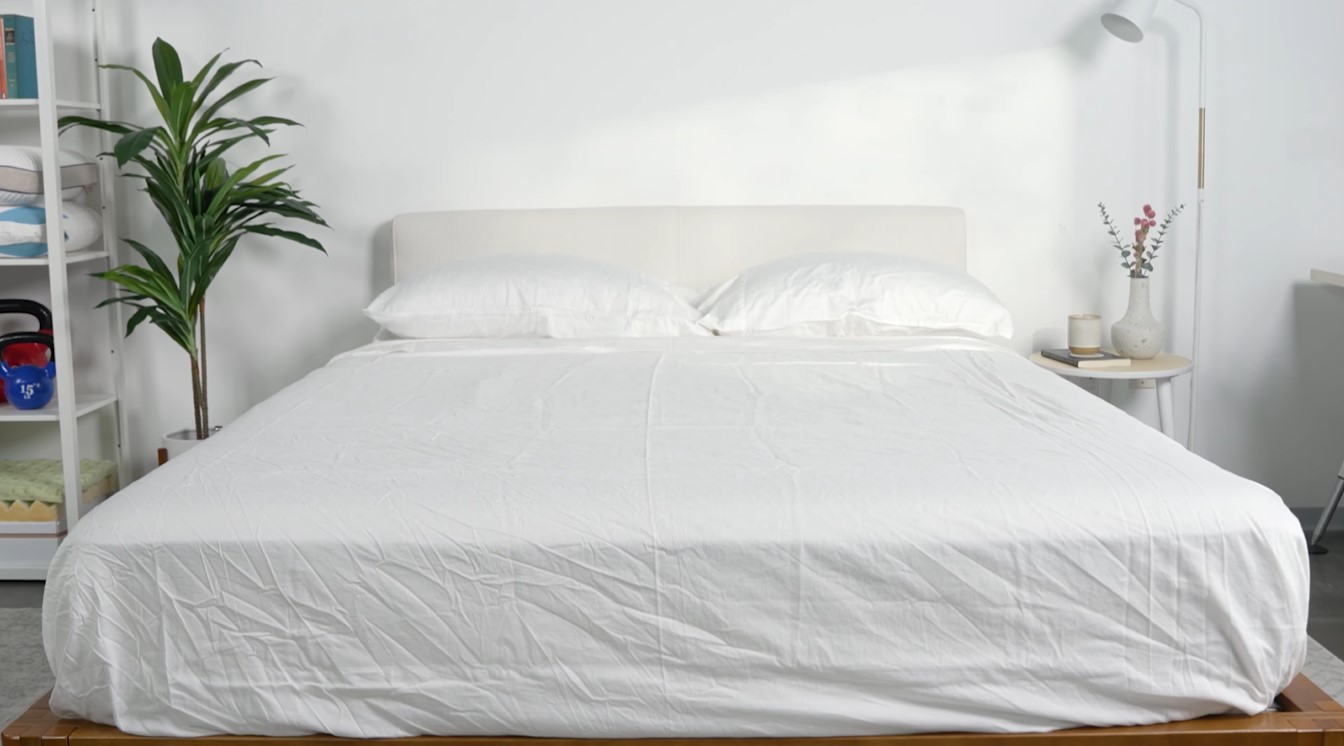
- Lay the sheet flat on top of the mattress, making sure the top edge of the sheet is aligned with the head of the bed.
- Ensure that the sheet is centered lengthwise, with equal amounts of sheet draping over each side of the mattress.
- Smooth out any wrinkles or creases in the sheet as you go along, ensuring a smooth and even surface.
- Tuck the foot end of the sheet tightly under the foot of the mattress, securing it in place.
By aligning the sheet properly, you ensure that it will stay in place throughout the night and provide a comfortable sleeping surface. Now that you have the sheet aligned, let’s move on to the next step where we’ll tuck in the corners.
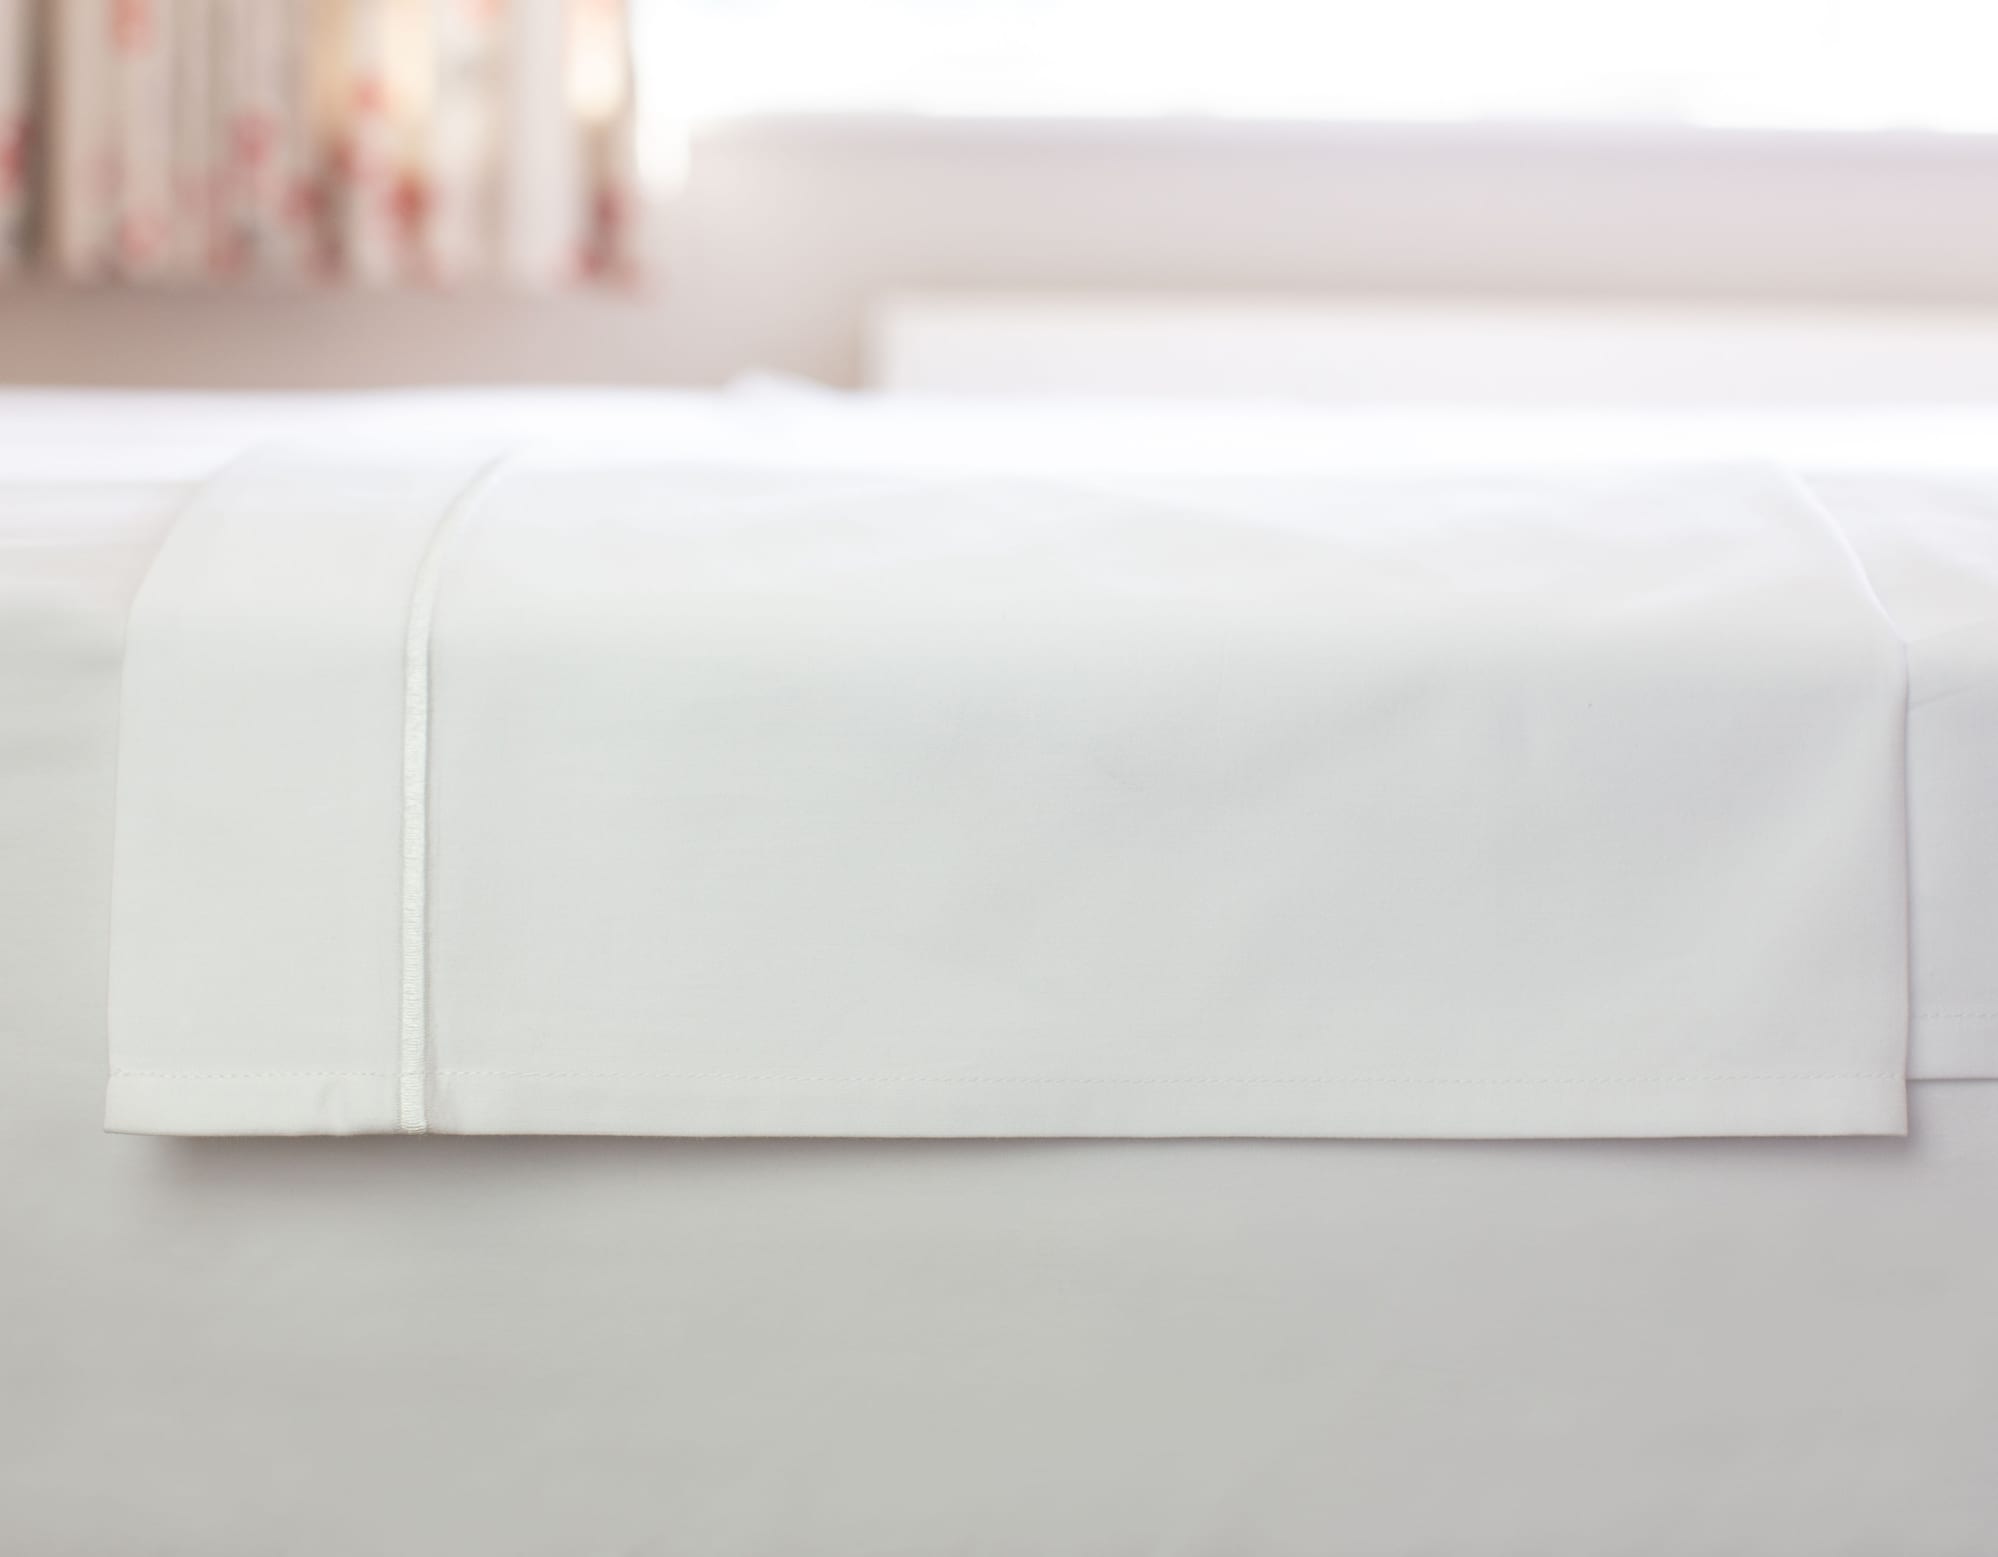
When putting a flat sheet on a bed, start by laying the sheet evenly over the mattress with the top edge aligned with the top of the bed. Then tuck the bottom edge under the mattress and smooth out any wrinkles for a neat and tidy look.
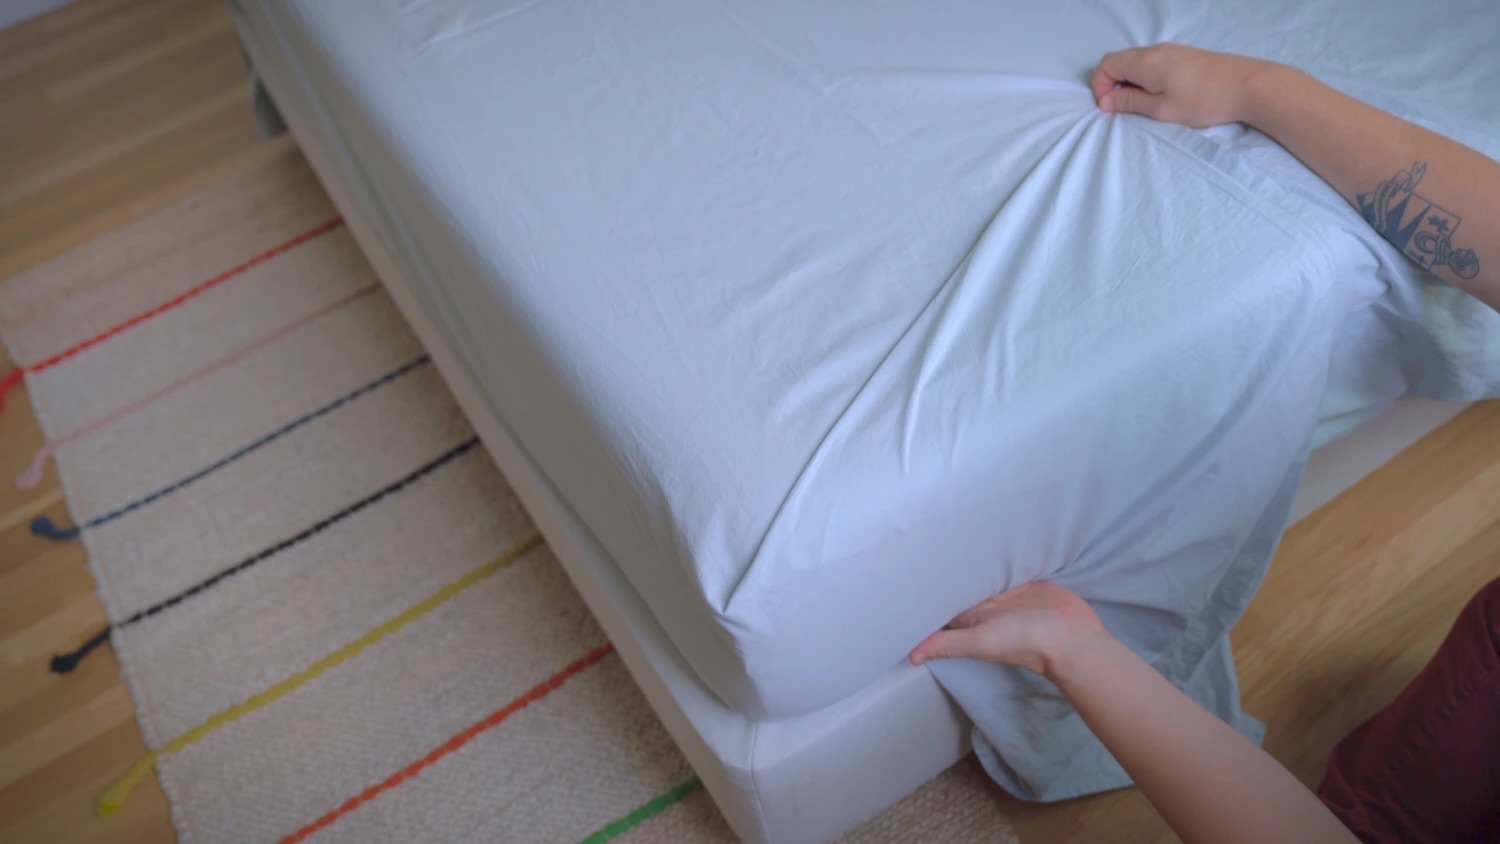
Step 4: Tuck in the corners
Tucking in the corners of the flat sheet is essential for securing it firmly to the mattress. Follow these steps to ensure the sheet stays in place:
- Begin at one corner of the bed, lifting the edge of the mattress slightly.
- Take the excess fabric of the sheet hanging at the side of the mattress and fold it diagonally towards the center of the bed.
- Tuck the folded corner tightly underneath the mattress, ensuring a secure and snug fit.
- Repeat the same process on the other three corners of the bed, tucking in the excess fabric neatly and snugly.
Tucking in the corners of the sheet not only keeps it in place but also adds a polished and professional look to the bed. With the corners tucked securely, let’s move on to the next step and address any remaining wrinkles.
Read more: How To Fold A Flat Sheet
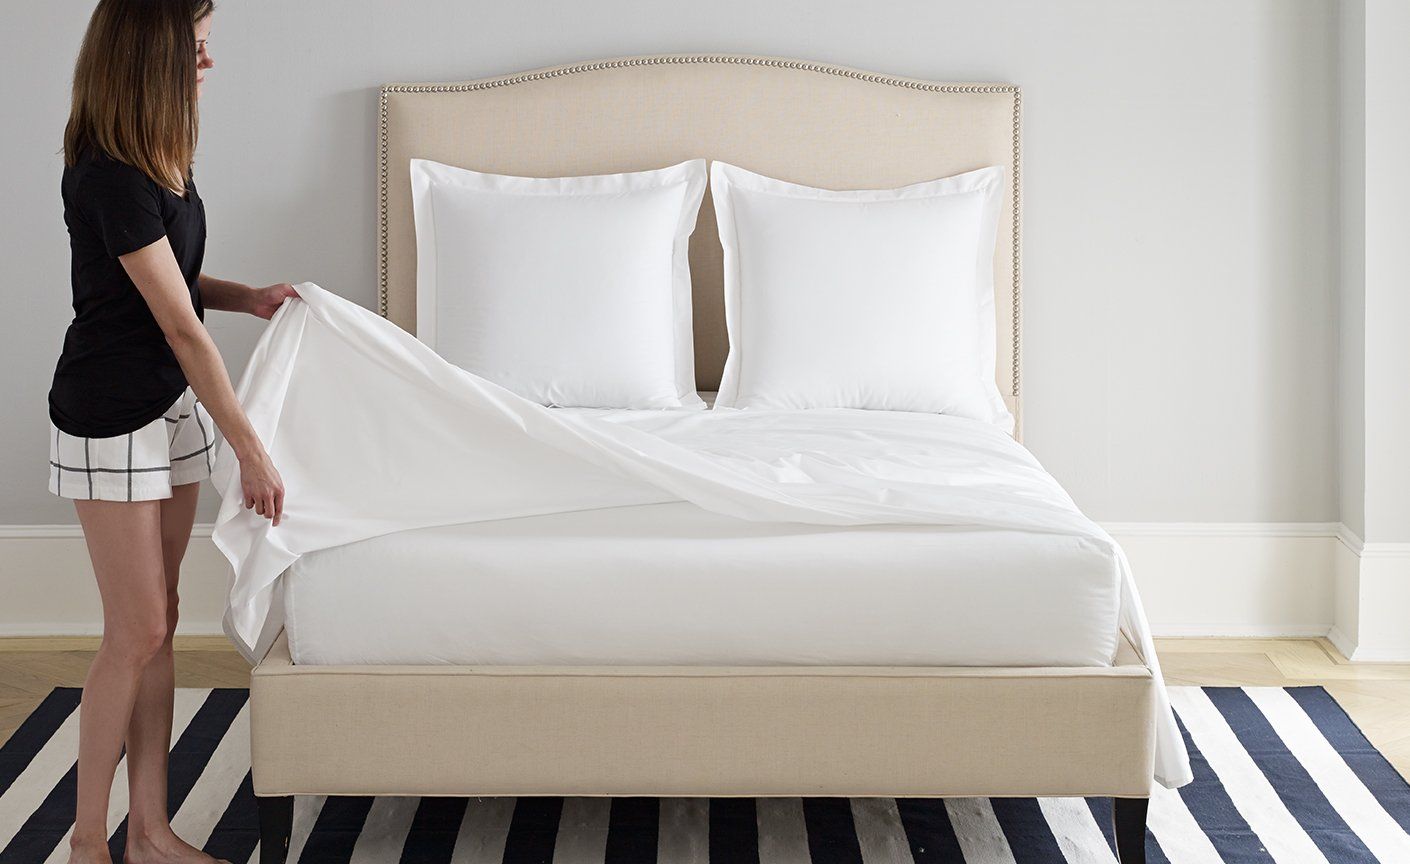
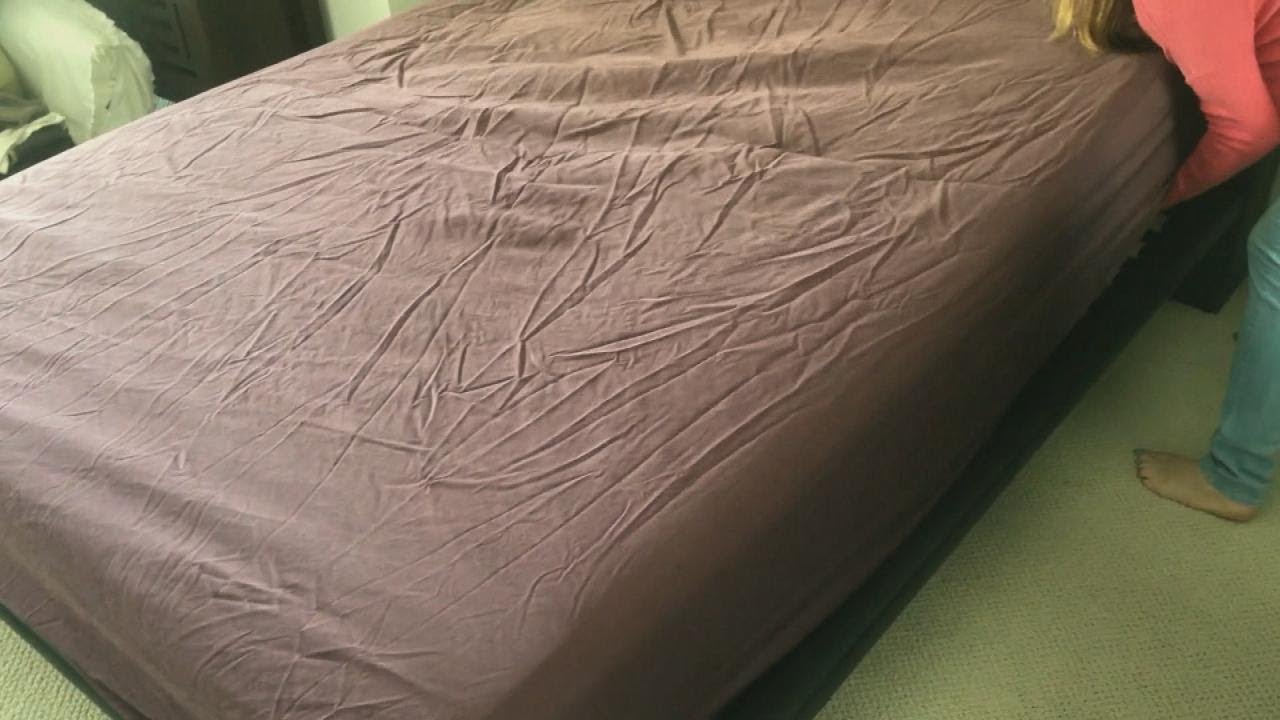
Step 5: Smooth out any wrinkles
After tucking in the corners, it’s time to ensure that your flat sheet is smooth and wrinkle-free. Follow these steps to achieve a perfectly made bed:
- Start at the head of the bed and gently pull the sheet taut towards the foot of the bed.
- Smooth out any wrinkles or creases with your hands, working your way down the sheet.
- Tug gently on the sides of the sheet to ensure a snug and smooth fit.
- If you notice any stubborn wrinkles, consider using a fabric wrinkle releaser spray or lightly dampen a cloth and run it over the wrinkled areas.
By smoothing out any wrinkles, you not only improve the overall appearance of the bed but also enhance the comfort and feel of the sheet. With the sheet looking neat and pristine, let’s move on to the next step where we’ll make the bed complete.
Step 6: Make the bed
Now that you have successfully put the flat sheet on the bed, it’s time to complete the bed-making process. Follow these final steps to make your bed look inviting and cozy:
- Place your pillows at the head of the bed. Arrange them neatly and fluff them up to create a comfortable and plush appearance.
- Slide on your pillowcases, making sure they are properly fitted and aligned with the pillows.
- Optional: If you have a bed skirt or dust ruffle, attach it to the underside of the mattress to add a decorative touch and hide any unsightly bed frame or storage underneath.
- Take a few moments to arrange and smooth out any decorative blankets or throws on top of the bed for added style and warmth.
With these final touches, your bed is now beautifully made and ready to provide a restful retreat at the end of a long day. Take a step back and admire your handiwork!
Remember, the process of making a bed isn’t just about appearances – it’s also about creating a comforting and nurturing environment. Taking the time to make your bed each day can have a positive impact on your well-being and set the tone for a peaceful night’s sleep.
So there you have it – a comprehensive guide on how to put a flat sheet on a bed. By following these steps and incorporating a few extra touches, your bed will become a cozy haven that you’ll look forward to sinking into each night.
Happy bed-making!
Conclusion
Putting a flat sheet on a bed may seem like a simple task, but with a little attention to detail, you can transform your bed into a beautiful and inviting space. By following the steps outlined in this article and incorporating a few tips and tricks, you can achieve a perfectly made bed that looks and feels comfortable.
Remember to gather all the necessary supplies, prepare the flat sheet by washing and ironing it, and align it properly with the mattress. Tucking in the corners tightly and smoothing out any wrinkles are essential for a clean and polished look. Finally, complete the bed-making process by arranging pillows, adding pillowcases, and incorporating any decorative touches such as bed skirts or blankets.
By taking the time to make your bed each day, you not only create a visually appealing space but also set the stage for a restful night’s sleep. A well-made bed can contribute to a sense of organization and relaxation in your bedroom, making it a more peaceful and inviting environment.
So, go ahead and put these steps into practice. With a little effort, you can achieve a beautifully made bed that will be a joy to come home to every night.
Happy bed-making!
Frequently Asked Questions about How To Put A Flat Sheet On A Bed
Was this page helpful?
At Storables.com, we guarantee accurate and reliable information. Our content, validated by Expert Board Contributors, is crafted following stringent Editorial Policies. We're committed to providing you with well-researched, expert-backed insights for all your informational needs.


0 thoughts on “How To Put A Flat Sheet On A Bed”