
Articles
How To Turn A Flat Sheet Into A Fitted Sheet
Modified: August 17, 2024
Discover how to easily transform a regular flat sheet into a perfectly fitting fitted sheet with our step-by-step articles. Turn your bed into an oasis of comfort and style!
(Many of the links in this article redirect to a specific reviewed product. Your purchase of these products through affiliate links helps to generate commission for Storables.com, at no extra cost. Learn more)
Introduction
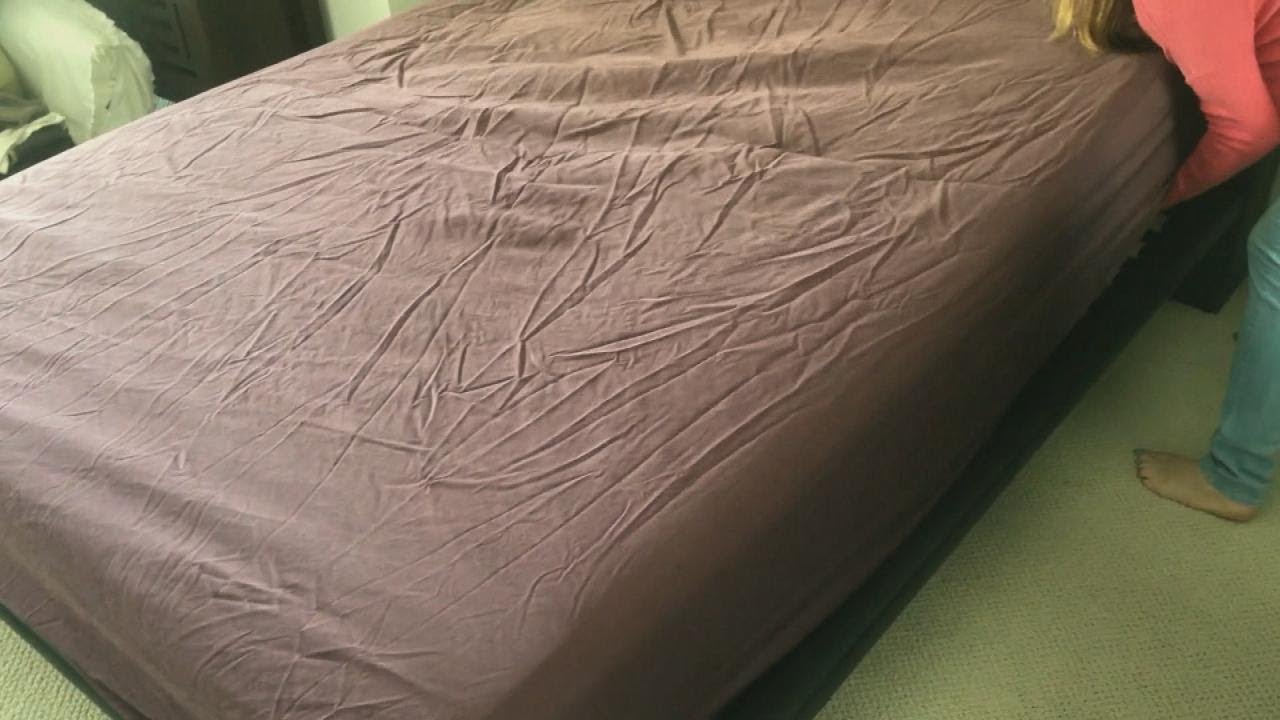
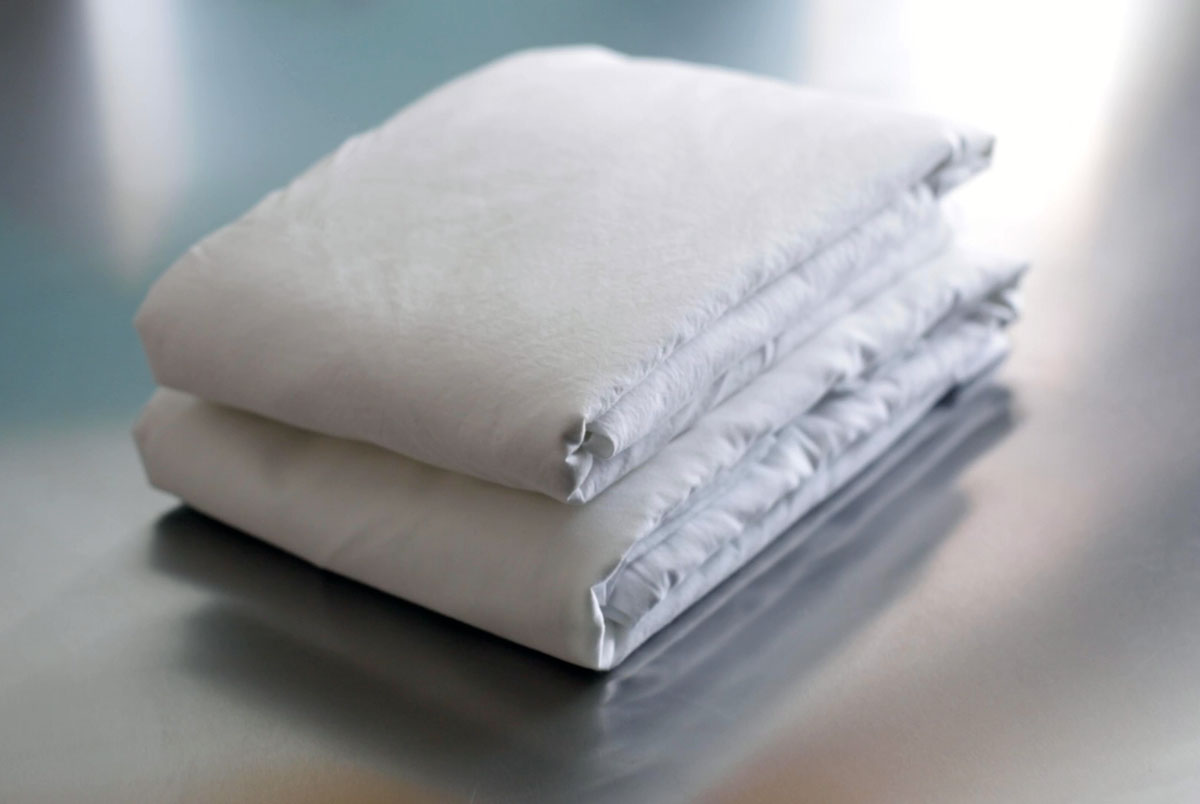
Have you ever found yourself with a pile of flat sheets that you never use because they constantly slide off your bed? Well, fear not! With a little creativity and some basic sewing skills, you can easily turn those flat sheets into perfectly fitted sheets that will stay snug on your mattress.
In this article, we will guide you through the step-by-step process of transforming a flat sheet into a fitted sheet. Not only will this save you money by repurposing old sheets, but it will also add a personalized touch to your bedding. So, grab your sewing kit and let’s get started!
Before we dive into the instructions, let’s go over the materials you’ll need for this DIY project:
Key Takeaways:
- Transform your unused flat sheets into perfectly fitted sheets with a personalized touch, saving money and adding flair to your bedding.
- With basic sewing skills and patience, repurpose old flat sheets into snug fitted sheets that stay in place all night long, giving your bed a tailored and stylish look.
Materials Needed
- A flat sheet that fits your mattress
- Elastic (approximately 1 inch wide)
- Scissors
- Sewing machine or needle and thread
- Safety pins
- Tape measure or ruler
- Pins or fabric clips
Now that you have all the necessary materials, let’s move on to the step-by-step process of turning your flat sheet into a fitted sheet. Remember to take your time and work carefully to ensure the best results.
Key Takeaways:
- Transform your unused flat sheets into perfectly fitted sheets with a personalized touch, saving money and adding flair to your bedding.
- With basic sewing skills and patience, repurpose old flat sheets into snug fitted sheets that stay in place all night long, giving your bed a tailored and stylish look.
Materials Needed
Before you embark on this DIY project, make sure you have the following materials at hand:
- A flat sheet that fits your mattress: Choose a sheet that matches the size of your mattress, whether it’s twin, full, queen, or king.
- Elastic (approximately 1 inch wide): You’ll need elastic to create the snug fit of a fitted sheet. Make sure the elastic is sturdy and of good quality.
- Scissors: A pair of sharp scissors is essential for cutting the elastic and trimming any excess fabric.
- Sewing machine or needle and thread: Depending on your sewing skills and preference, you can either use a sewing machine or sew by hand with a needle and thread.
- Safety pins: Safety pins will come in handy for temporarily securing the elastic in place during the sewing process.
- Tape measure or ruler: Accurate measurements are crucial for achieving the perfect fit. Use a tape measure or ruler to measure the dimensions of your mattress and determine the length of elastic needed.
- Pins or fabric clips: Pins or fabric clips will help hold the fabric and elastic in place while sewing.
Having these materials ready before you start the project will ensure a smooth and efficient process. You can find most of these items in your sewing kit or local craft store. Once you have everything gathered, you’re ready to transform your flat sheet into a fitted sheet!
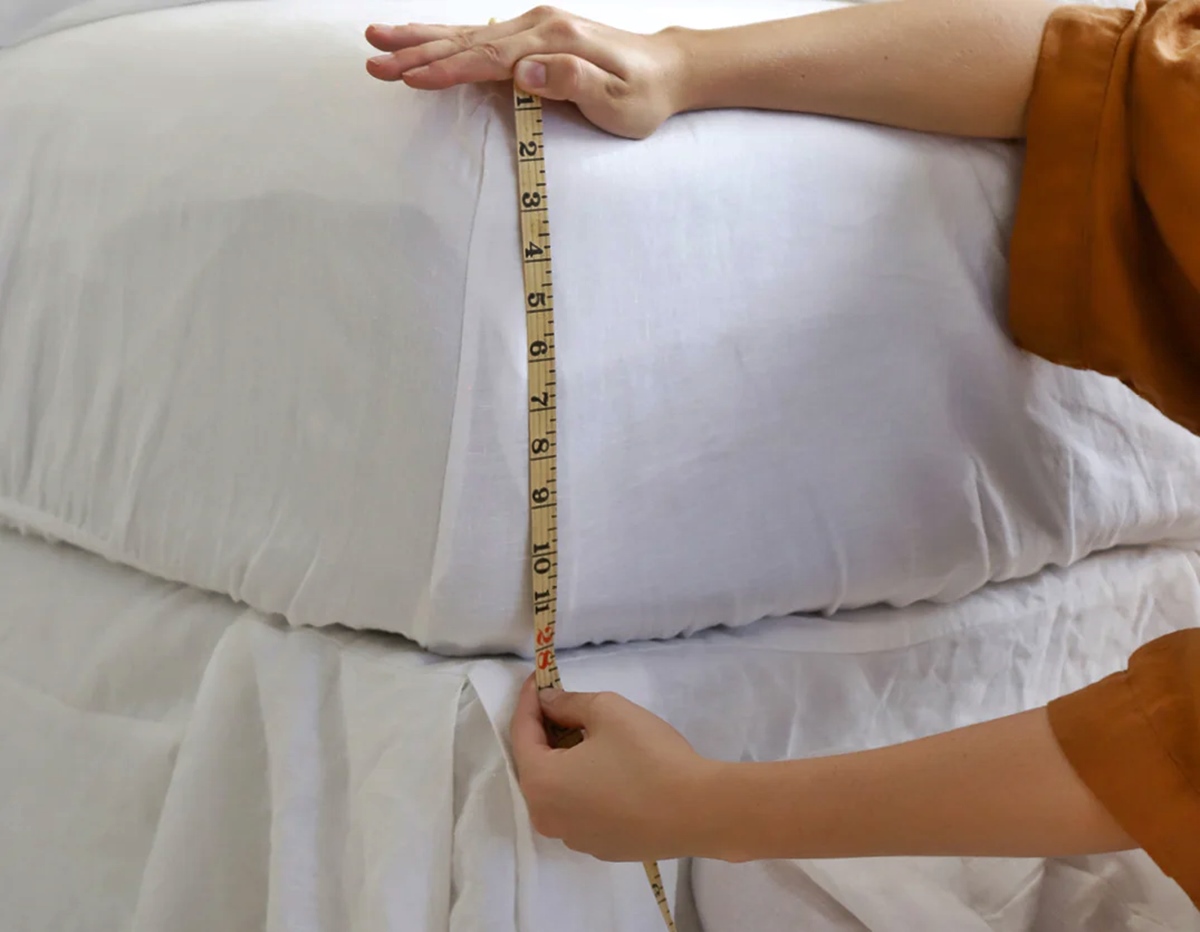
Step 1: Measure and Cut the Elastic
Now that you have gathered all the necessary materials, it’s time to begin the transformation process. The first step is to measure and cut the elastic for your fitted sheet. Follow these steps:
- Measure the width and length of your mattress: Use a tape measure or ruler to measure the width and length of your mattress. It’s important to get accurate measurements to ensure a snug fit.
- Add allowance for the elastic: To calculate the length of elastic needed, add 2 inches to the width measurement and 2 inches to the length measurement. This allowance will account for the gathering of the fabric and ensure a comfortable fit.
- Mark and cut the elastic: Using a pair of scissors, cut the elastic according to the length measurement you calculated. Remember to cut two pieces if you want elastic on all four corners of the fitted sheet.
Once you have the elastic cut to the appropriate length, you’re ready to move on to the next step of attaching the elastic to the corners of the sheet.
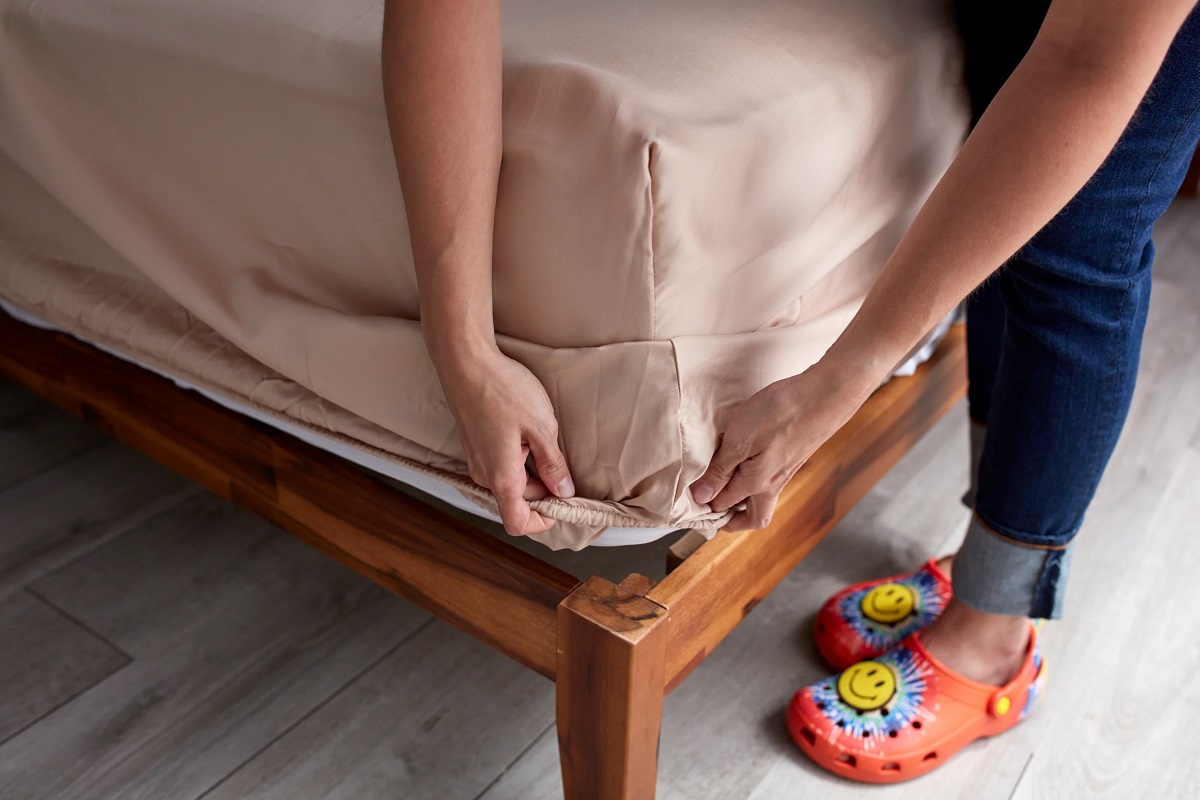
Step 2: Attach the Elastic to the Corners
With the elastic cut to the correct length, it’s time to attach it to the corners of the sheet. Follow these steps to secure the elastic:
- Identify the corners: Lay the sheet flat on a clean and spacious surface. Identify the corners of the sheet by looking for the stitched edges or any tags that may be present.
- Fold the corner: Take one corner of the sheet and fold it diagonally to create a triangle shape. This will help you properly place the elastic on the corners.
- Pin or clip the elastic: Place one end of the elastic on the corner of the sheet, aligning it with the edge. Pin or clip the elastic in place to prevent it from shifting during sewing.
- Stretch the elastic: Hold onto the other end of the elastic and stretch it across the width or length of the sheet. Make sure the elastic is taut but not overly stretched.
- Pin or clip the stretched elastic: While holding the stretched elastic in place, pin or clip the other end to the opposite corner of the sheet. This will ensure that the elastic stays in position during the sewing process.
Repeat these steps for the remaining corners of the sheet if you want elastic on all four corners. Take your time to ensure that the elastic is evenly stretched and secured to the corners. Once all the elastic is in place, it’s time to sew it into position.
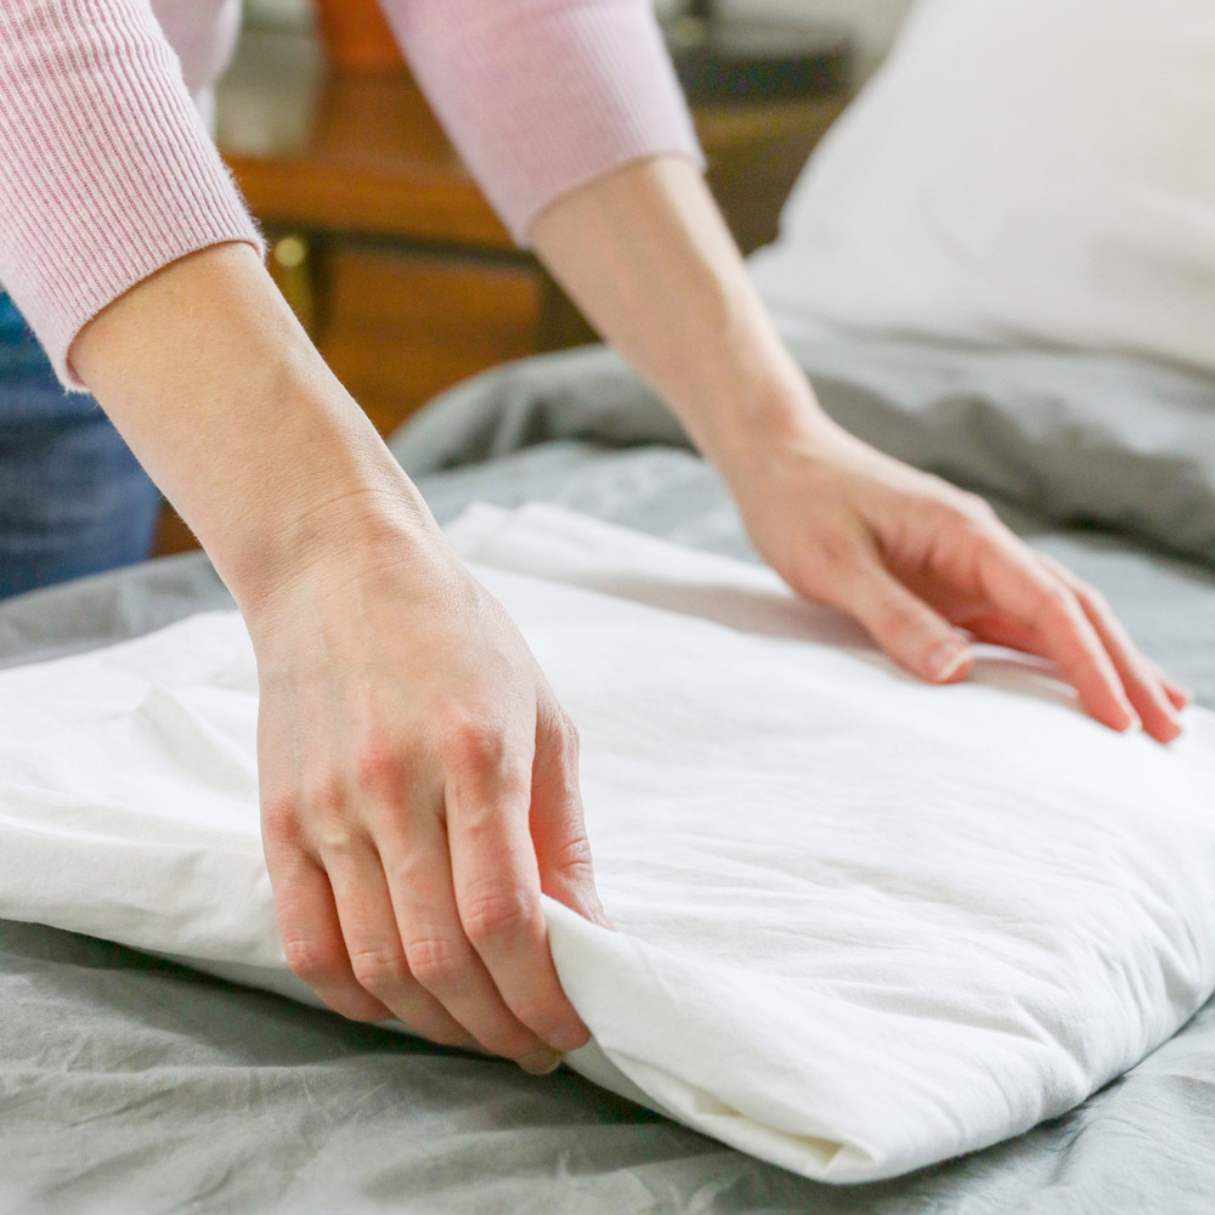
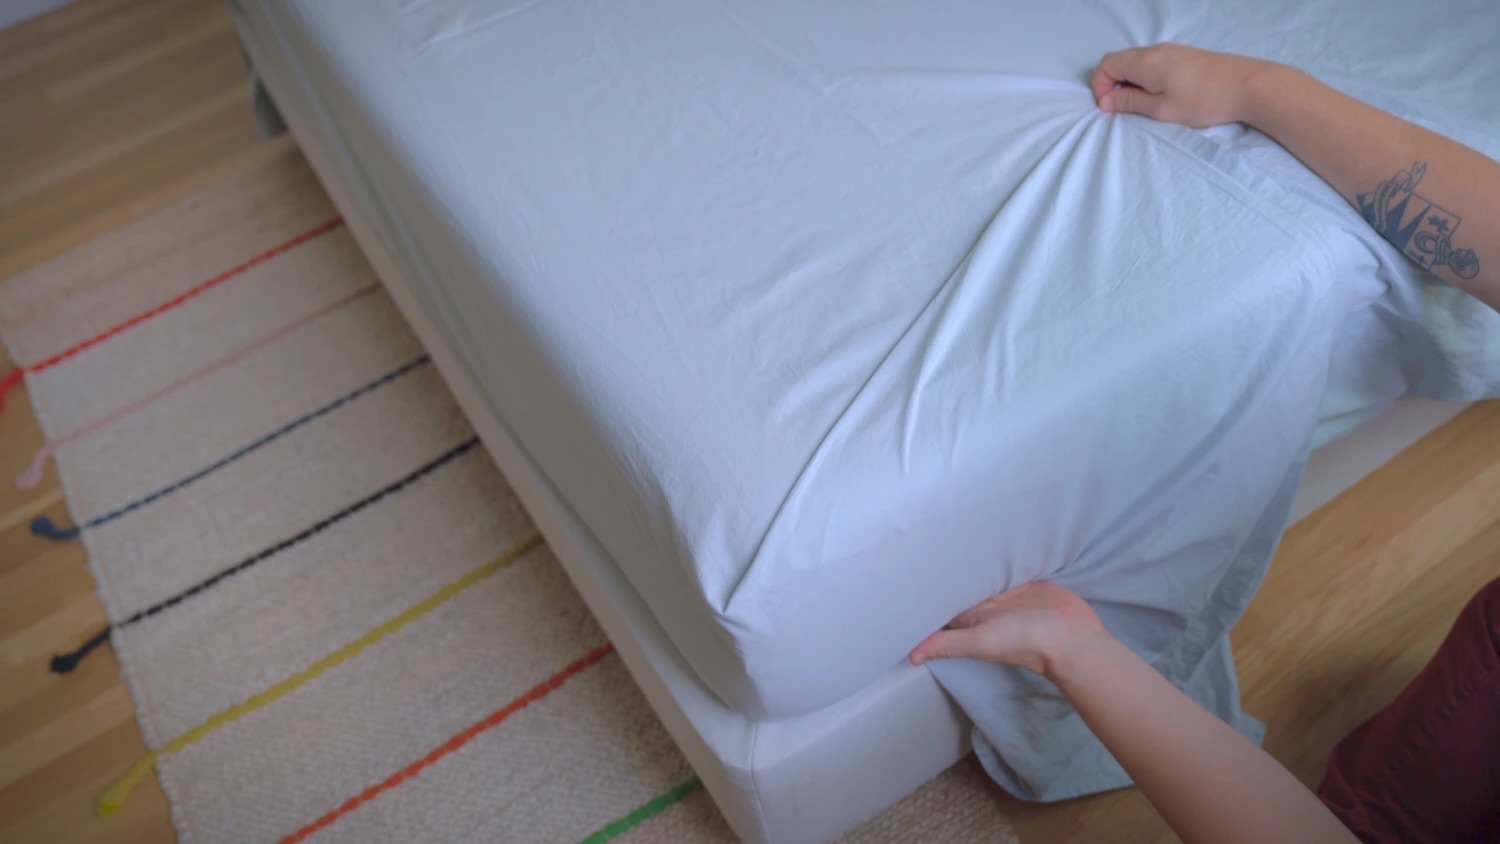
When turning a flat sheet into a fitted sheet, start by tucking the corners of the sheet under the mattress, then use elastic bands to secure the edges for a snug fit.
Read more: What Goes First: Fitted Sheet Or Flat Sheet
Step 3: Sew the Elastic into Place
Now that the elastic is securely attached to the corners of the sheet, it’s time to sew it into place. Follow these steps to sew the elastic:
- Set up your sewing machine: If you are using a sewing machine, set it up with the appropriate thread and needle for sewing stretch fabrics. If you’re sewing by hand, thread your needle with a strong and durable thread.
- Starting at one corner, secure the elastic: Begin sewing at one corner of the sheet, backstitching a few stitches to secure the thread. If you’re sewing by hand, make a strong knot to secure the thread.
- Sew along the edge: As you sew, guide the fabric and elastic under the presser foot of the sewing machine, or navigate them with your needle and thread. Sew along the edge of the fabric, securing the elastic in place. Repeat this process for each corner of the sheet.
- Backstitch to finish: Once you have sewn around all the corners, backstitch a few stitches at the end to secure the thread in place. If you’re sewing by hand, tie off the thread with a secure knot.
Take your time while sewing to ensure neat and even stitches. The goal is to create a strong and secure attachment between the elastic and the fabric. Once you’ve finished sewing, it’s time to move on to the next step of adjusting the elastic as needed.
Step 4: Adjust the Elastic as Needed
After sewing the elastic into place, it’s important to check the fit of the sheet on your mattress and make any necessary adjustments. Follow these steps to ensure a snug and comfortable fit:
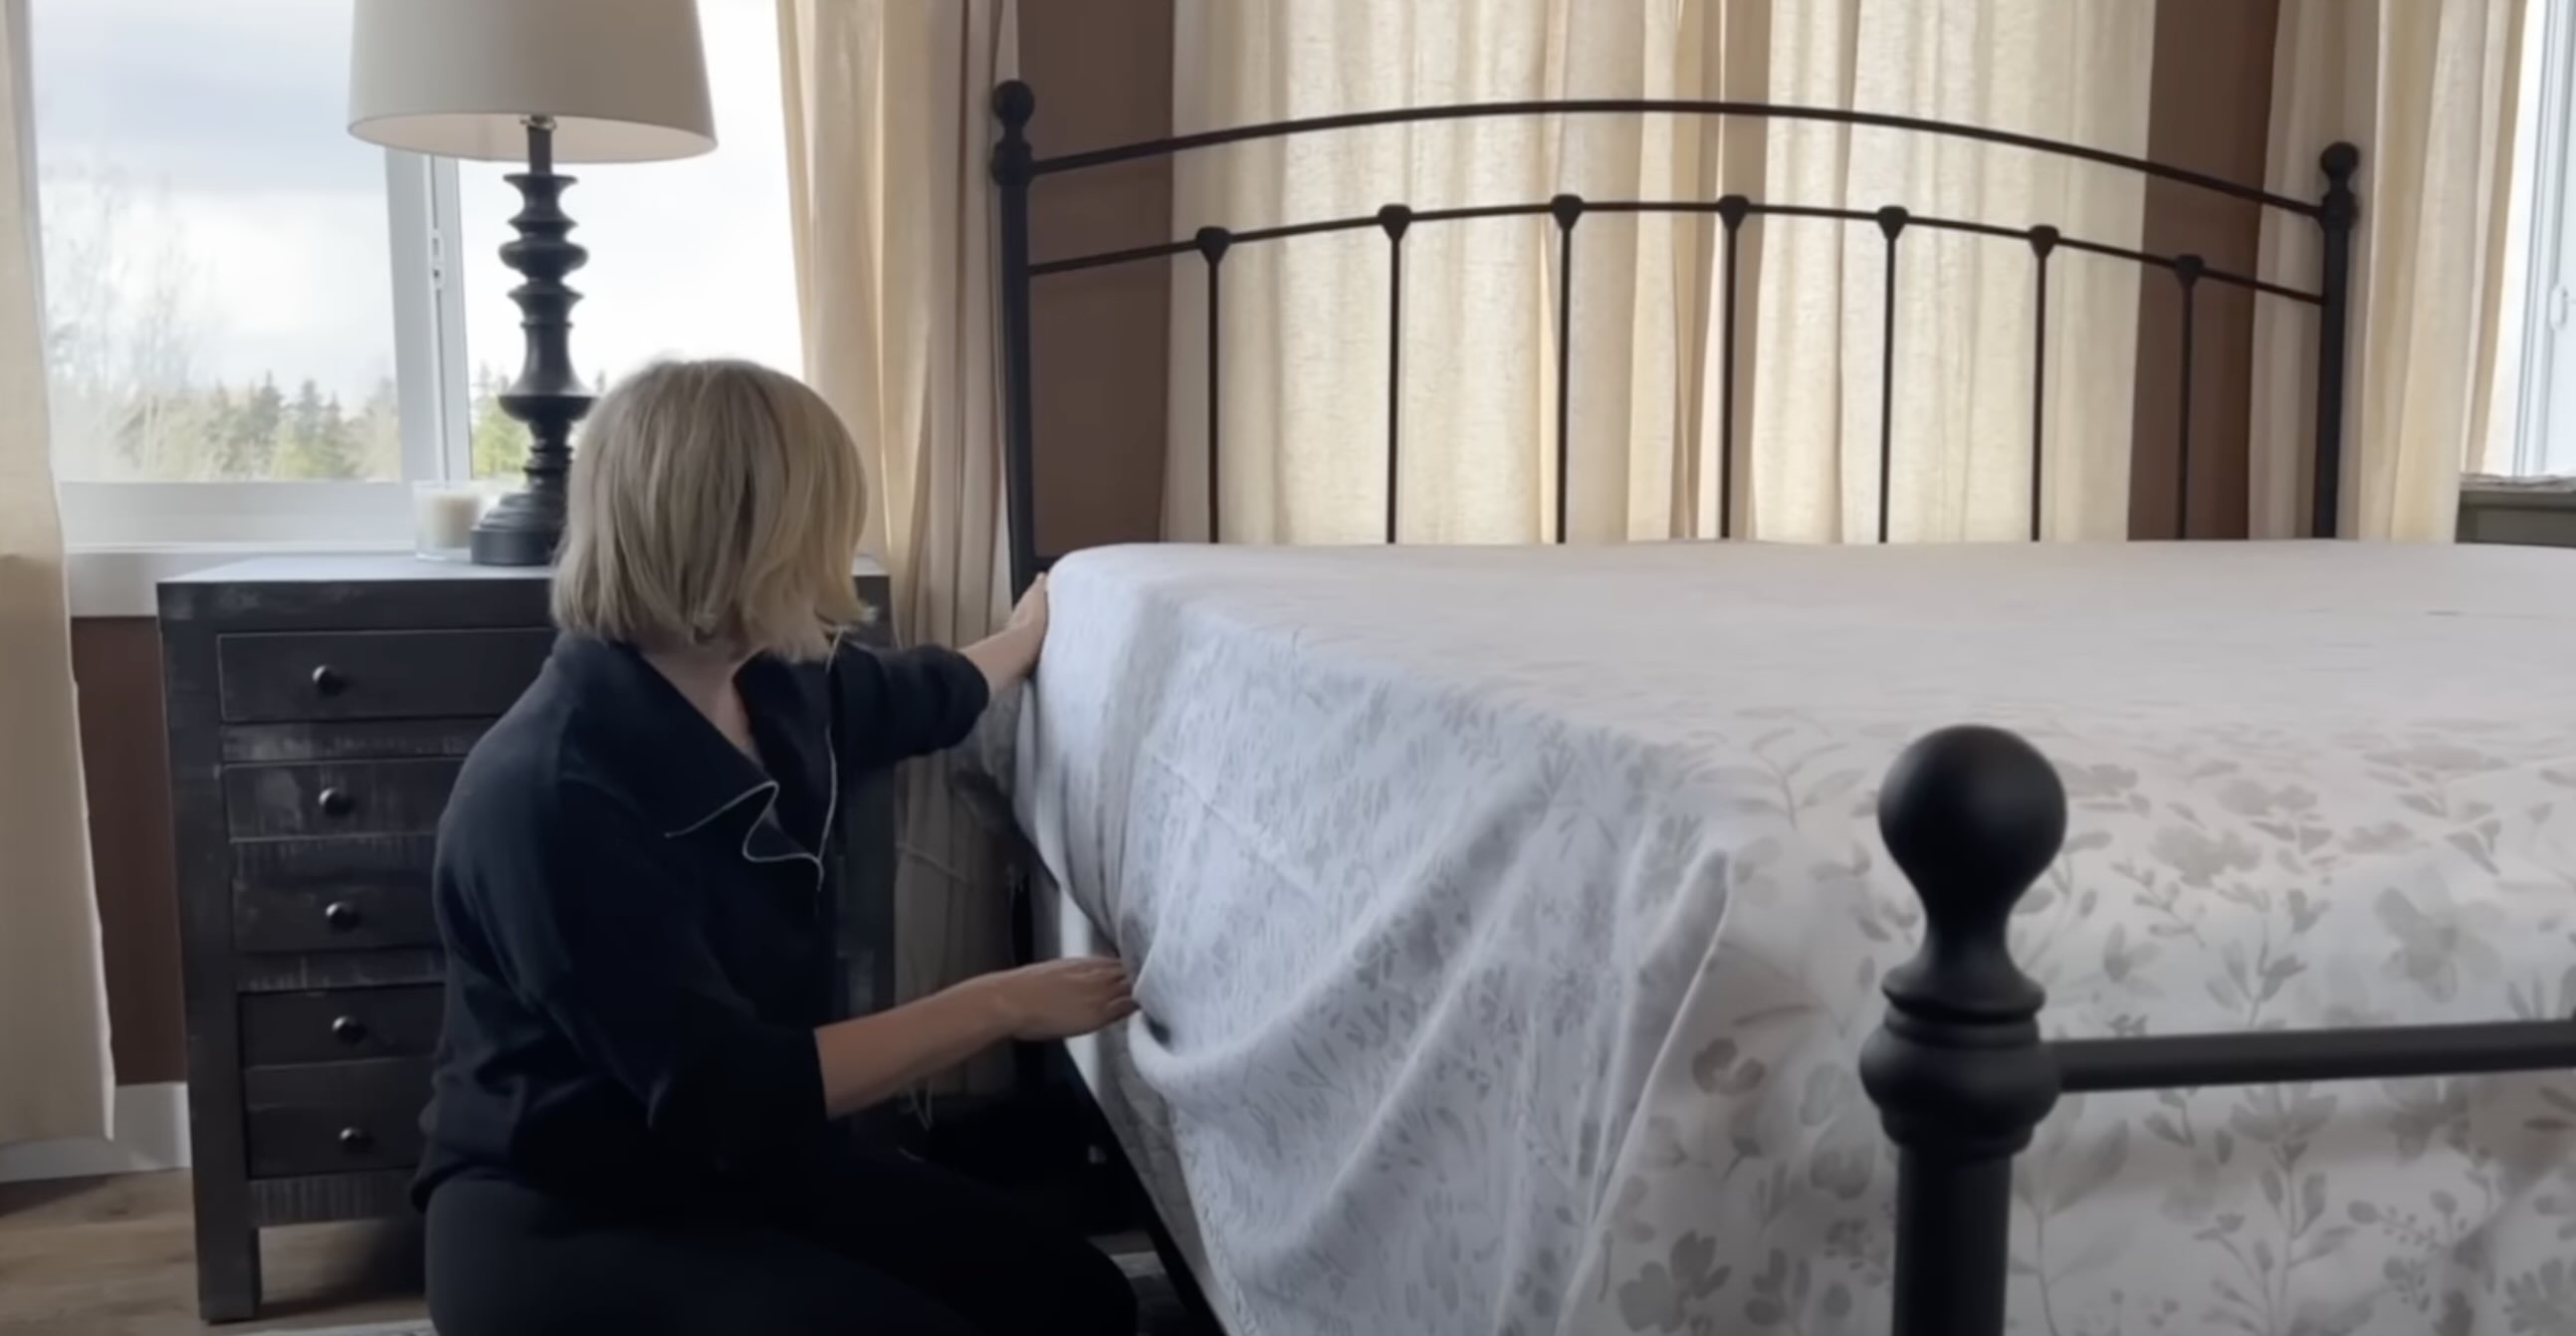
- Place the fitted sheet on your mattress: Carefully place the newly transformed fitted sheet on your mattress, ensuring that the elastic corners are properly positioned.
- Test the fit: Smooth out the sheet and tug on the corners to ensure that the elastic is holding the sheet securely in place. The sheet should fit snugly without any excess sagging or wrinkling.
- Make adjustments: If the sheet feels too loose or too tight, you can make adjustments to the elastic. If it’s too loose, remove the sheet from the mattress and take in the elastic by sewing a few additional stitches. If it’s too tight, release some tension by unpicking a few stitches and readjusting the elastic.
It may take a few tries to achieve the perfect fit, so don’t be discouraged if you need to make adjustments along the way. The goal is to have a fitted sheet that hugs your mattress smoothly and stays in place throughout the night.
Once you’re satisfied with the fit, it’s time to move on to the final step of finishing the edges of the sheet for a polished look.
Step 5: Finish the Sheet Edges
With the elastic properly adjusted and the fitted sheet securely in place, it’s time to give the sheet edges a finished look. Follow these steps to complete the transformation:
- Trim any excess fabric: Carefully trim any excess fabric near the edges of the sheet. Be cautious not to cut into the elastic or the stitching.
- Neaten the edges: To prevent fraying, fold the raw edges of the fabric under and create a clean hem. You can do this by folding the fabric over itself by about half an inch and pinning it in place.
- Sew the edges: Using either a sewing machine or needle and thread, sew along the folded edge of the fabric to secure the hem. Make sure the stitches are neat and even, ensuring the fabric is securely held in place.
- Repeat for all edges: Repeat this process for all the edges of the fitted sheet, ensuring that each edge is neatly hemmed.
Once you have finished sewing all the edges, give the sheet a final once-over to check for any loose stitches or uneven hems. Make any necessary adjustments before proceeding to the final step.
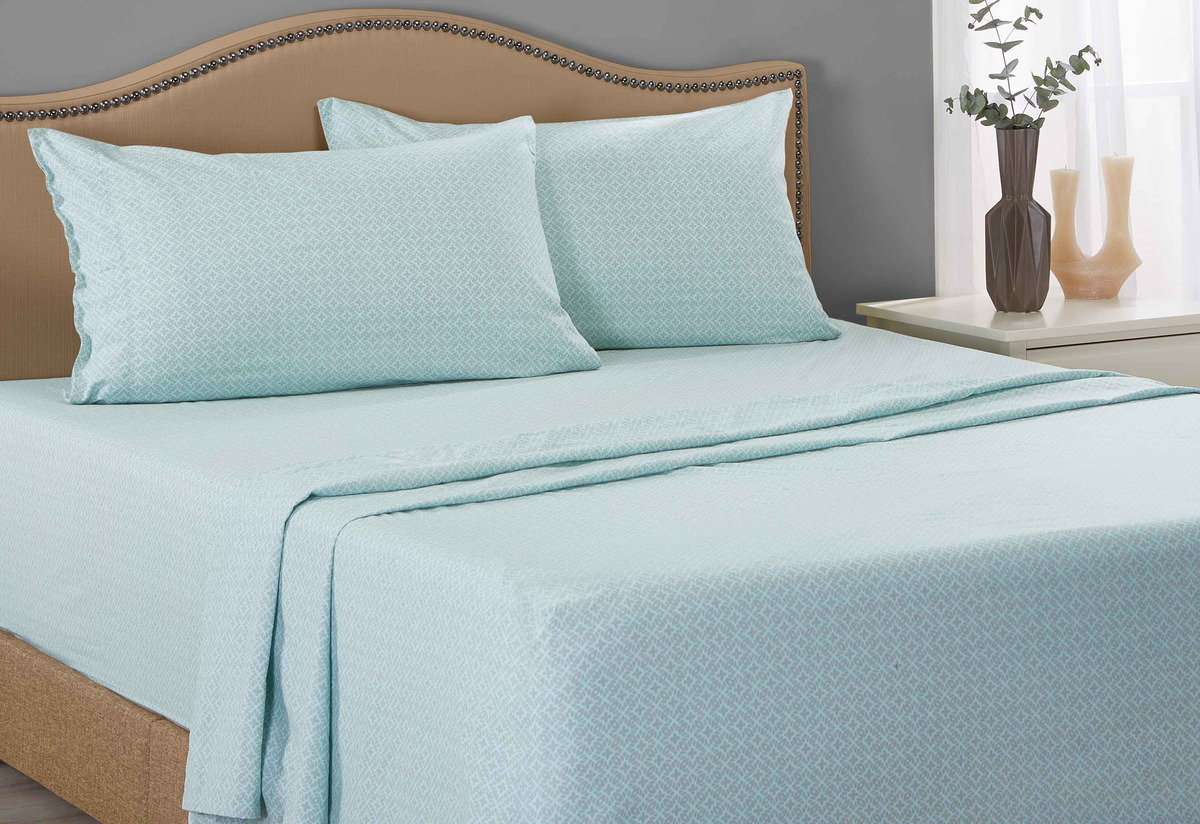
Congratulations! You have successfully transformed your flat sheet into a fitted sheet. Now it’s time to make your bed and enjoy the snug fit and personalized touch of your newly created fitted sheet.
Remember, this DIY project allows you to repurpose old flat sheets and save money while adding a unique touch to your bedding. With a little sewing know-how and some patience, you can easily turn any flat sheet into a perfectly fitted sheet that will stay in place all night long.
So go ahead and transform those unused flat sheets into functional and stylish fitted sheets. Your bed will thank you!
Conclusion
Turning a flat sheet into a fitted sheet is a practical and rewarding DIY project that allows you to repurpose old sheets and create a personalized touch for your bedding. By following the step-by-step instructions and utilizing basic sewing skills, you can easily transform your flat sheets into perfectly fitted sheets that will stay snug on your mattress.
Throughout this article, we have highlighted the materials needed and walked you through each step of the process, from measuring and cutting the elastic to attaching it to the corners, sewing it into place, and adjusting the fit as needed. We also covered the importance of finishing the sheet edges for a polished look.
Not only does this DIY project save you money, but it also gives you the opportunity to add your own flair to your bedding. You can choose fabrics that complement your bedroom decor or even repurpose patterned flat sheets into fitted sheets to add a pop of color and personality to your bed.
Remember, take your time, work carefully, and make any necessary adjustments to ensure the best fit and finish. The end result will be a fitted sheet that stays in place, provides a comfortable sleep surface, and gives your bed a tailored and put-together appearance.
So, grab your sewing kit, dig out those unused flat sheets, and start transforming them into fitted sheets. Whether you’re looking to upgrade your bedding or give new life to old linens, this DIY project is both practical and enjoyable. Happy sewing!
Frequently Asked Questions about How To Turn A Flat Sheet Into A Fitted Sheet
Was this page helpful?
At Storables.com, we guarantee accurate and reliable information. Our content, validated by Expert Board Contributors, is crafted following stringent Editorial Policies. We're committed to providing you with well-researched, expert-backed insights for all your informational needs.


0 thoughts on “How To Turn A Flat Sheet Into A Fitted Sheet”