Articles
How To Turn A Carpet Into A Rug
Modified: October 20, 2024
Learn how to transform your ordinary carpet into a stylish rug with these step-by-step articles. Discover expert tips and techniques to create a unique focal point in your home.
(Many of the links in this article redirect to a specific reviewed product. Your purchase of these products through affiliate links helps to generate commission for Storables.com, at no extra cost. Learn more)
Introduction
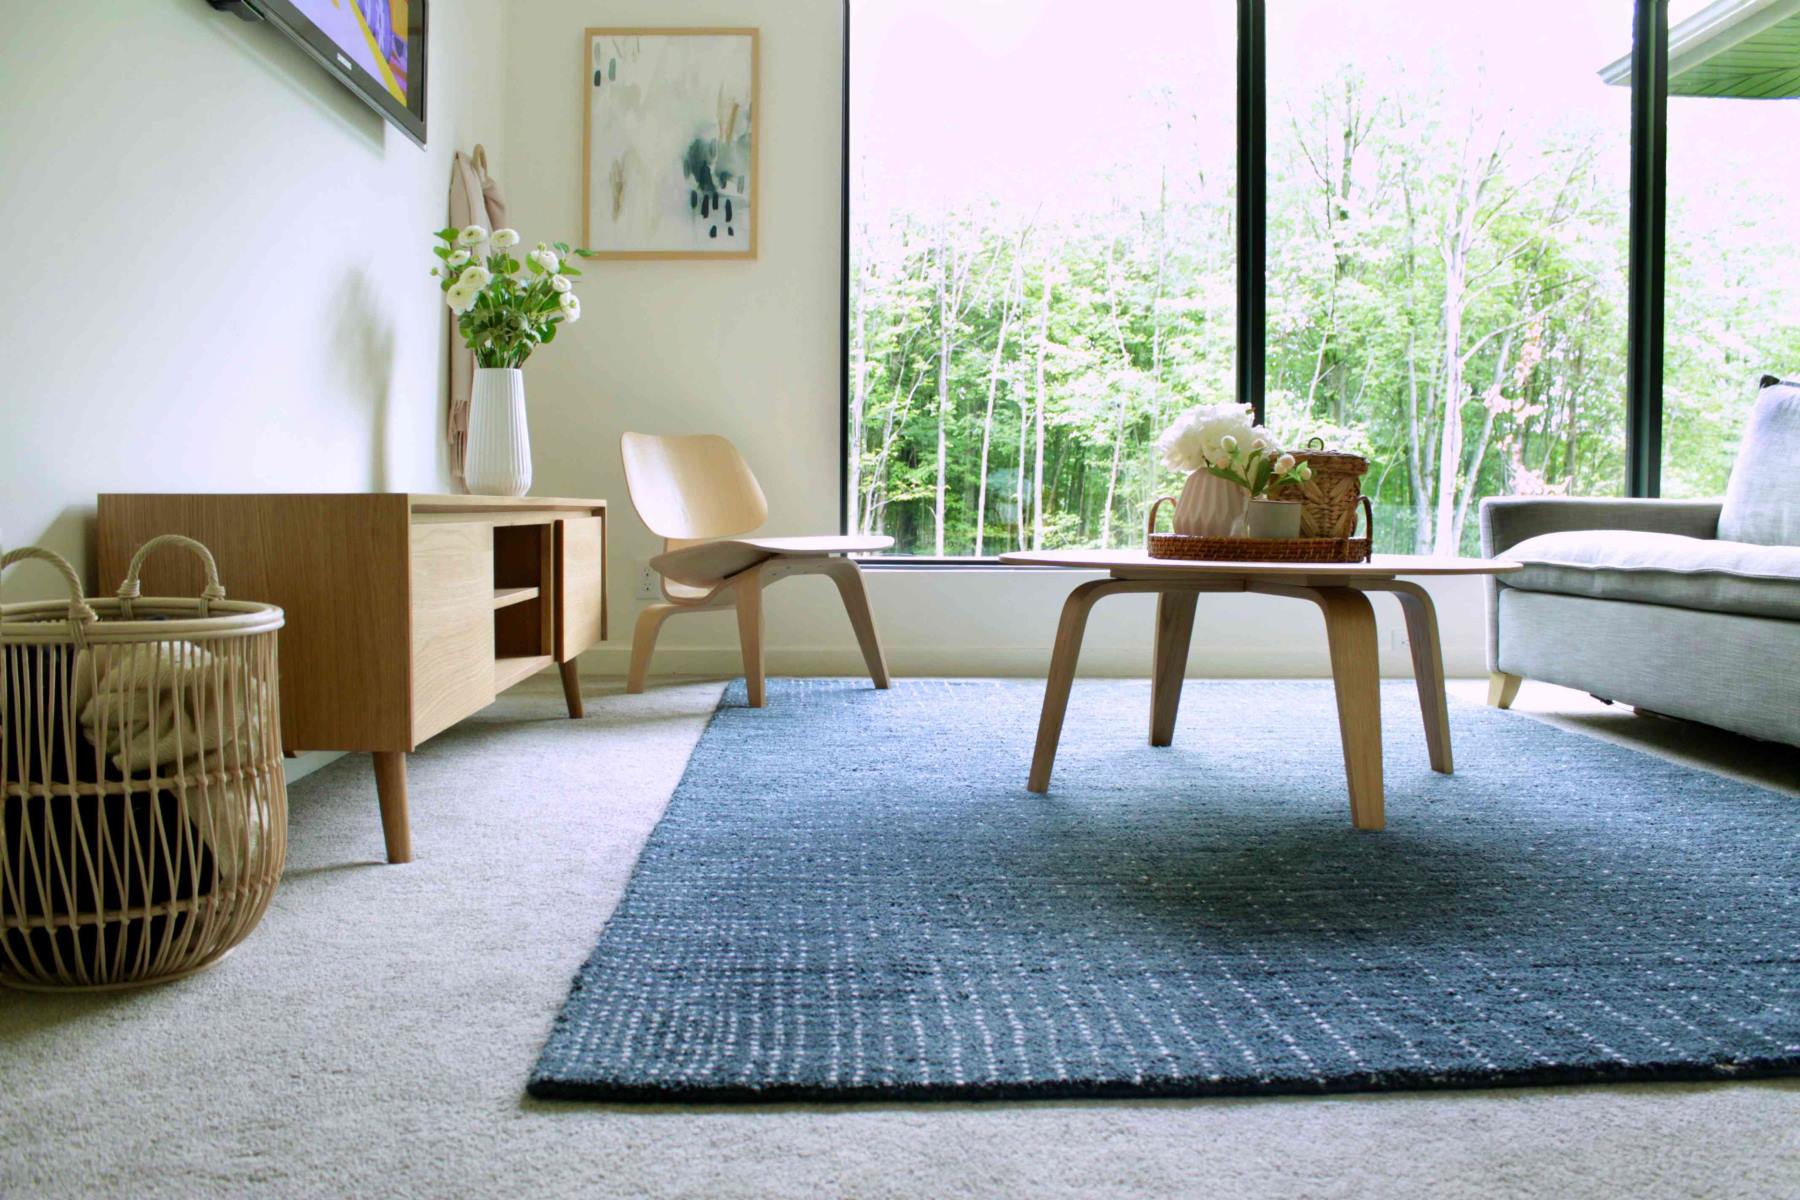
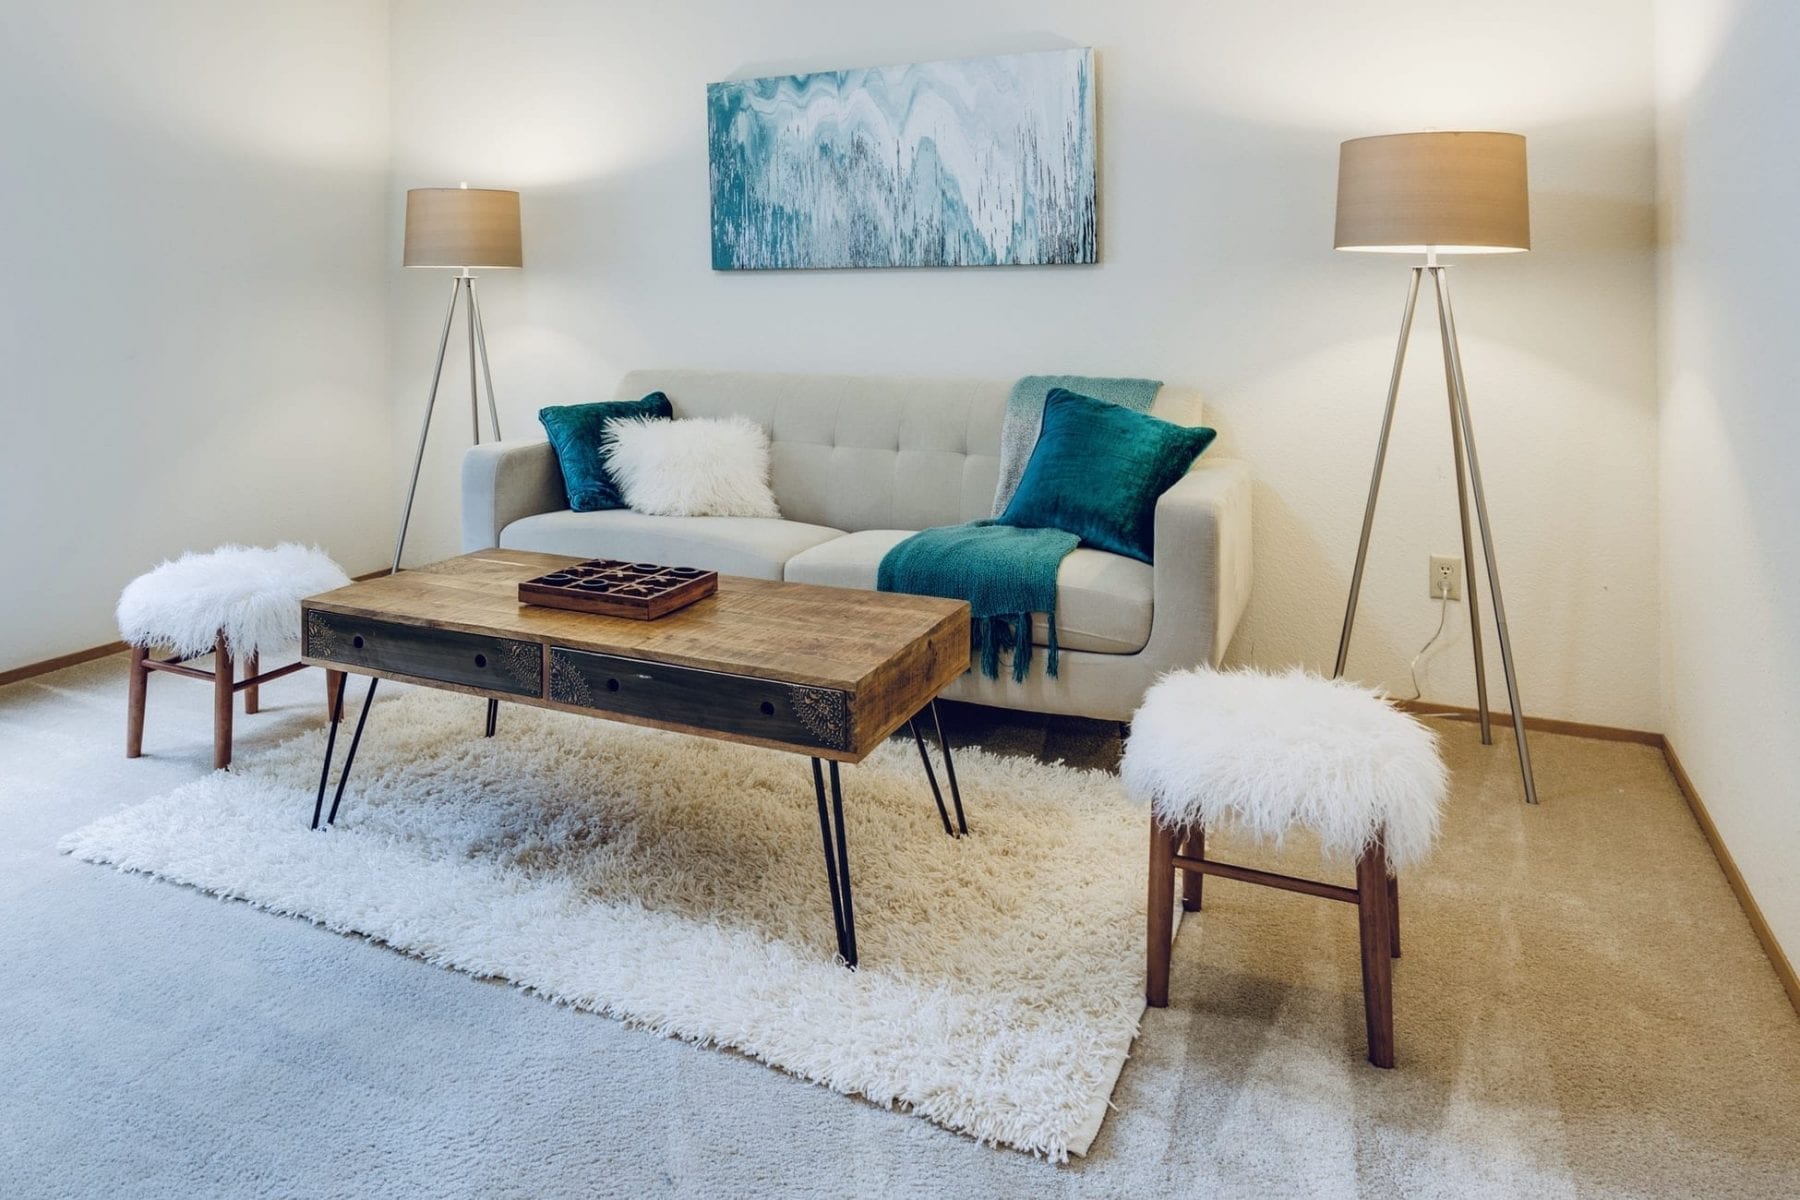
Are you looking to transform your plain and ordinary carpet into a stylish and functional rug? Whether you want to repurpose an old carpet or add a touch of personality to a new one, turning a carpet into a rug is a creative and budget-friendly solution. Not only does it allow you to customize the size, shape, and design of your rug, but it also gives you the opportunity to protect your carpet and enhance the aesthetics of your space.
In this step-by-step guide, we will walk you through the process of turning a carpet into a rug. With just a few materials and some basic DIY skills, you can transform your carpet into a beautiful and practical rug that will add warmth and style to any room in your home.
Before we dive into the details, let’s first go over the materials you will need for this project:
Key Takeaways:
- Transforming a carpet into a rug is a budget-friendly DIY project that allows for creativity and personalization, adding warmth, comfort, and personality to any space.
- By repurposing a carpet, you can save money and create a unique, personalized rug that perfectly fits your space and complements your existing decor. Enjoy the satisfaction of a successful DIY project!
Read more: How To Clean A Carpet Rug
Materials Needed
Before getting started, gather the following materials:
- A carpet of your choice
- Measuring tape or ruler
- Sharp scissors or carpet knife
- Binding tape or rug binding
- Hot glue gun or fabric glue
- Grip or padding (optional)
- Anti-slip backing (optional)
Once you have all the necessary materials, you’re ready to start transforming your carpet into a rug. Let’s get started!
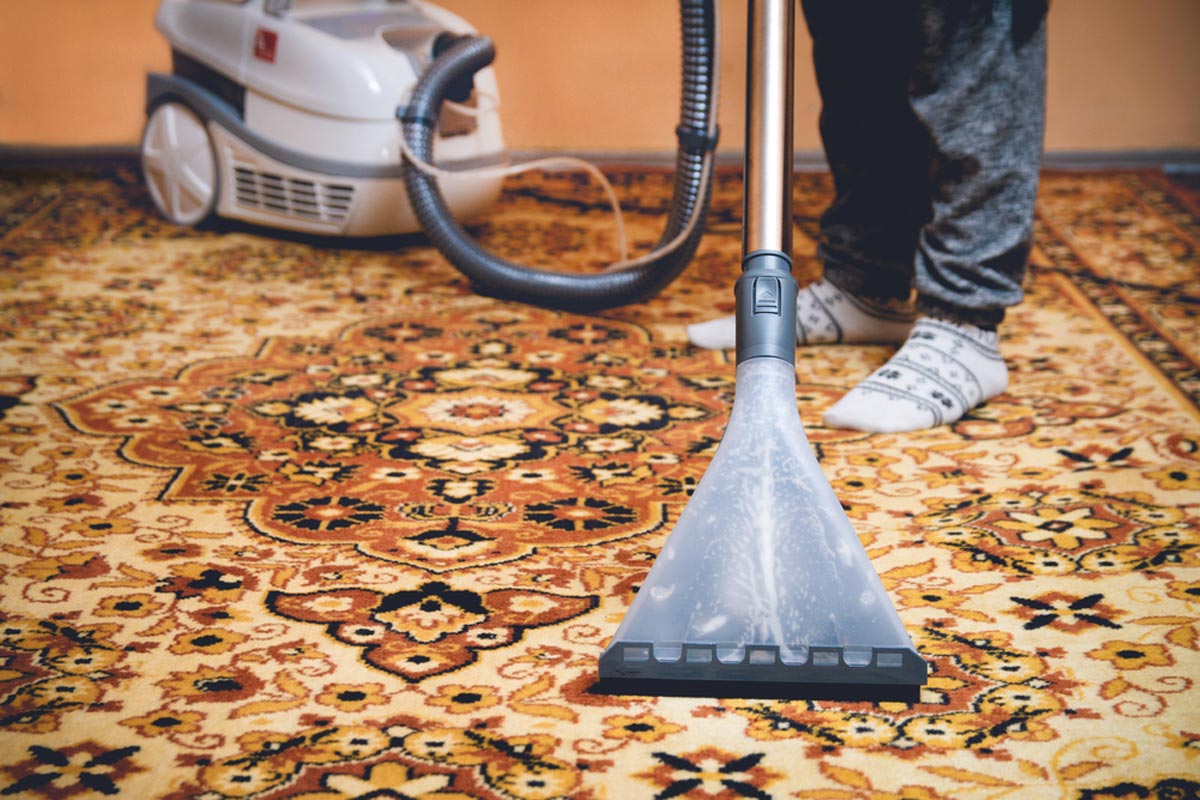
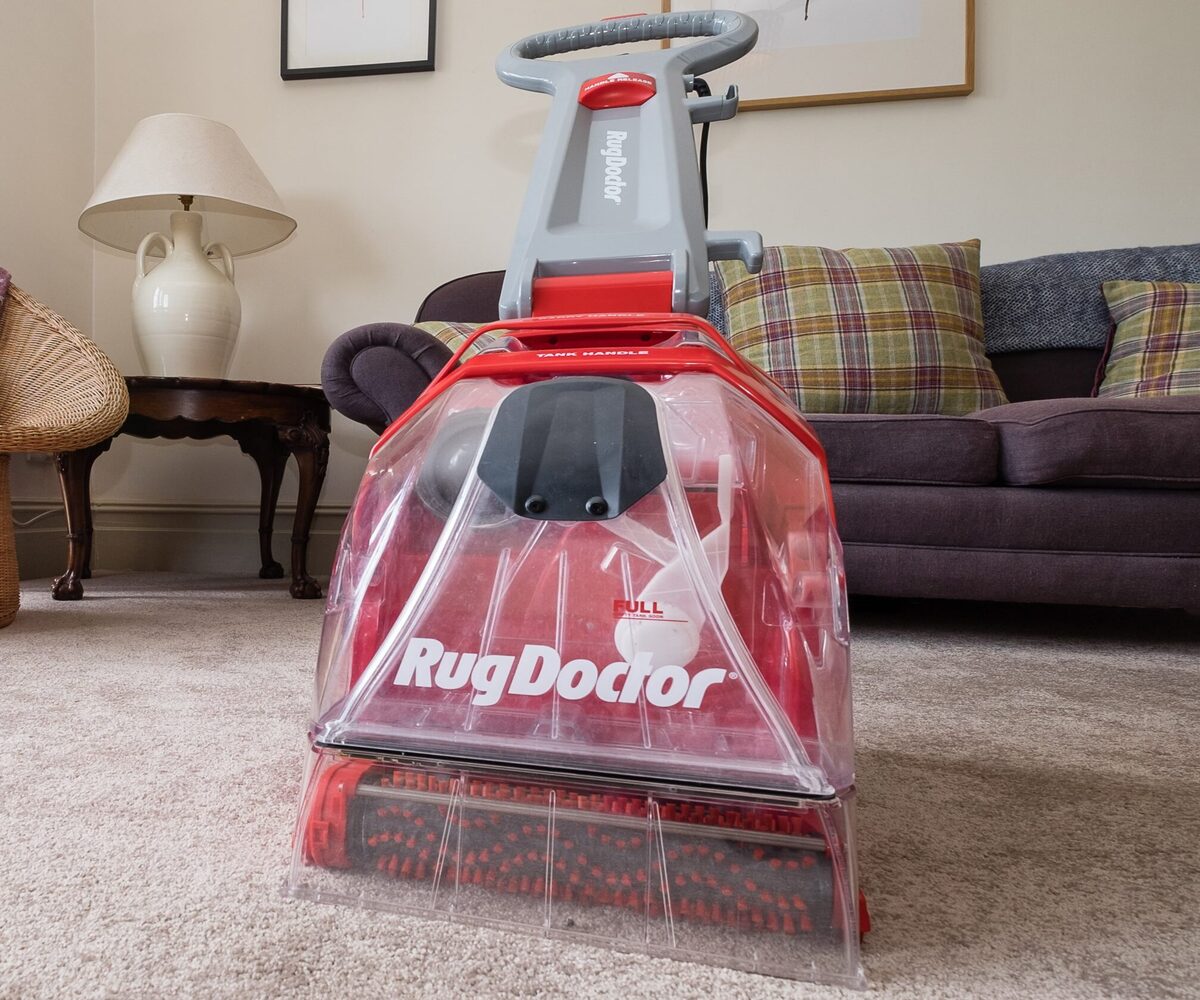
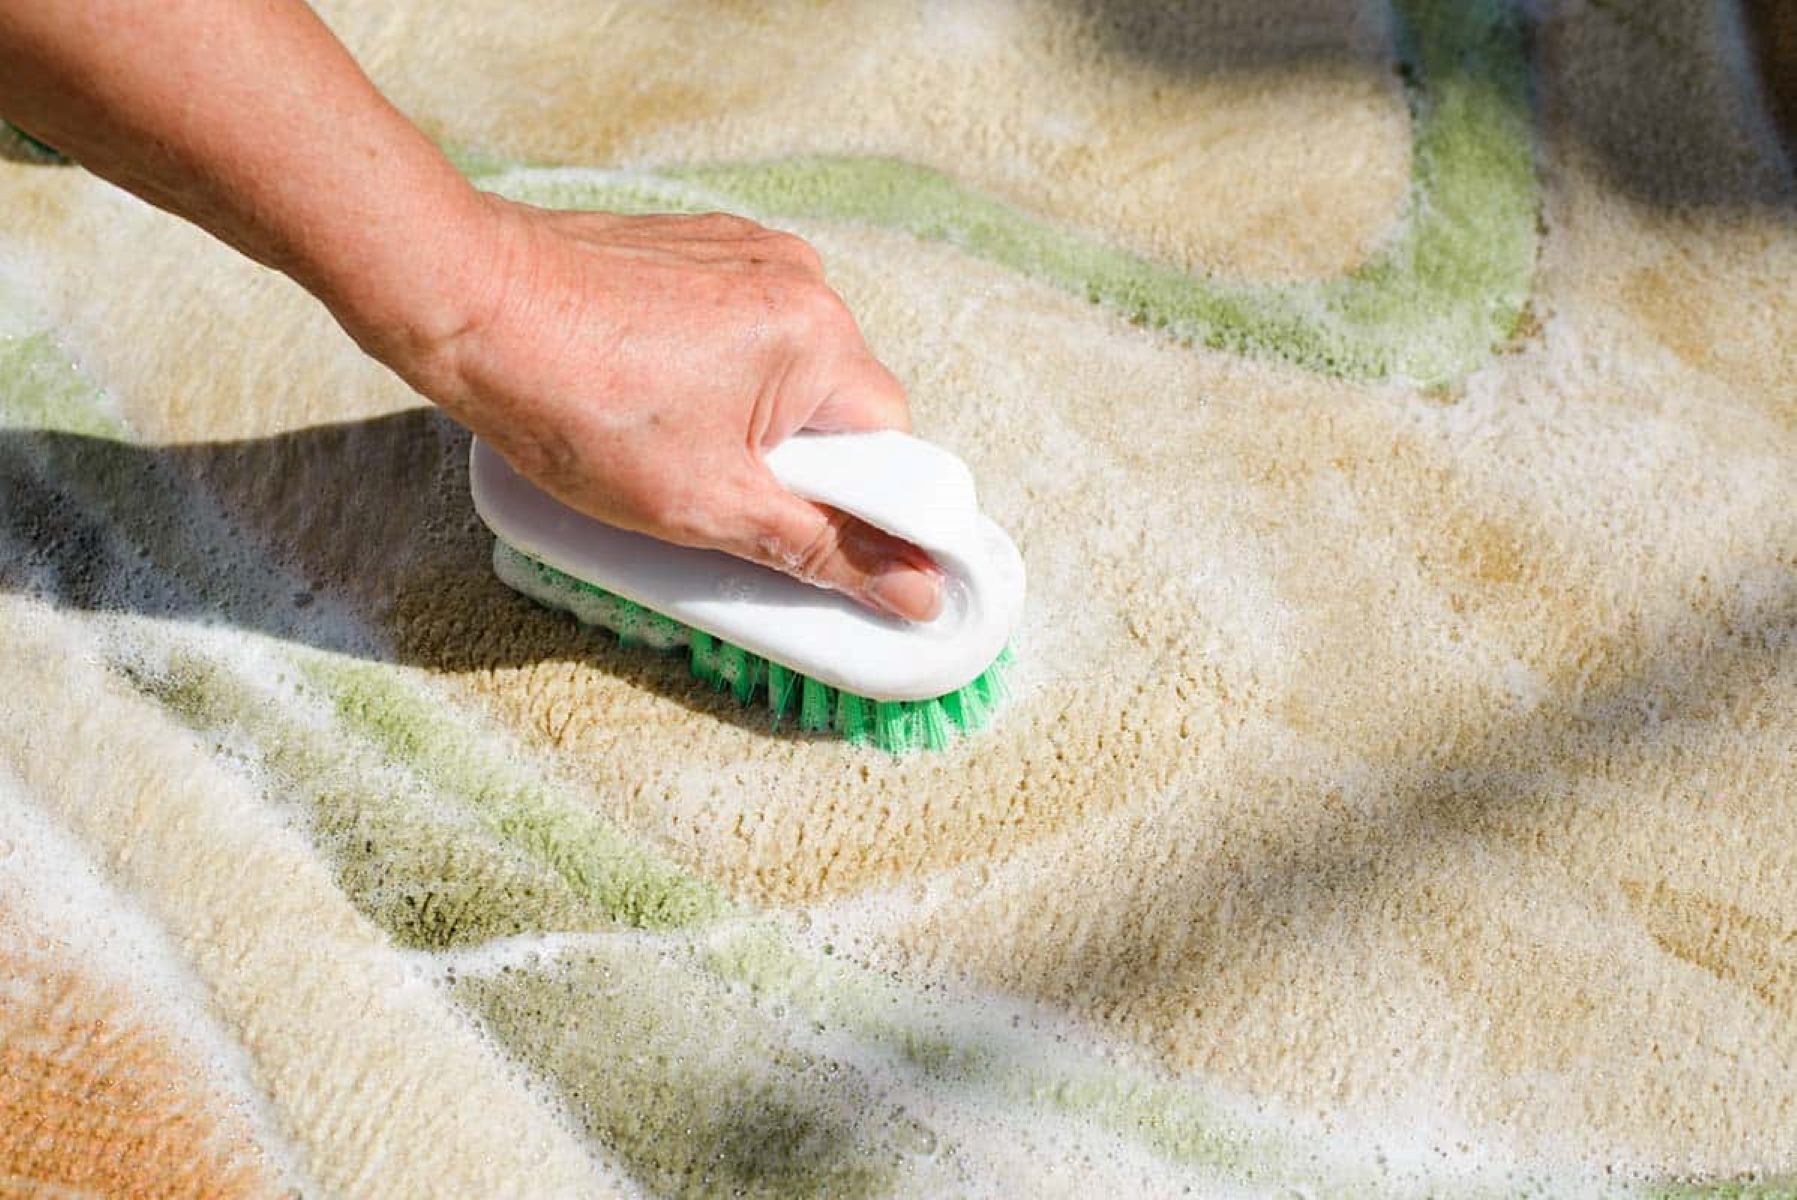
Step 1: Clean the Carpet
Before you begin the process of turning your carpet into a rug, it’s important to ensure that the carpet is clean and free of any dirt, dust, or stains. This step is crucial because any dirt or debris left on the carpet can affect the durability and appearance of your finished rug.
Here’s how to clean your carpet:
- Vacuum the carpet thoroughly to remove any loose dirt and debris.
- If there are any stains on the carpet, treat them with a carpet stain remover according to the manufacturer’s instructions. Gently blot the stain with a clean cloth or sponge until it is removed.
- For deeper cleaning, you can use a carpet cleaning machine or hire a professional carpet cleaner to ensure that your carpet is thoroughly cleaned.
- Allow the carpet to dry completely before moving on to the next step. This may take several hours or even overnight, depending on the thickness and material of your carpet.
Once your carpet is clean and dry, you’re ready to move on to the next step: measuring and cutting the carpet to the desired size and shape.
Step 2: Measure and Cut the Carpet
Now that your carpet is clean and dry, it’s time to measure and cut it to the desired size and shape for your rug. This step is essential to ensure that your rug fits perfectly in your desired space and complements the overall aesthetics of your room.
Follow these steps to measure and cut your carpet:
- Using a measuring tape or ruler, measure the area where you want to place the rug. Take into consideration any furniture or architectural features that may be present.
- Add a few inches to each side of your measurements to allow for binding and be sure to leave enough space to avoid covering any vents or electrical outlets.
- Mark your measurements on the back of the carpet using a pencil or chalk. Use a straight edge to connect the marks and create a cutting guide.
- Using sharp scissors or a carpet knife, carefully cut along the line you’ve marked. Take your time and make sure to apply even pressure to ensure a clean and straight cut.
- Once you’ve finished cutting the carpet, check the edges to ensure they are even and straight. Trim any uneven edges or stray fibers if necessary.
Now that your carpet is cut to the desired size and shape, it’s time to move on to the next step: binding the edges of the rug to prevent fraying and unraveling.
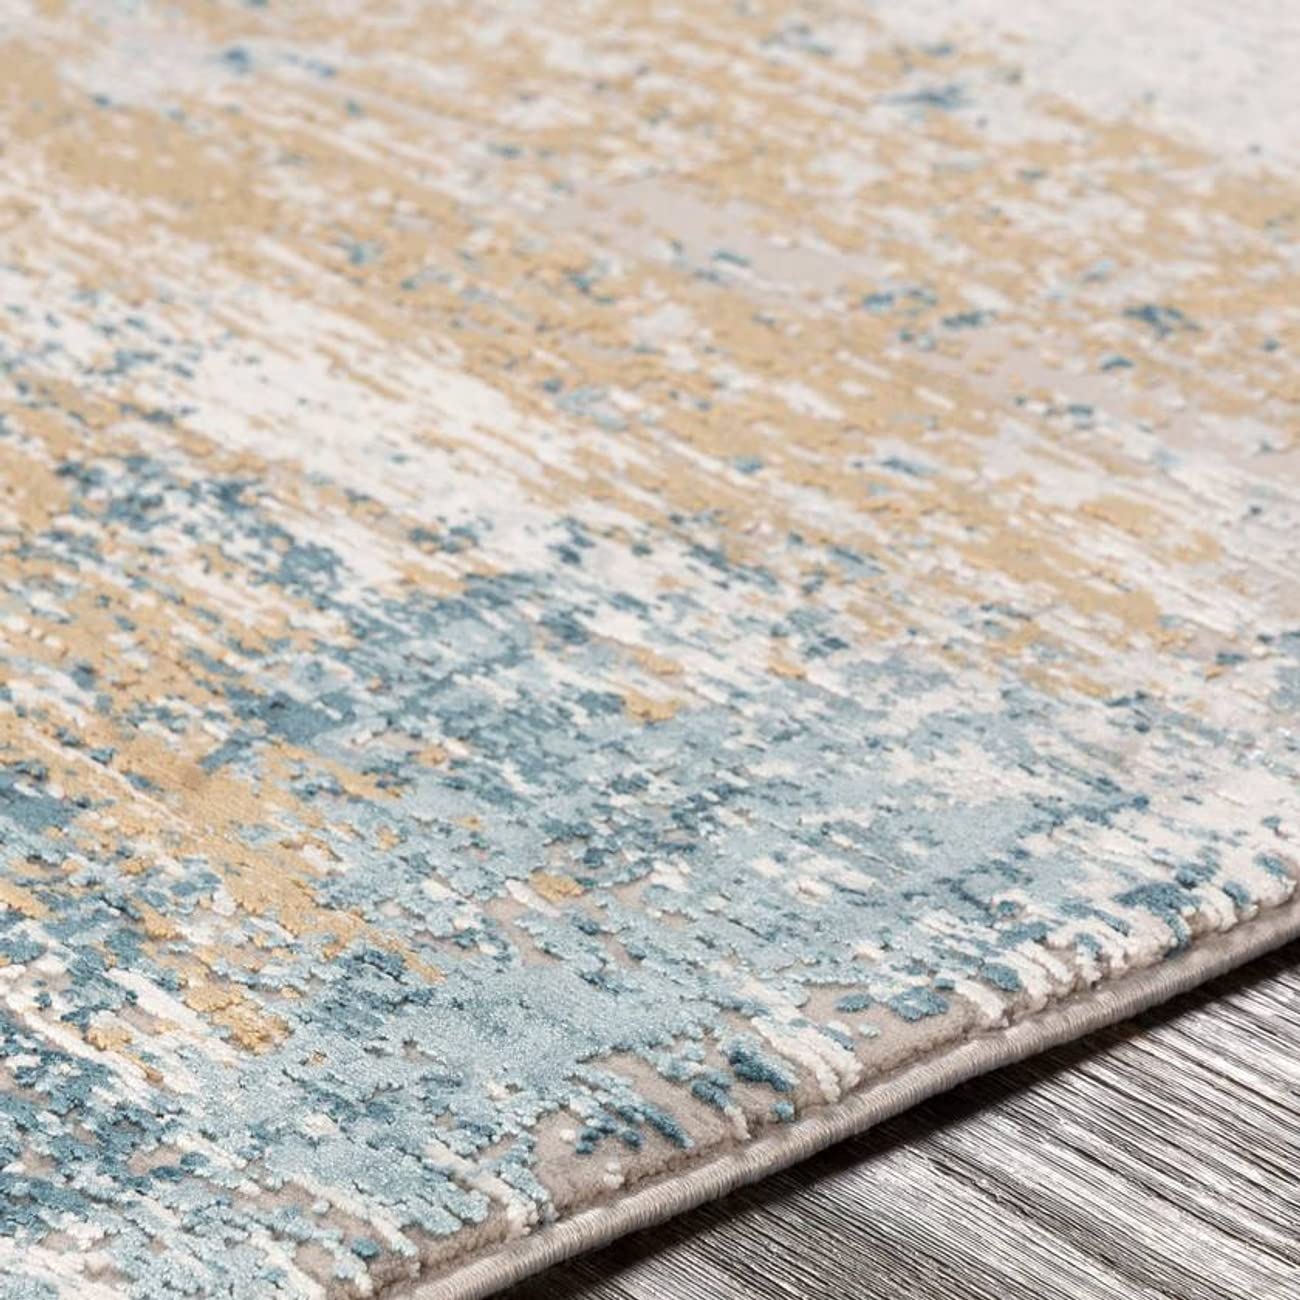
To turn a carpet into a rug, you can have the edges bound or surged to prevent fraying. This will give your carpet a finished look and make it suitable for use as a rug.
Step 3: Bind the Edges
One of the most important steps in turning a carpet into a rug is binding the edges. Binding not only gives your rug a finished and professional look, but it also helps prevent the edges from fraying and unraveling over time. There are several methods you can use to bind the edges of your rug, depending on your preferences and available materials.
Here’s a simple method for binding the edges of your rug:
- Measure the length of each side of your rug and cut the binding tape or rug binding to match the measurements.
- Place the binding tape along the edge of the rug, leaving a small margin of the carpet visible.
- Secure the binding tape to the back of the rug using a hot glue gun or fabric glue. Work on one side at a time, applying the glue evenly along the edge of the carpet and pressing the binding tape firmly into place.
- Continue securing the binding tape all the way around the edges of the rug, overlapping the ends at the corners.
- Trim any excess binding tape and tuck the ends neatly under the rug for a clean finish.
Once all the edges are bound, allow the glue to dry completely before moving or using your newly transformed rug. Binding the edges not only enhances the durability of your rug, but it also adds a decorative element to the overall design.
While binding the edges is sufficient to complete your rug, there are a few optional steps you can take to further improve its functionality and longevity. These steps include adding grip or padding and applying anti-slip backing, which we will discuss in the next steps.
Read more: How To Style A Rug On A Carpet
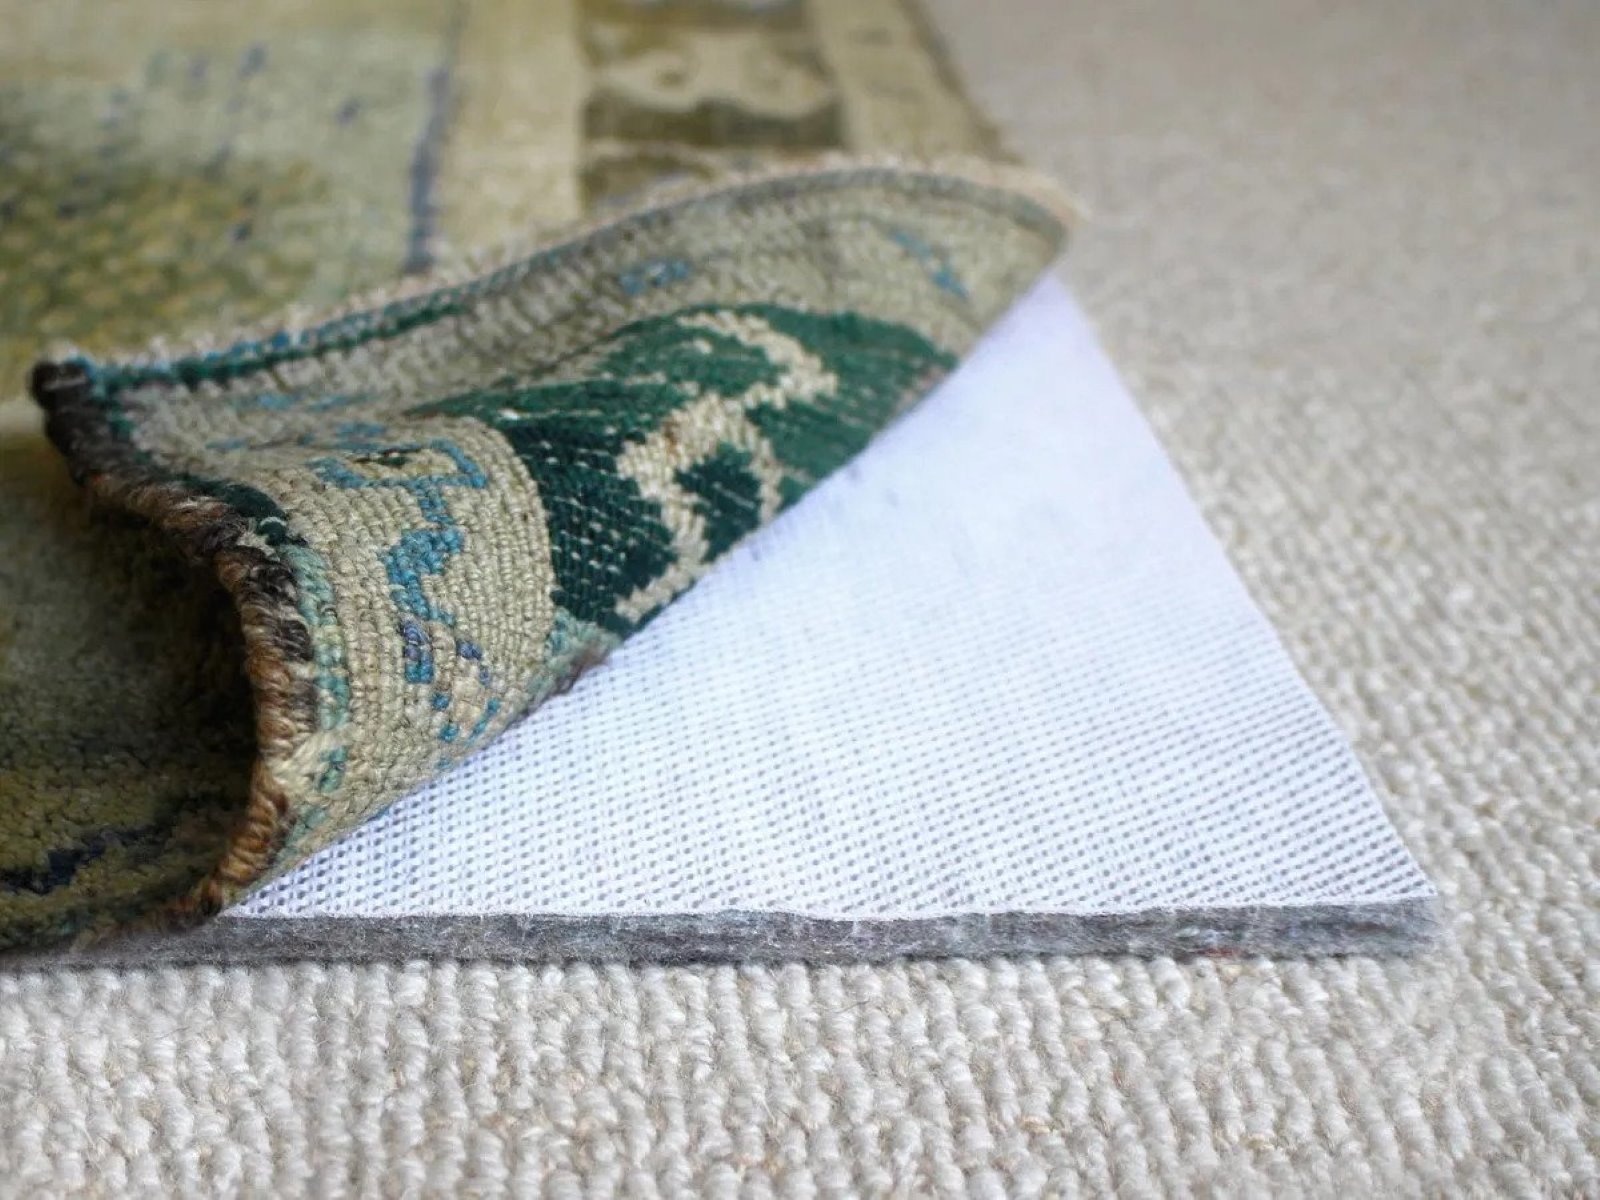
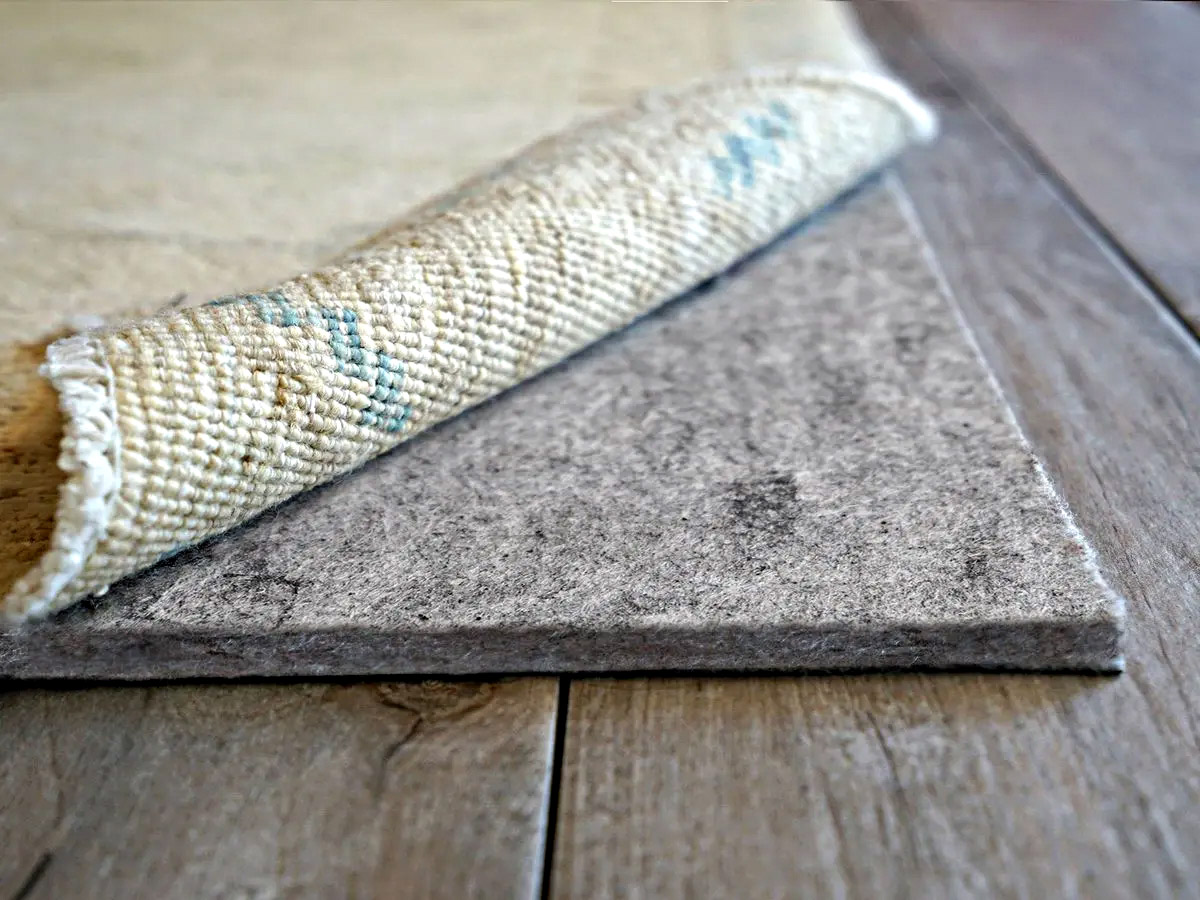
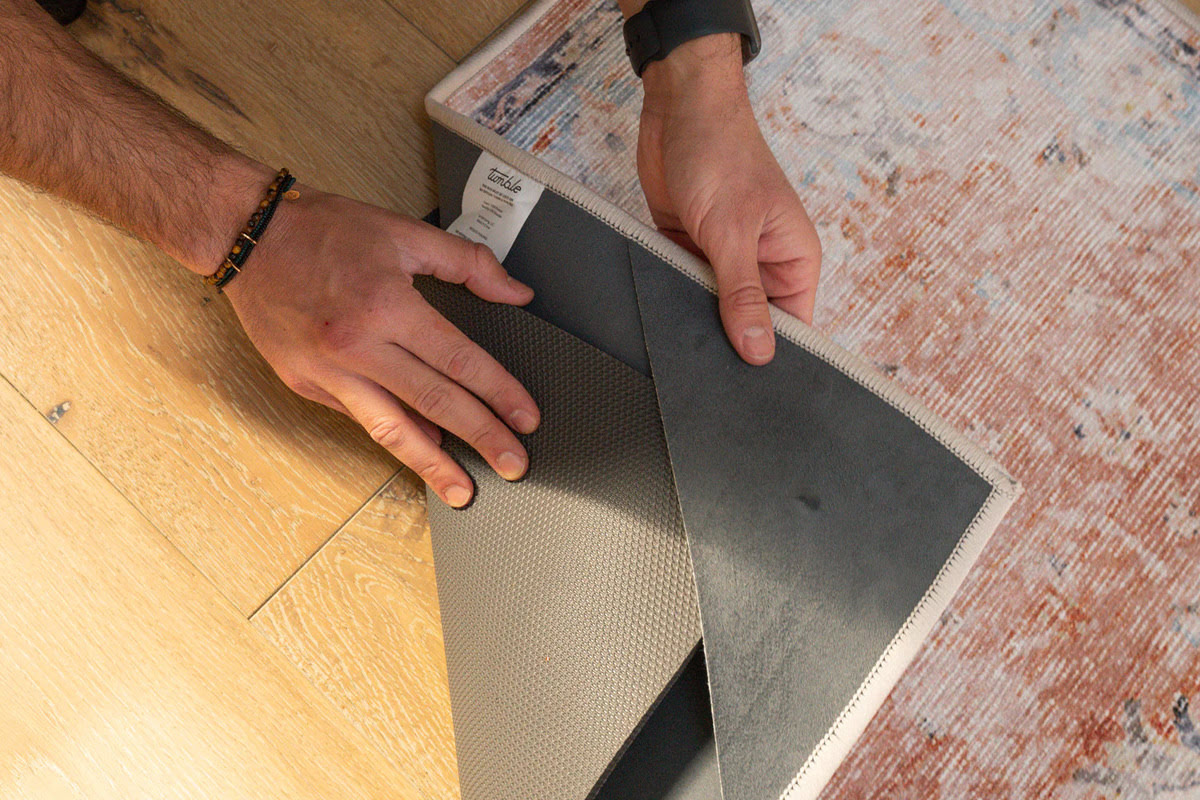
Step 4: Add Grip or Padding (Optional)
Adding grip or padding to your rug is an optional but beneficial step that can enhance its functionality and comfort. Grip or padding helps keep your rug in place, prevents it from slipping or sliding, and provides extra cushioning underfoot. Depending on your needs and preferences, you can choose to add either one or both of these elements to your rug.
Here’s how to add grip or padding to your rug:
- If you want to add grip to your rug, purchase a rug grip pad that’s suitable for the size and shape of your rug. Cut the grip pad slightly smaller than the dimensions of your rug to ensure it remains hidden from view.
- Place the grip pad on the floor in the desired location, then carefully place your rug on top of it. The grip pad will help keep the rug in place, preventing it from shifting or slipping.
- If you prefer to add padding to your rug, you can purchase a rug padding material such as foam or felt. Cut the padding to match the dimensions of your rug, or slightly smaller if you want the edges of the rug to lay flat.
- Place the padding on the floor, then place the rug on top of it. The padding will provide extra cushioning and comfort underfoot, making your rug more enjoyable to walk or sit on.
Adding grip or padding to your rug is a great way to enhance its functionality and longevity. It not only provides a more secure and comfortable surface but also helps protect the underlying carpet from wear and tear.
Once you’ve added grip or padding (if desired), you can move on to the final optional step: applying anti-slip backing to further secure your rug in place.
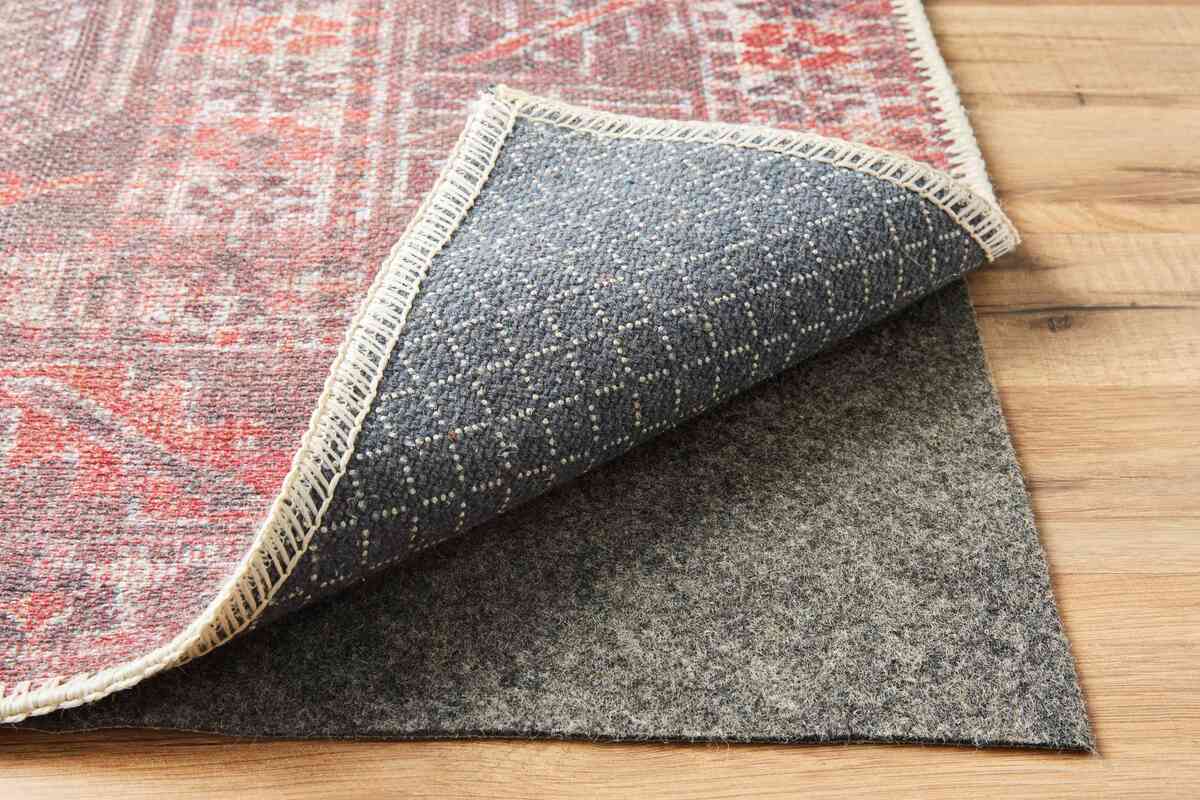
Step 5: Apply Anti-Slip Backing (Optional)
If you want to ensure maximum stability and prevent your rug from sliding on smooth surfaces, applying an anti-slip backing is a recommended optional step. Anti-slip backing provides an additional layer of grip and keeps your rug securely in place, especially in high-traffic areas.
Follow these steps to apply anti-slip backing to your rug:
- Choose a suitable anti-slip backing material. There are various options available, including rug pads with adhesive backing or non-slip rug gripper mesh.
- Cut the anti-slip backing material to match the dimensions of your rug or slightly smaller, ensuring it doesn’t extend beyond the edges.
- Place the anti-slip backing on the floor, then carefully lay your rug on top of it, ensuring it aligns with the edges.
- Smooth out any wrinkles or air pockets between the rug and the anti-slip backing, pressing them firmly to create a strong bond.
- If using an adhesive-backed anti-slip material, make sure it adheres properly to both the rug and the floor.
By applying anti-slip backing, you can enjoy the peace of mind knowing that your rug will stay in place, even in high-traffic areas or on slippery surfaces.
With the completion of this optional step, your transformed carpet-turned-rug is ready to be showcased in your home. It’s time to step back and admire your creativity and craftsmanship, as you’ve successfully turned an ordinary carpet into a stylish and functional rug that adds warmth, comfort, and personality to your space.
Remember to clean and maintain your rug regularly to keep it looking its best. Vacuum it regularly to remove dirt and debris, and address any stains or spills promptly to prevent them from setting in.
Congratulations on completing the process of turning a carpet into a rug! Enjoy the fruits of your labor and the unique addition to your home decor.
Conclusion
Transforming a carpet into a rug is a rewarding and budget-friendly DIY project that allows you to unleash your creativity and personalize your space. By following the step-by-step process outlined in this guide, you can turn an ordinary carpet into a stylish and functional rug that adds warmth, comfort, and personality to your home.
From cleaning the carpet to measuring, cutting, and binding the edges, each step plays a crucial role in creating a beautiful and durable rug. Additionally, adding grip or padding and applying anti-slip backing are optional steps that can further enhance the functionality and longevity of your rug.
By repurposing a carpet, not only do you have the opportunity to save money, but you also have the ability to customize the size, shape, and design of your rug. This allows you to create a unique and personalized piece that perfectly fits your space and complements your existing decor.
Remember to take proper care of your newly transformed rug by regular cleaning and maintenance. Vacuuming regularly, addressing stains promptly, and using a rug pad for added protection will help extend the life of your rug and keep it looking its best for years to come.
So go ahead, unleash your creativity, and enjoy the satisfaction of turning a carpet into a rug. Embrace the warmth, style, and functionality that your rug brings to your home, and revel in the sense of accomplishment that comes with a successful DIY project.
Happy rug making!
Frequently Asked Questions about How To Turn A Carpet Into A Rug
Was this page helpful?
At Storables.com, we guarantee accurate and reliable information. Our content, validated by Expert Board Contributors, is crafted following stringent Editorial Policies. We're committed to providing you with well-researched, expert-backed insights for all your informational needs.