Articles
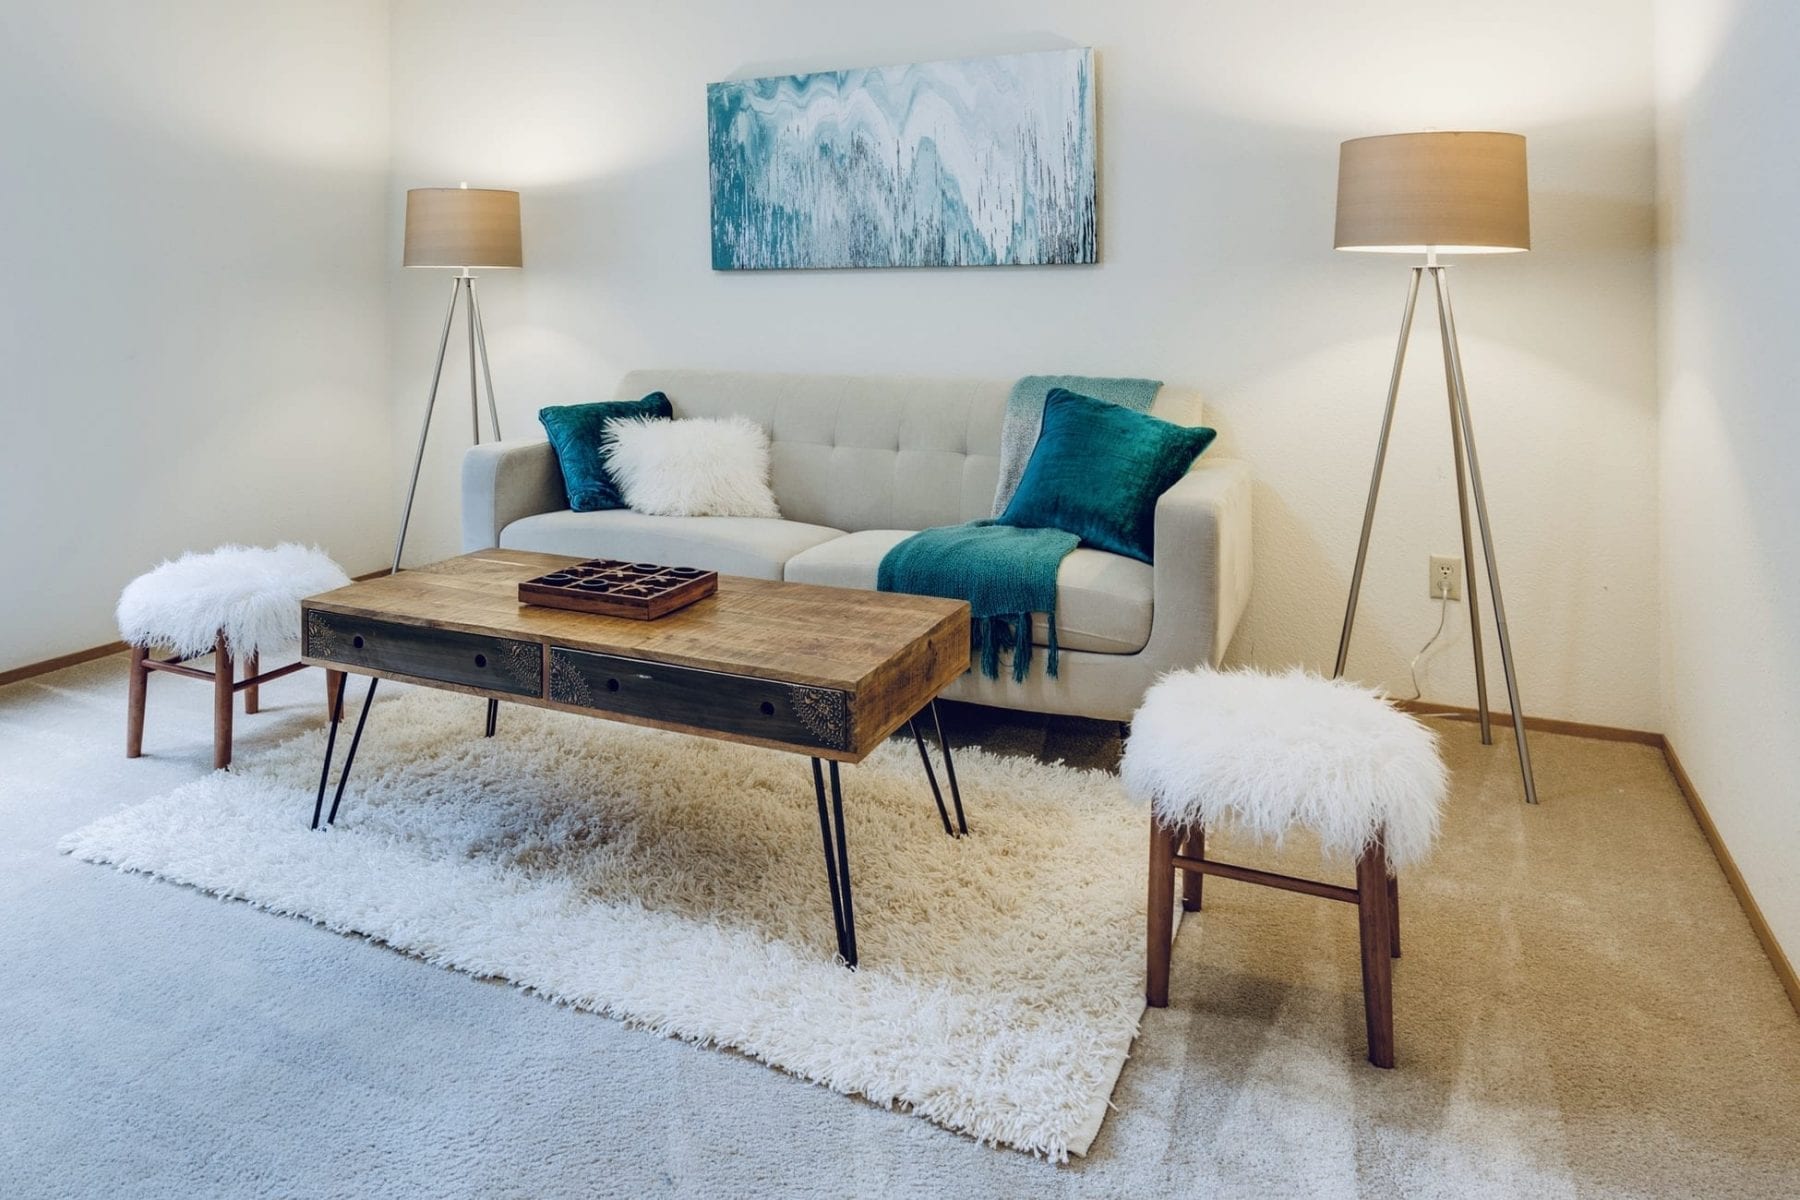
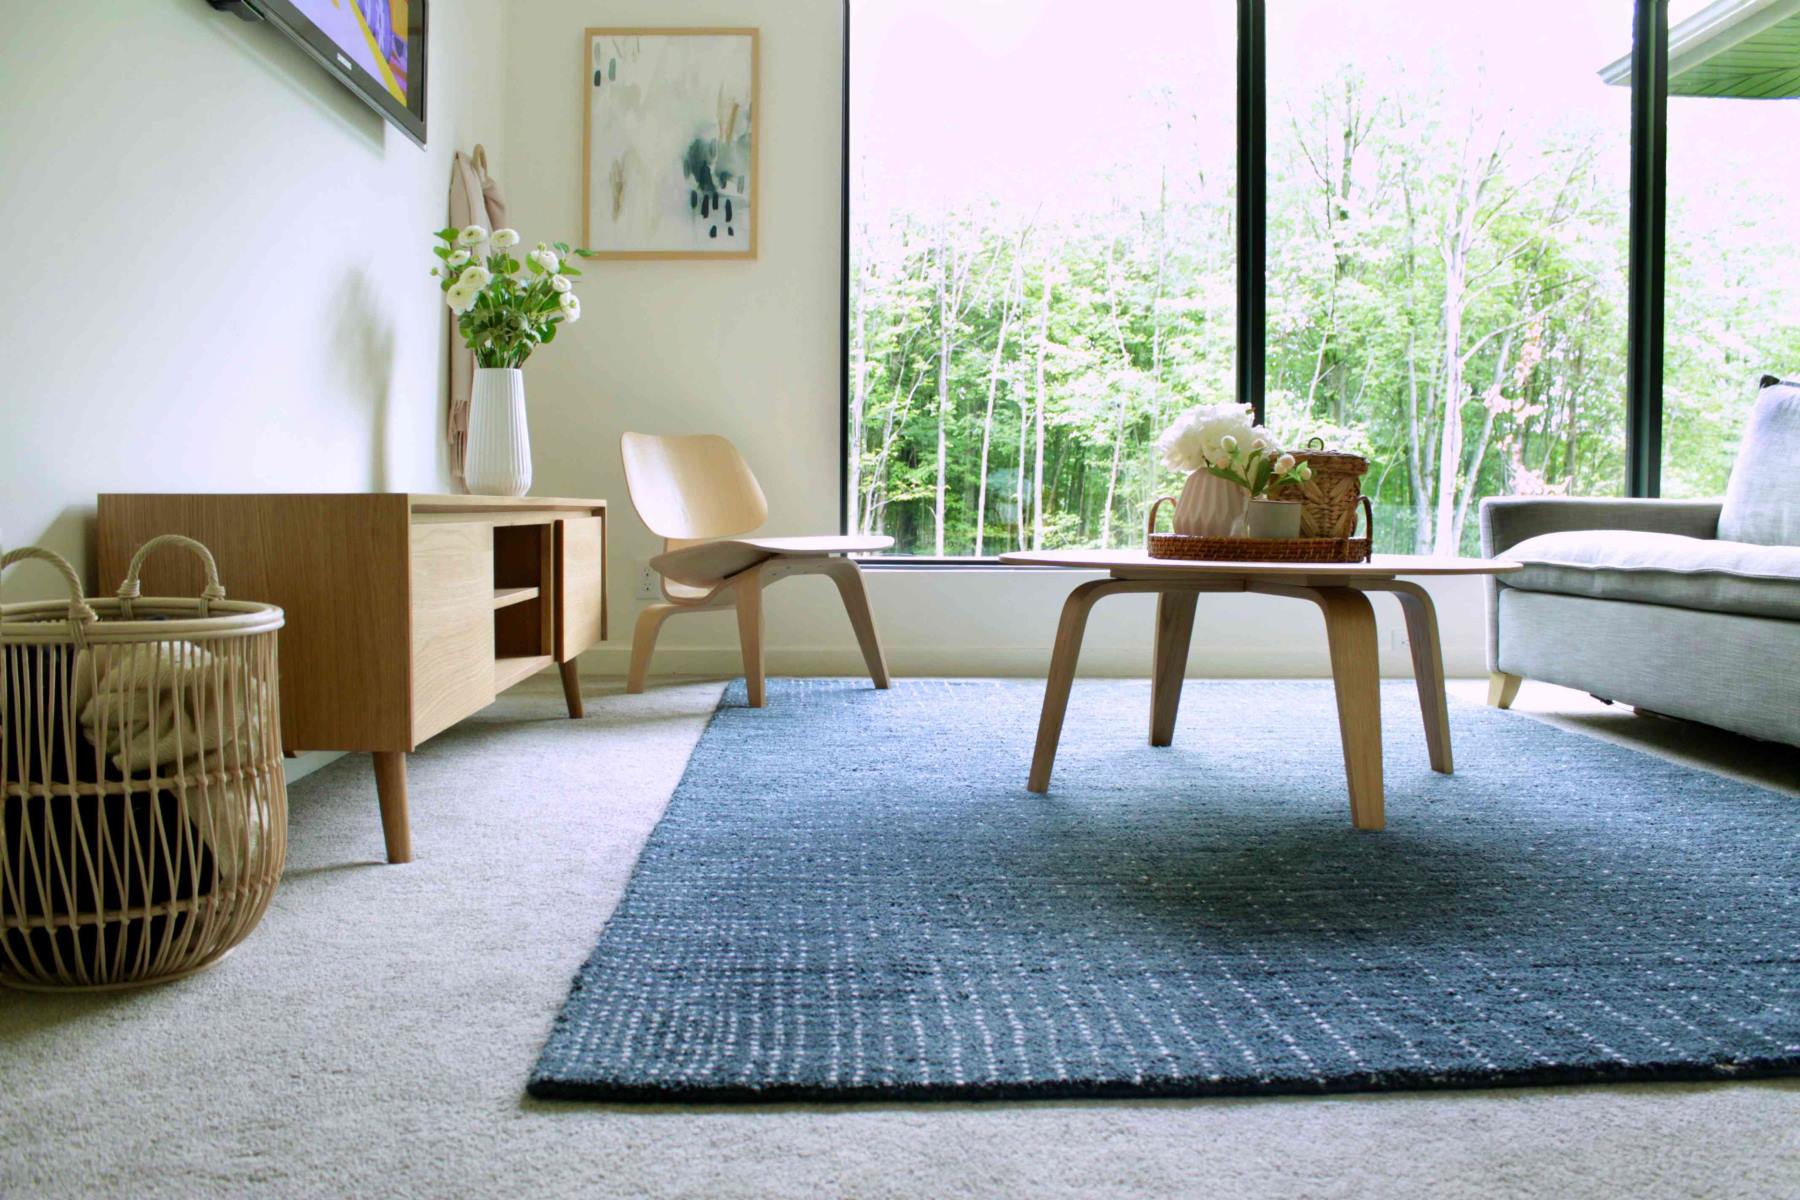
How To Clean Rugs Without A Carpet Cleaner
Modified: January 19, 2024
Learn how to clean rugs without a carpet cleaner with our informative articles. Discover easy and effective methods to keep your rugs looking fresh and clean.
(Many of the links in this article redirect to a specific reviewed product. Your purchase of these products through affiliate links helps to generate commission for Storables.com, at no extra cost. Learn more)
Introduction
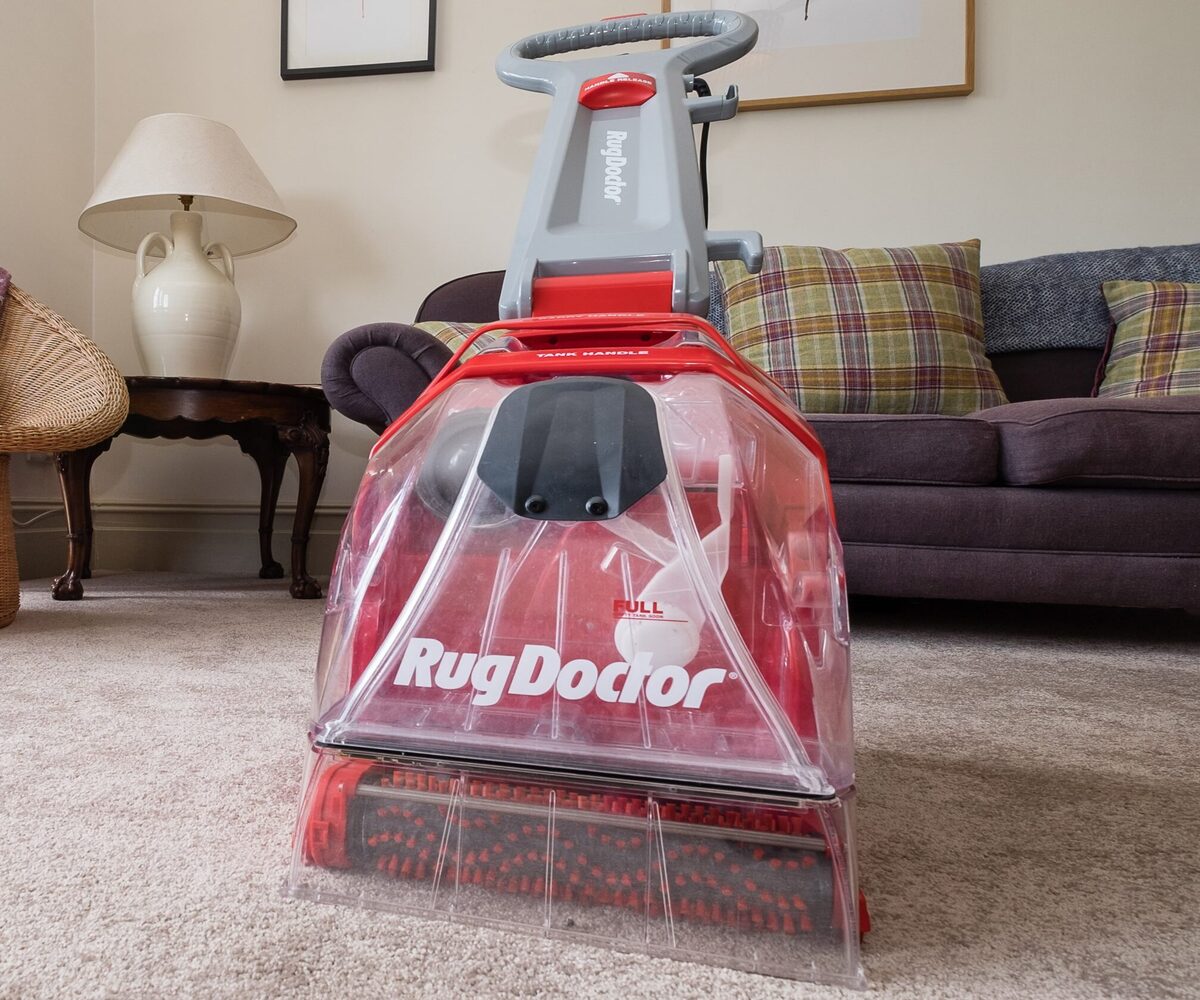
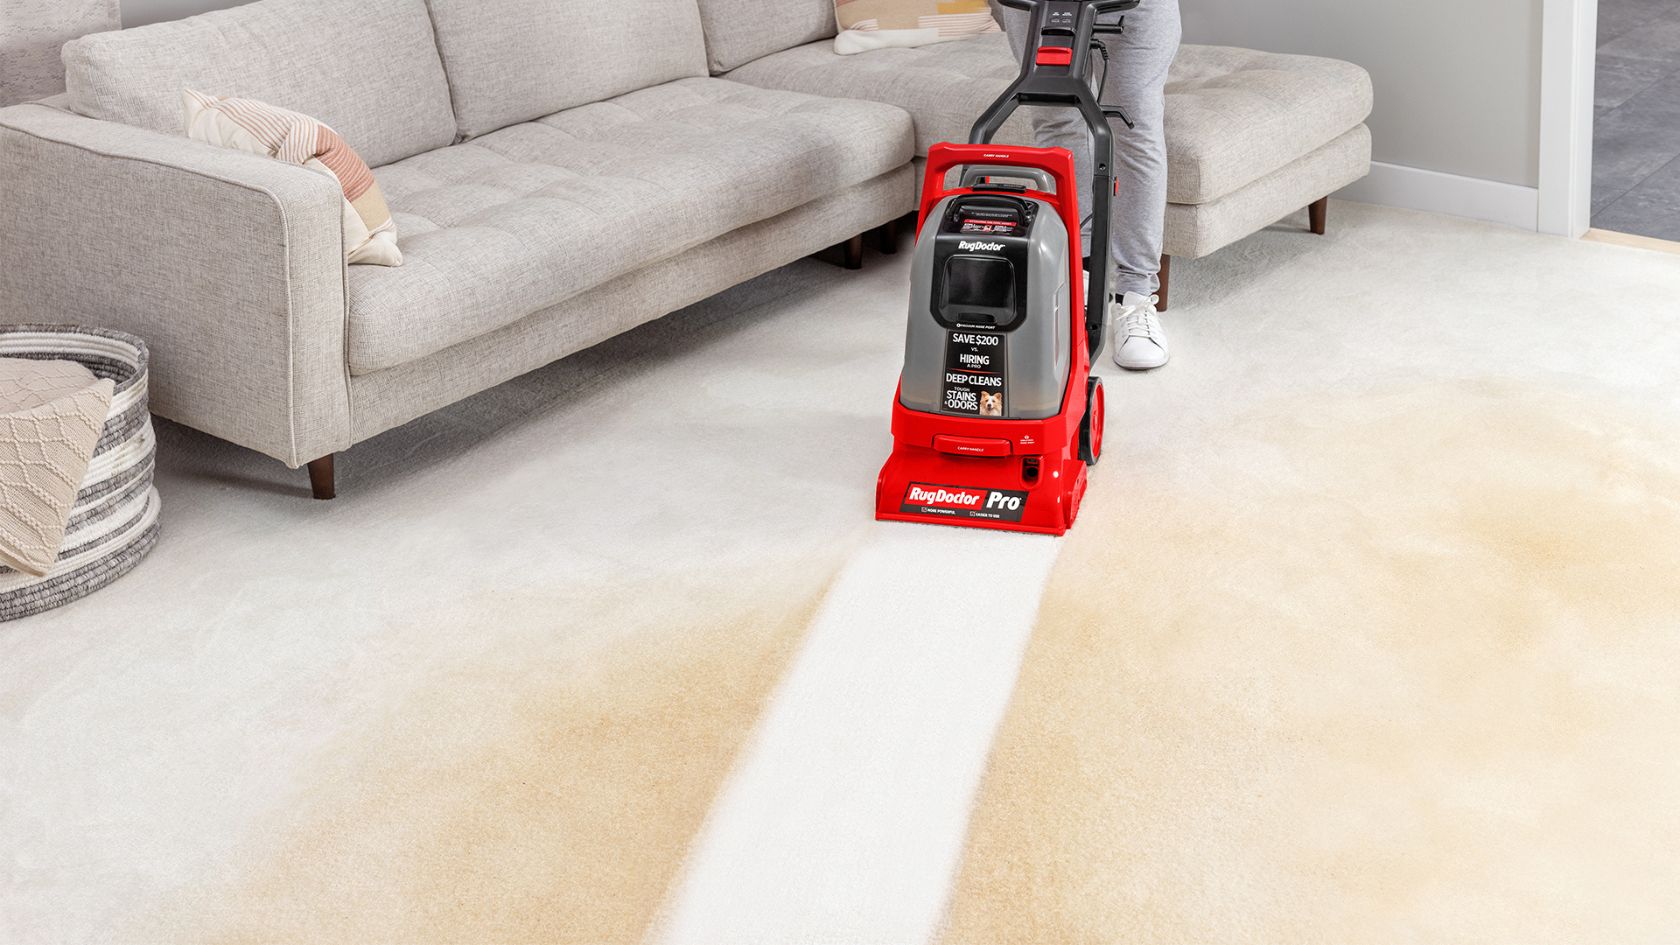
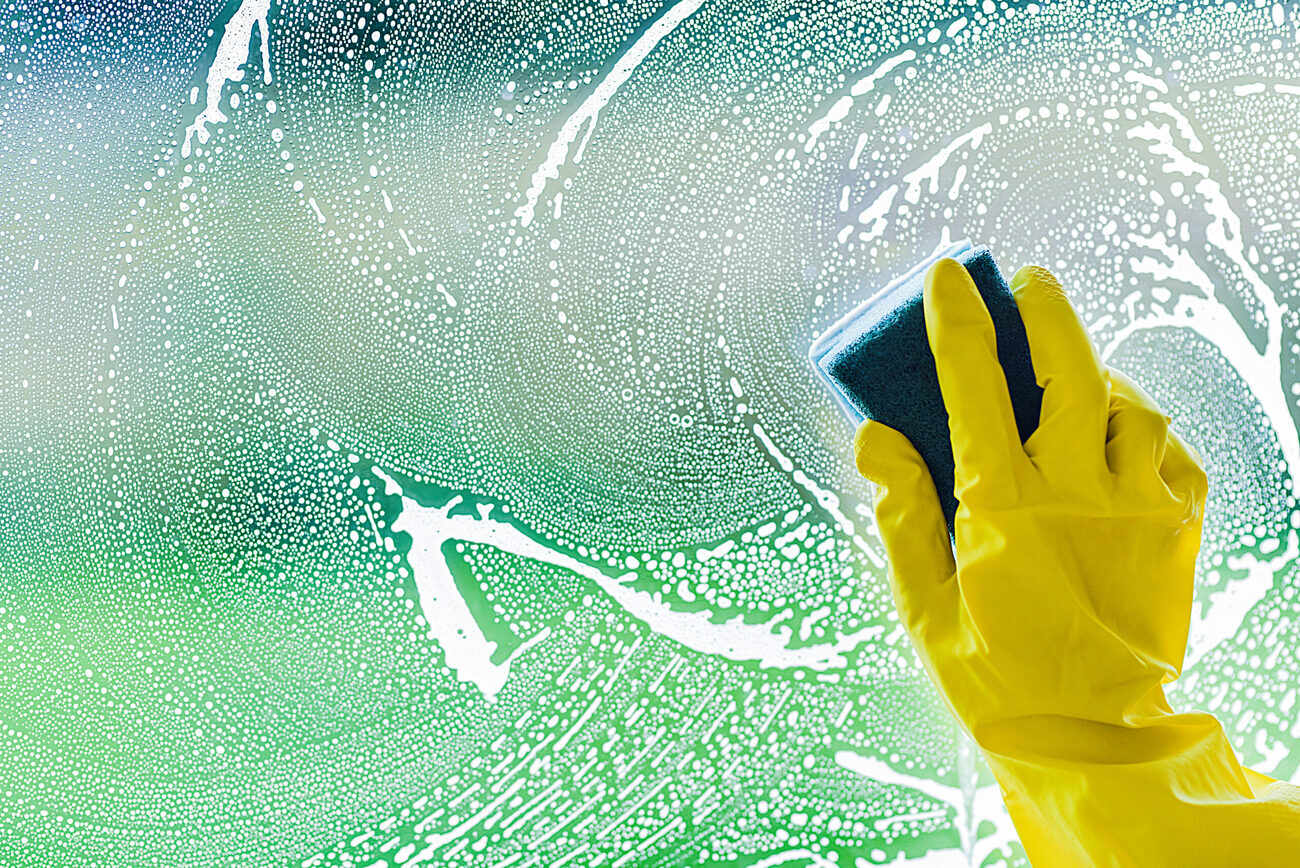
Keeping your rugs clean is essential for maintaining a healthy and fresh environment in your home. However, not everyone has access to a carpet cleaner or the budget to hire a professional service. The good news is that you can effectively clean your rugs without a carpet cleaner by following a few simple steps.
In this article, we will guide you through the process of cleaning your rugs without the need for expensive equipment. With just a few supplies and a little bit of elbow grease, you can restore the beauty of your rugs and remove dirt, stains, and odors.
Before we get started, it’s important to note that the cleaning methods shared in this article are suitable for rugs made of synthetic fibers such as nylon, polyester, or olefin. If you have delicate or antique rugs made of natural fibers like wool or silk, it’s best to consult a professional cleaner to avoid any damage.
Now, let’s gather the supplies needed to clean your rugs effectively.
Key Takeaways:
- Clean your rugs without a carpet cleaner using simple supplies like white vinegar and dish soap. Test homemade cleaning solutions on a small area first to ensure safety and effectiveness.
- Remember to be gentle when scrubbing and rinsing your rug to avoid damage. Allow your rug to dry completely before placing it back in its original position.
Supplies Needed
Before diving into the rug cleaning process, it’s important to gather all the necessary supplies. Here’s a list of items you’ll need:
- Vacuum cleaner
- Broom or brush
- White vinegar
- Liquid dish soap
- Bucket
- Spray bottle
- Microfiber cloths
- Clean, white towels
- Water
Make sure you have these supplies on hand before moving forward. With everything ready, you’re now set to embark on the journey of rug cleaning. Let’s start by removing loose debris from the rug.
Step 1: Remove Loose Debris
The first step in cleaning your rug is to remove any loose debris or dirt that may be sitting on the surface. This can include dust, pet hair, crumbs, or any other small particles. Removing these particles will make the cleaning process more effective and prevent them from embedding further into the rug fibers.
To remove loose debris, start by gently shaking your rug outside to dislodge any loose dirt. If you have a large rug that is difficult to move, you can also use a broom or brush to sweep the surface. Make sure to sweep in the direction of the rug’s fibers to avoid damaging them.
If your rug has a stiff or matted surface, you can also use a vacuum cleaner with a brush attachment to loosen and lift the dirt. Run the vacuum cleaner over the entire rug, paying extra attention to high-traffic areas where dirt tends to accumulate.
By removing loose debris, you’re setting the foundation for a thorough cleaning process. Once you’ve removed as much dirt as possible, it’s time to move on to the next step: vacuuming.
Step 2: Vacuum Thoroughly
After removing the loose debris from your rug, it’s time to give it a thorough vacuuming. This step will further remove any remaining dirt, dust, and allergens that may be trapped deep within the fibers.
Start by ensuring that your vacuum cleaner is in good working condition and that the bag or canister is empty. A full bag or canister can affect the suction power of the vacuum, resulting in less effective cleaning.
Next, adjust the vacuum cleaner to the appropriate height setting for your rug. If your vacuum has a height adjustment feature, set it to the highest setting for deep pile rugs and gradually lower it for shorter pile rugs. This ensures that the vacuum cleaner can effectively reach and clean the rug fibers without causing any damage.
Slowly and methodically pass the vacuum cleaner over the entire rug, overlapping your strokes to ensure thorough coverage. Pay extra attention to heavily soiled areas and high-traffic regions. Use the crevice tool or upholstery attachment to clean along the edges and corners of the rug.
If your rug has fringes, take care to avoid tangling them in the vacuum cleaner. Gently hold the fringes away from the suction path or use a hand-held vacuum cleaner to clean them separately.
Remember to vacuum both sides of the rug if it’s reversible. This helps remove dirt and dust that may have settled on the underside.
By thoroughly vacuuming your rug, you’re not only removing additional dirt but also fluffing up the fibers, making them ready for the next step: spot cleaning stains.
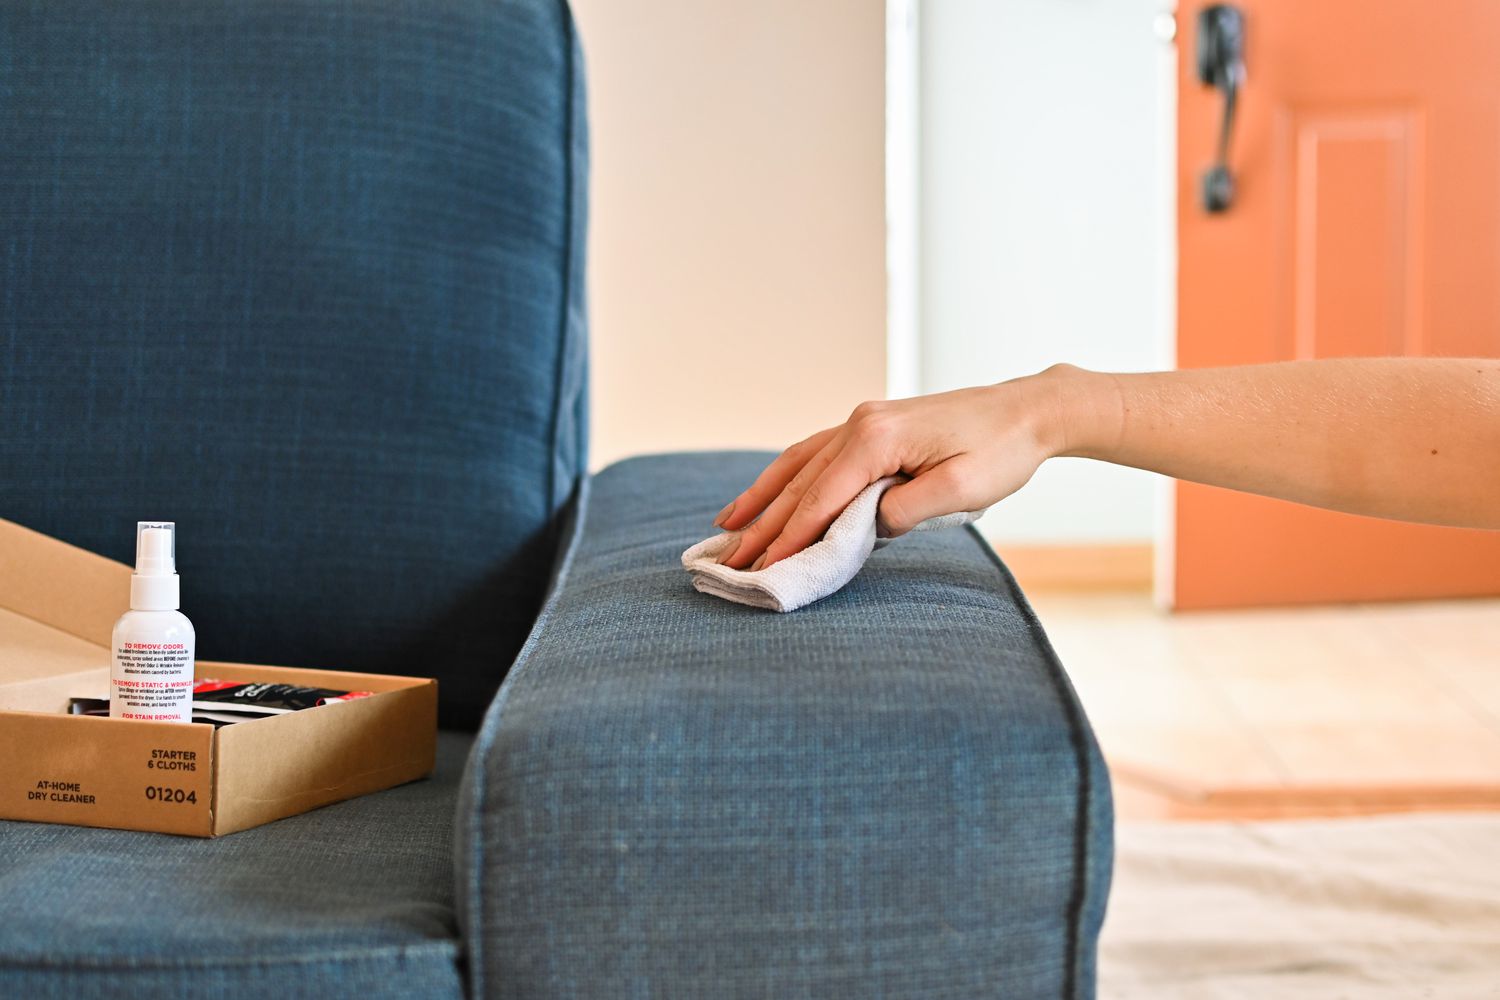
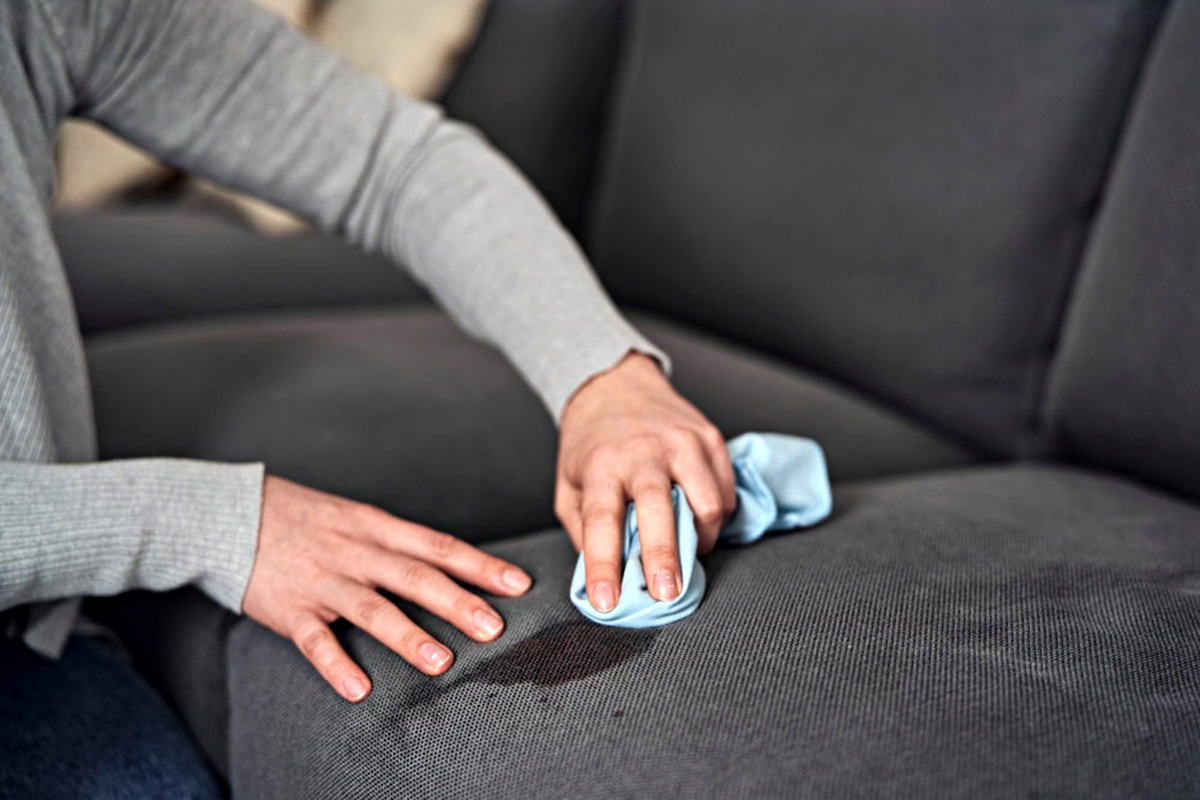
Step 3: Spot Clean Stains
If your rug has any visible stains or spills, it’s important to address them before proceeding with the overall cleaning process. Spot cleaning stains will help prevent them from setting in and becoming more difficult to remove.
Start by identifying the type of stain you’re dealing with. Common types of stains include food spills, pet accidents, or liquid stains. Each type may require a different cleaning approach.
Before applying any cleaning solution, blot the stain gently with a clean, white cloth or paper towel to absorb any excess liquid. Avoid rubbing the stain, as this can spread it further and push the liquid deeper into the fibers.
For water-based stains such as coffee, tea, or juice, you can create a homemade cleaning solution using equal parts water and white vinegar. Mix the solution in a spray bottle for easy application.
For oil-based stains such as grease or pet stains, you can mix a solution of warm water and a few drops of dish soap. Ensure that the dish soap is free of bleach or strong chemicals that can damage the rug.
Spray a small amount of the cleaning solution onto a clean cloth or sponge, then gently blot the stained area. Start from the outer edges of the stain and work your way inward to prevent it from spreading. Continue blotting until the stain is lifted, frequently changing to a clean portion of the cloth to avoid reapplying the stain.
Once the stain is removed, rinse the area with clean water and blot it dry using a clean cloth. Take care not to oversaturate the rug, as excessive moisture can lead to mold or mildew growth.
If the stain persists or if you’re dealing with a particularly stubborn or set-in stain, it’s recommended to consult a professional rug cleaner for specialized treatment.
By spot cleaning stains, you’re preserving the overall cleanliness of your rug and ensuring that the cleaning process is more effective. Now that you’ve tackled the stains, it’s time to move on to preparing a homemade cleaning solution for the next step.
Read more: How To Clean A Carpet Rug
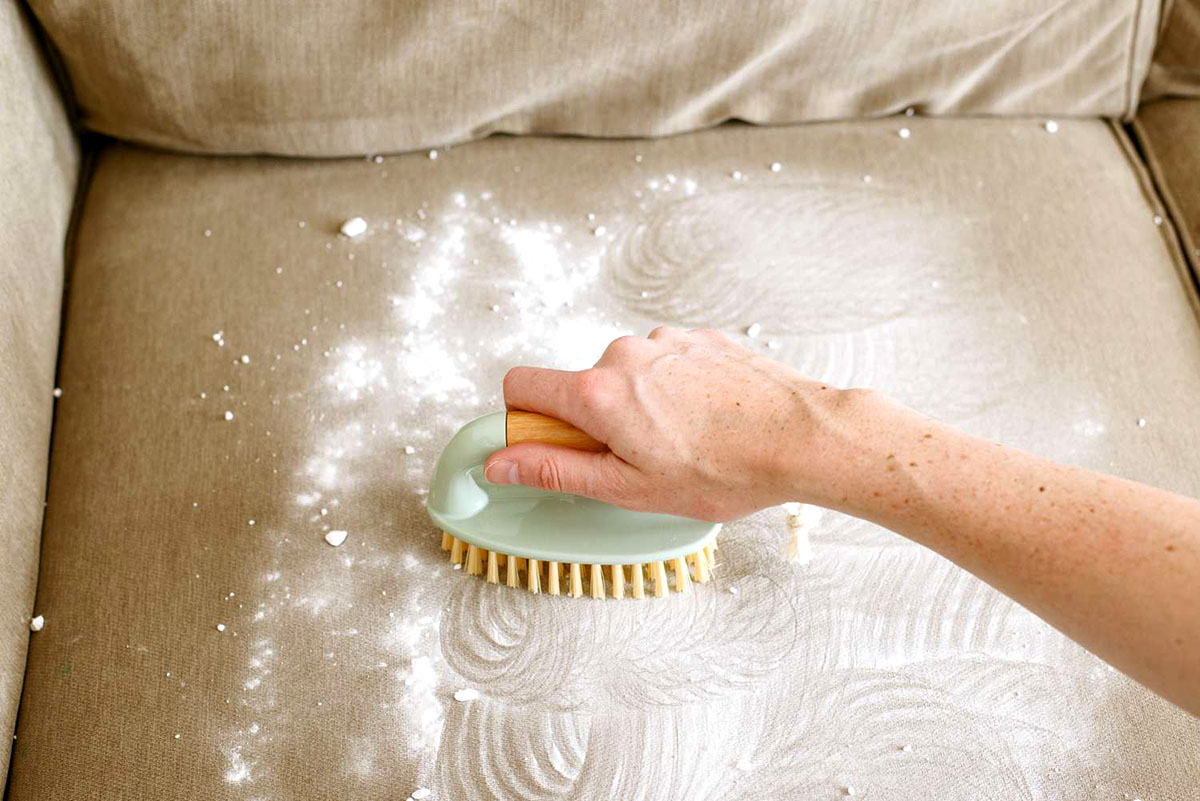
Step 4: Prepare Homemade Cleaning Solution
To effectively clean your rug without a carpet cleaner, you can create a homemade cleaning solution using simple ingredients that are safe and effective. This solution will help break down dirt, remove odors, and leave your rug looking refreshed.
Here’s how you can prepare a homemade cleaning solution:
- Fill a bucket with warm water. You’ll need enough water to cover the surface of your rug, so adjust the amount accordingly.
- Add 1-2 tablespoons of liquid dish soap to the bucket. Choose a mild dish soap that doesn’t contain bleach or strong chemicals that can damage the rug fibers.
- Optional: If your rug has a lingering odor, you can add a few drops of essential oil to the solution for a pleasant scent. Popular choices include lavender, lemon, or tea tree oil.
- Gently stir the mixture to ensure that the soap is dissolved in the water. Avoid creating excessive foam or suds, as this can make rinsing more challenging.
By preparing this homemade cleaning solution, you’re creating a gentle yet effective formula that will help lift dirt and grime from your rug. Now that the solution is ready, it’s time to test it on a small, inconspicuous area of your rug.
Step 5: Test the Solution
Before applying the homemade cleaning solution to the entire rug, it’s crucial to test it on a small, inconspicuous area first. This step ensures that the solution does not cause any discoloration or damage to the rug fibers.
Choose a discreet corner or edge of your rug and apply a small amount of the cleaning solution with a clean cloth. Gently blot the area and let it sit for a few minutes. Then, use a clean, white towel to blot the area dry.
Inspect the tested area for any adverse reactions such as color bleeding, fading, or fiber damage. If there are no signs of damage and the color remains intact, you can proceed with confidence to clean the entire rug using the homemade solution.
However, if you notice any negative effects, it’s best to discontinue using the solution and consider alternative cleaning methods or consult a professional rug cleaner.
Testing the solution before applying it to the entire rug is a crucial step in ensuring the safety and effectiveness of the cleaning process. Now that you’ve determined that the solution is safe for your rug, let’s move on to applying it and tackling the dirt and grime.
Mix equal parts of white vinegar and water in a spray bottle. Spray the solution onto the rug and let it sit for a few minutes. Blot the area with a clean cloth and repeat until the stain is gone. Allow the rug to air dry.
Step 6: Apply the Cleaning Solution
With the homemade cleaning solution tested and approved, it’s time to apply it to your rug and start removing the dirt and grime that has accumulated over time.
Here’s how you can apply the cleaning solution:
- Dip a clean cloth or sponge into the bucket of cleaning solution, ensuring it is saturated but not dripping.
- Gently wring out any excess solution, as you want the cloth to be damp, not soaked.
- Starting from one corner of the rug, work in small sections and apply the cleaning solution to the surface.
- Using a gentle circular motion, lightly scrub the rug with the damp cloth or sponge. Focus on any areas that appear particularly soiled or stained.
- Continue working section by section until you have covered the entire surface of the rug.
Take care not to oversaturate the rug with the cleaning solution. You want to dampen the fibers, not soak them, as excessive moisture can lead to mold or mildew growth.
If you prefer a hands-free method, you can also use a spray bottle to mist the cleaning solution onto the rug, and then use a soft-bristled brush or a clean cloth to gently scrub the surface.
By applying the cleaning solution and using a gentle scrubbing motion, you’re effectively breaking down dirt, lifting stains, and rejuvenating the appearance of your rug. Now that the solution is applied, it’s time to move on to the next step: scrubbing the rug.
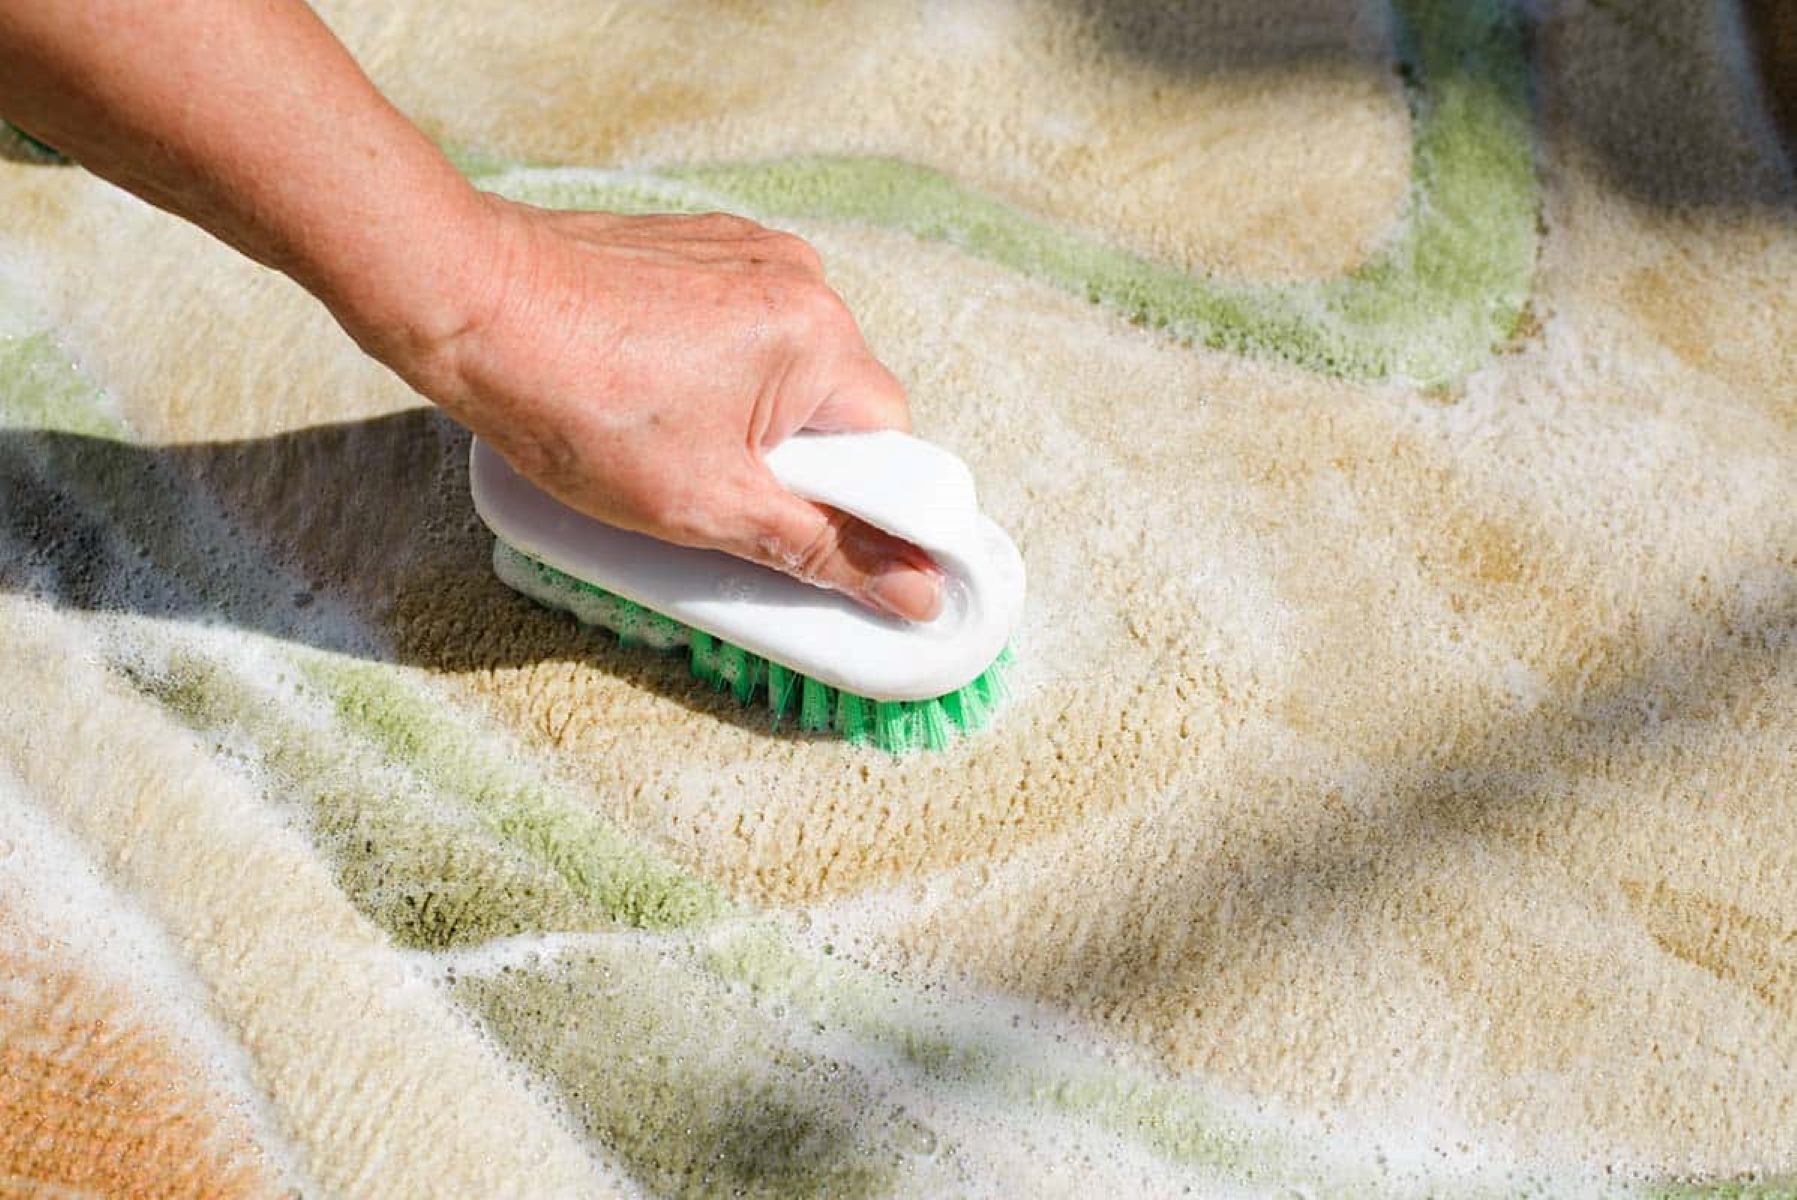
Step 7: Scrub the Rug
Now that the cleaning solution has been applied to the entire rug, it’s time to give it a thorough scrub to further loosen dirt, stains, and odors. Scrubbing the rug will help lift dirt from deep within the fibers, ensuring a more effective cleaning process.
Here’s how you can scrub the rug:
- Using a soft-bristled brush or a clean cloth, gently scrub the surface of the rug in a back-and-forth motion.
- Focus on areas that are heavily soiled or stained, giving them a bit of extra attention.
- Avoid using excessive force or aggressive scrubbing, as this can damage the rug fibers.
- Continue scrubbing the rug in small sections until you have covered the entire surface.
Remember to work with the natural grain or direction of the rug fibers to avoid causing any unnecessary damage or tangling.
If you prefer a more hands-free approach, you can also use a carpet brush attachment on your vacuum cleaner. This attachment effectively agitates the rug fibers and provides a deeper clean.
By scrubbing the rug, you’re helping to dislodge dirt and grime, ensuring a thorough cleaning process. Once you’ve completed the scrubbing, it’s time to move on to rinsing the rug.
Step 8: Rinse the Rug
After scrubbing the rug to remove dirt and stains, it’s essential to rinse away any remaining cleaning solution and residue. Rinsing the rug will help ensure that no soap or chemical buildup is left behind, leaving your rug fresh and clean.
Here’s how you can rinse the rug:
- Fill a clean bucket with fresh water.
- Using a clean cloth or sponge, dip it into the water and wring out any excess.
- Gently blot and wipe the rug’s surface, working in small sections.
- Repeat the process as necessary, refreshing the water in the bucket if it becomes soiled or soapy.
Be thorough in your rinsing process, ensuring that you remove all traces of the cleaning solution. Leftover residue can attract dirt and make your rug appear dull or sticky.
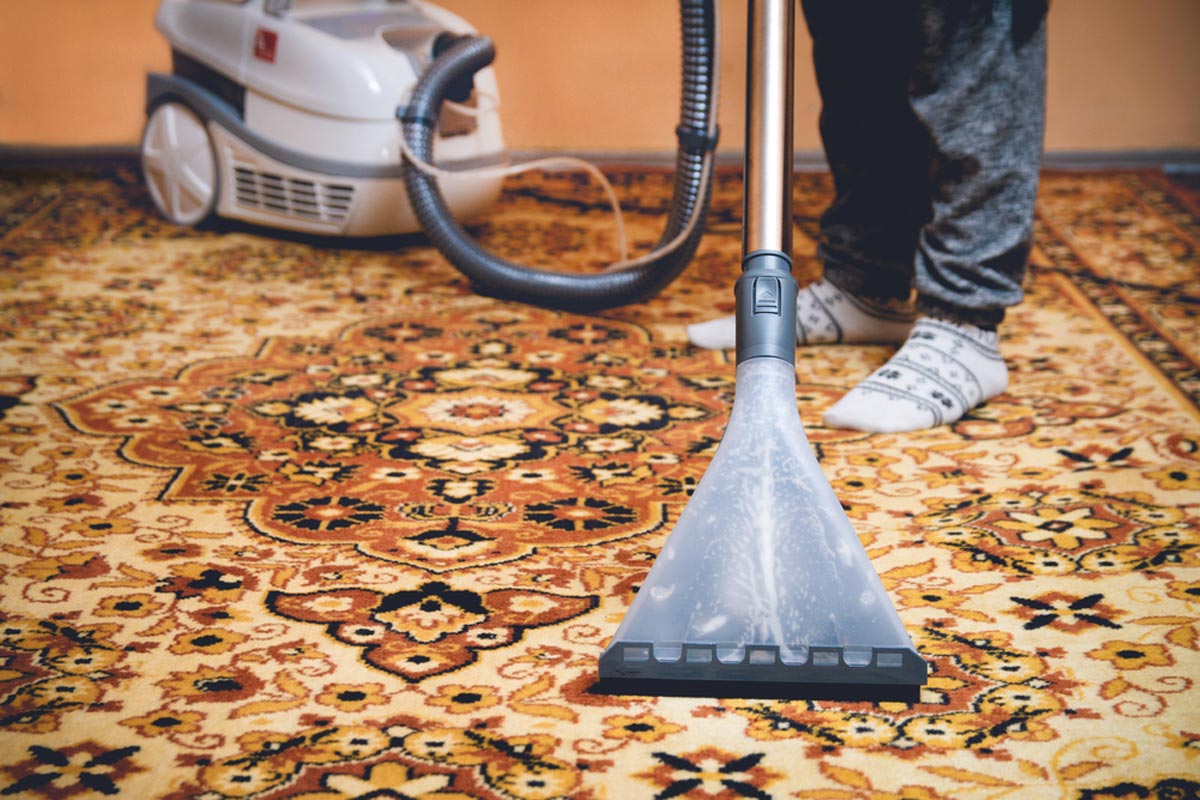
If you prefer a more efficient rinsing method, you can also use a carpet cleaning machine or a hose with a spray attachment. Ensure that the water pressure is not too high, as this can damage the rug fibers.
Take care not to oversaturate the rug during the rinsing process. Excessive moisture can lead to prolonged drying times and potential damage to the rug. Use a blotting or dabbing motion to remove as much water as possible after rinsing.
By rinsing the rug, you’re removing any remaining cleaning solution and ensuring a fresh and residue-free surface. With the rug rinsed, we can move on to the next step: removing excess moisture.
Step 9: Remove Excess Moisture
After rinsing the rug, it’s important to remove excess moisture to prevent it from becoming overly saturated and to facilitate faster drying. Excess moisture can prolong the drying process and potentially lead to mold or mildew growth.
Here’s how you can remove excess moisture from your rug:
- Start by using a clean, dry towel or a squeegee to gently squeeze and press the rug surface. This will help absorb as much water as possible.
- Continue working in sections, moving across the entire rug, and applying gentle pressure.
- If necessary, you can place heavy objects on top of the towel or squeegee to increase the absorption.
- Once you’ve removed as much moisture as possible, allow the rug to air dry in a well-ventilated area.
- Ensure that the rug is placed on a clean, dry surface to avoid transferring moisture or causing damage.
Avoid the temptation to use excessive heat or direct sunlight to speed up the drying process. This can cause shrinking or color fading in certain types of rugs.
If you’re concerned about the rug’s delicate or intricate design, it’s best to consult a professional cleaner or follow any specific care instructions provided by the rug manufacturer.
By removing excess moisture, you’re hastening the drying process and minimizing the risk of mold or mildew growth. Now that you’ve completed this step, it’s time to allow the rug to fully dry.
Step 10: Allow the Rug to Dry
After removing excess moisture, it’s important to give your rug ample time to dry completely. Proper drying ensures that the rug’s fibers do not retain moisture, preventing the growth of mold and mildew.
Here’s how you can allow your rug to dry properly:
- Place the rug in a well-ventilated area with good airflow. Avoid areas with high humidity or dampness, as this can impede the drying process.
- Ensure that the rug is laid flat or hung evenly to maintain its shape and prevent any warping or stretching.
- Flip the rug periodically to promote even drying on both sides.
- Avoid walking on the rug until it is completely dry to prevent any potential damage or indentations.
- Depending on the humidity and thickness of the rug, drying may take anywhere from a few hours to a couple of days. Be patient and allow the rug to dry naturally.
You can also aid the drying process by using fans or opening windows to increase airflow. However, ensure that direct airflow is not concentrated on one area, as this may cause uneven drying or damage.
Before placing the rug back in its original position, ensure that it is completely dry to the touch and that there are no damp spots or odors remaining.
By allowing the rug to dry thoroughly, you are ensuring that it remains in optimal condition and ready to be enjoyed once again. Now that your rug is clean and dry, you can reap the benefits of your efforts and enjoy a fresh and inviting space in your home!
ConclusionCleaning your rugs without a carpet cleaner is not only possible but also an effective way to maintain a fresh and inviting home environment. By following the steps outlined in this guide, you can remove dirt, stains, and odors from your rugs and restore their beauty without the need for expensive equipment or professional services.
Remember, the key to successful rug cleaning without a carpet cleaner lies in the proper preparation and execution of each step. From removing loose debris and vacuuming thoroughly to spot cleaning stains and applying a homemade cleaning solution, every step plays a vital role in achieving optimal results.
By using a combination of natural ingredients, such as white vinegar and liquid dish soap, you can create a safe and effective cleaning solution for your rugs. However, it’s important to test this solution on a small, inconspicuous area of the rug before applying it to the entire surface.
Throughout the cleaning process, remember to be gentle with your rug to avoid causing any damage. Scrubbing the rug, rinsing away the cleaning solution, and removing excess moisture should all be done with care and attention to detail.
Lastly, ensure that your rug is allowed sufficient time to dry completely before placing it back in its original position. This will prevent any potential moisture-related problems and maintain the integrity of the rug’s fibers.
Cleaning your rugs without a carpet cleaner not only saves you money but also allows you to take control of your cleaning routine. By following the steps outlined in this guide, you can keep your rugs looking fresh, clean, and inviting for years to come.
So, roll up your sleeves, gather your supplies, and embark on the journey of rug cleaning without a carpet cleaner. Your rugs will thank you with their renewed beauty and freshness.
Frequently Asked Questions about How To Clean Rugs Without A Carpet Cleaner
Was this page helpful?
At Storables.com, we guarantee accurate and reliable information. Our content, validated by Expert Board Contributors, is crafted following stringent Editorial Policies. We're committed to providing you with well-researched, expert-backed insights for all your informational needs.


0 thoughts on “How To Clean Rugs Without A Carpet Cleaner”