Articles
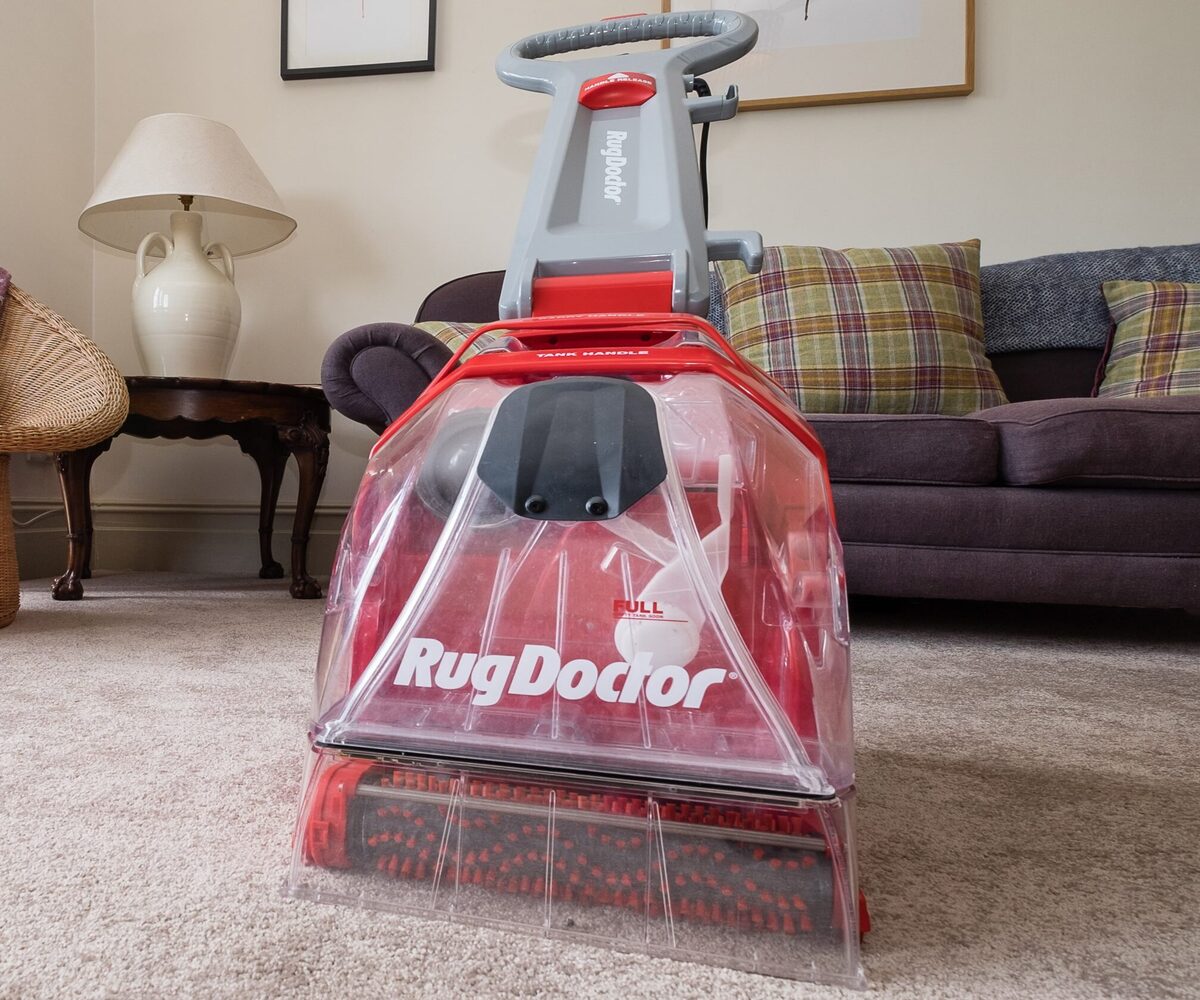
How To Use A Rug Doctor Carpet Cleaner
Modified: January 9, 2024
Learn how to effectively use a Rug Doctor carpet cleaner with our comprehensive articles. Get expert tips and tricks for deep cleaning your carpets and removing tough stains.
(Many of the links in this article redirect to a specific reviewed product. Your purchase of these products through affiliate links helps to generate commission for Storables.com, at no extra cost. Learn more)
Introduction
Welcome to our guide on how to use a Rug Doctor carpet cleaner! Keeping your carpets clean and fresh is essential for maintaining a healthy and inviting home. While regular vacuuming can remove surface dirt and debris, it may not be enough to tackle deep-seated stains and odors. This is where a carpet cleaner, like Rug Doctor, comes in handy.
Rug Doctor is a well-known brand that offers professional-grade carpet cleaning machines for both residential and commercial use. With its powerful suction and effective cleaning solution, you can revive your carpets and restore them to their original beauty. Whether you have a heavily soiled carpet or just want to give it a thorough cleaning, using a Rug Doctor can make the task much easier.
In this article, we will walk you through the step-by-step process of using a Rug Doctor carpet cleaner. From gathering the necessary supplies to cleaning stubborn stains, we’ve got you covered. By the end of this guide, you’ll be equipped with the knowledge and confidence to tackle your carpet cleaning project like a pro.
Before we dive into the details, it’s important to note that while Rug Doctor machines are user-friendly, it’s always a good idea to familiarize yourself with the specific instructions provided by the manufacturer. Additionally, make sure to read and follow any safety precautions to ensure a successful and safe cleaning experience.
Now, let’s get started on transforming your carpets with the help of a Rug Doctor carpet cleaner!
Key Takeaways:
- Revive your carpets with Rug Doctor! Gather supplies, prepare the area, and follow the step-by-step process to achieve professional-grade carpet cleaning results at home. Don’t forget to tackle stubborn stains and properly dry the carpet for a fresh and inviting living space.
- After using Rug Doctor, ensure to clean and store the machine properly for future use. Regular deep cleaning sessions with Rug Doctor can help maintain a clean and healthy living environment, prolonging the life of your carpets.
Read also: 9 Best Rug Doctor Carpet Cleaner for 2025
Step 1: Gather Supplies
Before you begin using the Rug Doctor carpet cleaner, it’s essential to gather all the necessary supplies. Having everything ready and easily accessible will ensure a smooth and efficient cleaning process. Here’s a list of items you’ll need:
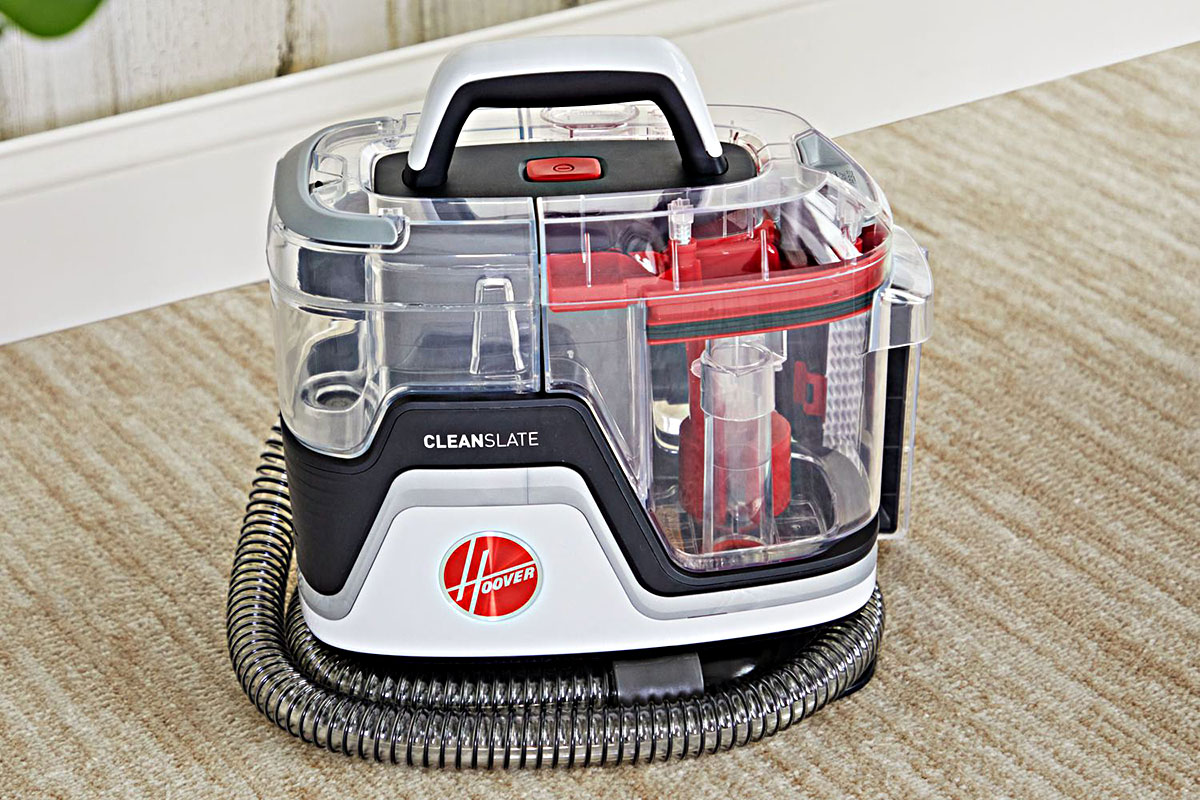
- Rug Doctor carpet cleaner machine: Make sure it’s in good working condition and has been properly cleaned and maintained.
- Carpet cleaning solution: Rug Doctor offers a range of cleaning solutions specifically designed for their machines. Choose one that is suitable for your carpet type and the level of dirt and stains you need to tackle.
- Hot water: Fill a bucket with hot water to use in the Rug Doctor machine. Ensure it’s hot but not boiling.
- Protective gear: It’s a good idea to wear gloves and protective eyewear while handling the cleaning solution and operating the machine.
- Clean white towels or rags: These will come in handy for blotting and drying any excess moisture after cleaning.
- Furniture sliders or blocks: If you have heavy furniture in the room, it’s best to move them out of the way. However, if that’s not possible, use furniture sliders or blocks to protect them from getting wet or damaged during the cleaning process.
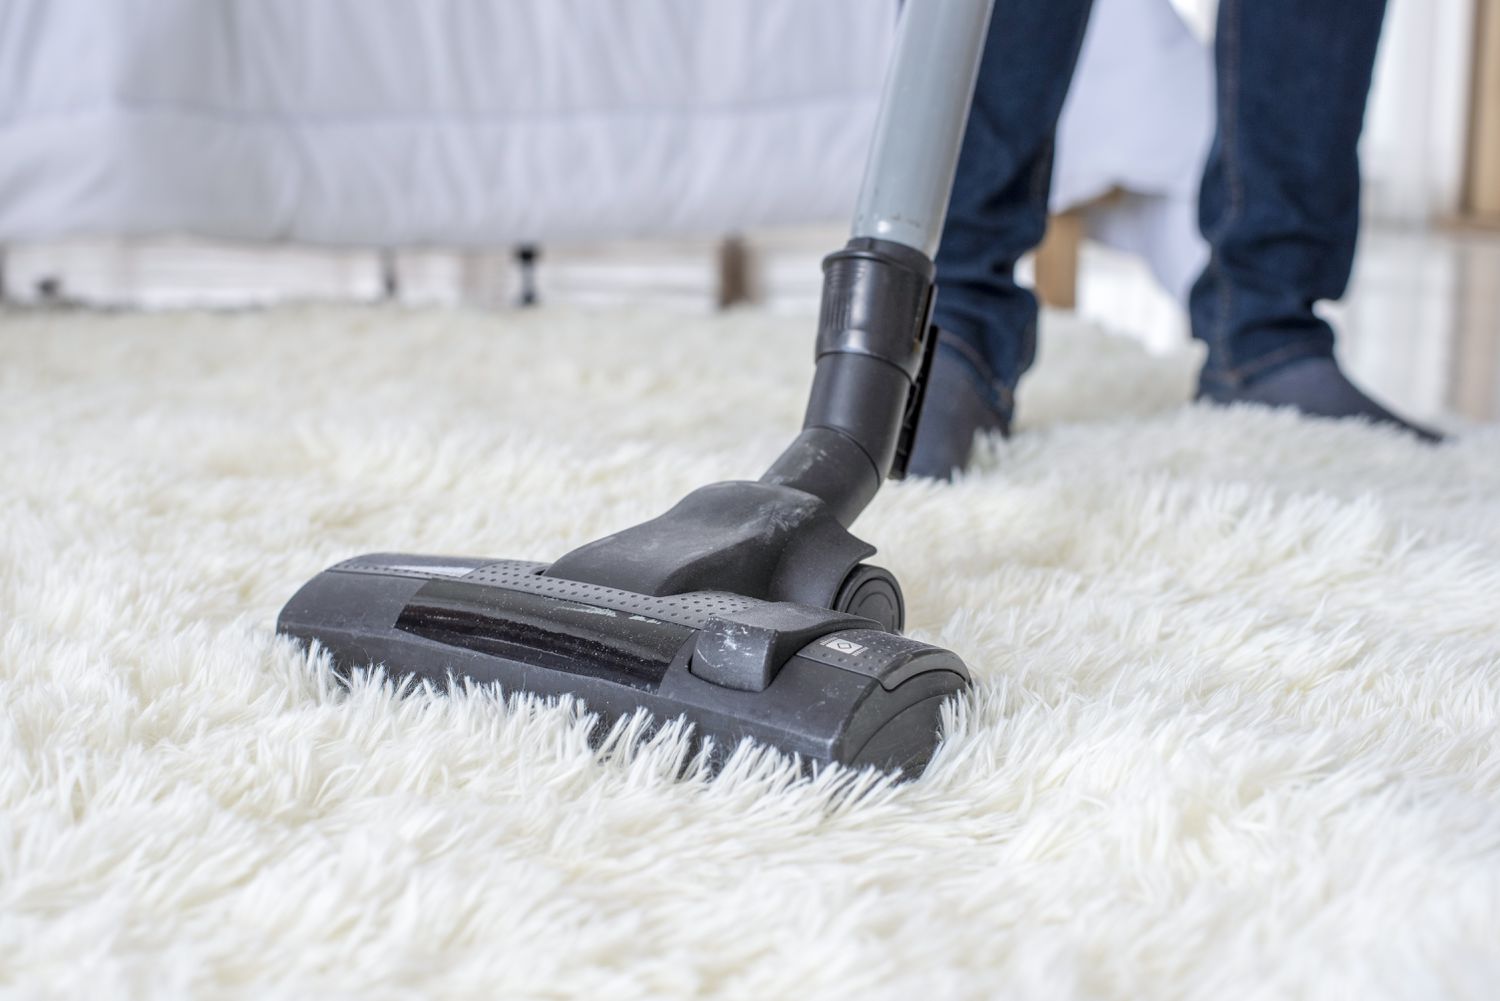
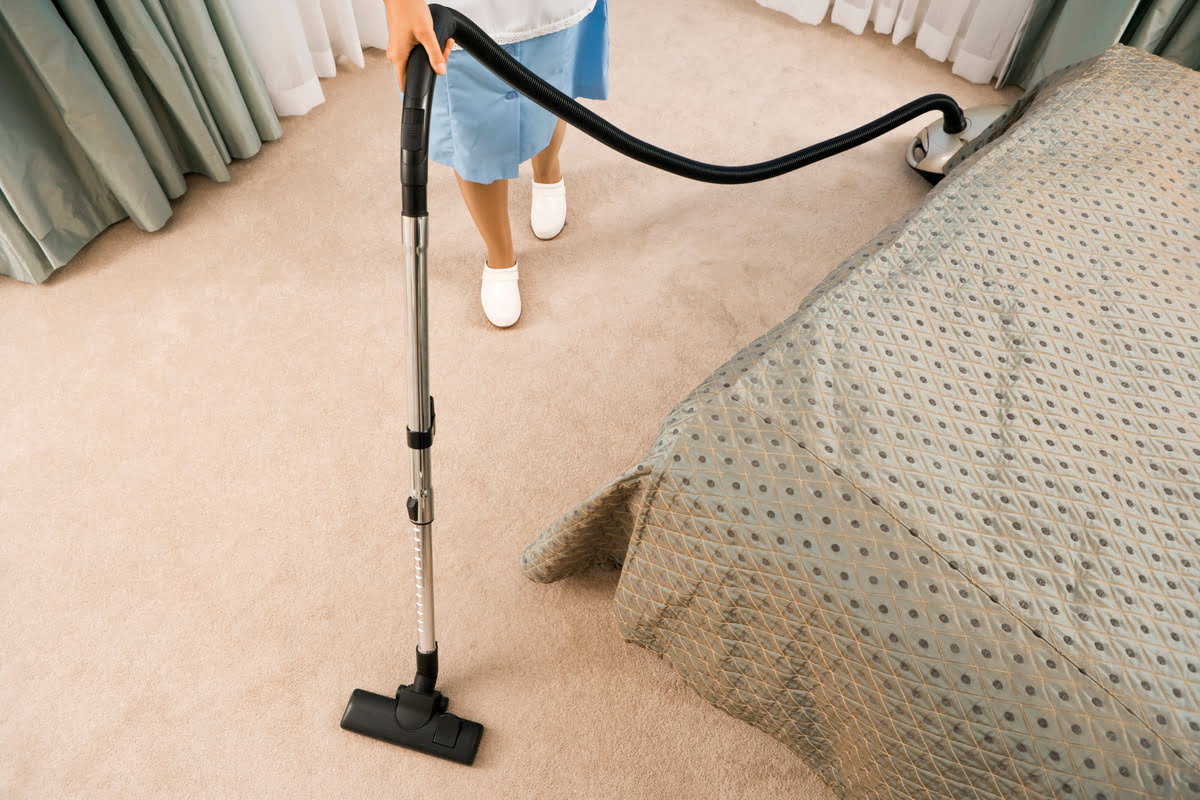
- Vacuum cleaner: Before using the Rug Doctor, vacuum your carpet thoroughly to remove loose dirt and debris. This will make the cleaning process more effective.
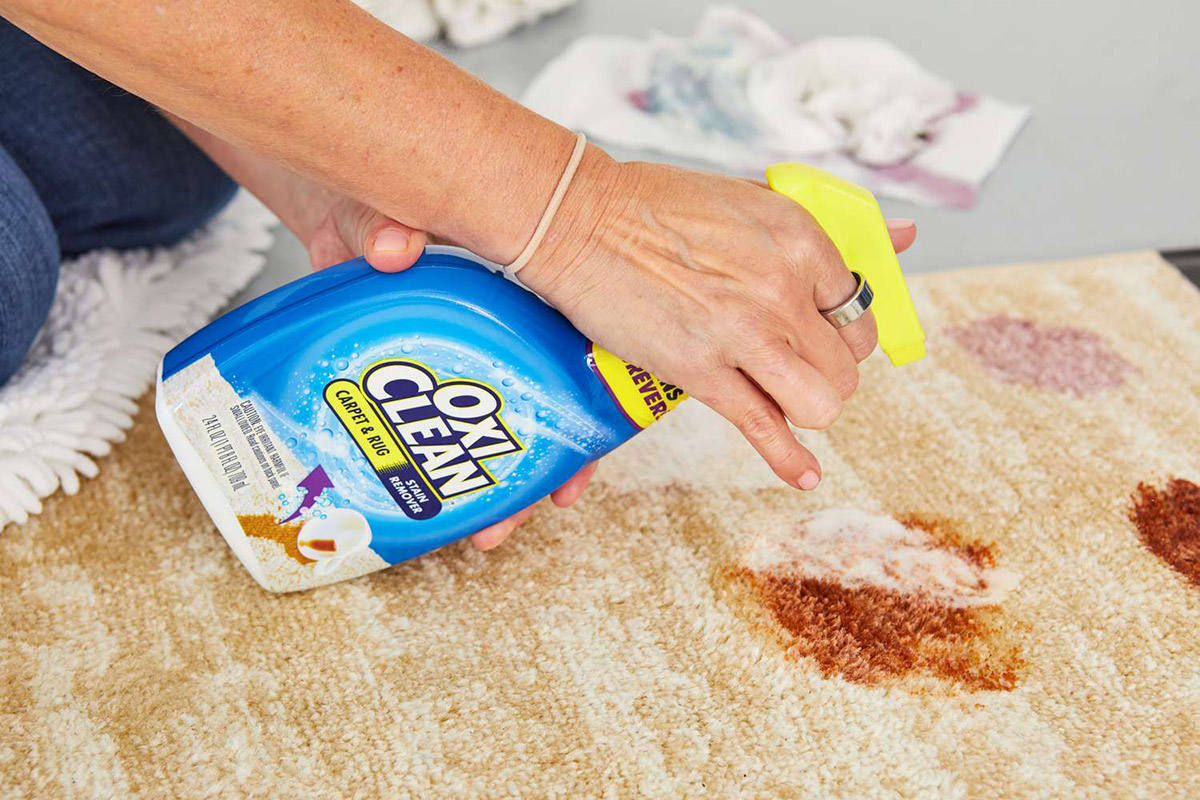
- Stain remover (optional): If you have any stubborn stains or spots on your carpet, consider using a pre-treatment stain remover before using the Rug Doctor. This can help break down the stain and make it easier to remove.
It’s important to have all these supplies ready before you start. This will save you time and prevent any interruptions during the cleaning process. Once you’ve gathered everything, you’re ready to move on to the next step: preparing the area for cleaning.
Step 2: Prepare the Area
Now that you have gathered all the necessary supplies, it’s time to prepare the area that you’ll be cleaning. Proper preparation will ensure a more effective and efficient cleaning process. Here are the steps to follow:
- Remove any furniture or obstacles: Before you start cleaning, remove any furniture, area rugs, or other objects from the carpeted area. This will allow you to have a clear and unobstructed space to work with. If moving heavy furniture is not possible, use furniture sliders or blocks to protect them from getting wet or damaged.
- Inspect the carpet for loose threads or damages: Take a quick look at the carpet to identify any loose threads, tears, or damages. It’s essential to address these issues before cleaning to prevent further damage or unraveling of the carpet fibers.
- Pre-treat stubborn stains: If you have any stubborn stains or spots on your carpet, now is the time to pre-treat them. Follow the instructions on the stain remover product and allow it to sit on the stains for the recommended amount of time. This will help break down the stains and make them easier to remove during the cleaning process.
- Protect baseboards and walls: Place plastic or aluminum foil along the baseboards and walls of the room to protect them from any potential splashes or drips during the cleaning process. It’s better to be safe than sorry!
- Test the cleaning solution: Before using the Rug Doctor carpet cleaner on the entire carpet, it’s a good idea to test the cleaning solution on a small, inconspicuous area of the carpet. This will ensure that the solution does not cause any discoloration or damage to the fibers. Wait for the test spot to dry completely before proceeding.
By taking the time to properly prepare the area, you’ll create an ideal environment for thorough and effective carpet cleaning. This step might seem like just a preliminary task, but it plays a crucial role in achieving the best possible results. Once you’ve completed the preparation steps, you’re ready to move on to the next step: filling the Rug Doctor carpet cleaner.
Step 3: Fill the Rug Doctor Carpet Cleaner
Now that you have prepared the area, it’s time to fill the Rug Doctor carpet cleaner with the appropriate mixture of water and cleaning solution. Follow these steps to ensure that the machine is properly filled:
- Find the clean water tank: Locate the clean water tank on the Rug Doctor machine. It is typically labeled or easily identifiable.
- Prepare the cleaning solution mixture: Refer to the instructions on your chosen Rug Doctor cleaning solution for the recommended mixing ratio. Most cleaning solutions need to be diluted with hot water. Measure the appropriate amount of solution and mix it thoroughly in a bucket of hot water.
- Fill the clean water tank: Remove the clean water tank from the Rug Doctor machine. Place it on a stable surface, such as a countertop or table. Pour the mixture of hot water and cleaning solution into the tank. Be careful not to overfill it. Use a funnel if needed to avoid spills or mess.
- Reattach the clean water tank: Once filled, securely reattach the clean water tank to the Rug Doctor machine. Make sure it is properly locked into place to avoid any leaks during operation.
- Check the dirty water tank: Before you start cleaning, check the dirty water tank to ensure that it is empty and clean. If it is not empty, empty the tank and give it a quick rinse to remove any residue from previous cleanings. This will ensure that the dirty water is properly collected during the cleaning process.
It’s important to note that each model of the Rug Doctor machine may have specific instructions for filling the clean water tank. Refer to the user manual or any guidelines provided by the manufacturer for your particular model. This will ensure that you follow the correct steps and achieve the best results.
With the Rug Doctor carpet cleaner properly filled, you’re ready to move on to the next step: actually using the machine to clean the carpet.
Step 4: Start Cleaning the Carpet
Now that you’ve filled the Rug Doctor carpet cleaner, it’s time to begin the actual cleaning process. Follow these steps to effectively clean your carpet:
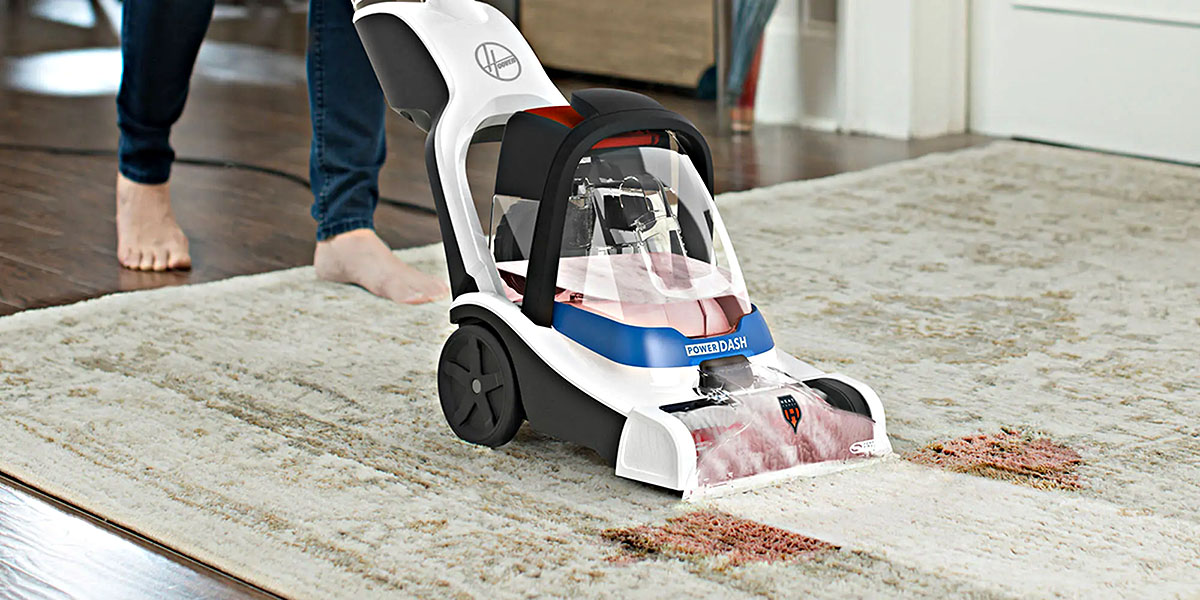
- Position the machine: Place the Rug Doctor machine at one corner of the room. Start in a corner that is furthest away from the exit to ensure that you don’t have to walk on the freshly cleaned carpet.
- Turn on the machine: Locate the power switch on the Rug Doctor machine and turn it on. The machine will start to dispense the cleaning solution onto the carpet as you push it forward.
- Begin cleaning in straight lines: Hold the machine’s handles firmly and start moving it forward, following a straight line. Release the solution trigger to stop dispensing solution when you reach the end of the line. Then, pull the machine backward without squeezing the trigger to suction up the dirty water and excess moisture. Repeat this process in overlapping rows until you have covered the entire carpeted area.
- Pay attention to heavily soiled areas: For areas with stubborn stains or high foot-traffic, you can make additional passes with the Rug Doctor machine to ensure a deeper clean. Take your time and give those areas extra attention.
- Change the direction for even cleaning: After completing a few rows in one direction, turn the machine 180 degrees and clean in the opposite direction. This will ensure that the cleaning solution reaches all areas of the carpet and provides a more thorough clean.
- Monitor the dirty water tank: Keep an eye on the level of dirty water collected in the tank. If it becomes full, pause and empty the tank before continuing. This will ensure that the machine continues to extract the maximum amount of dirt and grime from the carpet.
As you clean, make sure to maintain a steady and consistent pace to achieve even cleaning results. Take breaks periodically to rest and stretch your muscles, especially if you’re cleaning a large area.
Remember, each model of Rug Doctor may have specific operating instructions and features. Familiarize yourself with the controls and functions of your particular machine to ensure the best cleaning experience.
Now that you’ve successfully completed the cleaning process, it’s time to move on to the next step: tackling the next section of the carpet.
Read more: How To Clean Rugs Without A Carpet Cleaner
Step 5: Move to the Next Section
Once you’ve finished cleaning the first section of the carpet, it’s time to move on to the next section. Follow these steps to ensure a seamless transition and thorough cleaning:
- Pause and reposition the machine: Stop the Rug Doctor machine and move it to the next section of the carpet. This can be the adjacent area or a specific part of the room that needs cleaning.
- Overlap the cleaned and uncleaned areas: When positioning the machine for the next section, make sure to overlap the previously cleaned area by a few inches. This helps to ensure that you clean all areas of the carpet and avoid any visible lines or gaps between the sections.
- Repeat the cleaning process: Resume the cleaning process by following the steps mentioned in Step 4. Remember to start at the furthest corner from the exit, turn on the machine, and clean in straight lines with overlapping rows.
- Pay attention to edges and corners: While cleaning the next section, pay extra attention to the edges and corners of the carpet. These areas often accumulate more dirt and can be harder to clean. Use the edge cleaning feature or a separate attachment if your Rug Doctor machine has one.
- Continue cleaning section by section: Repeat the process of moving to the next section and cleaning until you have covered the entire carpeted area. Take your time and ensure that you clean each section thoroughly, addressing any stains or heavily soiled areas along the way.
By moving methodically from one section to another, you can ensure that your entire carpet receives a consistent and thorough cleaning. Don’t rush through the process and take the time to give extra attention to areas that need it. Remember to maintain a steady and controlled pace to achieve the best results.
With each successful section completed, you’re getting closer to completing the carpet cleaning process. The next step will cover what to do when the clean water tank is empty, and you need to refill it.
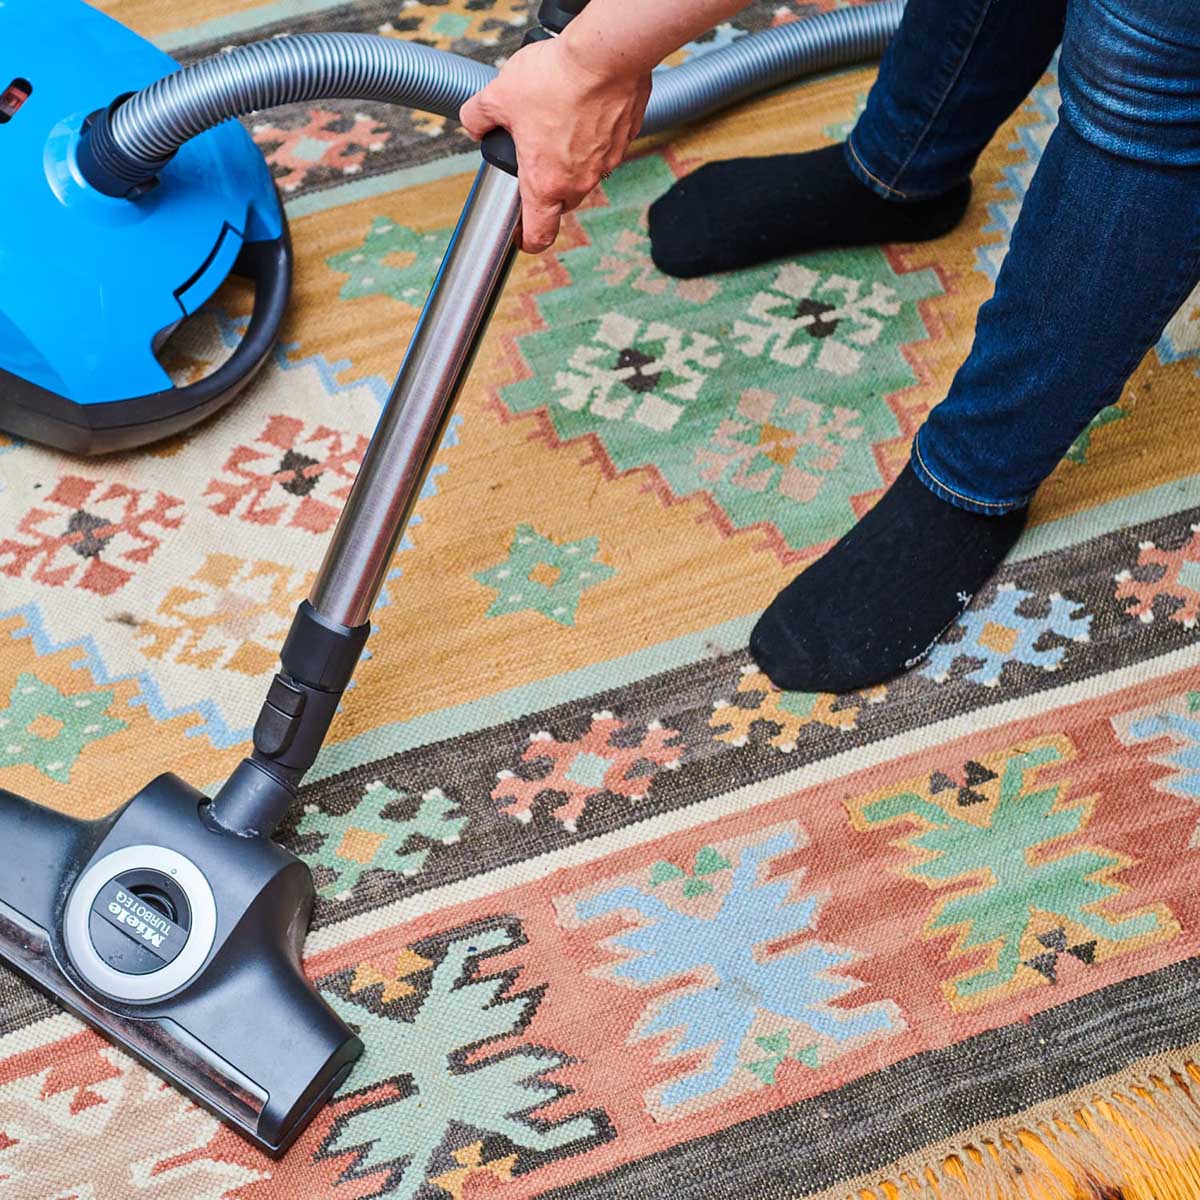
Before using a Rug Doctor carpet cleaner, make sure to thoroughly vacuum the area to remove loose dirt and debris. This will help the machine to clean more effectively and prevent clogging.
Step 6: Empty and Refill the Cleaner
As you continue cleaning your carpet, you’ll eventually reach a point where the clean water tank of the Rug Doctor machine becomes empty. It’s time to empty the dirty water tank and refill the cleaner with fresh water and cleaning solution. Follow these steps:
- Turn off the machine: Before emptying the dirty water tank or refilling the clean water tank, make sure to turn off the Rug Doctor machine and unplug it from the power source. Safety should always be a priority.
- Empty the dirty water tank: Locate the dirty water tank at the front or side of the machine. Depending on the model, it may have a latch or release mechanism to remove it easily. Carefully remove the tank and empty the contents into a sink or drain.
- Clean the dirty water tank: Rinse the dirty water tank with hot water to remove any residue or debris. You can also use a mild detergent if necessary. Make sure to thoroughly clean the tank and let it dry before reattaching it to the machine.
- Refill the clean water tank: With the dirty water tank removed, access the clean water tank. Unscrew or detach the cap and carefully pour in the fresh water and cleaning solution mixture. Again, be mindful not to overfill the tank.
- Securely reattach the clean water tank: Once the clean water tank is filled, securely reattach it to the Rug Doctor machine. Ensure that it is properly locked into place to prevent leaks during operation.
- Check the power cord: Before resuming the cleaning process, check the power cord for any tangles, knots, or damages. Straighten out any tangles and make sure the cord is in good condition to prevent any accidents or disruptions during cleaning.
Emptying and refilling the cleaner may need to be done several times depending on the size of the carpeted areas you are cleaning. It is crucial to keep an eye on the levels of the tanks and refill as needed to maintain optimal cleaning performance.
With the Rug Doctor machine once again filled and ready to go, it’s time to continue the cleaning process. The next step will guide you on how to tackle stubborn stains that may require extra attention.
Step 7: Cleaning Stubborn Stains
While cleaning your carpet with the Rug Doctor, you may encounter stubborn stains that require extra attention. Whether it’s a red wine spill, pet stains, or food marks, here’s how you can effectively clean those stubborn stains:
- Identify the type of stain: Before applying any stain removal techniques, identify the type of stain you’re dealing with. Different stains may require different approaches for effective removal. Refer to the Rug Doctor’s stain removal guide or consult the manufacturer’s instructions for specific recommendations.
- Pre-treat the stain: If you haven’t already pre-treated the stain before starting the cleaning process, now is the time to do it. Apply a small amount of the recommended stain remover directly to the stained area. Gently blot or dab the stain remover using a clean white towel or rag. Let it sit for a few minutes to break down the stain.
- Use the Rug Doctor’s spot cleaning feature: Many models of the Rug Doctor machines come with a spot cleaning feature or attachment. This allows you to focus on specific stains or smaller areas of the carpet. Use this feature along with the recommended cleaning solution to agitate and extract the stain.
- Repeat the cleaning process: If the stain persists, repeat the cleaning process for that particular area. Apply the cleaning solution and use the Rug Doctor machine to clean the stained spot. Be patient and make multiple passes if necessary to ensure thorough removal of the stain.
- Dry the area properly: After successfully removing the stain, use a clean white towel or cloth to blot and dry the area. This will help prevent any moisture from seeping back into the carpet and potentially causing mold or mildew growth.
- Inspect and repeat if necessary: Once the area is dry, inspect it under good lighting conditions. If the stain is still visible, you may need to repeat the spot cleaning process or consider seeking professional help if the stain is particularly stubborn.
Remember, it’s always a good idea to test any stain removal products or techniques on a small, inconspicuous area of the carpet before applying them to the stain directly. This will help ensure that the cleaning solution does not cause any discoloration or damage to the carpet fibers.
With the stubborn stain now successfully addressed, it’s time to move on to the next step: allowing the carpet to dry properly.
Step 8: Let the Carpet Dry
Once you have finished cleaning your carpet and treating any stubborn stains, it’s important to allow the carpet to dry thoroughly. Proper drying ensures that any remaining moisture evaporates and prevents potential issues like mold or mildew from developing. Follow these steps to aid in the drying process:
- Switch off the Rug Doctor machine: After completing the cleaning process, turn off the Rug Doctor machine and unplug it from the power source. Safety should always be a priority.
- Open windows or use fans: To promote air circulation and aid in drying, open windows or use fans to create a breeze in the room. Fresh air and movement of air will help expedite the drying process.
- Avoid walking on the damp carpet: While the carpet is still damp, avoid walking on it as much as possible. Walking on a wet carpet can push dirt and debris into the fibers, causing them to be more difficult to clean later on.
- Place furniture protectors: If you need to access the room or walk on the carpet, place furniture protectors or small pieces of cardboard under the legs of furniture to prevent any potential damage or staining.
- Use a dehumidifier: If you live in a humid climate, using a dehumidifier in the room can help remove excess moisture from the air and aid in the drying process. This is especially beneficial when drying carpets in basements or rooms with poor ventilation.
- Monitor the humidity levels: Check the humidity levels in the room using a hygrometer. It’s recommended to keep the humidity below 50% to prevent the growth of mold or mildew during the drying process.
- Leave the carpet undisturbed: Allow the carpet to dry undisturbed for at least 6 to 12 hours, or as recommended by the manufacturer. Avoid laying rugs or moving furniture back onto the carpet until it is completely dry.
The drying time can vary depending on various factors such as humidity levels, ventilation, and carpet thickness. It’s crucial to be patient and allow the carpet sufficient time to dry completely before resuming normal activities in the room.
By following these steps, you can ensure that your carpet dries thoroughly and remains in the best possible condition. Once the carpet is completely dry, it’s time to move on to the final step: cleaning the machine and storing it properly.
Read more: How To Use A Kirby Carpet Cleaner
Step 9: Clean the Machine and Put Away
After you’ve successfully cleaned your carpet and allowed it to dry, it’s important to clean the Rug Doctor machine itself. Properly cleaning and storing the machine will ensure its longevity and optimal performance for future use. Follow these steps to effectively clean the machine and put it away:
- Turn off the machine and unplug it: Before cleaning the Rug Doctor machine, make sure it is turned off and unplugged from the power source. Safety should always be a priority.
- Empty and rinse the dirty water tank: Remove the dirty water tank from the machine and empty its contents into a sink or drain. Rinse the tank thoroughly with hot water to remove any remaining dirt or debris. Set it aside to dry completely.
- Clean the brushes and hoses: Using a soft brush or cloth, carefully clean the brushes and hoses of the Rug Doctor machine. Remove any accumulated dirt, hair, or debris. Pay extra attention to the brush bristles to ensure they are free from any clogs or build-up.
- Wipe down the machine’s exterior: Use a damp cloth to wipe down the exterior surfaces of the machine. Remove any dirt or residue that may have accumulated during the cleaning process. Dry the machine thoroughly with a clean towel.
- Check and replace any worn parts: Take a moment to inspect the machine for any worn or damaged parts. Check the brushes, hoses, and other accessories to ensure they are in good working condition. If any parts are worn out or damaged, consider replacing them before storing the machine.
- Properly store the machine: Once the machine is cleaned and completely dry, store it in a cool, dry place. Make sure it is protected from dust, moisture, and excessive heat. If the machine came with a storage bag or cover, use it to provide extra protection.
- Keep the user manual and accessories: Store the user manual and any accompanying accessories, such as additional cleaning attachments or maintenance tools, in a safe and easily accessible place. This will make it convenient for future reference or when you need to use the machine again.
By taking the time to clean and properly store the Rug Doctor machine, you’ll ensure that it remains in good condition and ready for your next carpet cleaning project.
With the Rug Doctor machine cleaned and safely stored away, you have completed the entire process of using a Rug Doctor carpet cleaner. Your carpets are now cleaner, fresher, and ready to be enjoyed. Sit back, relax, and revel in the clean and revitalized ambiance of your home!
Remember, regular carpet maintenance, including vacuuming and periodic deep cleaning, can help prolong the life of your carpets and keep them looking their best. Consider scheduling regular deep cleaning sessions with the Rug Doctor to maintain a clean and healthy living environment.
Conclusion
Congratulations! You have successfully learned how to use a Rug Doctor carpet cleaner to revive and refresh your carpets. By following the step-by-step process outlined in this guide, you can achieve professional-grade results in the comfort of your own home.
Regular carpet cleaning is essential for maintaining a healthy and inviting living space. With the powerful suction and effective cleaning solution provided by Rug Doctor, you can remove deep-seated dirt, stains, and odors from your carpets, giving them a new lease on life.
Remember to gather all the necessary supplies before starting, prepare the area, and fill the Rug Doctor carpet cleaner with the appropriate mixture of water and cleaning solution. Then, carefully clean the carpet in straight lines, paying extra attention to stubborn stains and heavily soiled areas.
Move section by section, ensuring each part of the carpet receives thorough cleaning. Empty and refill the cleaner as needed, tackle stubborn stains with pre-treatment, and allow the carpet to dry completely to avoid any issues with mold or mildew.
Once you have completed the cleaning process, clean the Rug Doctor machine itself, making sure to store it properly in a safe and dry location. By taking care of the machine, you can preserve its longevity and performance for future use.
Now that you have the knowledge and confidence to use a Rug Doctor carpet cleaner, you can enjoy clean, fresh carpets that enhance the overall appearance of your home. Remember to incorporate regular maintenance, such as vacuuming and routine spot cleaning, to keep your carpets in top condition.
We hope this guide has been informative and helpful in guiding you through the process of using a Rug Doctor carpet cleaner. May your carpets always be clean, comfortable, and inviting!
Frequently Asked Questions about How To Use A Rug Doctor Carpet Cleaner
Was this page helpful?
At Storables.com, we guarantee accurate and reliable information. Our content, validated by Expert Board Contributors, is crafted following stringent Editorial Policies. We're committed to providing you with well-researched, expert-backed insights for all your informational needs.