Articles
How To Use A Breville Juicer
Modified: August 16, 2024
Learn how to effectively use a Breville juicer with our expert articles. Discover tips, tricks, and recipes to optimize your juicing experience.
(Many of the links in this article redirect to a specific reviewed product. Your purchase of these products through affiliate links helps to generate commission for Storables.com, at no extra cost. Learn more)
Introduction
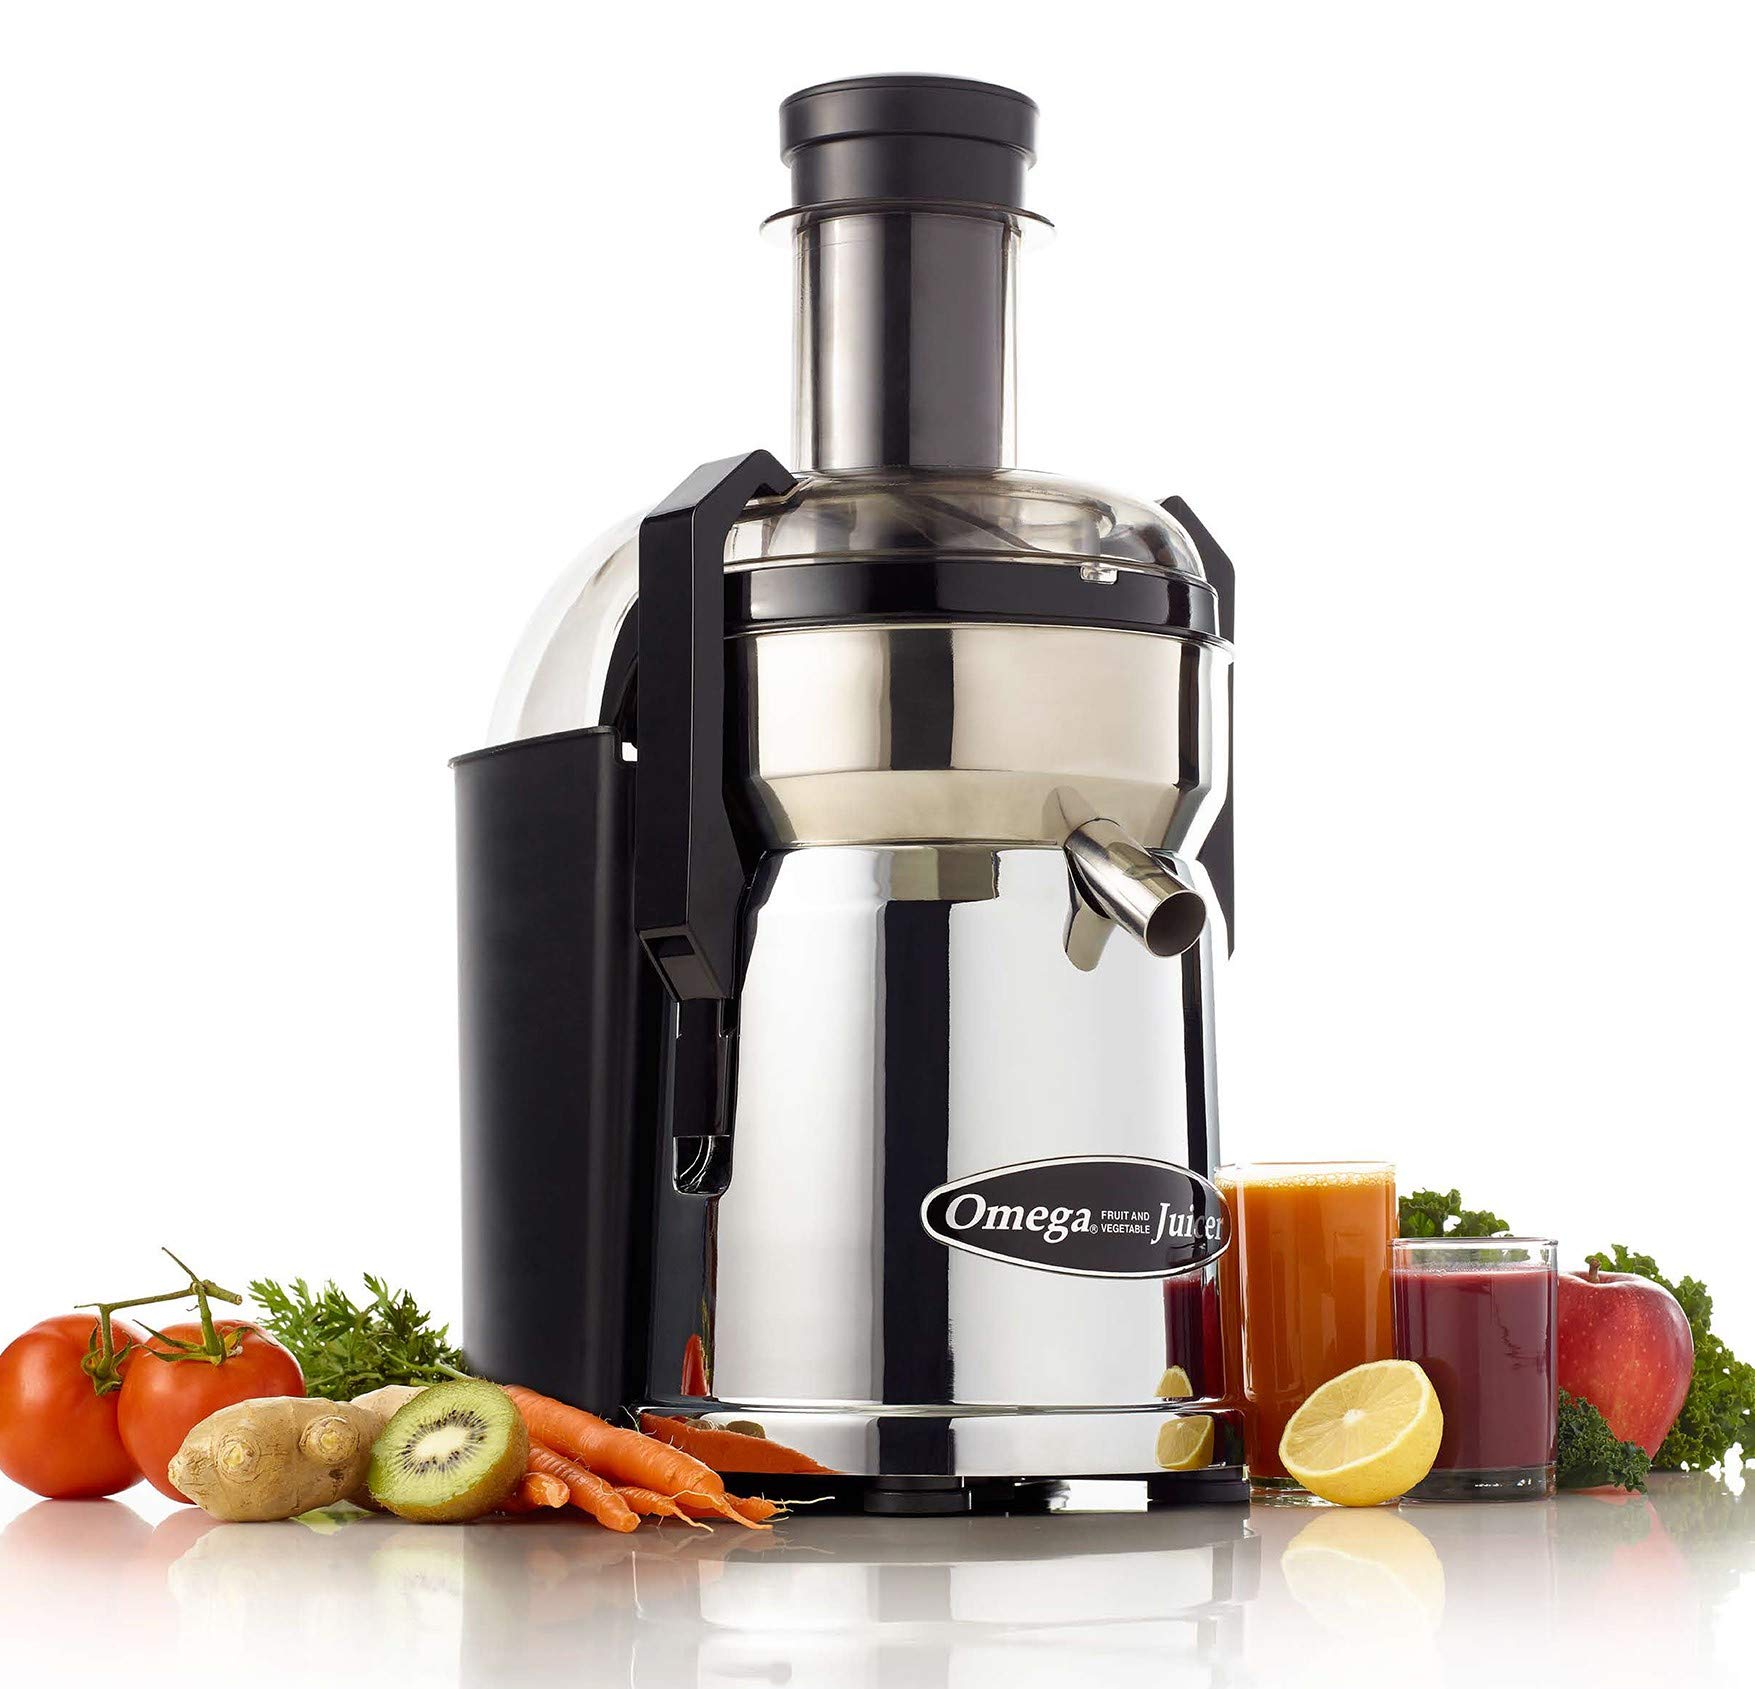
Are you ready to embark on a journey towards a healthier lifestyle? Juicing can be a fantastic way to incorporate more fruits and vegetables into your diet, providing you with a powerful boost of nutrients and antioxidants. And when it comes to juicers, the Breville Juicer is a top choice for many juicing enthusiasts. This high-quality appliance is designed to extract juice from a variety of produce quickly and efficiently, making it a must-have for anyone looking to harness the goodness of fresh fruits and vegetables.
In this article, we will guide you through the process of using a Breville Juicer effectively. Whether you are a beginner or an experienced juicer, we will cover everything you need to know, from getting to know your juicer to cleaning and maintenance.
Before we dive into the details, let’s take a moment to appreciate the benefits of juicing. Juices are known for their ability to provide concentrated forms of vitamins, minerals, and antioxidants, which can support overall health and wellness. Incorporating fresh juices into your routine can help increase energy levels, boost immunity, improve digestion, promote radiant skin, and aid in weight management.
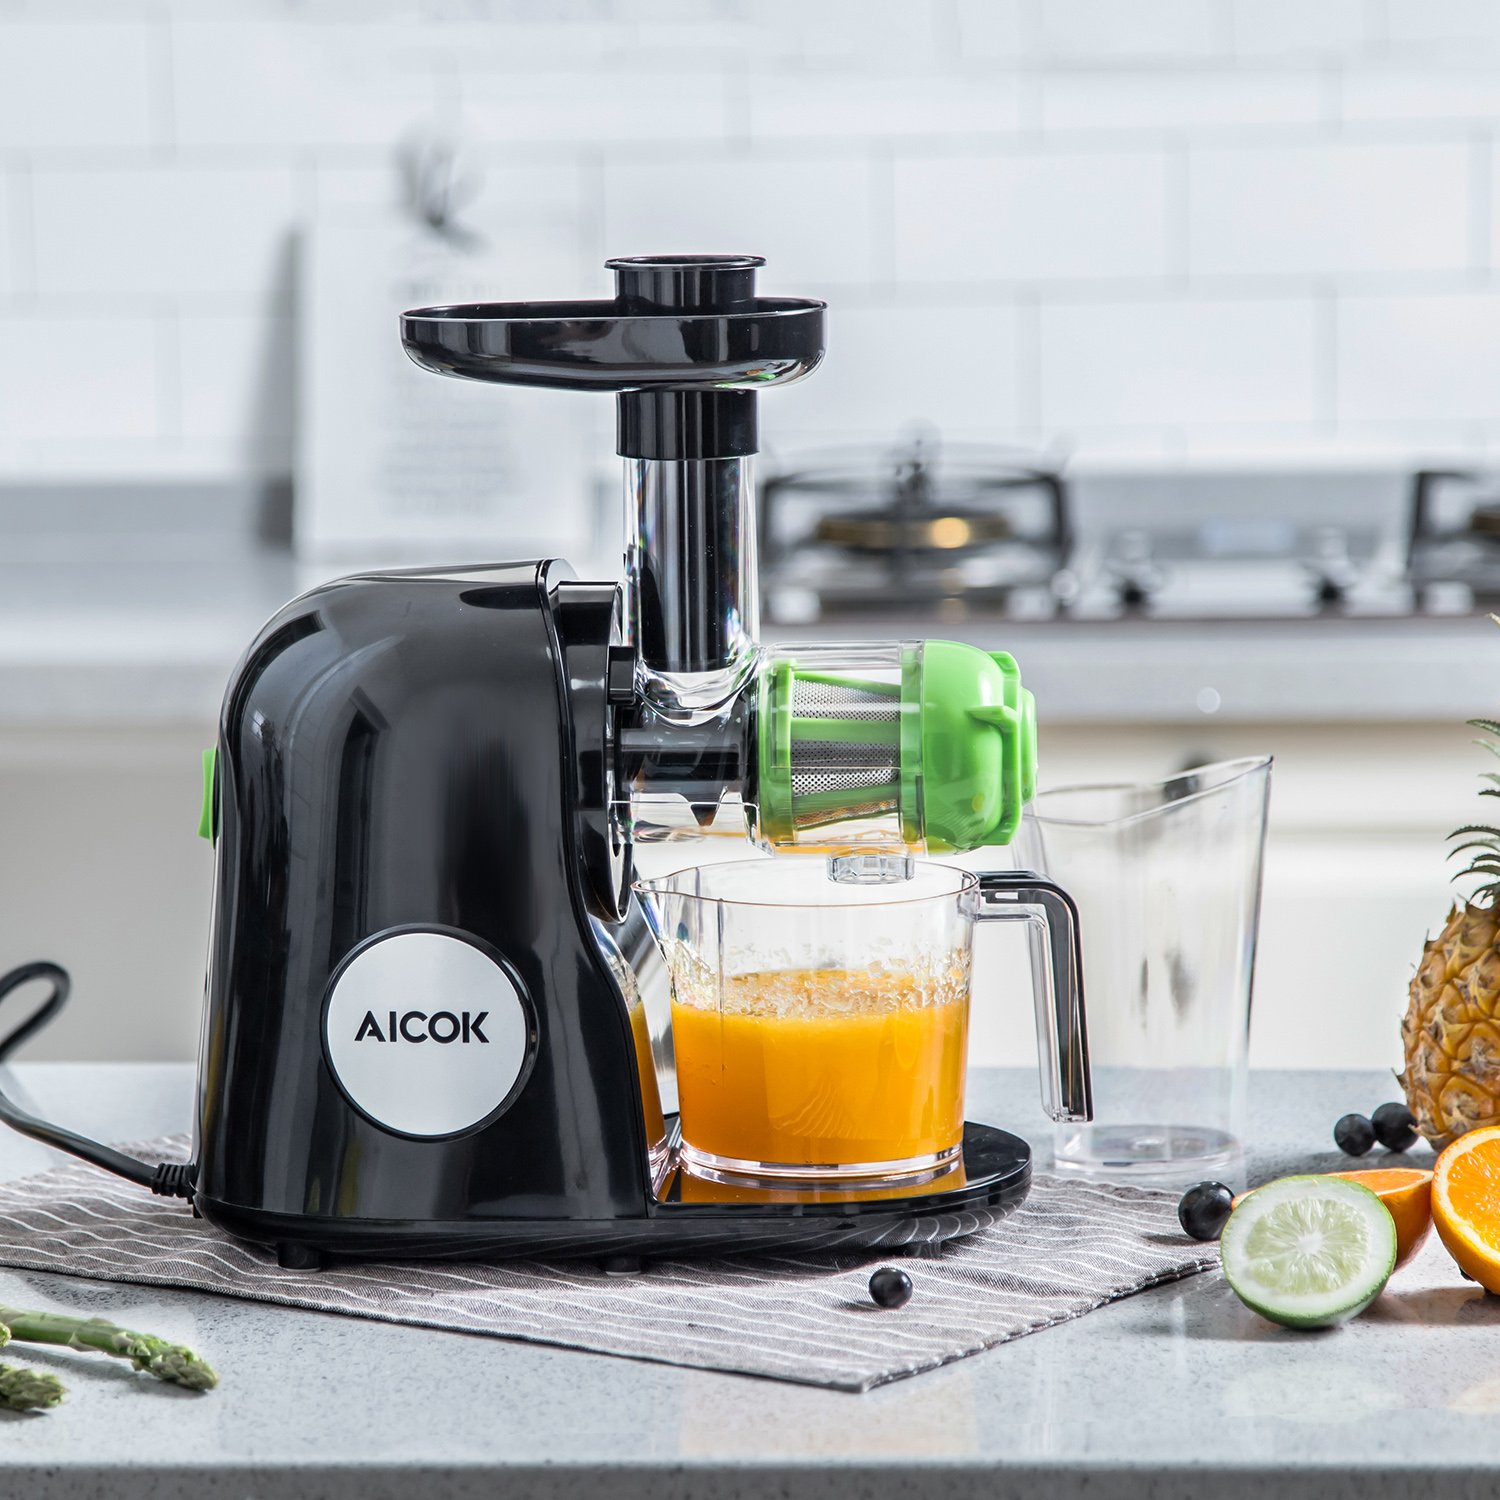
With its powerful motor and high-speed juicing capabilities, the Breville Juicer can extract juice from even the toughest fruits and vegetables, ensuring you get maximum nutrition from your produce. Whether you prefer a refreshing glass of citrus juice, a vibrant green juice, or a delicious mixed fruit blend, the Breville Juicer can handle it all.
In the following sections, we will walk you through the steps of using your Breville Juicer, from preparing your fruits and vegetables to operating the juicer and maintaining its longevity. Additionally, we will provide you with some expert tips and tricks to enhance your juicing experience. By the end of this article, you will be equipped with all the knowledge you need to make the most out of your Breville Juicer.
So, let’s get started with our juicing adventure and unlock the full potential of your Breville Juicer!
Key Takeaways:
- Using a Breville Juicer can revolutionize your health journey by effortlessly incorporating nutrient-rich juices into your daily routine. From assembling to juicing and maintenance, this article provides a comprehensive guide for maximizing the benefits of your juicer.
- Experimenting with various fruits and vegetables, following proper cleaning and maintenance, and exploring expert tips and tricks can elevate your juicing experience with the Breville Juicer. Embrace the journey towards a healthier lifestyle and enjoy the nourishing benefits of homemade juices.
Read more: Where To Buy The Breville Juicer
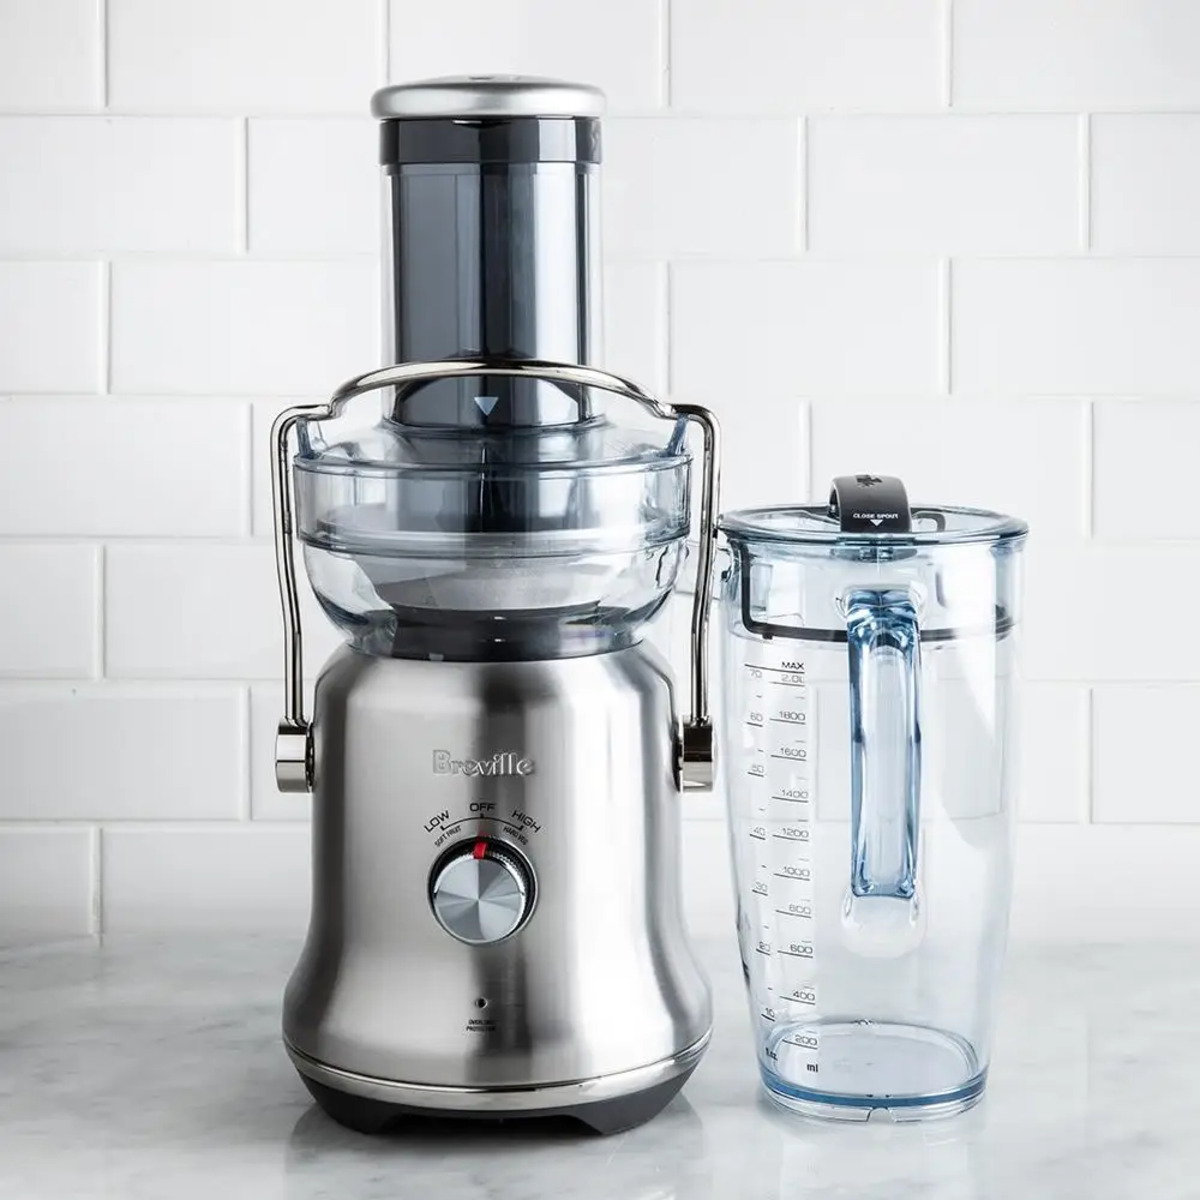
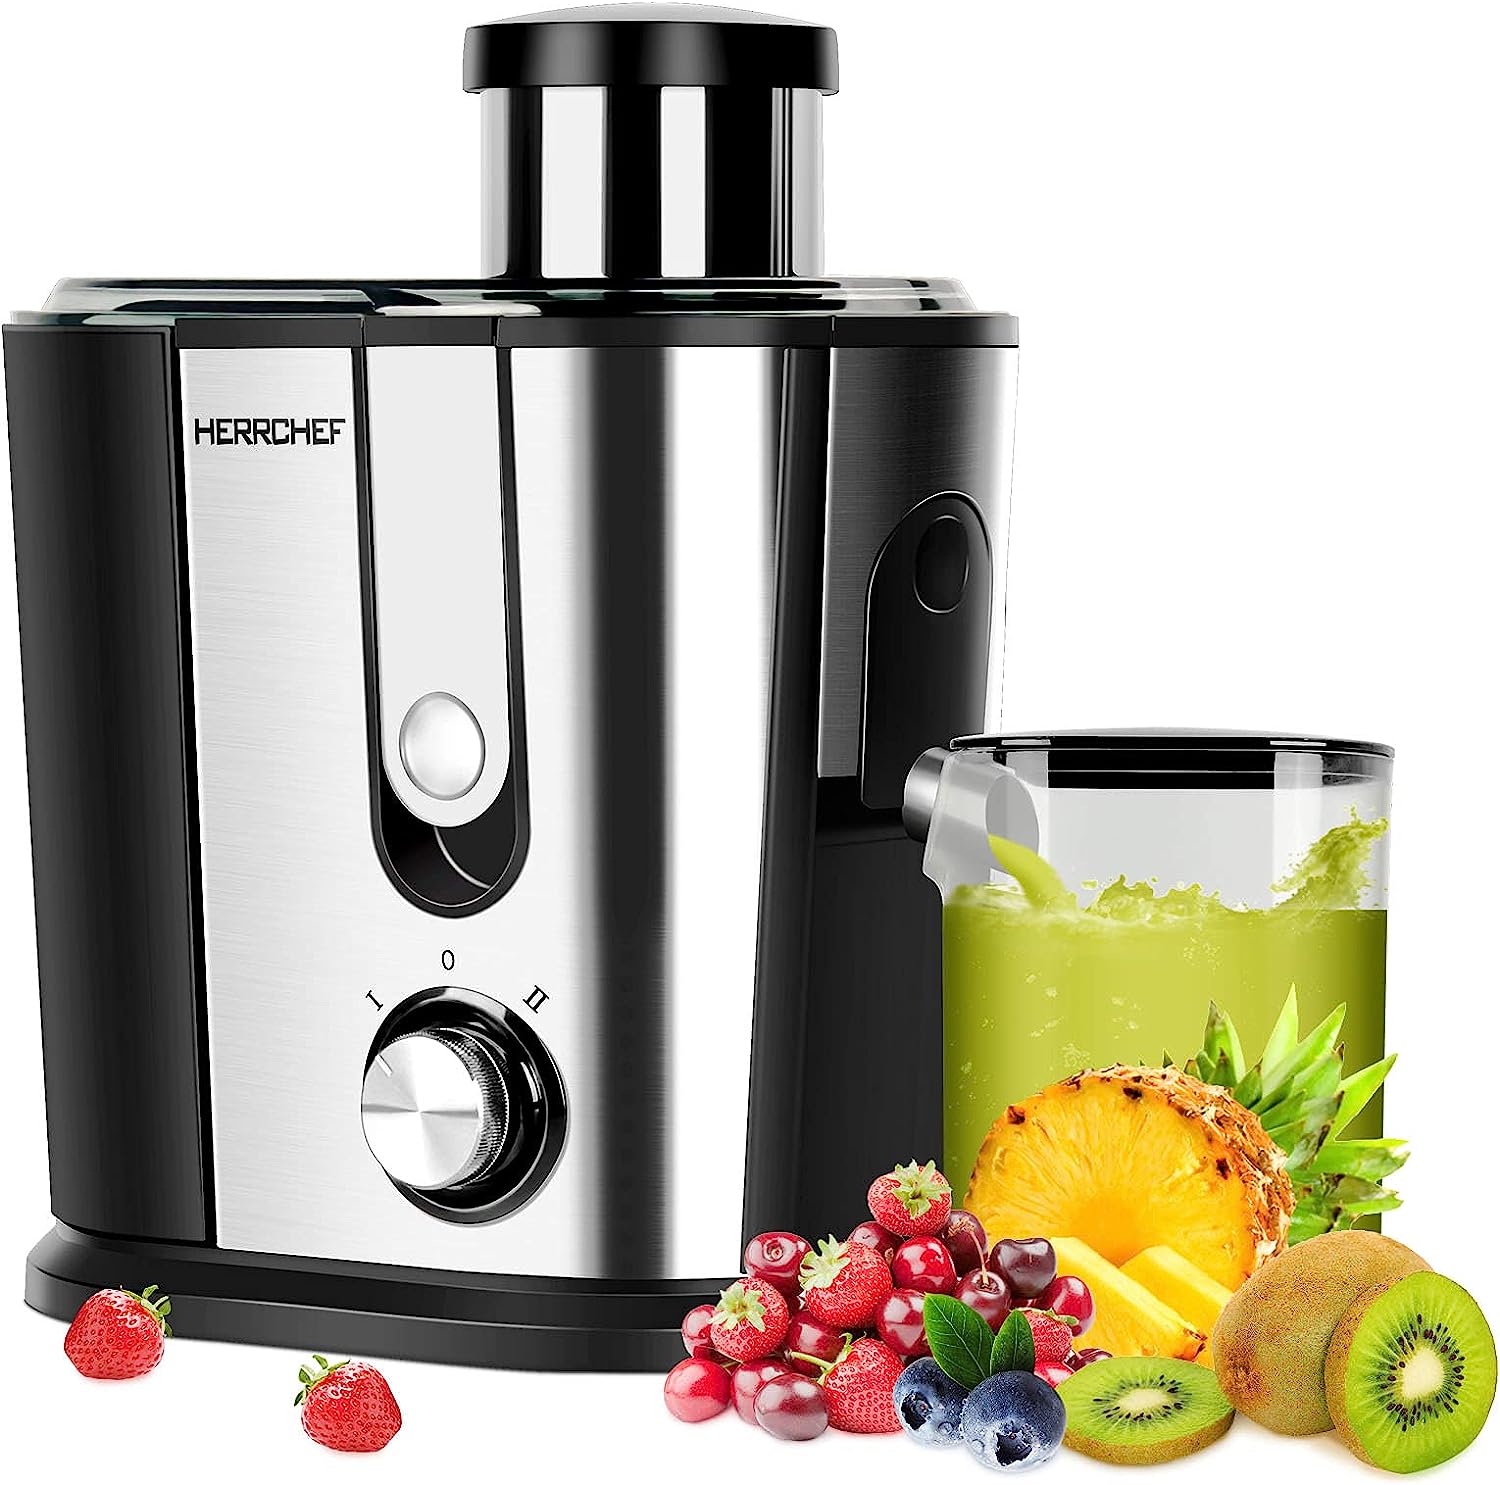
Getting to Know Your Breville Juicer
Before you dive into juicing, it’s essential to familiarize yourself with the different components and features of your Breville Juicer. By understanding how each part works, you can ensure a seamless juicing experience with optimal results.
Firstly, let’s take a look at the main components of the Breville Juicer:
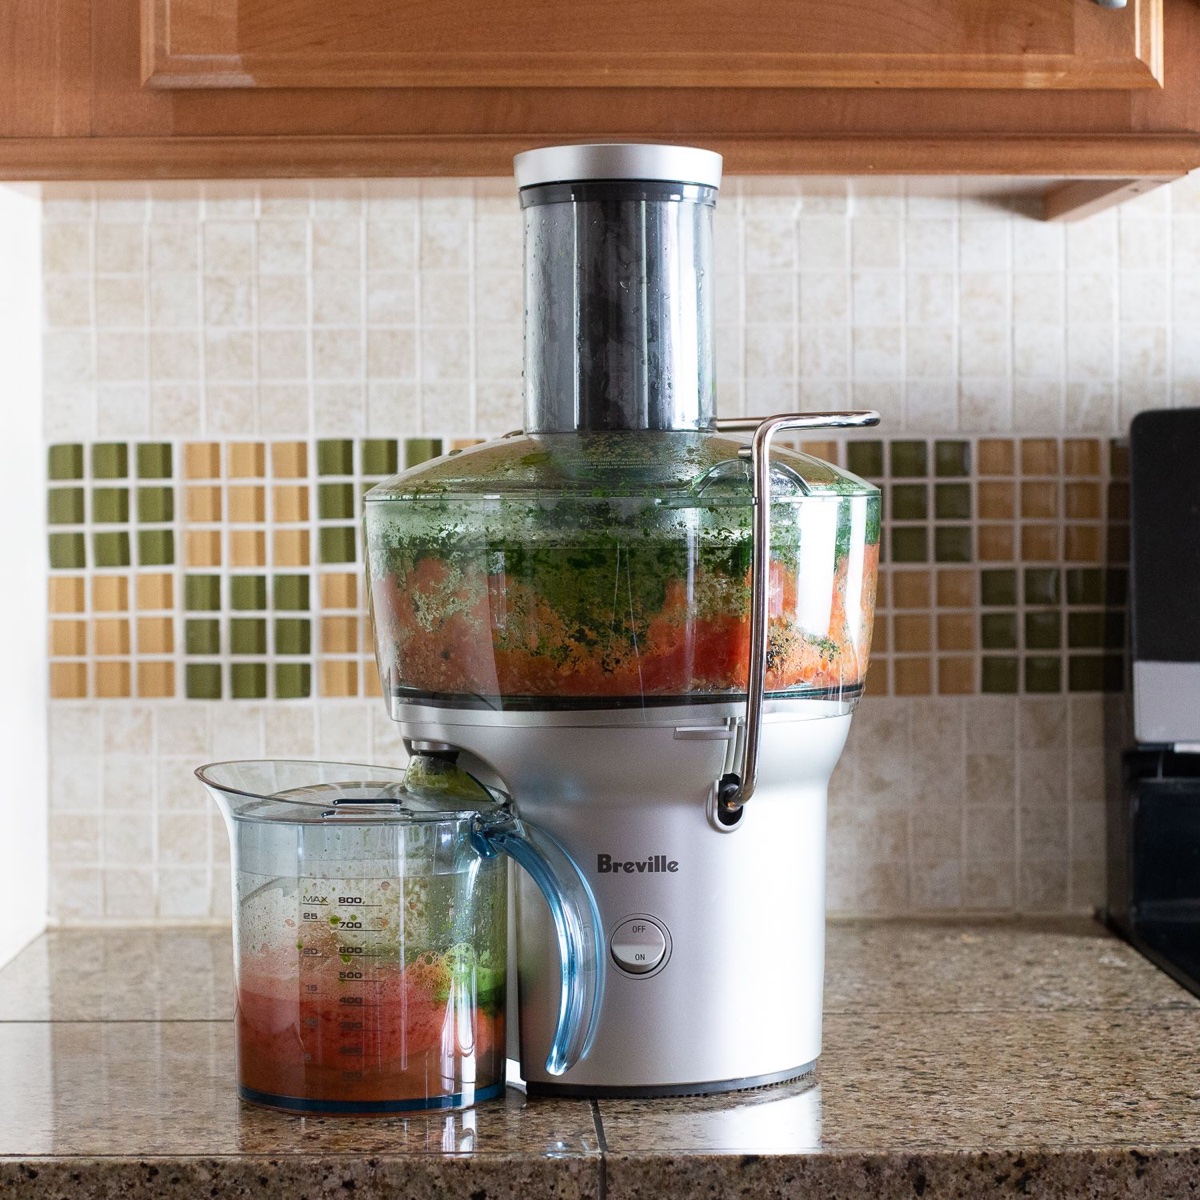
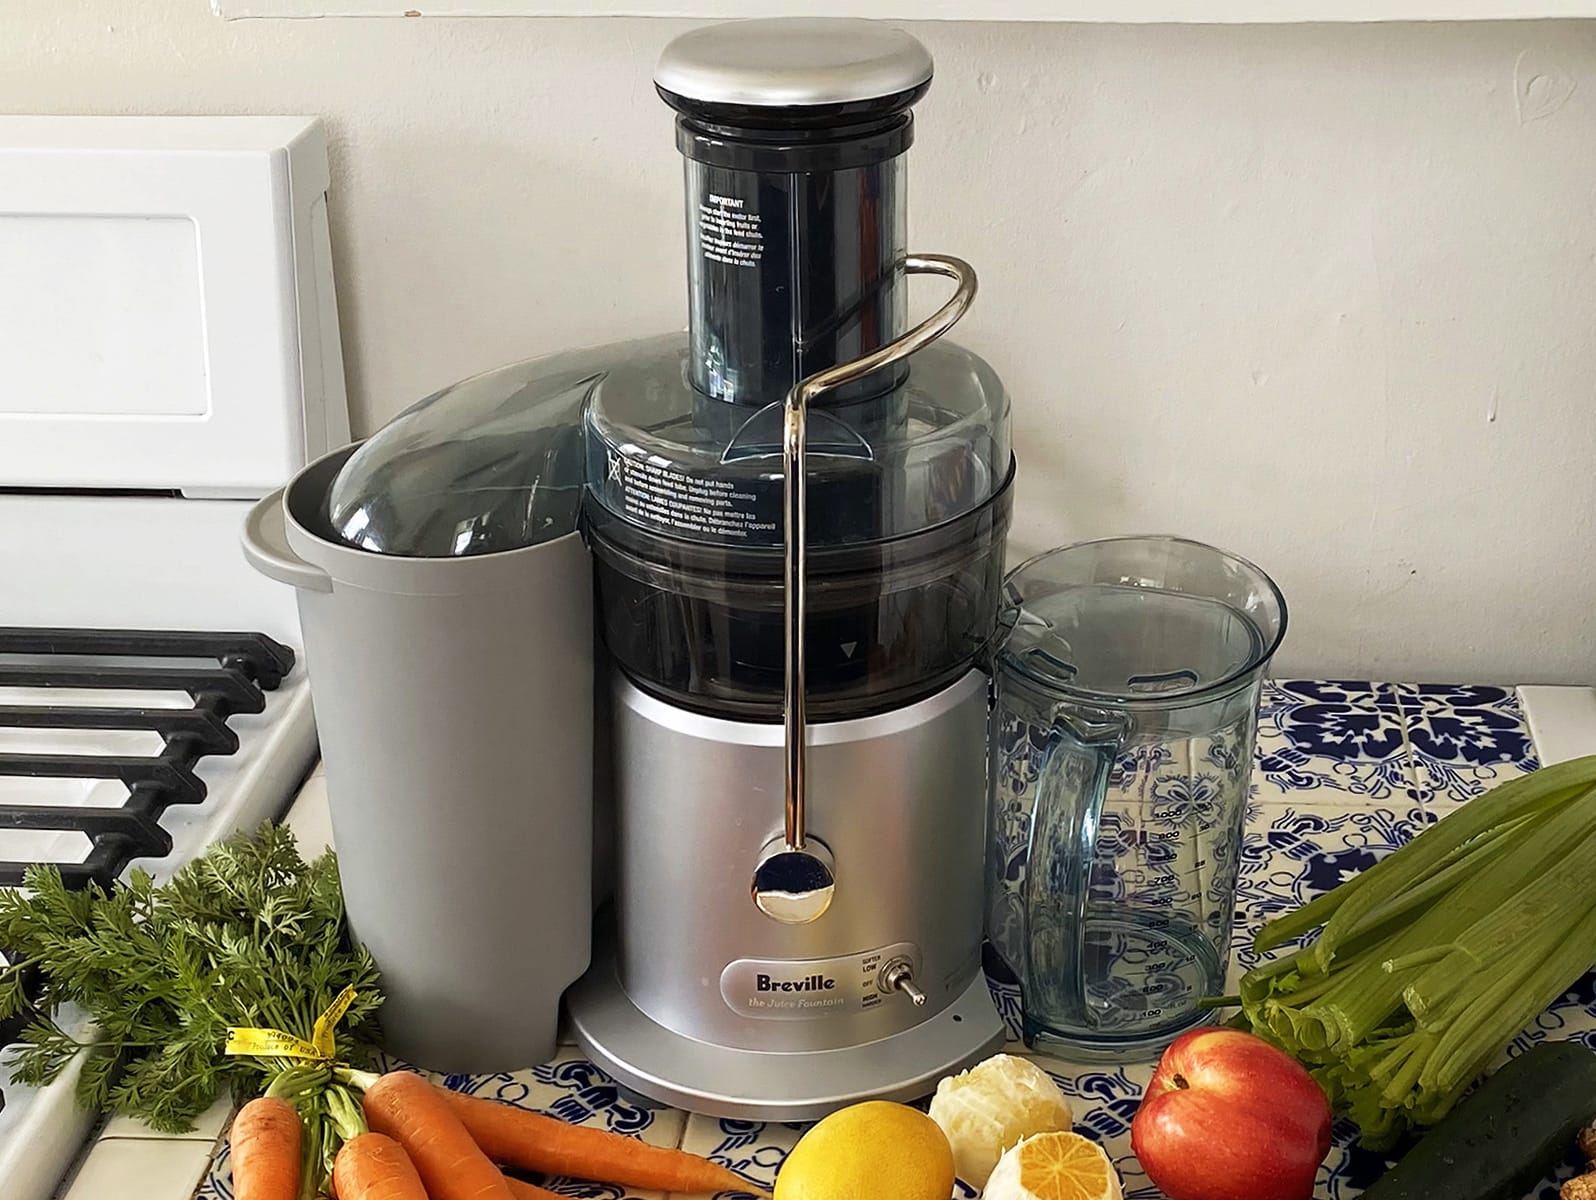
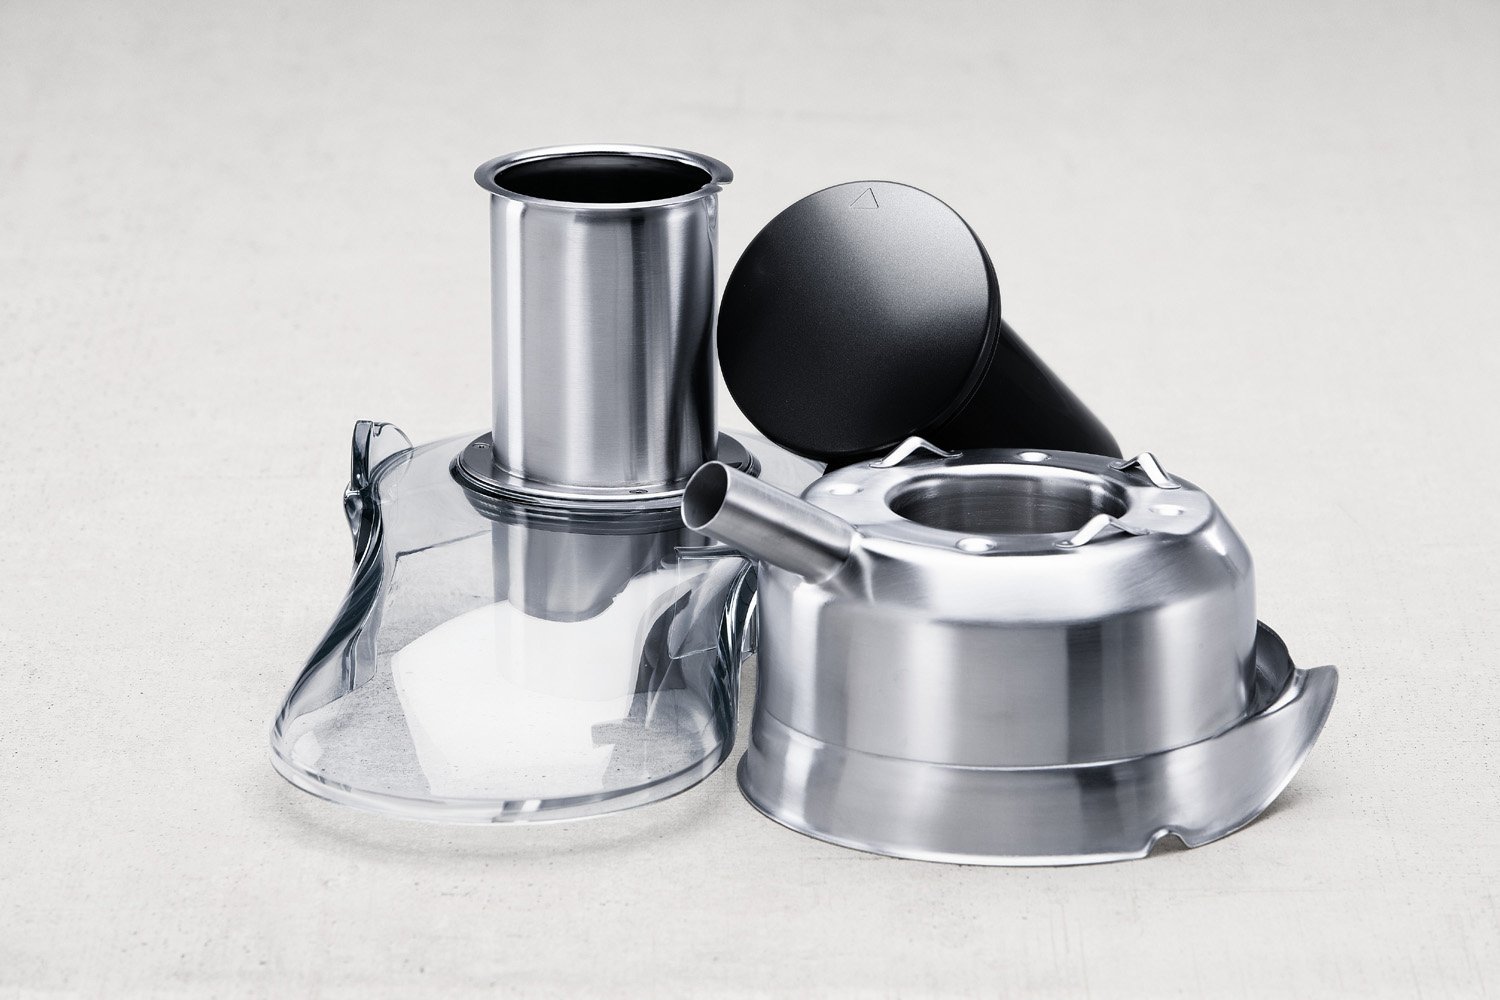
- Feed Chute: This is where you will insert your fruits and vegetables for juicing. The size of the feed chute determines the amount of prep work required, as a larger chute can accommodate whole or large pieces of produce.
- Juice Jug: The juice jug is where the extracted juice will collect. It often comes with a spout for easy pouring and a foam separator to separate any foam from the juice.
- Pulp Container: The pulp container collects the leftover pulp from the juicing process. It is important to regularly empty the container to maintain the efficiency of the juicer.
- Juicer Cover: The juicer cover fits onto the top of the juicer and helps secure the ingredients in place during operation.
- Juicing Disc: The juicing disc is the part that does the actual juicing. It is typically equipped with sharp blades that extract the juice from the fruits and vegetables.
- Filter Basket: The filter basket helps strain the juice, ensuring a smooth and pulp-free result.
- Juice Spout: The juice spout allows for easy dispensing of the freshly extracted juice into a glass or container.
- Speed Controls: Most Breville Juicers come with different speed settings, ranging from low to high. These controls allow you to adjust the speed based on the type of produce you are juicing.
Once you have familiarized yourself with the main components of the juicer, it’s time to explore the different features that make the Breville Juicer stand out:
- Powerful Motor: The Breville Juicer is equipped with a powerful motor that can efficiently extract juice from a variety of fruits and vegetables, including hard and fibrous produce.
- Wide Feed Chute: Many Breville Juicer models feature a wide feed chute, allowing you to juice whole or large pieces of produce without the need for extensive chopping or preparation.
- Easy-to-Use Controls: The juicer offers intuitive controls that make it simple to operate, allowing you to adjust the speed and extract juice effortlessly.
- Ease of Cleaning: Cleaning your juicer after use is a breeze with the Breville Juicer. Most parts are dishwasher safe, and the juicer often comes with a cleaning brush to remove any residue.
- Durable Design: Breville Juicers are known for their durability and longevity, ensuring that your investment will last for years to come.
By understanding the different components and features of your Breville Juicer, you are now well-prepared to start using it for juicing. In the next section, we will guide you through the process of preparing your fruits and vegetables before juicing.
Preparing Your Fruits and Vegetables
Properly preparing your fruits and vegetables is an essential step to ensure a smooth and successful juicing experience with your Breville Juicer. Here are some tips to help you get the most out of your produce:
1. Wash your produce: Before juicing, it’s crucial to thoroughly wash your fruits and vegetables to remove any dirt, pesticide residue, or contaminants. Use a gentle scrub brush or your hands to clean the produce under running water.
2. Remove skin, peel, and seeds: Depending on the type of produce you’re using, you may need to remove the skin, peel, or seeds. For instance, citrus fruits like oranges and lemons should be peeled to avoid the bitter taste caused by the skin. Also, some seeds, such as apple seeds or peach pits, should be removed as they may contain trace amounts of toxins.
3. Chop into manageable sizes: While the wide feed chute of the Breville Juicer can handle larger pieces of produce, it’s still a good practice to chop them into smaller, manageable sizes. This helps ensure a smoother juicing process and prevents the juicer from getting overloaded.
4. Remove tough stems and cores: For certain leafy greens like kale or spinach, and fruits like apples or pears, it’s advisable to remove any tough stems or cores. These parts can be tough to juice and may affect the overall texture of your juice.
5. Separate soft and hard produce: When juicing a combination of soft and hard produce, it’s a good idea to separate them. Start by juicing the softer fruits or vegetables, as they tend to yield more juice. Then, move on to the harder produce, allowing the juicer to extract every last drop.
6. Refrigerate or use fresh: For the best flavor and nutrition, it’s recommended to use fresh produce. However, if you need to prepare your ingredients in advance, store them in an airtight container in the refrigerator until you’re ready to juice. Keep in mind that some fruits and vegetables, like citrus fruits, may lose their flavor if stored for too long.
By following these simple steps, you can ensure that your fruits and vegetables are ready for juicing. Properly preparing your produce not only enhances the taste and quality of your juice but also helps prevent any damage to your Breville Juicer. Now that your ingredients are prepped, let’s move on to assembling the Breville Juicer in the next section.
Assembling the Breville Juicer
Assembling the Breville Juicer is a straightforward process and requires only a few simple steps. Here’s how you can assemble your juicer and get ready for a refreshing juicing experience:
1. Unbox the juicer: Start by unpacking your Breville Juicer and laying out all the components on a clean, flat surface. Ensure that you have all the necessary parts, including the juice jug, pulp container, juicer cover, juicing disc, filter basket, and juice spout.
2. Wash the components: Before assembling the juicer, it’s important to wash all the removable parts. Use warm, soapy water and a soft brush to clean the juicing disc, filter basket, juice jug, pulp container, and any other accessories that came with your juicer. Rinse them thoroughly and allow them to dry completely.
3. Place the juicer cover: Take the juicer cover and align it properly on the top of the juicer. Ensure that it fits securely and snugly, with no gaps or misalignment.
4. Insert the juicing disc: Take the juicing disc and carefully slide it into the designated slot on the juicer cover. Make sure it is inserted all the way and sits firmly in place.
5. Attach the filter basket: Take the filter basket and lower it onto the juicing disc. Align the notches or arrows on the filter basket with the corresponding marks on the juicing disc. Gently twist the filter basket to lock it in place.
6. Place the juice jug and pulp container: Position the juice jug under the juice spout to collect the extracted juice. Place the pulp container in its designated spot to collect the leftover pulp from the juicing process.
7. Double-check the assembly: Once you have completed the assembly, double-check that all the parts are properly in place. Ensure that the juicing disc, filter basket, and juicer cover are securely locked to avoid any mishaps during operation.
With these simple steps, you have successfully assembled your Breville Juicer and are now ready to start juicing. Remember to refer to the user manual for your specific model, as the assembly process might vary slightly depending on the juicer version.
Now that your juicer is assembled, it’s time to move on to the next section, where we will guide you through operating the Breville Juicer to extract delicious and nutritious juice from your prepared fruits and vegetables.
Operating the Breville Juicer
Operating the Breville Juicer is a breeze once you’ve assembled all the necessary components. With its user-friendly interface, you’ll be able to extract fresh juice in no time. Here’s a step-by-step guide on how to operate your Breville Juicer:
1. Plug in the juicer: Start by plugging in your Breville Juicer into a power outlet. Ensure that the juicer is placed on a stable surface and the power cord is safely secured.
2. Turn on the juicer: Locate the power button or switch on your Breville Juicer and turn it on. Depending on the model you have, there may be different speed settings available. Select the appropriate speed based on the type of produce you are juicing.
3. Prepare your fruits and vegetables: Take the prepared fruits and vegetables and gently push them into the feed chute. Use the food pusher, if provided, to guide the produce down towards the juicing disc. Take care not to overload the chute and feed the produce at a steady pace to achieve optimal results.
4. Extract the juice: As you push the produce down into the feed chute, the juicing disc will extract the juice. The juice will flow through the filter basket and into the juice jug, while the pulp will be collected in the pulp container. Continue the process until you have juiced all the desired fruits and vegetables.
5. Adjust the juicing speed: In some cases, you may need to adjust the juicing speed based on the texture and hardness of the produce. Higher speeds are generally suitable for harder fruits and vegetables, while lower speeds are ideal for softer produce and leafy greens.
6. Monitor the juice collection: Keep an eye on the juice jug to ensure it doesn’t overflow. If the jug gets full, pause the juicing process, remove the jug, empty it into a glass or container, and then resume juicing.
7. Continue juicing: After each batch of produce is juiced, you can add more fruits and vegetables to the feed chute and continue the juicing process. Remember to keep a steady pace and not overwhelm the juicer with too much produce at once.
8. Turn off the juicer: Once you have finished juicing, turn off the juicer by pressing the power button or switching it off. Unplug the juicer and prepare to enjoy your freshly extracted juice.
With these simple steps, you will be able to operate your Breville Juicer with ease and efficiency. Experiment with different fruit and vegetable combinations to create your favorite juice concoctions. In the next section, we will discuss how to properly clean and maintain your Breville Juicer to ensure its longevity and optimum performance.
When using a Breville juicer, make sure to thoroughly wash and prepare your fruits and vegetables before juicing. This will help ensure that your juice is clean and free from any contaminants.
Read more: Which Breville Juicer Is The Best
Maintaining and Cleaning Your Breville Juicer
Maintaining and cleaning your Breville Juicer is crucial to keep it in optimal condition and ensure its longevity. Regular maintenance and proper cleaning will not only extend the life of your juicer but also ensure that every juice you make is fresh and delicious. Here are some tips on how to maintain and clean your Breville Juicer:
1. Unplug and disassemble: Before starting the cleaning process, make sure you unplug the juicer from the power outlet and disassemble all the removable parts, including the juicing disc, filter basket, juice jug, pulp container, and juicer cover.
2. Rinse the removable parts: Start by rinsing all the removable parts under warm running water. Use a gentle brush to remove any pulp or residue that may be stuck on the juicing disc or filter basket.
3. Clean with warm, soapy water: After rinsing, fill a sink or basin with warm, soapy water. Submerge the removable parts in the water and wash them using a mild dish soap. Pay special attention to any crevices or hard-to-reach areas.
4. Scrub stubborn stains: If there are any stubborn stains or residues, you can use a soft brush or sponge to scrub them away gently. Avoid using abrasive materials or harsh chemicals, as they can damage the juicer’s surfaces.
5. Rinse and dry thoroughly: Once all the parts are clean, rinse them thoroughly with clean water to remove any soapy residue. After rinsing, use a clean towel or air dry the parts completely before reassembling the juicer.
6. Wipe the main unit: While the removable parts are drying, use a damp cloth to wipe down the main unit of the juicer. Make sure to remove any spilled juice or debris from the exterior of the juicer.
7. Store the juicer properly: Once all the parts are dry, reassemble the juicer and store it in a clean, dry place. It’s a good idea to keep all the removable parts together so they are easily accessible for your next juicing session.
8. Perform regular maintenance: In addition to cleaning, it’s important to perform regular maintenance on your Breville Juicer. Refer to the user manual for instructions on how to properly care for your specific model. This may include lubricating moving parts, inspecting for wear and tear, and cleaning the juicer’s motor base.
By following these cleaning and maintenance steps, you can keep your Breville Juicer in top shape for years to come. Remember to always read the user manual for specific instructions on cleaning and maintenance, as different models may have slight variations in their care requirements.
Now that you know how to maintain and clean your Breville Juicer, let’s move on to the next section, where we will share some expert tips and tricks to enhance your juicing experience.
Tips and Tricks for Juicing with the Breville Juicer
Juicing with the Breville Juicer can be a fun and rewarding experience. To make the most out of your juicing journey, here are some expert tips and tricks to enhance your juice quality and overall juicing experience:
1. Mix and match fruits and vegetables: Don’t be afraid to experiment with different fruit and vegetable combinations. Mixing flavors and textures can result in unique and delicious juice blends. Try combining sweet fruits like apples or oranges with leafy greens like spinach or kale for a well-rounded juice.
2. Juice in moderation: While juicing can provide a concentrated dose of nutrients, it’s important to consume juice in moderation. It’s recommended to balance your juice intake with whole fruits and vegetables to ensure you’re getting enough fiber and other essential nutrients.
3. Drink juice immediately: For the best flavor and nutritional value, it’s ideal to consume the juice immediately after juicing. Freshly extracted juice is packed with enzymes and antioxidants that gradually degrade over time.
4. Store juice properly: If you need to store juice for later consumption, it’s essential to keep it in an airtight container in the refrigerator. Adding a squeeze of lemon juice or storing the juice in a glass jar filled to the brim can help minimize oxidation and prolong freshness.
5. Prep produce in advance: To save time, you can prep your fruits and vegetables in advance. Wash, peel, and chop your produce, then store them in the refrigerator in sealed containers. This makes it quick and easy to juice whenever you’re ready.
6. Clean the juicer immediately: Cleaning the juicer right after use prevents any leftover pulp or residue from drying and becoming difficult to remove. It also helps maintain optimal hygiene and prevents the growth of bacteria.
7. Use leftover pulp creatively: Don’t let the leftover pulp go to waste! You can use it in various ways, such as adding it to baked goods like muffins or pancakes, blending it into smoothies for added fiber, or even composting it for your garden.
8. Frozen fruits and vegetables: Frozen fruits and vegetables are excellent options for juicing. They retain their nutritional value and can add a refreshing chill to your juice. Just make sure to thaw them slightly before juicing to allow for smoother extraction.
9. Juice variety of colors: Different colored fruits and vegetables offer different nutrients, so aim for a variety of colors in your juice. This ensures you’re getting a wide range of vitamins, minerals, and antioxidants.
10. Experiment with add-ons: Enhance the flavor and nutritional profile of your juice by adding add-ons like ginger, turmeric, lemon, or mint. These ingredients can provide additional health benefits and give your juice an extra boost of flavor.
By incorporating these tips and tricks into your juicing routine, you can elevate your juicing experience and create delicious, nutritious juices with your Breville Juicer. Now, let’s address some frequently asked questions in the next section to provide further insight into juicing.
Frequently Asked Questions (FAQs)
Below are some commonly asked questions about using the Breville Juicer:
Q: Can I juice leafy greens with the Breville Juicer?
A: Yes, the Breville Juicer is designed to handle leafy greens. However, it’s important to roll or fold the greens before juicing them to ensure maximum extraction.
Q: How do I clean the juicing disc and filter basket?
A: The juicing disc and filter basket can be cleaned by rinsing them under warm running water and using a gentle brush to remove any residue. It’s important to clean these parts thoroughly after each use to prevent clogging and maintain optimal juicer performance.
Q: Can I use the Breville Juicer for citrus fruits?
A: Yes, the Breville Juicer is perfect for juicing citrus fruits. Simply peel the citrus fruits and place them directly into the juicer for extraction.
Q: Can I juice frozen fruits and vegetables with the Breville Juicer?
A: Yes, frozen fruits and vegetables can be juiced with the Breville Juicer. It’s recommended to slightly thaw them beforehand for easier extraction.
Q: How do I prevent foaming in my juice?
A: To reduce foam in your juice, you can add a small amount of lemon juice to the mixture or use the included foam separator if your juicer comes with one. Additionally, allowing the juice to settle in the refrigerator for a short while before consuming can help reduce foam.
Q: How long can I store juice in the refrigerator?
A: Freshly made juice is best consumed immediately. However, if you need to store it, it’s recommended to do so in an airtight container in the refrigerator for up to 24-48 hours. Be aware that the nutritional value may gradually diminish over time.
Q: Can I use the Breville Juicer for other purposes besides juicing?
A: The Breville Juicer is primarily designed for juicing fruits and vegetables. While some models may have additional features for making nut milk or sorbets, it’s best to consult the user manual for specific capabilities.
Q: How often should I clean the juicer?
A: It’s recommended to clean the juicer right after each use to prevent leftover pulp or residue from drying and becoming difficult to remove. Regular cleaning ensures optimal performance and hygiene.
Q: Can I use the Breville Juicer for commercial purposes?
A: The Breville Juicer is designed for household use, but its durability and efficiency make it suitable for occasional commercial use. However, it’s essential to follow the manufacturer’s guidelines and ensure proper care and maintenance to keep the machine in good condition.
These are some of the frequently asked questions about using the Breville Juicer. If you have any more specific concerns or inquiries, refer to the user manual or contact Breville’s customer support for assistance.
Now that you have a better understanding of the Breville Juicer and how to use it effectively, you’re ready to embark on your juicing journey. Explore different combinations of fruits and vegetables, get creative with add-ons, and enjoy the benefits of fresh, homemade juice with the help of your Breville Juicer.
Happy juicing!
Conclusion
Using a Breville Juicer can be a game-changer in your journey towards a healthier lifestyle. With its powerful motor, efficient juicing capabilities, and user-friendly design, the Breville Juicer makes it easy and enjoyable to incorporate fresh, nutrient-rich juices into your daily routine.
In this article, we have covered the essentials of using a Breville Juicer, from getting to know the various components and features to assembling the juicer, operating it effectively, and maintaining its longevity. We have also shared valuable tips and tricks to enhance your juicing experience, along with answers to frequently asked questions.
Remember, juicing is a fantastic way to boost your intake of fruits and vegetables, providing you with a concentrated source of vitamins, minerals, and antioxidants. However, it’s important to strike a balance and complement your juice with a well-rounded diet that includes whole fruits, vegetables, and other essential food groups.
It’s also worth noting that everyone’s juicing preferences and needs may vary. Experiment with different fruits, vegetables, and combinations to find the flavors and nutritional profiles that appeal to you. Listen to your body and adjust your juicing routine accordingly to suit your individual needs and preferences.
Lastly, always refer to the user manual for your specific Breville Juicer model and follow the manufacturer’s instructions for cleaning, maintenance, and safety guidelines.
Now that you have a comprehensive understanding of juicing with the Breville Juicer, it’s time to explore the wonderful world of fresh, homemade juices. Enjoy the process, get creative with your recipes, and savor the nourishing benefits of juicing with your Breville Juicer.
Here’s to your health and happiness!
Frequently Asked Questions about How To Use A Breville Juicer
Was this page helpful?
At Storables.com, we guarantee accurate and reliable information. Our content, validated by Expert Board Contributors, is crafted following stringent Editorial Policies. We're committed to providing you with well-researched, expert-backed insights for all your informational needs.


0 thoughts on “How To Use A Breville Juicer”