Home>Furniture>Kitchen Furniture>How To Use A Juicer
Kitchen Furniture
How To Use A Juicer
Modified: February 25, 2024
Learn how to use articles effectively with our comprehensive guide on juicer. Boost your juicing skills and get the most out of your juicer with our expert tips and advice.
(Many of the links in this article redirect to a specific reviewed product. Your purchase of these products through affiliate links helps to generate commission for Storables.com, at no extra cost. Learn more)
Introduction
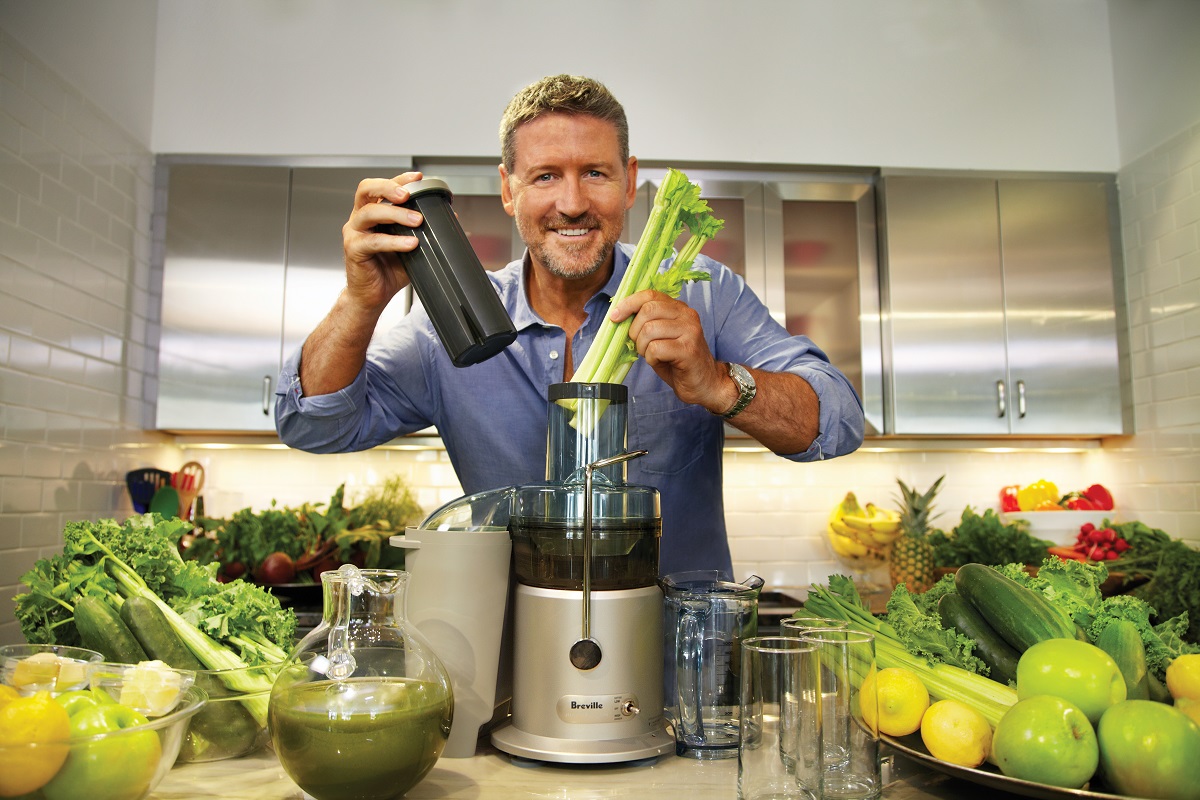
Welcome to the world of juicing! Juicing has gained popularity in recent years as a convenient and delicious way to incorporate more fruits and vegetables into our diets. Whether you’re a health-conscious individual looking to boost your nutrient intake or a beginner seeking guidance on how to use a juicer, this article is here to help you get started.
Using a juicer is a fantastic way to extract the natural juices from fruits and vegetables, providing you with a fresh and nutrient-rich beverage. Not only does it allow you to create delicious combinations of flavors, but it also offers various health benefits, including improved digestion, increased energy levels, and a strengthened immune system.
However, with so many different types of juicers available in the market, choosing the right one can be overwhelming. Should you go for a centrifugal juicer, a masticating juicer, or a hybrid model? How do you ensure that you’re getting the most out of your juicer in terms of extraction efficiency and ease of use?
In this article, we will guide you through the process of selecting the perfect juicer for your needs, setting it up, preparing your ingredients, the juicing process itself, cleaning and maintenance, and provide some helpful tips and tricks along the way.
So, whether you’re an experienced juicer looking for a refresher or a complete novice taking your first steps into the world of juicing, read on to discover everything you need to know about how to use a juicer effectively.
Key Takeaways:
- Choosing the right juicer is crucial for an enjoyable juicing experience. Consider factors like type, performance, size, ease of use, and budget to find the perfect juicer that suits your specific needs and preferences.
- Properly preparing ingredients, following the juicing process step-by-step, and maintaining and troubleshooting your juicer are essential for a successful and enjoyable juicing journey. Embrace creativity, experimentation, and the joy of juicing!
Read more: How To Use A Breville Juicer
Choosing the Right Juicer
When it comes to choosing a juicer, there are a few factors to consider that will help you find the perfect fit for your juicing needs. Here are some key points to keep in mind:
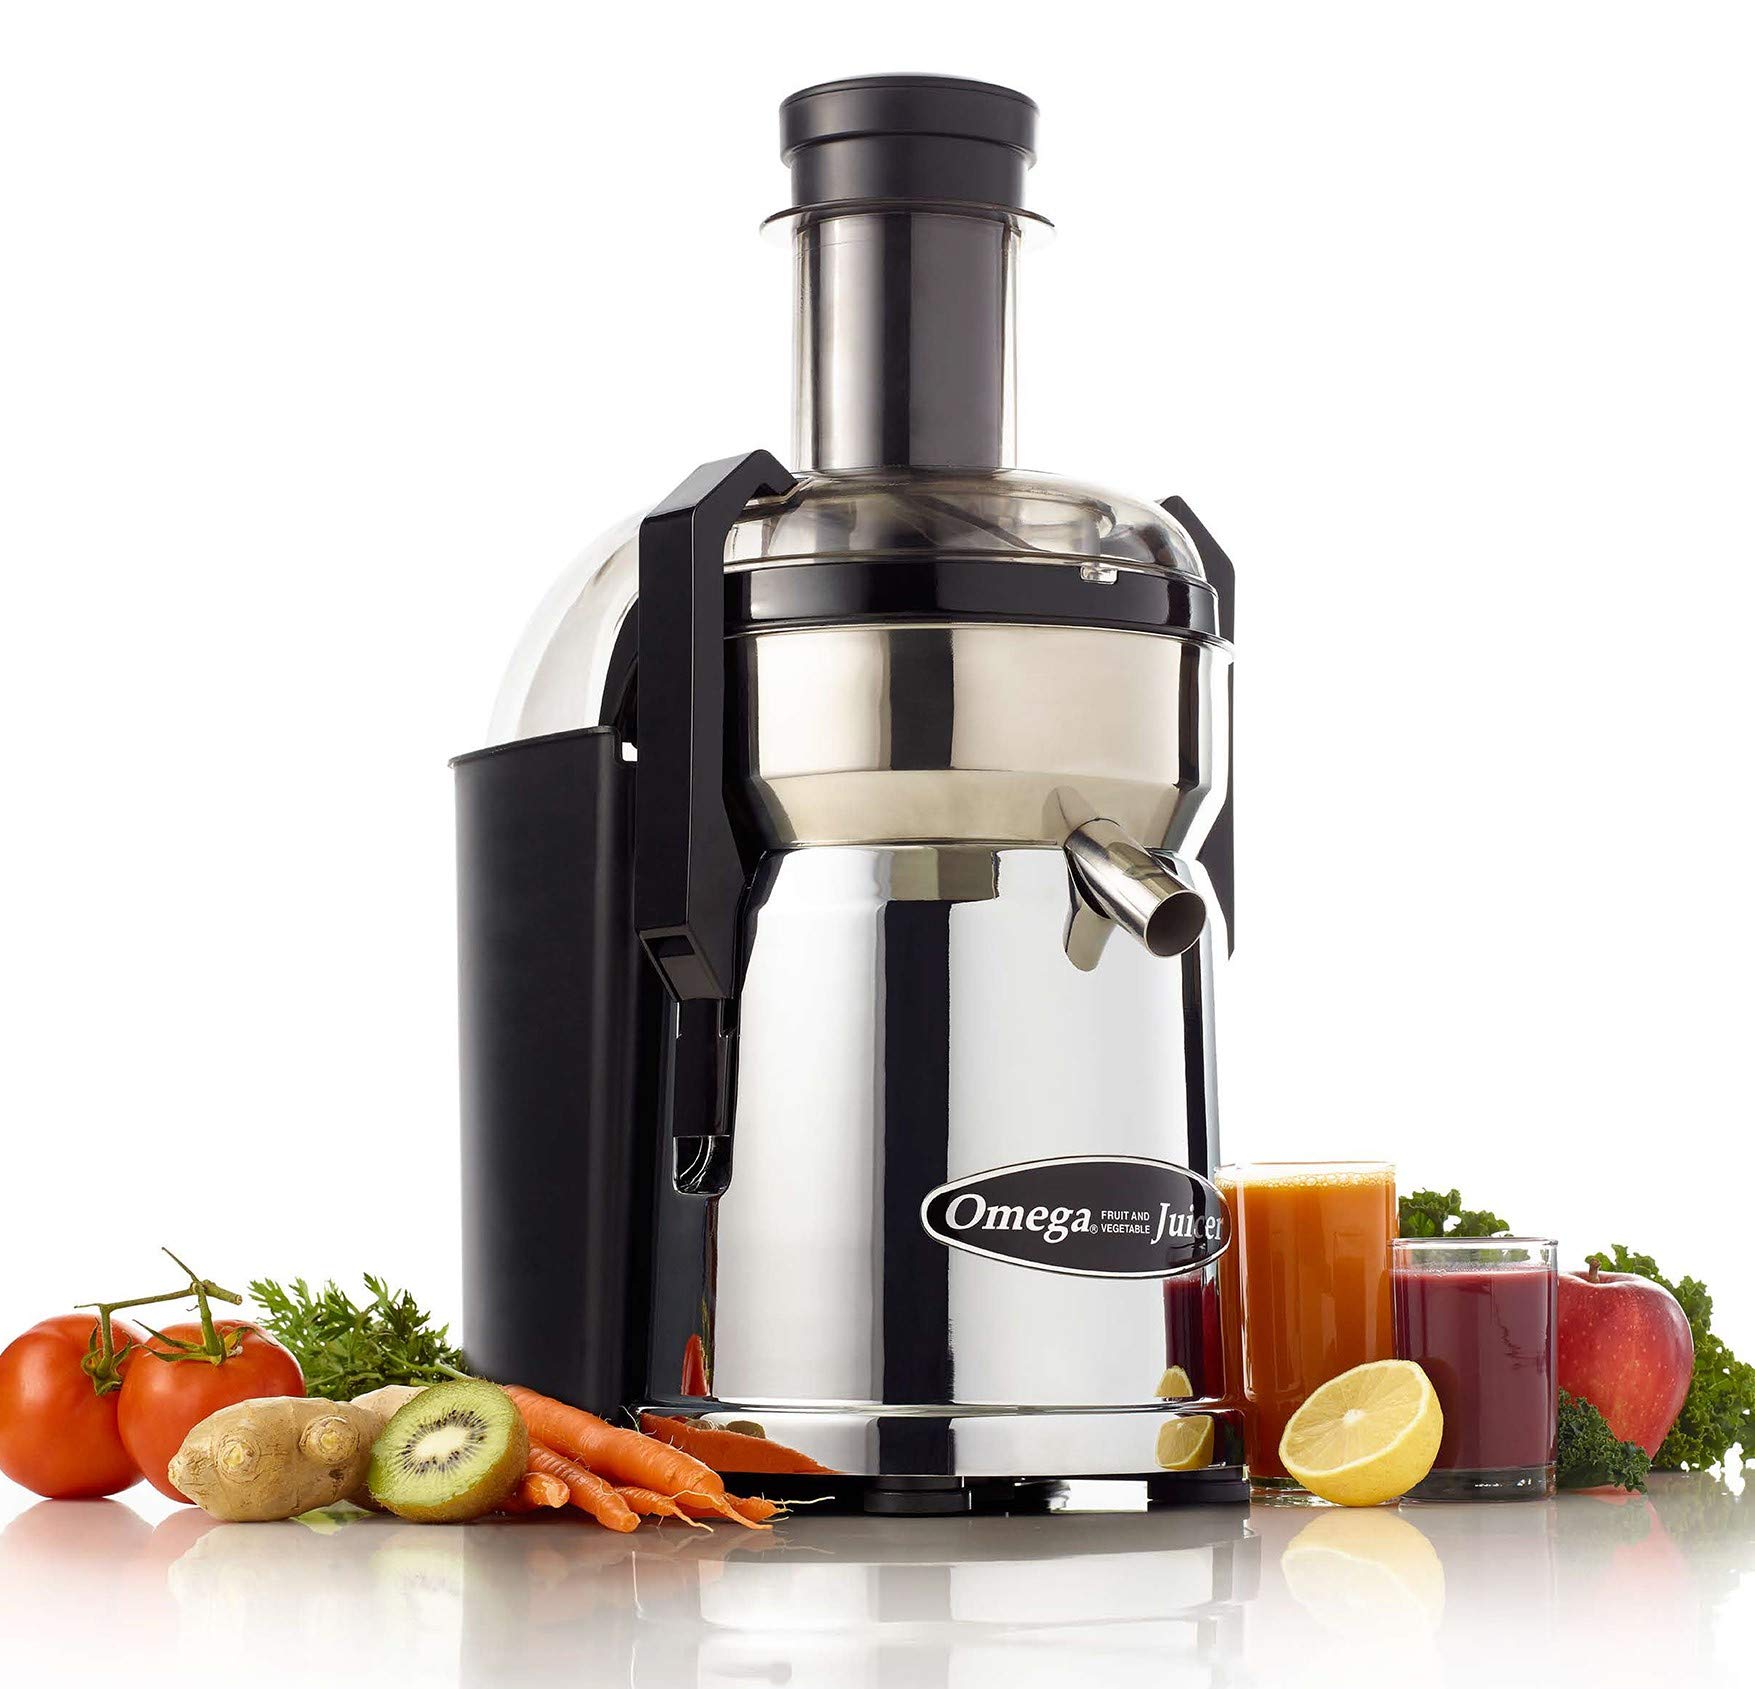
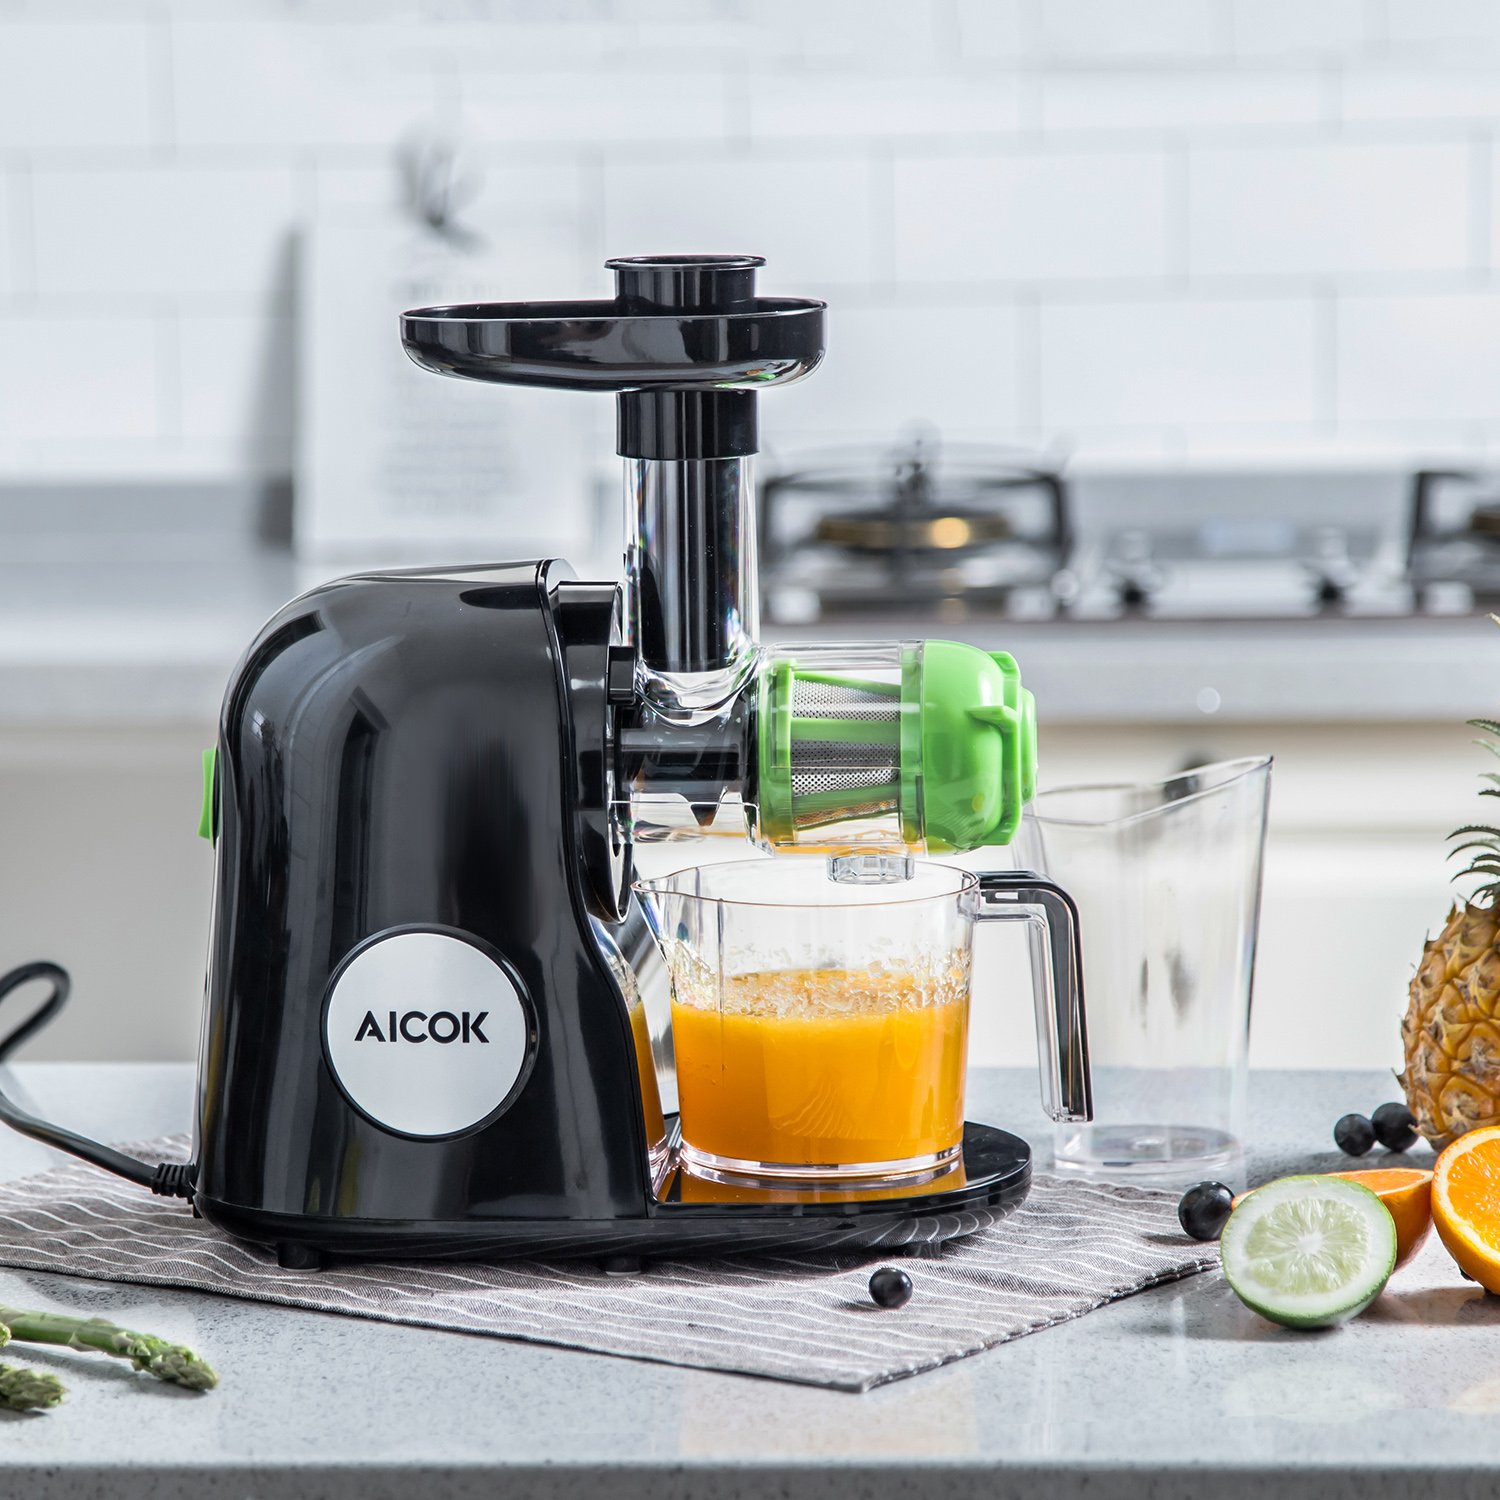
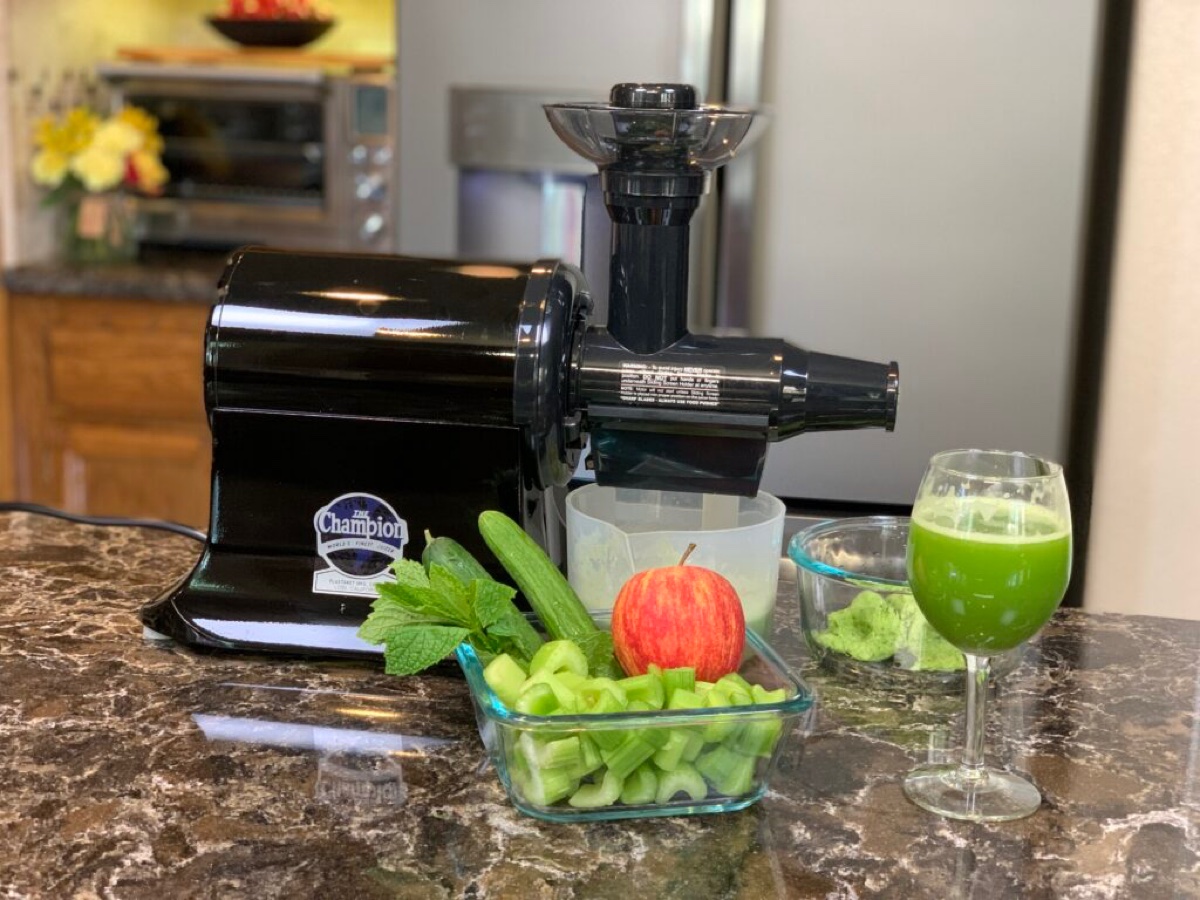
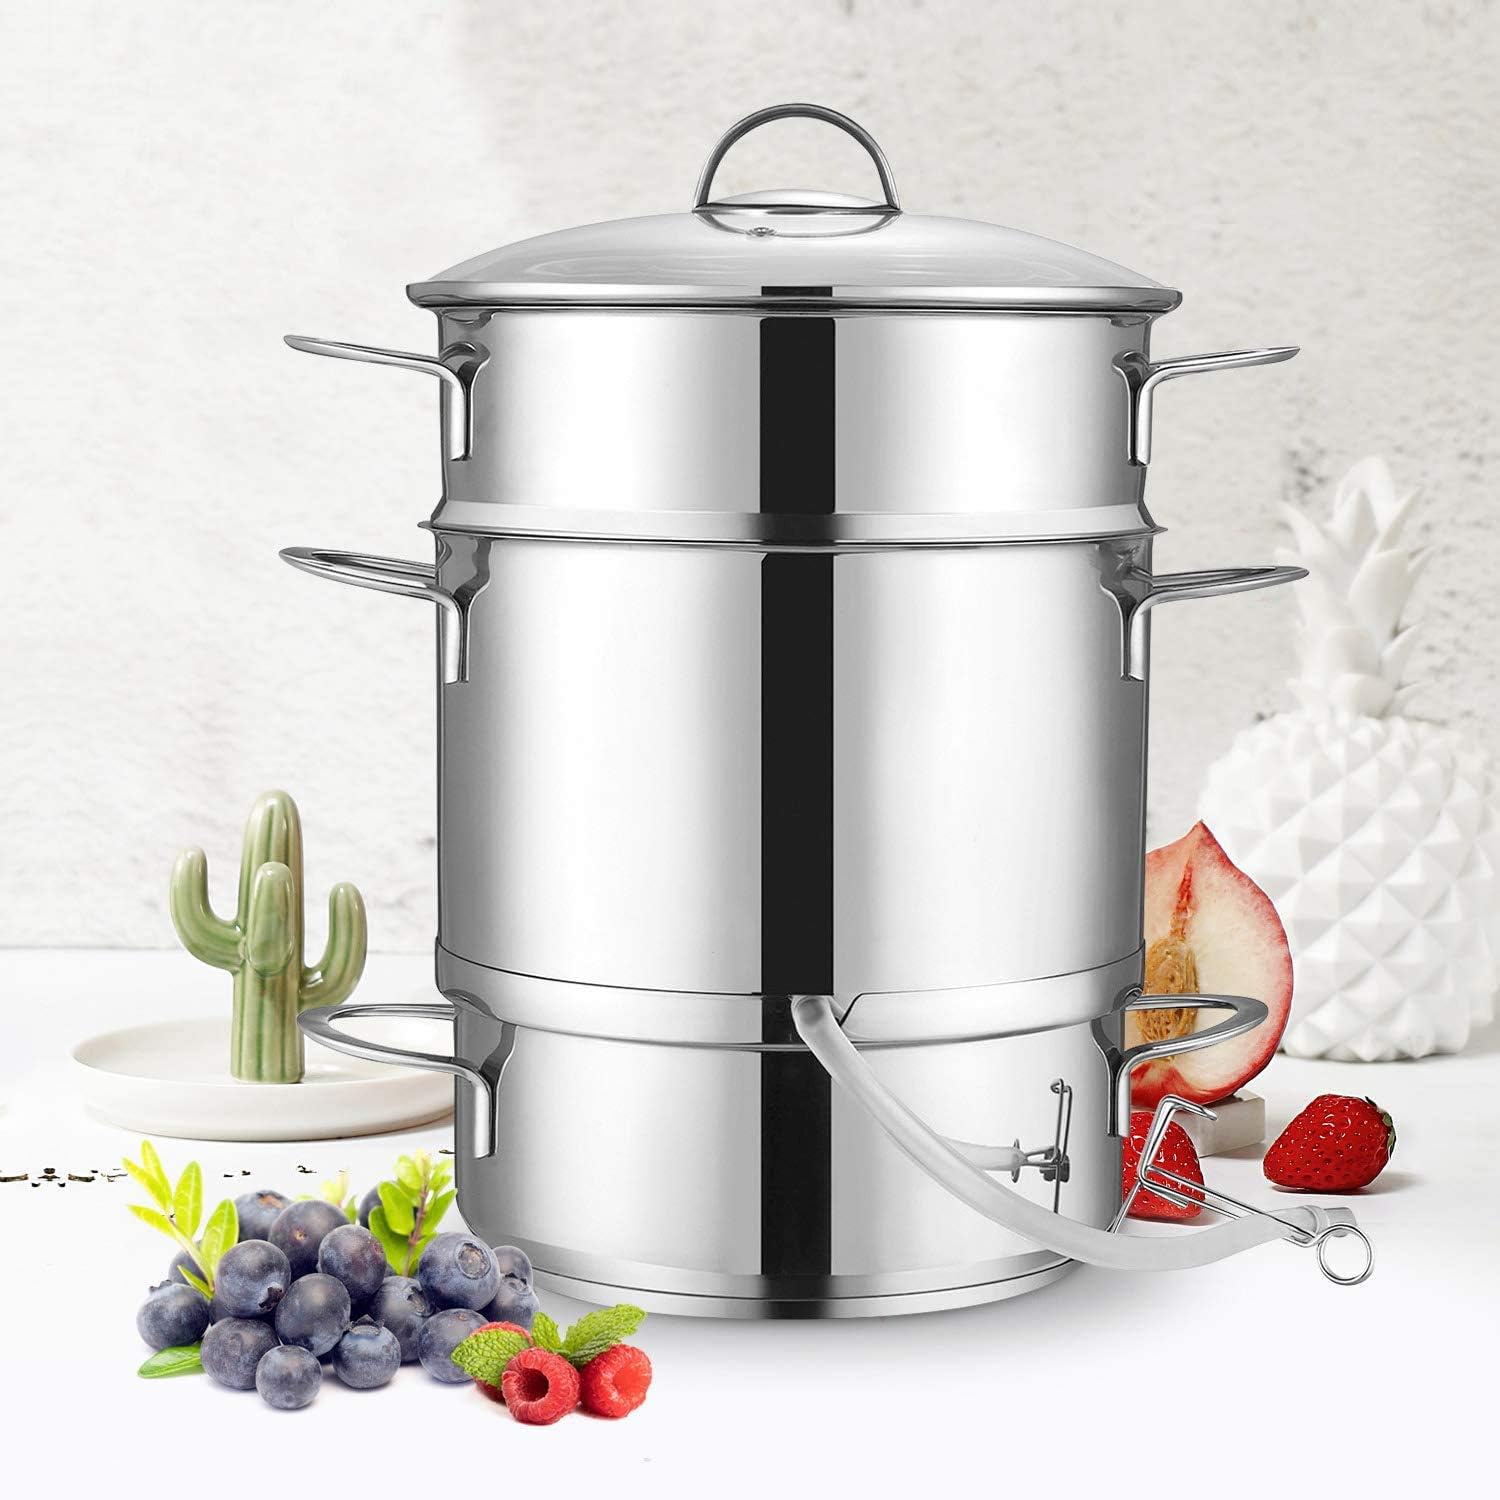
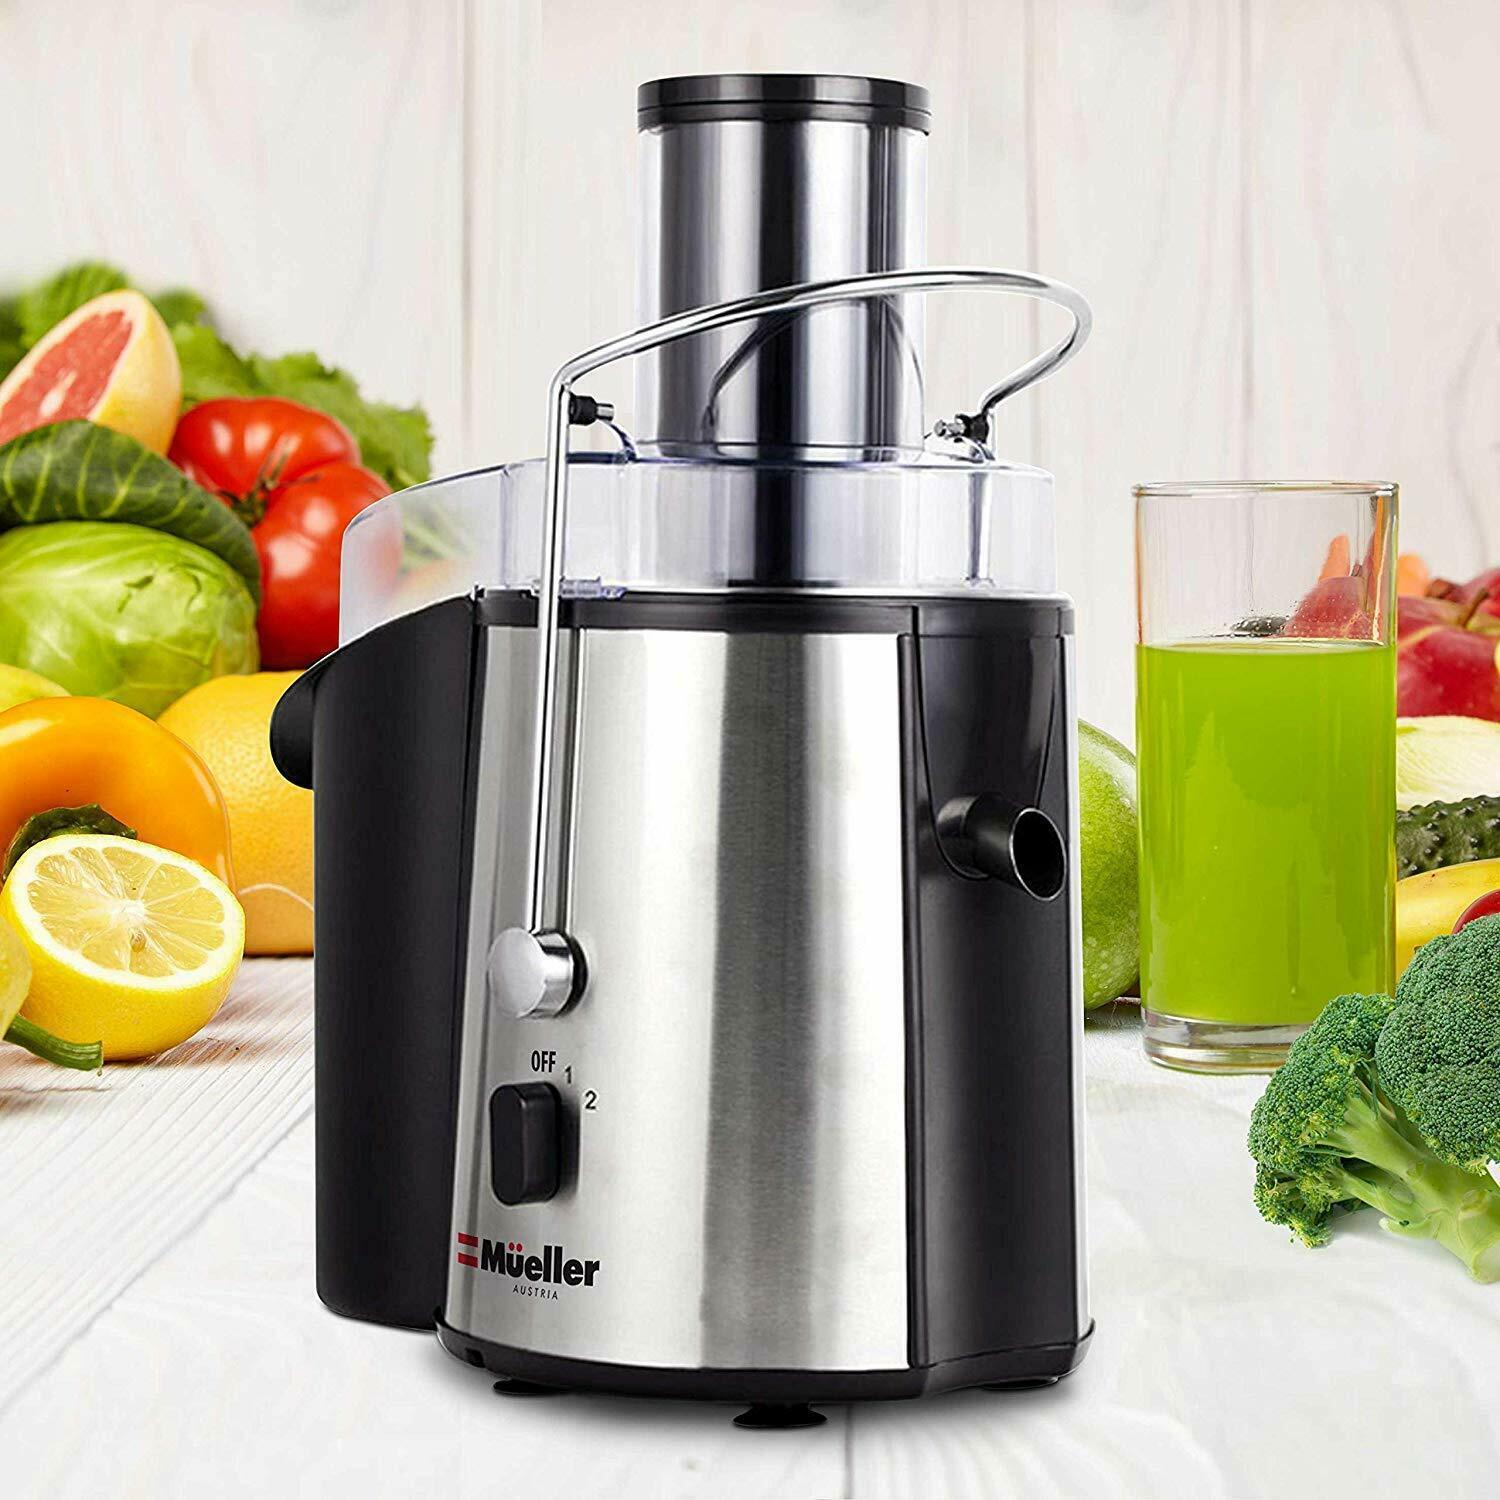
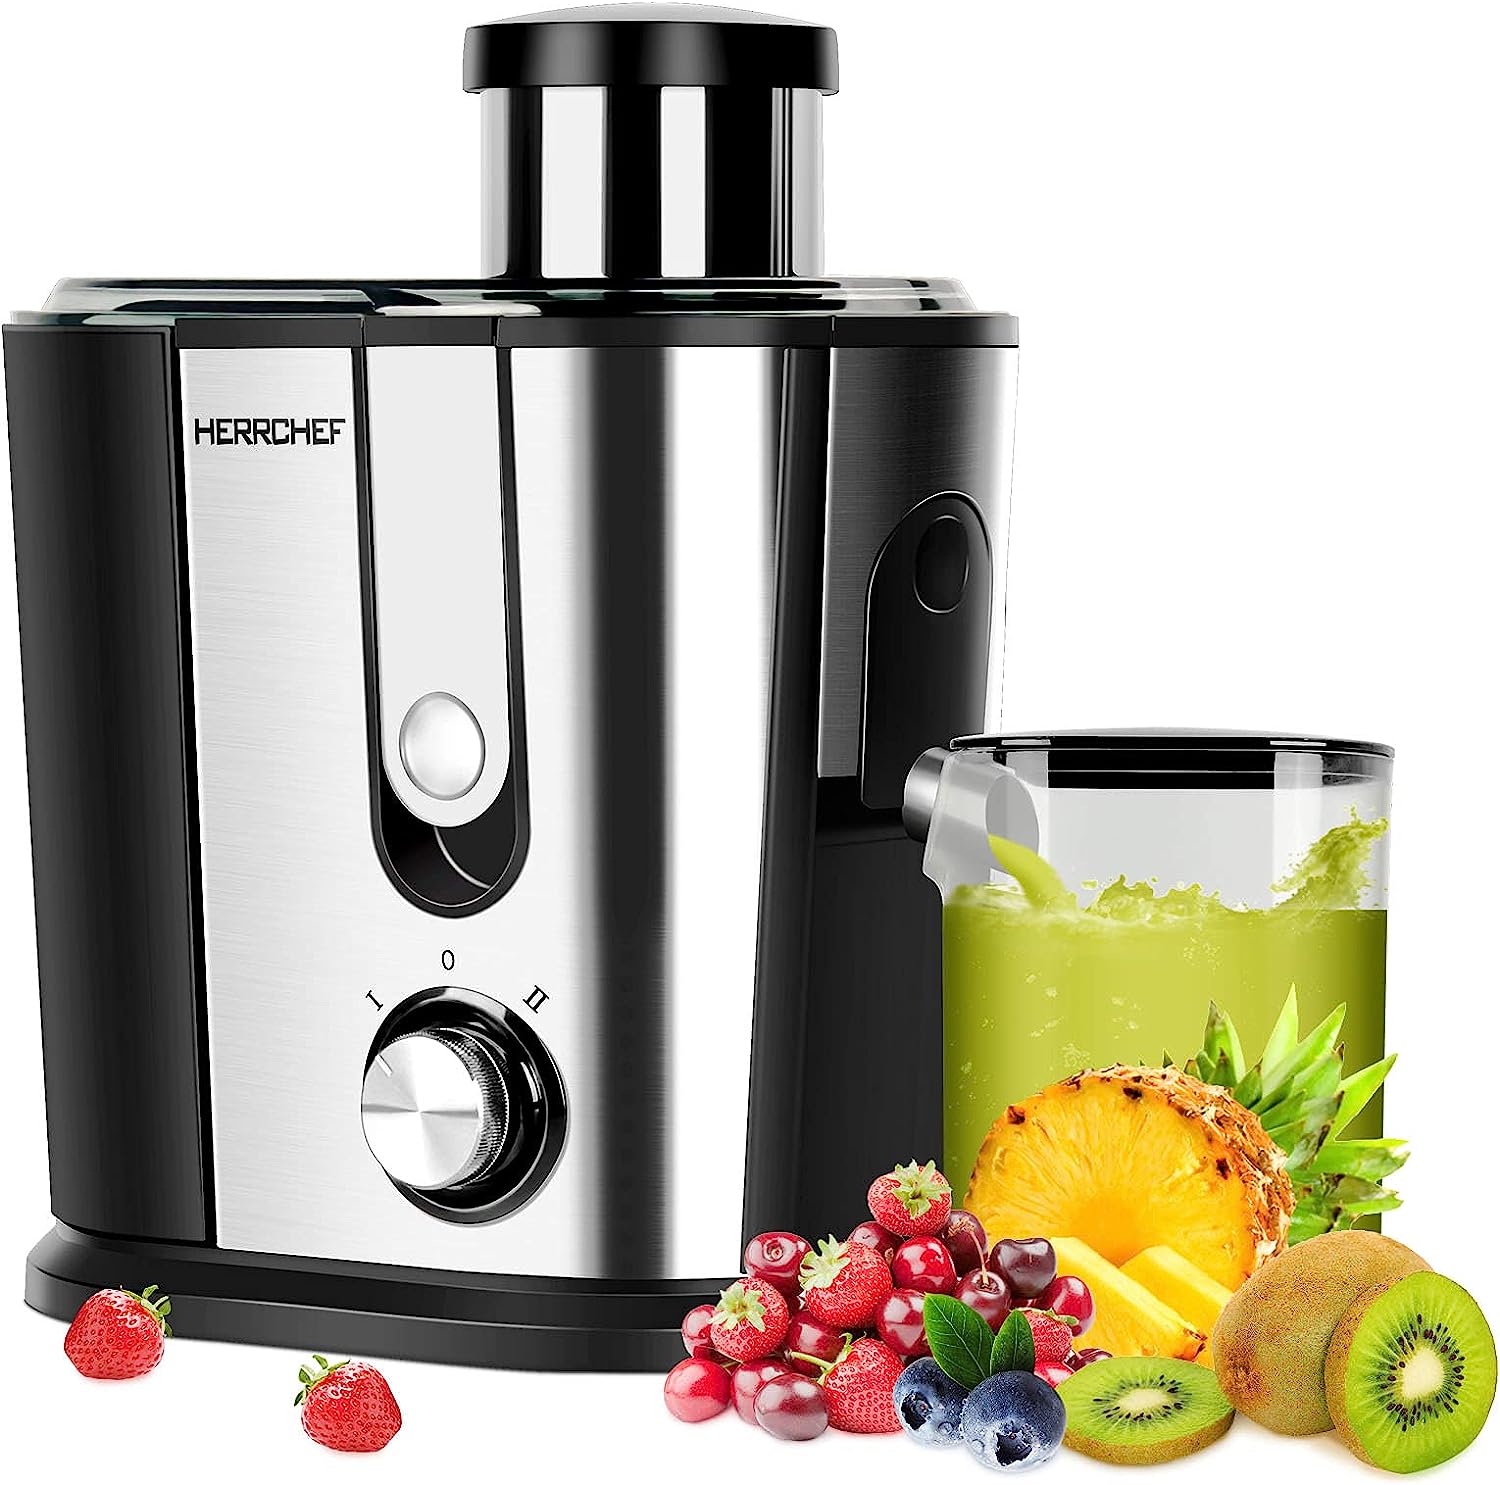
- Type of Juicer: There are several types of juicers available in the market, including centrifugal juicers, masticating juicers, and hybrid models. Centrifugal juicers are great for quick and efficient juicing of a wide variety of fruits and vegetables. Masticating juicers, on the other hand, operate at a slower speed and are ideal for juicing leafy greens and producing high-quality juice. Hybrid models combine features of both types, offering versatility.
- Performance and Extraction Efficiency: Look for a juicer that has a powerful motor and high extraction efficiency, ensuring that you get the most juice out of your ingredients. Consider the RPM (rotations per minute) of the juicer, as a lower RPM generally indicates a more efficient juicing process without excessive heat buildup.
- Size and Capacity: Consider the size and capacity of the juicer. If you have limited counter space or plan to travel with your juicer, a compact and portable model might be more suitable. Additionally, think about the size of the feeding chute. A wider chute allows you to juice whole fruits and vegetables without the need for extensive pre-cutting.
- Ease of Use and Cleaning: Look for a juicer that is user-friendly and easy to assemble, disassemble, and clean. Removable parts that are dishwasher safe can save you time and effort in the cleaning process.
- Budget: Set a budget for your juicer purchase. Juicer prices can vary significantly depending on the brand, type, and features. Determine how much you’re willing to invest and find a juicer that offers the best value for your money.
By considering these factors, you’ll be able to narrow down your options and choose a juicer that suits your specific needs and preferences. Remember, the right juicer will make the juicing process more enjoyable and efficient, allowing you to extract every last drop of goodness from your fruits and vegetables.
Setting Up the Juicer
Setting up your juicer properly is essential for a smooth and efficient juicing experience. Here are the steps to follow:
- Read the Manual: Before setting up your juicer, carefully read the instruction manual provided by the manufacturer. This will give you important information about assembly, operation, and safety precautions specific to your juicer model.
- Clean the Juicer Components: Before using the juicer for the first time, make sure to wash all the removable parts, such as the juicing chamber, strainer, and feeding chute, with warm soapy water. Rinse them thoroughly and allow them to dry completely.
- Assemble the Juicer: Follow the instructions in the manual to assemble the juicer properly. Usually, this involves attaching the strainer and juicing chamber to the main body of the juicer and securing them in place. Ensure that all the components are fitted tightly to prevent any leaks during the juicing process.
- Place a Juice Container: Position a glass or jug under the juice spout to collect the extracted juice. Make sure the container is large enough to accommodate the quantity of juice you expect to produce.
- Connect the Power Cord: Plug the power cord into an electrical outlet. Ensure that the cord is properly connected and the juicer is securely positioned on a stable surface.
- Perform a Test Run: Before adding any ingredients, turn on the juicer and let it run for a few seconds to ensure that it is functioning properly. This will also help remove any residual odors or dust from the new juicer.
Once these steps are completed, your juicer is ready to use. Always refer to the manual and follow the manufacturer’s instructions for your specific juicer model to ensure safe and optimal operation. Now, it’s time to move on to the next step: preparing your ingredients for juicing.
Preparing Your Ingredients
Properly preparing your ingredients is an essential step in the juicing process to ensure optimal extraction and a delicious end result. Here are some tips for preparing your ingredients before juicing:
- Wash Your Produce: Thoroughly wash all fruits and vegetables before juicing to remove any dirt, pesticides, or wax coatings. Use a vegetable brush to scrub items with tougher skins like apples or cucumbers.
- Peel and Remove Seeds: Depending on the type of produce, you may need to peel or remove seeds before juicing. Citrus fruits, for example, should be peeled, while apples and pears can be juiced with their skins intact. Remove any large seeds from fruits like watermelon or papaya.
- Cut into Manageable Sizes: To ensure smooth feeding into the juicer, cut larger fruits and vegetables into smaller pieces. For leafy greens, you can bunch them up into tight clusters to make them easier to handle and feed into the juicer.
- Remove Hard Pits and Cores: For fruits like peaches, plums, or mangoes, remove the pit or stone before juicing. Similarly, remove any tough cores from fruits like pineapples or apples.
- Trim Greens: If you’re using leafy greens such as kale, spinach, or Swiss chard, remove any tough stems or thick ribs as these can be challenging to juice and may result in a bitter taste.
Remember, the quality and freshness of your ingredients greatly impact the taste and nutrient content of your juice. Whenever possible, choose organic produce to minimize exposure to harmful chemicals and pesticides. Additionally, try to consume a varied selection of fruits and vegetables to maximize the nutritional benefits of your juice.
With your ingredients properly prepared, you’re now ready to start the juicing process. In the next section, we’ll walk you through the steps of using your juicer to extract delicious juice from your favorite fruits and vegetables.
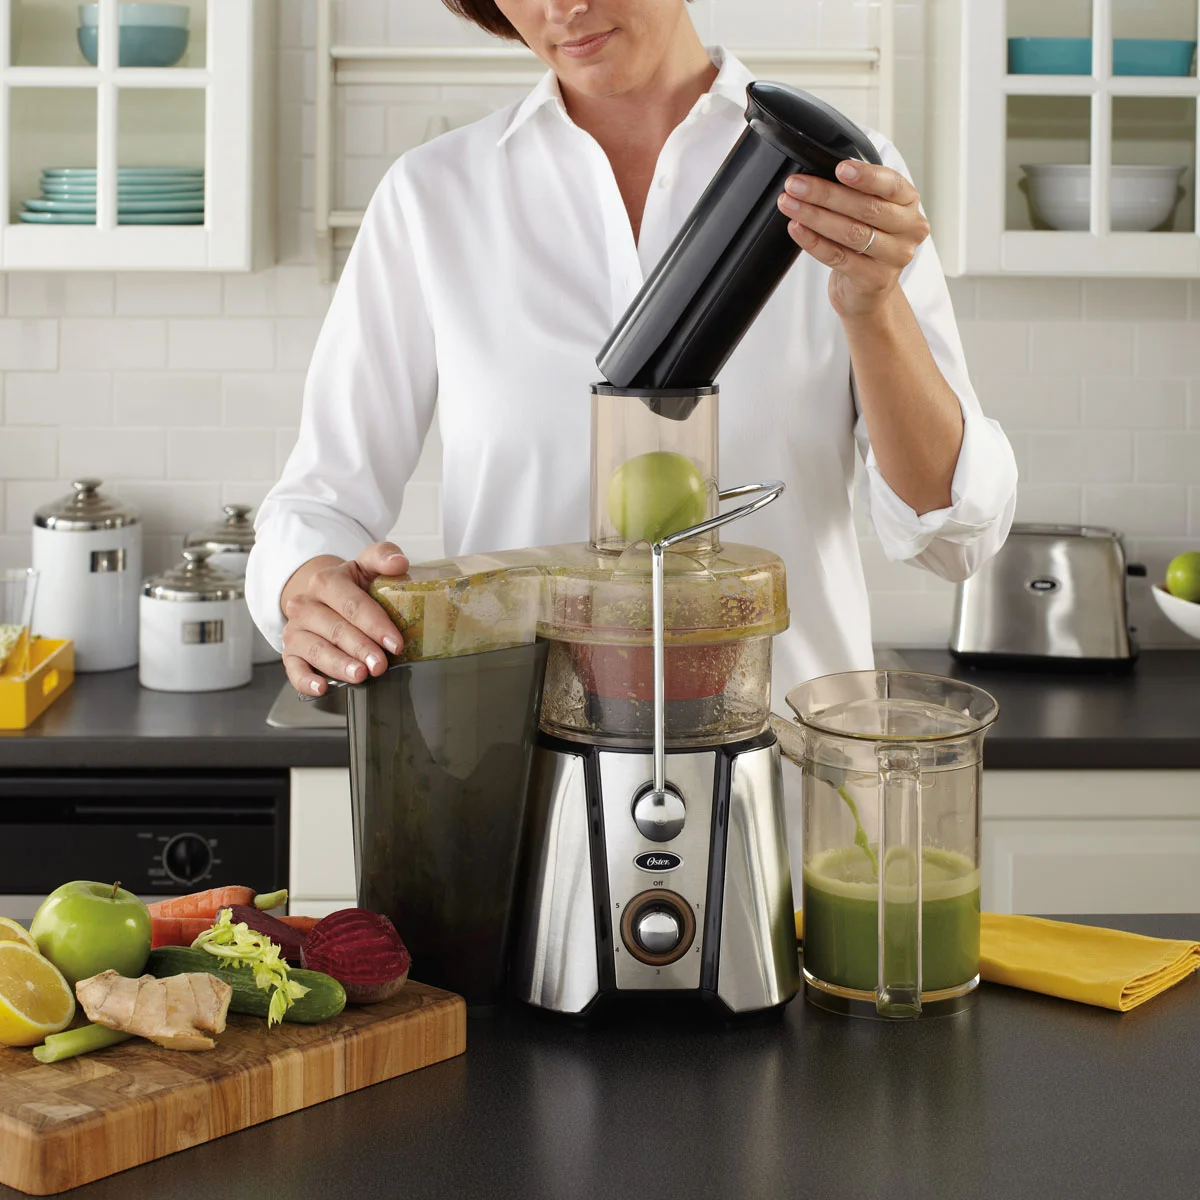
Juicing Process
Now that your ingredients are prepared, it’s time to dive into the juicing process. Here’s a step-by-step guide to help you extract delicious juice using your juicer:
- Add Ingredients: Start by placing your prepared ingredients into the feeding chute of your juicer. For larger items, feed them in gradually, allowing the juicer to handle each piece efficiently.
- Turn on the Juicer: Switch on the power to your juicer and select the appropriate speed setting. Different fruits and vegetables require different speeds, so consult your juicer’s manual for guidance. Start with a slower speed for leafy greens and softer fruits, and increase the speed for denser produce.
- Feed the Ingredients: Use the provided pusher to gently guide the ingredients into the juicer. Apply steady pressure to ensure all the juice is extracted while avoiding overloading the juicer. Take your time to allow the juicer to work its magic.
- Collect the Juice: As the juice is extracted, it will flow out of the spout and into your container. Make sure to position the container directly under the spout to catch every drop of fresh juice. Depending on the juicer model, you may need to occasionally empty the pulp collector if it becomes full.
- Continue Juicing: Repeat the process with the remaining ingredients until you have juiced all that you desired. Feel free to experiment with different combinations of fruits and vegetables to create unique flavors and nutritional profiles.
It’s important to note that some juicers may produce more pulp than others. If you prefer a smoother texture, you can strain the juice through a fine-mesh sieve or cheesecloth. Alternatively, if you enjoy pulp in your juice, you can leave it as is.
As you juice, try to alternate between different types of produce to prevent clogging or excessive strain on your juicer. Leafy greens should be interspersed with firmer fruits and vegetables to help keep the juicing process smooth and efficient.
Once you have extracted all the juice, give it a gentle stir to ensure the flavors are well mixed. It’s best to consume the juice immediately to enjoy maximum freshness and nutritional benefits. If you need to store the juice, transfer it to an airtight container and keep it refrigerated for up to 24 hours.
Congratulations! You have successfully gone through the juicing process. Now it’s time to clean and maintain your juicer so that it stays in great condition for future use. We’ll discuss this in the next section.
When using a juicer, make sure to wash and chop your fruits and vegetables into smaller pieces to ensure a smoother juicing process and better extraction of juice.
Read more: How To Use A Juicer Machine
Cleaning and Maintenance
Proper cleaning and maintenance of your juicer are essential for its longevity and continued performance. Here are some steps to follow to ensure your juicer stays in tip-top shape:
- Unplug the Juicer: Before you start cleaning, make sure to unplug the juicer from the electrical outlet to ensure safety.
- Disassemble the Juicer: Follow the instructions in the manual to disassemble the juicer. Remove all the removable parts, such as the juicing chamber, strainer, feeding chute, and pulp collector.
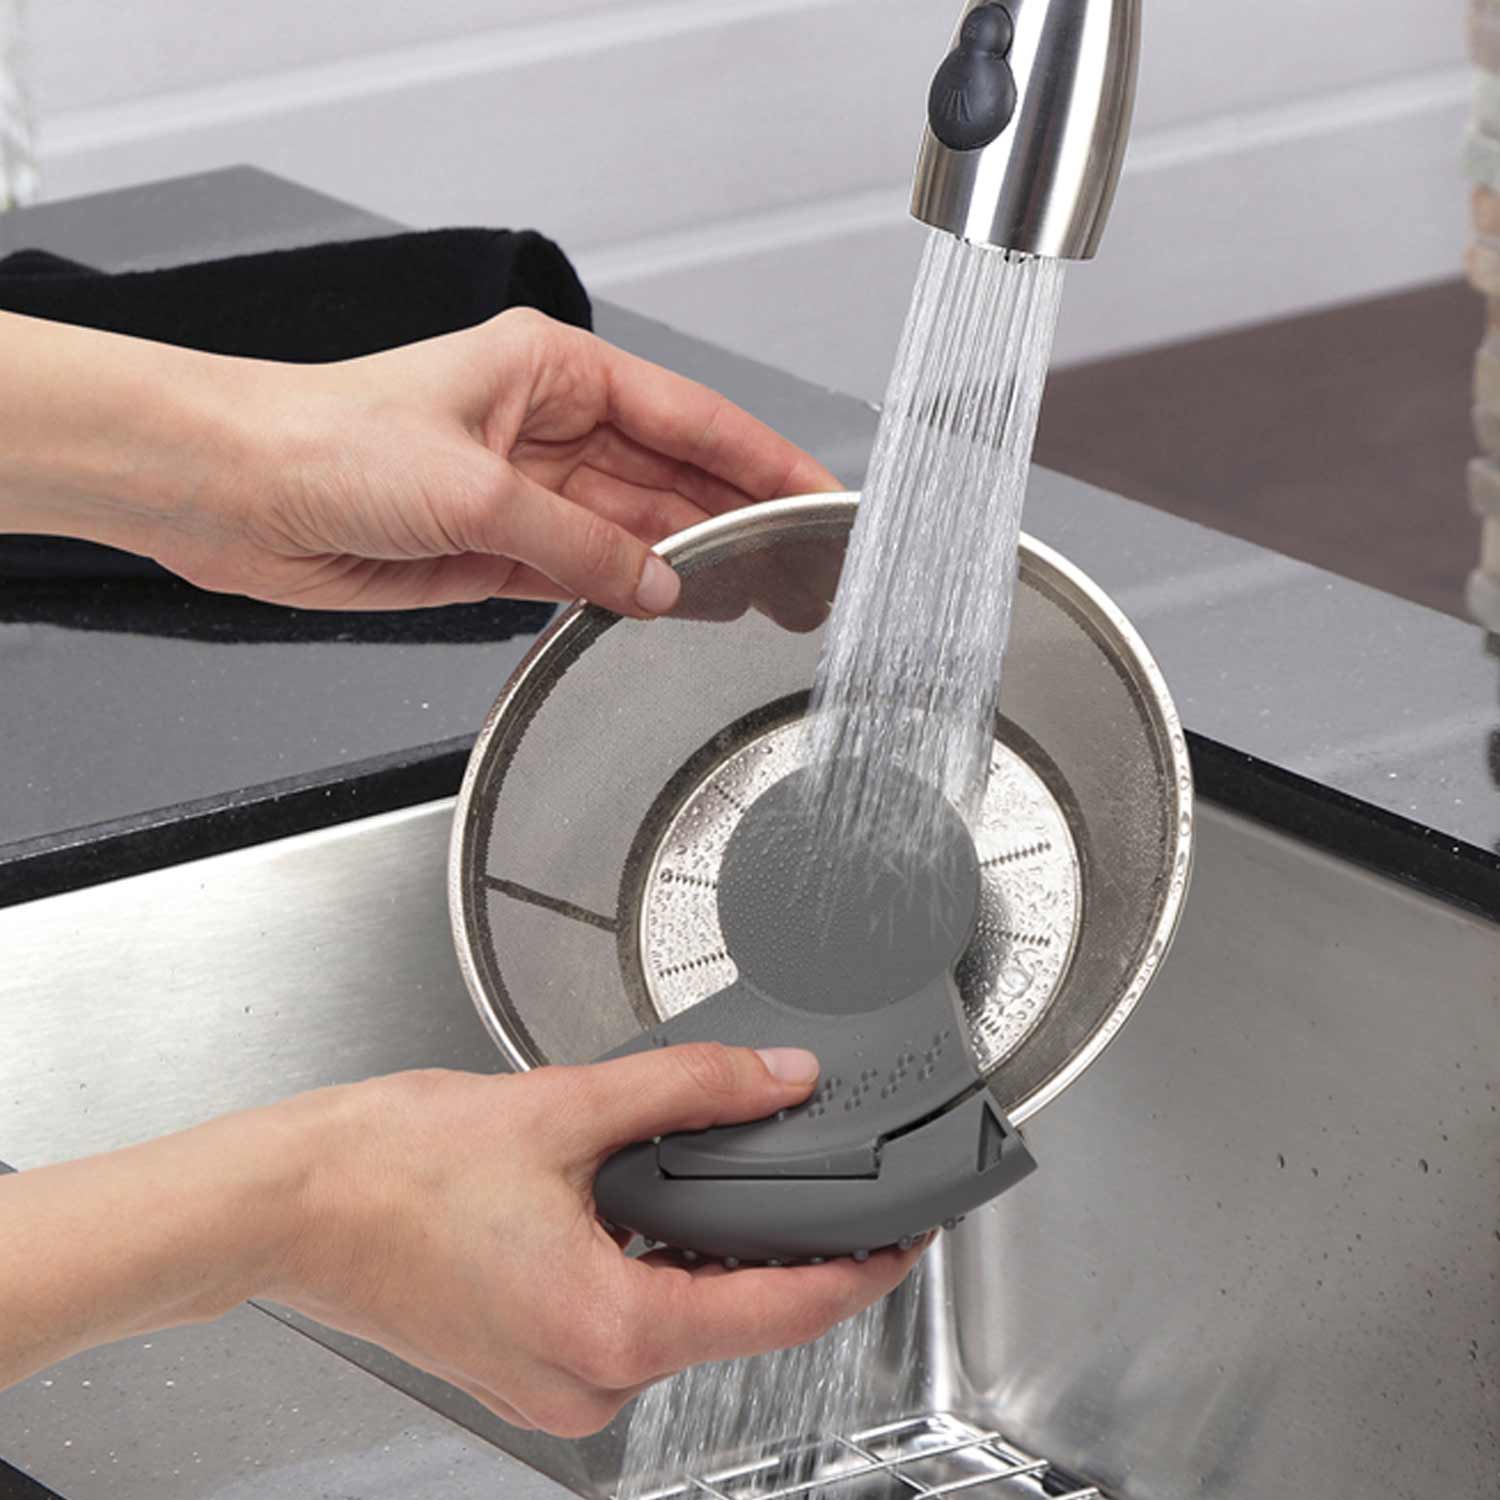
- Rinse and Soak: Rinse the removable parts under running water to remove any leftover juice or pulp. If there are stubborn residues, soak the parts in warm soapy water for a few minutes to loosen them.
- Clean the Parts: Use a brush, sponge, or cloth to clean the parts thoroughly. Pay special attention to the strainer as it can accumulate pulp and residue. Use a small brush to remove any stuck particles. Avoid using abrasive cleaning materials that may scratch or damage the juicer components.
- Remove Stains: If there are any stubborn stains on the parts, you can try applying a mixture of baking soda and water or using a mild cleaning agent specifically designed for juicer cleaning. Follow the instructions on the cleaning agent carefully.
- Dry the Parts: After washing, ensure that all the parts are completely dry before reassembling the juicer. Use a clean towel or air-dry the parts to prevent moisture buildup, which can lead to mold or deterioration.
- Wipe the Exterior: Use a damp cloth to wipe the exterior of the juicer to remove any dirt or spills. Avoid using excessive water on the exterior, as this can damage the electrical components.
- Regular Maintenance: Follow the manufacturer’s recommendations for regular maintenance of your juicer. This may include periodically lubricating certain parts or replacing specific components after a certain period of use.
By maintaining a regular cleaning routine and following proper maintenance guidelines, you ensure that your juicer remains hygienic, efficient, and in good working condition. Not only does this make juicing more enjoyable, but it also prolongs the lifespan of your juicer.
Now that you know how to clean and maintain your juicer, let’s explore some tips and tricks to help you make the most out of your juicing experience.
Tips and Tricks
As you embark on your juicing journey, here are some helpful tips and tricks to enhance your experience and get the most out of your juicer:
- Experiment with Flavor Combinations: Don’t be afraid to get creative and try different combinations of fruits and vegetables. Mixing sweeter fruits with leafy greens or adding a touch of citrus can create a well-balanced and flavorful juice.
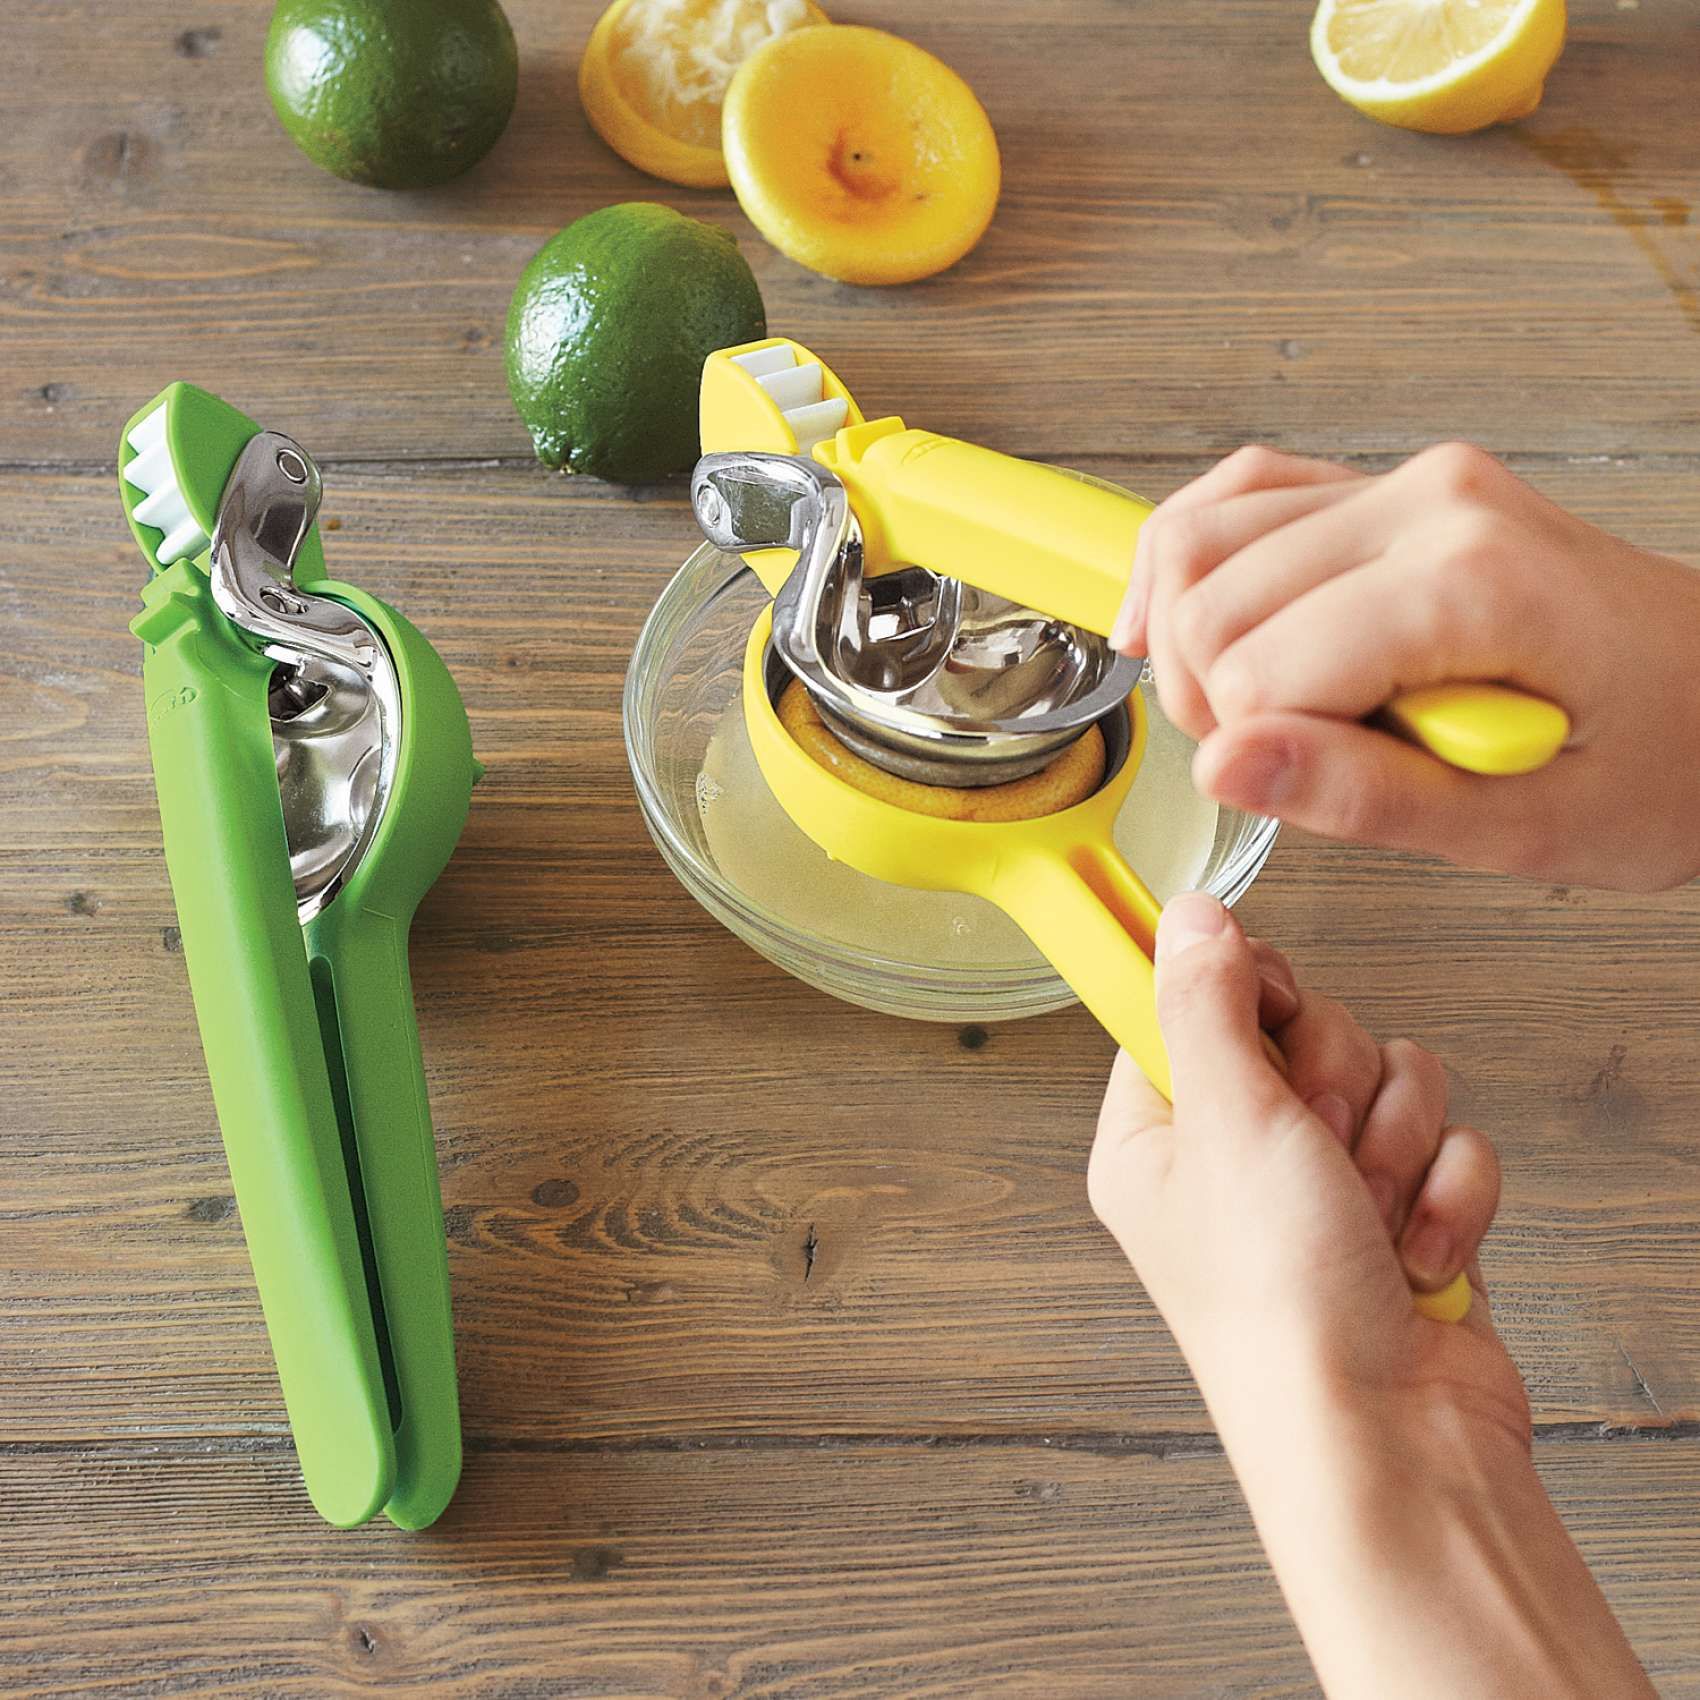
- Add a Splash of Citrus: Citrus fruits like lemon, lime, or orange can add a refreshing tang to your juice and help balance out the flavors. Consider adding a small amount of citrus juice or zest to elevate the taste.
- Save the Pulp: Don’t let the leftover pulp go to waste! You can use it creatively in other recipes, such as adding it to smoothies, soups, muffins, or even using it as compost for your plants. Pulp can add fiber and texture to your dishes.
- Drink Immediately: Freshly made juice is packed with nutrients and enzymes that start to degrade over time. For the best nutritional benefit, consume your juice immediately after juicing. If you must store it, keep it refrigerated in an airtight container for up to 24 hours.
- Prevent Oxidation: To minimize oxidation, which can affect the taste and nutritional quality of your juice, store it in airtight containers and fill them to the brim to reduce the amount of air in contact with the juice.
- Vary Your Ingredients: Aim to incorporate a wide variety of fruits and vegetables into your juice to benefit from a diverse range of nutrients. This not only improves the nutritional value of your juice but also keeps your taste buds excited.
- Clean Immediately: Cleaning your juicer immediately after use prevents the buildup of residue and makes the cleaning process easier. It also ensures that your juicer is ready for the next juicing session when you need it.
- Start Slowly: If you’re new to juicing, start with milder ingredients and gradually introduce stronger-tasting or more potent ones. This allows your taste buds to adjust and helps prevent any overwhelming flavors.
Remember, juicing is a personal journey, and everyone has their preferences. Feel free to adapt recipes, adjust ingredient ratios, and explore what works best for you. Enjoy the process and have fun creating delicious and nutritious juices!
Now that you’re armed with these valuable tips and tricks, let’s address common issues that may arise during the juicing process and how to troubleshoot them.
Troubleshooting
While juicing can be a straightforward and enjoyable process, you may encounter some common issues along the way. Here are some troubleshooting tips to help you overcome potential challenges:
- Clogging: If your juicer becomes clogged during the juicing process, try reducing the amount of produce you feed into the chute at once. Additionally, alternate between fibrous and softer ingredients to prevent excessive pulp buildup. If clogging persists, stop the juicer, disassemble the affected parts, and clear any blockages before continuing.
- Excessive Foam: If you notice excessive foam in your juice, it’s usually due to certain fruits or vegetables that tend to produce more foam. To minimize foam, try adding these ingredients in smaller quantities or balance them with other ingredients. Additionally, skim off any foam before consuming the juice.
- Poor Juice Extraction: If you find that your juicer is not extracting juice effectively, make sure you are using ripe and well-prepared produce. Additionally, check the juicer’s settings and speed. Slower speeds are generally more efficient for leafy greens, while higher speeds are better for harder fruits and vegetables.
- Leaking: If you notice any leaks during the juicing process, it may indicate a loose or incorrectly fitted component. Double-check that all the parts are securely assembled and tightened before starting the juicing process. If the issue persists, inspect the juicer for any cracks or damaged parts that may need to be repaired or replaced.
- Uneven Juicing: If you find that some produce is not juicing evenly or is being expelled with more pulp than juice, check the positioning of the produce in the chute. Try feeding it in at a slower pace to ensure optimal juicing. Additionally, ensure that the strainer or filter basket is clean and free from any residue that may affect the extraction process.
If you encounter any other issues or have concerns about your juicer’s performance, refer to the instruction manual or reach out to the manufacturer’s customer support for assistance. They can provide specific troubleshooting advice based on your juicer model.
Remember, troubleshooting is part of the learning process, and with time, you’ll become more adept at identifying and resolving any minor issues that may arise. Don’t get discouraged and continue to enjoy the many benefits of juicing.
After learning all these essential aspects of using a juicer, you’re well on your way to becoming a juicing expert. So, start experimenting with different fruits and vegetables, create your favorite juice recipes, and introduce a delightful burst of nutrition into your daily routine.
Happy juicing!
Conclusion
Congratulations on completing this comprehensive guide on how to use a juicer effectively! By now, you should have a solid understanding of the process, from choosing the right juicer to cleaning and troubleshooting. Juicing is a fantastic way to incorporate more fruits and vegetables into your diet, providing you with a delicious and nutrient-rich beverage.
Remember to select a juicer that suits your needs and preferences, whether it’s a centrifugal juicer for quick and efficient juicing, a masticating juicer for leafy greens, or a hybrid model for versatility. Properly set up your juicer before each use, ensuring all the components are securely in place. Preparing your ingredients correctly by washing, peeling, and cutting them into manageable sizes is crucial for optimal extraction.
During the juicing process, experiment with different flavor combinations, add a splash of citrus for an extra zing, and don’t forget to save and utilize the leftover pulp creatively. Clean your juicer thoroughly after each use and follow the manufacturer’s recommendations for maintenance to keep it functioning efficiently for years to come.
Make the most out of your juicing experience by incorporating the helpful tips and tricks provided. Vary your ingredient choices, drink your juice immediately for maximum freshness, and embrace your own unique taste preferences. And if you encounter any issues, refer to our troubleshooting section for valuable solutions.
Now that you’re armed with knowledge and inspiration, it’s time to enjoy the nutritious and delicious world of juicing. So, grab your favorite fruits and vegetables, fire up your juicer, and start creating your own signature blends. Cheers to a healthier and vibrant lifestyle with the power of juicing!
Frequently Asked Questions about How To Use A Juicer
Was this page helpful?
At Storables.com, we guarantee accurate and reliable information. Our content, validated by Expert Board Contributors, is crafted following stringent Editorial Policies. We're committed to providing you with well-researched, expert-backed insights for all your informational needs.

0 thoughts on “How To Use A Juicer”