
Articles
How To Use A Coffee Machine Barista
Modified: January 9, 2024
Learn the art of making barista-style coffee at home with our comprehensive articles on how to use a coffee machine like a pro. Master the techniques and impress your guests!
(Many of the links in this article redirect to a specific reviewed product. Your purchase of these products through affiliate links helps to generate commission for Storables.com, at no extra cost. Learn more)
Introduction
Welcome to the world of coffee aficionados! If you are a coffee lover looking to elevate your coffee experience, learning how to use a coffee machine like a barista is a must. Owning a coffee machine at home gives you the opportunity to enjoy cafe-quality coffee without having to go out. With a little knowledge and practice, you can become your own barista and master the art of brewing delicious espresso shots, frothing milk, and creating beautiful latte art.
In this article, we will guide you through the steps of using a coffee machine like a pro barista. From gathering the necessary equipment to cleaning and maintenance, we will cover everything you need to know to brew your perfect cup of coffee.
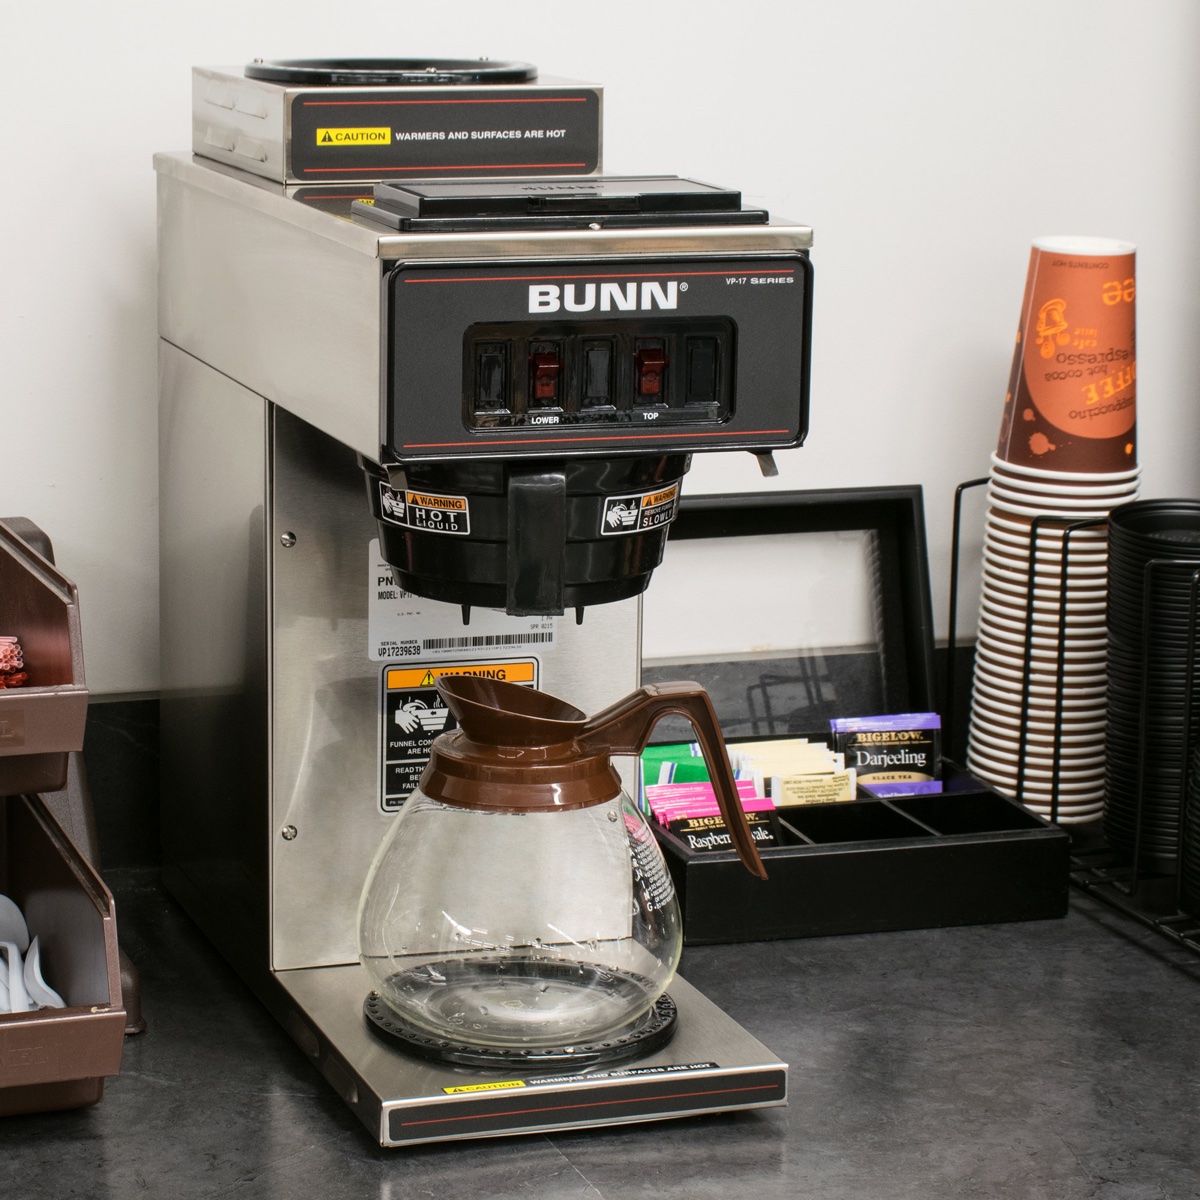
Before we dive into the process, it’s important to understand the different types of coffee machines available. The most common types are manual espresso machines, semi-automatic machines, and fully automatic machines. The process we will be discussing is applicable to manual and semi-automatic machines, as they allow you to have more control over the brewing process.
So, grab your favorite coffee beans, let’s get started and unlock the secrets of being a barista in the comfort of your own home!
Key Takeaways:
- Elevate your coffee experience by mastering the art of using a coffee machine like a pro barista. From grinding beans to pouring captivating latte art, you can create exceptional coffee drinks at home.
- Embrace the joy of experimentation and share your newfound barista skills with others. With dedication and passion, transform your daily coffee routine into a deeply satisfying and exceptional experience.
Read more: How To Use Coffee Machine
Step 1: Gathering the Necessary Equipment
Before you kickstart your barista journey, it’s essential to assemble all the necessary equipment. Here’s a list of items you’ll need:
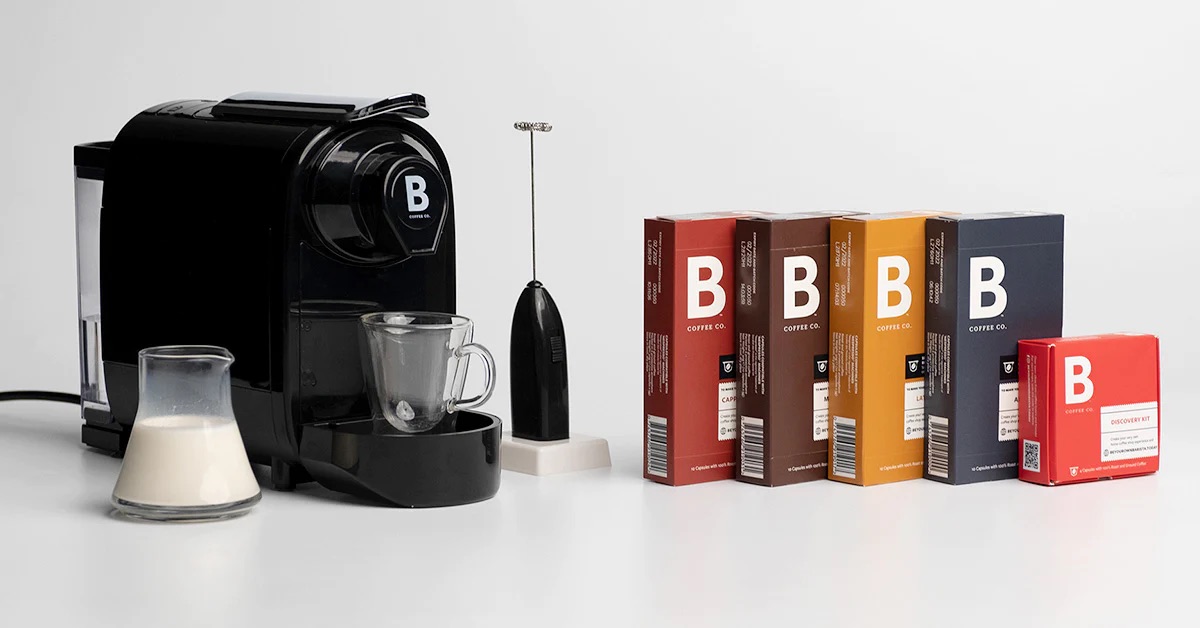
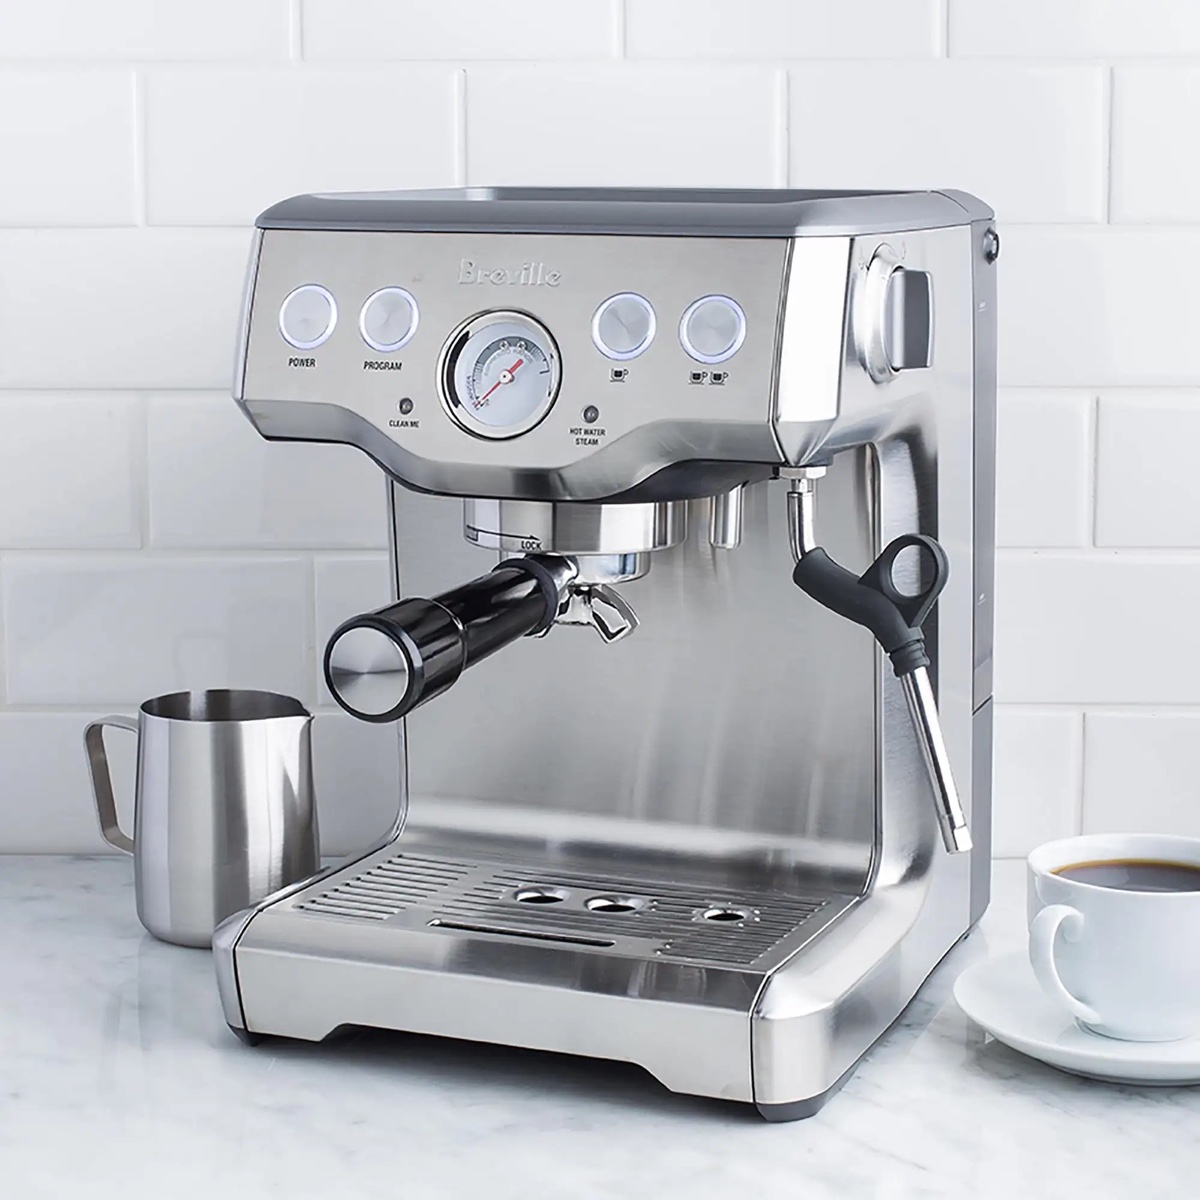
- A coffee machine: Choose a manual or semi-automatic espresso machine that suits your preferences and budget. Look for features like a built-in grinder, temperature control, and steam wand.
- Coffee beans: Opt for high-quality, freshly roasted beans for the best flavor. Experiment with different origins and roast levels to find your perfect cup.
- Grinder: Invest in a burr grinder to ensure a consistent grind size. This will greatly impact the flavor and extraction of your coffee.
- A scale: To achieve precision in your coffee brewing, a scale is essential. Measure your coffee and water ratios for optimal results.
- Tamper: A tamper is used to evenly distribute and compact the coffee grounds in the portafilter. Look for one that fits the size of your portafilter.
- Portafilter: The portafilter is the handle that holds the coffee grounds. Ensure it is clean and fits snugly into your machine.
- Milk pitcher: If you’ll be making milk-based drinks, a stainless steel milk pitcher will be necessary for steaming and frothing milk.
- Thermometer: For precise milk steaming, a thermometer can help you achieve the perfect temperature for your latte or cappuccino.
- Coffee cups: Invest in a set of high-quality espresso cups to enjoy your freshly brewed coffee.
- Cleaning supplies: Keep your machine in top shape with specific cleaning brushes and detergents designed for coffee equipment.
Make sure you have all these items readily available before you embark on your barista journey. Having the right tools will not only make the brewing process easier but also enhance the overall coffee experience.
Step 2: Preparing the Coffee Beans
Once you have gathered all the necessary equipment, it’s time to focus on preparing the coffee beans. The freshness and quality of the beans will greatly impact the flavor of your espresso shot. Here’s how to do it:
- Choose freshly roasted beans: Look for beans that have been roasted within the past two weeks. Freshly roasted beans retain more flavor and aroma compared to older beans.
- Store beans properly: Keep your coffee beans in an airtight container in a cool, dark place. Avoid storing them in the refrigerator or freezer as this can introduce moisture and affect the flavor.
- Measure the beans: Using a scale, measure the desired amount of beans based on the coffee-to-water ratio you prefer. A general guideline is to use a ratio of 1:18, which means 1 gram of coffee for every 18 grams of water.
- Grind just before brewing: To preserve the freshness, grind your coffee beans just before you’re ready to brew. A burr grinder will provide a consistent grind size, ensuring optimal extraction.
It’s important to note that the grind size will vary depending on your brewing method. For espresso, you’ll need a fine grind, almost like powdered sugar. Experiment with different grind sizes to find the perfect one for your taste preferences and machine.
Remember, the quality and freshness of the coffee beans are crucial in achieving a flavorful espresso shot. Take your time to find beans that suit your taste and invest in a good quality grinder for consistent grinding.
Step 3: Grinding the Coffee Beans
Now that you have your freshly roasted coffee beans, it’s time to grind them to the right consistency. Grinding the beans just before brewing ensures maximum freshness and flavor. Here’s how to grind your coffee beans:
- Adjust the grind size: The grind size is crucial in determining the extraction rate and taste of your espresso. For a manual or semi-automatic machine, you’ll need a fine grind, similar to powdered sugar. However, different machines may require slight adjustments, so it’s best to consult your machine’s instruction manual.
- Set up the grinder: Measure the desired amount of coffee beans based on your brewing method and place them in the grinder’s hopper. Make sure the hopper is clean and free from any leftover residue.
- Grind the beans: Start the grinder and let it grind the beans until you achieve the desired consistency. It’s important to listen to the sound of the grinder – a consistent, low-pitched humming sound indicates a proper grind. If the sound is too high-pitched or inconsistent, adjust the grind settings accordingly.
- Collect the ground coffee: Once the beans are ground, collect the coffee grounds in a clean container. You can use the dosing feature of your grinder if available, or manually transfer the grounds to a container using a spoon.
Remember, the consistency of the coffee grounds is crucial in achieving a balanced and flavorful espresso. Too fine of a grind can result in over-extraction, leading to a bitter taste, while too coarse of a grind can result in under-extraction, leading to a weak and watery shot.
Take your time to experiment with different grind sizes and adjust as needed to find the sweet spot for your taste preferences. With practice, you’ll master the art of grinding the perfect coffee beans for your espresso shot.
Step 4: Tamping the Ground Coffee
After grinding the coffee beans, the next step in the espresso-making process is tamping. Tamping involves evenly compacting the ground coffee into the portafilter to ensure a smooth and consistent extraction. Here’s how to tamp the ground coffee:
- Prepare the portafilter: Remove the portafilter from the machine and inspect the basket. Make sure it is clean and free from any coffee residue. If it’s dirty, rinse it with water and dry it thoroughly.
- Distribute the coffee grounds: Take the desired amount of ground coffee and distribute it evenly across the basket. Use your finger or a distribution tool to ensure an even distribution. This step helps to prevent channeling and promotes even extraction.
- Tamp the coffee grounds: Place the tamper on top of the coffee grounds and apply downward pressure. The tamper should be parallel to the ground and exert even pressure. Use your arm and body weight to tamp, rather than just your wrist. Aim for a firm and level tamp, making sure the coffee is evenly compressed.
- Polish the surface: After tamping, give the coffee surface a quick polishing to remove any loose grounds. Use the flat bottom of the tamper and apply a gentle twist, so the surface is smooth and uniform.
Tamping is a crucial step in achieving a balanced and properly extracted espresso shot. It helps to create a proper resistance to the water flow and ensures an even distribution of water throughout the coffee puck. A well-tamped coffee bed will result in a higher chance of obtaining a rich and flavorful espresso.
Remember to practice your tamping technique to achieve consistency. With time and experience, you’ll develop your own tamping style and find the pressure that works best for you.
Read more: 15 Coffee Canister for the Home Baristas
Step 5: Inserting the Portafilter into the Machine
With the coffee grounds properly tamped, it’s time to insert the portafilter into the coffee machine and initiate the brewing process. Here’s how to properly insert the portafilter:
- Preheat the machine: Make sure your machine is properly preheated to the optimal brewing temperature. This typically takes around 15-30 minutes, depending on the machine.
- Insert the portafilter: Hold the portafilter handle firmly and align the spouts (if present) with the corresponding position on the machine. Take caution as the handle and portafilter can be hot due to preheating.
- Lock the portafilter in place: Push the portafilter firmly and rotate it clockwise until it locks into place. Ensure it is properly secured to avoid any leaks or inconsistencies during brewing.
- Prepare to brew: Place an empty cup or shot glass under the spouts to collect the espresso. Ensure there is sufficient clearance for the espresso to flow without splattering.
Once the portafilter is securely in place, you’re ready to start brewing your espresso shot. The machine will begin the extraction process, and the rich aroma of freshly brewed coffee will soon fill the air.
It’s important to note that different machines have varying brewing settings and extraction times. Consult your machine’s manual to understand the recommended brewing parameters and adjust as necessary to suit your taste preferences.
With the portafilter inserted and locked, you’re one step closer to enjoying a delicious cup of espresso. Now, it’s time to move on to the exciting part – pulling the espresso shot!
When using a coffee machine barista, always ensure that the coffee grounds are evenly distributed in the portafilter to ensure an even extraction and a balanced flavor in your espresso.
Step 6: Pulling the Espresso Shot
Now comes the moment of truth – pulling the perfect espresso shot. This step involves extracting the flavorful and aromatic espresso from the coffee grounds in the portafilter. Follow these steps to pull your espresso shot like a pro:
- Activate the brewing process: Start the brewing process by pressing the appropriate button or lever on your coffee machine. The machine will pump hot water through the coffee grounds in the portafilter.
- Observe the shot: Watch the flow of the espresso as it starts to pour into your cup or shot glass. Check the color and consistency of the stream. Ideally, the espresso should have a rich, dark color and a steady flow.
- Monitor the extraction time: The extraction time is an essential factor in determining the flavor and strength of the espresso. Aim for an extraction time of around 25-30 seconds. If the shot is extracting too fast (under-extracted), it will taste weak and sour. Conversely, if it extracts too slowly (over-extracted), it will taste bitter and dry.
- Adjust the grind size: If the extraction time is too fast, resulting in an under-extracted shot, you may need to adjust the grind size to make it finer. Conversely, if the extraction time is too slow, resulting in an over-extracted shot, you may need to adjust the grind size to make it coarser.
- Finish the shot: Once the extraction time reaches the desired range, stop the brewing process by pressing the button or lever again. The espresso shot should ideally fill one or two ounces, depending on your preference and the drink you are making.
Once you’ve successfully pulled your espresso shot, take a moment to appreciate the rich aroma and the beautiful crema that forms on top of the espresso. The crema, a layer of froth, is an indication of a well-extracted shot and adds to the overall flavor and visual appeal of the espresso.
Remember, practice makes perfect when it comes to pulling the ideal espresso shot. Adjusting the grind size, monitoring the extraction time, and paying attention to the flow and crema will help you achieve the perfect balance of flavors in your espresso.
Now that you have your espresso shot, it’s time to move on to the next step – steaming milk for lattes and cappuccinos.
Step 7: Steaming Milk for Lattes and Cappuccinos
Steaming milk is an essential skill for creating delicious lattes and cappuccinos. Properly steamed milk adds a creamy and velvety texture to your espresso-based beverages. Follow these steps to steam milk like a pro barista:
- Purge the steam wand: Before steaming the milk, purge the steam wand for a few seconds to eliminate any excess water. This ensures that you have dry steam for better milk texturing.
- Pour cold milk into a pitcher: Fill a stainless steel milk pitcher with the desired amount of cold milk. It’s important not to overfill the pitcher as the milk expands when steamed.
- Position the steam wand: Submerge the steam wand tip into the milk, just below the surface. Position the pitcher at a slight angle to create a swirling motion as you steam the milk.
- Start steaming: Turn on the steam wand and gradually lower the pitcher to create a frothing sound. The steam wand should be positioned near the side of the pitcher to circulate the milk properly.
- Create microfoam: To achieve the desired consistency, position the steam wand slightly lower into the milk to create a whirlpool effect. This helps to evenly distribute heat and create velvety microfoam.
- Monitor the milk temperature: Keep an eye on the milk temperature using a thermometer. For lattes, aim for a temperature around 150°F (65°C), while for cappuccinos, aim for around 140°F (60°C).
- Tilt and swirl the pitcher: Once the milk reaches the desired temperature, tilt the pitcher slightly and swirl it gently to incorporate the steamed milk with the froth. This helps to create a smooth and velvety texture.
- Tap the pitcher and give it a swirl: Tap the pitcher on a solid surface to remove any large bubbles and give it a final swirl to further incorporate the milk and create a uniform texture.
With practice, you’ll develop a sense of timing and consistency when steaming milk. Remember, different milk types may require slightly different techniques, so feel free to experiment and adjust accordingly.
Now that you have steamed milk ready, it’s time to move on to the next step – frothing milk for cappuccinos!
Step 8: Frothing Milk for Cappuccinos
Frothing milk is a crucial step in creating the classic cappuccino, with its luxurious and creamy foam. Follow these steps to froth milk like a pro barista:
- Purge the steam wand: Just as you did before steaming milk, purge the steam wand for a few seconds to remove any excess water.
- Pour cold milk into a pitcher: Fill a stainless steel milk pitcher with the desired amount of cold milk. It’s important not to overfill the pitcher, as the milk expands when frothed.
- Position the steam wand: Submerge the steam wand tip into the milk, just below the surface, and position the pitcher at a slight angle to create a swirling motion as you froth the milk.
- Create froth: Turn on the steam wand and bring it closer to the surface of the milk, without fully immersing it. Position the wand slightly off-center to create a whirlpool effect and generate maximum froth.
- Monitor the milk temperature: Keep an eye on the milk temperature using a thermometer. For cappuccinos, aim for a temperature around 140°F (60°C).
- Control the froth: As the milk expands and froth forms, gradually lower the pitcher to maintain the desired amount of froth. Tilt the pitcher gently to control the depth and thickness of the froth.
- Tap the pitcher and give it a swirl: Once the milk reaches the desired temperature, tap the pitcher on a solid surface to remove any large bubbles. Give the pitcher a gentle swirl to incorporate the froth with the steamed milk.
Creating the perfect froth for cappuccinos requires practice and finding the right balance between steam and milk. Experiment with different techniques and adjustments to achieve your desired froth consistency and texture.
Now that you have beautifully frothed milk, it’s time for the final step – pouring captivating latte art onto your espresso-based beverages!
Read more: How To Use Illy Coffee Machine
Step 9: Pouring Latte Art
Adding latte art to your espresso-based beverages is a skill that can take your coffee presentation to the next level. While latte art requires practice and patience, it adds an aesthetically pleasing touch to your creations. Here’s how to pour latte art like a pro:
- Prepare your canvas: Start by brewing a shot of espresso into a cup or mug. Ensure the cup is preheated to maintain the ideal temperature.
- Texture the milk: Before pouring latte art, ensure that your milk is properly frothed and has a silky texture. Tap the milk pitcher gently on a solid surface to remove any large bubbles and create a smooth consistency.
- Hold the cup at an angle: Tilt the cup at a slight angle, around 20-30 degrees. This will create a gradient effect as you pour the milk.
- Pour the milk steadily: Position the spout of the milk pitcher close to the surface of the espresso shot and pour the milk steadily and smoothly. Start with a thin stream in the center of the cup.
- Create a design: As the cup fills, slowly move the milk pitcher back and forth across the surface of the cup to create intricate designs such as a heart, rosetta, or tulip. Use your wrist to control the movements.
- Finish with a flourish: As the cup nears full, lift the milk pitcher slightly higher to create a more defined design and vibrant contrast between the milk and espresso.
- Practice and experiment: Latte art mastery takes time and patience. Experiment with different pouring techniques, milk consistency, and cups to find the style and design that suits your preference.
Remember, pouring latte art requires precision and control over the milk flow. Take your time, be patient, and enjoy the process of creating beautiful designs that will impress your friends, family, or customers.
Once you’ve poured your latte art, it’s time to savor your creation and enjoy the delightful combination of flavors, texture, and visual appeal.
Now, let’s move on to the final step – cleaning and maintaining your coffee machine.
Step 10: Cleaning and Maintenance
Maintaining a clean and well-maintained coffee machine is essential for ensuring the longevity and optimal performance of your equipment. Here are some steps to follow for proper cleaning and maintenance:
- Regularly clean the portafilter and basket: After each use, remove the portafilter from the machine and discard the used coffee grounds. Rinse the portafilter and basket thoroughly with water to remove any residue. Use a small brush to clean the basket and ensure there is no buildup.
- Clean the steam wand: After steaming milk, use a damp cloth to wipe the steam wand, removing any milk residue. Run a small amount of steam through the wand to further clean it.
- Backflush the machine: Every so often, it’s important to backflush your machine to clean the grouphead and internal parts. Follow your machine’s instructions for this process, as it may vary depending on the model.
- Descale the machine: Over time, mineral deposits from water can accumulate in the machine’s internal components. Regularly descaling your machine helps remove these deposits, ensuring proper functionality. Use a descaling solution recommended by your machine’s manufacturer and follow the instructions carefully.
- Clean the exterior: Wipe down the exterior of the machine with a damp cloth to remove any dust or spills. Avoid using abrasive cleaners that may damage the machine’s finish.
- Regularly replace parts: Over time, parts such as the portafilter gasket and shower screen may wear out and need replacement. Refer to your machine’s manual for guidelines on when to replace these parts.
- Store the machine properly: If you plan to be away or not using the machine for an extended period, it’s important to store it properly. Ensure the machine is cleaned and dried thoroughly, and consider removing any removable parts for storage in a safe place.
Regular cleaning and maintenance not only ensure the longevity and optimal functioning of your coffee machine but also contribute to a better-tasting coffee. By following these steps and staying vigilant about cleanliness, you can enjoy consistently flavorful and high-quality coffee drinks.
Now that you’ve learned the essential steps of using a coffee machine like a pro barista, it’s time to put your skills into practice. Experiment, have fun, and enjoy the journey of creating exceptional coffee experiences in the comfort of your own home!
Conclusion
Congratulations! You’ve now gained the knowledge and skills to use a coffee machine like a professional barista. By following the steps outlined in this guide, you can create delicious espresso shots, froth milk to perfection, and even pour captivating latte art. With practice and a love for coffee, you can master the art of brewing your own barista-quality coffee at home.
Remember, the journey to becoming a skilled barista doesn’t end here. Embrace the joy of experimentation, try different coffee beans and roasts, and tweak your techniques to suit your taste preferences. Each cup of coffee offers a new opportunity for discovery and improvement.
As you continue on your coffee-making adventure, don’t forget about the importance of cleanliness and maintenance. Regularly cleaning your coffee machine and keeping it in good condition will ensure its longevity and consistent performance.
Lastly, share your newfound barista skills with others. Invite friends and family to enjoy the coffee creations you’ve mastered, and perhaps even inspire them to embark on their own coffee journey.
So, grab your favorite coffee beans, fire up your coffee machine, and let the aroma of freshly brewed coffee fill your home. With dedication, practice, and a passion for the perfect brew, you can transform your daily coffee routine into an exceptional and deeply satisfying experience.
Frequently Asked Questions about How To Use A Coffee Machine Barista
Was this page helpful?
At Storables.com, we guarantee accurate and reliable information. Our content, validated by Expert Board Contributors, is crafted following stringent Editorial Policies. We're committed to providing you with well-researched, expert-backed insights for all your informational needs.
0 thoughts on “How To Use A Coffee Machine Barista”