Articles
How To Froth Milk With Coffee Machine
Modified: August 16, 2024
Learn the art of frothing milk with your coffee machine. Our step-by-step articles will guide you to create the perfect froth every time, elevating your coffee experience.
(Many of the links in this article redirect to a specific reviewed product. Your purchase of these products through affiliate links helps to generate commission for Storables.com, at no extra cost. Learn more)
Introduction
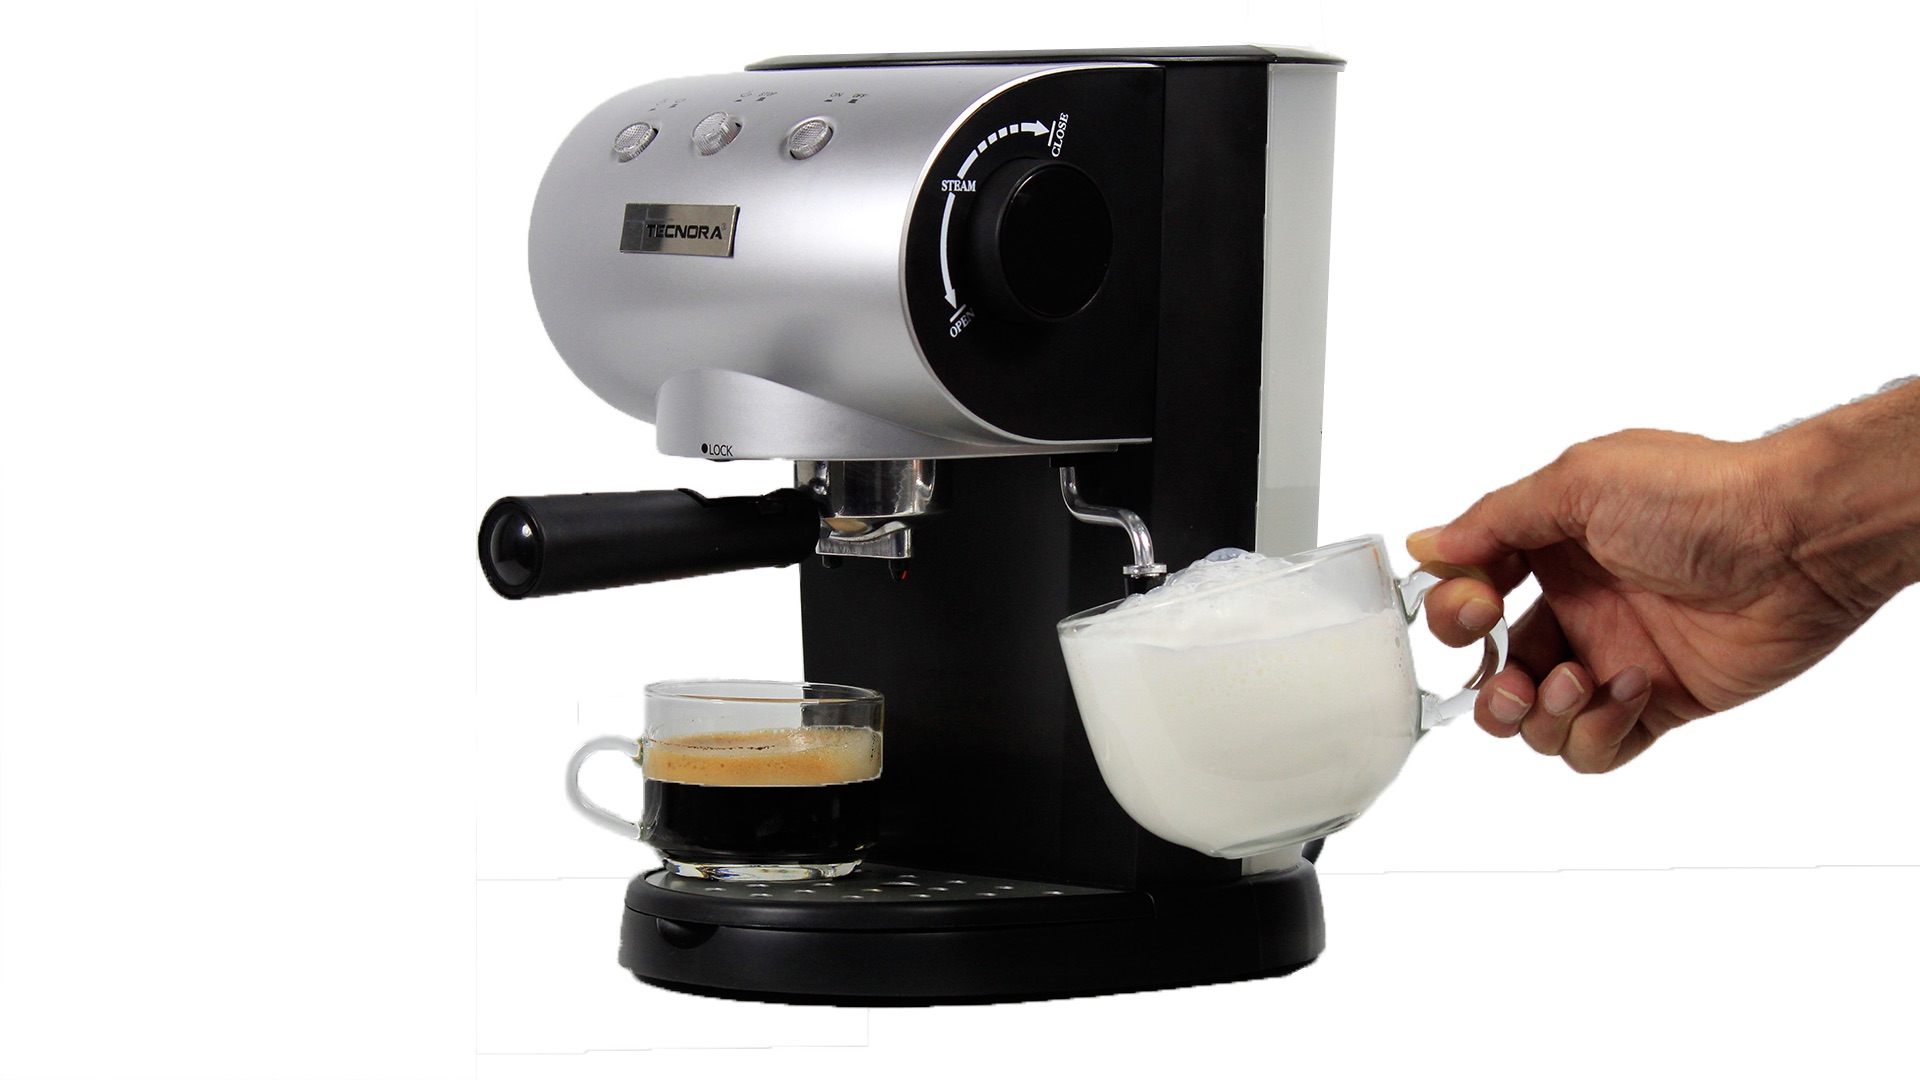
When it comes to enjoying a luxurious cup of coffee, frothed milk is often the key ingredient that takes it to the next level. The velvety texture and creamy foam can transform an ordinary cup of joe into a delightful and indulgent treat. Whether you prefer a latte, cappuccino, or macchiato, learning how to froth milk with a coffee machine is an essential skill for any coffee lover.
Frothing milk can seem intimidating at first, but with the right techniques and equipment, you can achieve barista-quality results in the comfort of your own home. In this article, we will explore the step-by-step process of frothing milk with a coffee machine, including choosing the right machine, preparing it for frothing, and troubleshooting common issues that may arise.
But before we delve into the specifics, let’s take a moment to understand the importance of frothing milk in the coffee-making process.
Key Takeaways:
- Elevate your coffee experience by mastering the art of frothing milk with a coffee machine. Achieve barista-quality results at home with the right techniques, equipment, and practice.
- Embrace the learning process, experiment with different milk types, and perfect your frothing skills. With patience and attention to detail, create beautifully frothed milk for indulgent coffee beverages.
Understanding the Importance of Frothing Milk
Frothing milk is a technique that involves introducing air into the milk to create a rich and creamy texture. This process not only enhances the visual appeal of a cup of coffee but also adds a velvety smoothness and depth of flavor.
One of the main reasons frothed milk is valued in coffee beverages is because it helps to balance out the intense flavors of espresso. By incorporating air into the milk, you are essentially reducing the strength and bitterness of the coffee, resulting in a more harmonious flavor profile.
Another benefit of frothing milk is the way it alters the mouthfeel of the coffee. The microfoam created during the frothing process adds a luscious and silky texture to the drink, making each sip a truly delightful experience. This creamy foam layer not only adds a visual appeal to the coffee but also creates a barrier that helps to retain the heat, keeping your beverage warm for longer periods.
Frothed milk is also essential for creating latte art—a technique where baristas skillfully manipulate the milk foam to create intricate designs on the surface of the coffee. The contrast between the creamy foam and the dark espresso creates beautiful patterns and adds an artistic touch to the drink. This becomes particularly important if you enjoy both the taste and the aesthetic appeal of your coffee.
Overall, mastering the art of frothing milk allows you to elevate your coffee experience, transforming a simple cup of coffee into a luxurious and indulgent treat. With its ability to balance flavors, create a velvety mouthfeel, and enhance the visual appeal, frothed milk is an essential element in many popular coffee beverages.
Now that we understand the significance of frothing milk, let’s move on to choosing the right coffee machine for this process.
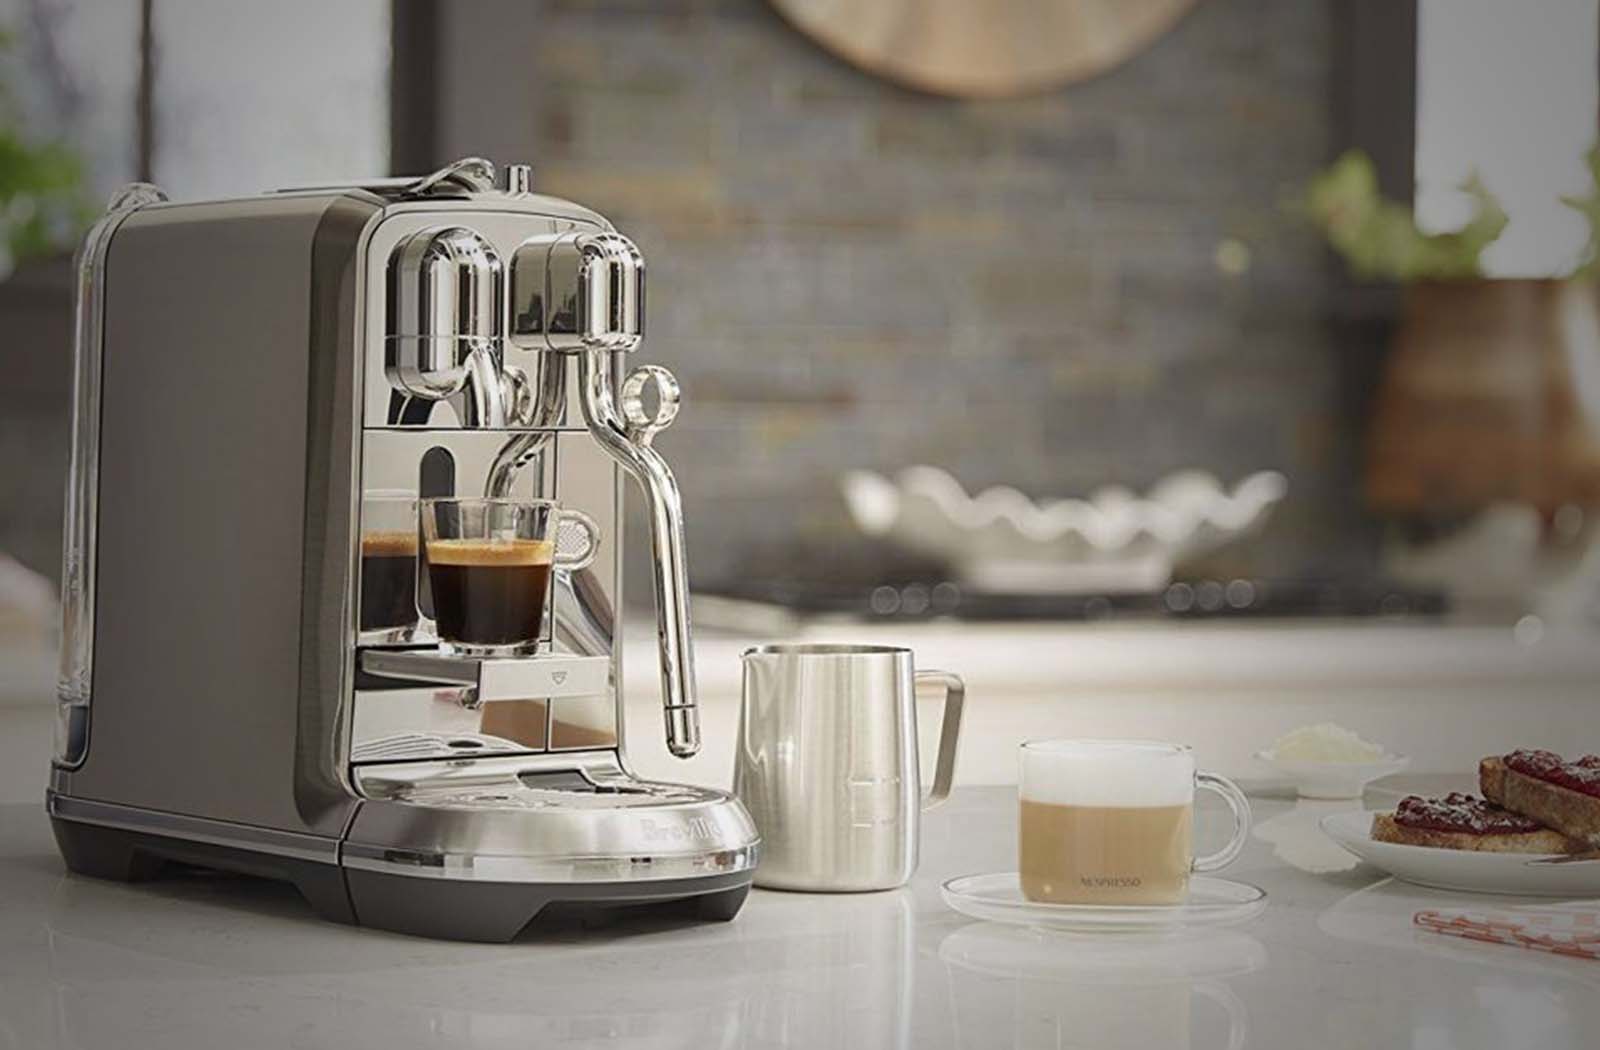
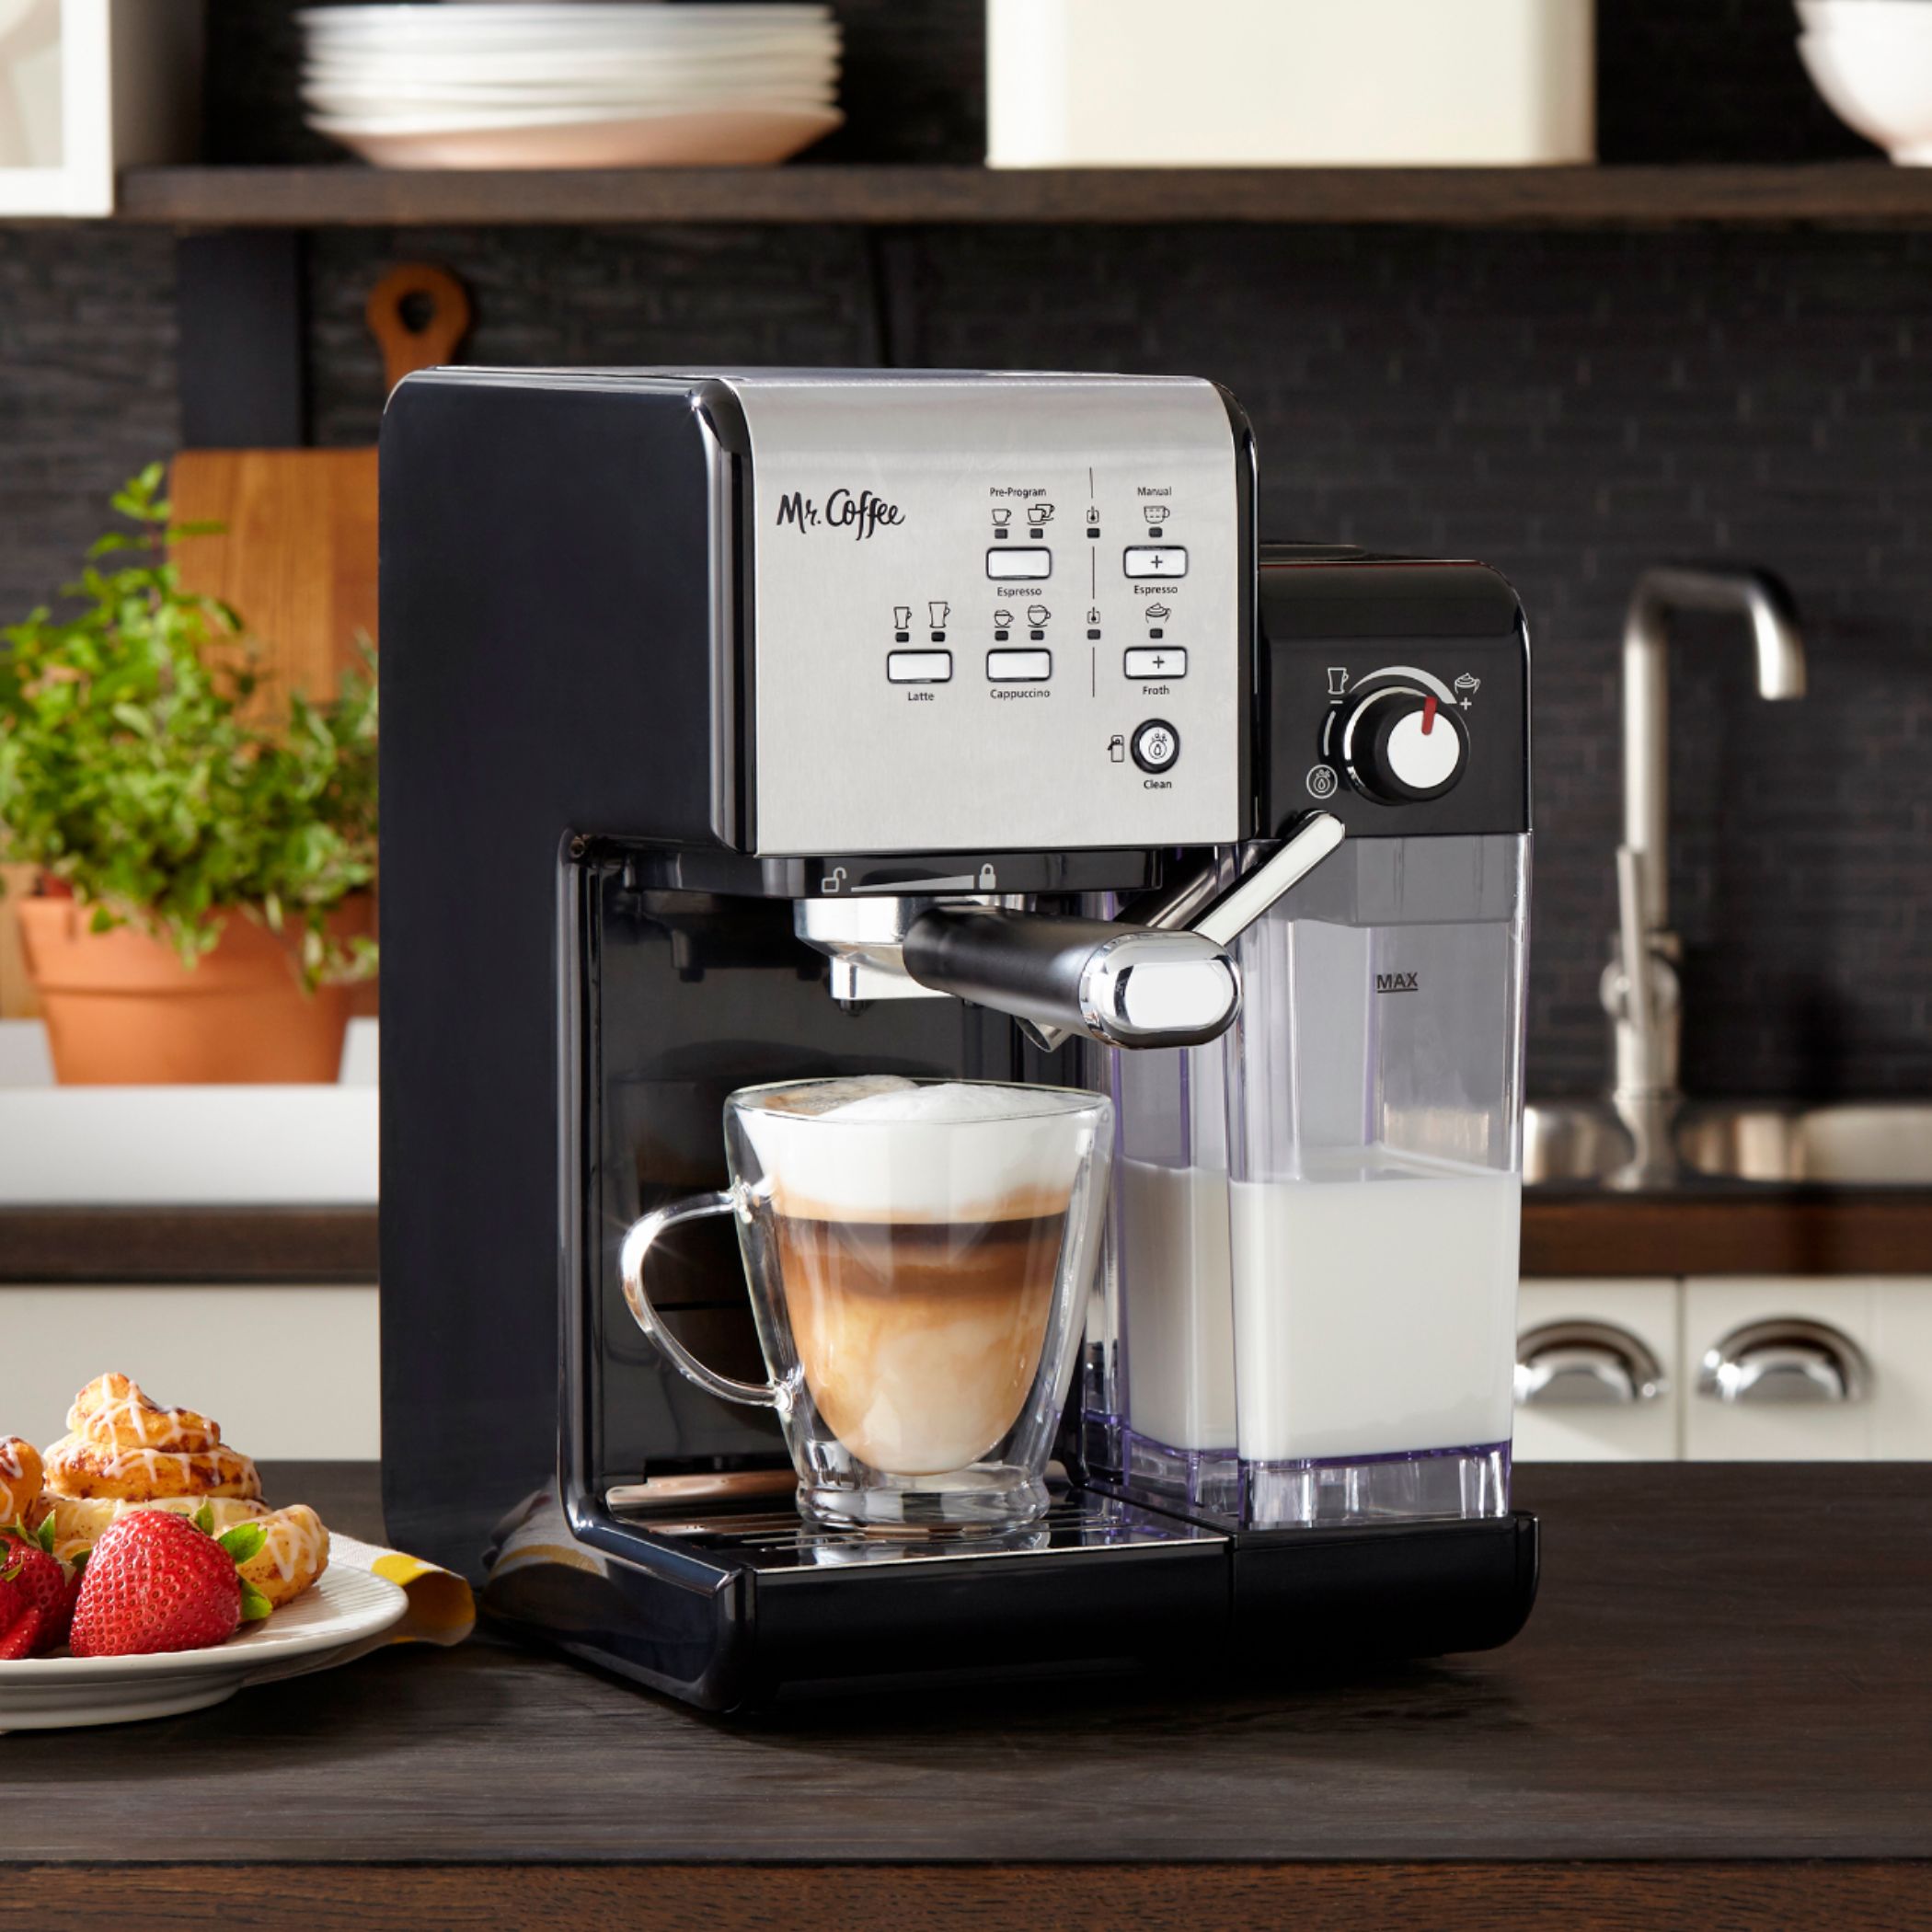
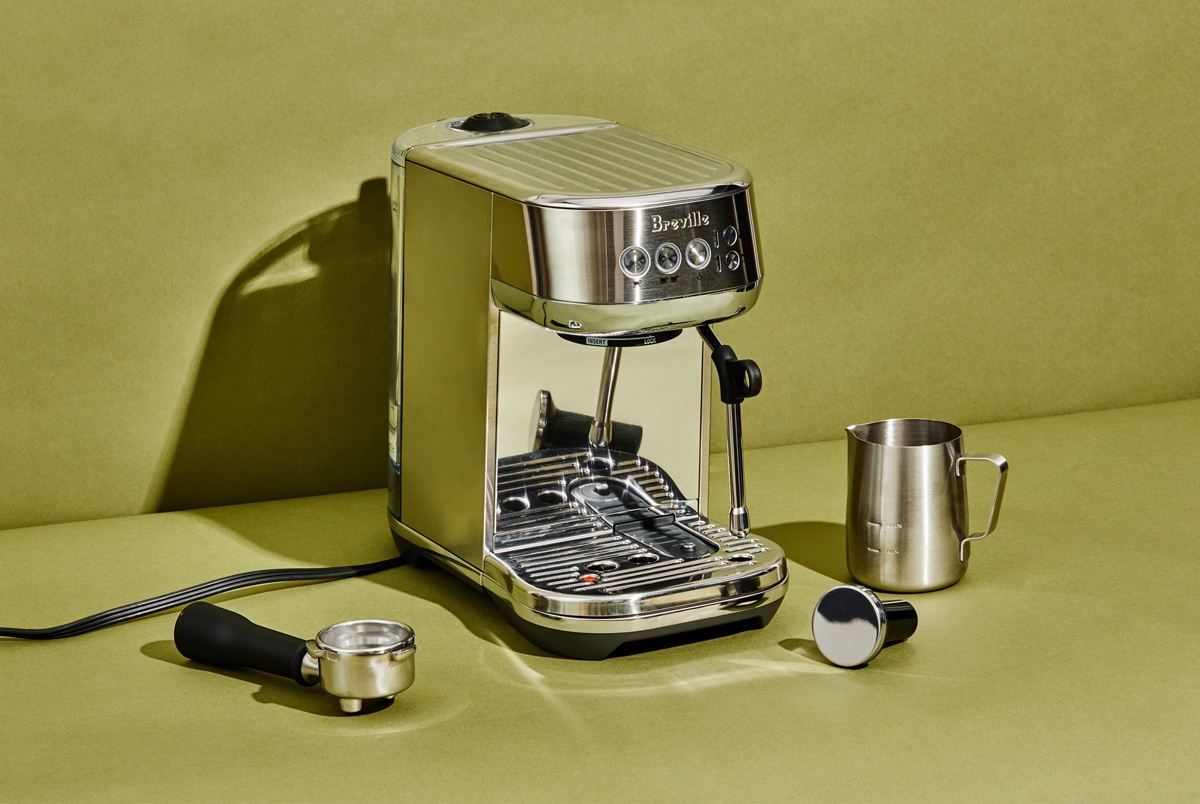
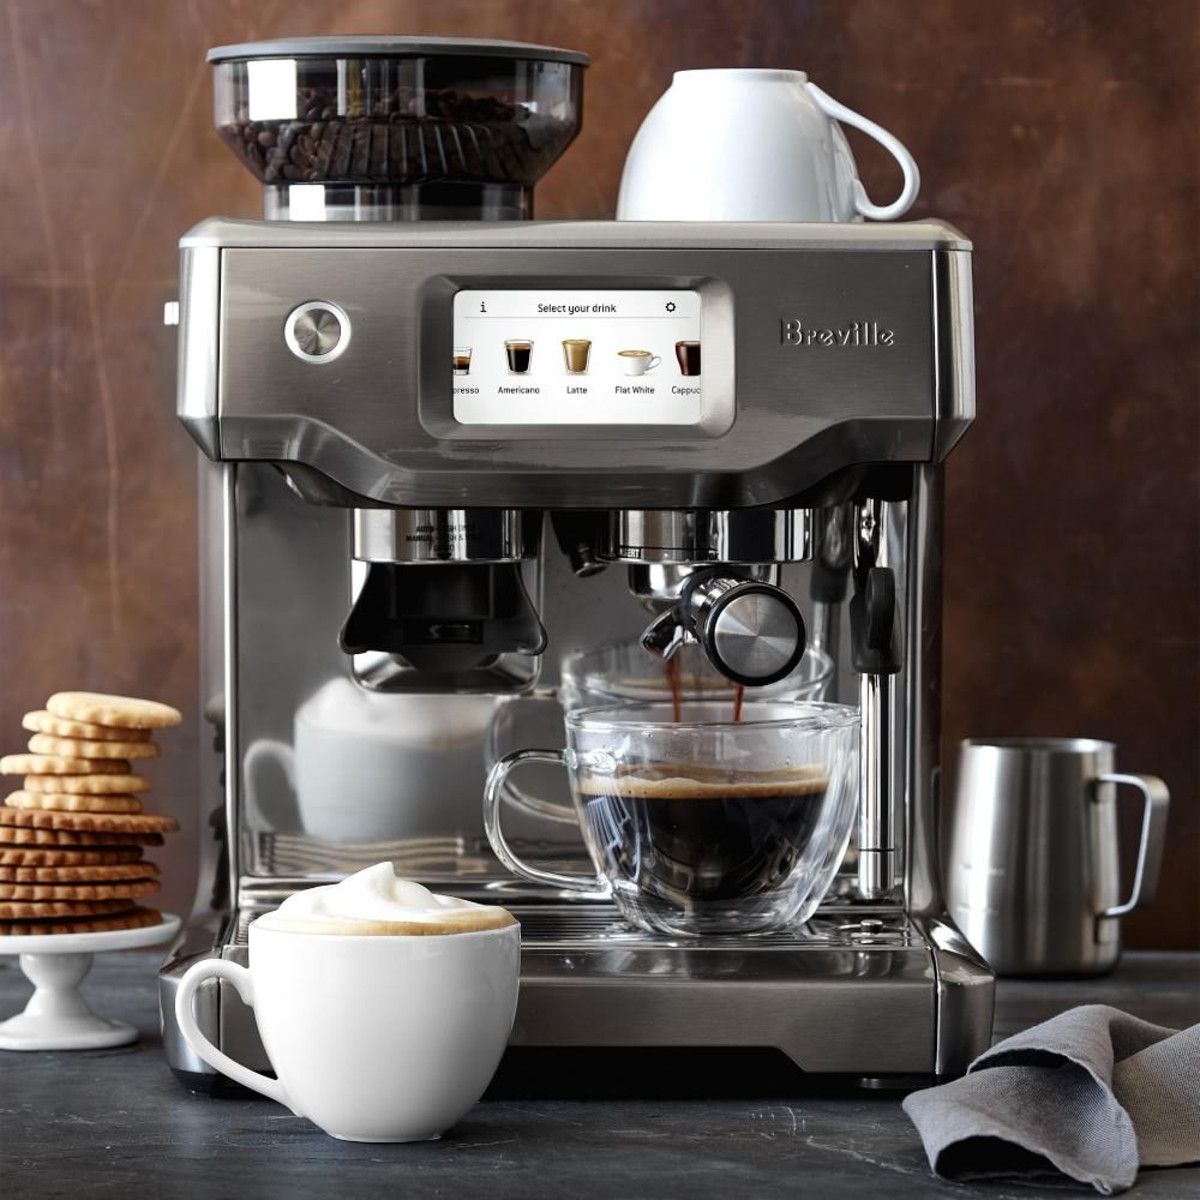
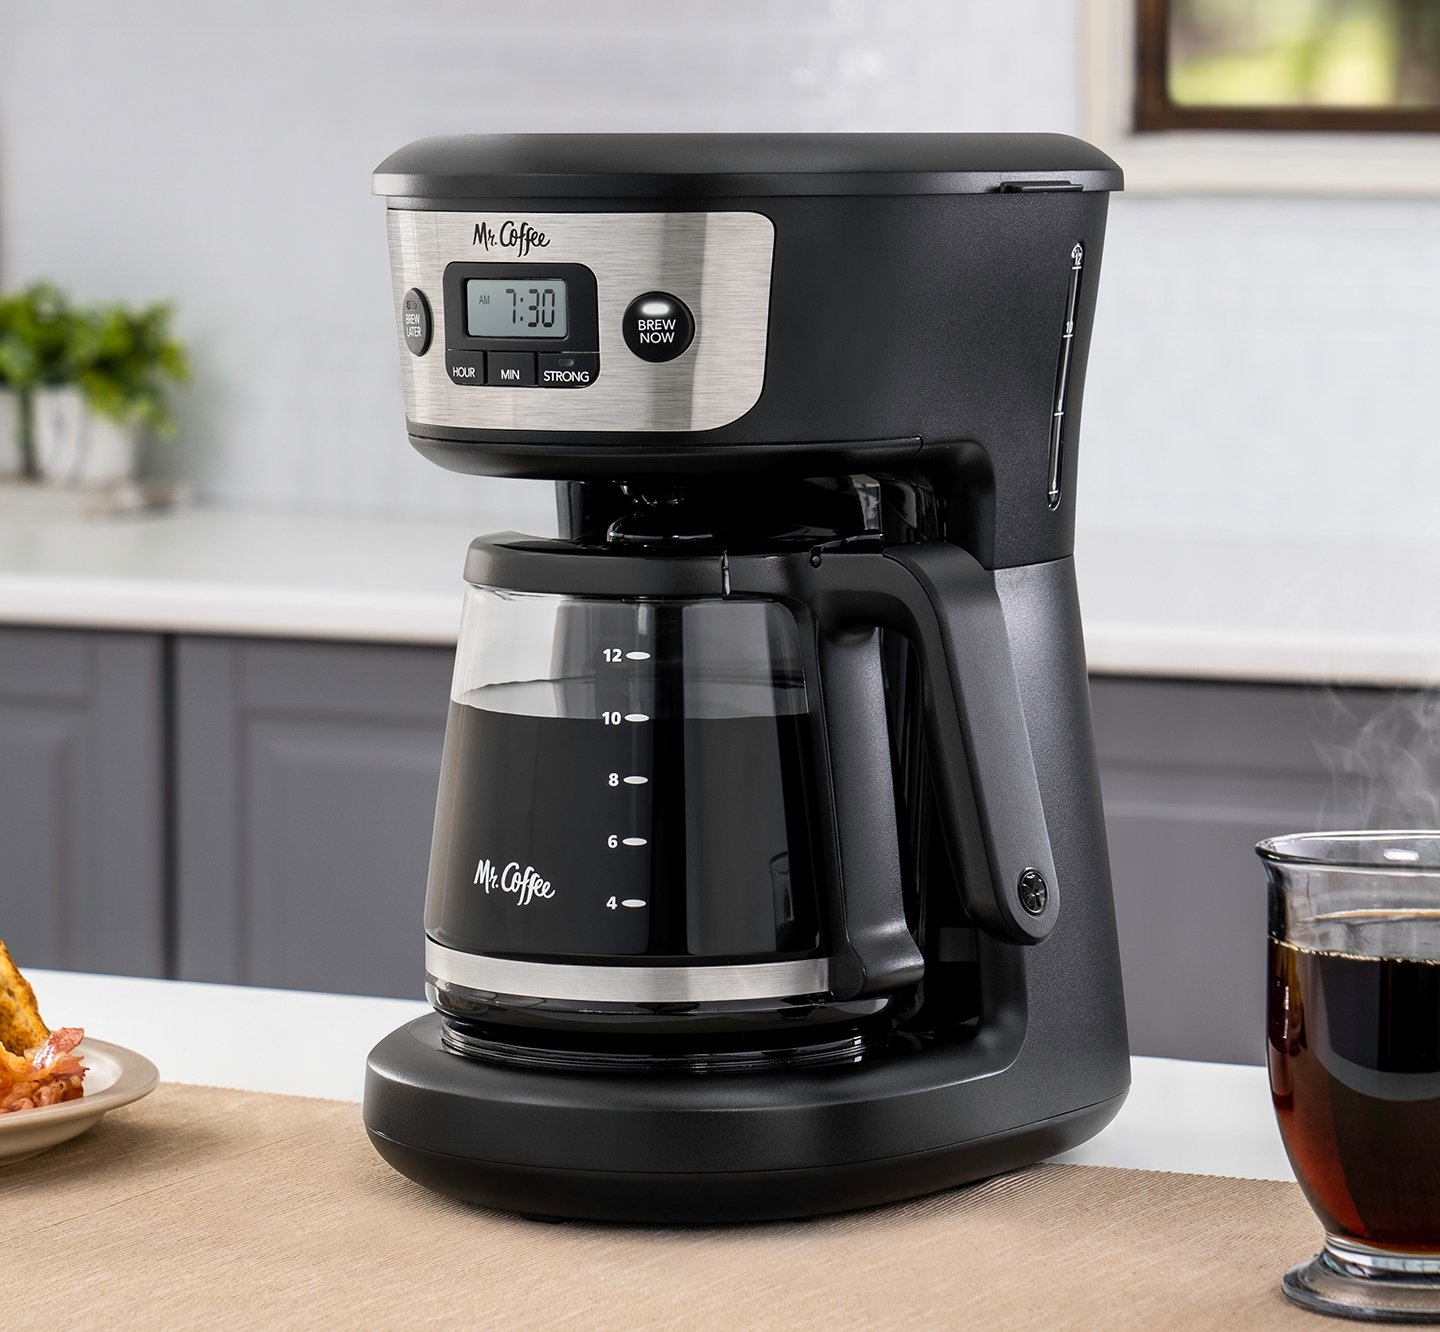
Choosing the Right Coffee Machine for Frothing Milk
When it comes to frothing milk, not all coffee machines are created equal. Some are equipped with specialized features and functions that make the frothing process easier and more efficient. Here are a few factors to consider when choosing a coffee machine for frothing milk:
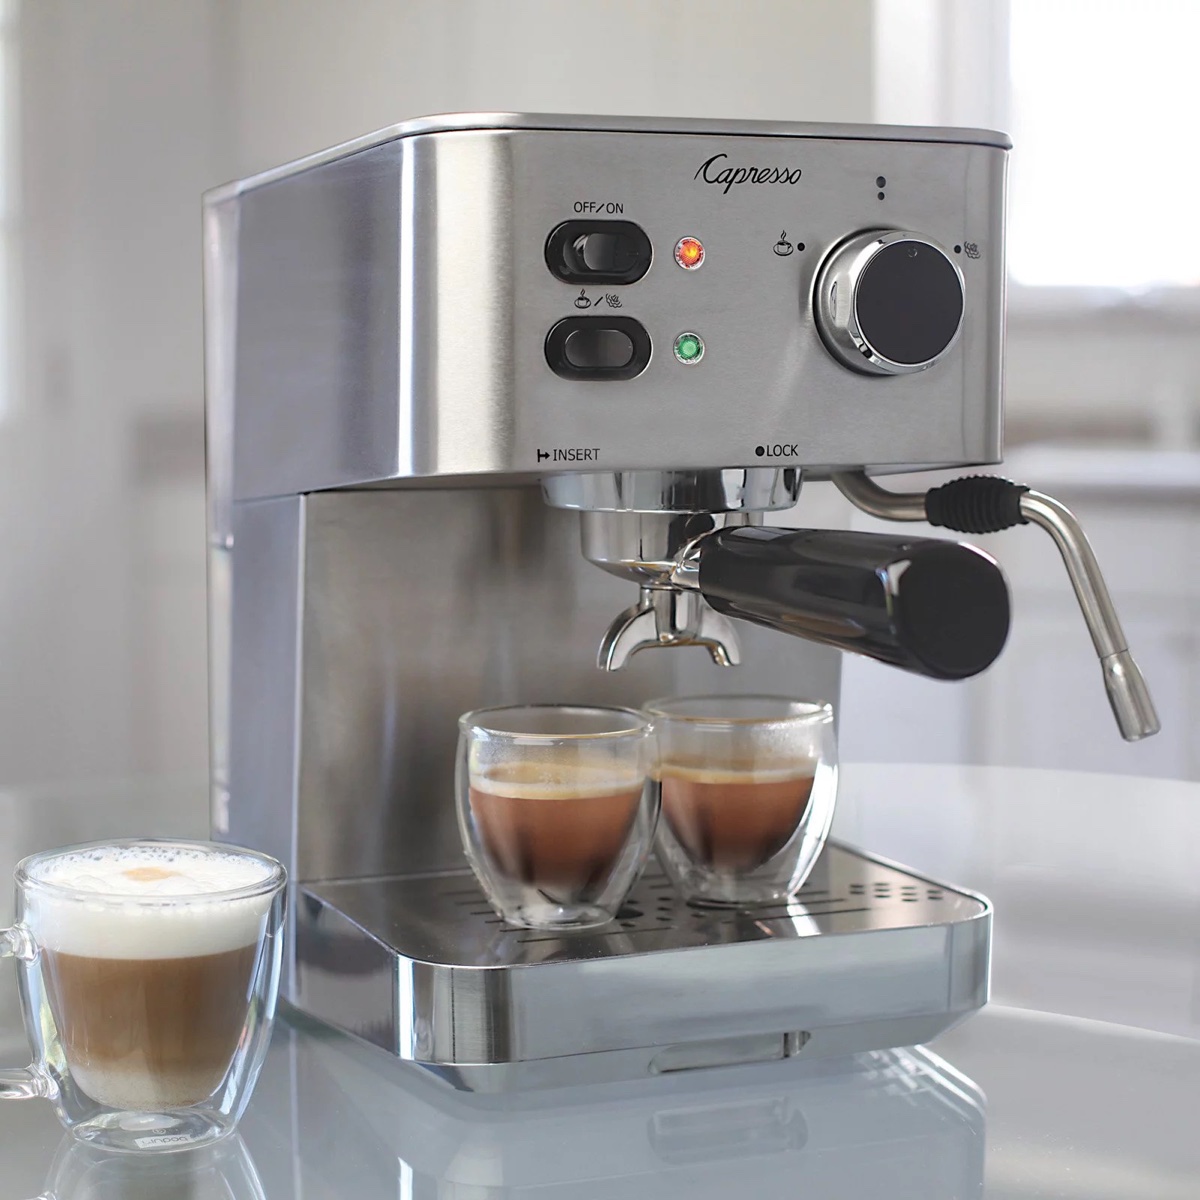
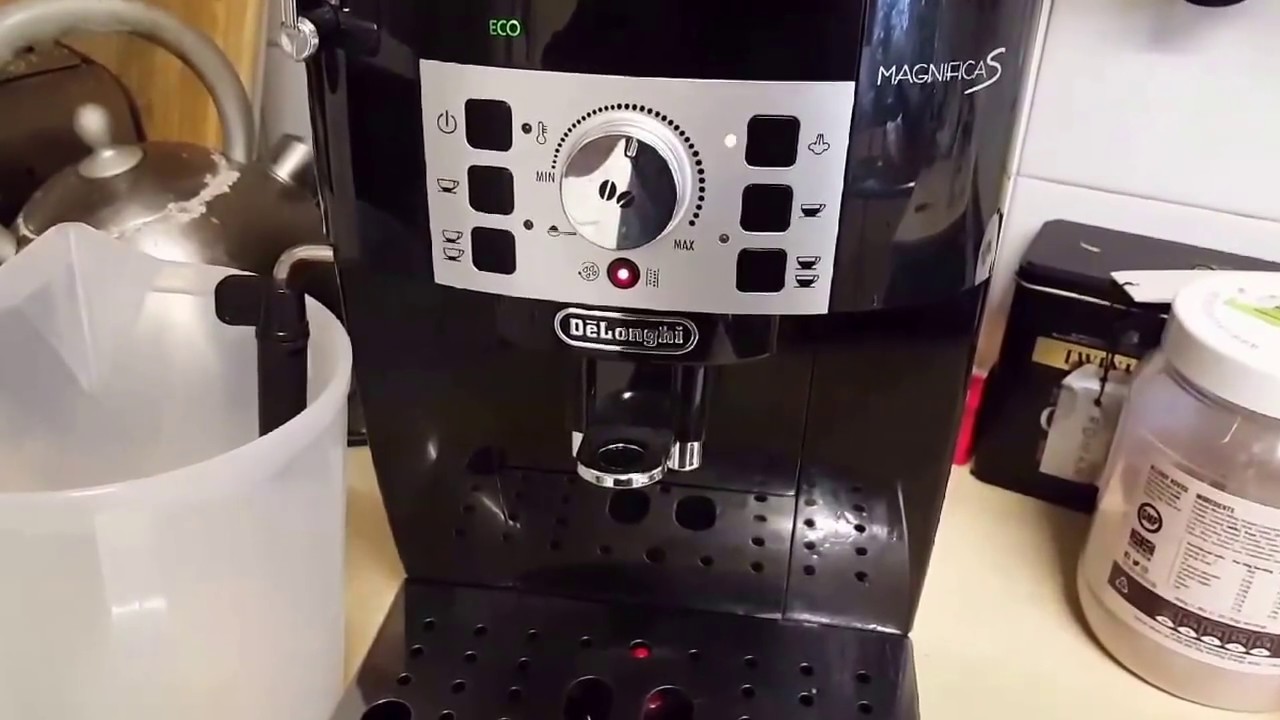
1. Steam Wand: One of the most important features to look for in a coffee machine is a steam wand. This is a long, slender tube that emits hot steam to froth the milk. Make sure the machine you choose has a high-quality steam wand that provides enough pressure to create a creamy and consistent foam.
2. Boiler Type: Coffee machines typically come with either a single boiler or a dual boiler system. If you have the budget and space, opting for a machine with a dual boiler system is recommended. This allows you to simultaneously brew espresso and froth milk without any waiting time. However, if you’re on a budget or have limited space, a single boiler machine can still produce good results, though you’ll need to wait for the temperature to adjust between brewing and frothing.
3. Automatic vs Manual: Coffee machines can be either automatic or manual. Automatic machines have preset programs and functionalities that make frothing milk a breeze. With the push of a button, you can froth milk to your desired consistency. Manual machines, on the other hand, require more technique and skill to create the perfect milk foam. Consider your comfort level and preference when deciding between automatic and manual machines.
4. Size and Capacity: The size and capacity of the coffee machine are also important factors to consider. If you have limited counter space, you may want to opt for a compact machine that doesn’t take up too much room. Additionally, consider the capacity of the water tank and milk frothing pitcher. If you frequently entertain guests or have a large household, choosing a machine with a larger capacity can be beneficial to avoid constant refilling.
5. Budget: Lastly, consider your budget when selecting a coffee machine for frothing milk. There are options available in various price ranges, so determine how much you’re willing to invest in a machine that meets your frothing needs. Remember that a higher price doesn’t always guarantee better results, so do your research and read reviews to find the best value for your money.
By considering these factors, you can find a coffee machine that is well-suited for frothing milk and will help you achieve consistent and high-quality results. Once you have chosen the right machine, it’s time to learn how to prepare it for frothing.
Preparing the Coffee Machine for Frothing
Before you start frothing milk, it’s important to properly prepare your coffee machine. This ensures that you have the ideal conditions for creating creamy and frothy milk foam. Here are the essential steps to follow:
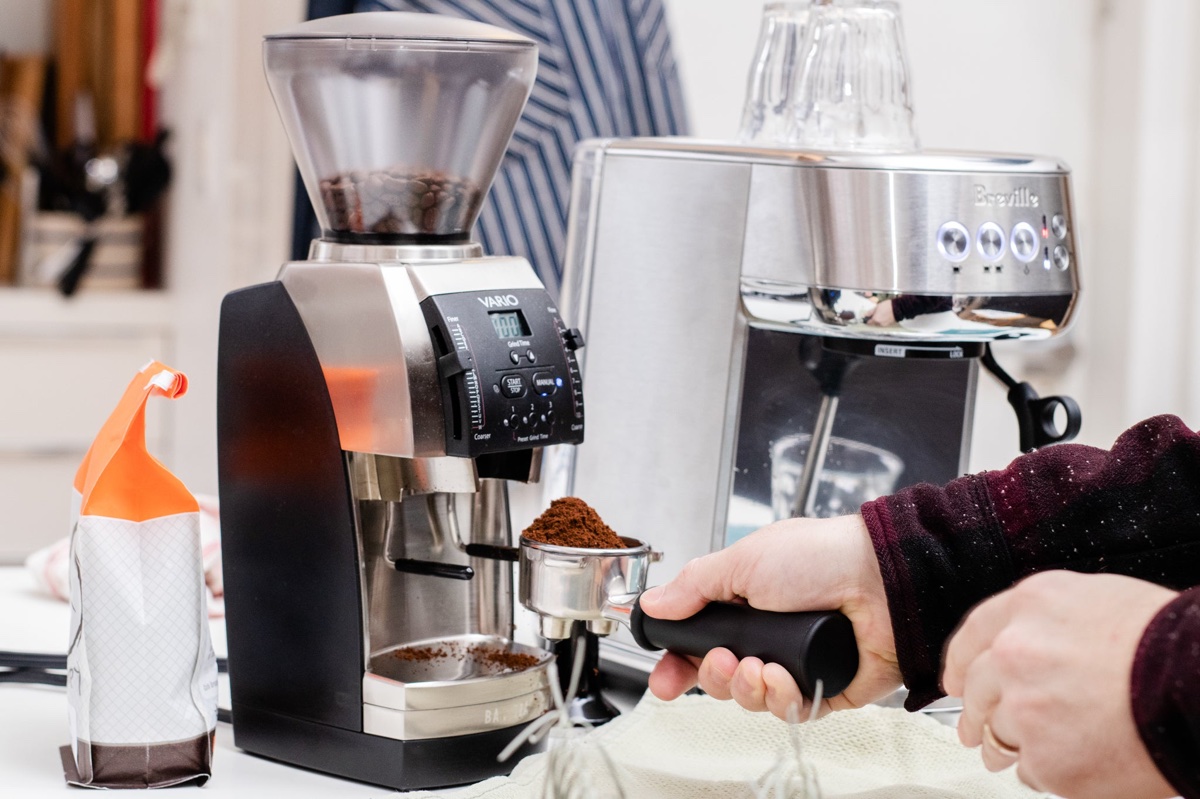
1. Clean the Steam Wand: Start by cleaning the steam wand to remove any residue or build-up from previous use. Use a damp cloth or sponge to wipe the wand thoroughly. This step is crucial as any residue can affect the flavor and quality of the frothed milk.
2. Purge the Steam Wand: Purging the steam wand refers to releasing a burst of steam to remove any excess water from the wand. This helps bring the wand to the optimal temperature for frothing. Simply turn on the steam function of your coffee machine and let the steam flow out for a few seconds until you no longer see any water droplets.
3. Fill the Water Tank: Ensure that your coffee machine’s water tank is properly filled with fresh, cold water. This is important as it ensures a consistent steam temperature during the frothing process. Follow the manufacturer’s instructions for filling the tank and avoid overfilling it.
4. Preheat the Machine: Preheating the machine helps create a stable and optimal temperature for frothing milk. Allow your coffee machine to heat up for a few minutes until it reaches the recommended temperature. This may vary depending on your specific machine, so consult the user manual for guidance.
5. Prepare the Milk: While the machine is preheating, prepare your milk for frothing. Use fresh and cold milk for the best results. If you prefer a creamier foam, consider using whole milk, while skim or low-fat milk can produce a lighter foam. Pour the desired amount of milk into a frothing pitcher, leaving enough room for expansion during the frothing process.
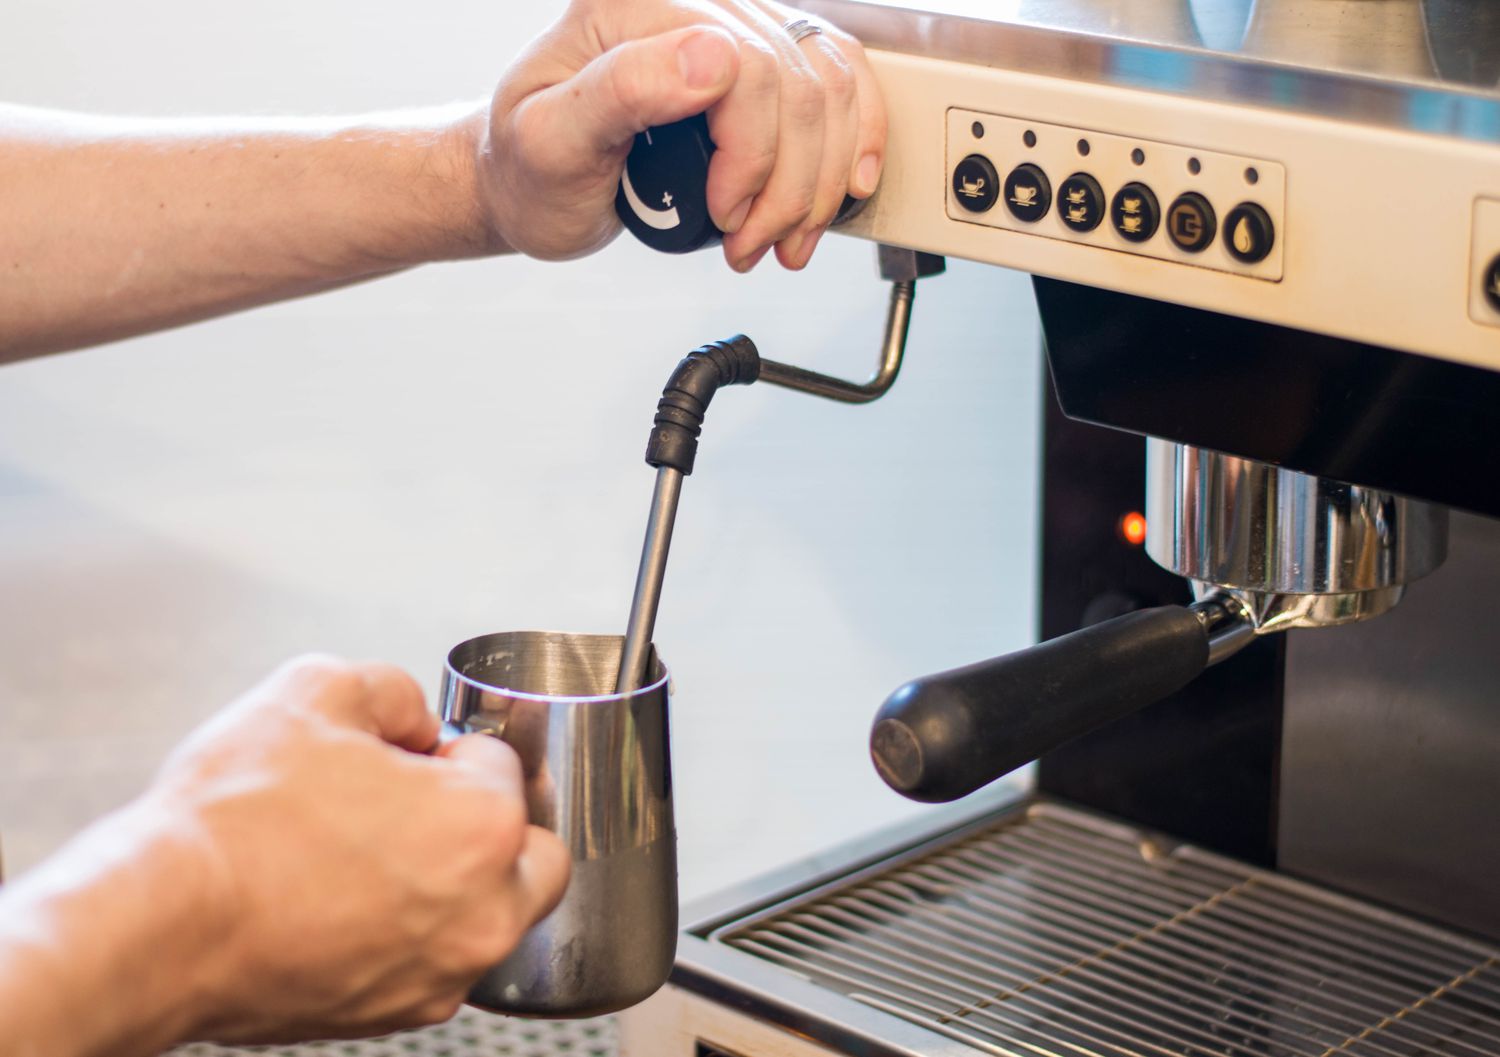
6. Position the Frothing Pitcher: Position the frothing pitcher under the steam wand at an angle. The tip of the wand should be immersed just below the surface of the milk. This angle and position help create a vortex motion that incorporates air into the milk, resulting in a creamy and frothy texture.
By following these steps to prepare your coffee machine for frothing, you can ensure the best conditions for creating the perfect milk foam. Once your machine is ready, it’s time to move on to the actual process of frothing milk.
To froth milk with a coffee machine, fill a pitcher with cold milk and place the steam wand just below the surface. Turn on the steam and froth until the milk doubles in volume. Keep the wand near the surface to create a creamy texture.
Steps to Froth Milk with a Coffee Machine
Frothing milk with a coffee machine requires a bit of practice and technique, but once you get the hang of it, you’ll be able to create perfectly frothed milk for your favorite coffee beverages. Follow these step-by-step instructions to froth milk with a coffee machine:
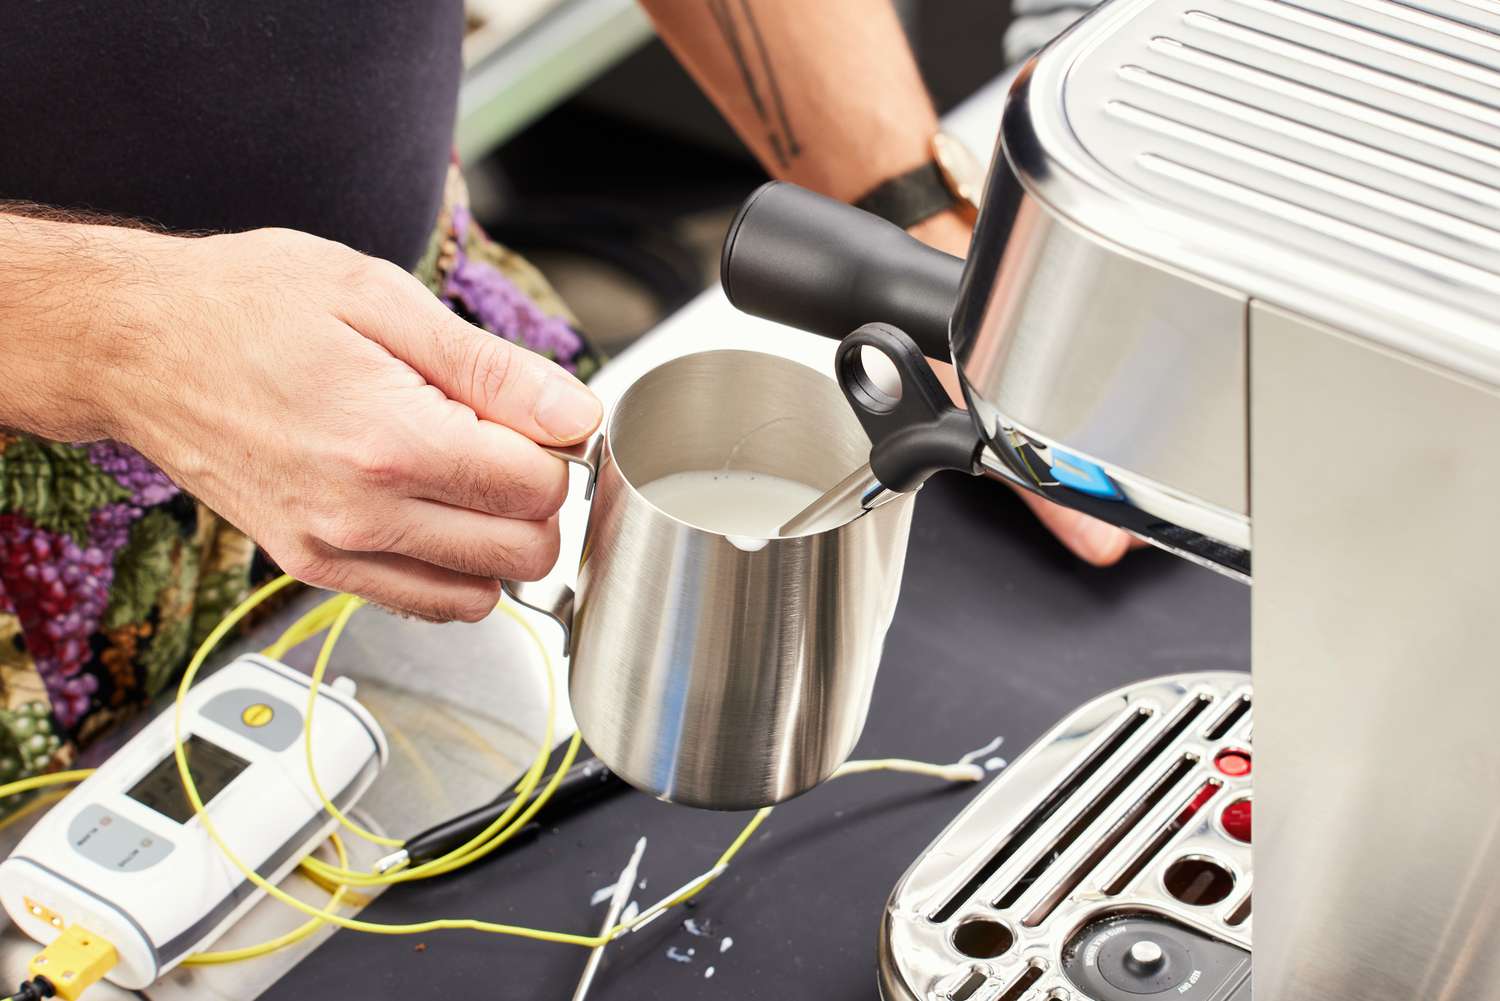
1. Position the Steam Wand: Start by positioning the steam wand of your coffee machine into the frothing pitcher filled with milk. The wand should be inserted just below the surface of the milk, creating a slight angle.
2. Turn on the Steam Function: Switch on the steam function of your coffee machine. The steam will start to flow through the wand, heating and frothing the milk. Be attentive to the sound and appearance of the steam. It should have a gentle hissing sound and create small bubbles in the milk.
3. Submerge the Wand: Gradually submerge the wand deeper into the milk while maintaining a slight angle. This will create a whirlpool effect, incorporating air into the milk and resulting in a creamy foam. The position and depth of the wand depend on the desired foam thickness and the style of coffee you want to make.
4. Monitor the Temperature: As you continue frothing, pay attention to the temperature of the milk. To achieve the ideal frothed milk, aim for a temperature between 150°F and 160°F (65°C and 71°C). Use a thermometer to monitor the temperature and avoid overheating the milk, which can produce a burnt flavor.
5. Control the Froth: As the milk begins to froth, you have control over the frothing process. Tilt the pitcher slightly to create variations in foam thickness. For a cappuccino, you may want a thicker foam, while a latte typically has a thinner layer of foam. Remember to adjust the position and depth of the steam wand accordingly.
6. Turn off the Steam and Clean the Wand: Once you achieve the desired froth consistency and the milk reaches the optimal temperature, turn off the steam function. Remove the frothing pitcher from the steam wand and wipe off any residual milk on the wand with a damp cloth or sponge.
7. Swirl and Tap the Pitcher: To incorporate the foam evenly into the milk, gently swirl the frothing pitcher in a circular motion. This helps create a smooth texture and eliminates large air bubbles. Tap the pitcher on the countertop a few times to further remove any remaining air bubbles.
8. Pour and Enjoy: Now that your milk is beautifully frothed, it’s time to pour it into your espresso shot or coffee. The creamy foam will float on top, creating a visually pleasing layer. Take a moment to appreciate your barista-worthy creation before savoring the delicious flavors.
Mastering the technique of frothing milk with a coffee machine may take some practice, but with consistency and patience, you’ll soon become an expert at creating perfectly frothed milk for your homemade coffee specialties.
Read more: How To Froth Milk With A Hand Mixer
Troubleshooting Common Issues in Frothing Milk
While frothing milk with a coffee machine can be a rewarding experience, it’s not uncommon to encounter some challenges along the way. Here are some common issues that may arise during the frothing process and how to troubleshoot them:
1. Large Bubbles: If you notice large bubbles forming in the frothed milk, it may be due to positioning the steam wand too close to the surface or not incorporating enough air. To fix this, adjust the angle of the steam wand and slowly submerge it deeper into the milk. Create a swirling motion to mix the milk and allow for more air incorporation, resulting in smaller and smoother bubbles.
2. Thin or Watery Foam: Thin or watery foam can be caused by using milk with a low fat content or not frothing for a sufficient amount of time. Consider using whole milk or a higher fat content milk for a creamier foam. Froth the milk for a longer duration, ensuring you’ve reached the optimal frothing temperature. Additionally, double-check that the steam wand is properly positioned and completely immersed in the milk.
3. Burnt Milk: Burnt milk can occur if the milk overheats during the frothing process. To prevent this, monitor the temperature closely and turn off the steam function once the milk reaches the desired temperature. Stir the milk immediately to distribute the heat and prevent overheating. If the milk does burn, discard it and start the frothing process again with fresh milk.
4. No Foam Formation: If you’re having trouble achieving foam, it may be due to using milk that is too old or has been sitting at room temperature. Ensure you’re using fresh, cold milk for frothing. Additionally, check the steam wand for any blockages or residue that may be hindering the foam formation. Clean the wand thoroughly and adjust the position and depth to promote better air incorporation.
5. Inconsistent Foam: Inconsistent foam can be caused by varying the position and depth of the steam wand during the frothing process. Aim for consistency in your frothing technique and keep the steam wand at a steady angle and depth once you find the ideal position. Practice and experimentation will help you achieve a consistent foam texture over time.
6. Airy or Dry Foam: If the foam appears airy or dry, it may be due to over-aerating the milk or not frothing long enough. Adjust the positioning of the steam wand and incorporate more air gradually for a velvety and creamy texture. Continuously monitor the temperature and froth the milk until it reaches the ideal range, creating a luscious foam.
Remember, troubleshooting common issues in frothing milk takes practice and experimentation. Don’t get discouraged if you don’t achieve perfect results immediately. Refine your technique, make adjustments as needed, and soon you’ll be able to froth milk like a pro.
Tips and Tricks for Perfectly Frothed Milk
Achieving perfectly frothed milk with a coffee machine requires a combination of technique, experimentation, and attention to detail. To help you master the art of frothing, here are some tips and tricks to keep in mind:
1. Start with Cold Milk: Using cold milk straight from the refrigerator helps create optimal frothing conditions. The cold temperature allows for better air incorporation and creates a creamier and denser foam.
2. Use the Right Milk Jug: Using a stainless steel milk jug with a narrow spout and a wide base can greatly assist in achieving better control over the milk pouring and frothing process. The narrow spout allows for precise pouring, while the wide base provides enough space for the milk to expand and froth.
3. Choose the Right Milk Type: Different types of milk produce varying results when frothed. Whole milk generally produces a richer and creamier foam, while skim or low-fat milk creates a lighter foam. Experiment with different milk types to find the one that suits your taste preference.
4. Froth Immediately after Brewing Espresso: For the best results, froth your milk immediately after brewing your espresso shot. This ensures that the milk is incorporated with the freshly extracted coffee, enhancing the flavors and creating a harmonious balance.
5. Find the Optimal Frothing Temperature: The ideal frothing temperature for milk is between 150°F and 160°F (65°C and 71°C). Use a milk thermometer to gauge the temperature and avoid overheating the milk, as it can alter the taste and result in a burnt flavor.
6. Practice the Swirl-and-Tap Technique: After frothing the milk, gently swirl the milk jug in a circular motion to homogenize the foam and create a smooth texture. Tap the bottom of the jug on the countertop a few times to remove any large air bubbles and create a creamy consistency.
7. Experiment with Froth Thickness: Depending on your preference, you can adjust the thickness of the milk foam by altering the angle and depth of the steam wand. Tilt the milk jug slightly for a thicker foam and hold the steam wand deeper for a lighter foam. Practice and experimentation will help you find your desired froth consistency.
8. Clean and Maintain Your Equipment: Regularly clean and maintain your coffee machine and steam wand to ensure optimal performance. Wipe down the steam wand after each use to prevent the buildup of milk residue. Additionally, follow the manufacturer’s instructions for descaling and deep cleaning your machine to eliminate any potential blockages or issues that may affect the quality of the frothed milk.
9. Practice Makes Perfect: Frothing milk is a skill that improves with practice. Don’t get discouraged if your first attempts are not perfect. Keep experimenting, adjusting your technique, and paying attention to the details. With time and experience, you’ll achieve perfectly frothed milk consistently.
By incorporating these tips and tricks into your frothing routine, you’ll be well on your way to creating barista-quality frothed milk for your coffee creations. Enjoy the process, embrace the learning curve, and savor the delicious results.
Conclusion
Frothing milk with a coffee machine is a skill that allows you to elevate your coffee experience to new heights. With the right techniques, equipment, and a bit of practice, you can create beautifully frothed milk that adds a luxurious touch to your favorite coffee beverages.
Understanding the importance of frothing milk and the role it plays in balancing flavors, creating a velvety texture, and enhancing the visual appeal of a cup of coffee is fundamental. By choosing the right coffee machine for frothing, you ensure that you have the necessary tools to achieve optimal results.
Preparing your coffee machine before frothing, including cleaning the steam wand, purging excess water, and ensuring the proper temperature, sets the stage for successful frothing. Following the step-by-step process, you can incorporate air into the milk and create a creamy and consistent foam that adds depth and richness to your coffee.
While there may be common issues that arise during the frothing process, troubleshooting techniques and observations are key to overcoming these challenges. By implementing the tips and tricks mentioned, such as using cold milk, finding the right milk type, and mastering the swirl-and-tap technique, you can perfect your frothing skills.
Remember, practice is essential. With each attempt, you’ll gain more confidence and fine-tune your technique to create perfectly frothed milk. Embrace the learning process, experiment with different milk types, frothing styles, and temperatures to find your personal frothing preference.
Ultimately, frothing milk with a coffee machine allows you to customize your coffee experience and enjoy café-quality beverages from the comfort of your own home. So, grab your favorite coffee beans, fire up your machine, and let the frothing process begin. With each sip of your beautifully crafted coffee, savor the satisfaction of a job well done.
Frequently Asked Questions about How To Froth Milk With Coffee Machine
Was this page helpful?
At Storables.com, we guarantee accurate and reliable information. Our content, validated by Expert Board Contributors, is crafted following stringent Editorial Policies. We're committed to providing you with well-researched, expert-backed insights for all your informational needs.
0 thoughts on “How To Froth Milk With Coffee Machine”