Home>Articles>How To Use An Electric Skillet As A Yogurt Maker
Articles
How To Use An Electric Skillet As A Yogurt Maker
Modified: February 27, 2024
Discover how to repurpose your electric skillet into a homemade yogurt maker with our step-by-step guide. Make delicious and healthy yogurt at home with ease.
(Many of the links in this article redirect to a specific reviewed product. Your purchase of these products through affiliate links helps to generate commission for Storables.com, at no extra cost. Learn more)
Introduction
Yogurt, with its creamy texture and tangy flavor, is a versatile and nutritious food that is loved by many. While store-bought yogurt is readily available, making your own homemade yogurt using an electric skillet can be a rewarding and cost-effective option. Not only does it allow you to control the ingredients and customize the flavors to suit your preference, but it also eliminates the need for specialized yogurt-making equipment.
In this article, we will explore how to use an electric skillet as a yogurt maker. We will cover everything from choosing the right electric skillet to preparing it for yogurt making, and of course, the step-by-step process of making yogurt. We will also provide tips and troubleshooting advice to ensure that your homemade yogurt turns out delicious and perfectly cultured every time.
So, whether you’re a seasoned yogurt enthusiast or a beginner looking to venture into homemade yogurt making, read on to discover how to harness the power of your electric skillet to create delectable batches of yogurt right in your own kitchen.
Key Takeaways:
- Create delicious homemade yogurt using an electric skillet by choosing the right size, maintaining temperature, and following the step-by-step process. Experiment with flavors and milk types for a personalized yogurt experience.
- Master the art of yogurt-making with an electric skillet by preparing, culturing, and straining the yogurt. Troubleshoot common issues and enjoy the satisfaction of creating nutritious, flavorful yogurt at home.
Read more: How To Use An Electric Skillet
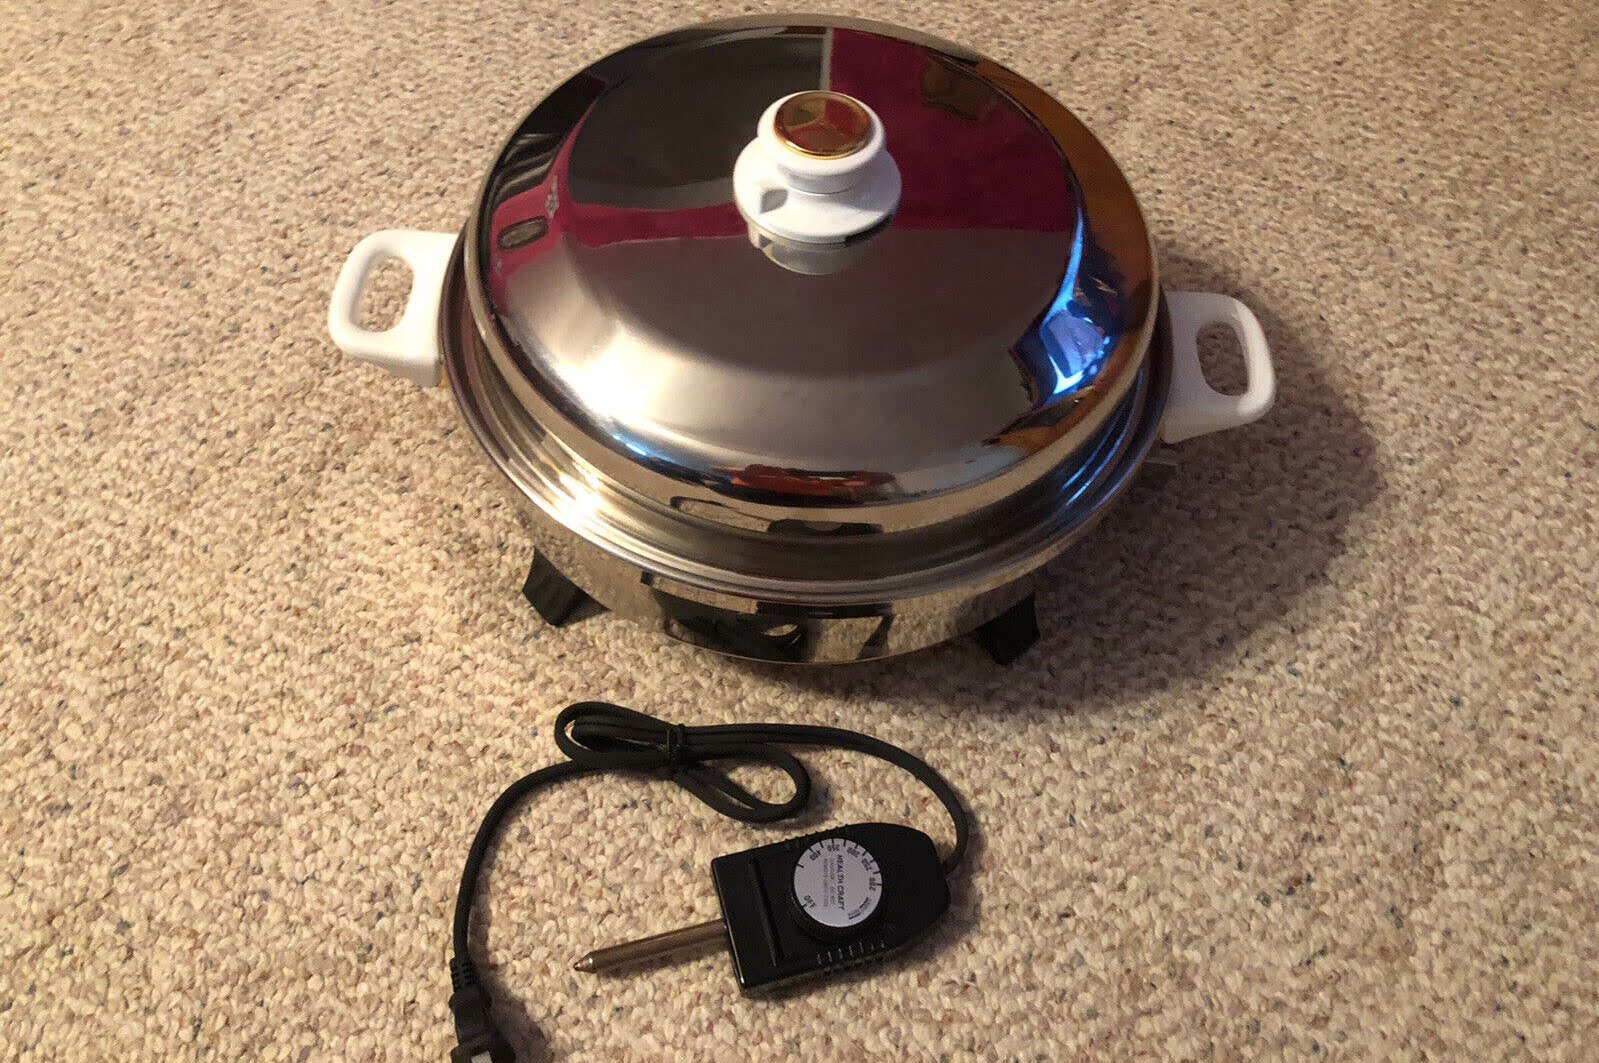
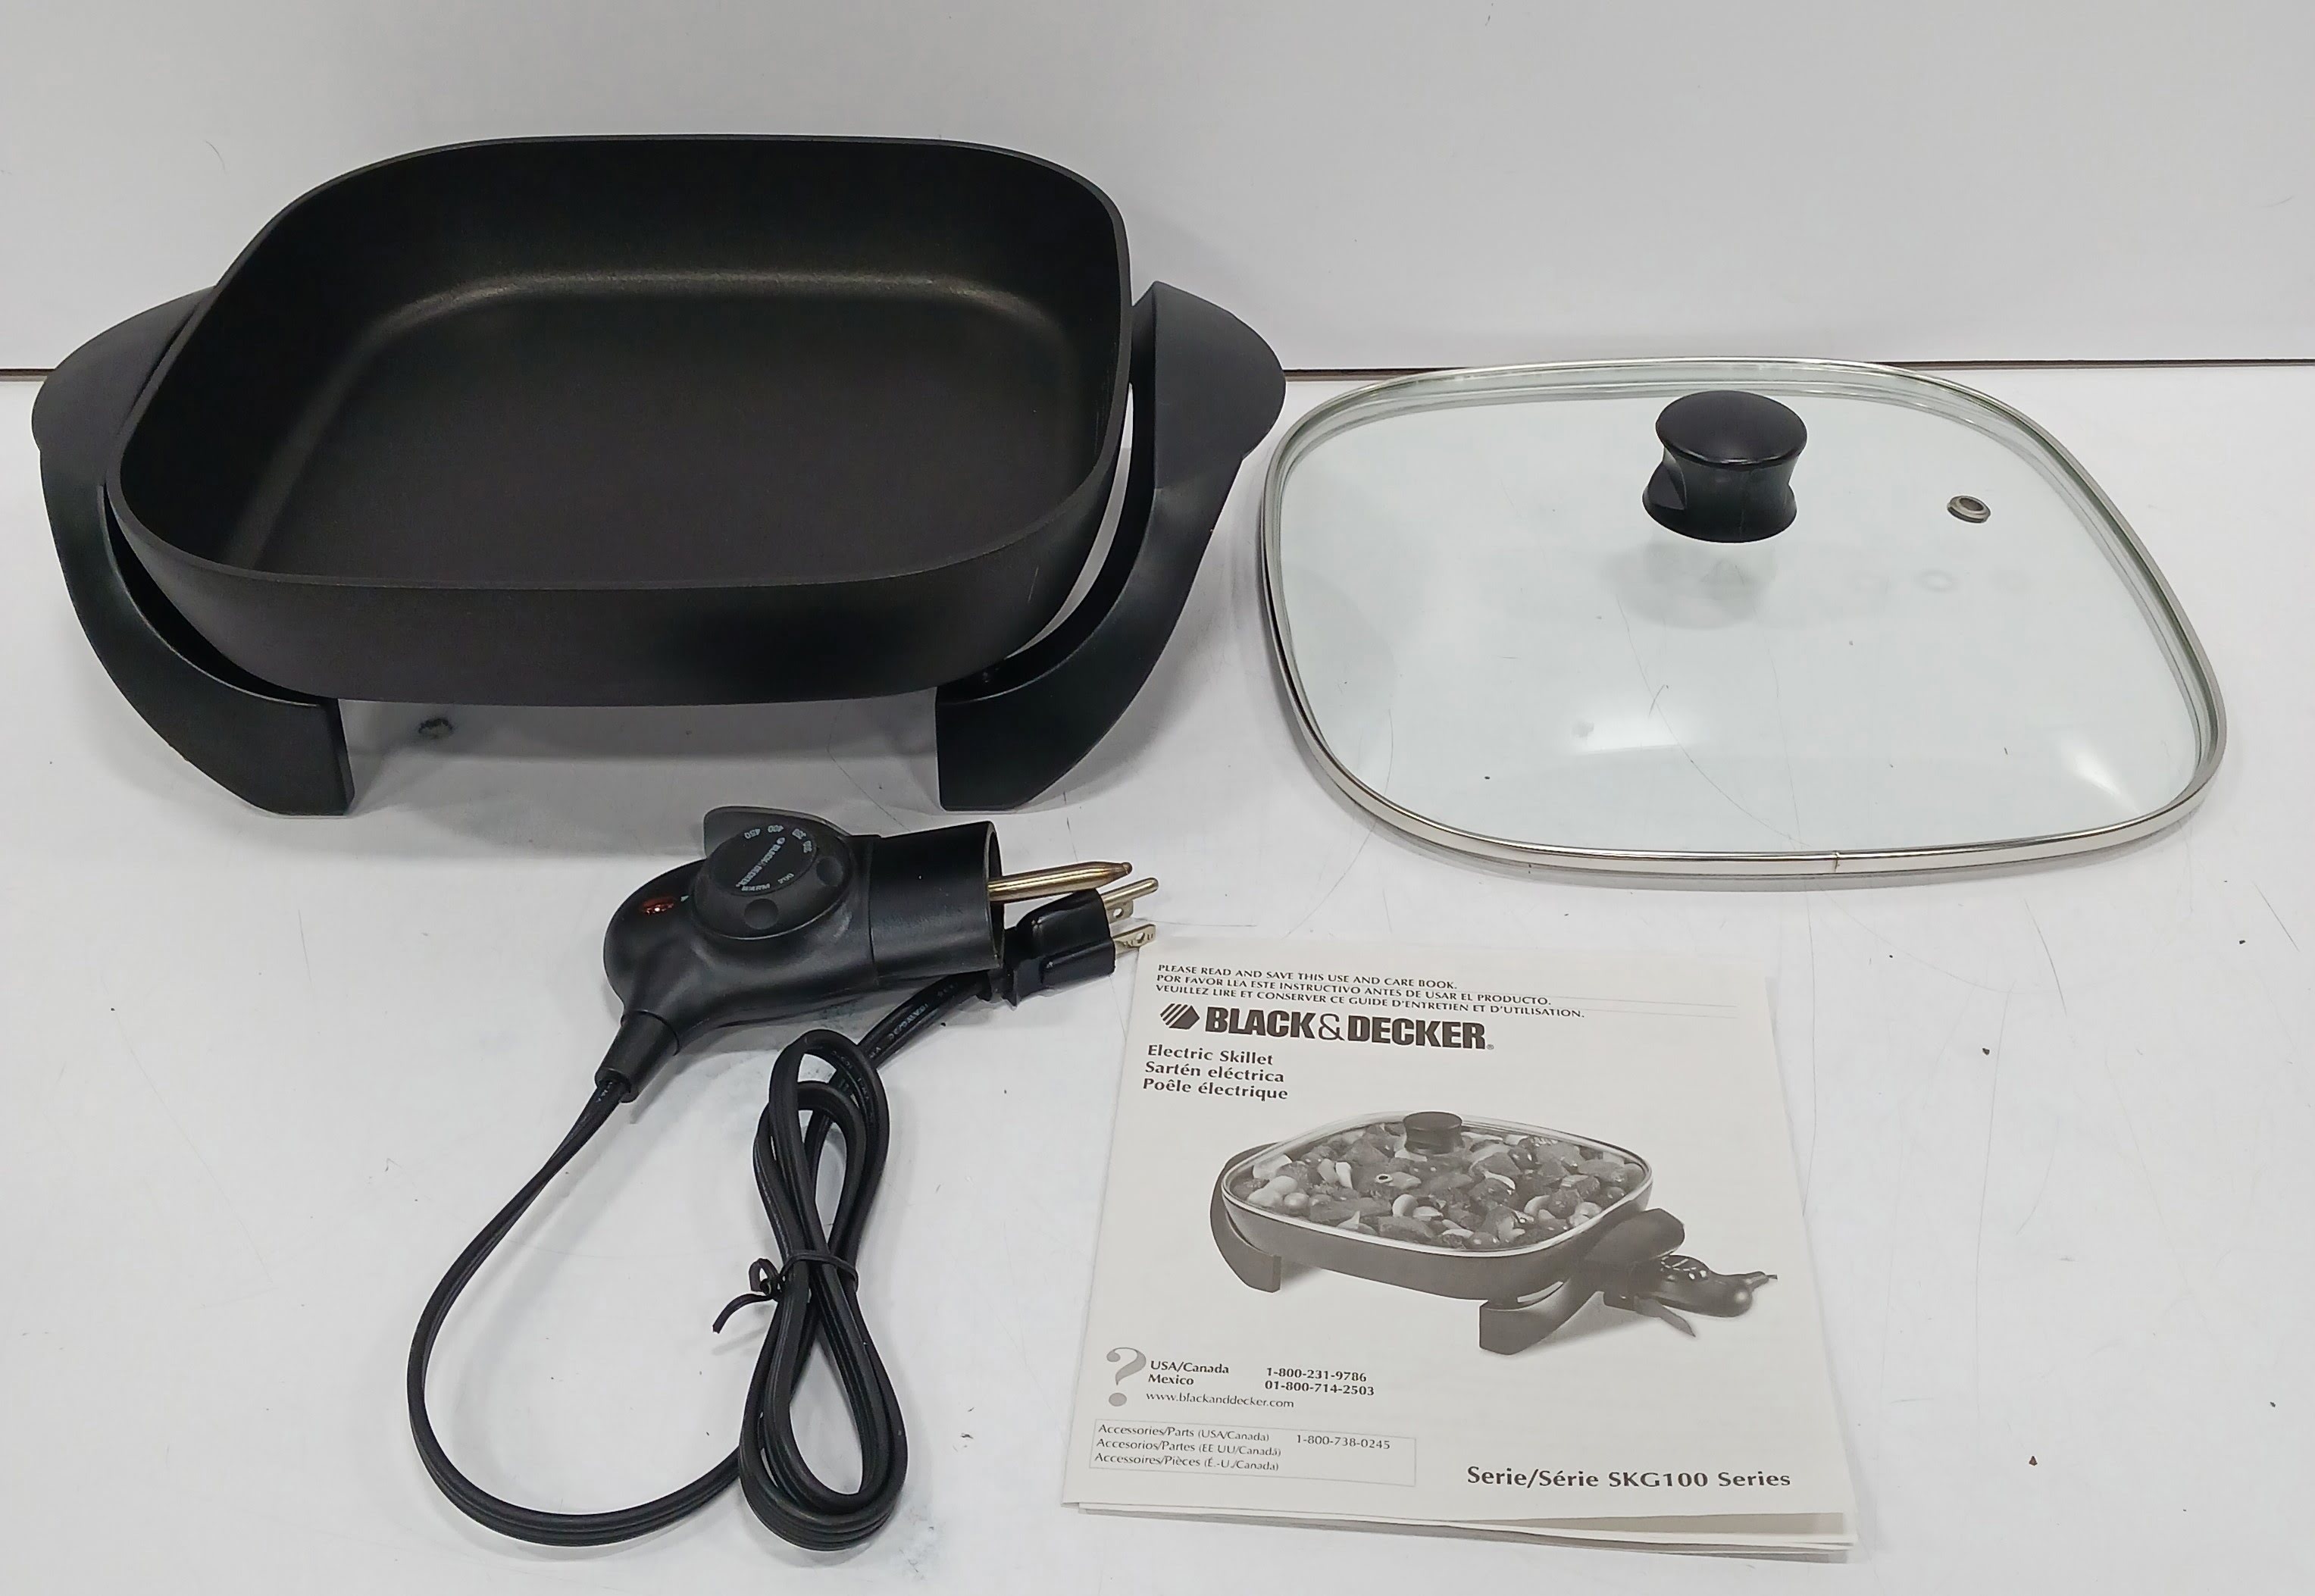
Choosing the Right Electric Skillet
When it comes to choosing an electric skillet for yogurt making, there are a few key factors to consider to ensure optimal results. Here are some things to keep in mind:
- Size: Consider the size of the electric skillet you need based on the quantity of yogurt you plan to make. Electric skillets typically come in a range of sizes, from smaller ones ideal for individual servings to larger ones suitable for larger batches.
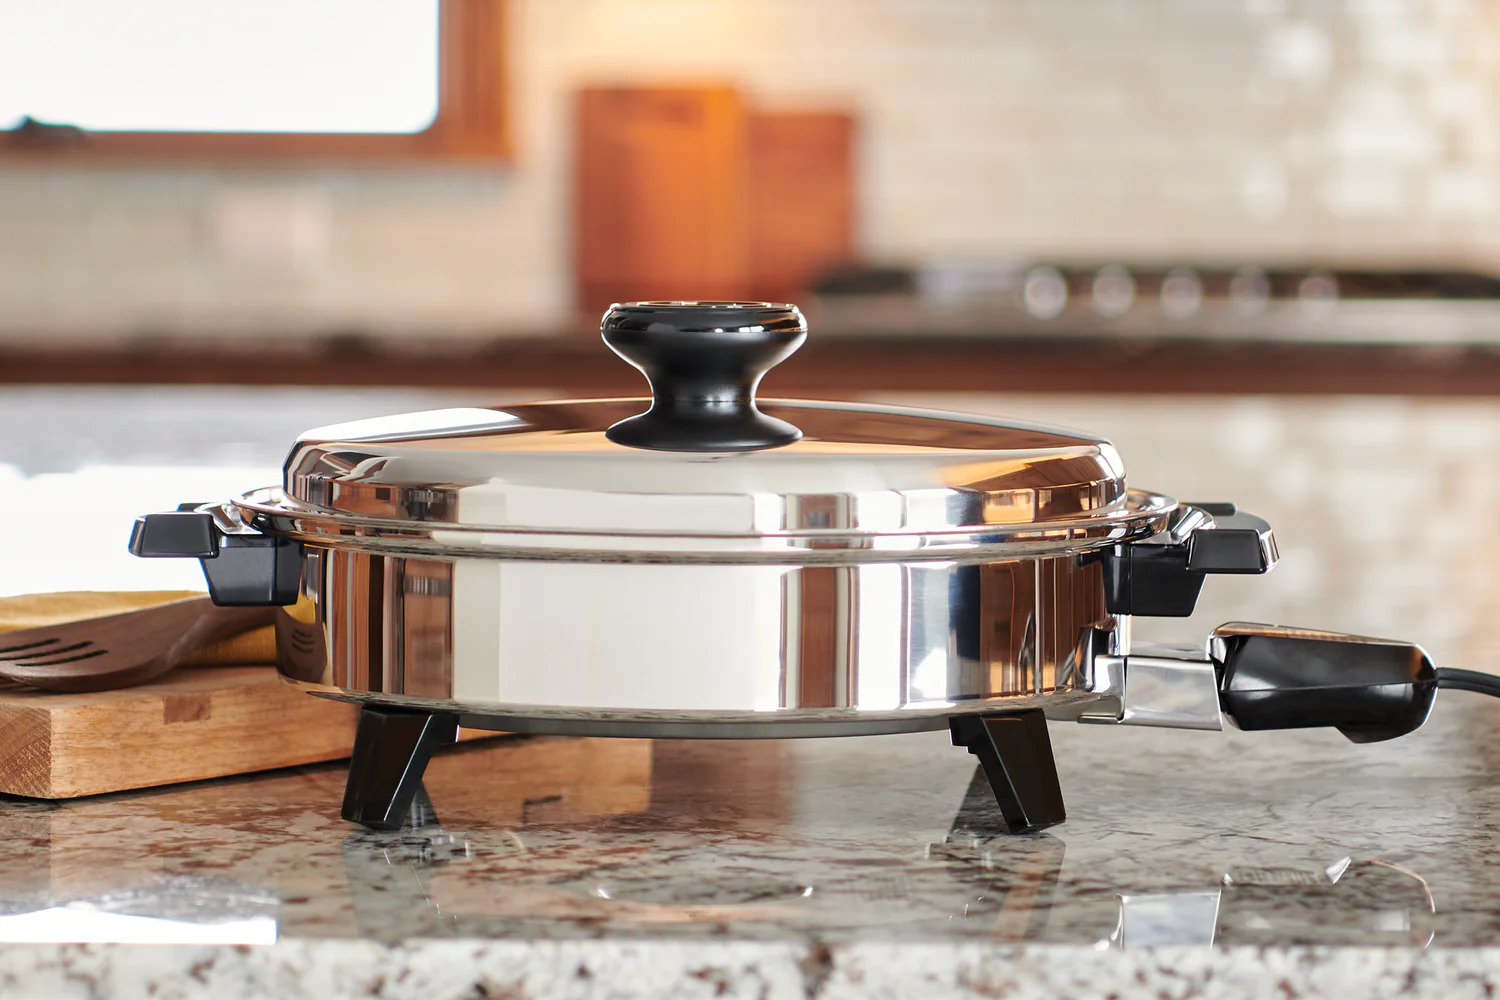
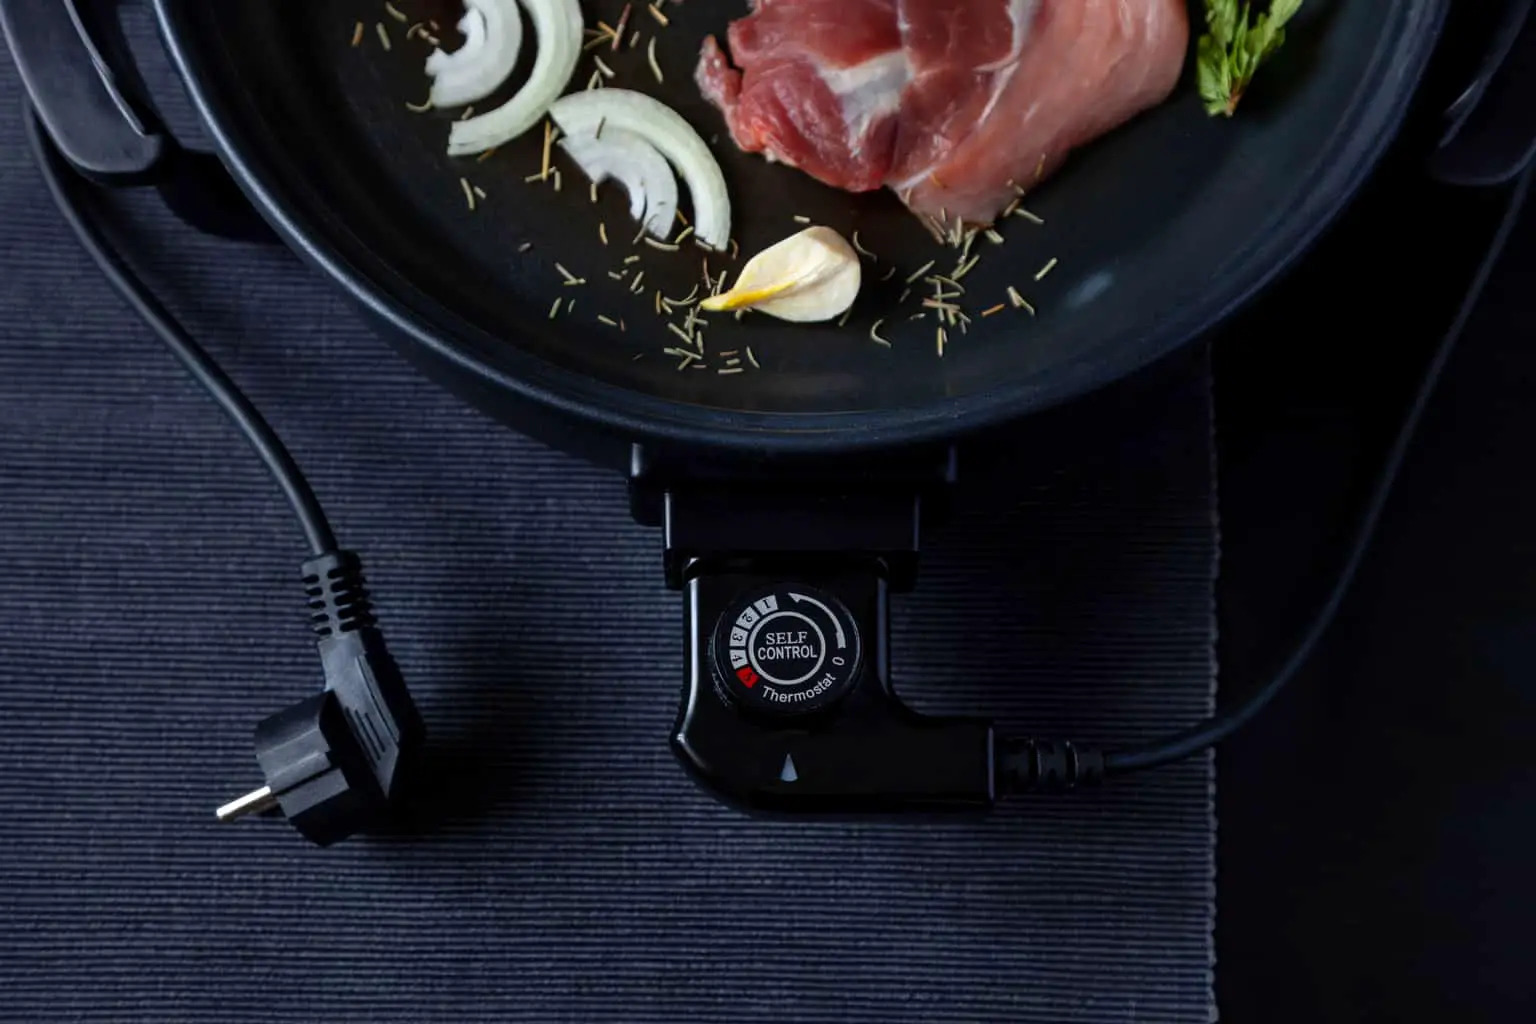
- Temperature Control: Look for an electric skillet with precise temperature control. Yogurt making requires maintaining a specific temperature range, usually between 100°F to 110°F (37°C to 43°C), so having a skillet with temperature control settings is essential.
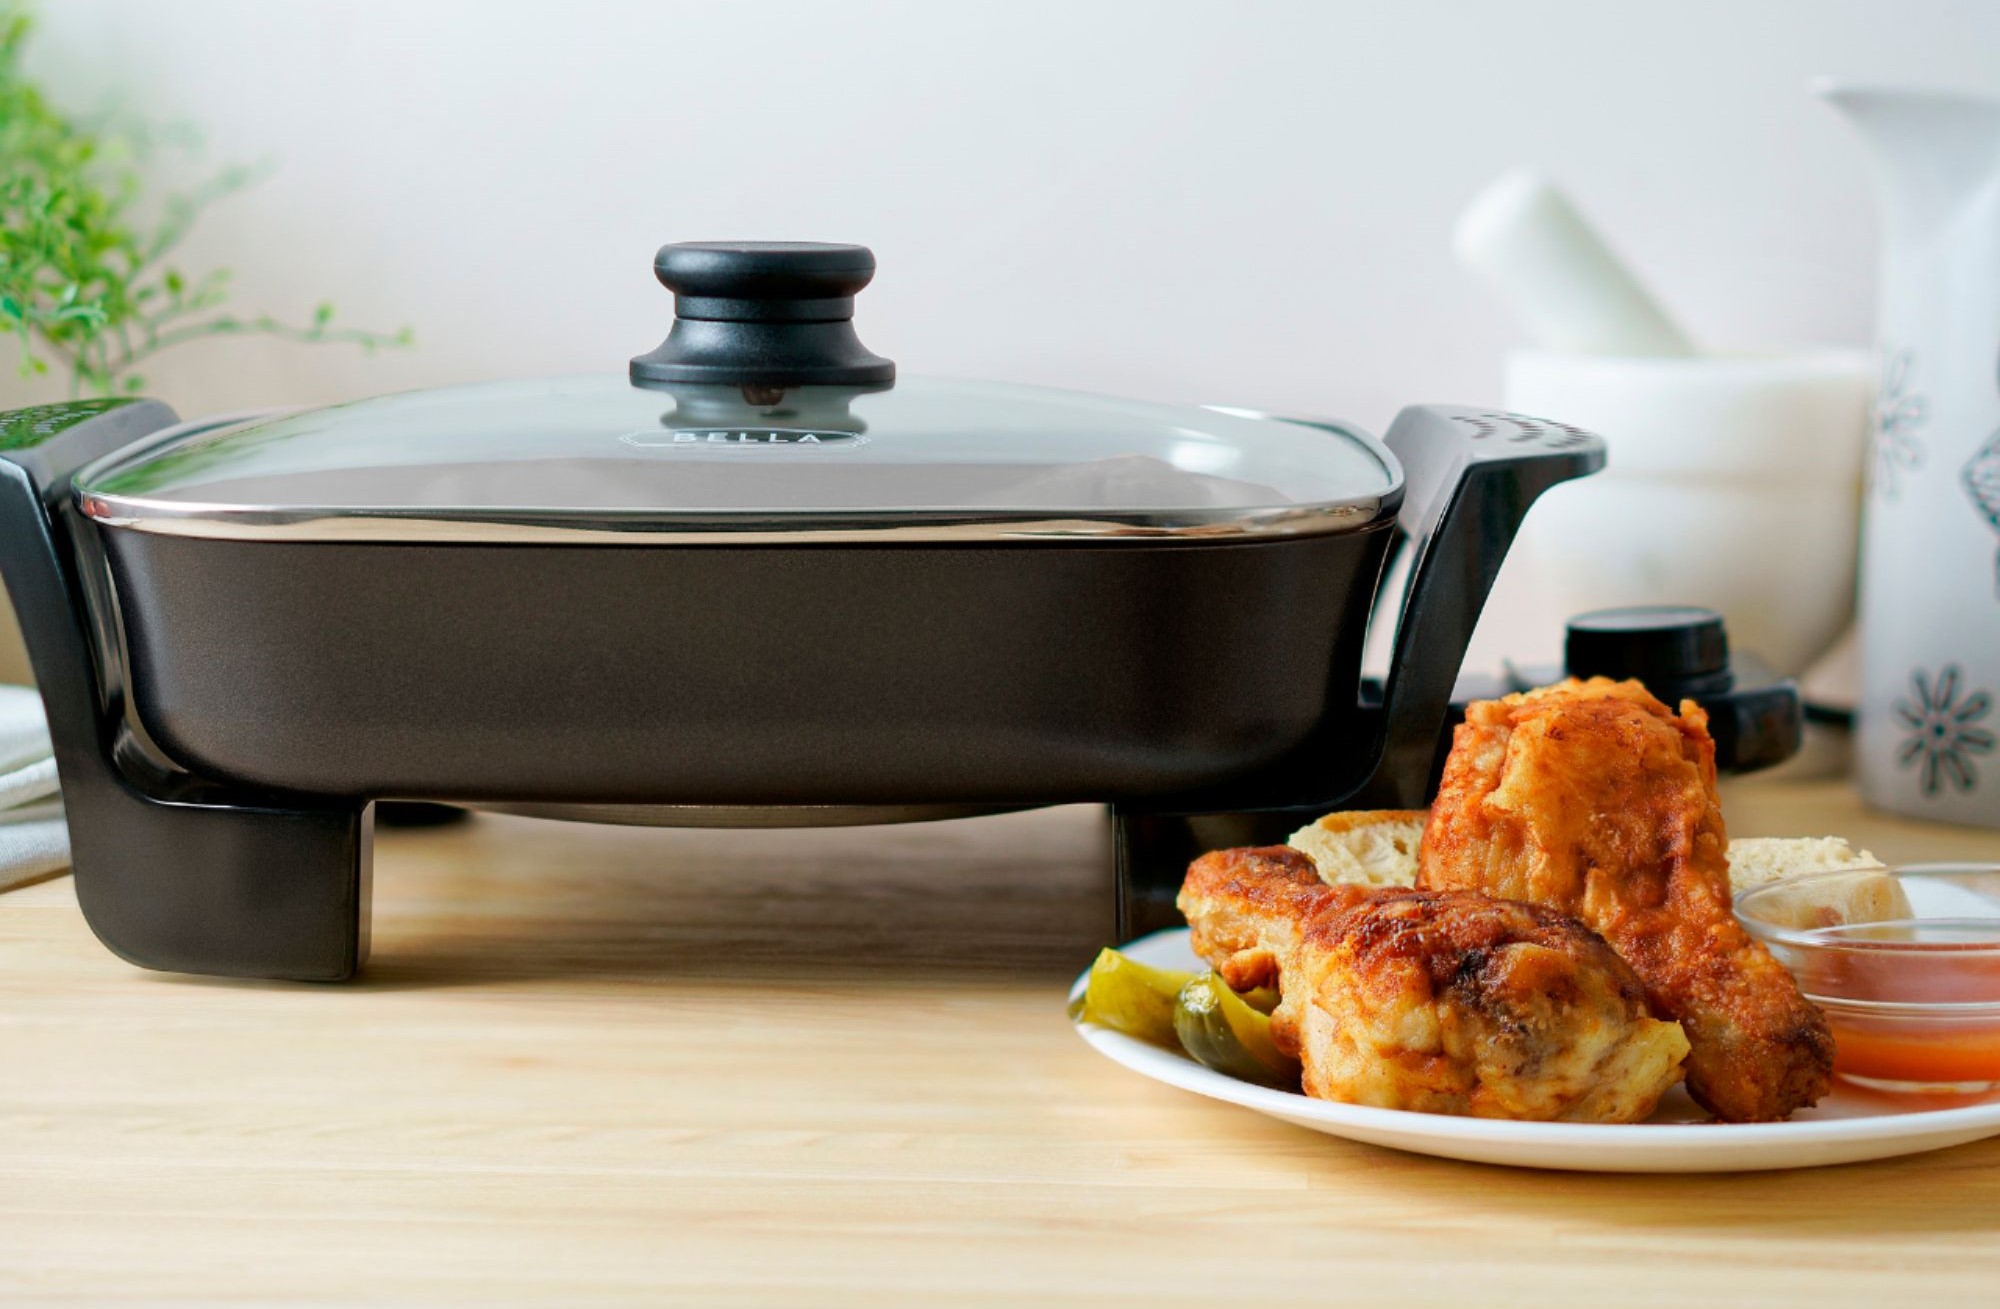
- Non-Stick Surface: Opt for an electric skillet with a non-stick surface. This will make it easier to clean and prevent the yogurt from sticking to the bottom of the skillet during the fermentation process.
- Depth: Consider the depth of the skillet. A deeper skillet allows for thicker batches of yogurt without the risk of overflowing. Aim for a depth of at least 3 inches to accommodate the yogurt as it ferments and thickens.
- Durable Construction: Look for a skillet made of durable materials such as stainless steel or aluminum. These materials are known for their even heat distribution and longevity.
It’s also worth noting that some electric skillets come with additional features such as a timer or a yogurt-making function, which can be convenient but are not necessary for successfully making yogurt.
Before purchasing an electric skillet, read reviews and compare different models to find one that meets your specific needs. Once you’ve chosen the right electric skillet, you’re ready to move on to the next step: preparing the skillet for yogurt making.
Preparing the Electric Skillet for Yogurt Making
Before you can start making yogurt in your electric skillet, it’s important to properly prepare the skillet to create the perfect environment for fermentation. Follow these steps to ensure your electric skillet is ready:
- Thoroughly Clean the Skillet: Start by cleaning the electric skillet with warm water and mild dish soap to remove any dirt or residue. Rinse it well and dry it thoroughly.
- Add Water to the Skillet: Fill the skillet with water until it reaches the desired depth for your batch of yogurt. This will help create a stable and consistent temperature environment during fermentation.
- Use a Thermometer: Place a food thermometer in the water to monitor the temperature. This will allow you to make any necessary adjustments to ensure the water stays within the ideal fermentation range.
- Preheat the Skillet: Turn on the electric skillet and set it to the desired yogurt fermentation temperature, usually between 100°F to 110°F (37°C to 43°C). Allow the skillet to preheat until the water reaches the desired temperature.
- Check Temperature Stability: Once the skillet reaches the desired temperature, monitor it for stability. Ensure that the temperature stays within the appropriate range for a sustained period of time. This will ensure consistent and successful yogurt fermentation.
- Adjust if Needed: If the temperature goes above or below the desired range, adjust the heat settings of the electric skillet accordingly. It may take a few adjustments to find the perfect balance for your specific skillet.
Once you’ve prepared your electric skillet and achieved a stable fermentation temperature, you’re ready to proceed with making yogurt. By taking the time to properly prepare the skillet, you’ll create an ideal environment for the beneficial bacteria to thrive and ferment the yogurt.
Making Yogurt in the Electric Skillet
Now that your electric skillet is prepped and ready, it’s time to dive into the process of making yogurt. Follow these steps to create delicious homemade yogurt using your electric skillet:
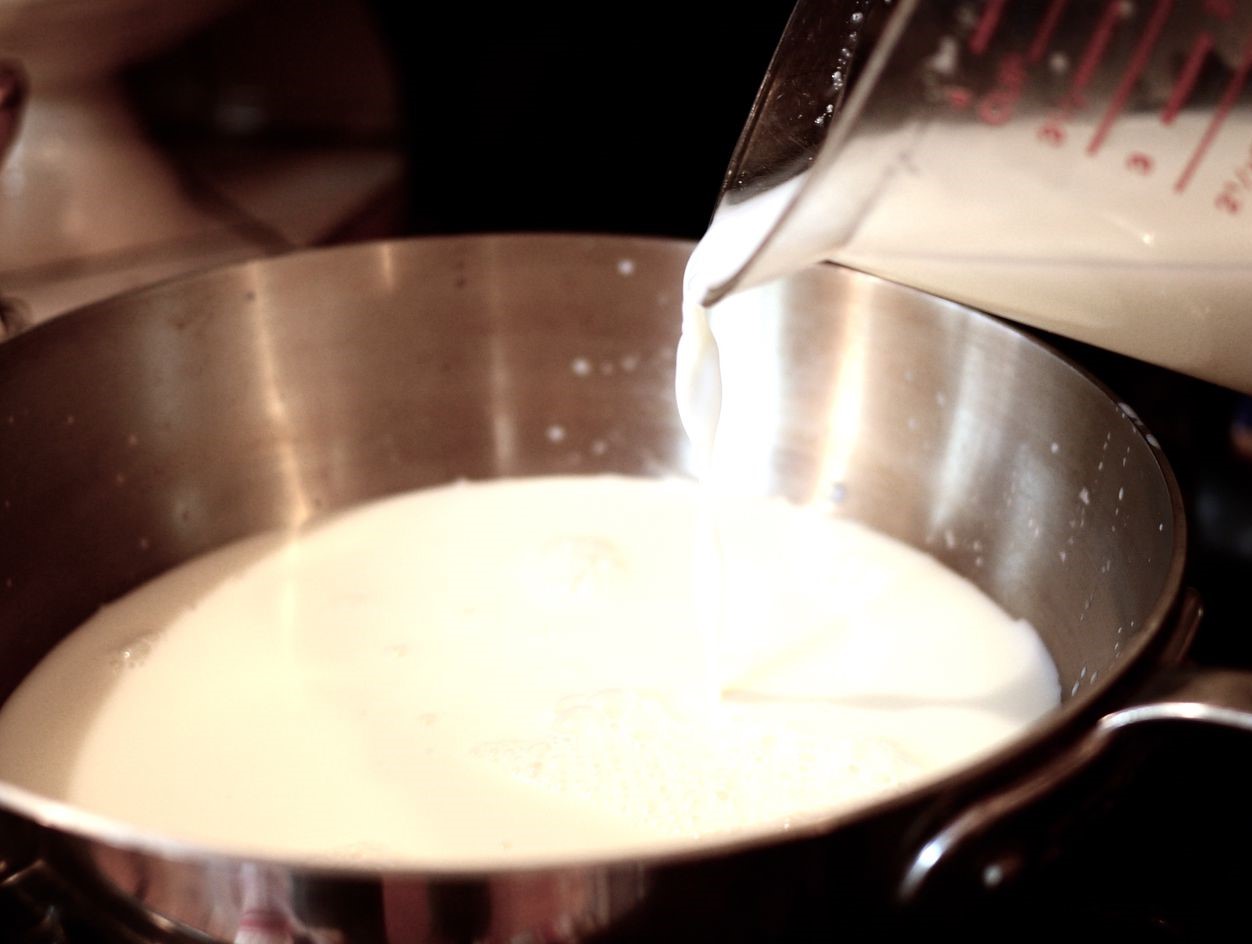
- Heat the Milk: Pour the desired amount of milk into the electric skillet. Heat the milk slowly over low to medium heat, stirring occasionally to prevent scorching. Heat the milk until it reaches a temperature between 180°F to 200°F (82°C to 93°C). This step helps to pasteurize the milk and kill any unwanted bacteria.
- Cool the Milk: After heating, allow the milk to cool to approximately 110°F (43°C). You can speed up the cooling process by placing the skillet in a sink filled with cold water or by transferring the milk to a different container.
- Inoculate with Yogurt Culture: Once the milk has cooled, add a small amount of yogurt culture or a starter yogurt to the milk. The starter yogurt should contain live bacteria cultures. Use approximately 2 tablespoons of starter yogurt per quart of milk. Stir gently to thoroughly incorporate the starter yogurt into the milk.
- Incubate the Yogurt Mixture: Carefully cover the electric skillet with a lid or wrap it with a thick towel to help insulate the heat. Maintain the desired yogurt fermentation temperature of 100°F to 110°F (37°C to 43°C) by adjusting the heat settings of the electric skillet as needed. Allow the yogurt mixture to ferment undisturbed for about 6 to 8 hours. The longer the fermentation time, the tangier the yogurt will become.
- Check for Set Yogurt: After the fermentation time, check the consistency of the yogurt. It should have thickened and set to a custard-like texture. If the yogurt is still too runny, you can continue the fermentation process for a little longer.
Once you achieve the desired consistency, congratulations! You have successfully made homemade yogurt using your electric skillet. Now, it’s time to move on to the next steps of culturing, cooling, and straining the yogurt to enhance its flavor and texture.
Culturing and Fermenting the Yogurt
With your yogurt mixture incubating in the electric skillet, the culturing and fermenting process begins. This step is crucial in developing the tangy flavor and creamy texture of yogurt. Follow these guidelines to ensure successful culturing and fermentation:
- Maintain the Temperature: Throughout the fermentation process, it’s important to maintain a consistent temperature of 100°F to 110°F (37°C to 43°C). This allows the beneficial bacteria in the starter yogurt to proliferate and create a thick, tangy yogurt.
- Avoid Disturbances: While the yogurt is fermenting, resist the temptation to stir or disturb the mixture. Agitating the yogurt can disrupt the setting process and prevent it from thickening properly.
- Monitor Time: Fermentation time can vary depending on factors such as the type of milk used and the desired tanginess. Typically, yogurt needs to ferment for around 6 to 8 hours. However, you can also let it ferment for longer if you prefer a stronger and more tangy flavor.
- Perform the Spoon Test: To check if the yogurt has fermented long enough, perform the spoon test. Gently tilt the electric skillet, and if the yogurt moves as one solid mass, it’s ready. If it’s still liquid or separates easily, continue the fermentation process for a little longer.
Remember that the culturing and fermenting process is essential for developing the taste and texture that yogurt is known for. Pay attention to the time and temperature to achieve the desired results. Once the yogurt has reached the desired firmness, it’s time to move on to the next steps of cooling and straining.
To use an electric skillet as a yogurt maker, set the temperature to 110-115°F and place the yogurt mixture in a glass or ceramic container. Cover with a lid and let it ferment for 6-8 hours.
Read more: Why Use Electric Skillet?
Cooling and Straining the Yogurt
After the yogurt has fully fermented and reached the desired consistency, it’s time to cool and strain it. This step helps to enhance the texture and remove any excess whey, resulting in a thicker and creamier yogurt. Follow these steps to cool and strain your homemade yogurt:
- Cool the Yogurt: Turn off the electric skillet and carefully remove the lid or towel covering the yogurt. Allow the yogurt to cool at room temperature for about 30 minutes. This cooling process helps to halt the fermentation process and set the texture.
- Refrigerate the Yogurt: Once the yogurt has cooled, transfer the skillet to the refrigerator and let it chill for at least 4 hours or overnight. This additional cooling time helps to further firm up the yogurt.
- Strain the Yogurt (Optional): If you prefer a thicker, Greek-style yogurt, you can strain the yogurt to remove excess whey. Line a sieve or colander with cheesecloth or a coffee filter, and place it over a bowl. Pour the chilled yogurt into the lined sieve, and let it strain for a few hours or overnight in the refrigerator. The longer you strain, the thicker the yogurt will become.
- Save the Whey (Optional): As the yogurt strains, keep in mind that the liquid that collects in the bowl is whey. This liquid is rich in proteins and can be used in smoothies, baking, or as a brine for marinating meats. Store the whey in a separate container in the refrigerator for future use.
Once you have cooled and strained your yogurt (if desired), you can proceed to the final steps of flavoring and storing.
By taking the time to cool and strain your homemade yogurt, you’ll achieve a velvety texture and a rich, creamy consistency. These additional steps elevate the final product and allow you to customize the yogurt to your taste preferences.
Flavoring and Storing the Yogurt
Now that your yogurt is ready, it’s time to add some delicious flavors and store it properly to preserve its freshness. Follow these steps to flavor and store your homemade yogurt:
- Sweeten and Flavor: To sweeten and flavor your yogurt, you can add ingredients such as honey, maple syrup, vanilla extract, or fruit preserves. Start by adding a small amount of sweetener and flavoring to a portion of the yogurt, and mix well. Taste and adjust as needed until you achieve the desired sweetness and flavor.
- Divide into Containers: Depending on the quantity of yogurt you have and your intended serving sizes, divide the yogurt into individual containers or airtight jars. This allows for easy portioning and convenient storage.
- Label and Date: Label each container with the contents and the date of preparation. This helps you keep track of the yogurt’s freshness and avoids any confusion when reaching for it later.
- Store in the Refrigerator: Place the containers of yogurt in the refrigerator and let them chill for at least a couple of hours before consuming. This helps the flavors meld together and the yogurt to set further.
- Enjoy within a Week: Homemade yogurt is best consumed within a week for optimal freshness and taste. As time goes by, the yogurt may become slightly more tangy but is still safe to consume as long as there are no signs of spoilage.
Remember to keep your flavored yogurt separate from the plain yogurt if you plan to have both options. This allows for more versatility in serving and ensures that you have a plain base to experiment with different flavors in the future.
By flavoring and storing your homemade yogurt properly, you’ll enjoy a variety of delicious taste options and have a supply of fresh yogurt readily available whenever you desire.
Tips and Troubleshooting
Making yogurt using an electric skillet can be a straightforward and enjoyable process. However, to ensure successful results, it’s helpful to keep these tips and troubleshooting techniques in mind:
Tips:
- Use whole milk for a creamier and more indulgent yogurt. However, you can also use lower-fat milk if preferred.
- For a thicker yogurt, you can add a small amount of powdered milk to the mixture before heating.
- Experiment with different types of milk, such as cow’s milk, goat’s milk, or plant-based milk alternatives, to create unique flavors and textures.
- Be patient during the preheating and cooling process to ensure the proper temperature is maintained for fermentation.
- Keep a designated thermometer for yogurt-making to accurately monitor temperatures.
- Save some of the yogurt you have made as a starter culture for the next batch. This helps maintain consistency and reduces the need to buy commercial starters.
Troubleshooting:
- If your yogurt doesn’t set or is too runny, it may be due to insufficient fermentation time. Allow it to ferment for a longer period, checking for set consistency before stopping the fermentation process.
- If your yogurt separates or curdles during heating or fermentation, it could be a result of high heat or agitation. Heat the milk gently and avoid stirring or moving the yogurt mixture excessively.
- If your yogurt has a grainy texture, it might be due to undissolved starter yogurt or insufficient fermentation time. Ensure the starter yogurt is thoroughly mixed into the milk, and give it enough time to ferment properly.
- If your yogurt is too tangy, reduce the fermentation time in subsequent batches. Remember that the longer the fermentation, the tangier the yogurt will become.
- If mold or an off smell develops in your yogurt, it’s a sign of spoilage. Discard the entire batch and thoroughly clean and sanitize your electric skillet before making yogurt again.
Remember that making yogurt is a skill that improves with practice. Don’t be discouraged by occasional setbacks. By following these tips and troubleshooting techniques, you’ll be well on your way to consistently creating delicious homemade yogurt using your trusty electric skillet.
Conclusion
Using an electric skillet as a yogurt maker is a fantastic way to unlock the possibilities of homemade yogurt right in your own kitchen. With the right equipment, preparation, and techniques, you can create creamy and flavorful yogurt that surpasses the store-bought alternatives. Plus, the satisfaction of creating something with your own hands is an added bonus.
In this article, we’ve explored the process of making yogurt using an electric skillet, from choosing the right skillet to preparing, culturing, and straining the yogurt. We’ve also provided tips and troubleshooting advice to help you navigate any challenges that may arise along the way.
Remember to experiment with different flavors, sweeteners, and milk types to discover your perfect combination. The possibilities are endless, whether it’s a classic vanilla yogurt topped with fresh fruit or a tangy Greek-style yogurt with a drizzle of honey.
By making your own yogurt, you have full control over the ingredients, allowing you to prioritize natural flavors and avoid unnecessary additives. Additionally, yogurt is a nutritious and versatile food, packed with beneficial bacteria, protein, and calcium, making it a great addition to a healthy diet.
So why not grab your electric skillet, gather your favorite ingredients, and embark on a yogurt-making journey? With a little time and effort, you’ll soon be enjoying homemade yogurt that satisfies your taste buds and nourishes your body.
Remember to have fun, embrace the process, and enjoy the rewards of your homemade yogurt. Happy yogurt-making!
Frequently Asked Questions about How To Use An Electric Skillet As A Yogurt Maker
Was this page helpful?
At Storables.com, we guarantee accurate and reliable information. Our content, validated by Expert Board Contributors, is crafted following stringent Editorial Policies. We're committed to providing you with well-researched, expert-backed insights for all your informational needs.


0 thoughts on “How To Use An Electric Skillet As A Yogurt Maker”