Articles
How To Wire A Surge Protector
Modified: January 19, 2024
Learn how to wire a surge protector with this comprehensive article. Discover step-by-step instructions and tips for ensuring electrical safety.
(Many of the links in this article redirect to a specific reviewed product. Your purchase of these products through affiliate links helps to generate commission for Storables.com, at no extra cost. Learn more)
Introduction
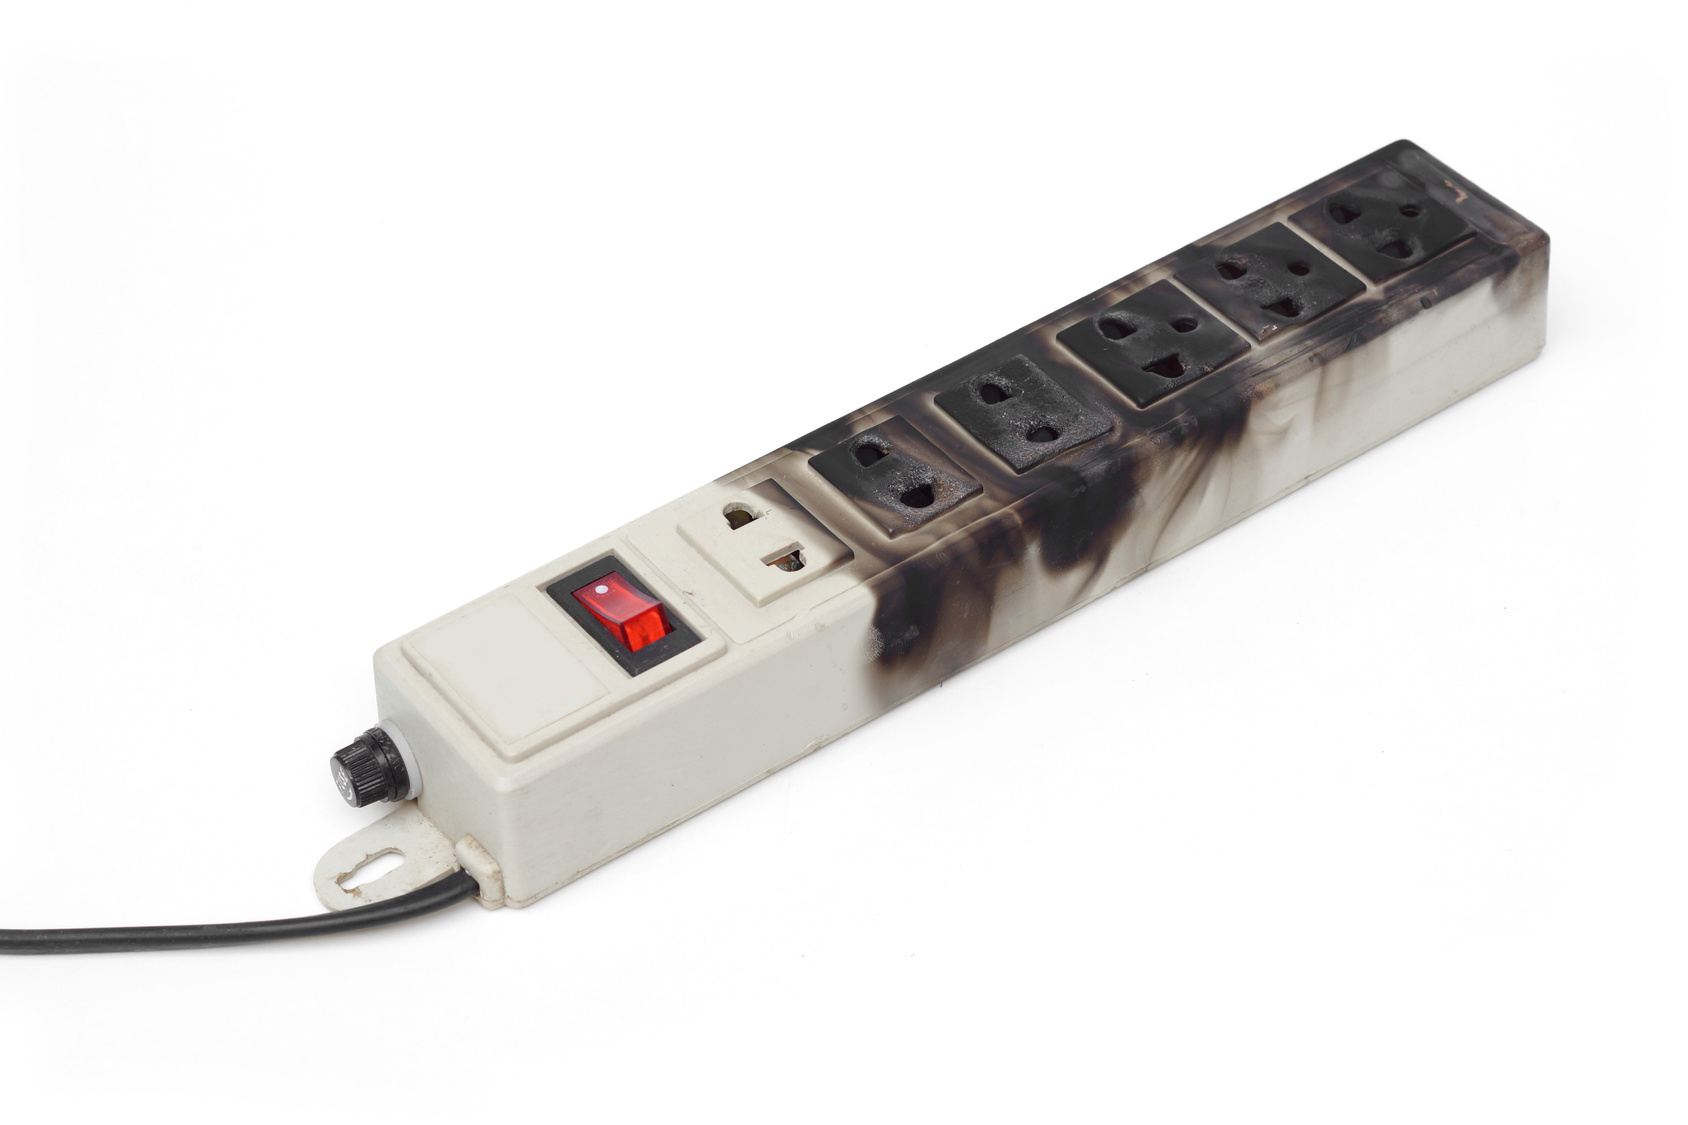
Surge protectors are essential devices that protect your electrical equipment from sudden power surges and voltage spikes. These surges can be caused by lightning strikes, power outages, or even faulty wiring. Investing in a surge protector can help safeguard your expensive electronics and prolong their lifespan. But how do you wire a surge protector properly? In this article, we will guide you through the steps to wire a surge protector correctly, ensuring the safety and efficiency of your electrical system.
Before we delve into the wiring process, it is essential to emphasize the importance of safety precautions. Whenever you are working with electricity, make sure to turn off the power supply to the area you are working on. This will minimize the risk of electrical shocks or accidents. Additionally, if you are not confident in your ability to handle electrical wiring, it is best to consult a professional electrician to perform the installation for you.
Now let’s move on to the step-by-step process of wiring a surge protector.
Key Takeaways:
- Prioritize safety by turning off the power supply before wiring a surge protector. Understanding outlet compatibility and proper wiring techniques are crucial for effective installation and protection of electrical equipment.
- Choose a suitable location, make secure connections, and mount the surge protector for long-term stability. Testing the functionality and periodic maintenance ensure continued protection against power surges.
Read more: How To Lock Your RV Surge Protector
Step 1: Gather necessary tools and materials
Before you begin wiring a surge protector, gather all the necessary tools and materials to ensure a smooth installation process. Here is a list of items you will need:
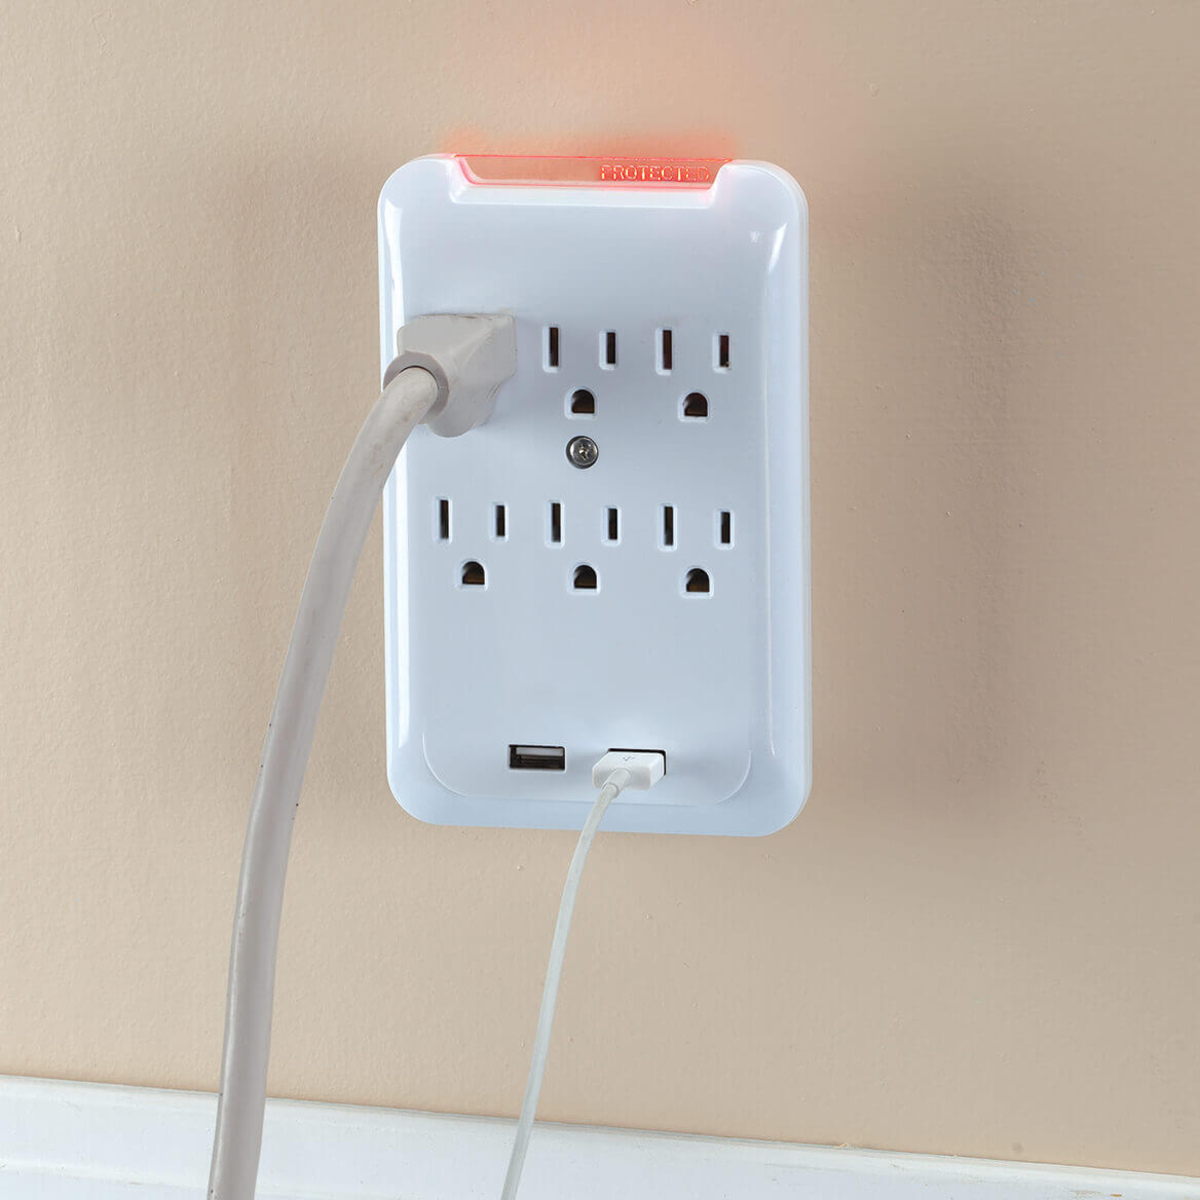
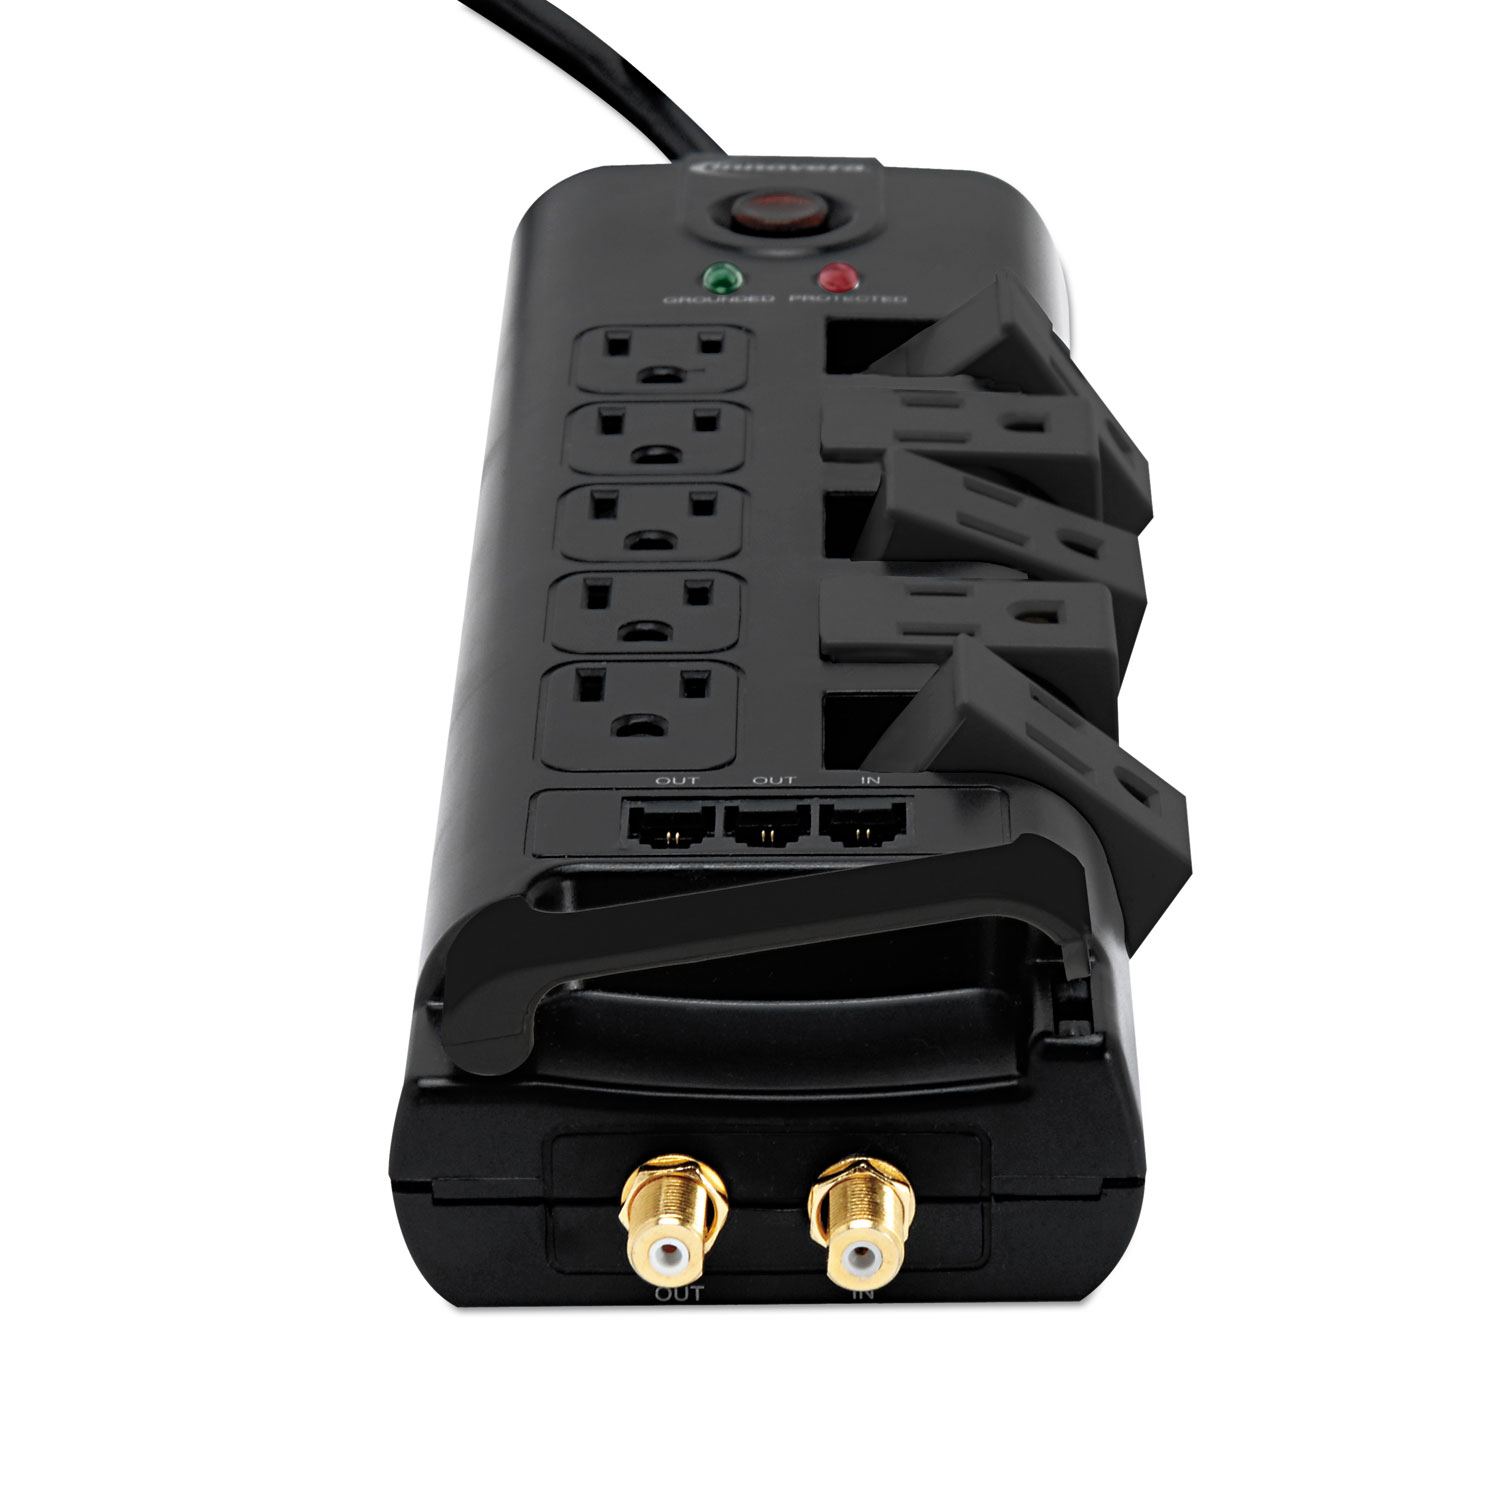
- Surge protector: Choose a surge protector that suits your specific needs. Consider factors such as the number of outlets, joule rating, and voltage protection level.
- Screwdriver: Depending on the type of screws used in your outlet box, acquire a suitable screwdriver for removing the outlet cover plate.
- Wire cutters: You may need wire cutters to cut and strip the wires during the installation process.
- Wire nuts: Wire nuts are essential for securely connecting the wires together.
- Electrical tape: Electrical tape helps insulate the connections and adds an extra layer of protection.
Ensure that you have all these tools and materials readily available before proceeding with the installation.
It is worth noting that different surge protectors may require additional tools or materials. Therefore, it is always a good idea to refer to the manufacturer’s instructions that come with your specific surge protector model.
Once you have gathered all the necessary tools and materials, you are ready to move on to the next step: choosing a suitable location for the surge protector.
Step 2: Choose a suitable location for the surge protector
Choosing the right location for your surge protector is crucial to ensure its effectiveness and convenience. Here are a few factors to consider when selecting a suitable location:
- Proximity to electrical equipment: Place the surge protector in close proximity to the electrical equipment you want to protect. This will minimize the length of power cords and reduce the risk of tripping hazards.
- Accessible location: Choose a location that is easily accessible for plugging and unplugging devices. Avoid installing the surge protector behind furniture or in hard-to-reach areas.
- Proper ventilation: Ensure that the chosen location allows for proper ventilation to prevent the surge protector from overheating. Avoid installing it in enclosed spaces or areas with poor airflow.
- Protection from moisture: Make sure to select a location that is free from excessive moisture or water exposure. Moisture can damage the surge protector and compromise its effectiveness.
- Mounting options: Consider whether you want to mount the surge protector on a wall or attach it directly to the outlet box. Some surge protectors come with mounting brackets for easy installation.
Once you have considered these factors, choose an appropriate location that meets all the criteria. It is also a good idea to refer to the surge protector’s installation instructions for any specific location requirements provided by the manufacturer.
After you have selected the ideal location, you can move on to the next step: turning off the power supply.
Step 3: Turn off the power supply
Before you begin working with electrical wiring, it is crucial to turn off the power supply to the area where you plan to install the surge protector. This step is essential to ensure your safety and prevent any electrical accidents.
To turn off the power supply, follow these steps:
- Locate the main electrical panel in your home or building.
- Open the panel door using a screwdriver or by releasing the latches.
- Identify the circuit breaker that controls the power to the specific area where you will be working.
- Flip the switch of the circuit breaker to the “Off” position. You may need to consult the electrical panel diagram or labeling to identify the correct breaker.
Once you have turned off the power supply, it is a good practice to verify that the power is indeed off before proceeding with the installation. You can do this by using a non-contact voltage tester or by attempting to turn on a light or appliance in the area.
Remember, safety is paramount when working with electricity. Never skip this step or attempt to work with live wires, as it can result in severe injuries or even death.
Once you have confirmed that the power supply is turned off, you are ready to move on to the next step: determining the type of outlet and surge protector compatibility.
Step 4: Determine the type of outlet and surge protector compatibility
Before proceeding with the installation of a surge protector, it is crucial to determine the type of outlet you have and ensure compatibility with the surge protector you have chosen. Different outlets may require different wiring methods or adapters, so it is essential to understand the compatibility requirements.
Here are a few common types of outlets and surge protector compatibility considerations:
- Standard outlets: These are the most common outlets found in households and commercial buildings. They typically have three-pronged openings for plug insertion. Ensure that your surge protector has a compatible plug that can be securely inserted into the standard outlet.
- GFCI outlets: Ground Fault Circuit Interrupter (GFCI) outlets are commonly found in bathrooms, kitchens, and outdoor areas. They are designed to provide protection against electrical shocks. If your surge protector is not compatible with a GFCI outlet, you may need to consult an electrician or consider using a GFCI-compatible surge protector.
- Specialty outlets: Some outlets used for specific purposes, such as dedicated circuits for large appliances, may require specialized surge protectors or wiring configurations. Verify the compatibility requirements for these outlets and consult a professional if necessary.
By understanding the type of outlet and its compatibility with your surge protector, you can proceed with confidence in the next steps of the installation process. If you have any doubts or questions, it is always recommended to consult a professional electrician for guidance.
Once you have determined the outlet compatibility, you can move on to the next step: removing the outlet cover plate.
Read more: How Much Can You Plug Into A Surge Protector
Step 5: Remove the outlet cover plate
Before you can begin wiring the surge protector, you need to remove the outlet cover plate. This will provide you with access to the wiring inside the outlet box. Follow the steps below to remove the cover plate:
- Ensure that the power supply to the area is turned off, as discussed in Step 3.
- Use a screwdriver that corresponds to the screws on the cover plate to remove the screws. There are typically one or two screws holding the cover plate in place.
- Gently pull the cover plate away from the wall to detach it from the outlet box.
Set aside the cover plate and screws in a safe location, as you will need them later when reassembling the outlet. Take a moment to inspect the electrical wiring behind the cover plate to ensure their integrity and make note of their configuration for the next steps.
Please exercise caution during this step to avoid damaging the cover plate or the wires behind it. If the cover plate is stubborn or difficult to remove, you may need to apply gentle force or consult a professional electrician for assistance.
With the outlet cover plate removed, you are now ready to move on to the next step: examining the wiring inside the outlet box.
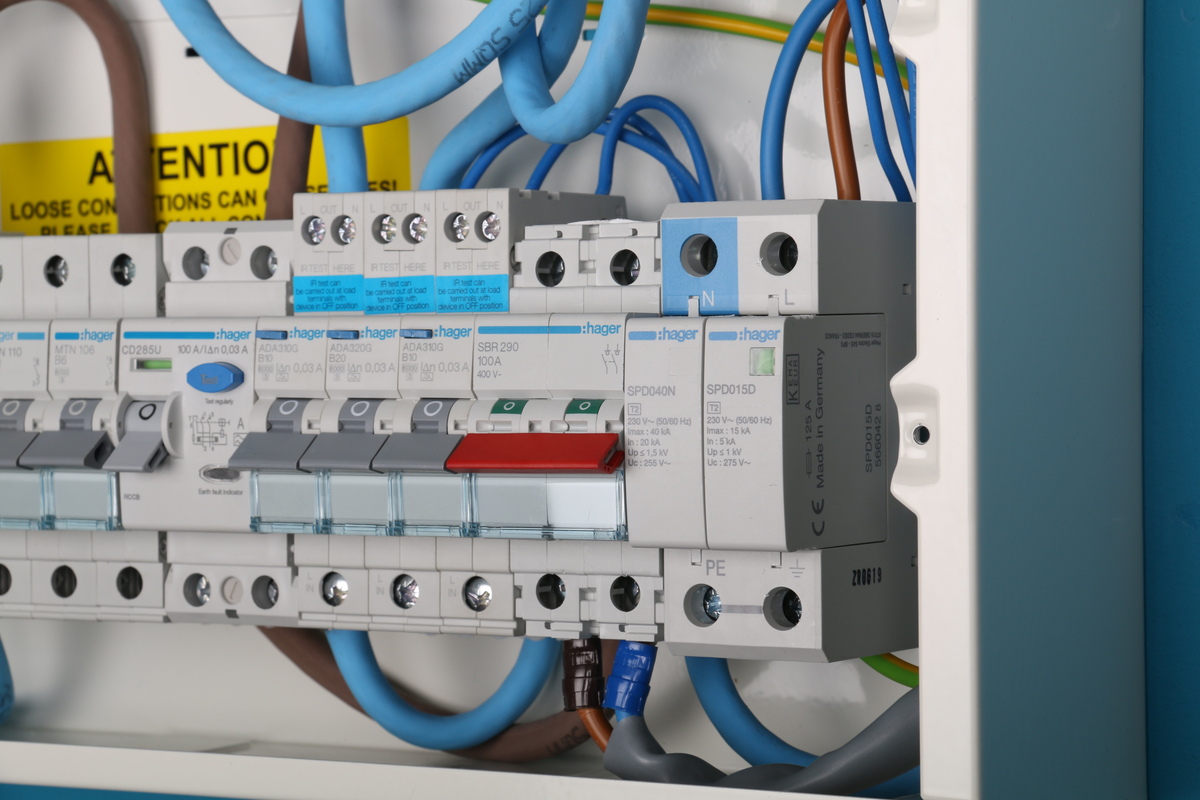
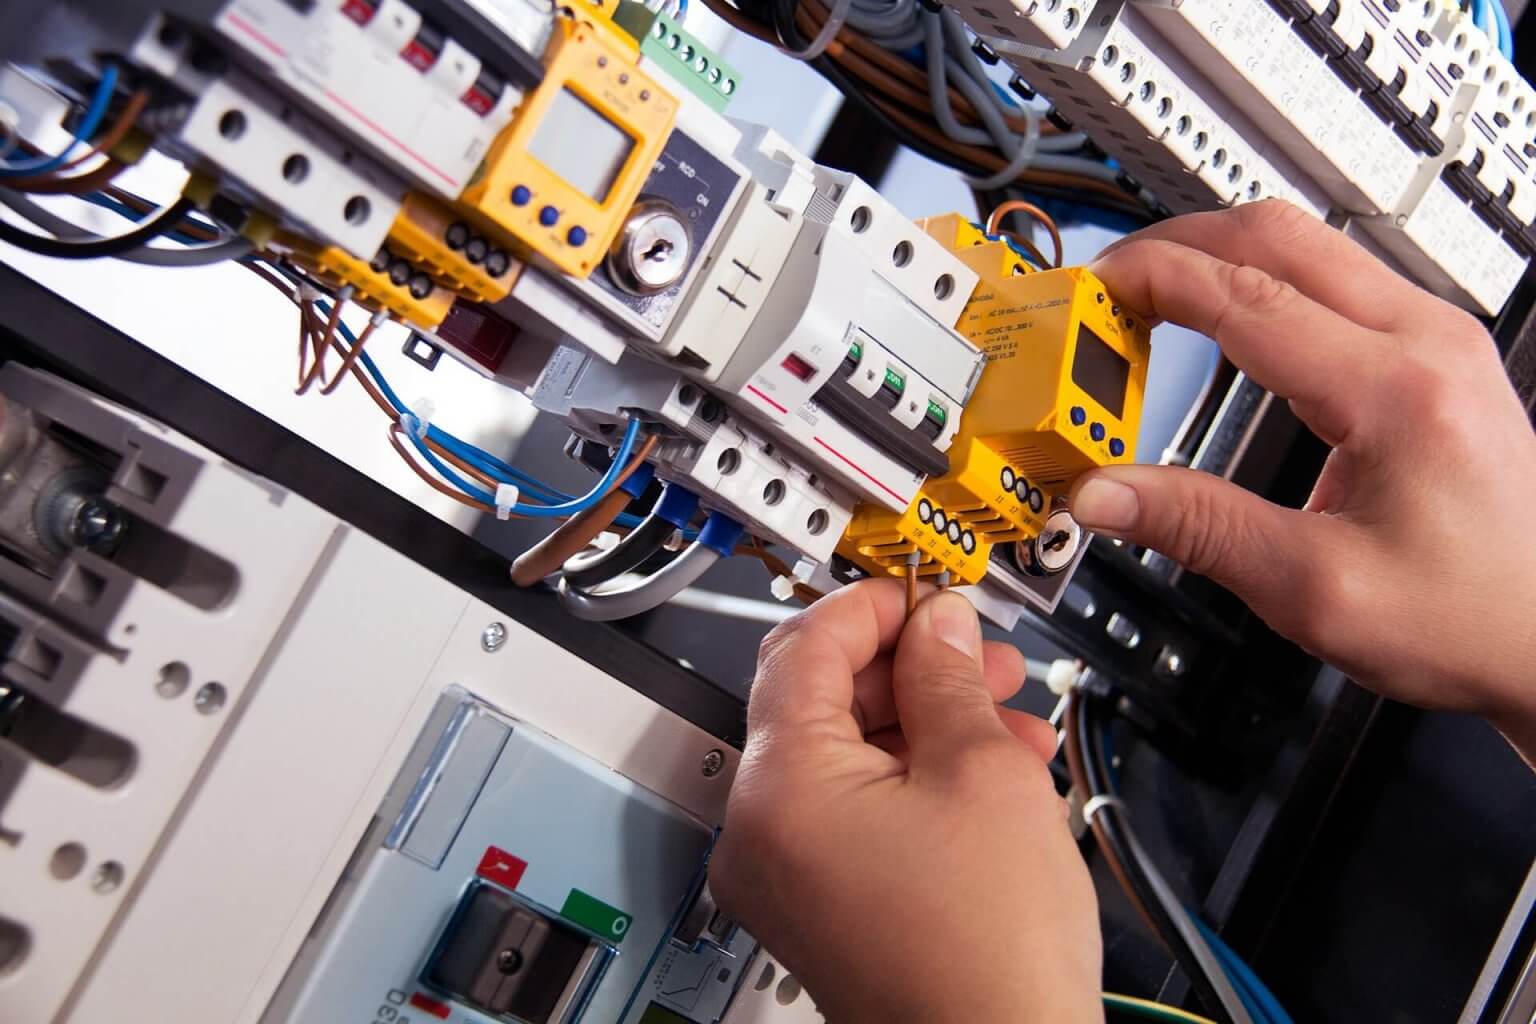
Step 6: Examine the wiring inside the outlet box
Once you have removed the outlet cover plate, it’s time to examine the wiring inside the outlet box. This step is essential to ensure that you understand the existing wiring configuration and can make the necessary connections with the surge protector.
Here are a few things to look for and consider during the examination:
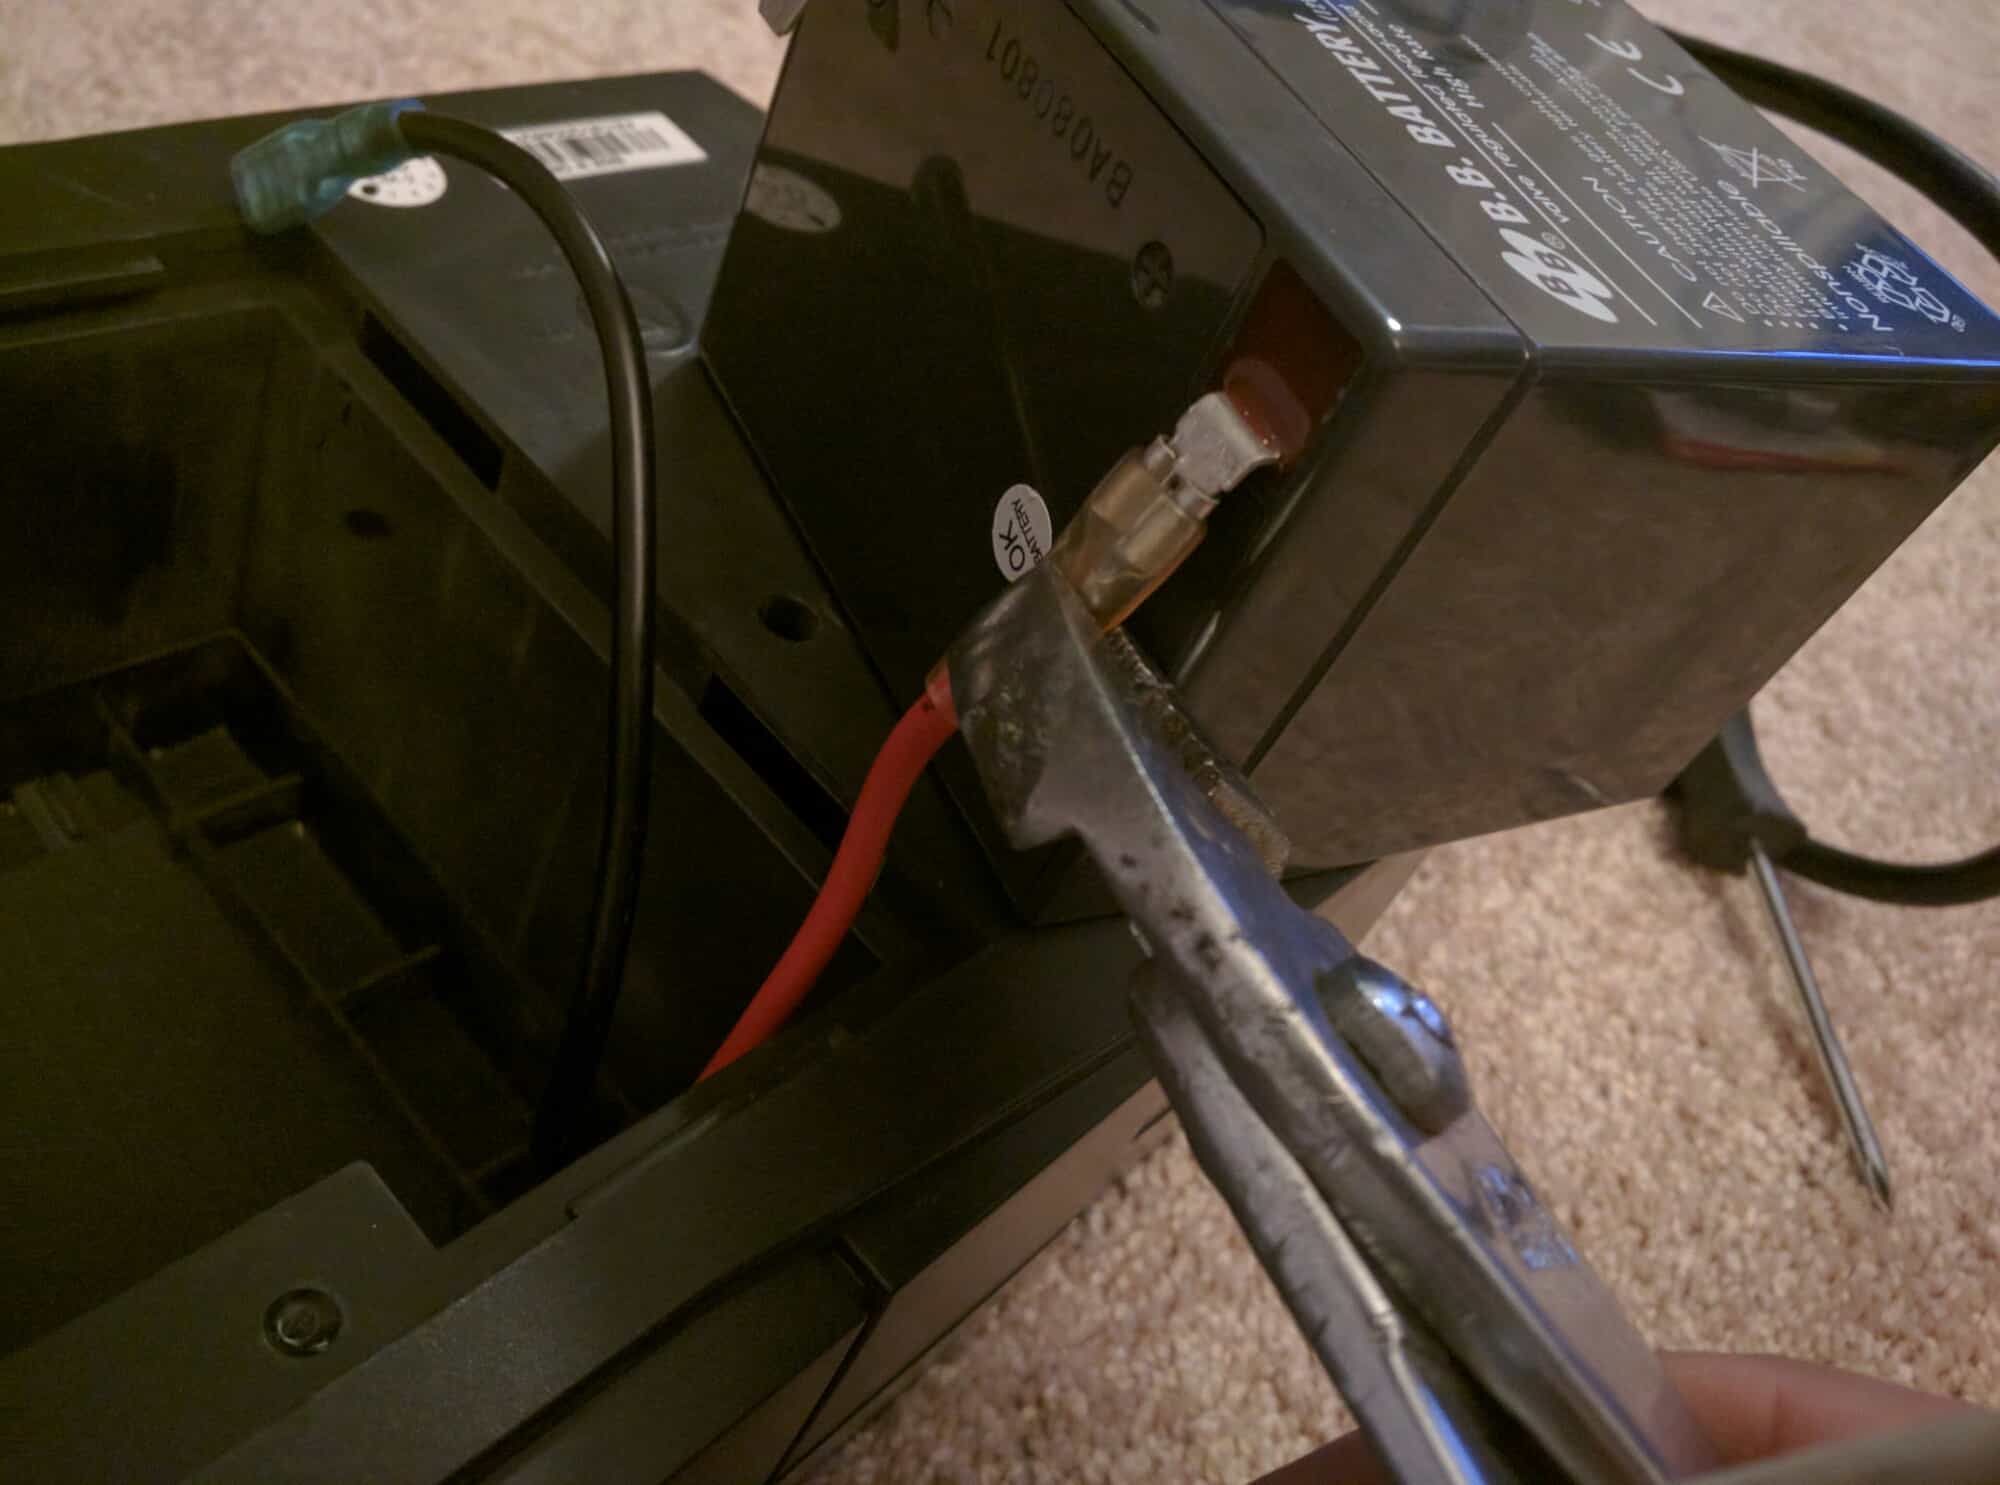
- Number of wires: Take note of the number of wires present in the outlet box. Typically, you will find three main wires – black (hot), white (neutral), and bare or green (grounding). In some cases, there may be additional wires, such as red (used in a split outlet setup) or blue (used for specific applications).
- Wire condition: Inspect the condition of the wires for any signs of damage, fraying, or loose connections. If you notice any issues, it is advisable to consult a professional electrician to address the problem before proceeding with the installation.
- Wire colors: Ensure that the color-coding of the wires aligns with standard wiring conventions. This will make it easier to identify the hot, neutral, and grounding wires during the wiring process.
- Existing connections: Observe how the existing wiring is connected to the outlet. Take note of the specific terminals to which the wires are attached, as this information will be crucial for connecting the surge protector.
By thoroughly examining the wiring inside the outlet box, you will have a clear understanding of the existing setup and be better prepared to proceed with the subsequent steps of connecting the surge protector.
If you encounter any unfamiliar or confusing wiring configurations, it is best to seek professional assistance from a certified electrician who can provide guidance and ensure the installation is done correctly and safely.
Once you have finished examining the wiring, it’s time to move on to the next step: disconnecting the existing wiring.
When wiring a surge protector, always make sure to connect the hot (black) wire to the brass terminal, the neutral (white) wire to the silver terminal, and the ground (green) wire to the green terminal. This ensures proper protection for your electronic devices.
Step 7: Disconnect the existing wiring
Now that you have examined the wiring inside the outlet box, it’s time to disconnect the existing wiring. This step is necessary to make space for the surge protector and allows for the necessary connections to be made.
Follow these steps to disconnect the existing wiring:
- Ensure that the power supply to the area is turned off and double-check that there is no electricity flowing through the wires.
- Take note of the existing wire connections and their respective terminals. This will help you reconnect the wires correctly later.
- Using wire cutters or pliers, carefully remove the wire connections from the outlet terminals. Loosen the screws securing the wires and gently pull them away from the terminals.
- Once all the wires are disconnected, tuck them safely into the outlet box to prevent accidental contact. Avoid bending or damaging the wires during this process.
It’s important to handle the existing wiring with care to avoid damaging the wires or causing any accidental shorts. If you encounter any difficulties or are unsure about disconnecting the wiring, it’s advisable to seek professional assistance from a licensed electrician.
With the existing wiring safely disconnected, you can now proceed to the next step: connecting the surge protector to the outlet box.
Step 8: Connect the surge protector to the outlet box
Now that the existing wiring has been disconnected, it’s time to connect the surge protector to the outlet box. This step involves making the necessary connections to ensure the surge protector is properly integrated into the electrical system.
Follow these steps to connect the surge protector:
- Locate the wiring terminals on the surge protector. These are typically labeled for easy identification.
- Refer to the notes you made during the examination of the existing wiring to ensure you connect the surge protector wires in the correct configuration.
- Take each wire from the surge protector and match it with the corresponding wire from the outlet box.
- Use wire nuts to securely connect the wires together. Make sure the connections are tight and properly insulated.
- Secure any additional wires, such as ground wires, as per the manufacturer’s instructions.
It’s important to follow the surge protector manufacturer’s guidelines regarding the wiring connections. Different surge protectors may have specific requirements or instructions for connecting the wires.
As you make the connections, ensure that the wires are properly aligned and tightened. Avoid twisting or over-tightening the wire nuts, as this may cause damage to the wires or create loose connections.
If you are unsure about making the wiring connections, it’s always recommended to consult a professional electrician who can provide expert guidance and ensure that the surge protector is connected correctly.
Once the surge protector is securely connected to the outlet box, the next step is to reconnect the wiring.
Read more: How To Test A Surge Protector
Step 9: Reconnect the wiring
Now that the surge protector is properly connected to the outlet box, it’s time to reconnect the wiring. This step involves reestablishing the electrical connections and ensuring that the wires are securely attached.
Follow these steps to reconnect the wiring:
- Take each wire from the outlet box and reattach them to their respective terminals on the surge protector.
- Make sure the connections are secure and properly tightened. Double-check that the wires are properly aligned and inserted into the correct terminals.
- Use wire nuts to twist the wires together, ensuring a tight and secure connection.
- Inspect the connections to ensure there are no loose or exposed wires. If necessary, trim any excess wire length and re-secure the connections.
It’s essential to pay attention to the proper alignment of the wires and ensure they are connected according to the manufacturer’s instructions or standard wiring conventions.
As you reconnect the wiring, be mindful of creating a clean and organized setup. Avoid overcrowding the outlet box and ensure that the wires lay flat and do not interfere with other components or outlets.
If you encounter any difficulties or are unsure about reconnecting the wiring, it’s strongly recommended to seek assistance from a professional electrician to ensure a safe and correct installation.
With the wiring reconnected, you can proceed to the next step: mounting the surge protector to the wall or outlet box.
Step 10: Mount the surge protector to the wall or outlet box
With the surge protector properly connected, it’s time to mount it to the wall or outlet box for secure and stable installation. Mounting the surge protector ensures that it stays in place and reduces the risk of accidental disconnections or damage.
Follow these steps to mount the surge protector:
- Determine the preferred mounting method for your surge protector. Some surge protectors come with mounting brackets, while others may have slots or holes for mounting directly onto the outlet box.
- If using a mounting bracket, position it securely against the wall or outlet box, aligning it with the screw holes.
- Using appropriate screws and a screwdriver, attach the mounting bracket to the wall or outlet box. Ensure that the screws are tightened securely, but not excessively to avoid damaging the surge protector housing.
- If mounting directly onto the outlet box, align the surge protector with the slots or holes on the box. Insert the screws through the surge protector and into the slots or holes, then tighten them securely.
- Double-check the stability of the mounted surge protector to ensure it is securely in place. If necessary, make any adjustments or tighten screws further.
It’s important to follow the mounting instructions provided by the surge protector manufacturer. Different surge protectors may have specific requirements or recommendations for mounting.
If you are unsure about the mounting process or encounter any difficulties, it’s recommended to consult the surge protector’s instructions or seek assistance from a professional electrician for guidance.
Once the surge protector is securely mounted, you can proceed to the next step: attaching the cover plate back to the outlet.
Step 11: Attach the cover plate back to the outlet
With the surge protector mounted securely, the next step is to attach the cover plate back to the outlet. This step not only provides a clean and finished appearance but also protects the wiring and ensures safety.
Follow these steps to attach the cover plate:
- Position the cover plate against the wall or outlet box, ensuring it aligns with the screw holes.
- Using the screws that were initially removed, insert them through the cover plate and into the screw holes on the outlet box.
- Tighten the screws securely but avoid overtightening, as it may damage the cover plate or the outlet box.
- Ensure that the cover plate is flat against the wall and sits flush with the surrounding surface.
It’s important to use the correct screws for your specific cover plate and outlet box. If you misplaced the original screws, consult a hardware store to find suitable replacements.
Once the cover plate is securely attached, inspect it for any loose or protruding edges. Make sure that it is snug and properly aligned with the outlet box.
If you encounter any difficulties during this step or the cover plate does not fit properly, it is advisable to seek assistance from a professional electrician. They can help ensure that the cover plate is installed correctly and securely.
With the cover plate in place, you are now ready to move on to the final step: turning on the power supply.
Step 12: Turn on the power supply
Now that the surge protector is securely installed and the cover plate is in place, it’s time to turn on the power supply to the area. This final step will restore electrical power and allow you to test the functionality of the surge protector.
Follow these steps to turn on the power supply:
- Ensure that all connections are secure and there are no loose wires.
- Double-check that the surge protector is properly mounted and the cover plate is securely attached.
- Return to the main electrical panel in your home or building.
- Locate the circuit breaker that controls the power supply to the area where the surge protector is installed.
- Flip the switch of the circuit breaker to the “On” position.
- Observe the surge protector to see if it receives power and if any indicator lights or displays are activated.
Once you have turned on the power supply, monitor the surge protector for any signs of malfunction or abnormal behavior. Ensure that all connected devices are receiving power and functioning properly.
If you notice any issues or have concerns about the surge protector’s performance, it’s advisable to consult the surge protector’s manual or contact the manufacturer’s customer support for assistance.
With the power supply turned on and the surge protector in operation, congratulations! You have successfully wired and installed a surge protector to protect your electrical equipment from power surges and voltage spikes.
Remember to periodically check and maintain the surge protector to ensure its continued effectiveness. Also, keep an eye on the manufacturer’s guidelines for any specific maintenance recommendations.
Thank you for following this step-by-step guide. Stay safe and enjoy the peace of mind that comes with having a properly installed surge protector!
Read more: How To Hide A Surge Protector
Conclusion
Wiring a surge protector is an essential step in protecting your electrical equipment from power surges and voltage spikes. By following the step-by-step guide outlined in this article, you can ensure a safe and effective installation process.
Remember to prioritize safety by turning off the power supply before working with electrical components. If you are unsure about any step or encounter difficulties, it is always best to seek assistance from a professional electrician.
Choosing a suitable location for the surge protector and understanding the compatibility with your outlet is crucial to ensure optimal performance. Take the time to examine the wiring in the outlet box and make the necessary connections with care.
Mounting the surge protector securely and reattaching the cover plate provide a finished and professional look, ensuring the long-term stability of the installation.
Finally, don’t forget to turn on the power supply and test the surge protector to ensure it is functioning correctly.
By following these steps and prioritizing safety and proper installation techniques, you can have peace of mind knowing that your valuable electrical equipment is protected from electrical surges.
Remember to periodically inspect and maintain the surge protector to ensure continued protection and consult the manufacturer’s guidelines for any specific maintenance requirements.
Now you have the knowledge and guidance to wire a surge protector efficiently. Enjoy the added safety and protection that a surge protector provides for your electrical devices!
Frequently Asked Questions about How To Wire A Surge Protector
Was this page helpful?
At Storables.com, we guarantee accurate and reliable information. Our content, validated by Expert Board Contributors, is crafted following stringent Editorial Policies. We're committed to providing you with well-researched, expert-backed insights for all your informational needs.


0 thoughts on “How To Wire A Surge Protector”