Articles
How To Mount A Surge Protector Under A Desk
Modified: March 1, 2024
Learn how to easily mount a surge protector under your desk with these helpful articles. Protect your devices from power surges while saving space.
(Many of the links in this article redirect to a specific reviewed product. Your purchase of these products through affiliate links helps to generate commission for Storables.com, at no extra cost. Learn more)
Introduction
Welcome to our guide on mounting a surge protector under a desk! In our modern world, electronic devices have become an integral part of our everyday lives. From laptops to smartphones, we rely heavily on these devices for work, entertainment, and communication. With this growing dependence comes the need for adequate protection against power surges, which can damage our valuable electronics.
A surge protector, also known as a power strip or surge suppressor, is designed to protect devices from voltage spikes and surges. These devices are equipped with multiple outlets and a built-in circuit breaker to mitigate the risk of electrical damage. While surge protectors are typically placed on the floor or desktop, mounting them under the desk offers a more organized and efficient solution.
In this article, we will provide you with a step-by-step guide on how to mount a surge protector under your desk. By following these instructions, you can optimize your workspace and safeguard your electronic devices against power surges.
Key Takeaways:
- Mounting a surge protector under your desk not only safeguards your electronic devices but also enhances workspace organization and aesthetics. Follow the step-by-step guide for a clutter-free and protected setup.
- Proper cable management is crucial for a well-mounted surge protector. Conceal and organize cables to maintain a tidy workspace and ensure the longevity and reliability of your electronic devices’ protection.
Read more: How To Mount A Power Strip Under A Desk
Step 1: Gather the necessary tools and materials
Before you begin the process of mounting a surge protector under your desk, it is important to gather all the necessary tools and materials. Having everything prepared in advance will make the installation process much smoother.
Here is a list of the tools and materials you will need:
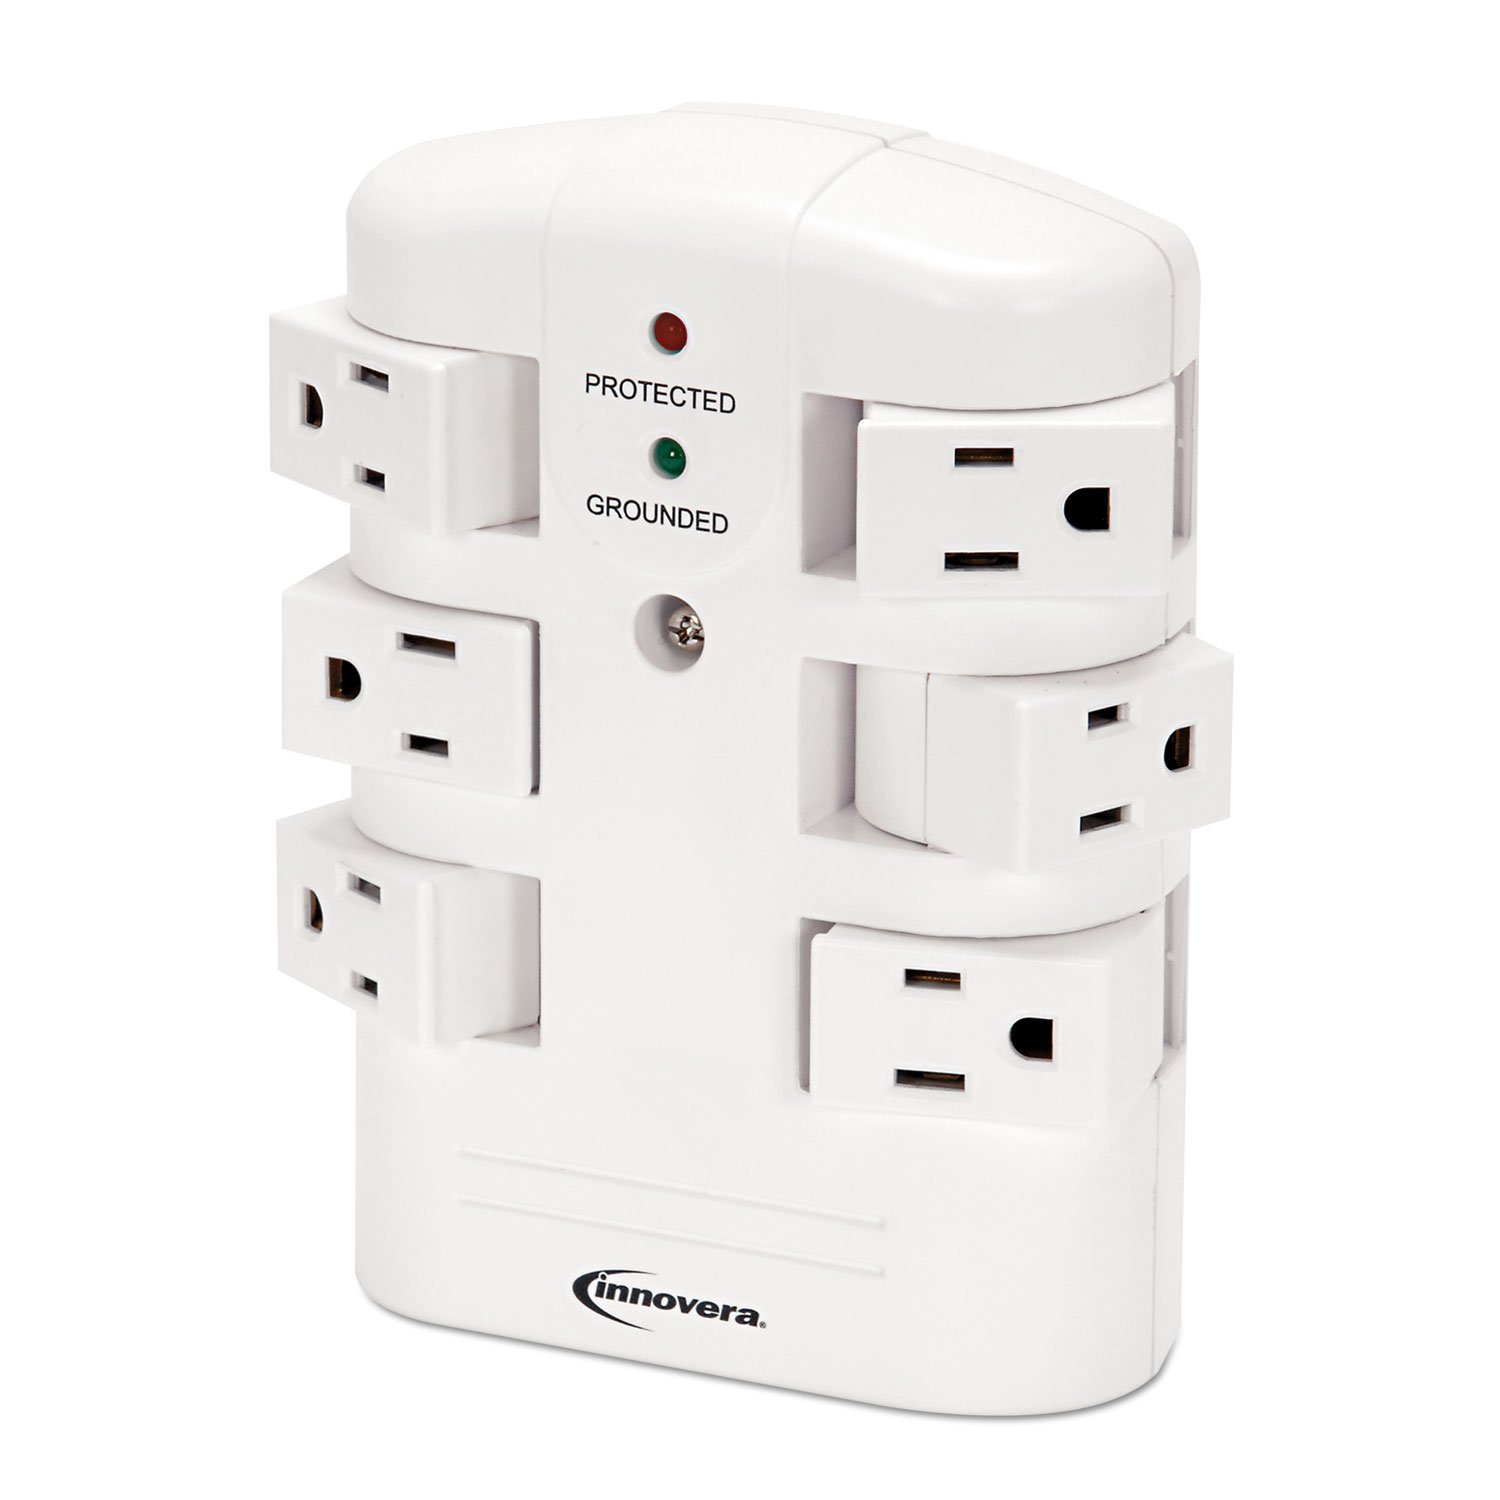
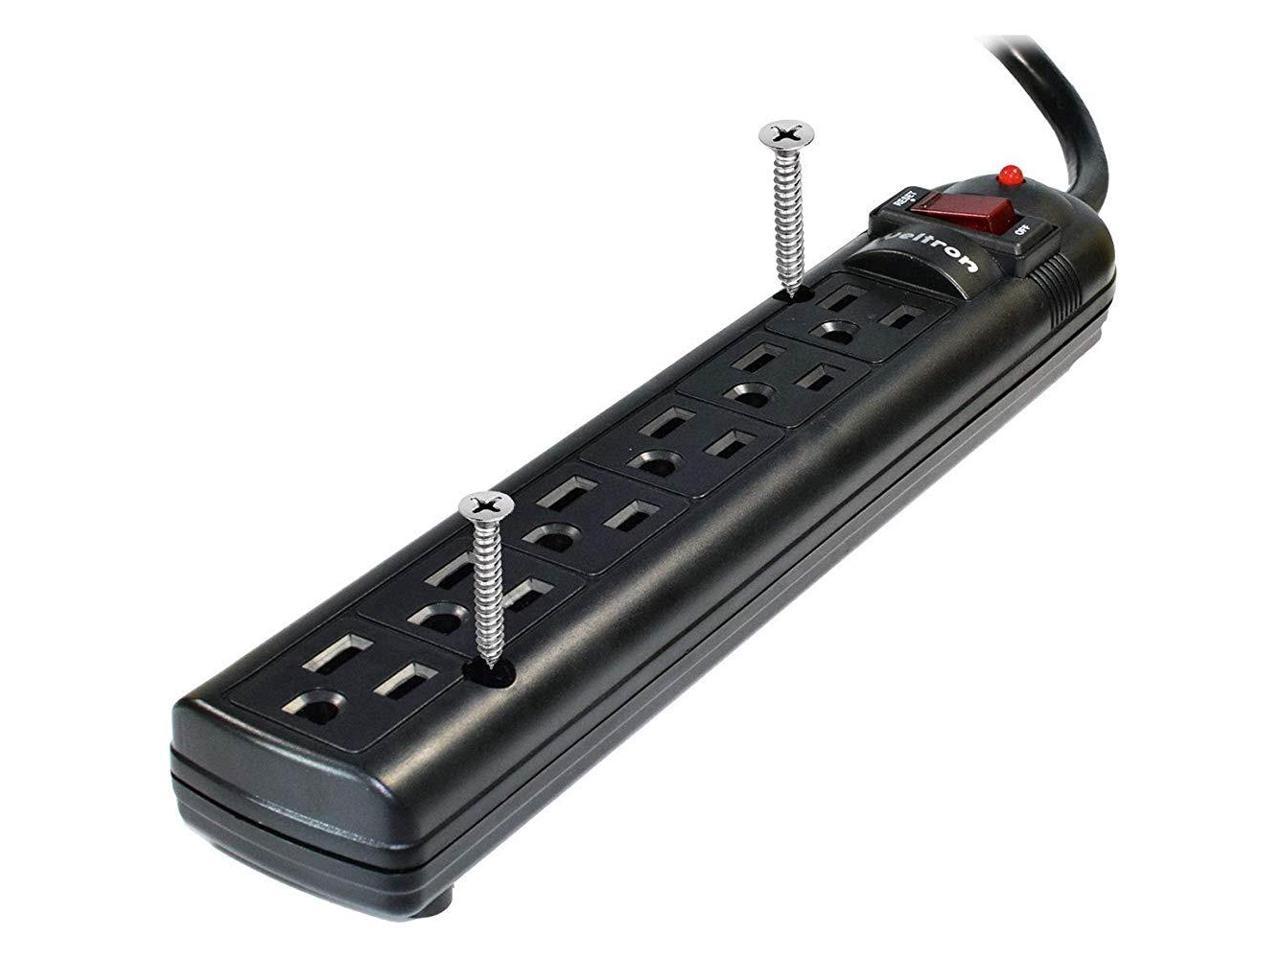
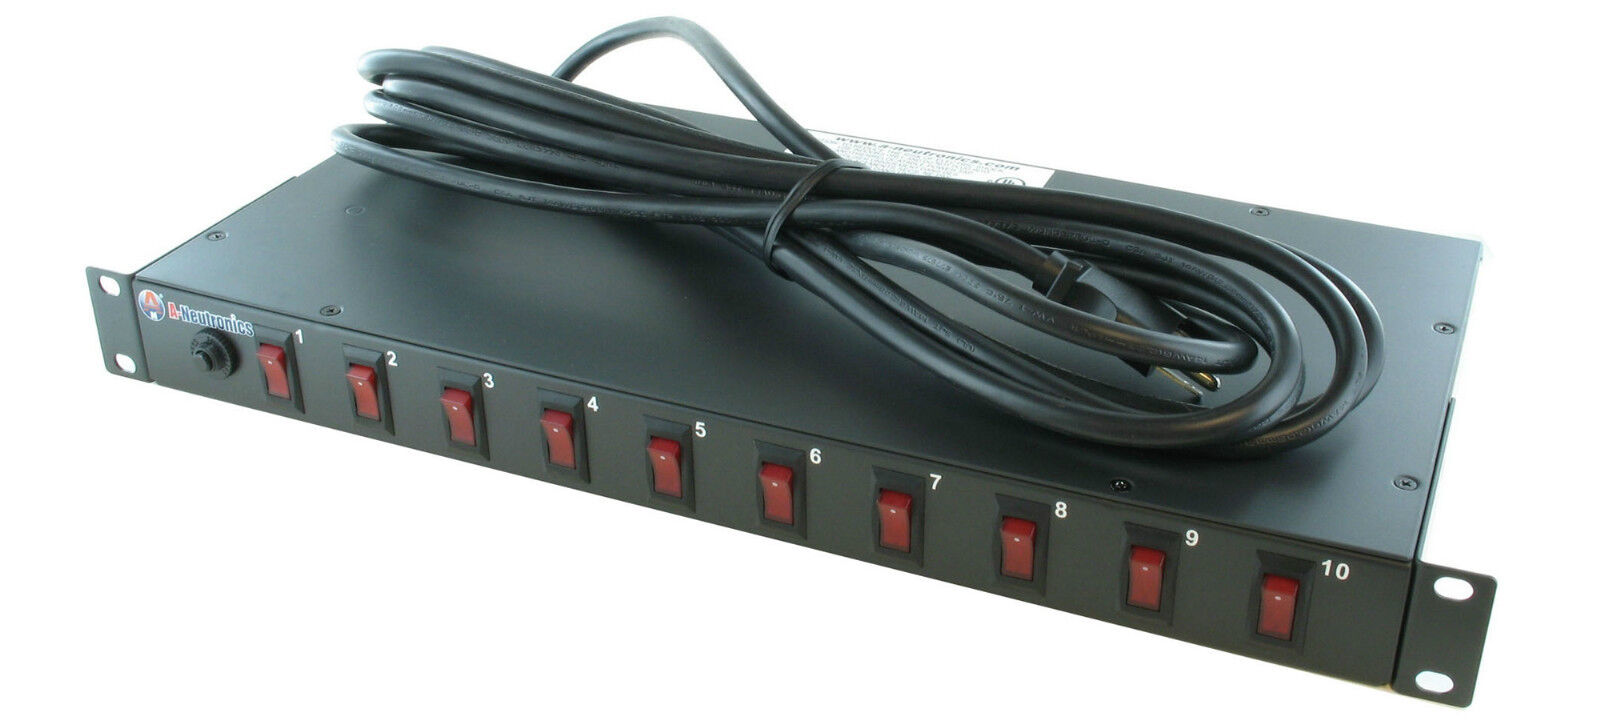
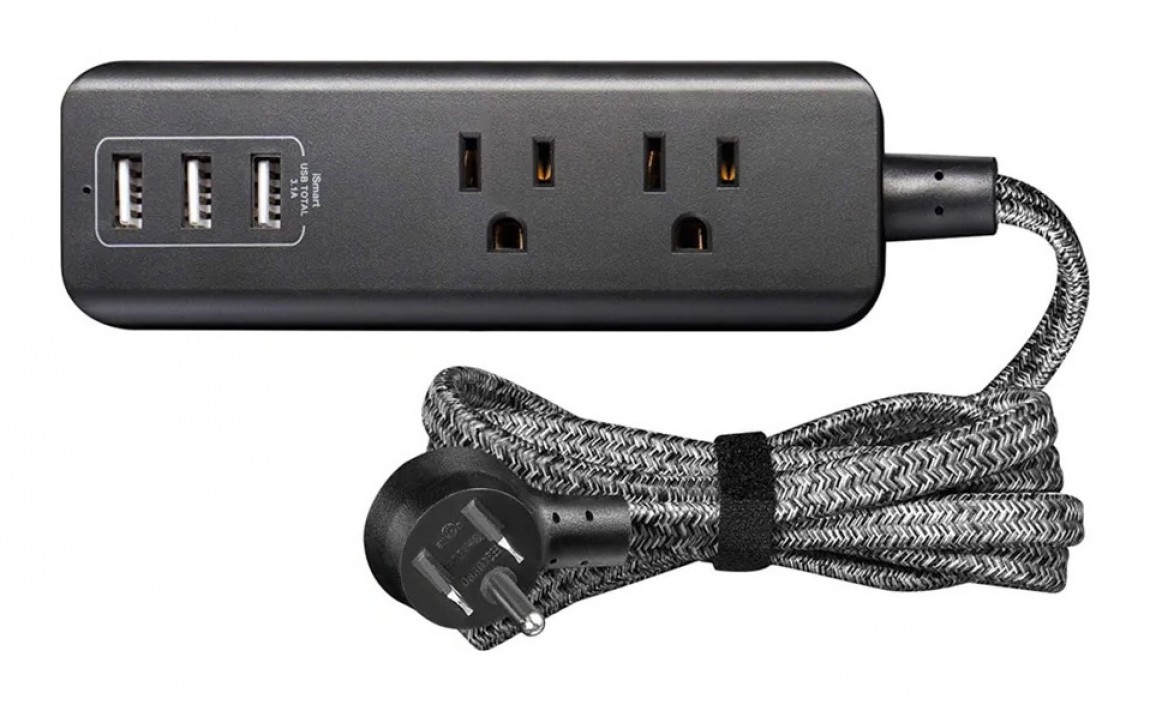
- Surge protector: Choose a surge protector that fits your needs and has mounting capabilities. Make sure it has enough outlets to accommodate your devices.
- Mounting brackets: These brackets will be used to securely attach the surge protector to the underside of your desk.
- Power drill: You will need a power drill to pre-drill the holes for the mounting brackets.
- Drill bits: Use appropriate drill bits for the size of the mounting brackets and the type of material that your desk is made of.
- Screws: Select screws that are compatible with the mounting brackets and will provide a secure attachment to your desk.
- Measuring tape: Accurate measurements are crucial for properly placing the mounting brackets and ensuring a secure fit.
- Pencil or marker: Use a pencil or marker to mark the exact spots where the mounting brackets will be attached.
- Screwdriver: You will need a screwdriver to tighten the screws and secure the mounting brackets in place.
- Cable management solutions: Consider using cable clips, zip ties, or cable sleeves to keep the cords organized and prevent them from tangling.
Once you have gathered all the necessary tools and materials, you can proceed to the next step of the installation process.
Step 2: Choose the ideal location for mounting
Choosing the right location to mount your surge protector under the desk is essential for both functionality and aesthetics. You’ll want to consider a few factors to determine the ideal spot:
- Accessibility: Select a location that is easily accessible and convenient to plug and unplug your devices. Avoid areas that are obstructed or difficult to reach.
- Visibility: Opt for a spot that is not highly visible, particularly if you prefer a clean and minimalistic workspace. This will help to keep your cables and cords neatly organized and out of view.
- Cable management: Take into account the length of the power cord of your surge protector. Ensure that the location you choose allows for proper cable management, where the excess length can be easily tucked away and kept tidy.
- Desk structure: Evaluate the underside of your desk to identify a suitable area for mounting. Look for a flat and sturdy surface that can adequately support the weight of the surge protector and any connected devices.
Once you have considered these factors, mark the chosen location with a pencil or marker. This will serve as a guide for placing the mounting brackets in the next steps of the installation process.
Keep in mind that the specific location may vary depending on the design and layout of your desk. Take some time to visualize the placement and make adjustments as necessary to achieve the best positioning for your surge protector.
Step 3: Measure and mark the mounting spots
With the ideal location for mounting your surge protector determined, it’s time to measure and mark the precise spots where the mounting brackets will be attached.
Follow these steps to accurately measure and mark the mounting spots:
- Place the surge protector upside down on the underside of your desk, aligning it with the chosen location. Ensure that it is positioned in a way that allows for easy access to the outlets and power switch.
- Use a measuring tape to measure the distance between the mounting holes on the surge protector. This will help you determine the spacing for the mounting brackets.
- Take note of the measurements and transfer them to the underside of the desk. Use a pencil or marker to mark the spots where the holes for the mounting brackets will be drilled.
- Ensure that the markings are symmetrical and align with the position of the surge protector. Double-check the measurements to avoid any errors before moving on to the next step.
Accuracy is key during this step as it ensures a secure and stable installation of the surge protector. Take your time to measure and mark the mounting spots carefully, and make any necessary adjustments to ensure everything is aligned properly.
Once you have completed this step, you are ready to drill the holes for the mounting brackets in the next stage of the installation process.
Step 4: Pre-drill holes for the mounting brackets
Now that you have measured and marked the mounting spots, it’s time to pre-drill the holes for the mounting brackets. This step is crucial to ensure a secure and stable attachment of the surge protector to your desk.
Follow these steps to pre-drill the holes:
- Select an appropriate drill bit size based on the diameter of the screws that will be used to attach the mounting brackets. Refer to the instructions or packaging of the brackets to determine the correct size.
- Attach the drill bit to your power drill securely. Make sure it is centered and aligned properly.
- Position the drill bit on one of the marked spots and hold the drill straight and steady.
- Apply gentle pressure and start drilling at a slow speed. Keep the drill perpendicular to the desk surface throughout the drilling process.
- Continue drilling until the desired depth is reached, ensuring that it matches the length of the screws. Take care not to drill too deep to avoid damaging the desk surface.
- Repeat the drilling process for each of the marked spots where the mounting brackets will be attached.
Once you have completed pre-drilling all the holes, remove any debris or dust from the area to ensure a clean installation. This will provide a better grip for the screws and ensure a secure attachment of the mounting brackets.
With the holes pre-drilled, you are now ready to proceed to the next step – attaching the mounting brackets to your desk.
When mounting a surge protector under a desk, use adhesive strips or mounting brackets to secure it in place. Make sure the location is easily accessible for plugging in devices.
Read also: 8 Best Desk Surge Protector for 2024
Step 5: Attach the mounting brackets to the desk
Now that you have pre-drilled the holes, it’s time to attach the mounting brackets to your desk. These brackets will provide a secure foundation for mounting the surge protector.
Follow these steps to attach the mounting brackets:
- Take one of the mounting brackets and align it with one of the pre-drilled holes on the underside of your desk.
- Insert a screw into the hole on the bracket and carefully align it with the corresponding hole on the desk.
- Using a screwdriver, tighten the screw until it is firmly secured, but avoid over-tightening to prevent damage to the bracket or the desk.
- Repeat this process for the remaining mounting brackets, ensuring that they are evenly spaced and aligned with the pre-drilled holes.
It’s important to note that the number of mounting brackets needed will depend on the size and weight of your surge protector. Follow the manufacturer’s instructions to determine the recommended number and spacing of the brackets.
Once all the mounting brackets are attached to the desk, give them a gentle tug to ensure they are securely in place. If any brackets feel loose, tighten the screws further to provide a stable foundation for the surge protector.
With the mounting brackets securely attached, you’re one step closer to mounting your surge protector under the desk. The next step will guide you through the process of mounting the surge protector onto the brackets.
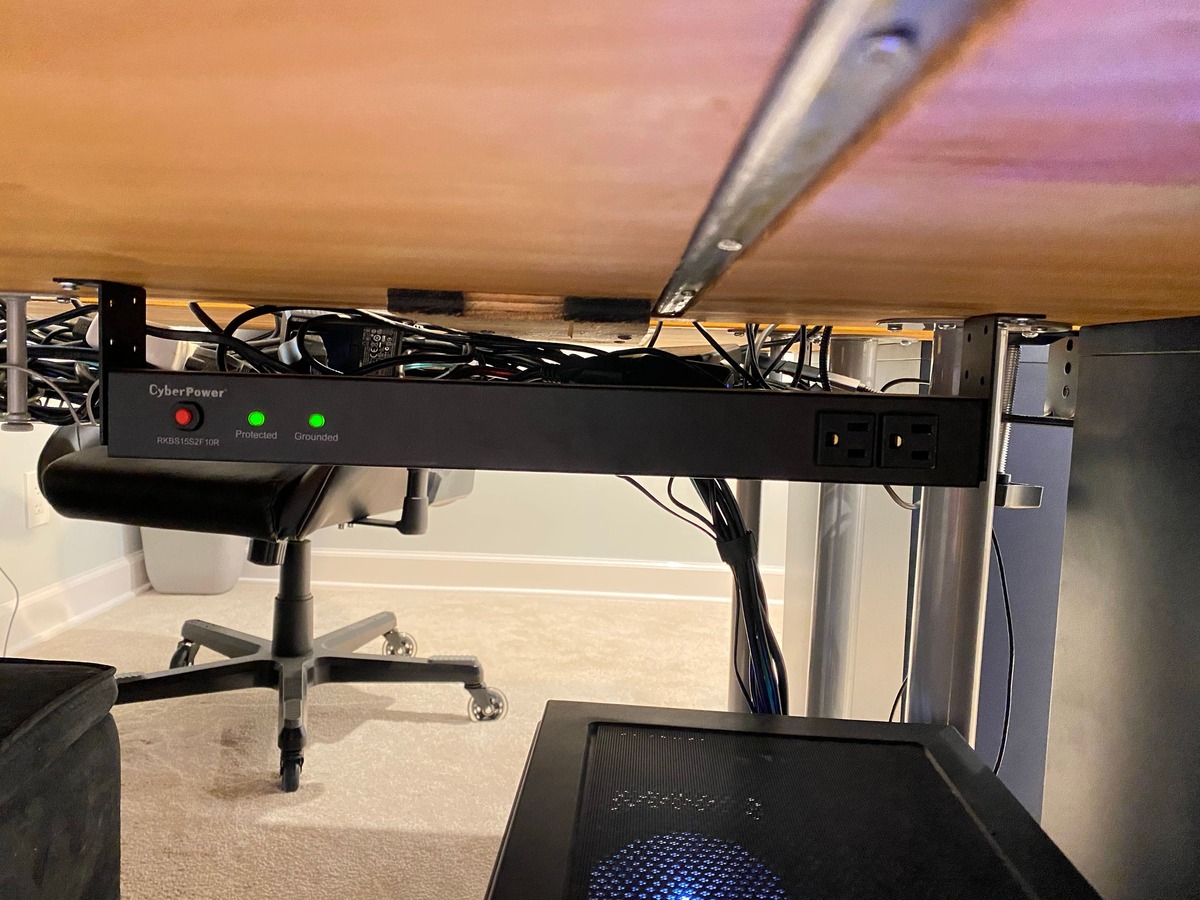
Step 6: Securely mount the surge protector onto the brackets
Now that you have the mounting brackets in place, it’s time to mount the surge protector onto them. This step will ensure that your surge protector is securely attached to your desk and ready to provide reliable protection for your electronic devices.
Follow these steps to securely mount the surge protector:
- Position the surge protector upside down, aligning it with the mounting brackets attached to the underside of your desk.
- Guide the surge protector onto the brackets, ensuring that each bracket fits into the corresponding slot or groove on the surge protector.
- Apply gentle pressure to push the surge protector onto the brackets until it is fully seated and securely mounted.
- Gently shake or wiggle the surge protector to ensure it is stable and properly attached to the brackets. If there is any movement or instability, double-check the brackets’ alignment and reseat the surge protector as needed.
It’s important to take note of the weight and size of your surge protector. If it appears to be too heavy or large for the mounting brackets, consider additional reinforcement or seeking professional assistance to ensure a secure installation.
Once the surge protector is mounted and stable, take a moment to admire your work! You have successfully installed your surge protector under the desk, creating a cleaner and more organized workspace.
However, there is one more important step in the process – organizing and concealing the cables to maintain a clutter-free appearance. The next step will guide you through this cable management process.
Step 7: Conceal and organize the cables
With the surge protector securely mounted under your desk, it’s time to tackle the task of concealing and organizing the cables. This step will help maintain a tidy and clutter-free workspace, while also protecting the cables from damage.
Follow these steps to effectively conceal and organize the cables:
- Begin by identifying the cables connected to your surge protector. Unplug any unnecessary devices or cables to simplify the cable management process.
- Use cable clips, zip ties, or cable sleeves to gather and bundle the cables together. Ensure that you leave enough slack in the cables to allow for movement and flexibility, but avoid excessive slack that may create a tangled mess.
- Route the bundled cables along the underside of your desk, utilizing cable clips or adhesive tape to keep them in place. This will prevent them from dangling or getting tangled.
- Consider using cable sleeves or cable management boxes to further streamline the aesthetics and organization of the cables. These solutions will help hide and contain the cables, providing a clean and professional appearance.
- Take extra care to route the power cord of the surge protector away from any sharp edges, moving parts, or heat sources. This will help prevent damage to the cord and ensure the longevity of your surge protector.
Throughout this process, periodically check the cables to ensure they are still securely fastened and neatly organized. Make any necessary adjustments to maintain a clean and clutter-free workspace.
By properly concealing and organizing the cables, you not only enhance the visual appeal of your desk but also make it easier to access and manage your devices. With the cables neatly organized, you’re almost ready to enjoy the benefits of a well-mounted surge protector.
The final step in the process involves testing the surge protector and connections to ensure everything is functioning correctly. Let’s move on to Step 8!
Step 8: Test the surge protector and connections
After mounting the surge protector under your desk and organizing the cables, it’s crucial to test the functionality of the surge protector and ensure that all connections are secure. This step will help verify that your electronic devices are protected from power surges and that everything is working properly.
Follow these steps to test the surge protector and connections:
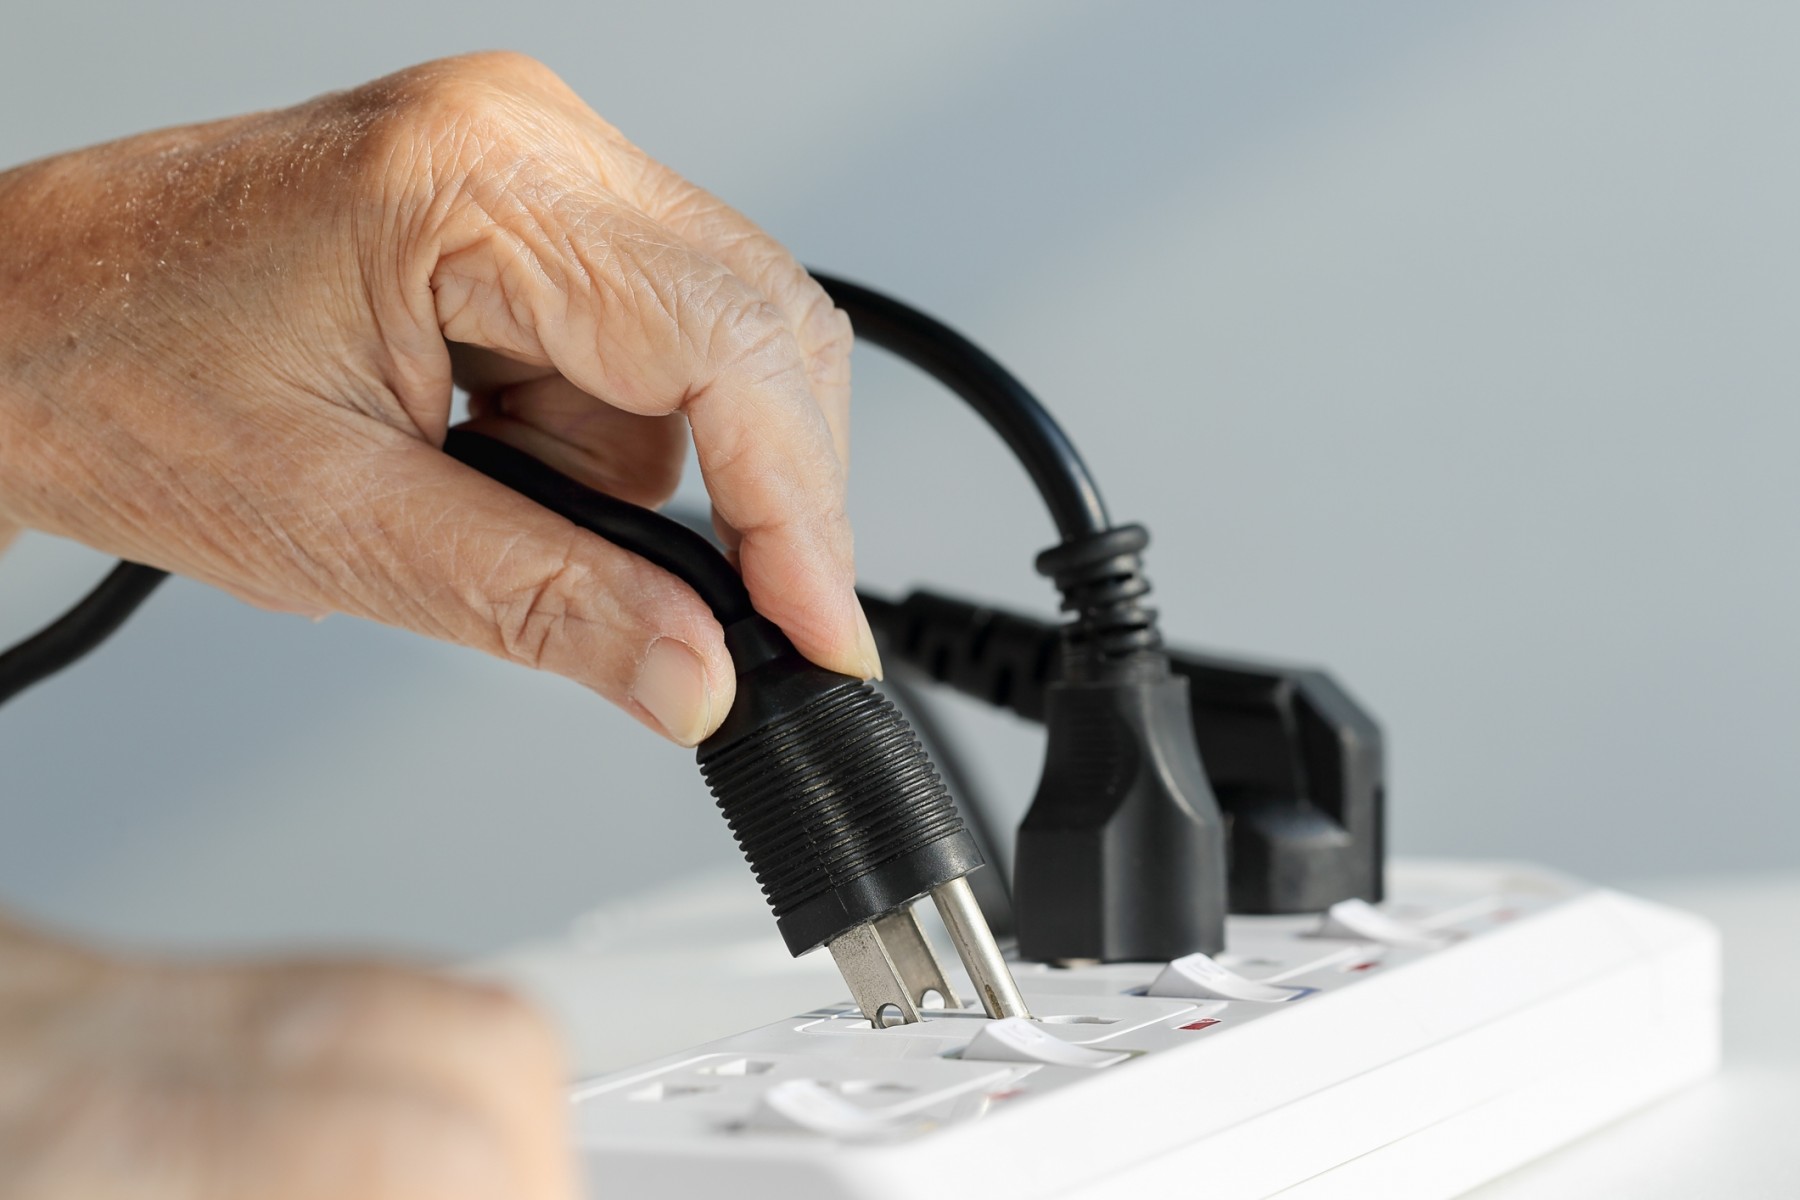
- Plug in your electronic devices into the surge protector’s outlets. Ensure that each device is connected securely and properly.
- Check the surge protector for any illuminated indicator lights or a power switch. If applicable, make sure the power switch is in the “On” position.
- Power on your devices and ensure they are receiving power from the surge protector. Check that all devices are functioning correctly and that there are no issues with power supply or connectivity.
- Verify that the surge protector’s circuit breaker is working by intentionally overloading the surge protector. This can be done by temporarily plugging in a device that consumes a high amount of power. If the surge protector shuts off power to all the outlets, it indicates that the circuit breaker is working as intended.
- Perform occasional tests to ensure the surge protector continues to provide protection against power surges. This can be done by unplugging and replugging devices, as well as using a surge generator to simulate a power surge. Confirm that the surge protector effectively diverts excess voltage and protects your electronic devices.
Regularly testing and maintaining your surge protector is essential to ensure its effectiveness and protect your valuable electronic devices. If you encounter any issues during testing, refer to the surge protector’s user manual or contact the manufacturer for troubleshooting assistance.
Congratulations! You have successfully mounted a surge protector under your desk, organized the cables, and tested the functionality of the surge protector and connections. You can now enjoy a more organized and protected workspace, free from the worries of power surges.
Remember to periodically check the surge protector and cables to ensure they remain in good condition and make any necessary adjustments as needed. This will help maintain the longevity and reliability of your surge protector.
Thank you for following our step-by-step guide. We hope this has been helpful in assisting you with mounting a surge protector under your desk. Enjoy the peace of mind knowing that your valuable electronic devices are protected against power surges!
Read also: 8 Best Wall Mount Surge Protector for 2024
Conclusion
Mounting a surge protector under your desk offers numerous benefits, including improved organization, cable management, and protection for your electronic devices against power surges. By following the step-by-step guide outlined in this article, you have successfully learned how to mount a surge protector under your desk.
Throughout the installation process, you gathered the necessary tools and materials, chose the ideal location, measured and marked the mounting spots, pre-drilled holes for the mounting brackets, attached the brackets to the desk, securely mounted the surge protector, concealed and organized the cables, and tested the functionality of the surge protector and connections.
With your surge protector securely mounted and cables neatly organized, you can now enjoy a cleaner and more efficient workspace. You can plug in your devices and work with peace of mind, knowing that they are protected from power surges that can potentially cause damage.
Remember to periodically inspect and test your surge protector and cables to ensure they remain in proper working condition. This will help maintain the longevity and reliability of your surge protector and ensure ongoing protection for your electronic devices.
Thank you for following our comprehensive guide on how to mount a surge protector under your desk. We hope you found this information helpful and that it has empowered you to create a safer and more organized workspace.
Wishing you a clutter-free and protected workspace!
Frequently Asked Questions about How To Mount A Surge Protector Under A Desk
Was this page helpful?
At Storables.com, we guarantee accurate and reliable information. Our content, validated by Expert Board Contributors, is crafted following stringent Editorial Policies. We're committed to providing you with well-researched, expert-backed insights for all your informational needs.


0 thoughts on “How To Mount A Surge Protector Under A Desk”