
Articles
Sunbeam Steamer How To Use
Modified: January 6, 2024
Learn how to effectively use the Sunbeam Steamer with our informative articles. Discover tips and tricks for achieving professional garment steaming results.
(Many of the links in this article redirect to a specific reviewed product. Your purchase of these products through affiliate links helps to generate commission for Storables.com, at no extra cost. Learn more)
Introduction
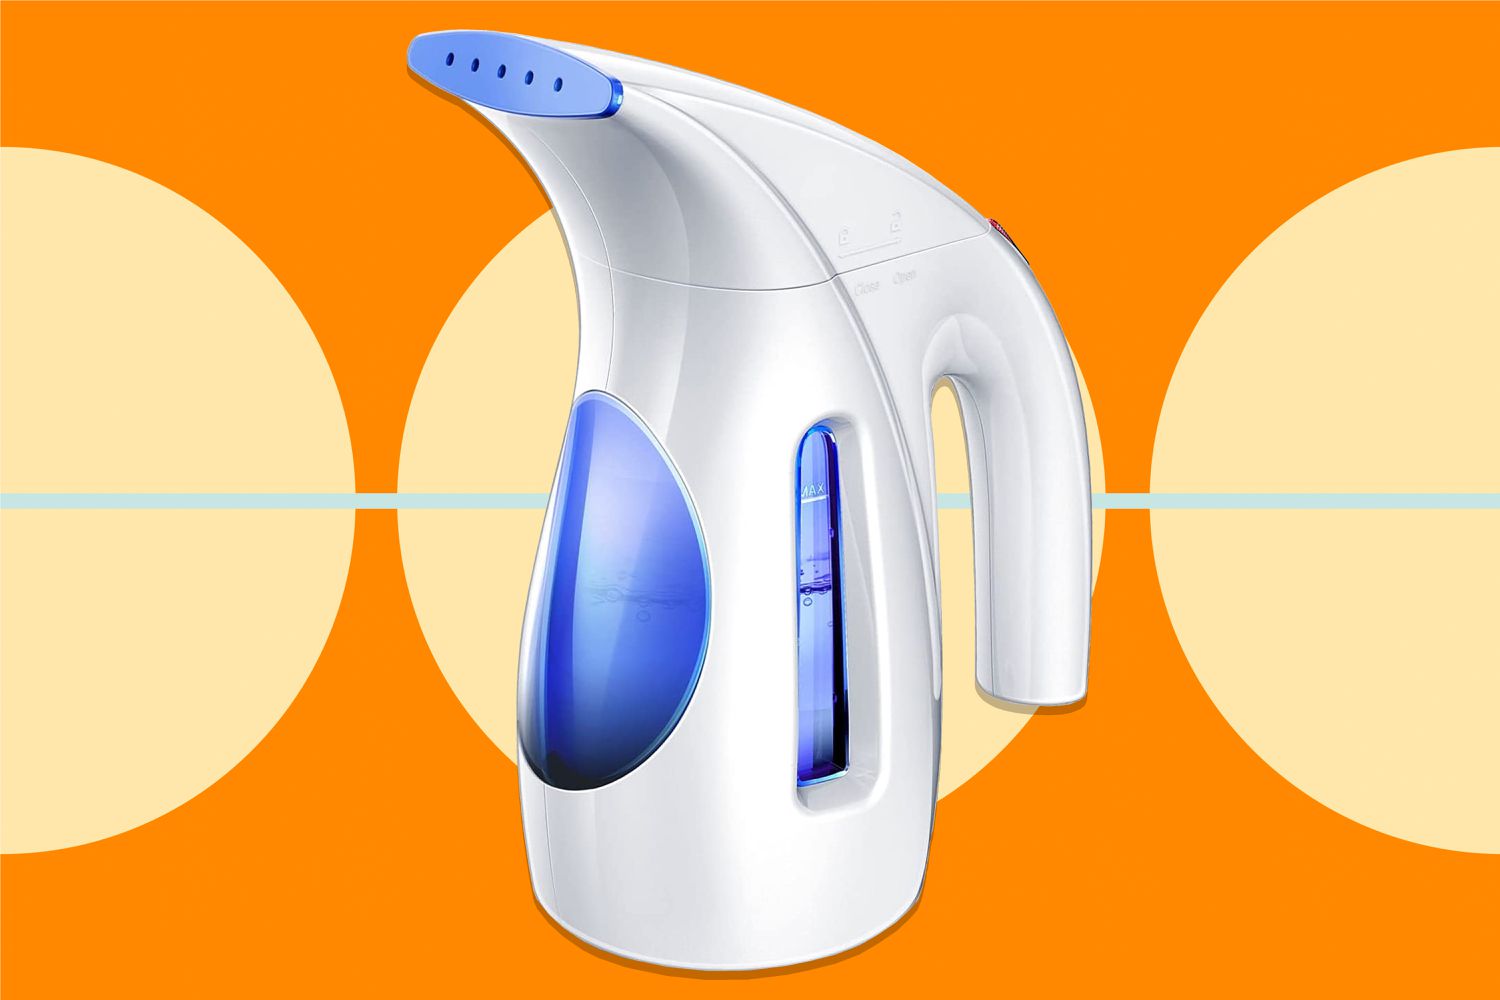
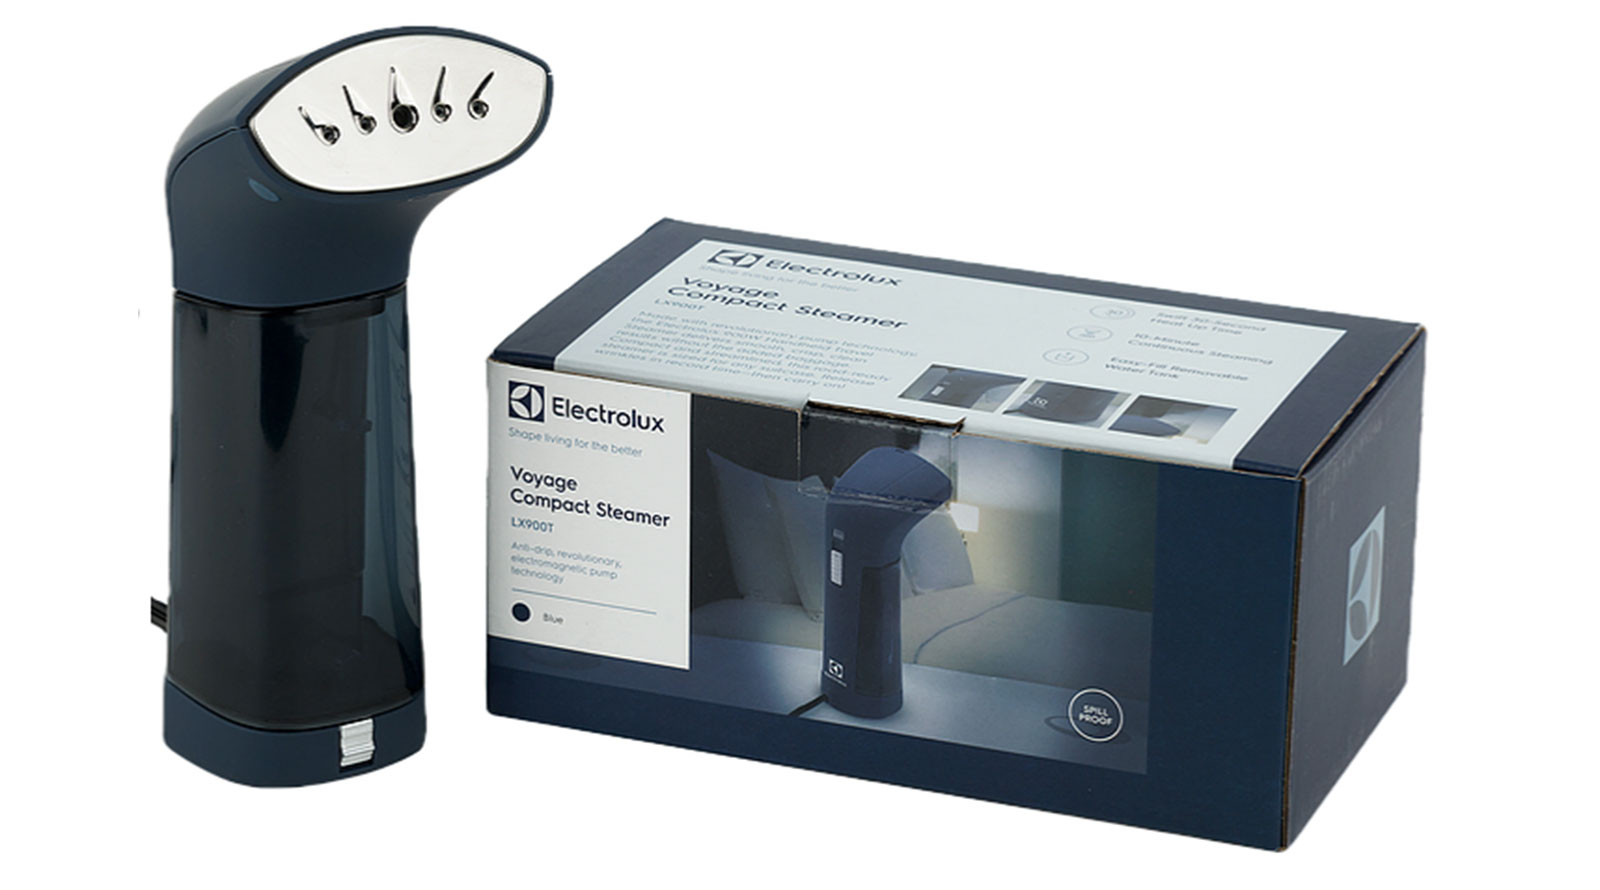
Welcome to the world of hassle-free garment care with the Sunbeam Steamer! Taking care of your clothes has never been easier, thanks to the convenience and efficiency of this powerful steaming device. Whether you’re a busy professional, a fashion enthusiast, or just someone who wants their clothes to look fresh and wrinkle-free, the Sunbeam Steamer is the perfect tool for you.
In this article, we will walk you through the step-by-step process of using the Sunbeam Steamer effectively. From unpacking and assembling the steamer to maintaining and cleaning it, we’ve got you covered. So, let’s dive in and discover how to unleash the power of steam to effortlessly revitalize your wardrobe.
But before we get started, let’s take a moment to explain why steaming could be a game-changer for your garment care routine. Unlike traditional ironing, which requires a flat surface and direct contact with the fabric, steaming uses the power of hot steam to gently loosen wrinkles and freshen up your clothes. This means you can tackle a variety of fabrics, including delicate ones, without the risk of scorching or damaging them.
Furthermore, steaming is a quick and efficient way to get rid of wrinkles. With the Sunbeam Steamer, you can say goodbye to tedious ironing sessions and hello to a stress-free and time-saving method of garment care.
Now that you understand the benefits of steaming, let’s move on to the practical steps of using the Sunbeam Steamer. By the end of this article, you’ll be a steaming pro, ready to keep your clothes looking their best with minimum effort. So, let’s get started with the unpacking and assembly process.
Key Takeaways:
- Effortlessly revitalize your wardrobe with the Sunbeam Steamer, a convenient and efficient alternative to traditional ironing. Say goodbye to wrinkles and hello to fresh-looking clothes with the power of steam.
- Master the art of steaming with the Sunbeam Steamer by following simple steps to assemble, operate, and maintain the device. Achieve professional-quality results and simplify your garment care routine.
Read also: 14 Amazing Sunbeam Steamer for 2025
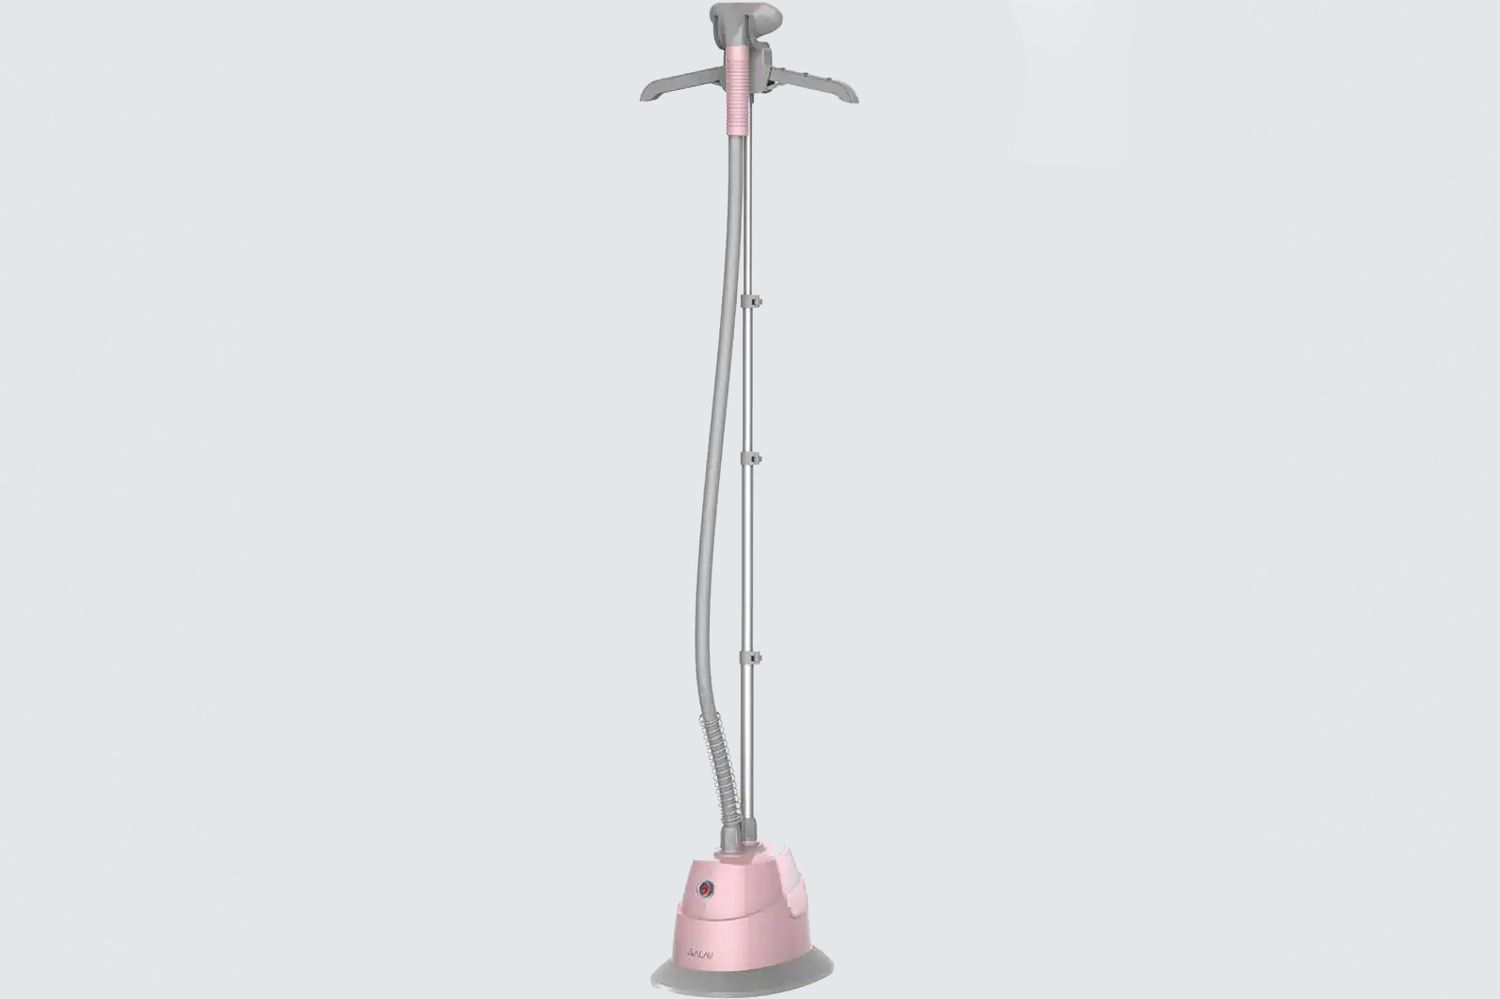
Step 1: Unpacking and assembling the Sunbeam Steamer
Before you can start steaming your garments, you’ll need to unpack and assemble your Sunbeam Steamer. Follow these simple steps to get your steamer ready for action:
- Remove the Sunbeam Steamer from its packaging, ensuring that you have all the components: the steamer base, water tank, extension pole, and steam nozzle.
- Begin by attaching the extension pole to the steamer base. To do this, align the grooves on the pole with the corresponding slots on the base, and firmly push them together until they lock into place.
- Next, take the water tank and remove the cap. Fill the tank with clean, cold water, making sure not to exceed the maximum fill line indicated on the tank.
- Once the water tank is filled, place it onto the steamer base and secure it by twisting it clockwise until it locks into position. Ensure that it is tightly secured to prevent any water leaks during operation.
- Now, attach the steam nozzle to the extension pole. Align the nozzle with the top of the pole and gently twist it clockwise until it is securely in place.
- At this point, your Sunbeam Steamer is fully assembled and ready to be used. However, before proceeding to the next step, it’s important to read the instruction manual provided by the manufacturer to familiarize yourself with any additional features or precautions specific to your model.
By following these simple steps, you can have your Sunbeam Steamer ready for action in no time. Once assembled, you’re one step closer to achieving wrinkle-free and fresh-looking clothes without the hassle of traditional ironing. The next step involves filling the water tank, so let’s move on to that now.
Step 2: Filling the water tank
Now that your Sunbeam Steamer is assembled, it’s time to fill the water tank so you can generate the steam needed to remove wrinkles from your garments. Follow these steps to ensure you fill the tank properly:
- Make sure the Sunbeam Steamer is unplugged and turned off before proceeding.
- Locate the water tank, which is attached to the steamer base. Twist the cap counterclockwise to remove it.
- Using a clean, cold water source such as a tap or a jug, carefully pour water into the tank. Be sure not to exceed the maximum fill line indicated on the tank.
- After filling the tank, replace and twist the cap clockwise to secure it.
- Give the tank a gentle shake to ensure that the water is evenly distributed inside.
It’s important to note that using distilled or filtered water is recommended to prevent any mineral buildup that can affect the performance of your Sunbeam Steamer. However, if distilled or filtered water is not available, regular tap water will suffice.
Now that the water tank is filled, you’re one step closer to steaming your garments effortlessly. In the next step, we’ll discuss how to prepare your garments before using the Sunbeam Steamer. So, let’s move on.
Step 3: Preparing the garments for steaming
Before you begin steaming your garments with the Sunbeam Steamer, it’s important to properly prepare them to ensure optimal results. Follow these steps to get your clothes ready for a steaming session:
- Check the care label: Before steaming a garment, always check the care label for specific instructions and guidelines. Some fabrics may not be suitable for steaming and may require alternative methods of care.
- Hang the garment: Find a sturdy hanger and hang the garment you wish to steam. Smooth out any wrinkles or folds by gently tugging on the fabric.
- Smooth out the surface: If the garment has stubborn wrinkles, lightly spritz it with water using a spray bottle or a garment mister. This will help to loosen the wrinkles further and make the steaming process more effective.
- Unbutton and unzip: If the garment has buttons or zippers, make sure to unbutton or unzip them to allow the steam to penetrate all areas of the fabric.
- Separate layers: For multi-layered garments such as shirts or dresses with linings, separate the layers to ensure that steam reaches each layer evenly.
By following these preparation steps, you are setting the stage for a successful steaming session with the Sunbeam Steamer. Taking the time to prepare your garments properly will result in wrinkle-free and rejuvenated clothes that are ready to wear.
Now that your garments are ready, it’s time to move on to the next step: operating the Sunbeam Steamer. Let’s explore how to use this steaming device effectively in the next section.
When using the Sunbeam Steamer, make sure to fill the water tank with distilled water to prevent mineral buildup and ensure optimal steaming performance.
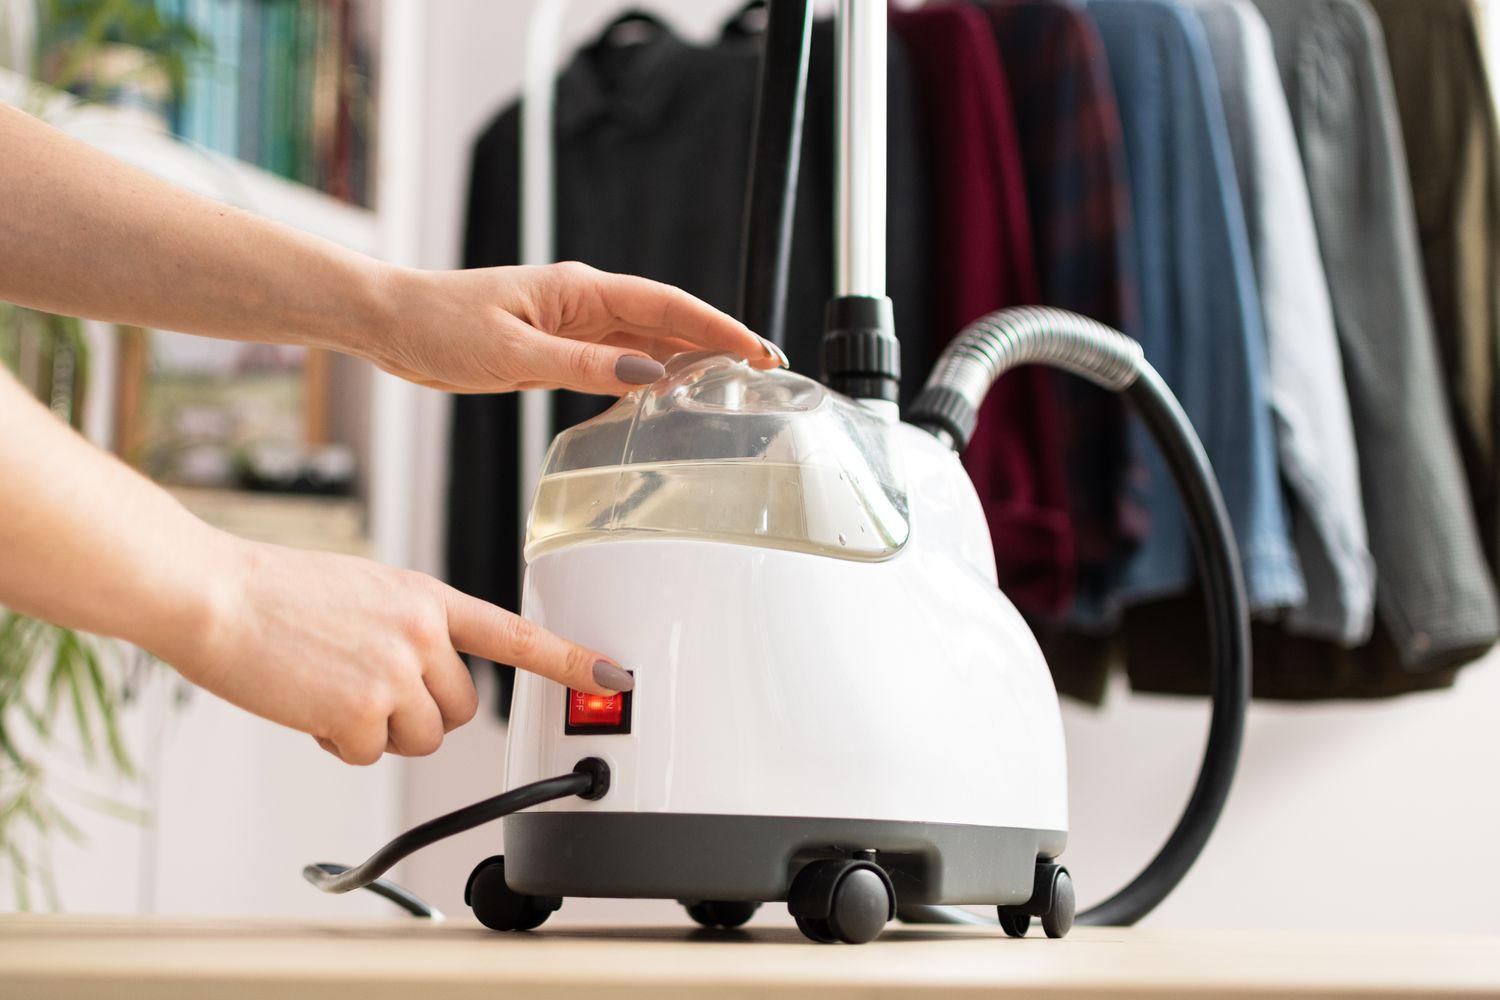
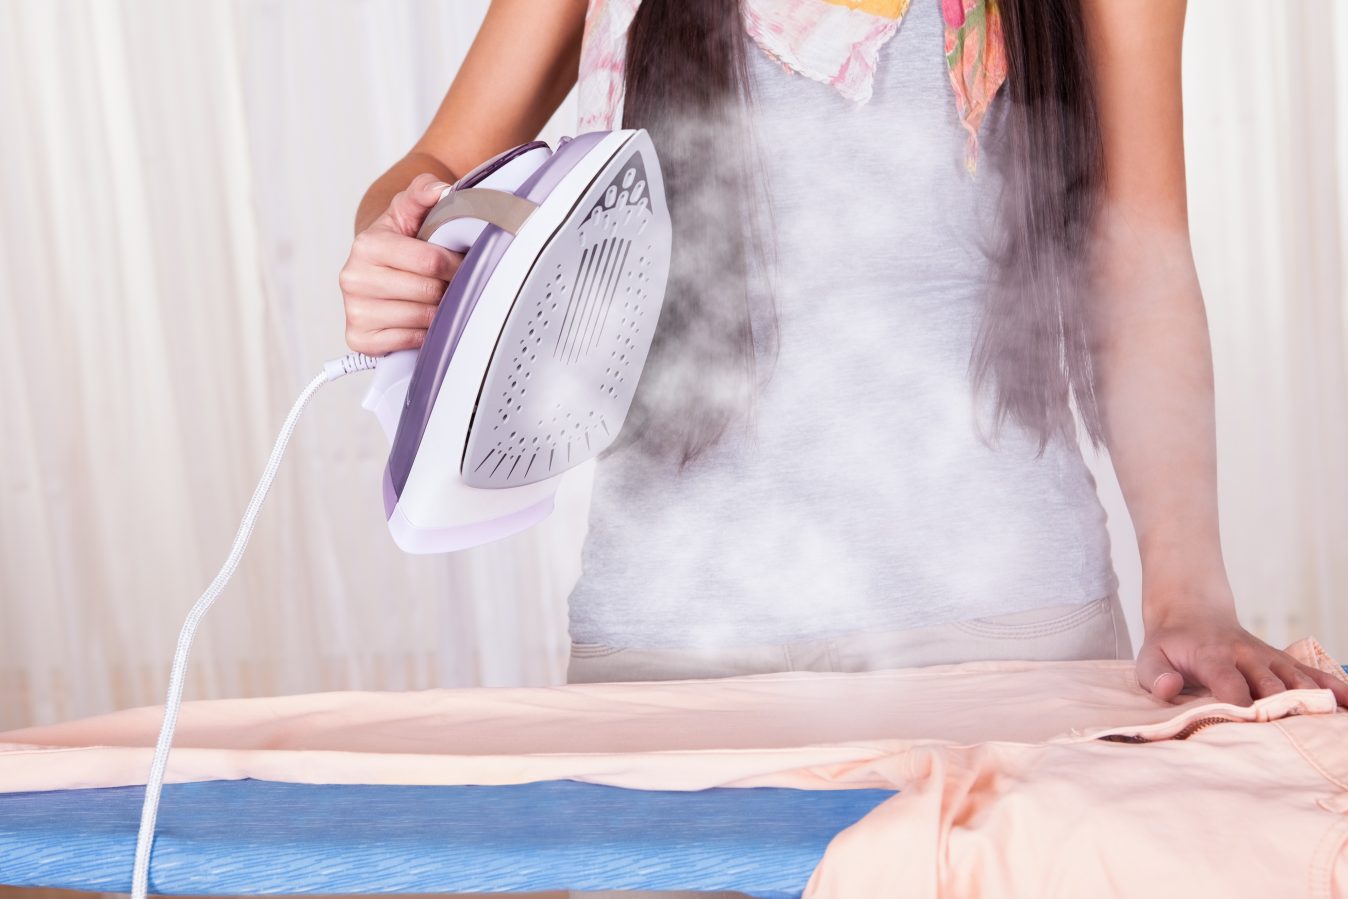
Step 4: Operating the Sunbeam Steamer
Now that you have your Sunbeam Steamer assembled, the water tank filled, and your garments prepared, it’s time to start steaming! Follow these steps to effectively operate the Sunbeam Steamer:
- Plug in the Sunbeam Steamer and turn it on using the power switch located on the base. Allow a few moments for the steamer to heat up and generate steam.
- While waiting for the steamer to heat up, adjust the height of the extension pole to a comfortable level by loosening the pole’s locking mechanism and sliding it up or down. Tighten the mechanism once you have achieved the desired height.
- Once the steamer is heated and ready, hold the steam nozzle a few inches away from the garment, allowing the steam to penetrate the fabric.
- Starting from the top of the garment, slowly move the steam nozzle downward, applying gentle pressure to smooth out wrinkles. Be sure to keep the nozzle moving continuously to prevent any damage to the fabric.
- For stubborn wrinkles, hold the steam nozzle closer to the fabric for a few seconds while maintaining constant movement.
- For delicate fabrics, use a lighter touch and hold the steam nozzle further away to prevent any damage.
- Continue steaming your garments, focusing on one area at a time, until all wrinkles are removed and the fabric appears fresh and revitalized.
As you operate the Sunbeam Steamer, you may need to refill the water tank periodically if it runs out of water. Simply follow the steps outlined in “Step 2: Filling the water tank” to replenish the water supply.
Always exercise caution while using the Sunbeam Steamer and ensure that you follow the safety guidelines provided by the manufacturer. It’s also a good practice to avoid pointing the steam nozzle towards yourself or others to prevent any accidental burns.
With these simple steps, you’ll be able to effortlessly remove wrinkles from your garments and achieve a polished and fresh look. Now let’s move on to some tips for effective steaming in the next step.
Read more: How To Use A Steamer
Step 5: Tips for effective steaming
To make the most out of your steaming sessions with the Sunbeam Steamer, here are some helpful tips to ensure effective and efficient results:
- Start with the delicate fabrics: If you have a mix of garments with different fabric types, begin steaming with the most delicate fabrics first. This way, you can avoid any potential damage to these fabrics caused by residual heat or water droplets.
- Steam in a downward motion: When steaming your garments, always move the steam nozzle in a downward motion. This helps to further relax the fabric and prevents any new wrinkles from forming.
- Steam from the inside: For garments that are difficult to steam on the outside, such as jackets, turn them inside out and steam the inner lining. This can help to eliminate wrinkles and freshen up the garment effectively.
- Use a protective layer for sensitive fabrics: If you’re steaming delicate fabrics like silk or satin, consider placing a thin cloth or a pressing cloth between the fabric and the steam nozzle. This provides an extra layer of protection and helps to prevent any direct heat contact that may cause damage.
- Use steam bursts for tough wrinkles: For stubborn wrinkles, utilize the steam burst feature if your Sunbeam Steamer has one. A steam burst releases a more powerful and concentrated stream of steam, making it easier to tackle tough wrinkles.
- Let the garment rest after steaming: Once you’ve finished steaming a garment, allow it to hang or lay flat for a few minutes to allow the fabric to cool and the steam to fully penetrate. This will help to set the fabric and ensure a more wrinkle-free result.
By using these tips, you can maximize the effectiveness of your steaming sessions with the Sunbeam Steamer and achieve professional-quality results. Remember to always refer to the garment care labels for any specific instructions or considerations regarding fabric type.
Now that you know how to effectively steam your clothes, let’s move on to the final step: maintaining and cleaning your Sunbeam Steamer for optimal performance.
Step 6: Maintaining and cleaning the Sunbeam Steamer
To ensure the long-lasting performance of your Sunbeam Steamer, it’s important to properly maintain and clean the steamer. Follow these steps to keep your steamer in excellent condition:
- Unplug the Sunbeam Steamer and allow it to cool down completely before performing any maintenance or cleaning.
- Empty the water tank by removing it from the steamer base and pouring out any remaining water. Rinse the tank thoroughly with clean water to remove any residue.
- If there are any mineral deposits or buildup inside the tank, fill it with a mixture of equal parts white vinegar and water. Let the mixture sit for about 15-20 minutes, and then rinse the tank again with clean water.
- Clean the steam nozzle by wiping it with a soft, damp cloth. If there is any stubborn residue, you can use a cotton swab dipped in white vinegar to gently clean the nozzle.
- Inspect the extension pole and steamer base for any dirt or debris. Wipe them down with a clean, damp cloth to remove any dust or particles.
- Regularly check the power cord for any signs of wear or damage. If you notice any issues, contact the manufacturer for further assistance.
- Store the Sunbeam Steamer in a clean and dry place when not in use. Make sure to retract the extension pole and secure any loose cords to prevent tangling.
It’s recommended to clean the Sunbeam Steamer after every few uses to prevent any buildup that may affect its performance. Additionally, follow any specific maintenance instructions provided by the manufacturer to ensure the best results for your specific model.
By following these maintenance and cleaning steps, you can enjoy a well-maintained and high-performing Sunbeam Steamer that will continue to provide wrinkle-free results for your garments.
With that, you’ve reached the end of our guide on using the Sunbeam Steamer. By unpacking and assembling the steamer, filling the water tank, preparing your garments, operating the steamer effectively, utilizing helpful tips, and maintaining the device, you can now confidently take care of your clothes with ease and convenience.
Remember to always refer to the instruction manual provided by the manufacturer for any specific details or safety guidelines related to your Sunbeam Steamer model.
Thank you for choosing the Sunbeam Steamer to simplify your garment care routine! Enjoy wrinkle-free and fresh-looking clothes with the power of steam.
Conclusion
Congratulations! You have successfully learned how to use and maintain the Sunbeam Steamer to keep your garments looking fresh and wrinkle-free. Steaming is a convenient and efficient alternative to traditional ironing, allowing you to quickly and effortlessly remove wrinkles from a variety of fabrics.
Through the step-by-step guide in this article, you have discovered how to unpack and assemble the Sunbeam Steamer, fill the water tank, prepare your garments, operate the steamer effectively, and maintain it for optimal performance. By following these instructions, you can streamline your garment care routine and enjoy professional-quality results in no time.
Remember, always check the garment care labels for specific instructions, especially when dealing with delicate fabrics. Take advantage of the tips provided to make your steaming sessions even more effective, whether it’s steaming in a downward motion, using protective layers for sensitive fabrics, or utilizing steam bursts for stubborn wrinkles.
Regular maintenance and cleaning of your Sunbeam Steamer are crucial for prolonging its lifespan and ensuring consistent performance. By following the recommended maintenance steps, you can keep your steamer in excellent condition and ready for use whenever you need it.
We hope this comprehensive guide has equipped you with the knowledge and confidence to make the most out of your Sunbeam Steamer. Say goodbye to creased clothes and hello to a stress-free garment care routine.
Thank you for choosing Sunbeam Steamer and happy steaming!
Frequently Asked Questions about Sunbeam Steamer How To Use
Was this page helpful?
At Storables.com, we guarantee accurate and reliable information. Our content, validated by Expert Board Contributors, is crafted following stringent Editorial Policies. We're committed to providing you with well-researched, expert-backed insights for all your informational needs.


0 thoughts on “Sunbeam Steamer How To Use”