Home>Furniture>Kitchen Furniture>How To Use A Steamer
Kitchen Furniture
How To Use A Steamer
Modified: September 1, 2024
Learn how to effectively use a steamer for articles. Discover the best techniques for achieving professional results with this handy guide.
(Many of the links in this article redirect to a specific reviewed product. Your purchase of these products through affiliate links helps to generate commission for Storables.com, at no extra cost. Learn more)
Introduction
Welcome to the world of steam cooking! Using a steamer is a fantastic way to prepare delicious and nutritious meals without losing any of the natural flavors and nutrients in your food. Steaming is a gentle and efficient cooking method that retains the texture, color, and taste of your ingredients, making it the perfect choice for those looking to maintain a healthy lifestyle or create mouthwatering dishes.
In this article, we will guide you through the process of using a steamer, from familiarizing yourself with the equipment to preparing your ingredients and ensuring they are cooked to perfection. So, let’s dive in and master the art of steaming!
Key Takeaways:
- Master the art of steaming by familiarizing yourself with the equipment, preparing ingredients, and using the steamer effectively to create healthy and flavorful meals.
- Elevate your cooking with a steamer, preserving nutrients and flavors while enjoying the versatility of steaming various ingredients. Don’t forget to clean and store your steamer for future delicious meals!
Read more: How To Use A Hand Steamer
Step 1: Familiarizing Yourself with the Steamer
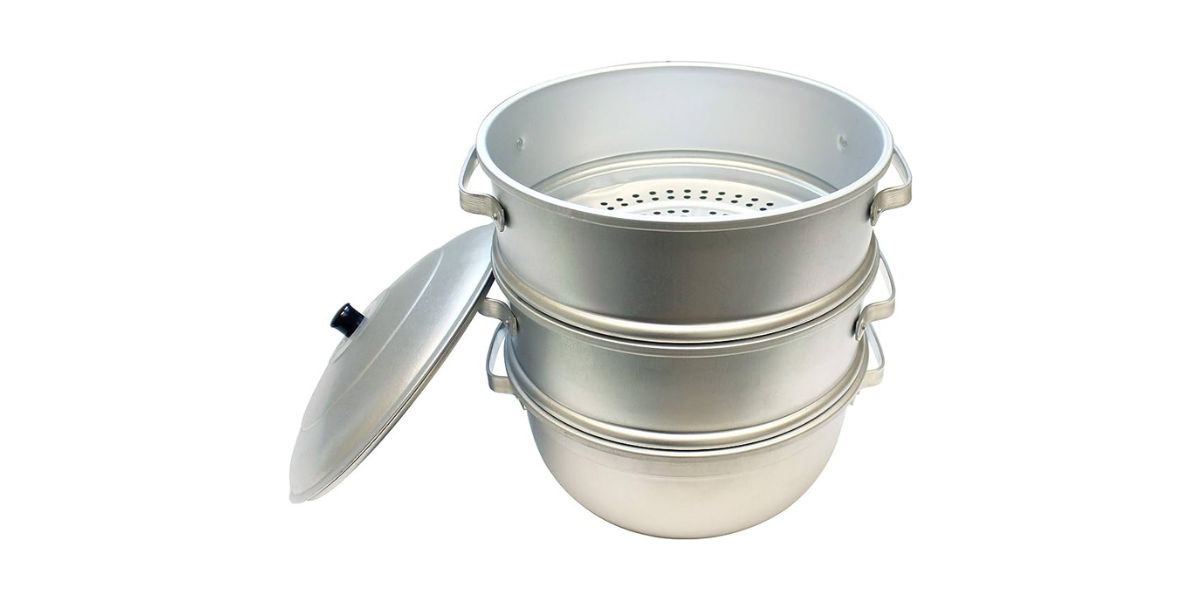
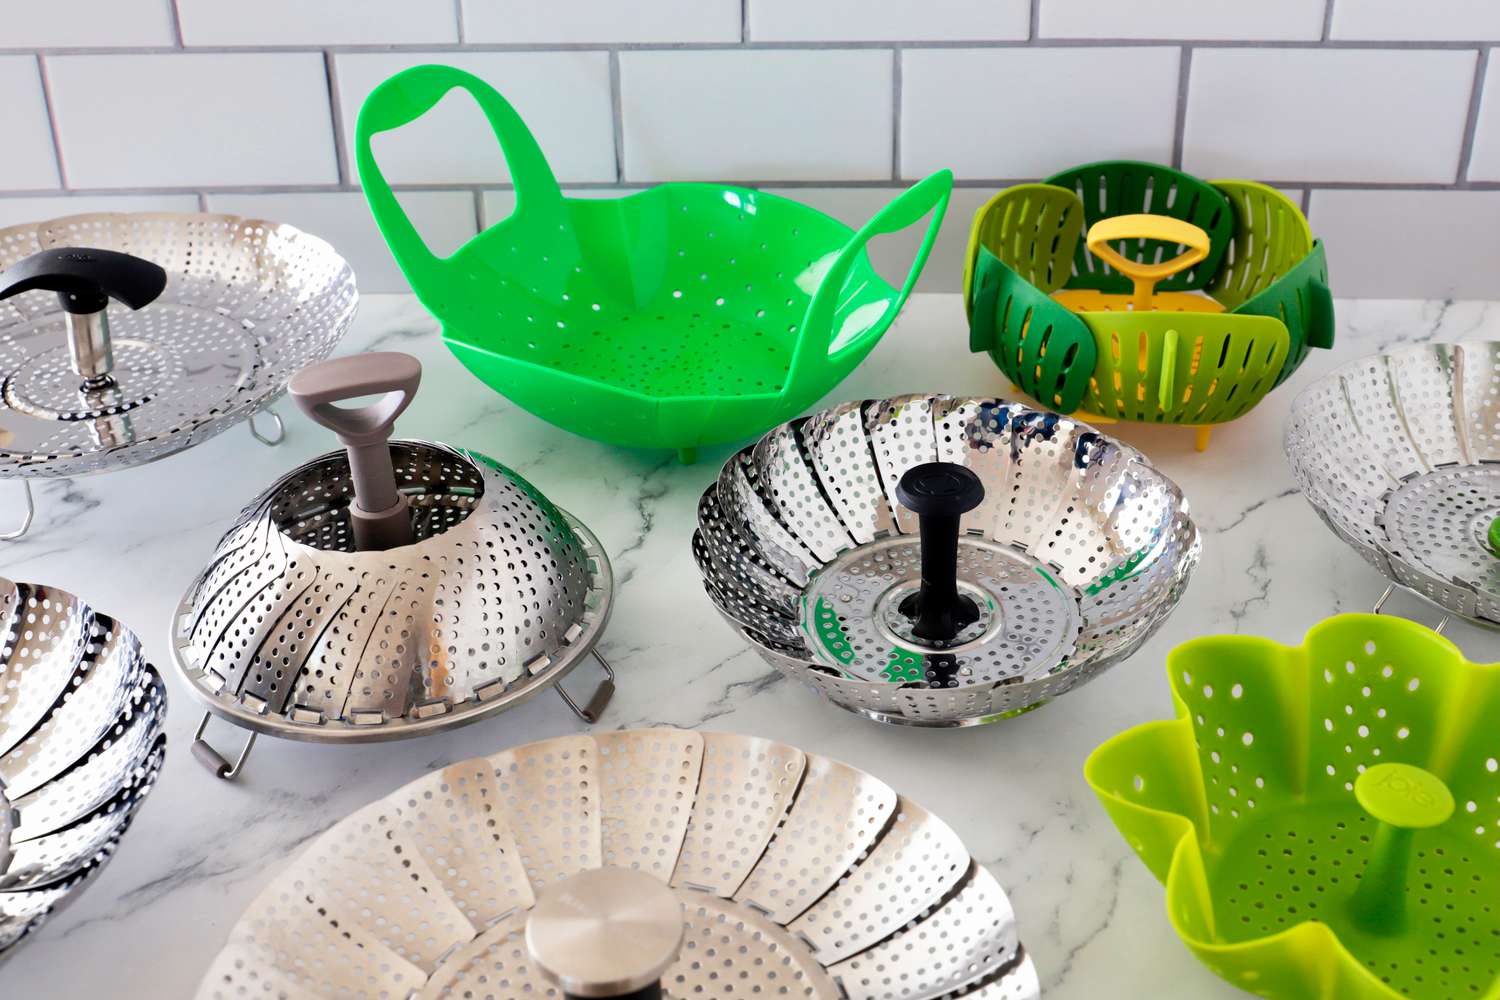
Before you start using a steamer, it’s important to get acquainted with the equipment itself. Familiarizing yourself with the different parts and functions of the steamer will make the cooking process much smoother and more enjoyable. Let’s take a closer look at the key components you’ll find in most steamers:
- Water reservoir: This is where you’ll pour the water that will create the steam. Ensure that the reservoir is clean and free of any debris before use.
- Steam vents: These are located at the top of the steamer and allow steam to escape during the cooking process. Make sure the vents are open and not blocked by any obstructions.
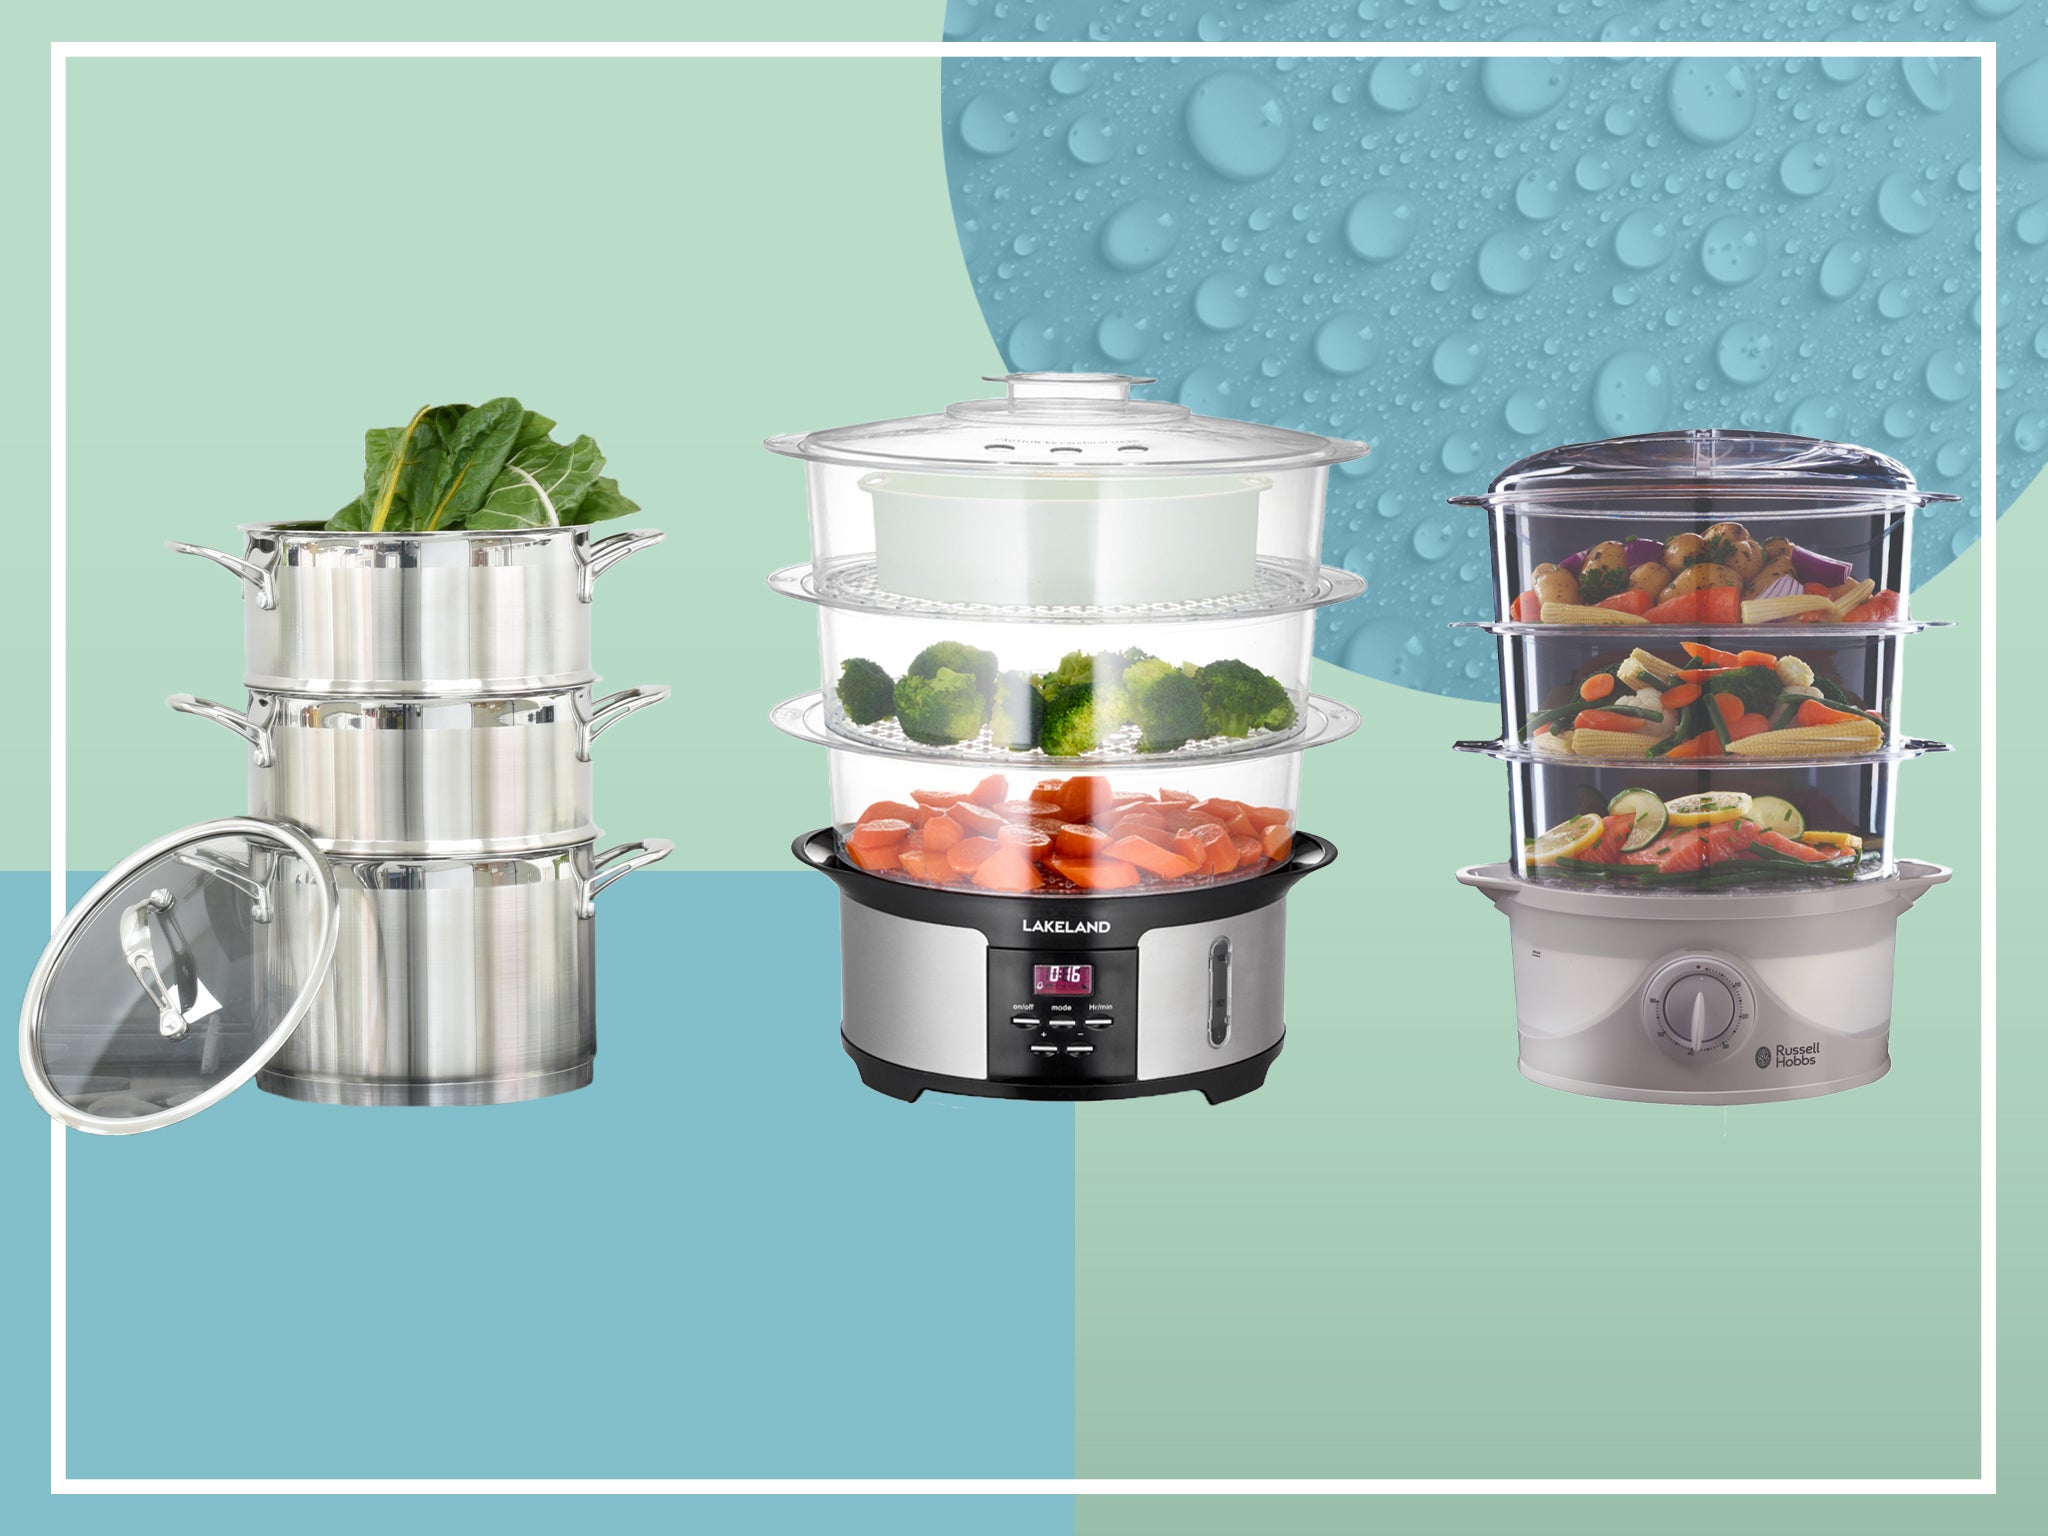
- Steam baskets: These are the trays where you’ll place your ingredients. Most steamers come with multiple baskets, allowing you to cook different foods at the same time.
- Timer and temperature controls: Some steamers have built-in timers and temperature controls that allow you to set the cooking time and adjust the heat level. Familiarize yourself with these controls to ensure accurate cooking.
Once you’ve familiarized yourself with the steamer, it’s important to read the manufacturer’s instructions to understand any specific features or precautions for your particular model. This will help you make the most out of your steaming experience while ensuring safety and efficiency.
Now that you’re comfortable with the basics of the steamer, let’s move on to the next step: preparing the steamer for use.
Step 2: Preparing the Steamer
Properly preparing the steamer before cooking is essential to ensure optimal performance and hygiene. By following these simple steps, you’ll be ready to steam your favorite ingredients in no time:
- Clean the steamer: Start by giving your steamer a thorough cleaning. Wash the steam baskets, water reservoir, and any other detachable parts with warm soapy water. Rinse off any soap residue and dry the components completely before reassembling.
- Add water to the reservoir: Fill the water reservoir with clean water according to the manufacturer’s instructions. Be careful not to overfill it, as excess water can cause leakage or affect the functionality of the steamer.
- Arrange the steam baskets: Place the steam baskets inside the steamer, ensuring they are stacked securely. Most steamers have multiple baskets, allowing you to cook different foods simultaneously. Make sure to leave enough space between the ingredients to allow steam circulation.
- Preheat the steamer: Depending on the model, you may need to preheat the steamer before adding your ingredients. Consult the user manual for specific instructions. Preheating helps establish a consistent and efficient steam environment for cooking.
Once you’ve completed these steps, your steamer will be ready to use. It’s important to note that different steamers may have different preparation methods, so always refer to the manufacturer’s guidelines for your specific model.
Now that your steamer is prepped and ready, let’s move on to the next step: preparing the items you want to steam.
Step 3: Preparing the Items for Steaming
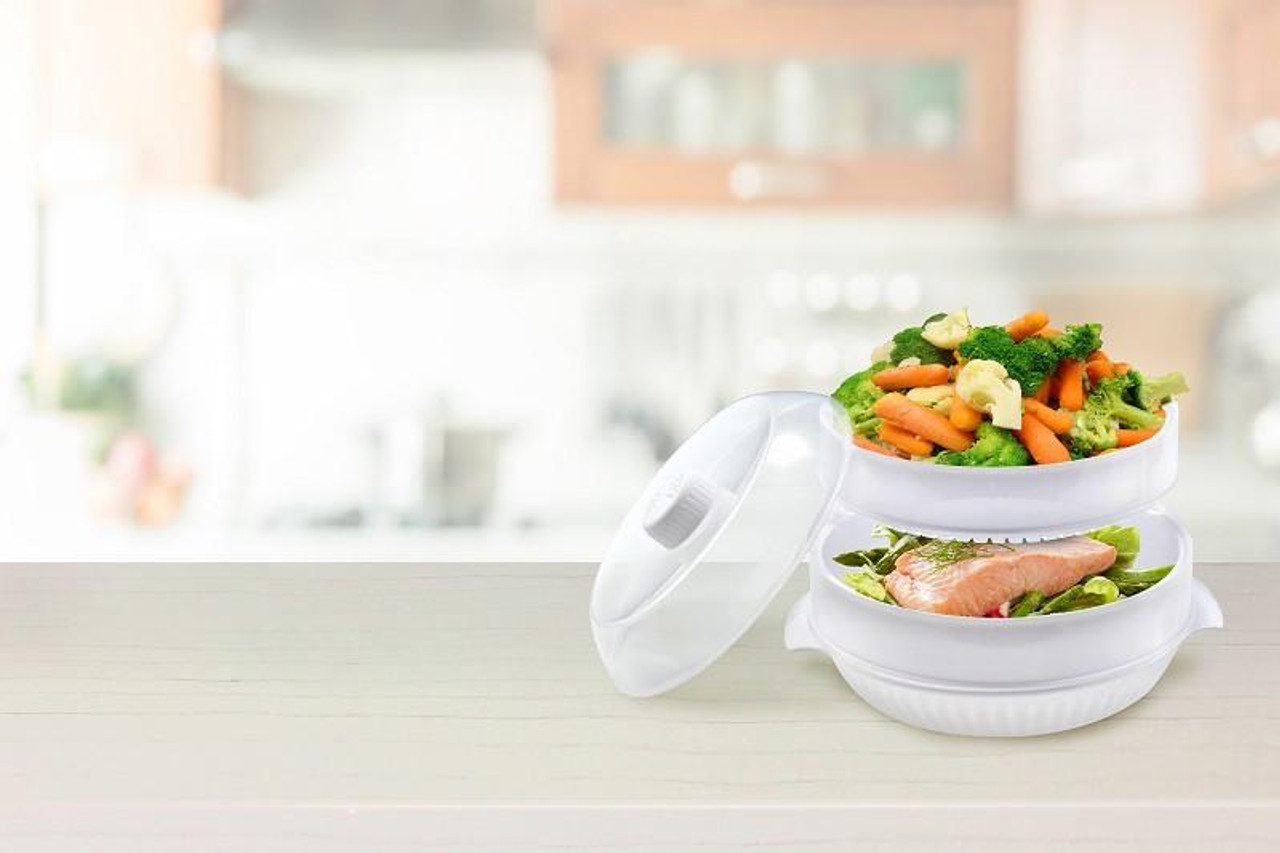
Now that your steamer is prepped and ready, it’s time to prepare the items you want to steam. Whether you’re cooking vegetables, seafood, poultry, or even desserts, there are a few key steps to ensure your ingredients turn out perfectly steamed:
- Wash and chop your ingredients: Clean your ingredients thoroughly under running water to remove any dirt or impurities. For vegetables, chop them into bite-sized pieces or slice them according to your preference. For meats or seafood, ensure they are properly seasoned, marinated, or dressed before placing them in the steam baskets.
- Arrange the items in the steam baskets: Distribute your prepared ingredients evenly across the steam baskets, making sure not to overcrowd them. Give the items enough space to allow steam to circulate and cook them evenly.
- Enhance flavors: To elevate the flavors of your steamed dishes, consider adding herbs, spices, garlic, ginger, or other seasonings to the ingredients. This will infuse the food with delicious aromas and create a more satisfying flavor profile.
It’s important to note that different ingredients may have different cooking times. So, if you’re steaming a variety of foods in the same session, be aware of their individual cooking requirements. You may need to stagger the placement of ingredients in the steam baskets, adding items that require longer cooking times first and gradually adding those that cook faster.
Once your ingredients are properly prepared and arranged, you’re ready to move on to the next step: using the steamer to cook your delectable creations!
When using a steamer, make sure to fill the water tank with distilled water to prevent mineral buildup and ensure a longer lifespan for your steamer.
Step 4: Using the Steamer
Now that your ingredients are prepared and your steamer is ready, it’s time to start the cooking process. Follow these steps to use the steamer effectively:
- Place the steam baskets in the steamer: Carefully place the steam baskets filled with your prepared ingredients into the steamer. Ensure that they are stacked securely, allowing enough space for steam circulation.
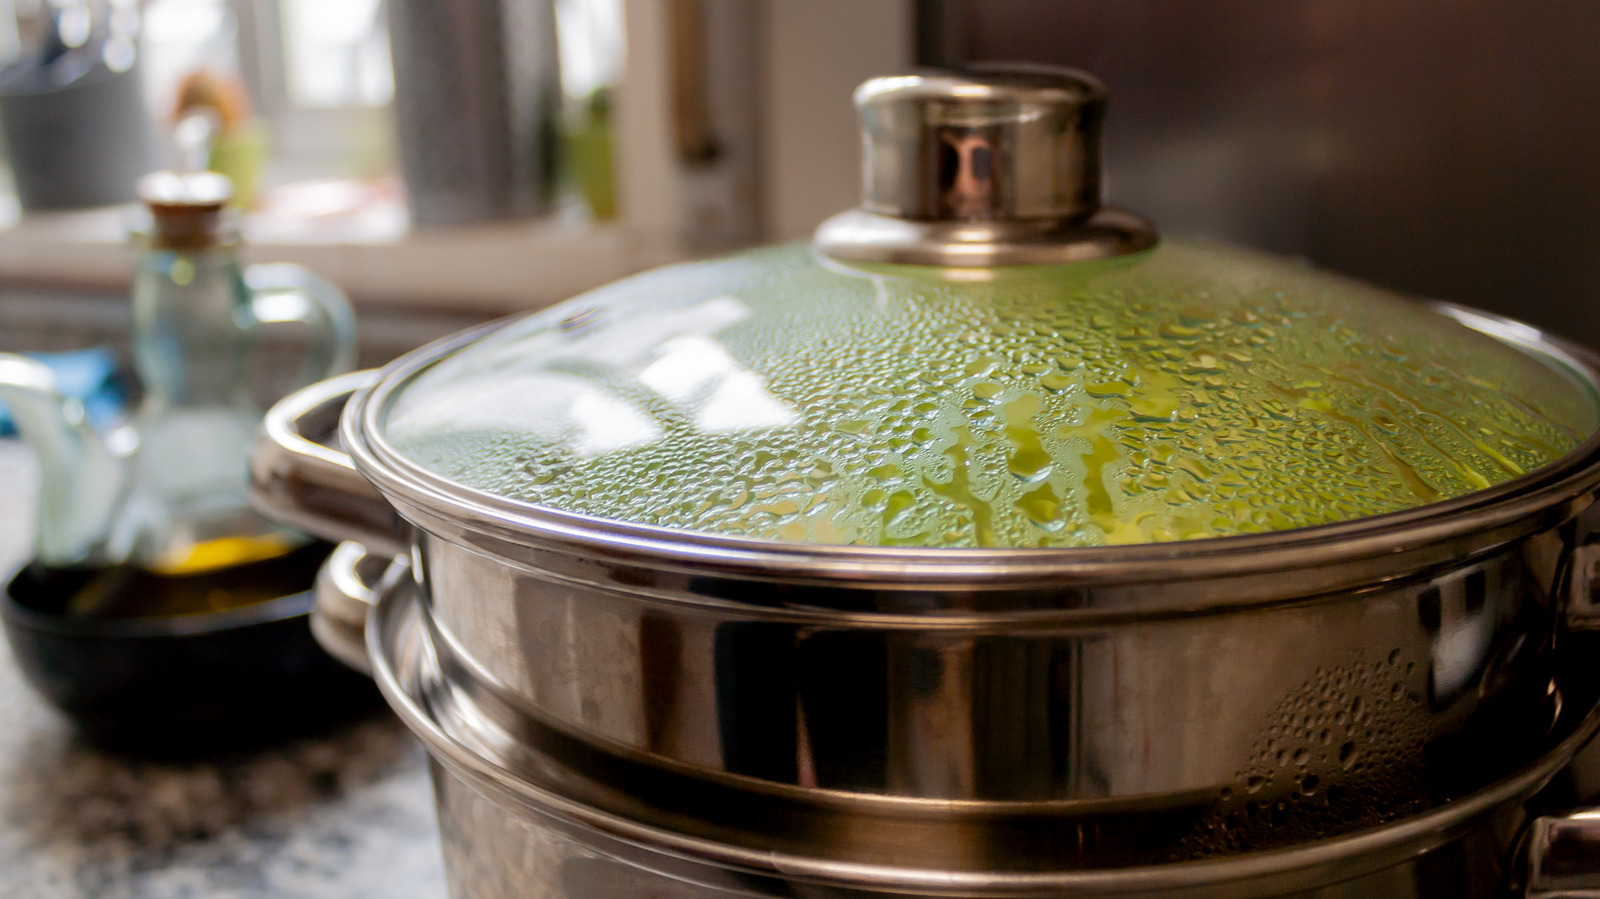
- Close the steamer: Once all the baskets are in place, close the steamer securely. This will create a sealed cooking environment, trapping the steam and ensuring even cooking.
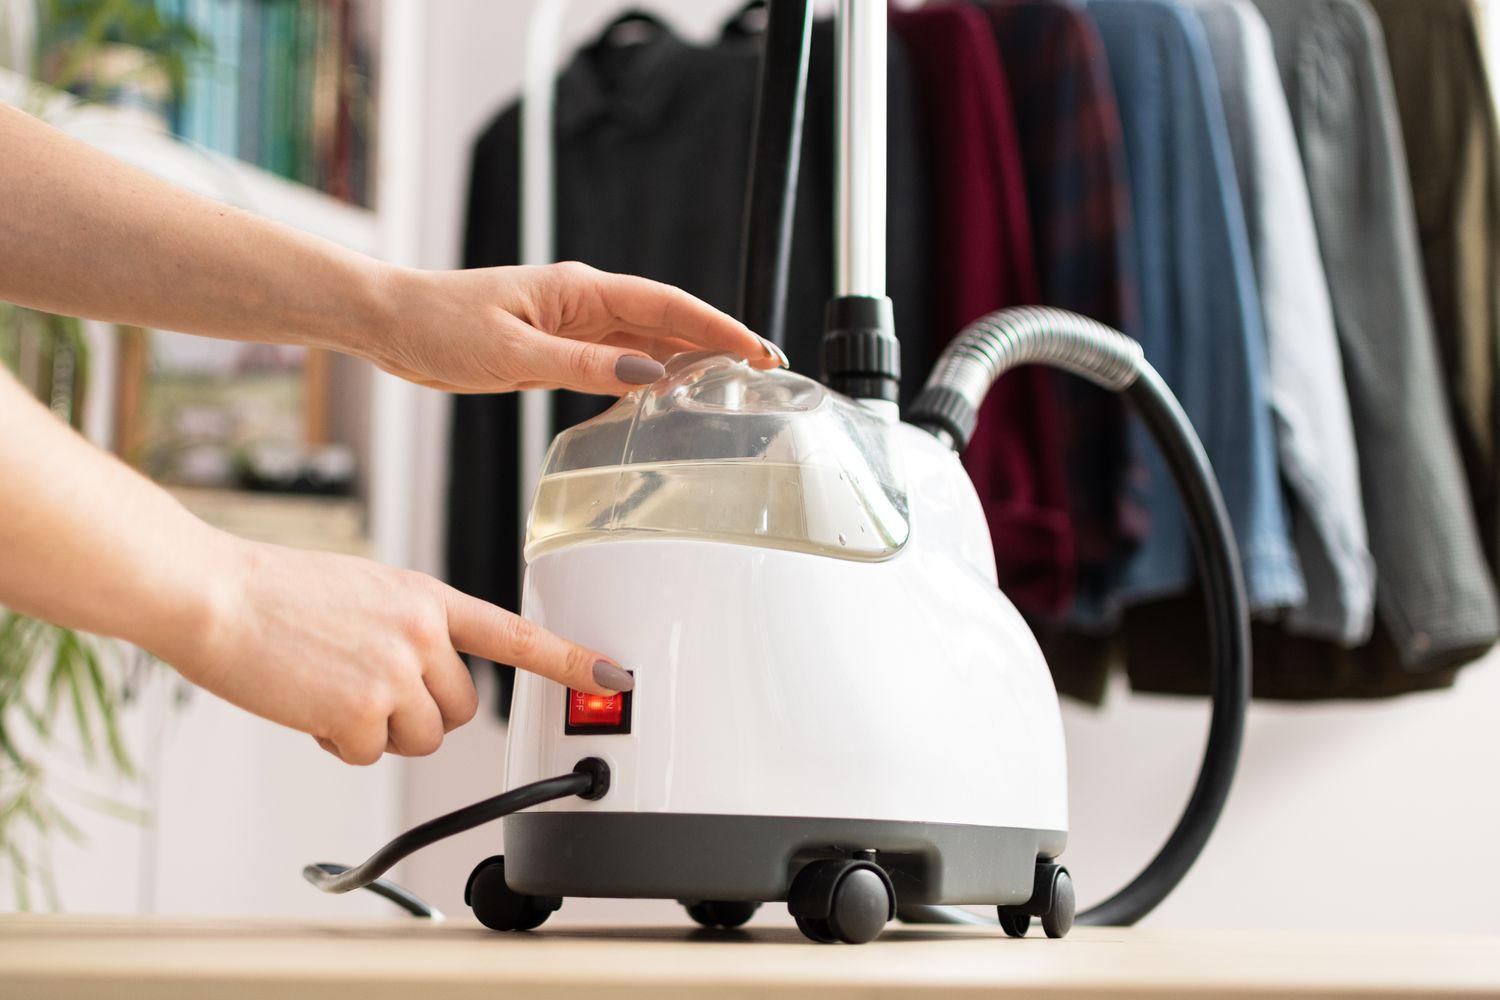
- Turn on the steamer: Switch on the steamer and set the desired cooking time and temperature, if applicable. If your steamer doesn’t have a timer, use a separate kitchen timer to keep track of the cooking duration.
- Monitor the cooking process: Keep an eye on the steamer to ensure that it’s functioning properly. Check the water level in the reservoir to make sure it doesn’t run dry, and adjust it if necessary. If your steamer has a built-in timer, it will automatically shut off when the cooking time is complete. Otherwise, use your own timer to gauge when the ingredients are likely to be cooked.
While the food is steaming, avoid opening the steamer frequently, as this will release the accumulated steam and lead to uneven cooking. However, if you need to check for doneness or make adjustments, do so quickly to minimize heat loss.
Once the cooking time is up and the ingredients are steamed to perfection, it’s time to move on to the next step: checking for doneness.
Read more: How To Use Steamfast Steamer
Step 5: Checking for Doneness
Checking for doneness is a crucial step in the steaming process to ensure that your food is cooked to the desired level. Follow these guidelines to determine if your ingredients are perfectly steamed:
- Visual inspection: Carefully open the steamer and visually inspect the ingredients. Look for signs of doneness, such as vibrant colors, softened textures, and cooked appearance. Vegetables should be tender but still have a slight crispness. Meats and seafood should be opaque and cooked through without any raw or undercooked parts.
- Touch test: Gently touch the ingredients to check for the desired tenderness. Vegetables should be easily pierced with a fork or knife. Meats should feel firm but still have some give. Seafood should be opaque and flake easily.
- Internal temperature: If you’re cooking meats or poultry, you can use a meat thermometer to check the internal temperature. Refer to a temperature guide for the recommended safe temperatures for different types of meat.
Remember that different ingredients will have different cooking times. It’s better to slightly undercook them and allow residual heat to carry over for a few minutes, rather than overcooking and ending up with mushy or dry results.
If you find that your ingredients aren’t fully cooked, you can place them back in the steamer for a few more minutes. However, be mindful not to overcook them, as this can compromise their texture and taste.
Once you’ve determined that your food is perfectly steamed, it’s time to move on to the final step: cleaning and storing the steamer.
Step 6: Cleaning and Storing the Steamer
Proper cleaning and storage of your steamer is essential to maintain its performance and longevity. Follow these steps to ensure that your steamer remains in top-notch condition:
- Unplug the steamer: Before cleaning, make sure the steamer is unplugged and has cooled down completely. Safety should always be your top priority.
- Disassemble the steamer: Remove all the steam baskets and any other detachable parts from the steamer. Wash them in warm soapy water, using a sponge or soft brush to remove any food residue. Rinse thoroughly and dry them completely.
- Clean the water reservoir: Empty and clean the water reservoir, removing any mineral deposits or residue that may have accumulated. Use a mixture of water and vinegar or a descaling solution to remove any built-up mineral deposits, following the manufacturer’s instructions. Rinse well and dry.
- Wipe down the exterior: Use a damp cloth to wipe down the exterior of the steamer, removing any grease, spills, or stains. Avoid using harsh chemicals or abrasive cleaners, as they can damage the surface of the steamer.
- Allow the parts to air dry: After cleaning, allow all the components to air dry completely before reassembling or storing. Moisture can promote bacterial growth or cause rust, so ensure everything is thoroughly dry.
- Store the steamer: Once dry, reassemble the steamer and store it in a clean, dry place. Keep it away from excessive heat or moisture, as it can damage the steamer’s components or promote mold growth.
By following these cleaning and storing practices, you’ll ensure that your steamer remains in optimal condition and is ready for future use.
Congratulations! You’ve successfully learned how to use, cook with, and maintain a steamer. With your newfound knowledge, you can now explore a world of healthy and delicious steamed meals.
Now, go ahead and enjoy the benefits of steaming – from beautifully cooked vegetables to tender meats and flavorful seafood. Happy steaming!
Conclusion
Steaming is a wonderful cooking method that preserves the natural flavors, nutrients, and textures of your ingredients. By following the steps outlined in this article, you now have the knowledge and confidence to use a steamer to prepare delicious and nutritious meals.
Throughout this guide, we covered the various steps involved in steaming, from familiarizing yourself with the steamer and preparing it for use to cleaning and storing it properly. We also explored the importance of properly preparing your ingredients and checking for doneness to ensure perfectly steamed results.
Using a steamer not only allows you to create healthy meals, but it also offers a versatile and efficient way to cook a variety of ingredients. Whether you’re steaming vegetables, seafood, poultry, or even desserts, the gentle cooking process helps to retain the color, texture, and nutrients, resulting in mouthwatering and visually appealing dishes.
Remember to experiment with different flavors and seasonings to elevate the taste of your steamed creations. Add herbs, spices, or sauces to bring out unique flavors and create a culinary experience that suits your preferences.
Lastly, don’t forget to clean and store your steamer properly after each use to ensure its longevity and performance. Regular maintenance will help maintain the steamer’s functionality and keep it in optimal condition for many delicious meals to come.
Now that you’ve mastered the art of using a steamer, it’s time to unleash your creativity in the kitchen. Embrace the health benefits, convenience, and delicious possibilities that steaming offers, and enjoy the satisfaction of preparing flavorful and nutrient-rich meals for yourself and your loved ones.
Happy steaming!
Frequently Asked Questions about How To Use A Steamer
Was this page helpful?
At Storables.com, we guarantee accurate and reliable information. Our content, validated by Expert Board Contributors, is crafted following stringent Editorial Policies. We're committed to providing you with well-researched, expert-backed insights for all your informational needs.


0 thoughts on “How To Use A Steamer”