Articles
How To Use A Wallpaper Steamer
Modified: February 28, 2024
Learn how to properly use a wallpaper steamer to remove stubborn wallpaper with step-by-step articles and helpful tips.
(Many of the links in this article redirect to a specific reviewed product. Your purchase of these products through affiliate links helps to generate commission for Storables.com, at no extra cost. Learn more)
Introduction
A wallpaper steamer is a valuable tool when it comes to removing old wallpaper from walls or other surfaces. It uses hot steam to loosen the adhesive that holds the wallpaper in place, making it easier to peel off. Whether you are redecorating a room or preparing for a fresh coat of paint, a wallpaper steamer can save you time and effort in the removal process.
In this article, we will guide you through the process of using a wallpaper steamer effectively. We will cover everything from understanding the basics of wallpaper steamers to the step-by-step instructions for removing wallpaper with this powerful tool. So, let’s dive in and learn how to make the most of your wallpaper steamer!
Key Takeaways:
- Harness the power of steam with a wallpaper steamer to effortlessly remove old wallpaper, preparing your space for a fresh new look or a coat of paint. Follow safety precautions and take your time for optimal results.
- Prepare the area, set up the steamer, operate it effectively, and clean up afterwards to ensure a smooth wallpaper removal process. Use helpful tips and tricks to enhance your experience and achieve the best results.
Read more: Wagner Wallpaper Steamer How To Use
Understanding Wallpaper Steamers
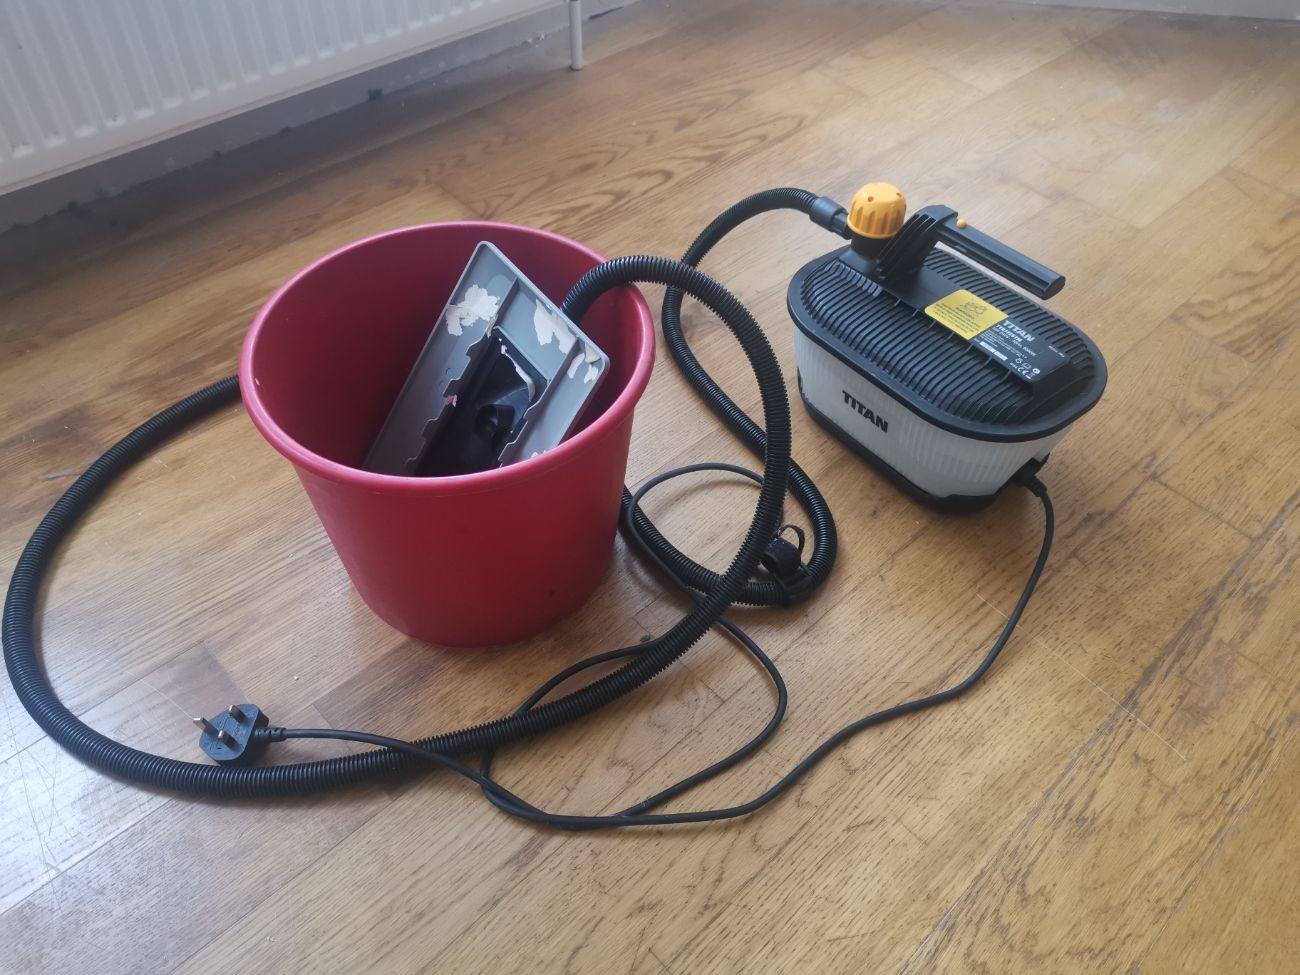
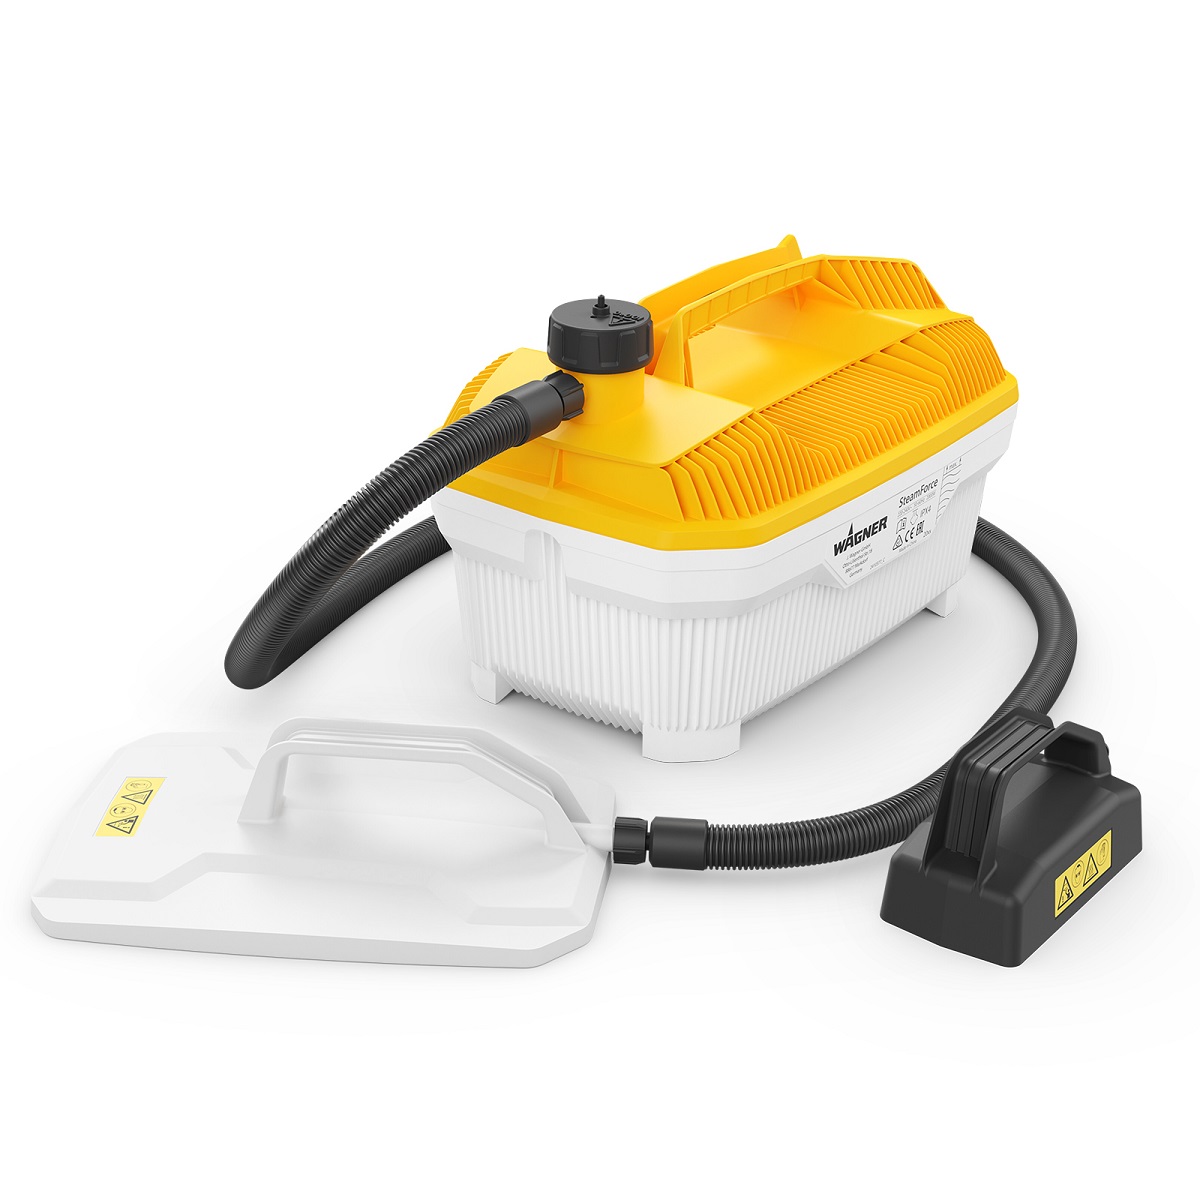
A wallpaper steamer consists of a water tank, a heating element, and a hose with a steam plate or nozzle. The water tank is filled with water, and when the steamer is turned on, the heating element heats the water, creating steam. The steam is then delivered through the hose and the plate or nozzle onto the wallpaper, softening the adhesive and making it easier to remove.
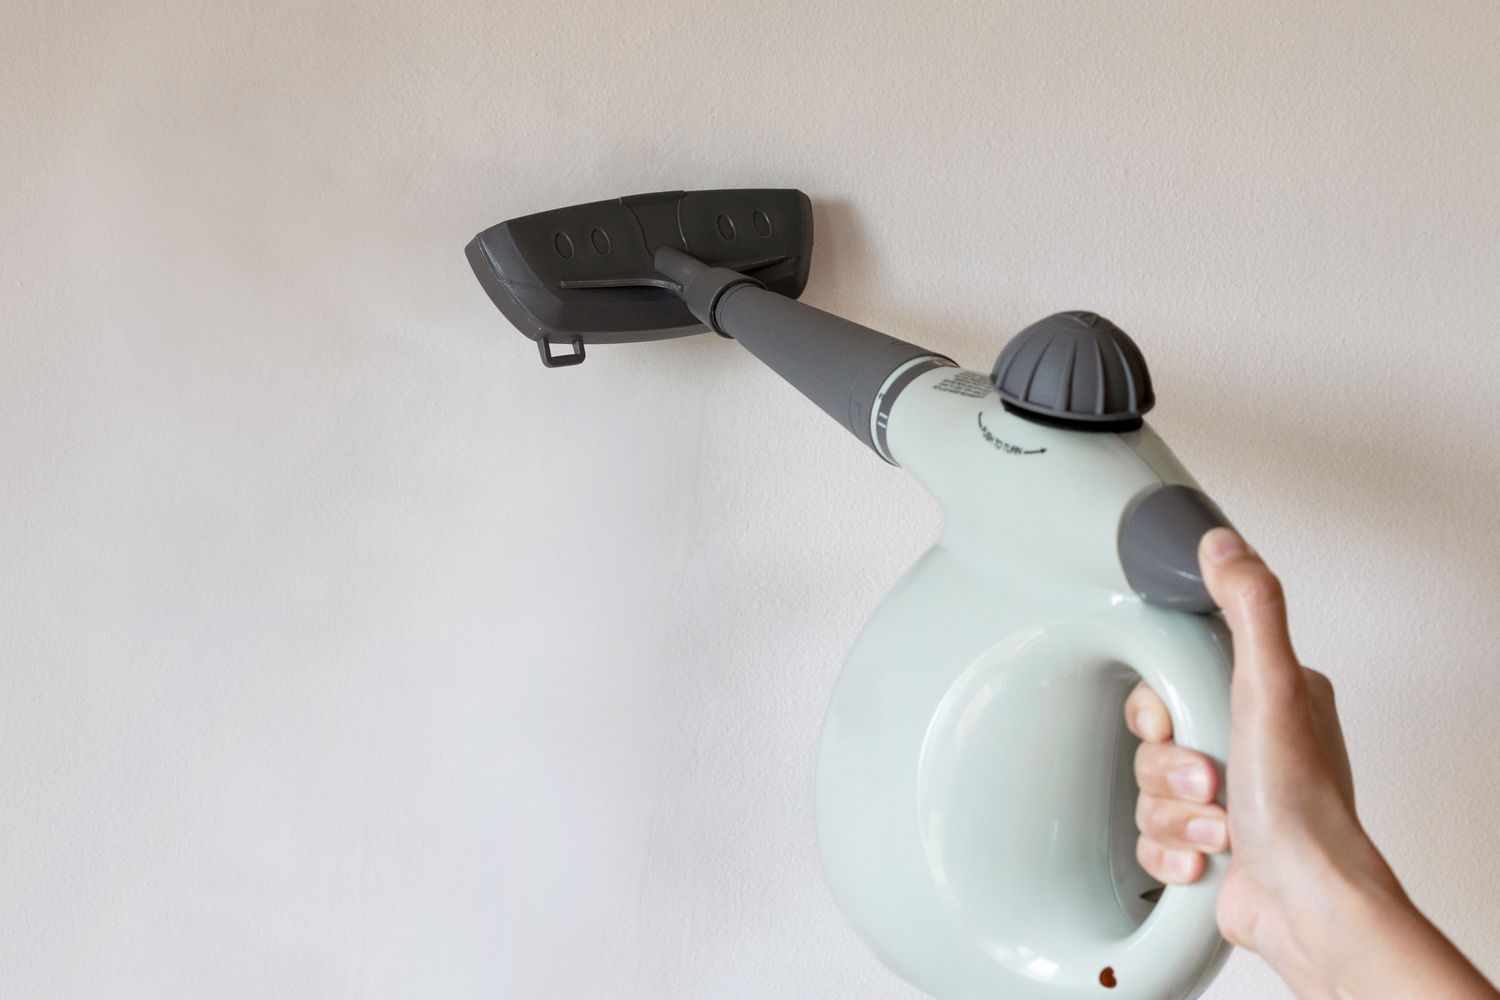
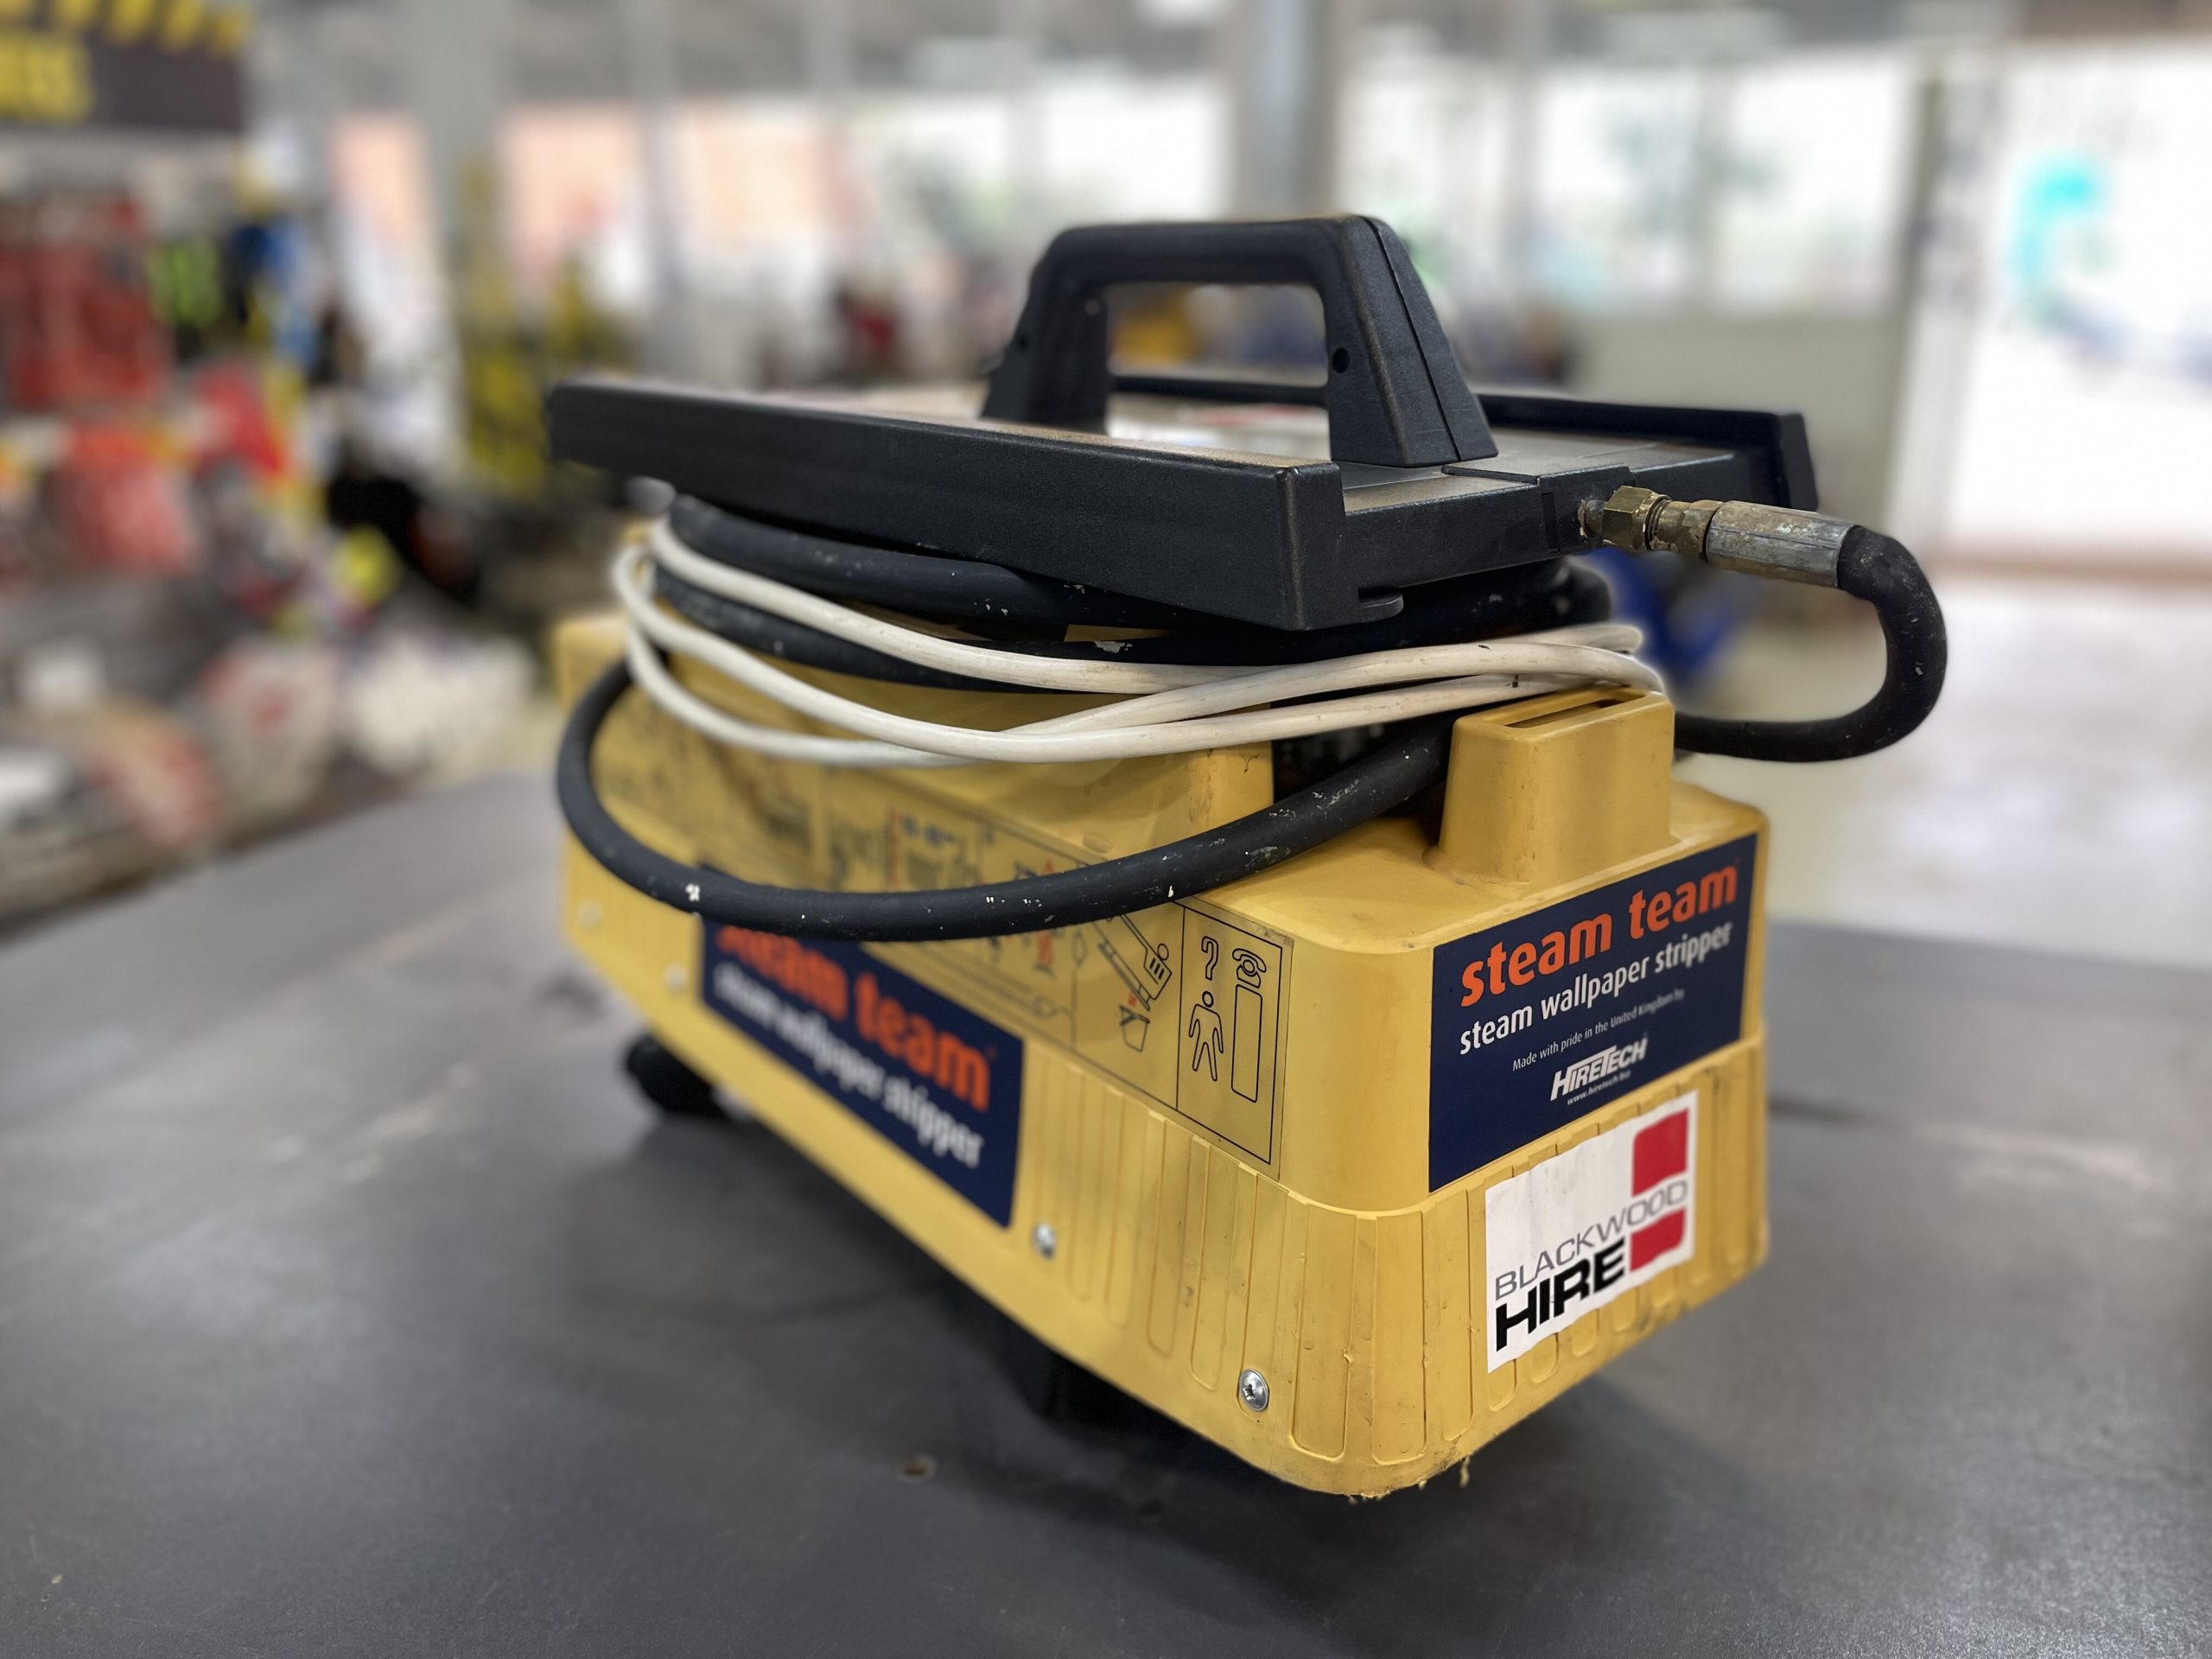
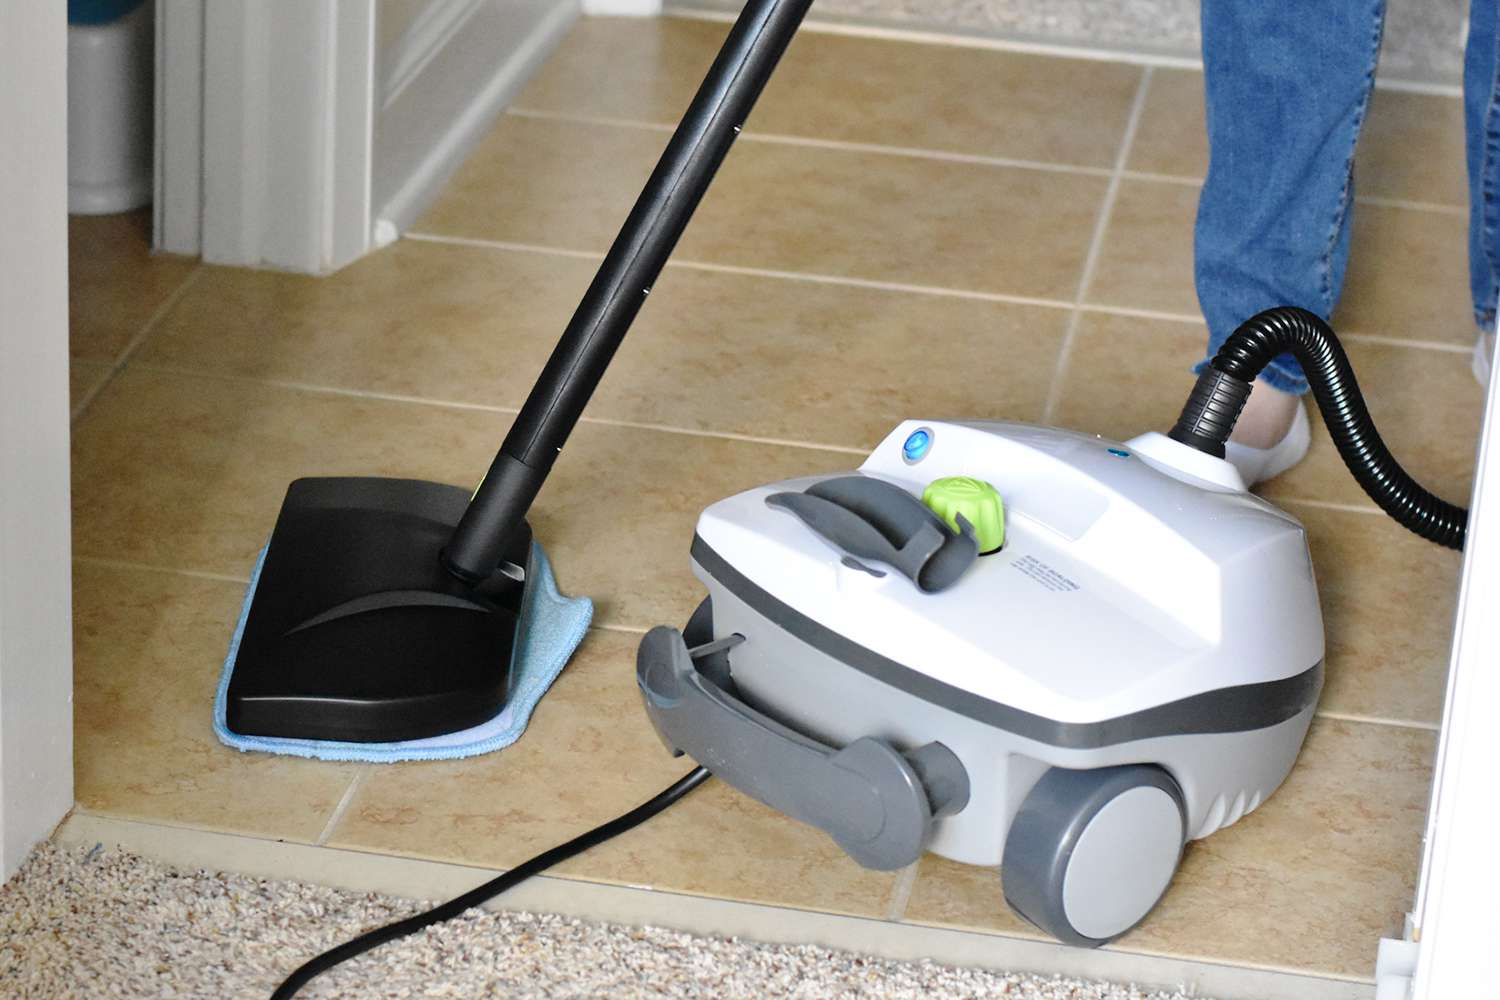
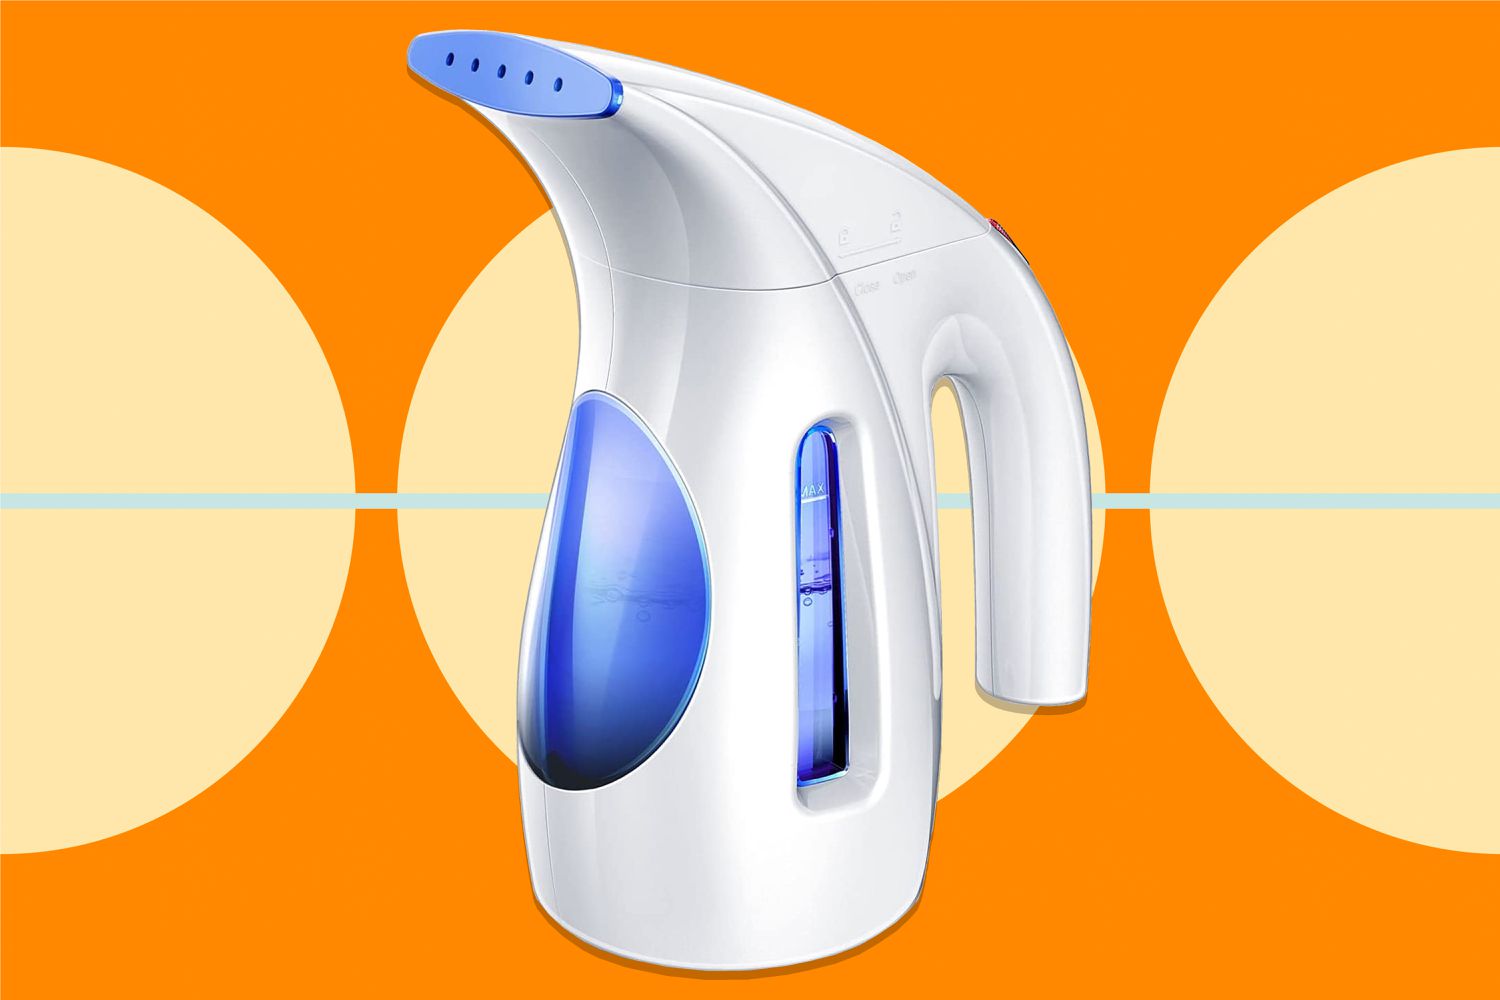
There are two main types of wallpaper steamers: handheld steamers and large steamers. Handheld steamers are smaller and more portable, allowing for more flexibility in maneuvering and reaching tight spaces. Large steamers, on the other hand, are more powerful and suitable for bigger jobs or professional use.
When choosing a wallpaper steamer, it’s important to consider the size of the job at hand and your specific needs. Handheld steamers are often sufficient for smaller projects, while large steamers are more suitable for larger areas or frequent use.
It’s also worth noting that wallpaper steamers produce hot steam, so it’s important to take safety precautions. Always wear heat-resistant gloves and protective eyewear to avoid burns or injuries. Additionally, make sure the area you are working in is well-ventilated to prevent the buildup of steam and humidity.
Now that we have a basic understanding of wallpaper steamers, let’s move on to the next step – preparing the area before using the steamer.
Preparing the Area
Before using a wallpaper steamer, it’s important to properly prepare the area to ensure a smooth and efficient removal process. Here are the steps to follow:
- Clear the room: Remove any furniture, decorations, or obstacles that may obstruct your access to the walls. This will give you plenty of space to work and prevent any potential damage to your belongings.
- Protect the floors: Place drop cloths or plastic sheets on the floor to protect it from water, steam, and debris. This will make the cleanup process much easier and prevent any damage to the flooring.
- Remove outlet covers: Use a screwdriver to remove outlet covers, light switch plates, and any other fixtures on the walls. This will give you a clear and uninterrupted surface to work with.
- Inspect the walls: Check the walls for any loose or damaged wallpaper. If you come across any, gently remove it by peeling it off or using a putty knife. This will ensure that the steamer’s steam can penetrate the remaining wallpaper effectively.
- Score the wallpaper: If the wallpaper is particularly stubborn or has multiple layers, use a scoring tool or a wallpaper scorer to create small perforations in the surface. This will allow the steam to penetrate deeper and loosen the adhesive more effectively.
By taking the time to properly prepare the area, you’ll set yourself up for a successful wallpaper removal process with the steamer. Now that the area is ready, let’s move on to setting up the wallpaper steamer itself.
Setting Up the Wallpaper Steamer
Once you have prepared the area, it’s time to set up the wallpaper steamer. Follow these steps to get the steamer ready for use:
- Fill the water tank: Start by filling the water tank of the steamer with clean, cold water. Refer to the manufacturer’s instructions for the recommended water level and any specific guidelines.
- Attach the hose and steam plate: Connect the hose to the steamer and securely attach the steam plate or nozzle to the other end of the hose. Make sure it is firmly in place to avoid any leaks during operation.
- Plug in and turn on the steamer: Plug the steamer into a grounded electrical outlet and turn it on. Allow the steamer to heat up for the recommended amount of time, usually indicated by an indicator light or sound.
- Check for steam: Once the steamer has reached the desired temperature, check for the presence of steam. Point the steam plate or nozzle away from yourself or others and press the trigger or button to release steam. Ensure that steam is being produced consistently before moving on to the next step.
- Test on a small section: Before starting the actual wallpaper removal, test the steamer on a small section of the wallpaper to ensure that it effectively softens the adhesive without damaging the wall surface. This will give you a sense of the optimal steam plate distance and duration for your specific wallpaper.
By following these steps, you can set up the wallpaper steamer properly and ensure that it is ready for use. Once everything is in place, it’s time to move on to the next stage – operating the wallpaper steamer to remove the wallpaper effectively.
Operating the Wallpaper Steamer
Operating a wallpaper steamer involves using the steam to penetrate the wallpaper and loosen the adhesive, making it easier to remove. Here is a step-by-step guide to operating the wallpaper steamer:
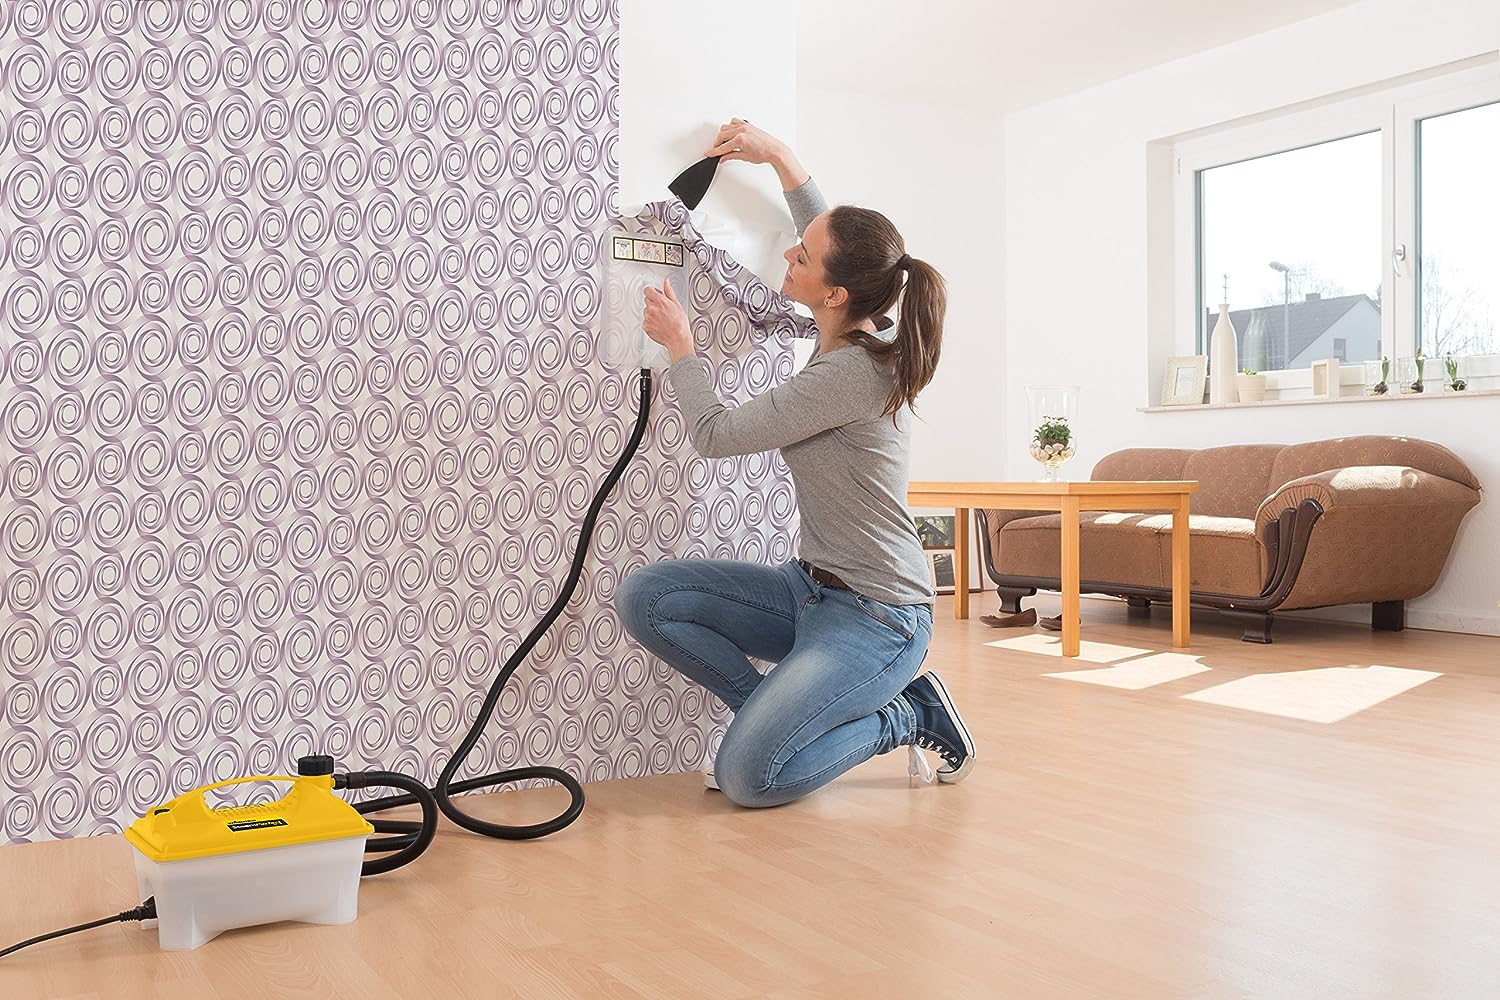
- Position the steam plate: Hold the steam plate or nozzle against the wallpaper, starting from the top corner of the wall. Make sure to maintain a slight angle and apply gentle pressure to ensure that the steam can penetrate the wallpaper effectively.
- Steam the wallpaper: Move the steam plate or nozzle in a slow, sweeping motion across the wallpaper. Ensure that the steam is evenly distributed over the surface. The heat and moisture from the steam will gradually soften the adhesive behind the wallpaper.
- Steam small sections at a time: Work with small sections of the wallpaper at a time to prevent the steam from cooling too quickly. This will maximize the effectiveness of the steamer in loosening the adhesive.
- Allow time for the steam to work: After steaming a section of the wallpaper, give the steam some time to work on the adhesive. This usually takes a few minutes. You will notice the wallpaper becoming softer and more pliable as the steam does its job.
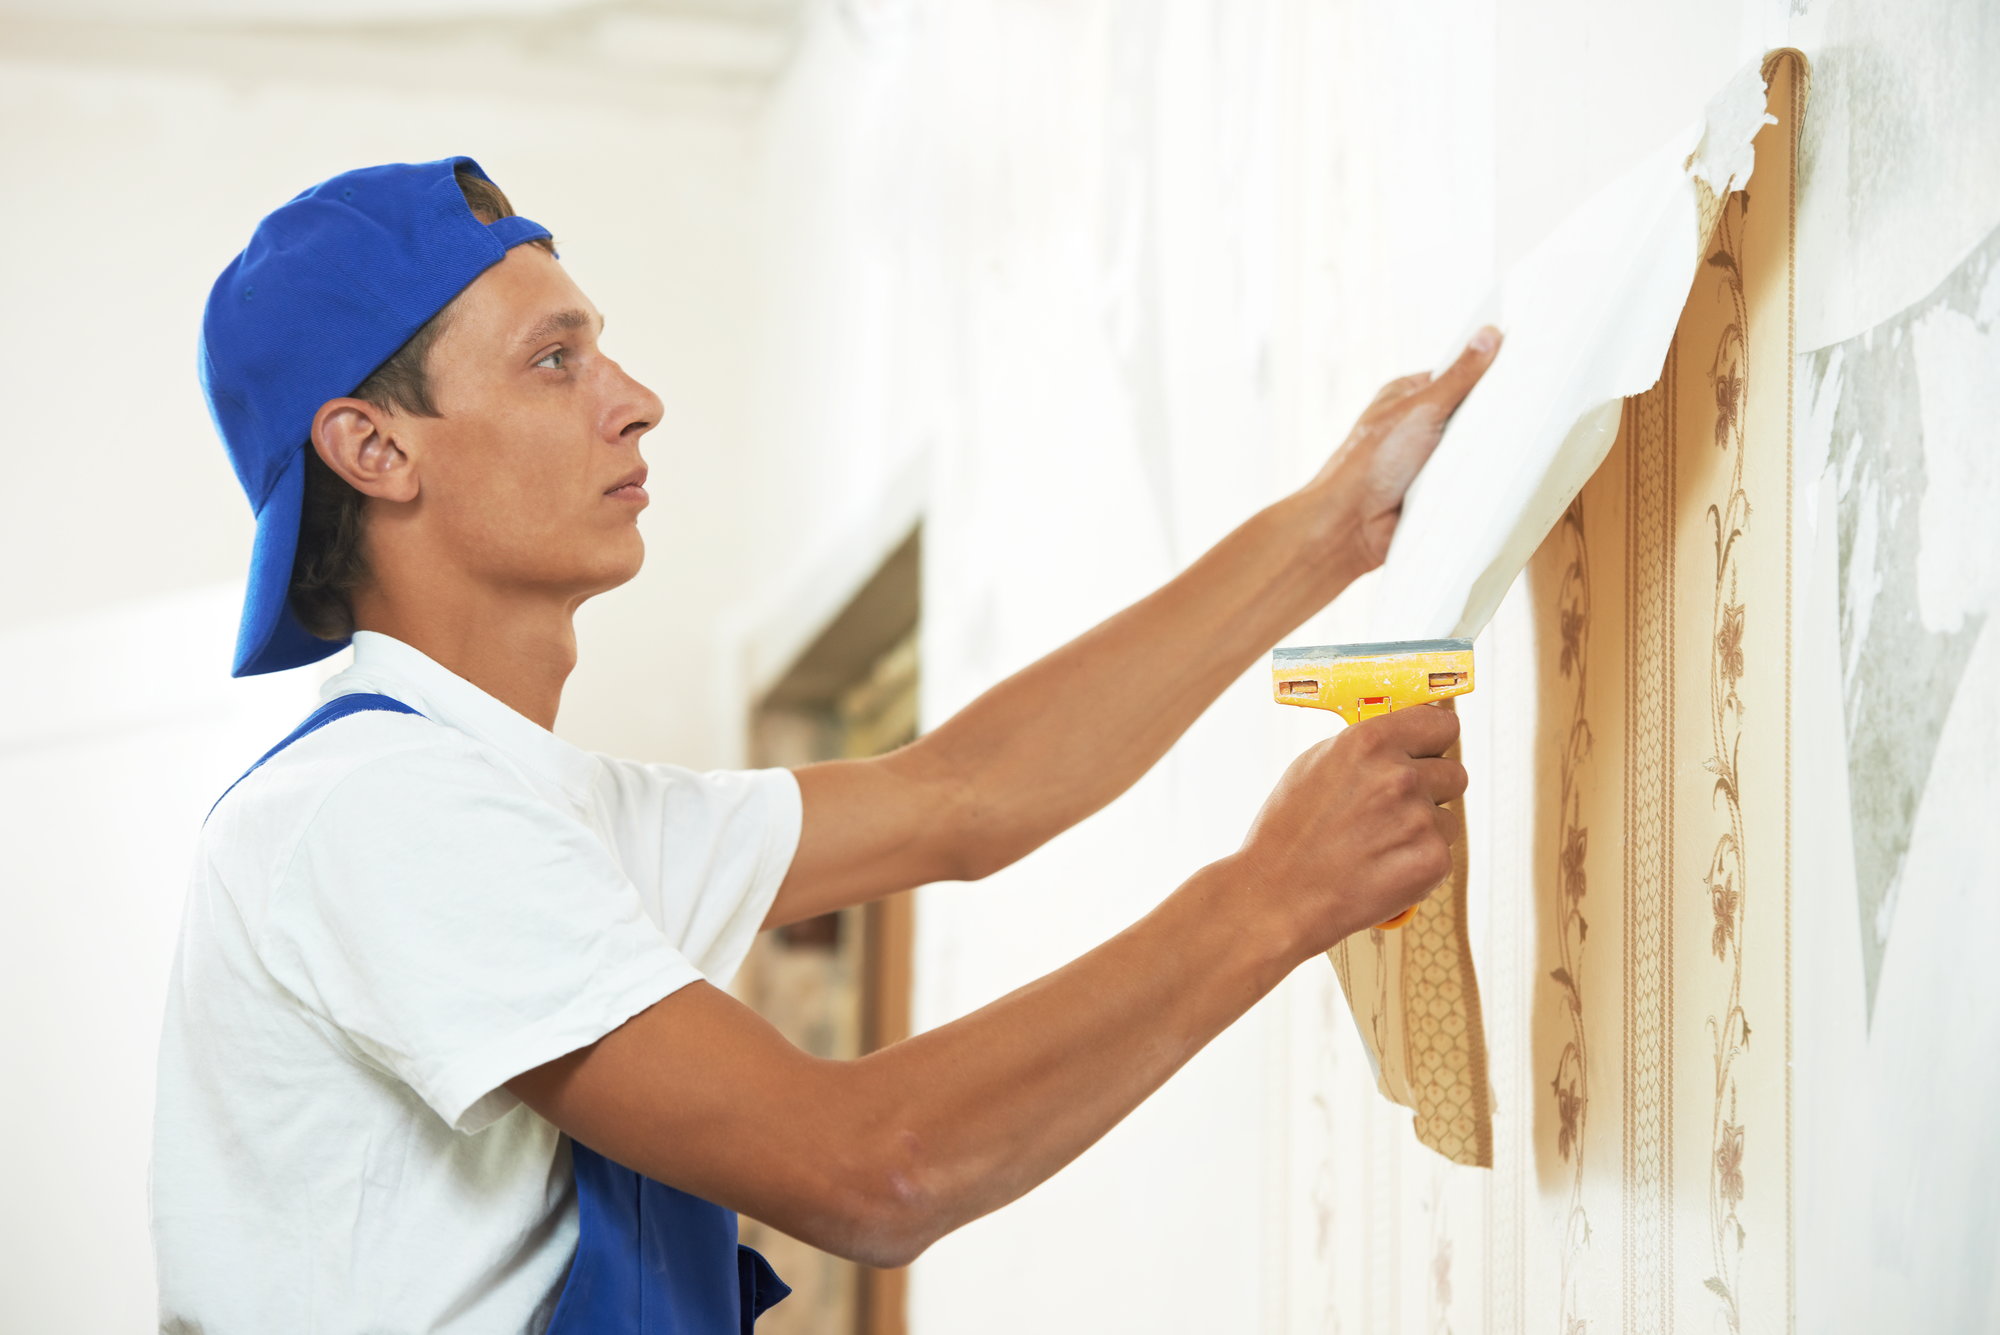
- Use a scraper or putty knife: Once the adhesive has sufficiently loosened, use a scraper or putty knife to gently lift and peel off the wallpaper. Start from a corner or an edge and work your way across the section. Be careful not to damage the wall surface while scraping.
- Continue steaming and scraping: Repeat the steaming and scraping process for the rest of the wallpaper, working your way from top to bottom and from one side of the wall to the other. Maintain a steady pace to ensure consistent and efficient removal.
Remember to take breaks and let the steamer cool down if needed. Depending on the size of the area and the stubbornness of the wallpaper, the process may take some time. Patience and persistence are key!
Now that you know how to operate the wallpaper steamer effectively, let’s move on to the next step – removing the wallpaper from the wall.
When using a wallpaper steamer, start from the top of the wall and work your way down in small sections to ensure the steam has enough time to penetrate the wallpaper.
Read more: How Much Is A Wallpaper Steamer
Removing Wallpaper
Removing wallpaper using a wallpaper steamer is a gradual process that requires patience and careful handling. Here are the steps to remove the wallpaper successfully:
- Start from a corner: Locate a corner or an edge of the wallpaper and use a scraper or putty knife to gently lift it away from the wall. Pull the wallpaper at a 45-degree angle to avoid tearing it.
- Continue peeling the wallpaper: Once you have lifted the corner, continue pulling the wallpaper gradually and evenly. Use your free hand to hold the peeled wallpaper, supporting its weight and preventing it from tearing.
- Remove any leftover adhesive: After peeling off the wallpaper, you may find residual adhesive left on the wall. Use a damp sponge or cloth to wipe off the adhesive carefully. If the adhesive is stubborn, you can use a wallpaper removal solution or a mixture of warm water and vinegar.
- Repeat the process: Move on to the next section of wallpaper and repeat the peeling process. Work in small, manageable sections to prevent the steam from cooling before you can remove the wallpaper effectively.
- Handle delicate sections with care: Some sections of the wallpaper, such as corners or areas around outlets, may be more delicate. Take extra caution when peeling off these sections to avoid damage to the wall or tearing the wallpaper.
- Inspect for any missed spots: Once you have removed the majority of the wallpaper, carefully inspect the wall for any missed spots or stubborn remnants of wallpaper or adhesive. Use the steamer or a scraper to address these areas and ensure a clean surface.
Remember to work methodically and take breaks when needed. Removing wallpaper can be time-consuming, especially if there are multiple layers or if the adhesive is stubborn. Take your time and be gentle to achieve the best results.
Now that you know how to effectively remove wallpaper with a wallpaper steamer, let’s move on to the next step – cleaning up after the removal process.
Cleaning Up
After successfully removing the wallpaper using a wallpaper steamer, it’s important to clean up the area to ensure a tidy finish. Here are the steps to follow:
- Dispose of the removed wallpaper: Collect the removed wallpaper scraps and dispose of them properly. You can use garbage bags or other appropriate containers for easy disposal.
- Remove any adhesive residue: Use a damp sponge or cloth to wipe off any remaining adhesive residue on the walls. If necessary, use a wallpaper removal solution or warm water mixed with vinegar to break down stubborn residue.
- Clean the steamer: Empty and rinse the water tank of the wallpaper steamer and clean any removable parts according to the manufacturer’s instructions. This will prevent any buildup of mineral deposits or residue that could affect the steamer’s performance in future use.
- Restore the room: Once the walls are clean and free of adhesive residue, you can restore the room by reattaching outlet covers, light switch plates, and any other fixtures you removed earlier. Ensure they are properly aligned and secure.
- Dispose of the cleaning materials: Dispose of any used cleaning materials, such as sponges or cloths, appropriately. If you used a wallpaper removal solution, follow the instructions on the product label for proper disposal.
By following these cleanup steps, you can ensure that the area is left in a clean and organized state, ready for the next phase of your project, whether it’s painting the walls or applying new wallpaper.
Now that you have completed the cleanup process, let’s explore some tips and tricks that can further enhance your wallpaper steaming experience.
Tips and Tricks
Here are some helpful tips and tricks to enhance your experience when using a wallpaper steamer:
- Protect yourself: Wear protective gloves, safety goggles, and appropriate clothing to safeguard yourself from steam burns and any potential debris.
- Use a wallpaper scorer: If the wallpaper is particularly stubborn or has multiple layers, use a wallpaper scorer or scoring tool to create small perforations on the surface. This will allow the steam to penetrate more effectively.
- Work from top to bottom: Start steaming and removing the wallpaper from the top of the wall and work your way down. This helps prevent moisture from accumulating and dripping onto areas that have already been cleared.
- Steam in manageable sections: Work on small sections of the wallpaper at a time to prevent the steam from cooling too quickly. This ensures that the adhesive is effectively softened for easy removal.
- Reheat stubborn areas: If you encounter stubborn areas where the wallpaper is not peeling off easily, steam them again to reheat the adhesive. This will make it easier to remove the remaining wallpaper.
- Be patient: Wallpaper removal can be a time-consuming process, especially with stubborn adhesive. Take breaks as needed and allow the steam to work on the wallpaper before attempting to remove it.
- Test in inconspicuous areas: Before using the wallpaper steamer on the entire wall, test it in a small, inconspicuous area to ensure that it does not damage the wall surface or cause discoloration.
- Clean the steamer regularly: After each use, empty and rinse the water tank of the steamer and clean any removable parts. This will prevent mineral buildup and ensure optimal performance in future use.
By following these tips and tricks, you can maximize the effectiveness of your wallpaper steamer and achieve better results in removing wallpaper.
Now that you are equipped with the knowledge of using a wallpaper steamer effectively, you can confidently undertake wallpaper removal projects with ease and efficiency!
Conclusion
Using a wallpaper steamer is an effective and efficient method for removing old wallpaper from walls or other surfaces. By harnessing the power of steam, you can easily loosen the adhesive and peel off the wallpaper, preparing your space for a fresh look or a new coat of paint.
In this article, we have covered the basics of understanding wallpaper steamers, including the different types and safety precautions to consider. We have also provided step-by-step instructions for preparing the area, setting up the wallpaper steamer, operating it effectively, removing the wallpaper, and cleaning up afterwards.
Additionally, we shared some valuable tips and tricks to enhance your wallpaper steaming experience, such as protecting yourself, working in manageable sections, and using a wallpaper scorer for stubborn areas. These insights will help you achieve optimal results and make the process smoother and more enjoyable.
Remember to prioritize safety by wearing protective gear and following manufacturer guidelines. Take your time, be patient, and allow the steam to do its job. With careful handling and persistence, you can successfully remove wallpaper and transform your space.
Now you have the knowledge and confidence to tackle your wallpaper removal projects with a wallpaper steamer. Say goodbye to outdated wallpapers and hello to a fresh canvas for your creative vision!
Frequently Asked Questions about How To Use A Wallpaper Steamer
Was this page helpful?
At Storables.com, we guarantee accurate and reliable information. Our content, validated by Expert Board Contributors, is crafted following stringent Editorial Policies. We're committed to providing you with well-researched, expert-backed insights for all your informational needs.


0 thoughts on “How To Use A Wallpaper Steamer”