Home>Articles>What Is The Correct Order Of Tasks For Washing Dishes In A Three Compartment Sink
Articles
What Is The Correct Order Of Tasks For Washing Dishes In A Three Compartment Sink
Modified: August 17, 2024
Discover the correct order of tasks for washing dishes in a three-compartment sink with this informative article. Learn easy techniques to streamline your dishwashing process.
(Many of the links in this article redirect to a specific reviewed product. Your purchase of these products through affiliate links helps to generate commission for Storables.com, at no extra cost. Learn more)
Introduction
Washing dishes is a common household chore that many of us engage in daily. It may seem like a simple task, but if not done correctly, it can lead to unhygienic dishes and potentially harmful bacteria lingering on our plates and utensils. This is where the three compartment sink comes into play.
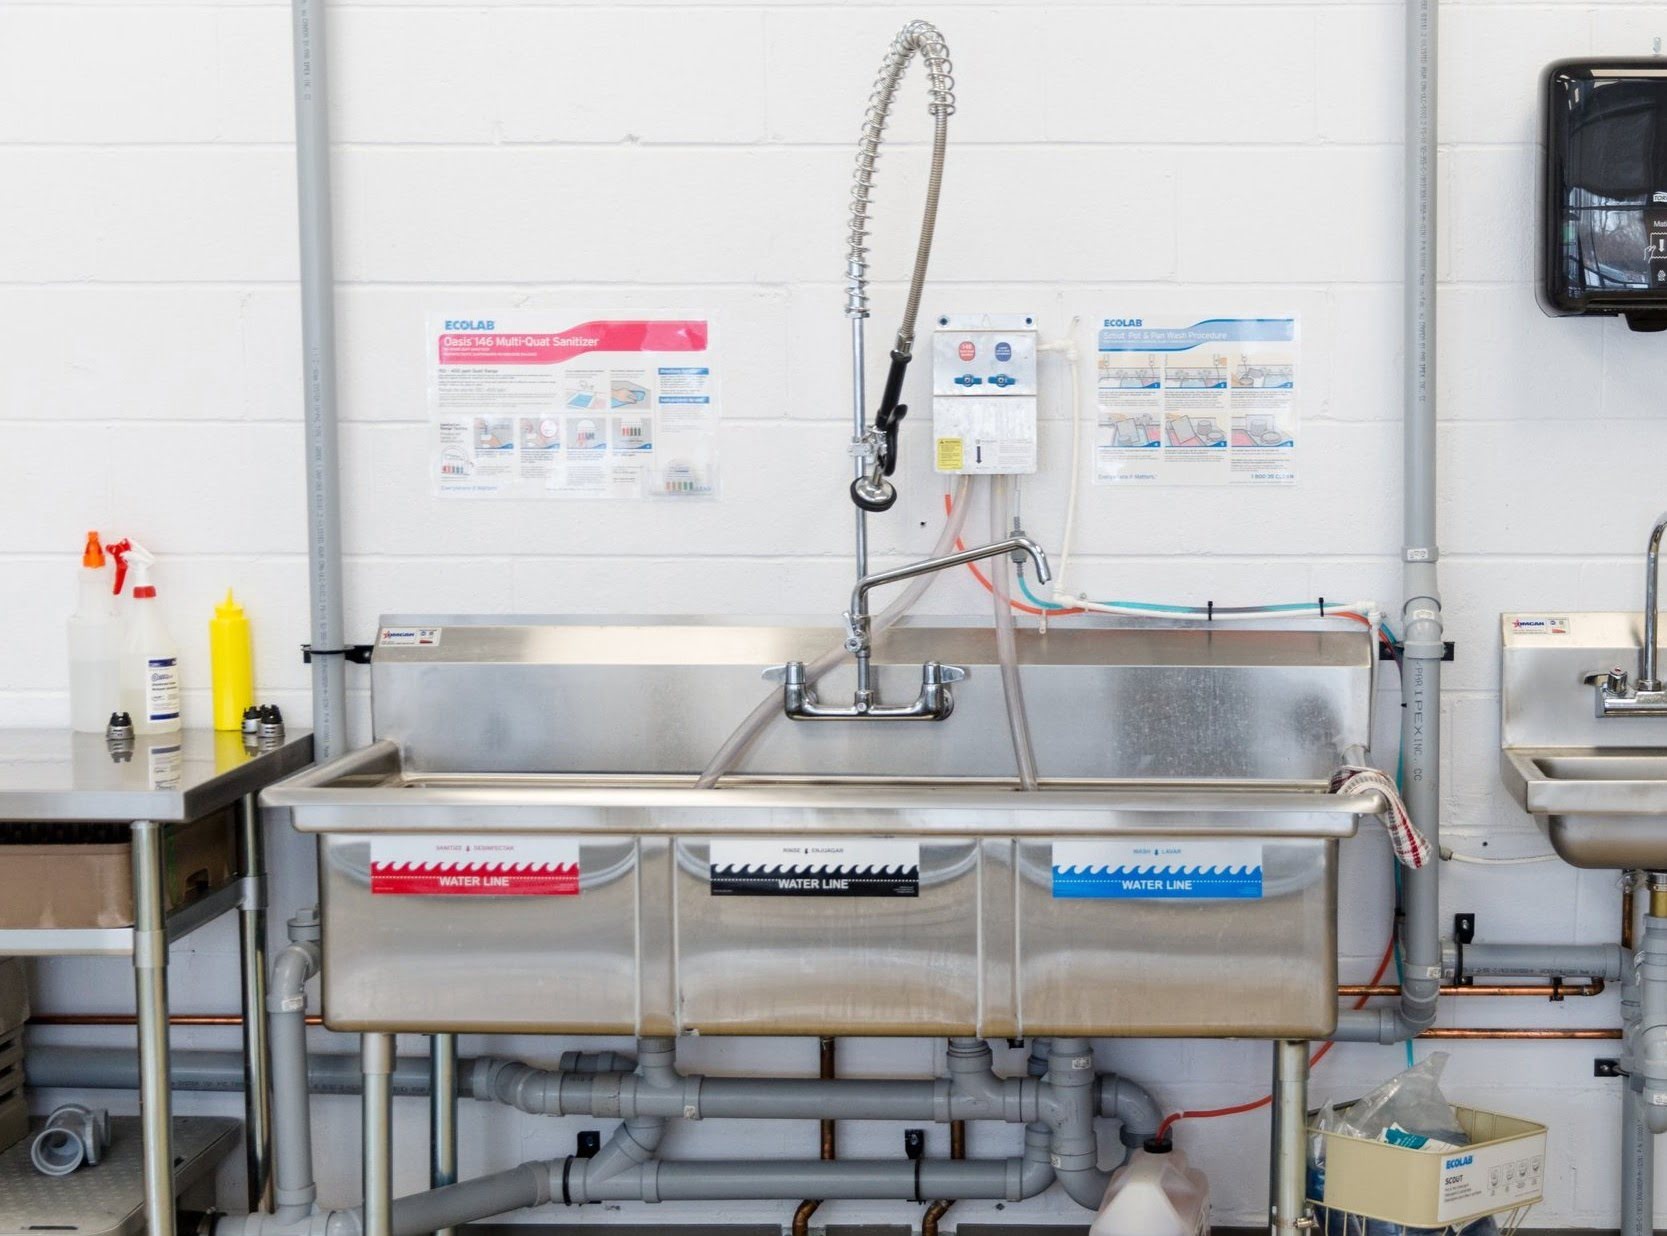
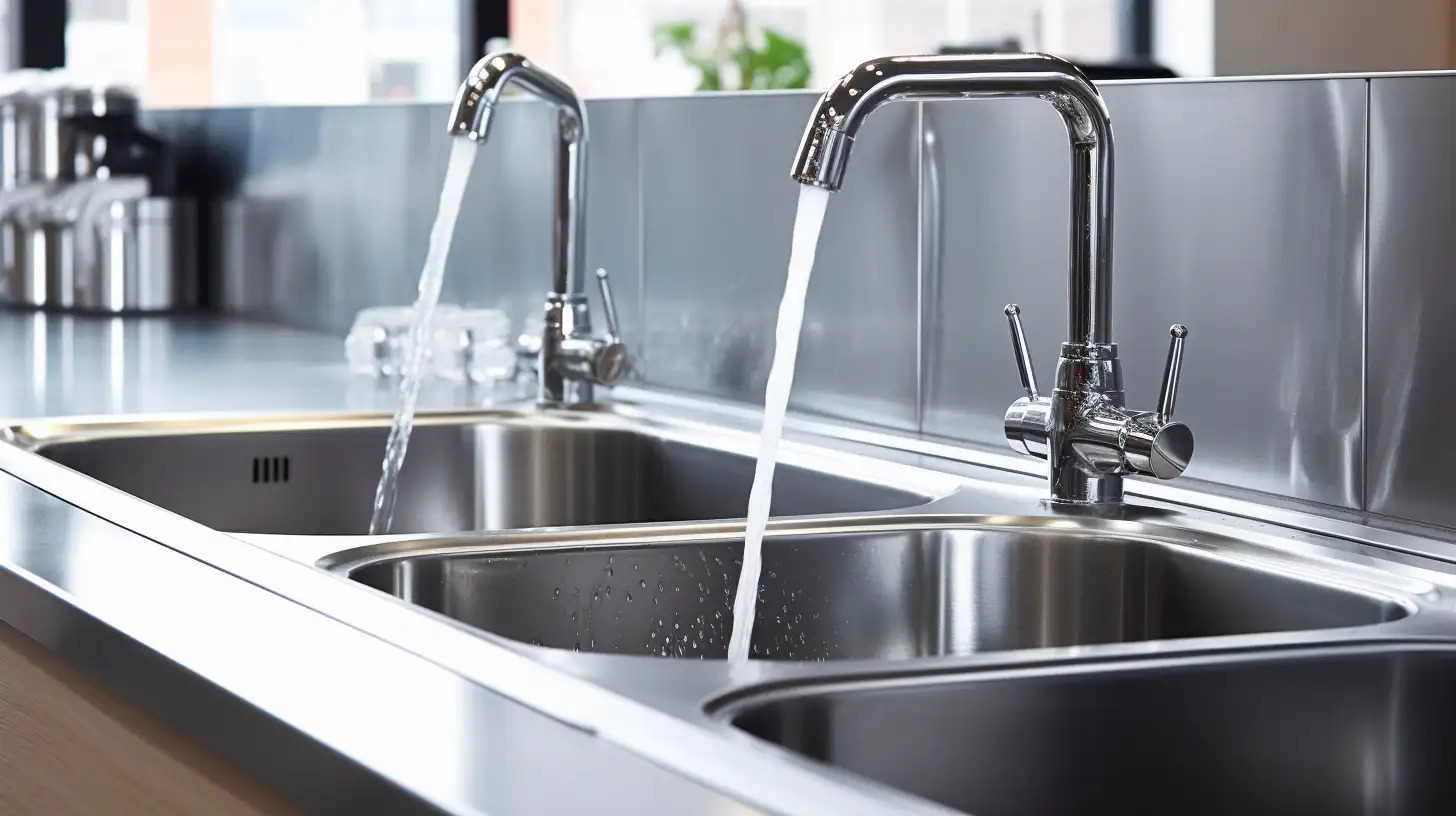
The three compartment sink is a method commonly used in commercial kitchens, restaurants, and other food service establishments to ensure that dishes are thoroughly cleaned, rinsed, and sanitized. It involves a sink divided into three separate compartments, each serving a specific purpose in the dishwashing process.
In this article, we will take a closer look at the correct order of tasks for washing dishes in a three compartment sink, ensuring that your dishes are not only visually clean but also free from harmful bacteria and food residue. By following these steps, you will be able to maintain a safe and sanitary environment in your kitchen.
So, let’s dive in and explore the correct order of tasks that will make your dishwashing routine efficient and effective while keeping your dishes sparkling clean and ready for use.
Key Takeaways:
- Efficiently wash dishes in a three compartment sink by sorting, washing, rinsing, and sanitizing in the correct order. Maintain a hygienic kitchen environment and prevent cross-contamination by following these systematic steps.
- Properly prepare the sink, sort and scrape dishes, and ensure thorough washing, rinsing, and sanitizing to achieve visually clean and bacteria-free dishes. Adhere to local health codes for optimal food safety.
Understanding the Three Compartment Sink
Before we delve into the correct order of tasks for washing dishes in a three compartment sink, let’s first have a clear understanding of what the sink is and how it works.
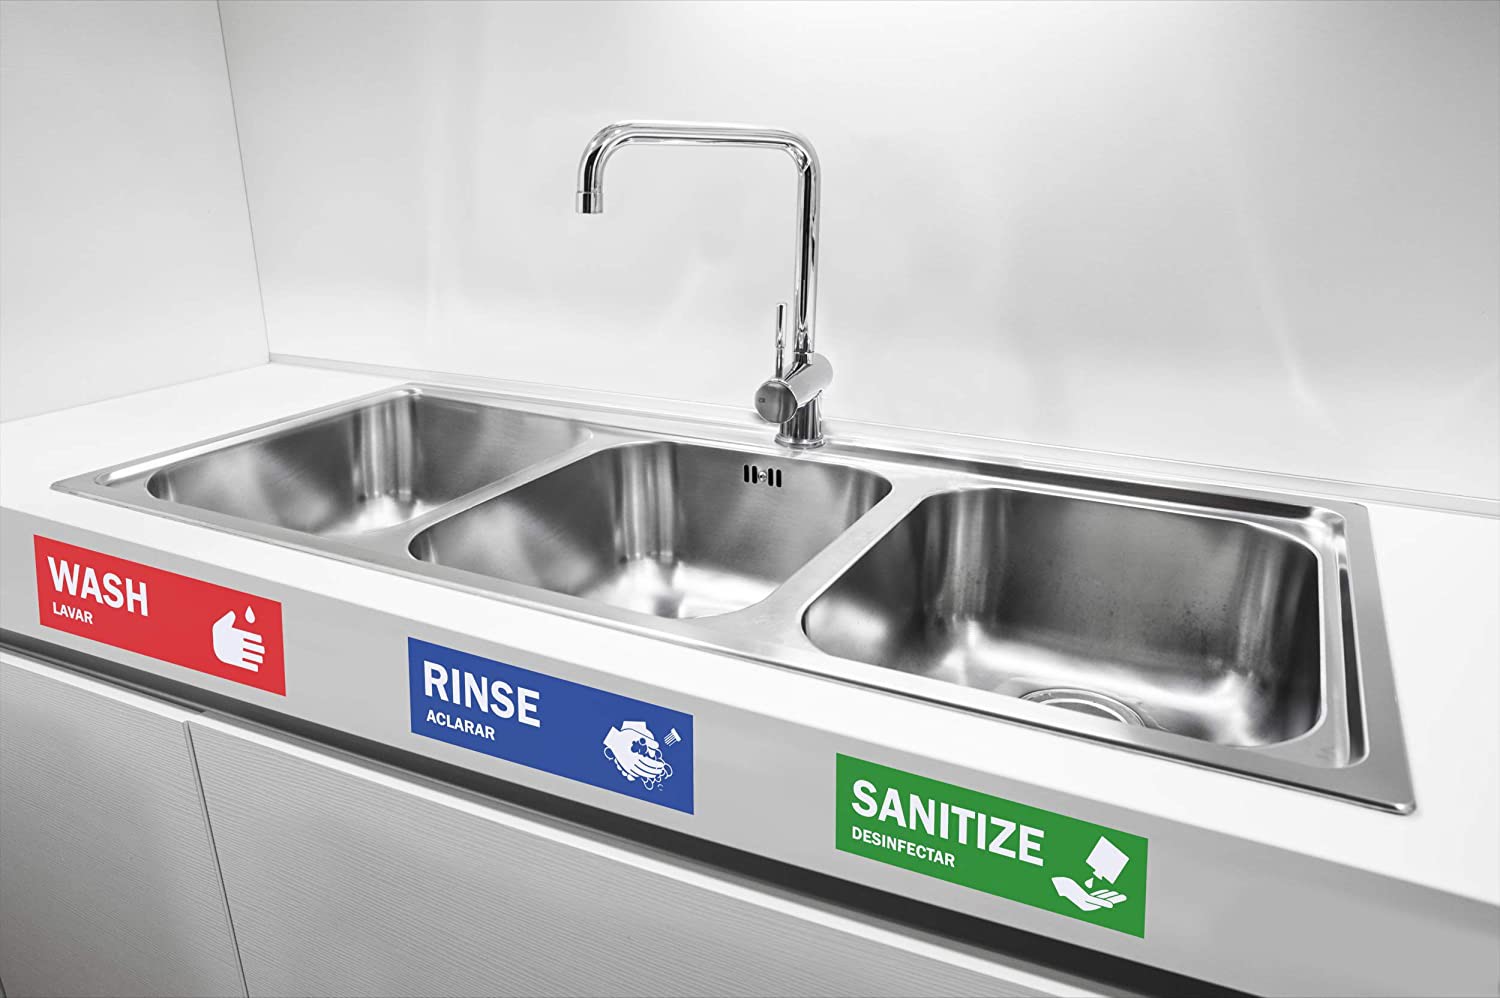
The three compartment sink consists of three separate sections, each with a specific function: washing, rinsing, and sanitizing. These compartments are usually labeled or color-coded to avoid any confusion during the dishwashing process.
The first compartment is dedicated to washing the dishes. This is where you will find hot soapy water that helps break down grease, food particles, and other residue from the dishes. The second compartment is for rinsing, where you will rinse off any remaining soap and food debris. Finally, the third compartment is where the sanitizing solution is prepared, ensuring the dishes are free from bacteria and germs.
Each compartment has its own purpose, ensuring that the dishes go through a thorough cleaning process from start to finish. The three compartment sink method is designed to prevent cross-contamination and promote food safety by providing separate areas for each step of the dishwashing process.
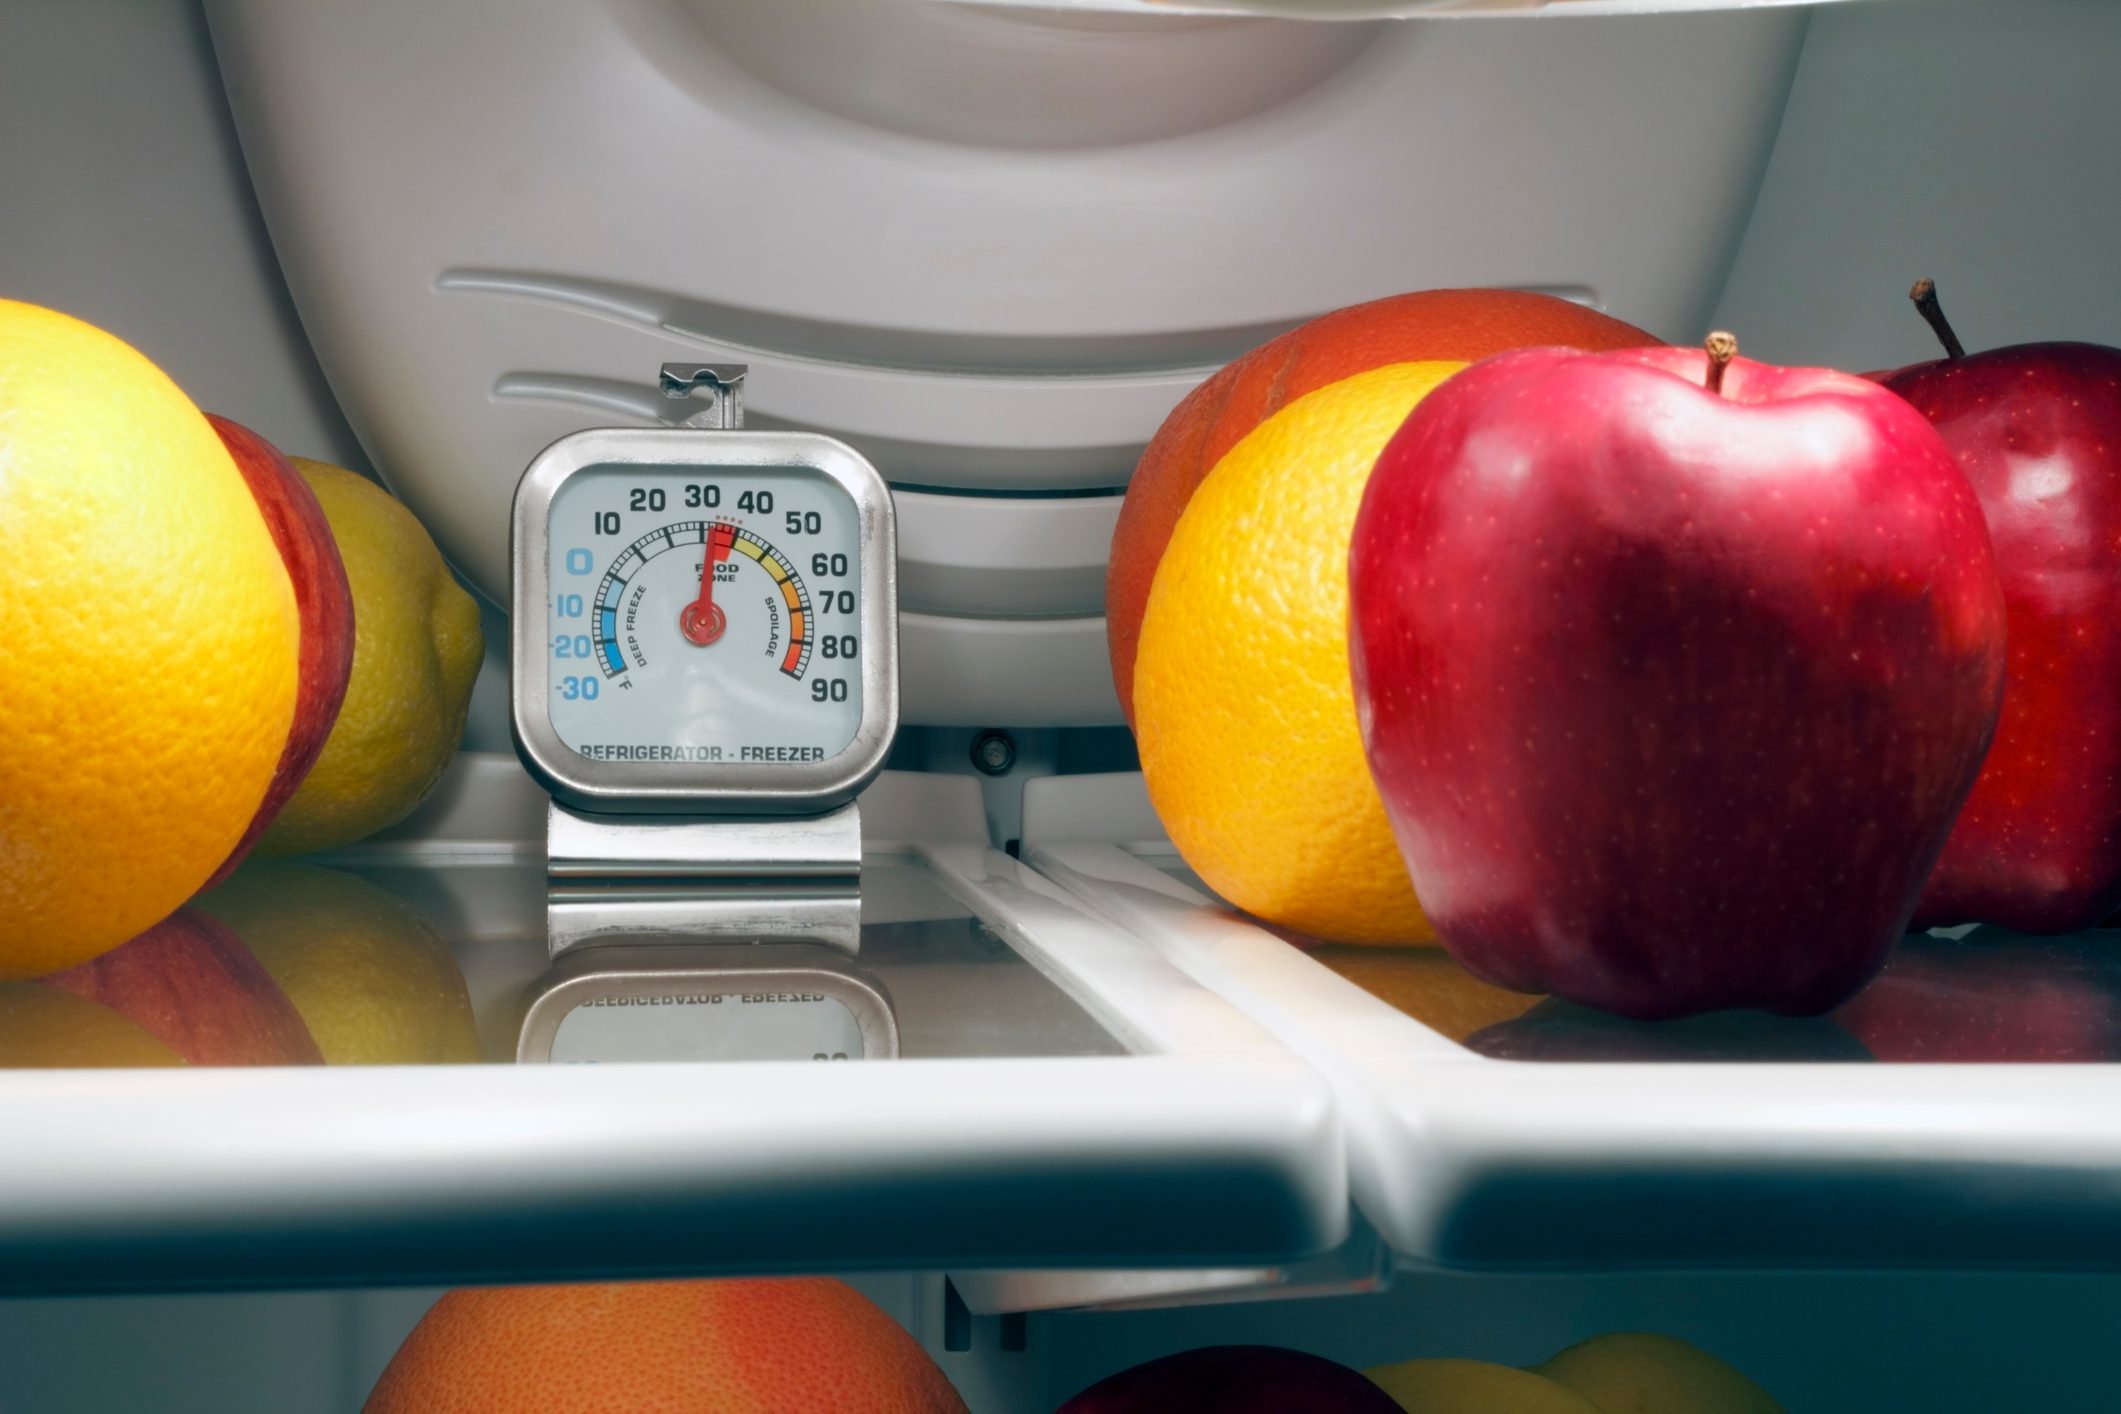
It is important to note that the water in each compartment should be maintained at the appropriate temperature. The washing compartment should have hot water between 110°F to 120°F (43°C to 49°C), while the rinsing compartment should have warm water, ideally around 100°F (38°C). The sanitizing compartment typically requires a specific concentration of sanitizer, such as chlorine or quaternary ammonium compounds, as directed by local health codes.
Now that we have a clear understanding of the three compartment sink and its purpose, let’s move on to the next step: preparing the sink for dishwashing.
Preparing the Three Compartment Sink
Before you start washing dishes in the three compartment sink, it is crucial to properly prepare the sink. This involves cleaning and organizing the sink area, ensuring that all necessary supplies are readily available. Here’s how to prepare the three compartment sink for the dishwashing process:
1. Clear the sink area: Remove any items or debris from the sink and surrounding area. Make sure the sink is empty and clean of any leftover food or objects.
2. Gather supplies: Collect all the necessary dishwashing supplies such as dish soap, scrub brushes, scouring pads, dish towels, and rubber gloves. Having these items within reach will save you time and effort during the dishwashing process.
3. Fill each compartment with water: Fill the first compartment with hot water, ideally between 110°F to 120°F (43°C to 49°C). The second compartment should be filled with warm water around 100°F (38°C). Leave the third compartment empty for now, as we will discuss sanitizing later.
4. Add dish soap: Add a sufficient amount of dish soap to the hot water in the first compartment. Make sure to use a detergent specifically designed for dishwashing, as regular hand soap may not be effective in removing food residue and grease.
5. Test the water temperature: Use a thermometer to ensure that the water in each compartment is at the correct temperature. It is important to have hot water for washing and warm water for rinsing to effectively clean the dishes.
6. Set up a drying area: Clear a space next to the sink where you can air dry the washed and rinsed dishes. Place a clean dish rack or drying mat to prevent water from puddling underneath the dishes.
By properly preparing the three compartment sink, you are setting yourself up for a smooth and efficient dishwashing process. Having all the necessary supplies ready and having the sink area clean will help you maintain a hygienic and organized workspace. With the sink prepared, we can now move on to the next step: sorting and scraping the dishes.
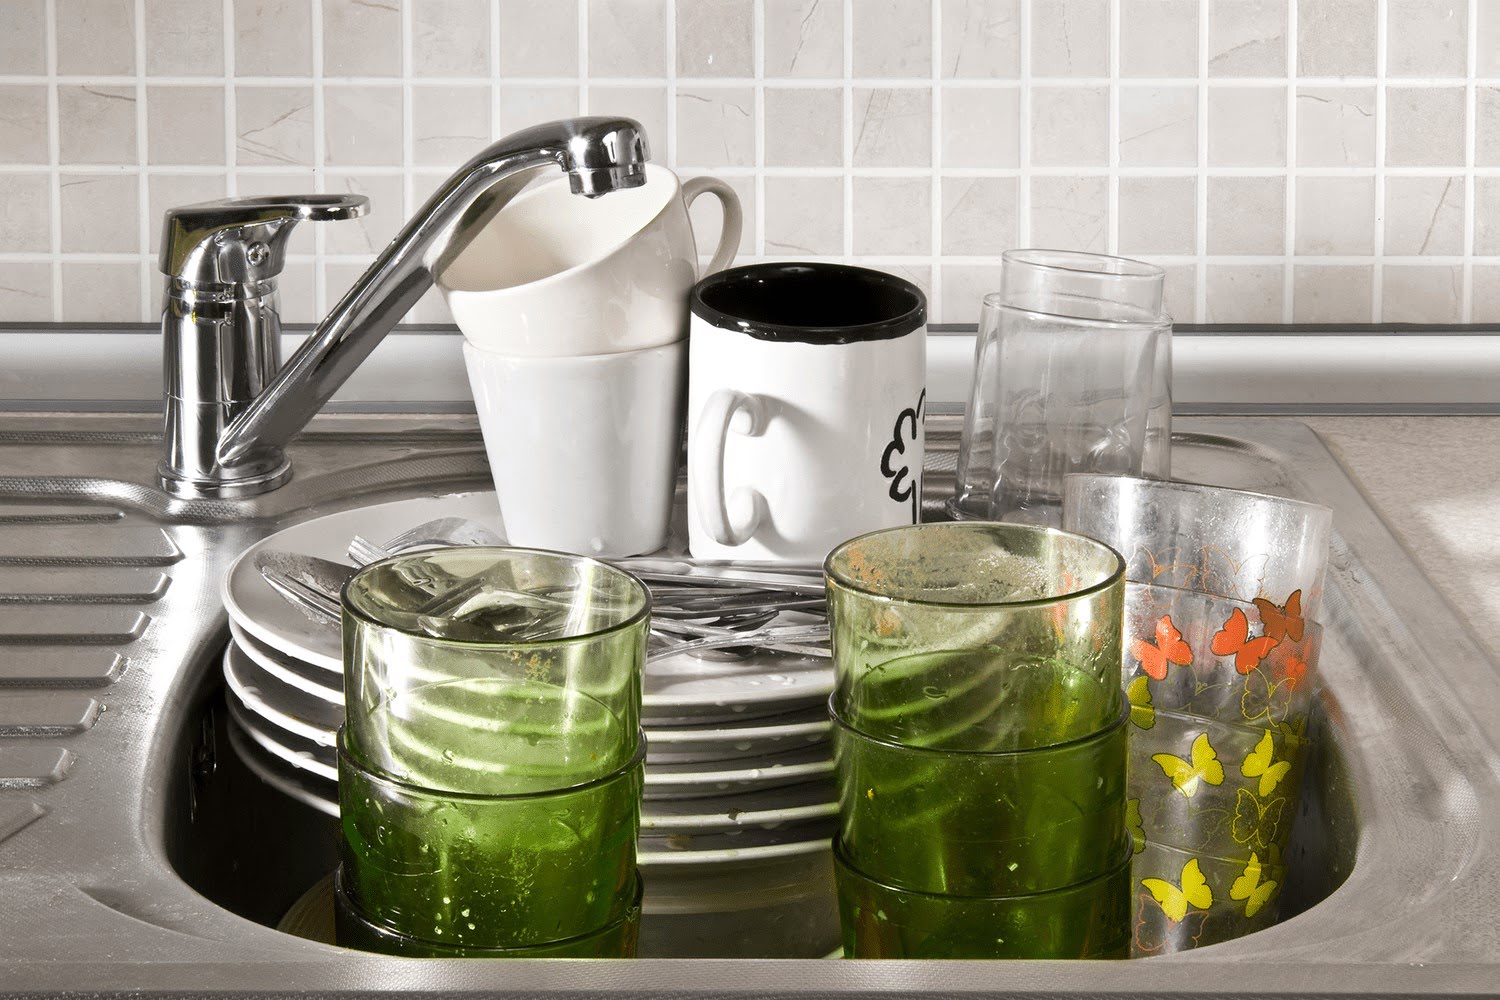
Sorting and Scraping
Once the three compartment sink is prepared, it’s time to sort and scrape the dishes before immersing them in the soapy water. This step is essential to remove any excess food particles and ensure that the washing process is effective. Here’s how to properly sort and scrape the dishes:
1. Remove larger food remnants: Before placing any dishes in the sink, use a rubber spatula or a paper towel to remove any larger food remnants. This will prevent the sink from clogging and make the washing process more efficient.
2. Sort the dishes: Sort the dishes based on their material and level of dirtiness. It’s best to wash glasses and flatware first, followed by plates, bowls, and finally, pots and pans. By washing items in this order, you prevent cross-contamination and ensure that all dishes receive a thorough cleaning.
3. Scrape off excess food: Use a dish scraper or a soft brush to gently scrape off any remaining food particles from the dishes. Make sure to remove any stubborn residue, such as dried sauces or burnt-on food. This step will prevent the sink water from becoming excessively dirty and help maintain the effectiveness of the cleaning solution.
4. Rinse off large debris: Once you have scraped off the excess food, rinse the dishes under warm water to remove any remaining loose particles. This will prevent contamination of the soapy water in the first compartment of the sink.
5. Stack the dishes neatly: As you sort and scrape the dishes, stack them neatly beside the sink. This will make it easier to transfer them into the soapy water and keep the sink area organized throughout the dishwashing process.
By sorting and scraping the dishes before washing them, you ensure that the cleaning process is more efficient and effective. Removing excess food and debris prevents the water from becoming overly dirty and allows the soap to work its magic in effectively cleaning the dishes. With the dishes sorted and scraped, it’s time to move on to the next step: washing in the first compartment.
Washing in the First Compartment
Now that the dishes have been sorted and scraped, it’s time to move on to the first compartment of the three compartment sink: washing. This is where the soapy water and scrub brushes come into play to remove grease, food residue, and other dirt from the dishes. Here’s how to effectively wash the dishes in the first compartment:
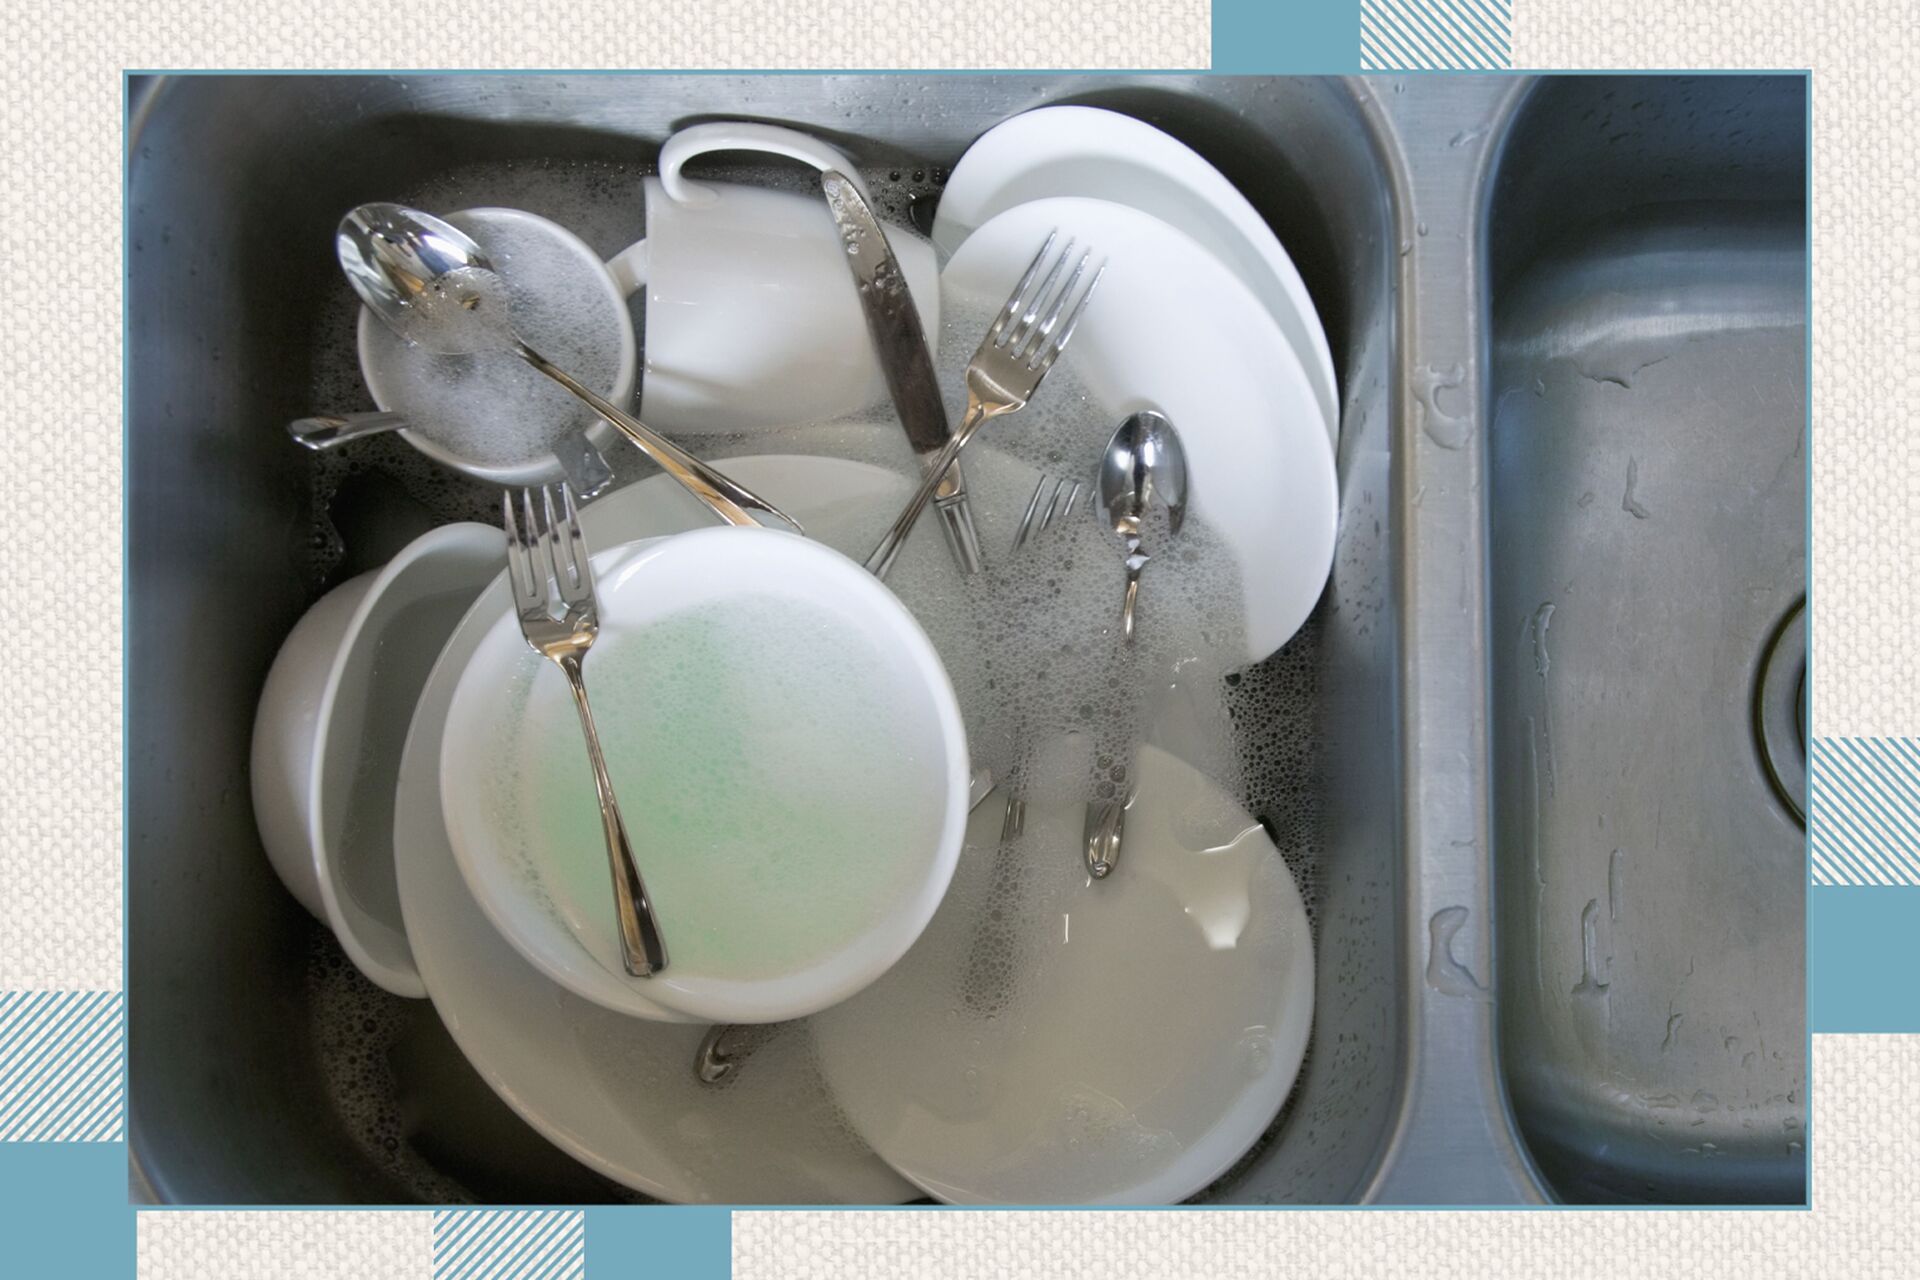
1. Immerse the dishes: Take one dish at a time and immerse it into the hot soapy water in the first compartment. Make sure to fully submerge the dish to ensure it is properly cleaned.
2. Use a scrub brush or sponge: Grab a scrub brush or sponge and gently scrub the dish, paying extra attention to areas with stubborn food particles or grease. Scrub in circular motions to ensure that all surfaces are thoroughly cleaned.
3. Clean all sides of the dish: Make sure to clean not only the inside but also the outside and the rim of the dish. Often, food residue can accumulate on these areas, so it’s important to give them proper attention.
4. Rinse off the soap: Once you have scrubbed the dish, remove it from the soapy water and rinse off any remaining soap under warm water in the second compartment. This step ensures that no soap residue is left on the dishes.
5. Inspect for cleanliness: After rinsing off the soap, inspect the dish to ensure that it is visually clean and free from any remaining food particles or residue. If necessary, repeat the washing process for any dishes that are not yet clean.
6. Place the clean dish in the drying area: Once a dish is thoroughly washed and rinsed, place it in the designated drying area, either on a clean dish rack or drying mat. Make sure to stack the dishes neatly to allow proper air circulation for drying.
Continue this process for each dish, working your way through the stack according to the order of materials and cleanliness level.
By effectively washing the dishes in the first compartment, you ensure that they are clean and ready for further rinsing and sanitizing. Proper scrubbing and rinsing are key to removing all traces of dirt, food particles, and grease from the dishes. With the dishes washed, it’s time to move on to the second compartment for rinsing.
1. Start with scraping off excess food and stacking dishes by size.
2. Wash in the first sink with hot, soapy water.
3. Rinse in the second sink with clean water.
4. Sanitize in the third sink with a sanitizing solution.
5. Air dry on a clean rack.
Rinsing in the Second Compartment
After washing the dishes in the first compartment, it’s time to move on to the second compartment of the three compartment sink: rinsing. The purpose of this step is to remove any remaining soap residue and ensure that the dishes are thoroughly rinsed and ready for sanitization. Here’s how to effectively rinse the dishes in the second compartment:
1. Transfer the dish to the second compartment: Take a dish that has been washed in the first compartment and transfer it to the second compartment, which is filled with warm water. Ensure the dish is fully submerged in the water.
2. Swish the dish gently: Gently swish the dish back and forth in the warm water, ensuring that all surfaces are rinsed. This helps to remove any remaining soap residue, ensuring that the dish is clean and ready for drying.
3. Inspect for soap residue: After swishing the dish, inspect it for any signs of soap residue. If you notice any remaining soap, gently rub the surface with your hands or a soft sponge to remove it completely.
4. Repeat the rinsing process: Repeat the rinsing process for each dish, making sure to transfer them to the second compartment and swish them in the warm water to thoroughly rinse off any remaining soap.
5. Place the rinsed dish in the drying area: Once a dish has been rinsed and inspected for cleanliness, place it in the designated drying area with the other washed dishes. Ensure that the dishes are stacked neatly to allow for proper air circulation and drying.
6. Monitor water clarity: As you continue rinsing the dishes, keep an eye on the water clarity in the second compartment. If the water becomes excessively dirty or soapy, it’s important to drain and refill the compartment with fresh warm water to maintain the effectiveness of the rinsing process.
By thoroughly rinsing the dishes in the second compartment, you ensure that any traces of soap residue are removed, leaving the dishes clean and ready for the final step: sanitizing. Proper rinsing is crucial to avoid leaving any detergent flavors or residue on the dishes. With the dishes rinsed, it’s time to move on to the third compartment for sanitizing.
Sanitizing in the Third Compartment
After the dishes have been washed and rinsed, it’s time to move on to the final step of the three compartment sink method: sanitizing. This step ensures that any remaining bacteria or germs on the dishes are eliminated, making them safe for use. Here’s how to effectively sanitize the dishes in the third compartment:
1. Prepare the sanitizing solution: Fill the third compartment of the sink with a sanitizing solution as directed by local health codes. Common sanitizing agents include chlorine bleach or quaternary ammonium compounds. Follow the instructions on the product label to achieve the appropriate concentration.
2. Immerse the dishes in the sanitizing solution: Take one dish at a time and immerse it fully in the sanitizing solution in the third compartment. Make sure to submerge the dish for the recommended amount of time specified by the sanitizing agent being used. This typically ranges from 1 to 2 minutes.
3. Ensure proper coverage: While the dishes are immersed in the sanitizing solution, use a utensil or tongs to ensure that all areas of the dish, including the handles and rims, are properly exposed to the solution. This ensures that any potential bacteria or germs are effectively eliminated.
4. Remove the dishes from the sanitizing solution: Once the recommended sanitizing time has elapsed, remove the dish from the sanitizing solution. Allow any excess sanitizing solution to drip off the dish back into the sink.
5. Air dry the dishes: Place the sanitized dishes in the designated drying area, allowing them to air dry completely. Avoid using towels or other materials to speed up the drying process, as this can introduce unhygienic elements onto the dishes.
6. Monitor the sanitizing solution: Keep an eye on the clarity and effectiveness of the sanitizing solution. If it becomes visibly dirty or loses its effectiveness, drain and refill the compartment with fresh sanitizing solution.
Proper sanitization is crucial to ensure that the dishes are safe for use and free from harmful bacteria or germs. By following the appropriate sanitizing procedures, you can have peace of mind knowing that your dishes are thoroughly sanitized. With the dishes sanitized and air-dried, it’s time to move on to the final steps and considerations before putting them away.
Note: It’s important to regularly change and refresh the sanitizing solution to maintain its effectiveness. Follow local health codes and guidelines for proper sanitation procedures in your specific region.
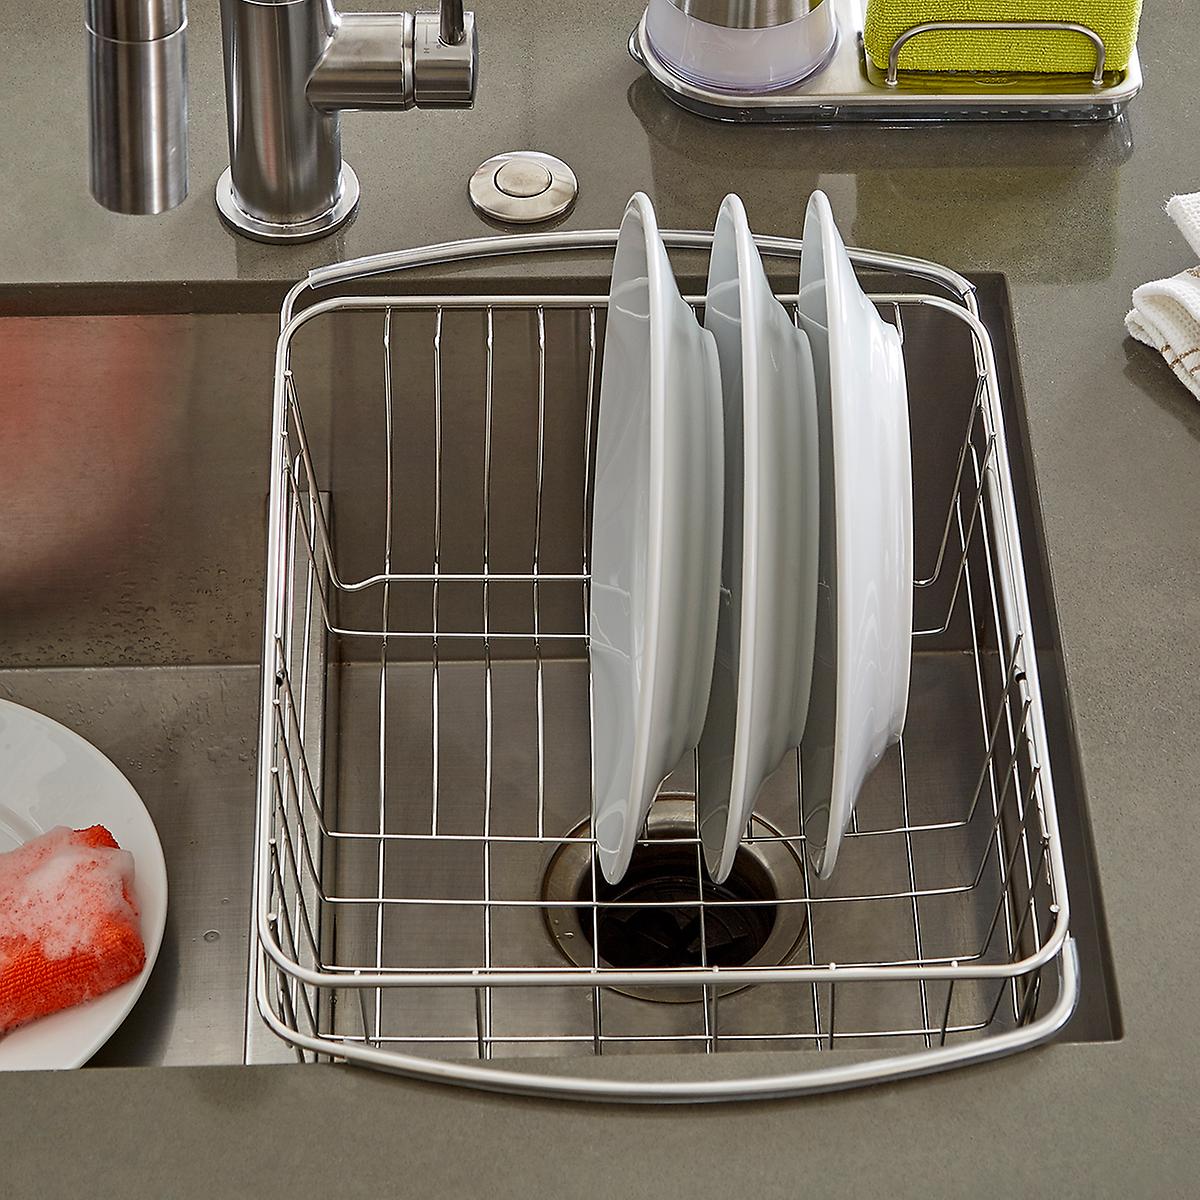
Air Drying and Stacking
After the dishes have been washed, rinsed, and sanitized, it’s time to let them air dry before storing or using them. Proper air drying ensures that the dishes are free from moisture, which can attract bacteria and compromise their cleanliness. Here’s how to effectively air dry and stack the dishes:
1. Transfer the sanitized dishes to the drying area: Take the dishes that have been sanitized and carefully place them in the designated drying area, such as a clean dish rack or drying mat. Make sure each dish is positioned in a way that allows air to circulate around it.
2. Arrange the dishes to maximize airflow: Arrange the dishes in a single layer, allowing space between each piece to encourage proper air circulation. Avoid stacking dishes on top of each other during the drying process, as this can create moisture pockets and hinder drying.
3. Position dishes at an angle: To facilitate better airflow, consider positioning dishes at a slight angle rather than flat on the drying rack or mat. This allows any excess water to drain off more efficiently and speeds up the drying process.
4. Leave dishes undisturbed: Once the dishes are in the drying area, let them air dry undisturbed. Avoid hand-drying with towels or cloth, as this may introduce lint or transfer bacteria onto the dishes.
5. Check for complete dryness: After a sufficient amount of time has passed, check each dish to ensure that it is completely dry. Look for any water droplets or signs of moisture. If any dishes are not fully dry, leave them for a little longer until the drying process is complete.
6. Stack and store the dried dishes: Once the dishes are completely dry, you can stack and store them as needed. Ensure that the storage area is clean and free from any contaminants that may compromise the cleanliness of the dishes.
By allowing the dishes to air dry, you eliminate the risk of trapping moisture, which can lead to bacterial growth. This step ensures that your dishes are not only visually clean but also hygienically safe to use. With the dishes properly dried and stacked, it’s time to move on to the final steps and considerations before completing the dishwashing process.
Final Steps and Considerations
As you near the completion of the dishwashing process, there are a few final steps and considerations to keep in mind to ensure that your dishes are fully clean, safe, and ready for use. Here are some important points to remember:
1. Inspect the dishes: Before putting the dishes away, take a moment to inspect each one for any remaining food particles, residue, or signs of damage. If you spot any issues, rewash or address them accordingly.
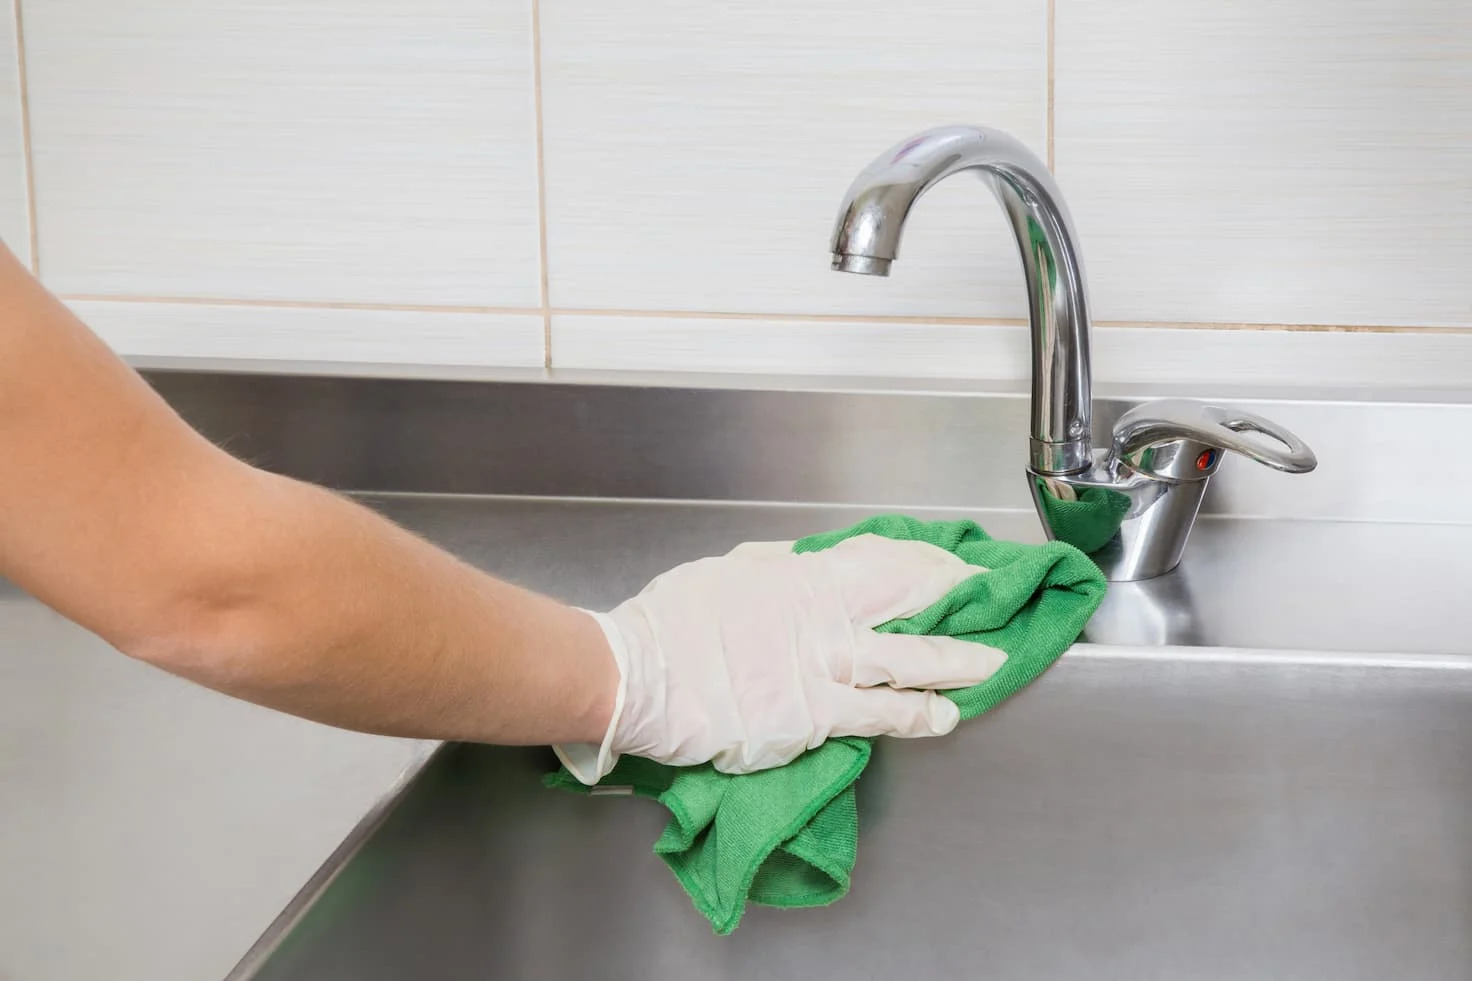
2. Clean and sanitize the sink area: After completing the dishwashing process, take the time to clean and sanitize the three compartment sink area itself. This prevents the buildup of dirt, bacteria, and odors. Use a suitable cleaning agent and follow proper sanitization procedures.
3. Handle dishes with care: When handling the washed, rinsed, and sanitized dishes, be careful to avoid touching the surfaces that come into contact with food. Use clean hands or wear disposable gloves to prevent cross-contamination.
4. Store dishes in a clean environment: Ensure that the storage area for your dishes is clean, dry, and free from contaminants. This includes shelves, cabinets, or racks where the dishes are stored. Regularly clean and sanitize these areas as well.
5. Consider using dish racks or separators: To prevent plates and other dishes from sticking together and potentially chipping or breaking, use dish racks or separators when storing. This helps maintain the cleanliness and longevity of your dishes.
6. Establish a regular cleaning routine: To ensure the longevity and cleanliness of your dishes, establish a regular cleaning routine for both the dishes and the three compartment sink. This includes regular maintenance, proper storage, and periodic deep cleaning.
7. Follow local health codes and regulations: Depending on your location, there may be specific health codes and regulations that govern the dishwashing process in commercial settings. Familiarize yourself with these guidelines and adhere to them to promote food safety.
By paying attention to these final steps and considerations, you can ensure that your dishes are thoroughly cleaned, safe to use, and properly maintained. Remember, proper dishwashing is not only about visual cleanliness but also about preventing foodborne illnesses and maintaining a hygienic environment in your kitchen.
Now that you have completed the final steps, take a moment to appreciate your clean and sanitized dishes. By following the correct order of tasks in a three compartment sink, you have achieved a high level of cleanliness and food safety.
Conclusion
Washing dishes in a three compartment sink is a systematic and effective method for ensuring that your dishes are thoroughly cleaned, rinsed, sanitized, and ready for use. By following the correct order of tasks outlined in this article, you can maintain a high level of cleanliness and promote food safety in your kitchen.
The three compartment sink allows for separation and specificity in each step of the dishwashing process, from sorting and scraping to washing, rinsing, sanitizing, and air drying. Proper preparation, organization, and attention to detail are essential for achieving optimal results.
Remember to properly prepare the three compartment sink by clearing the area, gathering the necessary supplies, and filling each compartment with the appropriate water temperature. Sort and scrape the dishes to remove any excess food particles before washing them thoroughly in the first compartment with hot, soapy water. Rinse off any remaining soap residue in the second compartment with warm water, ensuring that the dishes are visually clean and free from any detergents. Finally, immerse the dishes in the third compartment with the appropriate sanitizing solution to eliminate bacteria and germs.
Allow the dishes to air dry, ensuring that they are completely dry before stacking and storing them in a clean environment. Regularly maintain and sanitize the three compartment sink area to prevent the buildup of dirt and bacteria.
By following these steps and considerations, you can ensure that your dishes are not only visually clean but also safe for use. Remember to adhere to local health codes and regulations to promote food safety and a hygienic kitchen environment.
So, the next time you embark on the task of washing dishes in a three compartment sink, approach it with confidence and knowledge. With each step carried out in the correct order, you can be assured of sparkling, sanitary dishes that are ready to be enjoyed.
Happy dishwashing!
Frequently Asked Questions about What Is The Correct Order Of Tasks For Washing Dishes In A Three Compartment Sink
Was this page helpful?
At Storables.com, we guarantee accurate and reliable information. Our content, validated by Expert Board Contributors, is crafted following stringent Editorial Policies. We're committed to providing you with well-researched, expert-backed insights for all your informational needs.


0 thoughts on “What Is The Correct Order Of Tasks For Washing Dishes In A Three Compartment Sink”