Home>Articles>How To Clean Dishes In A Three Compartment Sink
Articles
How To Clean Dishes In A Three Compartment Sink
Modified: August 17, 2024
Learn the essential articles to start cleaning dishes in a three-compartment sink. Discover the first step and master the proper technique.
(Many of the links in this article redirect to a specific reviewed product. Your purchase of these products through affiliate links helps to generate commission for Storables.com, at no extra cost. Learn more)
Introduction
Keeping a clean and organized kitchen is essential for food safety and maintaining a positive reputation in the foodservice industry. One of the key tasks in a kitchen is cleaning dishes, and using a three-compartment sink is a common and efficient method to accomplish this. Whether you work in a restaurant, catering business, or any other food-related establishment, understanding the proper steps to clean dishes in a three-compartment sink is crucial.
In this article, we will guide you through the step-by-step process of cleaning dishes in a three-compartment sink. From gathering the necessary supplies to properly storing the cleaned dishes, we will cover all the important aspects to help you maintain a clean and hygienic kitchen.
By following these steps, you can ensure that your dishes are thoroughly cleaned, sanitized, and ready for use in your food preparation process. So, let’s dive in and learn the first step of cleaning dishes in a three-compartment sink.
Key Takeaways:
- Properly setting up the three-compartment sink and gathering necessary supplies are crucial first steps in ensuring a smooth and efficient dishwashing process in any foodservice establishment.
- Thoroughly cleaning, sanitizing, and properly storing dishes not only promotes food safety but also contributes to a positive reputation for your establishment, reflecting your commitment to quality and cleanliness.
Step 1: Gather Necessary Supplies
Before you begin the dishwashing process, it’s important to gather all the necessary supplies to ensure a smooth and efficient task. Here are the essential supplies you’ll need:
- Dishwashing detergent: Look for a high-quality, grease-cutting detergent specifically designed for dishwashing.
- Hot water: Make sure you have access to hot water as it plays a crucial role in effectively cleaning and sanitizing dishes.
- Dish scrubber or brush: Choose a brush or scrubber with bristles that are firm enough to remove stubborn food particles but gentle enough not to damage the dishes.
- Dish rack: This will be used to hold and drain the washed dishes.
- Dish towels or air dryer: You can choose to either air dry the dishes or use clean dish towels for drying.
- Apron and gloves: Wear an apron to protect your clothes and use gloves to keep your hands safe from hot water and chemicals in the detergent.
Having all these supplies ready beforehand will save you time and ensure a seamless dishwashing experience. Additionally, it’s essential to regularly check and restock these supplies to maintain an efficient cleaning process.
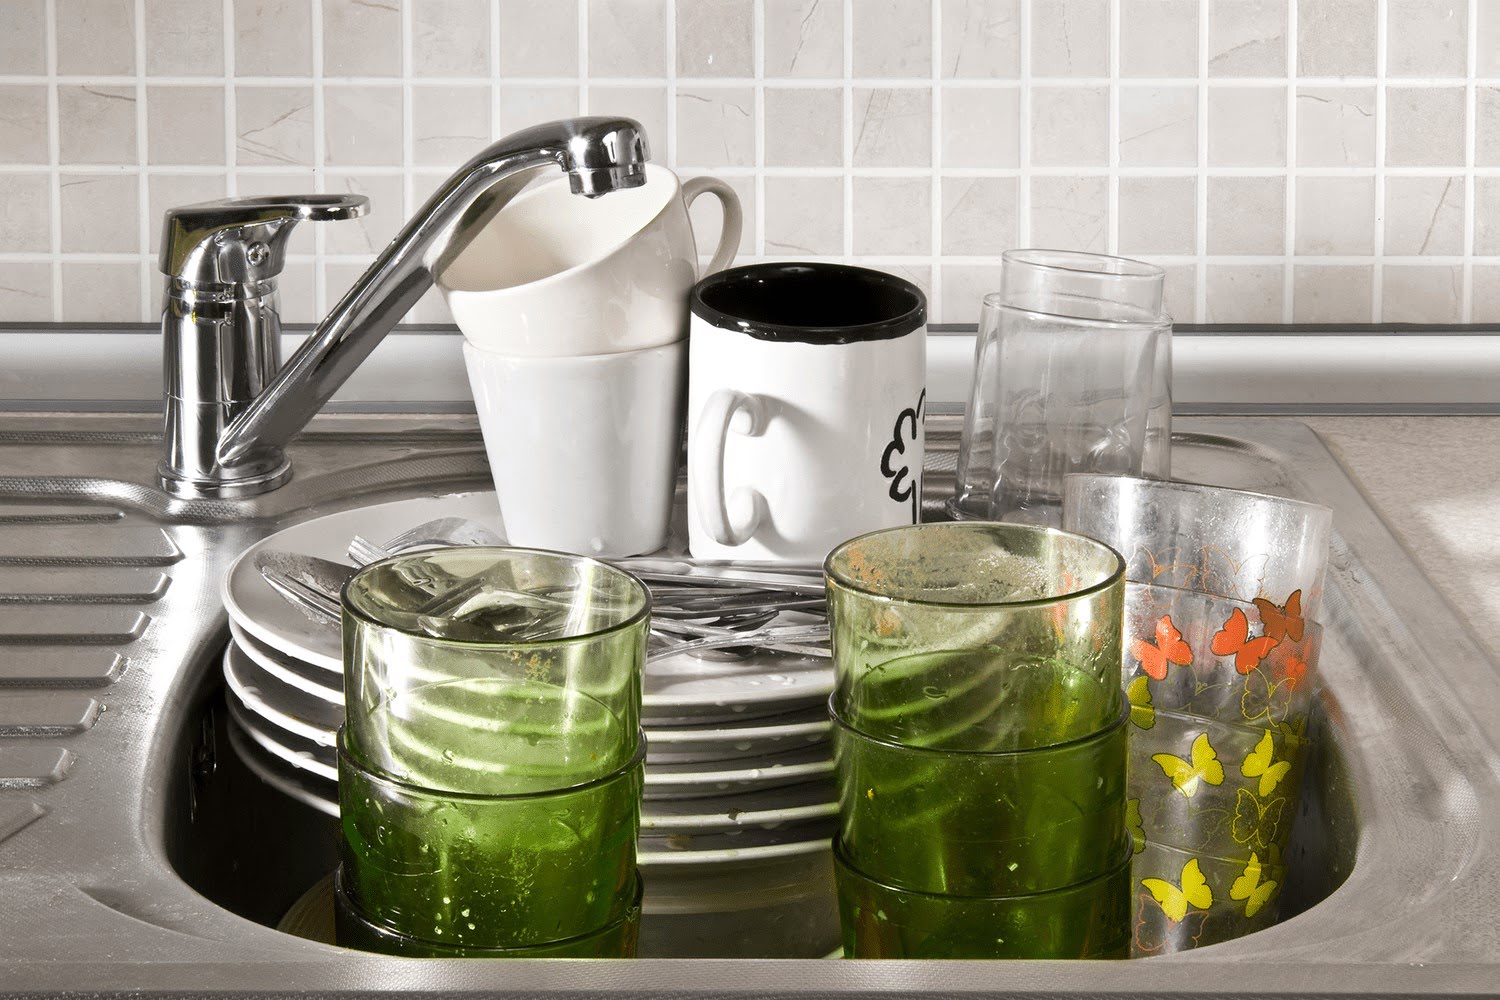
Step 2: Pre-Scrape and Rinse Dishes
Before you start washing the dishes in the three-compartment sink, it’s important to pre-scrape and rinse them to remove any leftover food debris. Here’s how to do it:
- Pre-scraping: Use a rubber spatula or scraper to remove any excess food particles from the dishes. Scrape off solid food waste into a trash bin or compost bin. This step helps prevent clogging of the sink and ensures a cleaner wash.
- Rinsing: Once the dishes are pre-scraped, rinse them under running water to remove any remaining food residue. Use a spray nozzle or faucet with strong water pressure to thoroughly rinse off the dishes. This step helps to remove loose food particles and prepares the dishes for washing.
Pre-scraping and rinsing are important steps as they help prevent food particles from contaminating the wash water in the three-compartment sink. By removing as much food waste as possible before washing, you’ll maintain cleaner water throughout the dishwashing process.
Remember to handle the dishes with care and avoid stacking them tightly during pre-scraping and rinsing. This will help prevent any accidental breakage and ensure efficient cleaning in the subsequent steps.
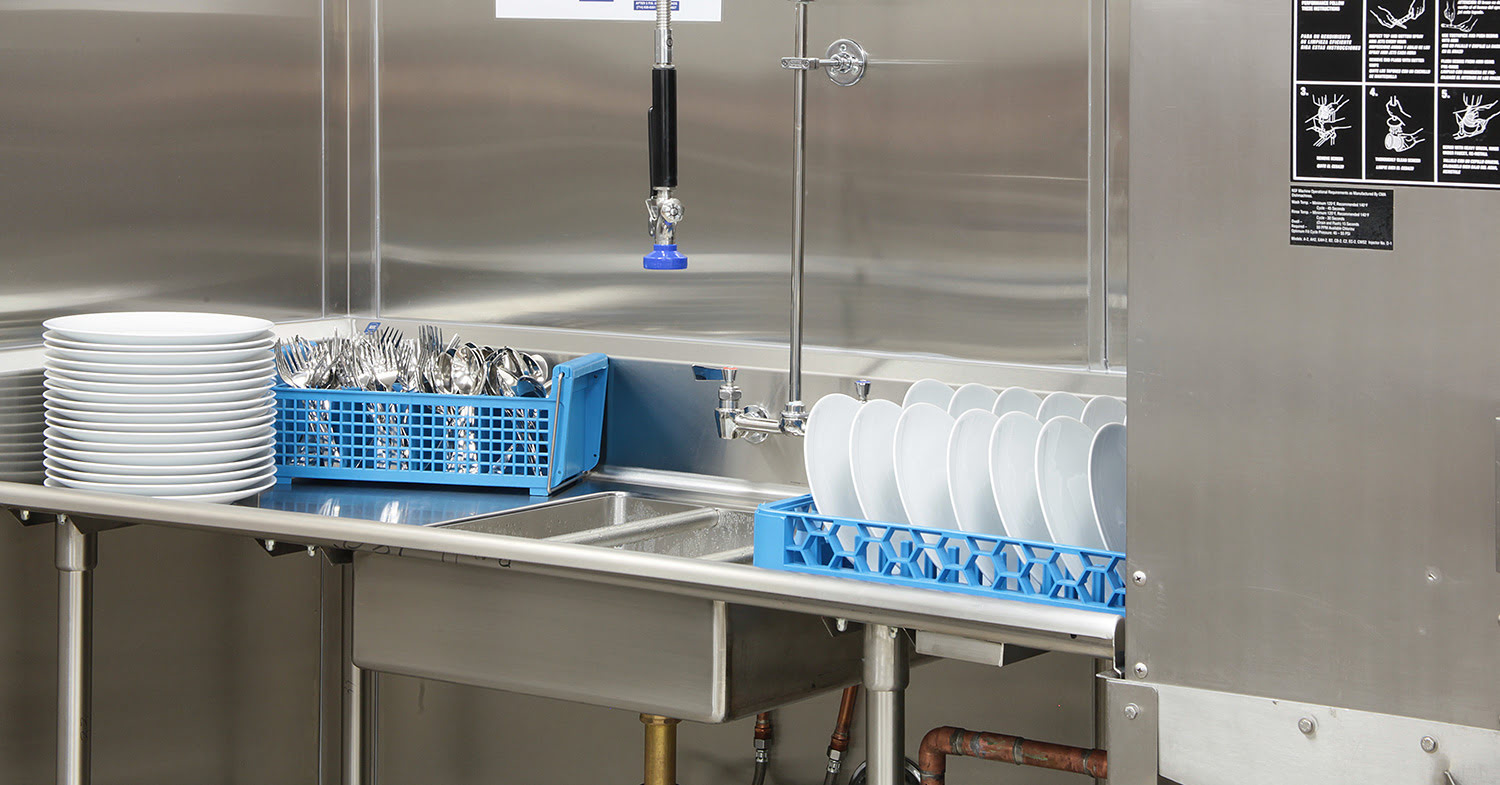
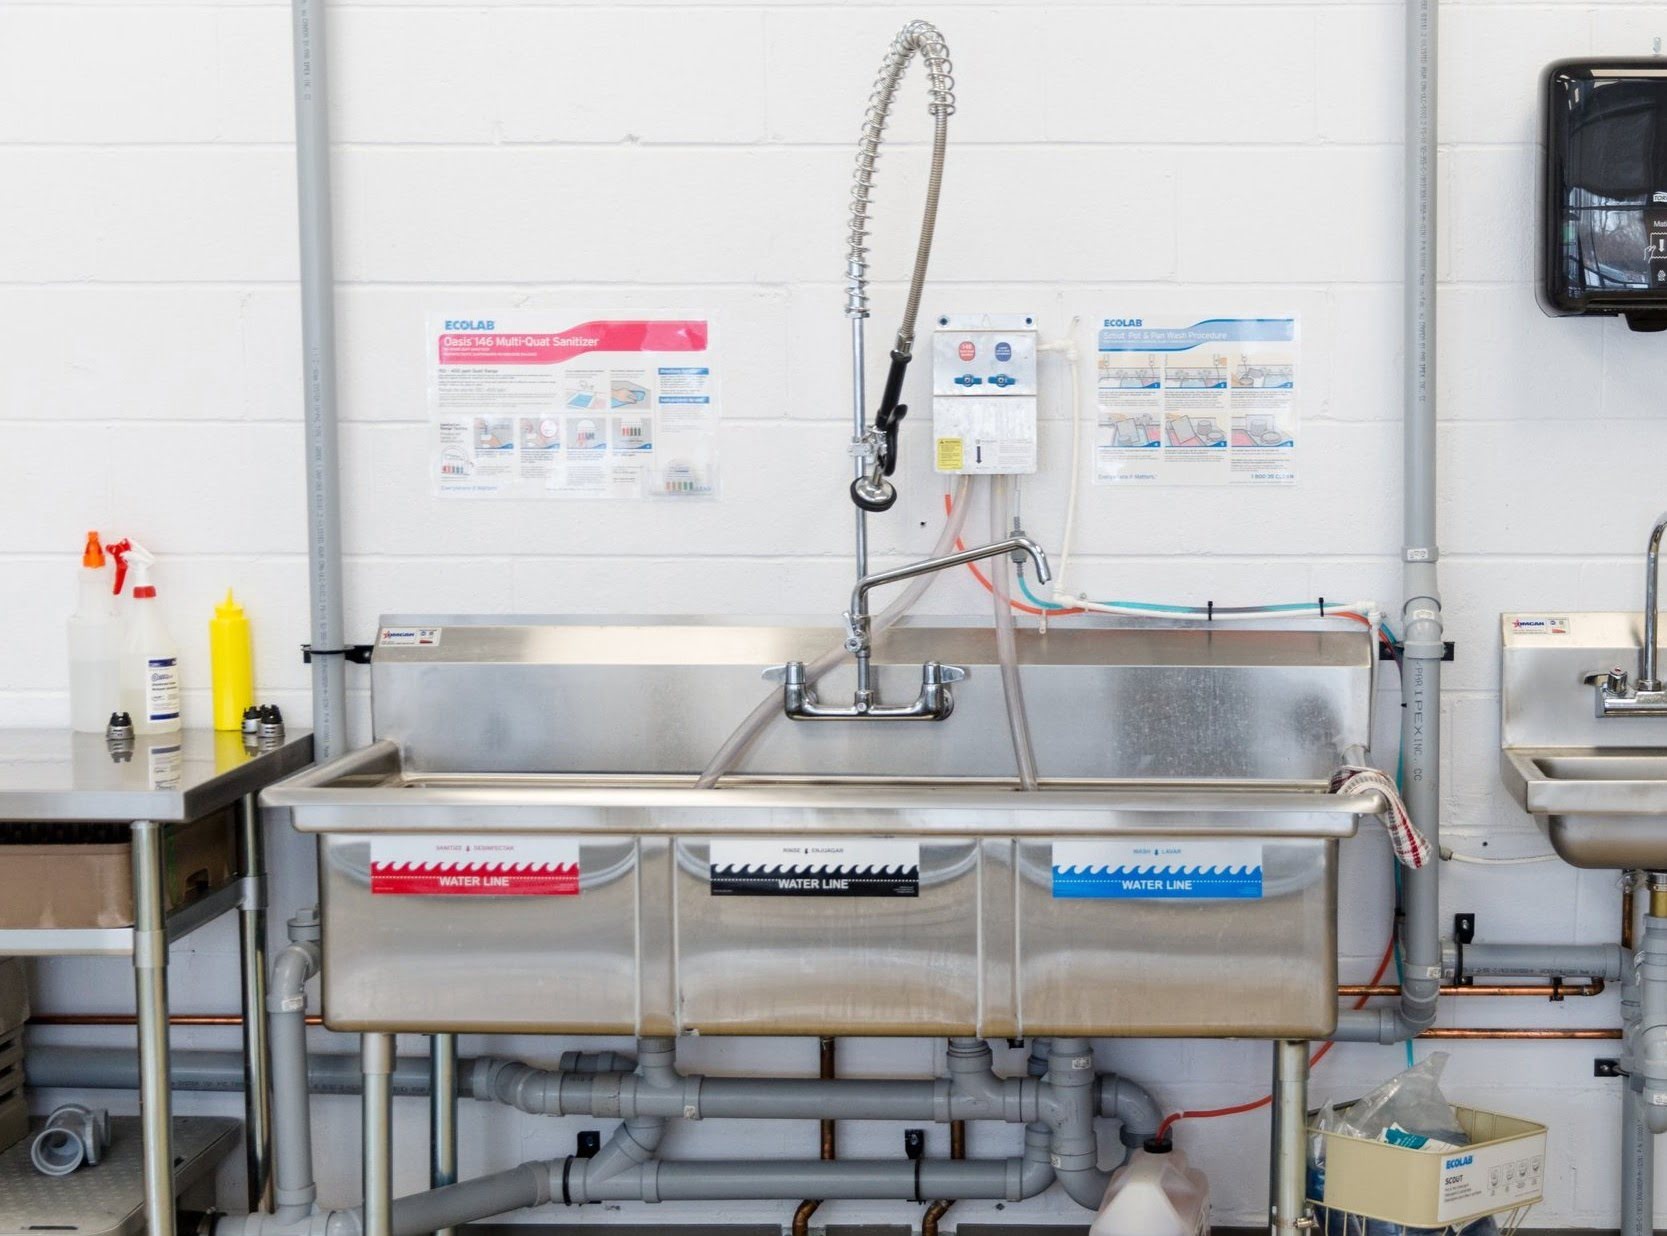
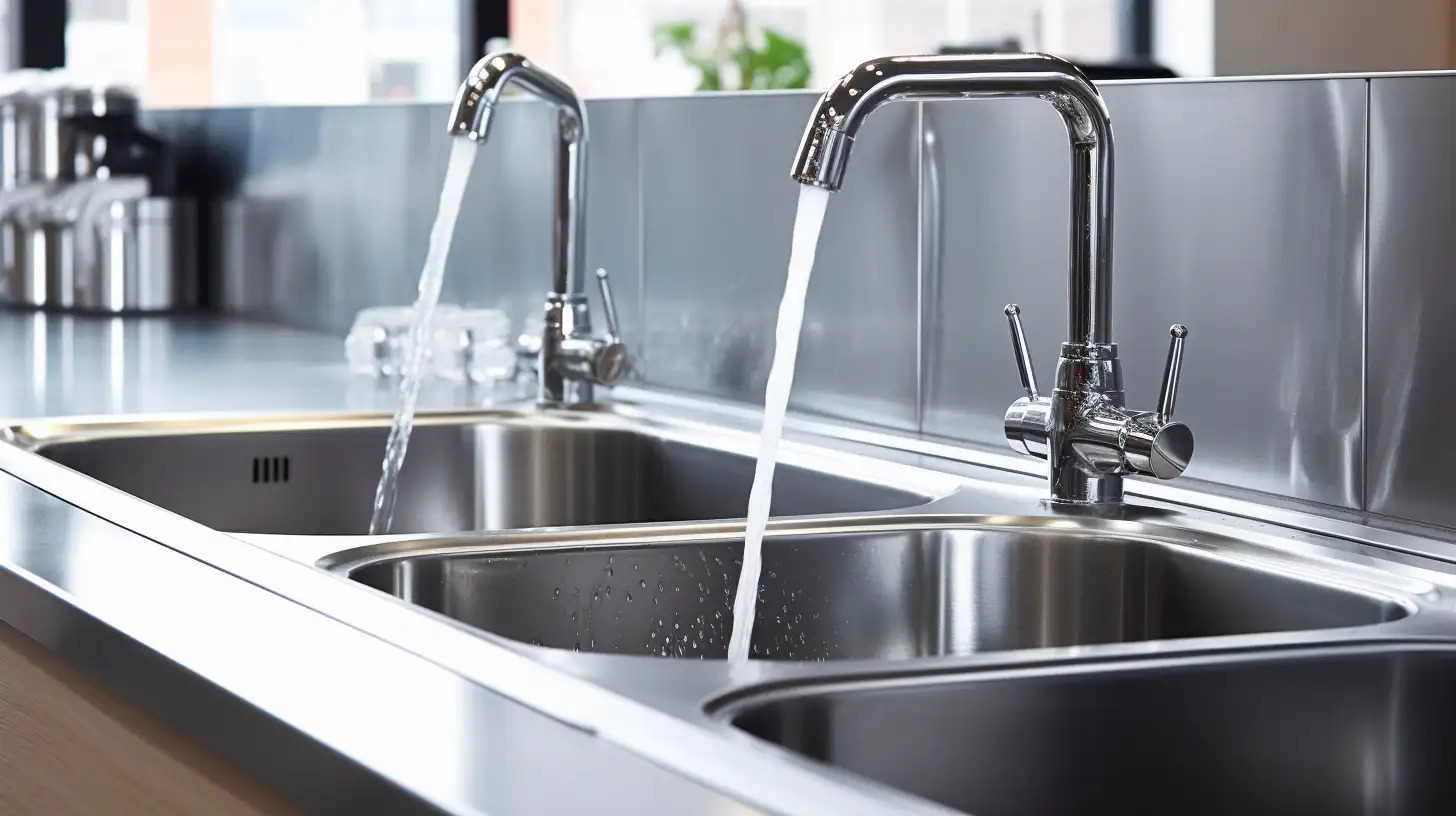
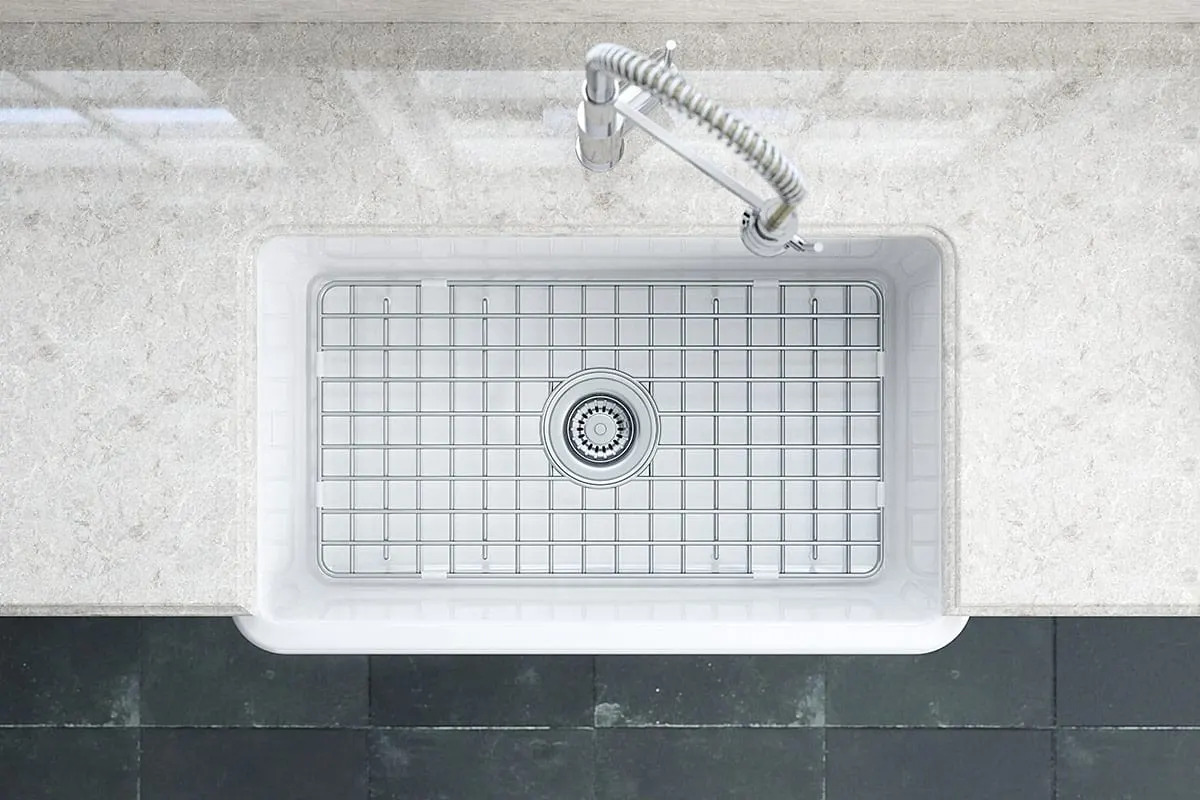
Step 3: Set Up the Three-Compartment Sink
Properly setting up the three-compartment sink is essential for an effective dishwashing process. Here’s how to do it:
- Clean and sanitize the sink: Start by thoroughly cleaning and sanitizing the three compartments of the sink. Use a mild detergent and hot water to remove any dirt or residue. Rinse the sink and then sanitize it with a food-safe sanitizing solution to kill any remaining bacteria or viruses.
- Arrange the compartments: The three compartments of the sink are typically labeled as “wash”, “rinse”, and “sanitize”. Fill the sink with hot water in the following order: the wash compartment, the rinse compartment, and the sanitize compartment. Ensure that each compartment is deep enough to fully submerge the largest dishes you’ll be washing.
- Place the drain boards: Position drain boards next to the three compartments to provide a space for the washed dishes to drain. This will help prevent water accumulation and ensure efficient drying of the dishes.
- Check water temperature: It’s crucial to maintain the appropriate water temperature for each compartment. The wash compartment should be filled with hot water (around 110°F, 43°C), the rinse compartment with warm water (around 120°F, 49°C), and the sanitize compartment with hot water (around 170°F, 77°C). Ensure that the water temperature is consistent throughout the dishwashing process.
Setting up the three-compartment sink correctly ensures that you have the appropriate areas for washing, rinsing, and sanitizing the dishes. By maintaining the proper water temperature and cleanliness of the sink, you’ll create an optimal environment for efficient dishwashing.
Step 4: Fill the Sink with Hot, Soapy Water
Once you have set up the three-compartment sink, it’s time to fill the sink with hot, soapy water. This is the first step in actually washing the dishes. Follow these steps:
- Measure the correct amount of dishwashing detergent: Read the instructions on your dishwashing detergent to determine the appropriate amount for the volume of water in the sink. Add the detergent to the wash compartment of the sink.
- Fill the wash compartment with hot water: Turn on the hot water faucet and fill the wash compartment with hot water. The water temperature should be around 110°F (43°C) to ensure effective cleaning.
- Create a soapy solution: Use your hand or a long-handled spoon to agitate the water and detergent mixture, creating a foamy, soapy solution.
By filling the sink with hot, soapy water, you create an environment where the detergent can effectively break down grease, food particles, and other contaminants on the dishes. The hot water helps to dissolve and lift away the dirt, making the cleaning process more efficient.
Remember to wear gloves to protect your hands from the hot water and the chemicals in the detergent. Additionally, ensure that the water temperature remains consistent throughout the dishwashing process for optimal cleaning results.
Read more: How To Use A Three Compartment Sink
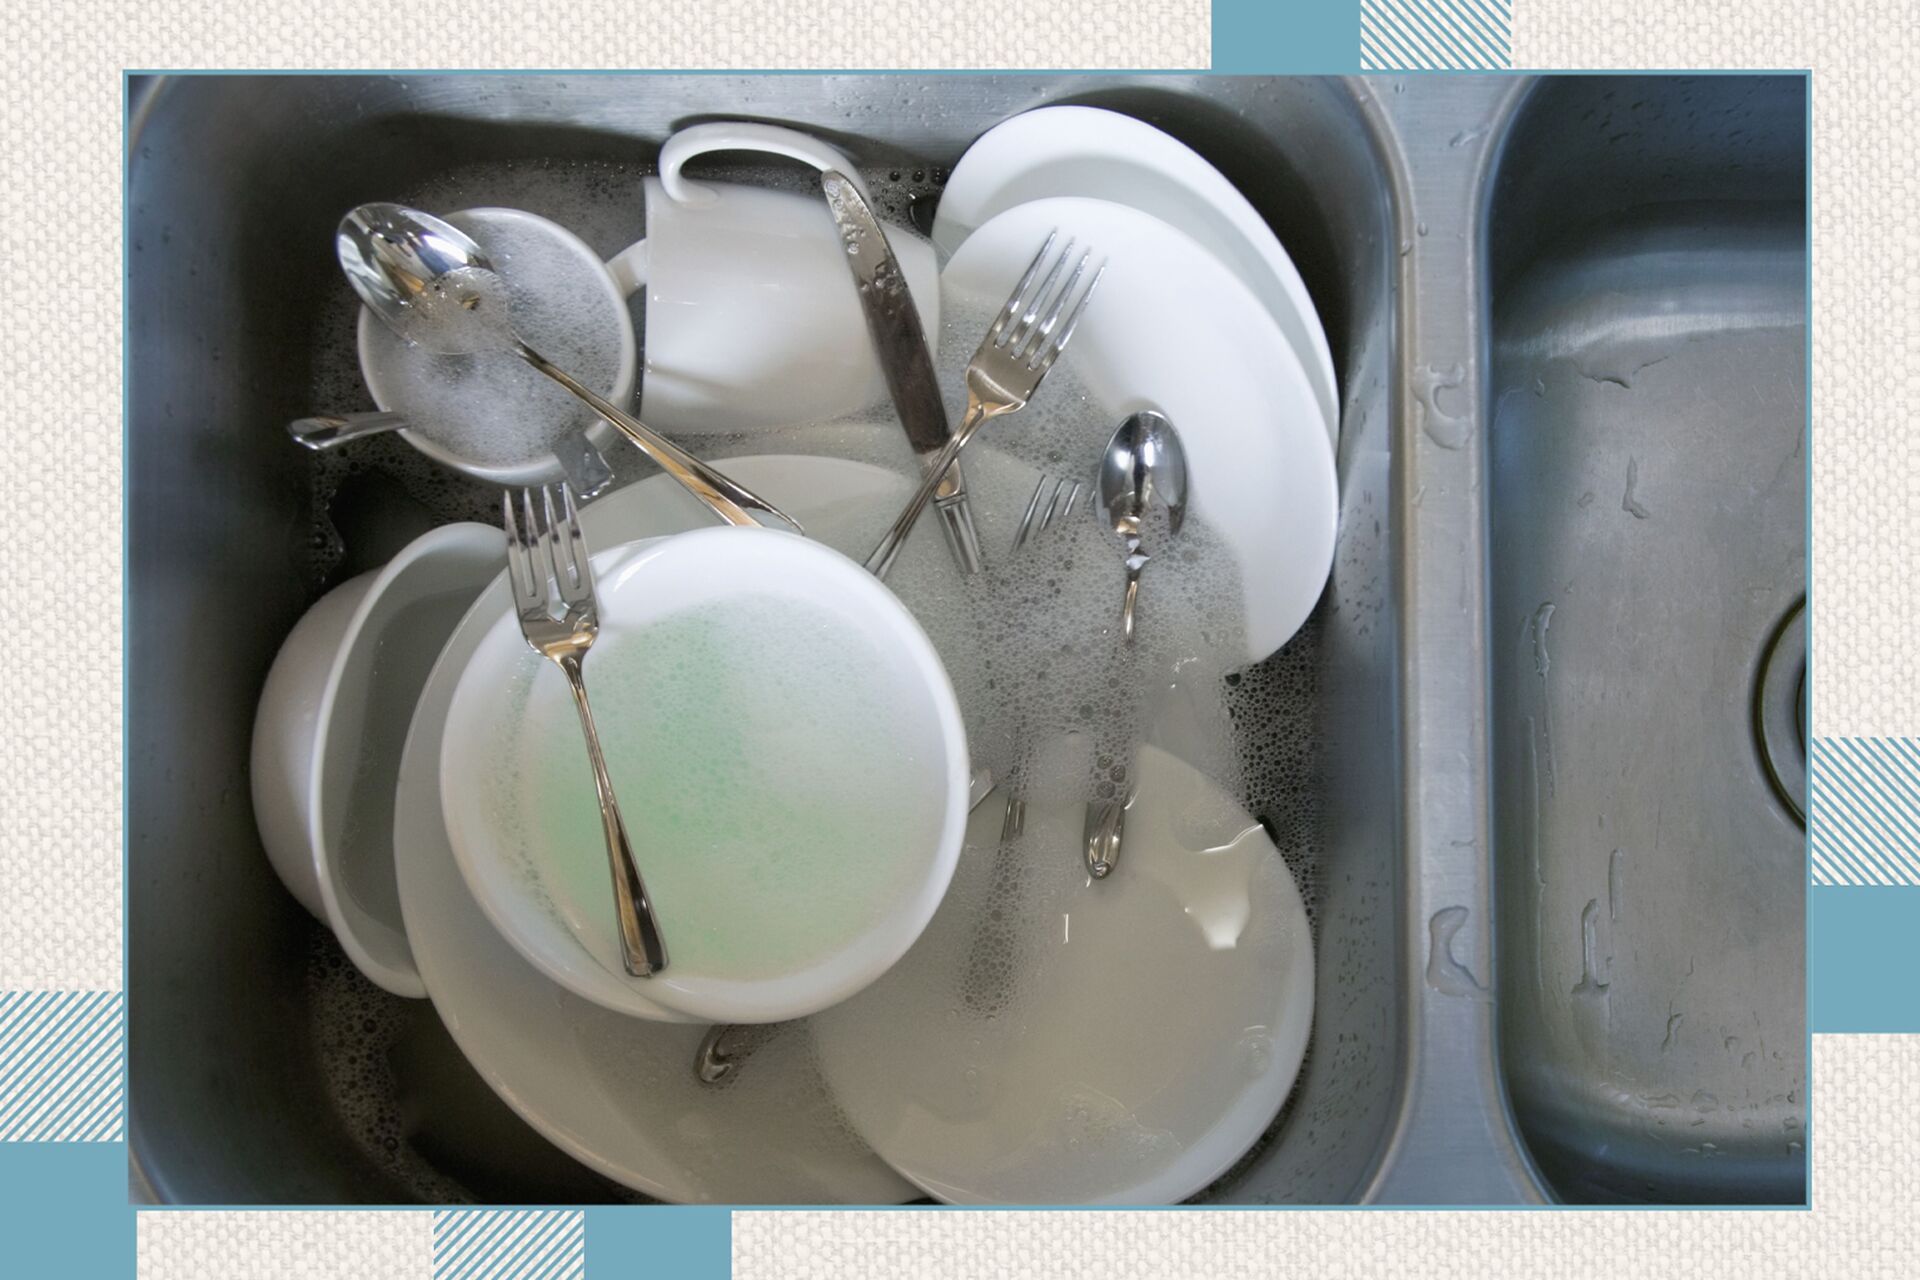
Step 5: Wash Dishes in the First Compartment
With the sink filled with hot, soapy water, it’s time to start washing the dishes in the first compartment. This step involves scrubbing and removing any dirt or residue from the dishes. Follow these guidelines:
- Start with the least soiled dishes: Begin by washing the dishes that are the least soiled and free from grease. This helps to prevent cross-contamination and keeps the wash water cleaner for longer.
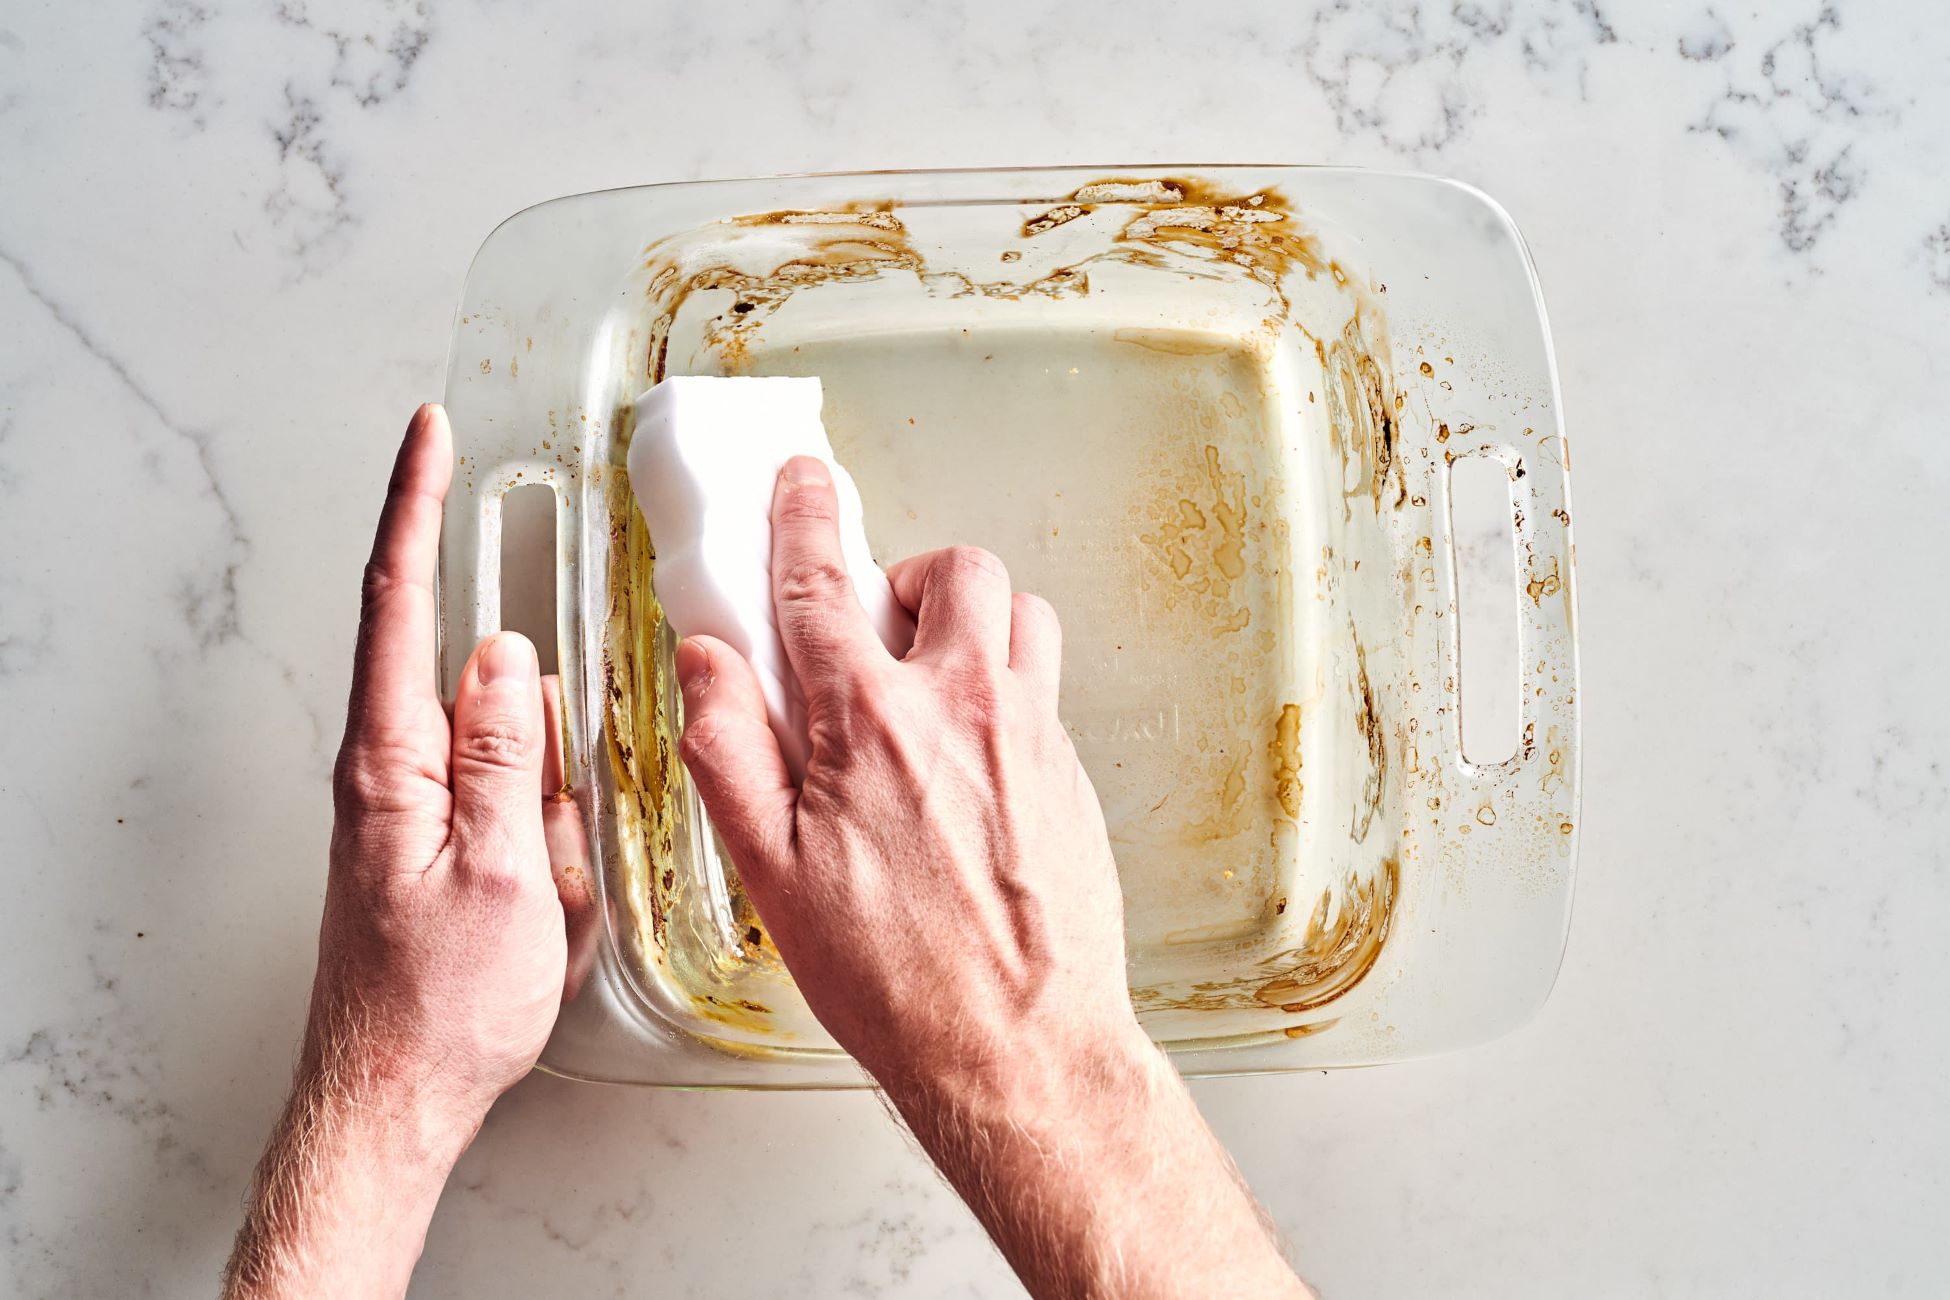
- Scrub the dishes: Take one dish at a time and use a dish scrubber or brush to scrub both sides of the dish. Pay extra attention to areas with food residue, such as corners, crevices, and utensil handles. Ensure that you scrub all surfaces thoroughly to remove any lingering dirt or grease.
- Rinse the dishes: After scrubbing, rinse each dish briefly under running water in the second compartment of the sink. This step helps to remove any remaining soapy residue and prepares the dishes for the sanitization step.
When washing dishes in the first compartment, it’s important to work efficiently and systematically. Arrange the dishes in a neat and organized manner, ensuring that each one gets proper attention and cleaning.
Remember to periodically check and refill the wash compartment with hot, soapy water if it becomes too dirty or loses its cleaning power. This will maintain the effectiveness of the detergent and ensure that the dishes are properly cleaned.
Scrape off excess food and debris from dishes before placing them in the first compartment of the sink to prevent clogging and ensure a cleaner wash.
Step 6: Rinse Dishes in the Second Compartment
After washing the dishes in the first compartment, it’s time to rinse them in the second compartment of the three-compartment sink. Rinsing removes any remaining soap residue and prepares the dishes for sanitization. Follow these steps:
- Transfer the washed dishes: Carefully transfer the washed dishes from the first compartment to the second compartment of the sink.
- Fill the rinse compartment with warm water: Turn on the hot water faucet and fill the rinse compartment with warm water. The water temperature should be around 120°F (49°C).
- Rinse each dish: Take one dish at a time and submerge it in the warm water in the rinse compartment. Swirl and move the dish around to ensure that all surfaces are thoroughly rinsed.
- Shake off excess water: After rinsing, shake off any excess water from the dish. This step helps to remove the majority of the water and prepares the dish for the final sanitization step.
Rinsing the dishes in the second compartment removes any leftover soap residue, ensuring that the dishes are free from cleaning agents. This step is important to maintain the taste and quality of the food prepared in these dishes.
Remember to periodically check and replace the rinse water if it becomes too dirty or loses its effectiveness. Clean, fresh water ensures thorough rinsing and prevents any residual soap from remaining on the dishes.
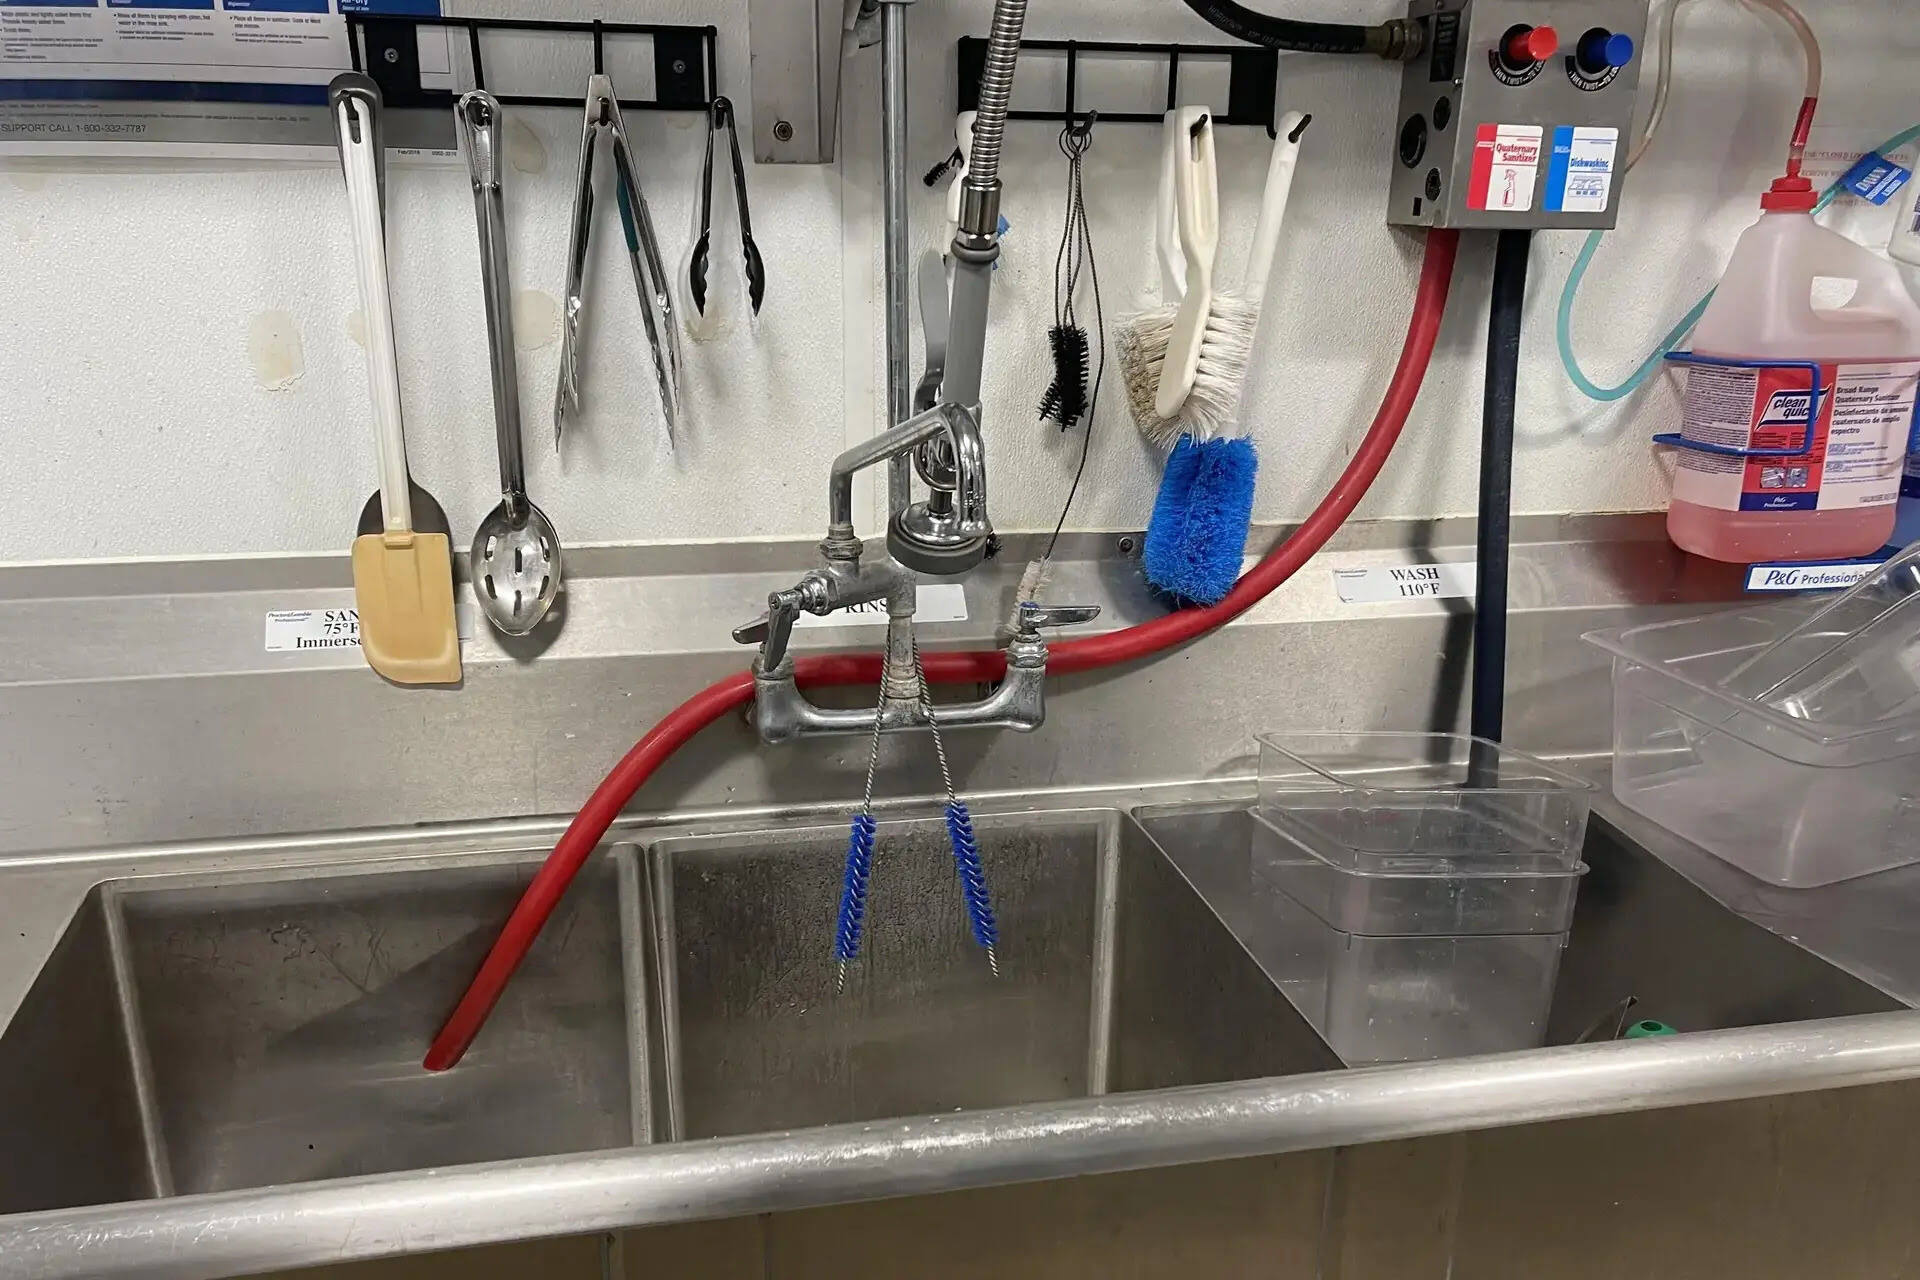
Step 7: Sanitize Dishes in the Third Compartment
Sanitizing the dishes is a critical step in the dishwashing process to eliminate any lingering bacteria or germs. The third compartment of the three-compartment sink is dedicated to this task. Follow these steps to sanitize the dishes:
- Transfer the rinsed dishes: Carefully transfer the rinsed dishes from the second compartment to the third compartment of the sink.
- Prepare the sanitizing solution: Fill the sanitize compartment with hot water, ideally around 170°F (77°C). Add a food-safe sanitizing solution or sanitizer approved for use in foodservice establishments. Follow the manufacturer’s instructions for the appropriate dilution ratio.
- Submerge dishes in the sanitizing solution: Place each dish in the sanitizing solution, ensuring it is fully submerged. Allow the dishes to soak in the solution for the recommended contact time specified by the sanitizer manufacturer. This time typically ranges from 30 seconds to a few minutes.
- Air dry or towel dry: Once the dishes have been properly sanitized, you can choose to either air dry them or use clean, dry dish towels to towel dry them. If using dish towels, ensure they are clean and free from lint.
Sanitizing the dishes in hot water or with a food-safe sanitizer helps to kill any remaining bacteria, ensuring the dishes are safe and hygienic to use in the kitchen. This step is especially important when handling dishes that come into contact with food or utensils used for food preparation.
Remember to regularly check and replace the sanitizing solution to maintain its efficacy. Additionally, allow the dishes to fully air dry or use clean, dry dish towels to ensure that they are completely dry before storing or using them.
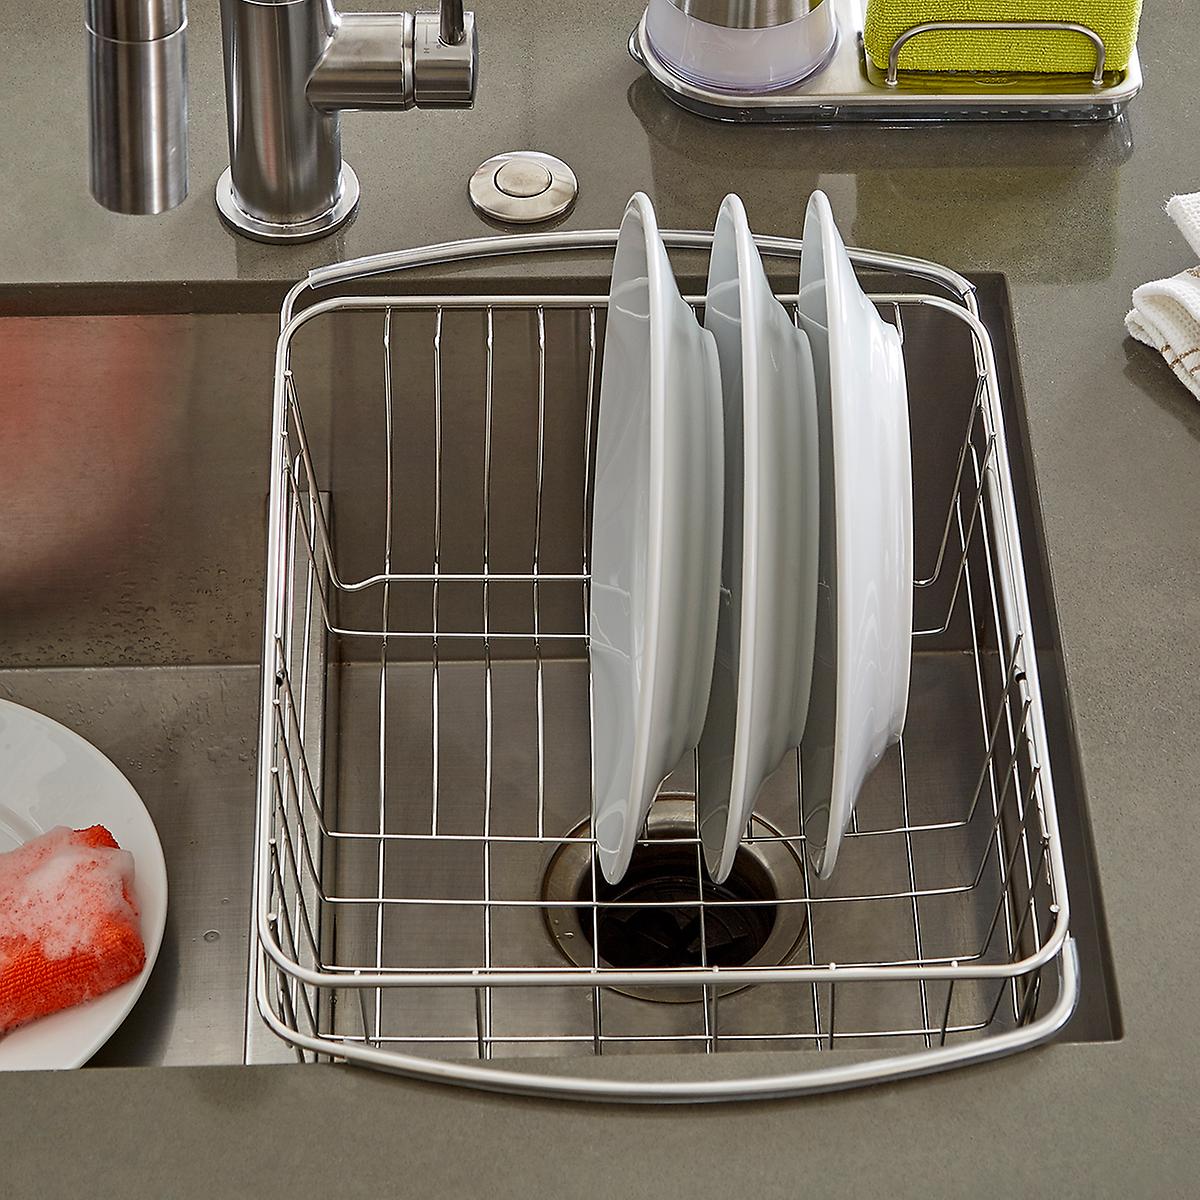
Step 8: Air Dry or Towel Dry Dishes
After the dishes have been properly sanitized, it’s time to dry them before storing or using them. There are two common methods for drying dishes: air drying and towel drying. Follow these guidelines to ensure thorough drying:
- Air drying: If you choose to air dry the dishes, place them on a clean and dry dish rack or a designated drying area. Allow the dishes to air dry naturally without wiping them with a towel. This method is convenient and prevents any potential cross-contamination from towels.
- Towel drying: If you prefer towel drying, use clean, dry dish towels to carefully wipe off any residual moisture from the dishes. Start with glassware and delicate items, followed by plates, bowls, and utensils. Ensure that the towels used for drying are clean and free from lint.
Properly drying the dishes is crucial as it helps to prevent the growth of bacteria and ensures that the dishes are ready for immediate use or storage. A thorough drying process also reduces the risk of water spots, which can affect the presentation of the dishes.
Remember to handle the dishes with care during the drying process to avoid any accidental breakage or damage. Ensure that the dishes are completely dry before moving on to the final step of storing them.
Step 9: Store Cleaned Dishes Properly
Once the dishes are thoroughly cleaned and dried, it’s important to store them properly to maintain their cleanliness and prevent any contamination. Follow these guidelines for proper dish storage:
- Choose a clean and designated storage area: Select a clean and well-organized storage area specifically designated for clean dishes. Ensure that the storage area is free from dust, dirt, and other potential contaminants.
- Store dishes upside down: For plates, bowls, and similar items, store them upside down. This helps to prevent dust and debris from accumulating on the surfaces where food is placed.
- Stack dishes carefully: When stacking dishes, be mindful of their fragility. Avoid stacking them too high to prevent them from toppling over and potentially breaking. Use separators such as shelf liners or dish racks to create layers and provide stability.
- Organize utensils: Store utensils such as forks, knives, and spoons in compartments or designated holders to keep them organized and easily accessible. Ensure that they are clean and completely dry before storage.
- Cover delicate items: If you have delicate or fragile items, consider using protective covers or wraps to prevent them from getting scratched or damaged.
- Regularly inspect and clean storage areas: Routinely inspect the storage area for cleanliness. Remove any dust, debris, or spillages to maintain a hygienic environment for the stored dishes.
Properly storing cleaned dishes not only helps to maintain their cleanliness and prevent contamination but also promotes efficient organization in your kitchen. By following these steps, you can ensure that clean dishes are readily available for use when needed.
Remember to regularly monitor and maintain the cleanliness of the storage area to uphold hygiene standards. Keep the area well-organized to minimize the risk of cross-contamination and make the retrieval of dishes easier and more efficient.
Conclusion
Cleaning dishes in a three-compartment sink is an essential task in any foodservice establishment. By following the proper steps outlined in this article, you can maintain a clean and hygienic kitchen while ensuring that your dishes are thoroughly cleaned and ready for use.
Starting with gathering necessary supplies and pre-scraping and rinsing the dishes, you set the foundation for a successful dishwashing process. Setting up the three-compartment sink correctly, filling it with hot, soapy water, and washing the dishes in the first compartment ensure effective cleaning and removal of dirt and grease.
Rinsing the dishes in the second compartment removes any soap residue, preparing them for the final step of sanitization. The third compartment plays a crucial role in killing any lingering bacteria or germs, ensuring that the dishes are safe to use.
Air drying or towel drying the dishes thoroughly and storing them properly in a clean and designated storage area prevent contamination and maintain their cleanliness. Regularly inspecting and cleaning the storage area helps uphold hygiene standards and keeps the dishes readily accessible.
By following these steps, you can streamline your dishwashing process, save time, and maintain a high level of cleanliness in your kitchen. Keeping your dishes clean and sanitary not only promotes food safety but also contributes to a positive reputation for your establishment.
Remember, a clean kitchen is a reflection of your commitment to providing quality food and ensuring the health and safety of your customers. So, embrace these steps, make them part of your routine, and enjoy the benefits of a sparkling clean kitchen.
Frequently Asked Questions about How To Clean Dishes In A Three Compartment Sink
Was this page helpful?
At Storables.com, we guarantee accurate and reliable information. Our content, validated by Expert Board Contributors, is crafted following stringent Editorial Policies. We're committed to providing you with well-researched, expert-backed insights for all your informational needs.
0 thoughts on “How To Clean Dishes In A Three Compartment Sink”