
Articles
What To Do With Paneling In Living Room
Modified: January 19, 2024
Looking for article ideas on what to do with paneling in your living room? Explore creative options and expert tips in our informative articles.
(Many of the links in this article redirect to a specific reviewed product. Your purchase of these products through affiliate links helps to generate commission for Storables.com, at no extra cost. Learn more)
Introduction
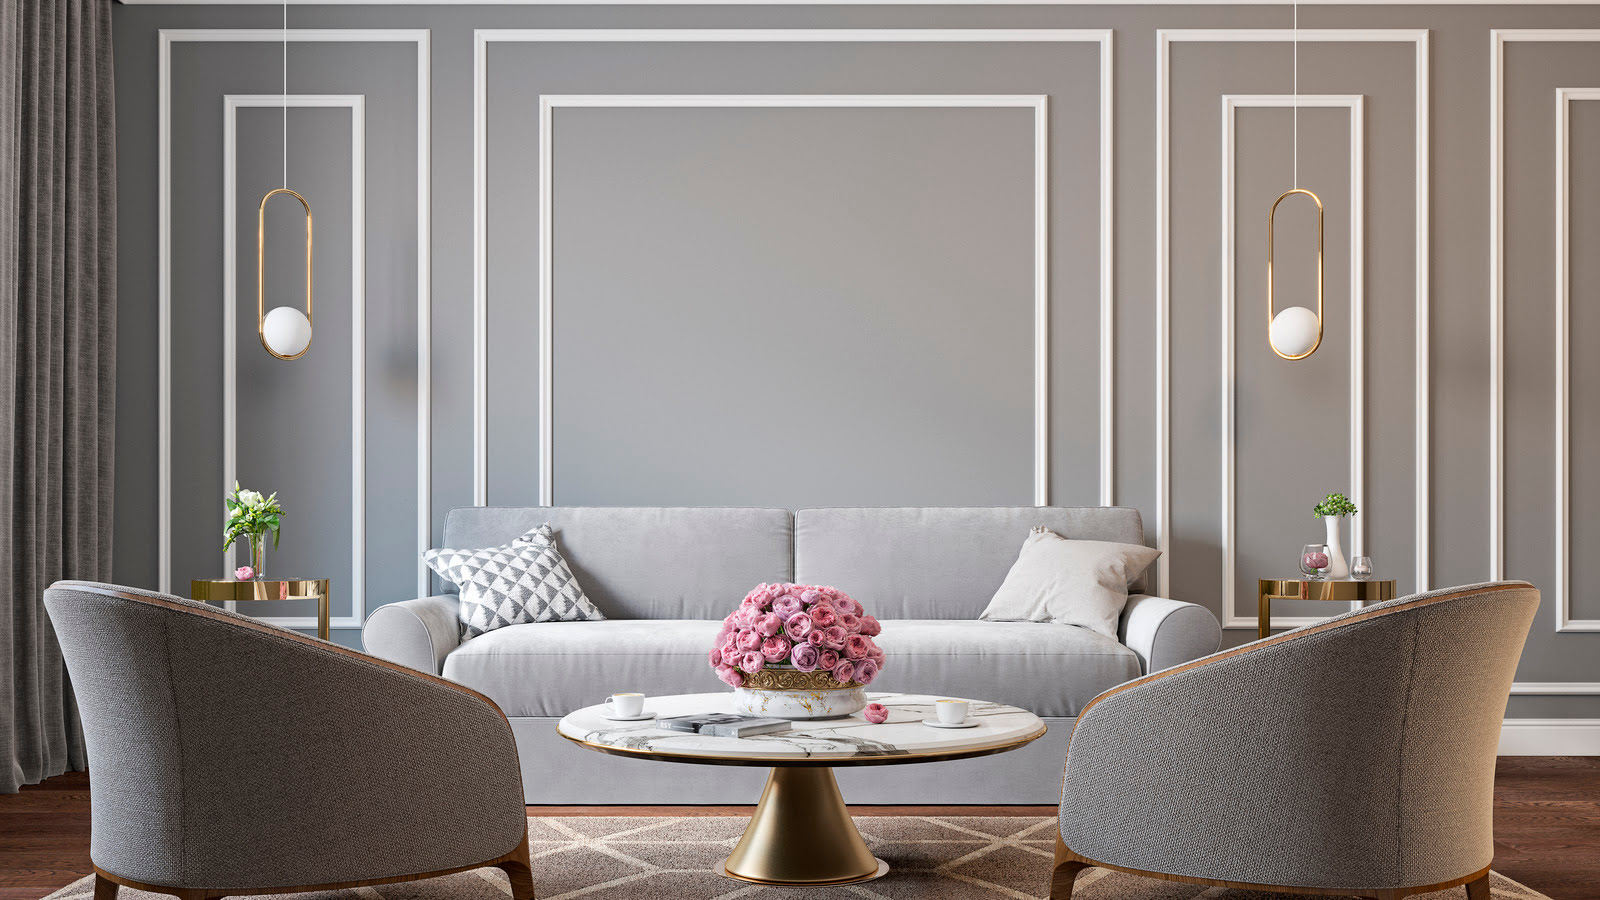
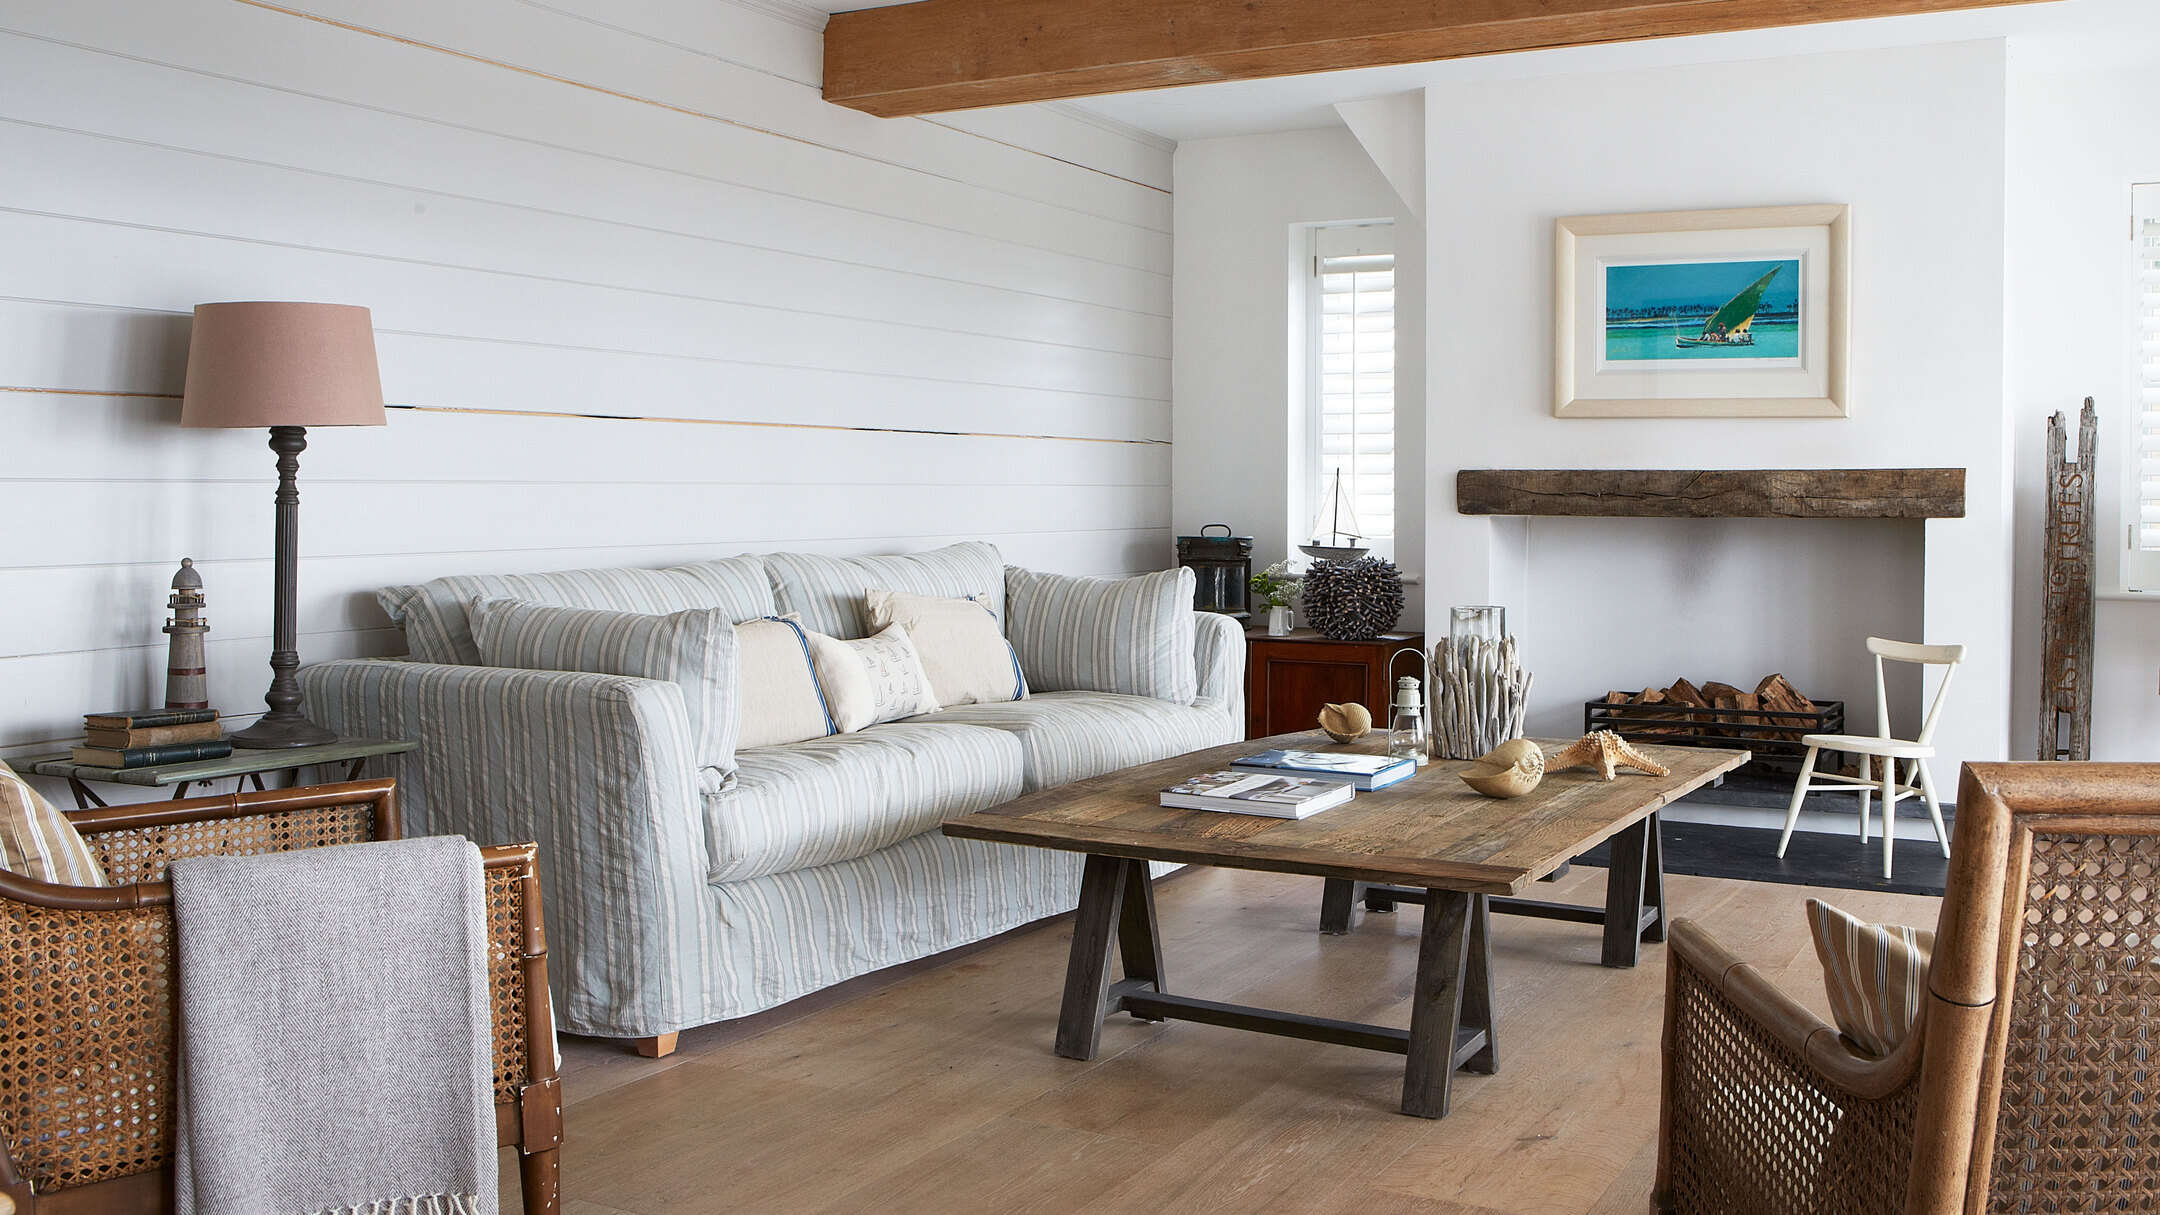
Paneling was a popular design choice in homes during the mid-20th century. However, as interior trends have evolved, many homeowners find themselves faced with outdated and dull paneling in their living rooms. So, what exactly can you do with paneling in the living room?
In this article, we will explore several options for transforming your living room paneling, whether you want to refresh its look or remove it altogether. From enhancing with paint to covering with wallpaper or fabric, there are various approaches you can take to give your living room an updated and stylish appearance.
Before diving into the different methods, it’s essential to evaluate the current state of your paneling. Examine the condition of the paneling, considering its potential for renovation or removal. This will help you determine which approach is best suited for your specific situation.
So, let’s dive into the various options available to make the most out of paneling in your living room and turn it into a space you’ll love to spend time in.
Key Takeaways:
- Transform your living room paneling with paint, wallpaper, or fabric to create a fresh and modern look that reflects your personal style and enhances the overall aesthetic of the space.
- Consider repurposing or removing paneling to open up new design possibilities and create a visually appealing and welcoming living room environment that you’ll love spending time in.
Read more: What To Do With A Second Living Room
Evaluate the existing paneling
Before deciding what to do with your paneling, it’s crucial to evaluate its condition and consider whether it’s worth renovating or if removal is the better option.
Start by carefully assessing the paneling itself. Look for any signs of damage, such as cracks, chips, or warping. If the paneling is in good condition and the design appeals to you, then renovating it might be the way to go.
If, on the other hand, the paneling is severely damaged or simply not to your taste, removing it could be the best solution. Removing paneling can be a bit of a task, but it can completely transform the look and feel of your living room.
Take some time to consider your personal preferences and the overall aesthetic you want to achieve. Evaluate how the paneling fits into that vision and whether it enhances or detracts from the overall appeal of your living room.
Additionally, consider the style and age of your home. If you have a historic home with original paneling, you may want to preserve its character and renovate it instead of removing it. However, if you have a modern home with outdated paneling, removal might be the better choice to create a more contemporary look.
By carefully evaluating the condition and potential of your paneling, you’ll be able to make an informed decision on whether to renovate or remove it. This will set the foundation for the next steps you can take to transform your living room.
Enhance with paint
Painting is a versatile and cost-effective way to transform paneling and give your living room a fresh and modern look. Here are the steps to enhance your paneling with paint:
Choose suitable paint colors for the living room
Start by selecting paint colors that complement your living room’s overall design and ambiance. Consider the existing color scheme, furniture, and decor to ensure a cohesive and harmonious look. If you’re unsure, neutral shades like white, light gray, or beige are safe choices that can brighten up the space.
Prepare the paneling surface for painting
Before applying paint, the paneling surface needs to be properly prepared. Begin by cleaning the paneling with a mild detergent and water solution to remove any dirt or grease. If the paneling has a glossy finish, lightly sand it to create a more adhesive surface for the paint.
Read more: What To Do With Extra Living Room
Apply primer and paint to achieve desired results
Priming the paneling is essential to ensure the paint adheres properly and provides a smooth finish. Apply a coat of high-quality primer designed for use on wood surfaces, following the manufacturer’s instructions. Once the primer is dry, you can start painting. Use a roller or brush to apply a thin, even coat of paint, working in small sections at a time. Allow each coat to dry completely before adding additional coats for a more opaque finish.
As you paint, pay attention to detail and ensure the paint is evenly distributed. Take your time, and don’t rush the process. Once you’re satisfied with the coverage, step back and admire your freshly painted paneling.
Painting your paneling can breathe new life into your living room, transforming it into a vibrant and inviting space. It’s a relatively easy and cost-effective DIY project that can make a significant impact on the overall aesthetic of your living room.
Cover with wallpaper or fabric
If you prefer a more textured or patterned look for your living room, covering the paneling with wallpaper or fabric is a fantastic option. Here’s how you can achieve this transformation:
Select appropriate wallpaper or fabric patterns
Choose wallpaper or fabric patterns that align with your desired aesthetic. Consider the style of your living room, whether it’s modern, traditional, or eclectic, and select patterns that complement the existing decor. You can opt for bold and vibrant patterns to make a statement or subtle and neutral designs for a more understated look.
Prepare the paneling surface for wallpaper or fabric installation
To ensure proper adhesion, it’s essential to prepare the paneling surface before applying wallpaper or fabric. Clean the paneling with a mild detergent and water solution, and let it dry completely. Smooth out any imperfections by filling in cracks or gaps with wood filler and sanding the surface until it’s smooth to the touch.
Read more: How To Cover Electrical Panel In Living Room
Apply wallpaper or fabric using adhesive or other methods
Now it’s time to apply the wallpaper or fabric. Follow the manufacturer’s instructions for the specific adhesive or method you choose. If using wallpaper, mix the adhesive according to the instructions and apply it directly to the paneling. Carefully position the wallpaper, smoothing out any air bubbles or wrinkles as you go. If using fabric, you can use adhesive or other methods like staple gun or double-sided tape to secure the fabric to the paneling. Trim any excess fabric for a clean and polished look.
Covering your paneling with wallpaper or fabric allows you to add texture and personality to your living room. It’s a great way to infuse your own unique style and create a customized space that reflects your taste and preferences.
Install drywall over the paneling
If you’re looking for a more permanent solution to deal with the paneling in your living room, installing drywall over it can completely transform the space. Here’s how you can go about it:
Determine if drywall installation is feasible
Before embarking on this project, assess whether installing drywall over the existing paneling is a viable option. Check if there is enough space for the additional thickness of the drywall without causing any issues with door frames, electrical outlets, or other obstacles. If there are no restrictions, then installing drywall can be a great way to create a smooth and modern wall surface.
Gather necessary materials and tools
To install drywall, you’ll need the following materials: drywall sheets, screws, joint compound, drywall tape, sandpaper, and primer. Additionally, you’ll need tools such as a drill, screwdriver, utility knife, taping knife, and sanding block. Ensure you have all the necessary materials and tools before starting the installation process.
Securely install drywall over the paneling
Begin by measuring the dimensions of the wall to determine the size of the drywall sheets needed. Cut the drywall sheets to fit the wall, making any necessary adjustments for outlets or corners. Place the sheets over the paneling and secure them to the wall studs using screws. Apply joint compound and drywall tape to cover the seams between the sheets. Once the compound is dry, sand it down, apply primer, and paint the drywall to achieve the desired finish.
Installing drywall over the paneling can give your living room a fresh start and create a blank canvas for your design ideas. It eliminates the need to remove the paneling while providing a more modern and versatile wall surface.
Create an accent wall
If you want to add a visual focal point to your living room and draw attention away from the paneling, creating an accent wall is a fantastic option. Here’s how you can do it:
Decide on a design concept for the accent wall
First, choose the design concept for your accent wall. Consider the overall style of your living room and the mood you want to create. Some popular options include geometric patterns, stripes, or a solid color that contrasts with the paneling. Take inspiration from your existing decor or explore design ideas online to find the perfect concept for your accent wall.
Choose a contrasting paint color or wallpaper pattern
Select a paint color or wallpaper pattern that creates a striking contrast with the paneling. Look for colors or patterns that complement the overall color scheme of the room while providing a visual distinction from the paneling. Bold, vibrant colors or intricate wallpaper patterns can make the accent wall stand out and add a unique touch to your living room.
Read more: What To Do With A Blank Wall In Living Room
Apply the chosen paint or wallpaper to the specific wall
Once you’ve decided on the design concept and chosen the paint color or wallpaper pattern, it’s time to bring it to life. Paint the chosen color onto the desired wall, ensuring clean and precise edges. If you opt for wallpaper, follow the manufacturer’s instructions for application, making sure to align the pattern correctly. Smooth out any air bubbles or wrinkles as you go.
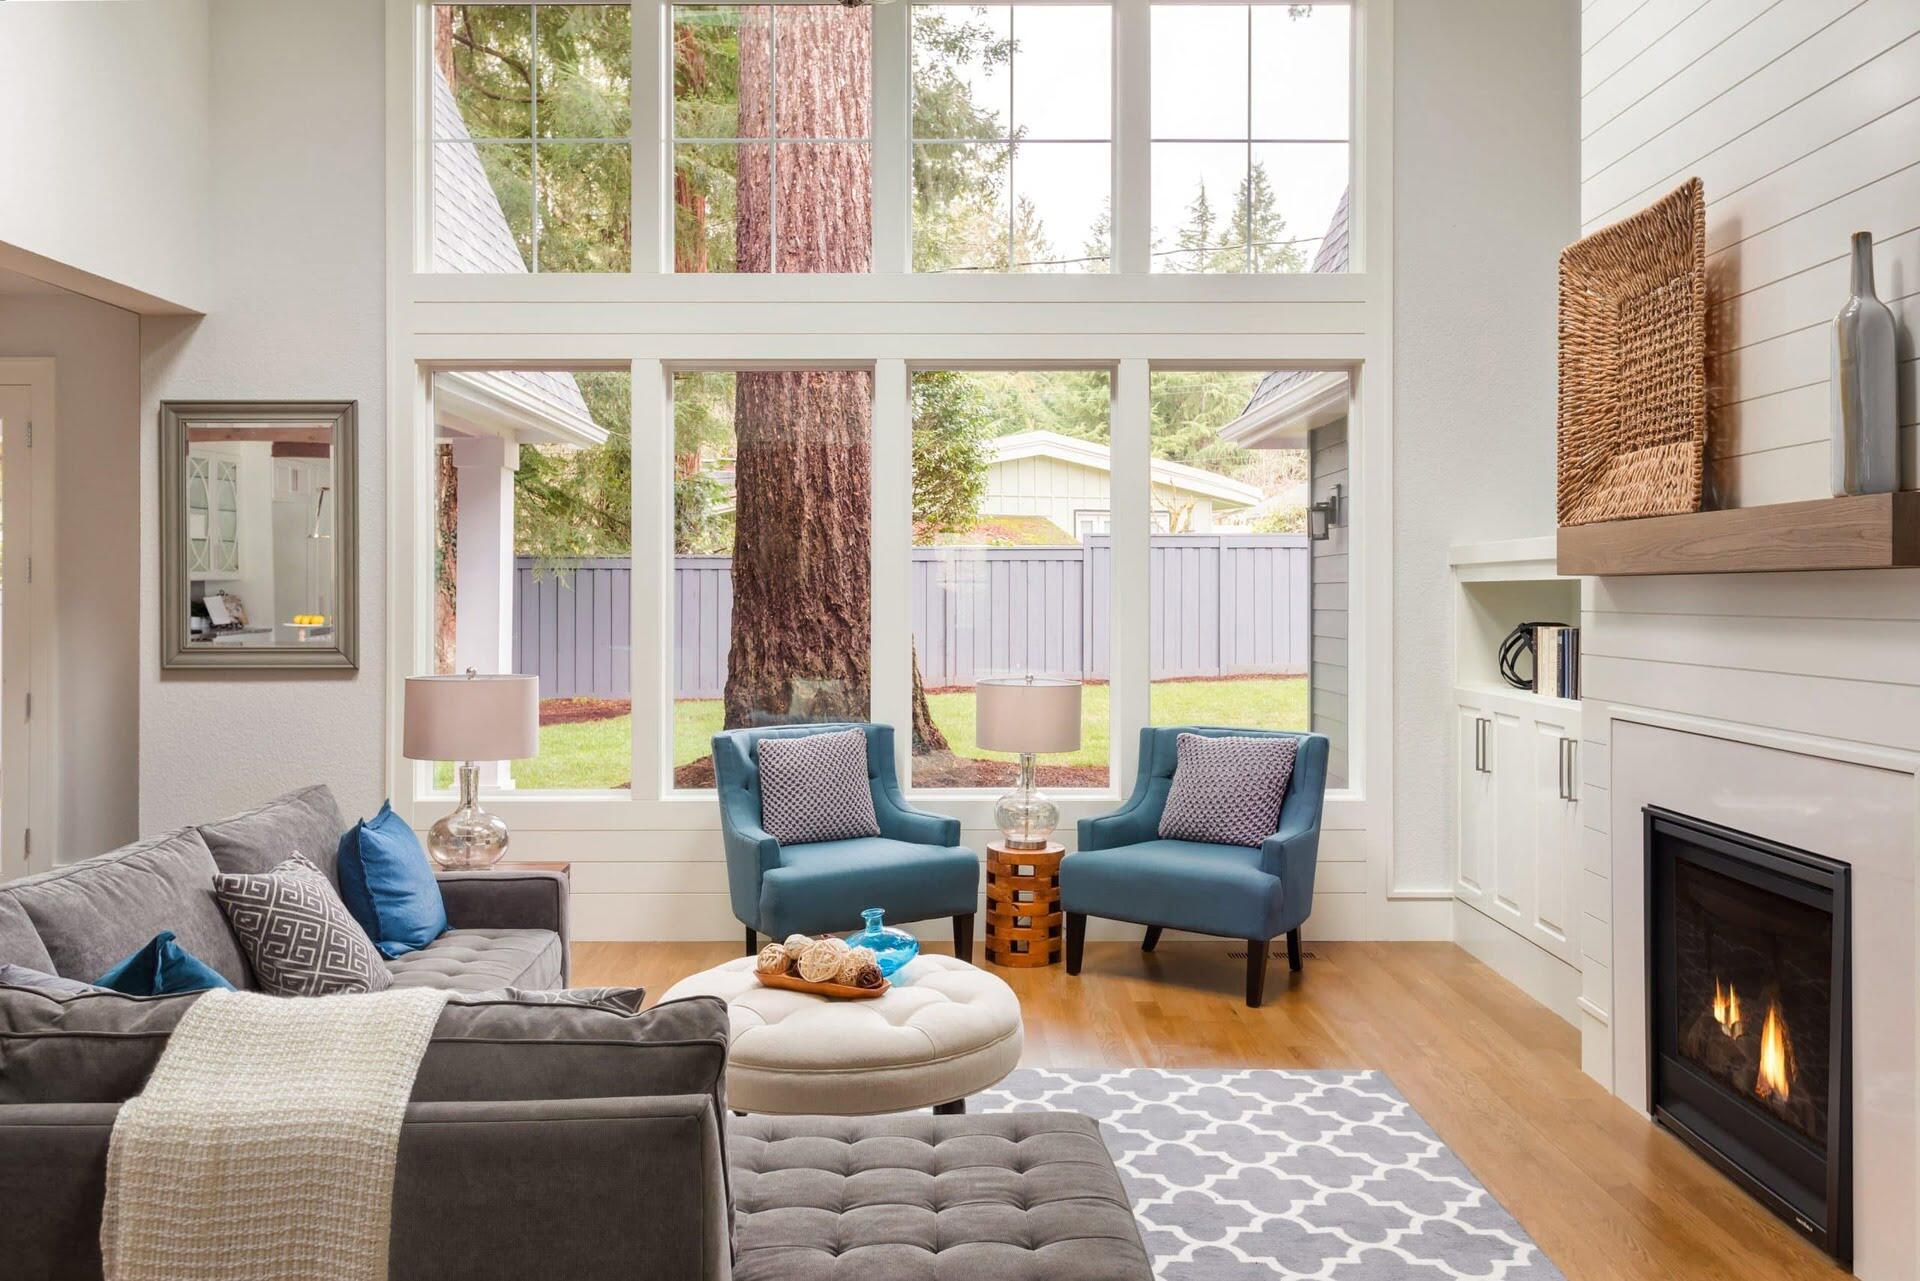
An accent wall can instantly transform your living room by adding visual interest and personality. It creates a focal point that draws attention away from the paneling and adds a touch of style and vibrancy to your space.
Remove the paneling
If you’re looking for a more drastic change and want to completely get rid of the paneling in your living room, removing it is the way to go. Here’s how you can proceed:
Assess the complexity of paneling removal
Start by evaluating the complexity of the paneling removal process. Some paneling may be superficially attached and easy to remove, while others might be more firmly secured to the wall. Take note of any additional layers or adhesive that may be present beneath the paneling, as these will need to be addressed during the removal process.
Gather the appropriate tools for the removal process
To efficiently remove the paneling, gather the necessary tools. This may include a pry bar, hammer, putty knife, utility knife, pliers, and a screwdriver. Having the right tools on hand will make the removal process much smoother and quicker.
Read more: What To Do With Unused Formal Living Room
Carefully remove the paneling and repair the wall underneath
Once you have assessed the complexity and gathered the tools, begin by gently prying or pulling the paneling away from the wall. Start at a corner or seam, and work your way along the wall, taking care not to damage the underlying wall surface. If the paneling is nailed or screwed in place, remove the fasteners using a hammer or screwdriver.
After the paneling is removed, you may encounter adhesive residue or damage to the wall surface. Use a putty knife or scraper to remove any remaining adhesive, being careful not to damage the wall. Smooth out any imperfections or holes with spackle or joint compound, sand the surface down, and apply a primer before painting or applying a new wall treatment.
Removing the paneling can be a labor-intensive process, but it can dramatically transform your living room and provide a fresh canvas for your design ideas. Take your time, be patient, and ensure you properly repair and prepare the wall surface before moving forward with a new wall treatment.
Repurpose the paneling
If you’re feeling creative and environmentally conscious, repurposing the paneling from your living room can be a fun and sustainable way to give it a new purpose. Here are some ideas to get you started:
Explore creative ways to repurpose the paneling
Start by brainstorming different ways to repurpose the paneling. Think outside the box and consider how it can be transformed into functional or decorative elements in your home. From furniture pieces to wall decor, there are endless possibilities for repurposing the paneling.
Transform it into decorative shelves or frames
One useful way to repurpose paneling is by turning it into decorative shelves or frames. Cut the paneling into desired sizes and shapes, then sand and paint them to match your desired aesthetic. Mount the panels on the wall as floating shelves or use them as unique picture frames to display photos, artwork, or sentimental items.
Read more: What Is A Living Room
Utilize the paneling for crafts or DIY projects
Paneling can also be a great resource for various crafts and DIY projects. Cut it into smaller pieces to create coasters, wall art, or decorative signs. The textured surface of the paneling can add a rustic or vintage charm to your creative endeavors. Let your imagination run wild and explore different crafting ideas that make use of the paneling.
By repurposing the paneling, you can give it a new lease on life and reduce waste. Not only will you be able to create unique and personalized pieces for your home, but you’ll also contribute to a more sustainable lifestyle.
Conclusion
Dealing with paneling in your living room doesn’t have to be a daunting task. There are several options available to transform and enhance the paneling, or even remove it completely. Whether you choose to paint, cover with wallpaper or fabric, install drywall, create an accent wall, repurpose the paneling, or remove it, each approach offers its own unique benefits and can help you achieve the desired look for your living room.
Before deciding on the best course of action, evaluate the condition of the paneling and consider your personal preferences and the style of your home. This will help you determine the most suitable solution for your specific situation.
Enhancing the paneling with paint can provide a fresh and modern look, while covering it with wallpaper or fabric adds texture and customization. Installing drywall creates a brand new wall surface, while creating an accent wall adds visual interest. Repurposing the paneling offers a creative and eco-friendly approach, and removing it completely opens up possibilities for a completely different design.
Whichever option you choose, remember to take your time and pay attention to detail. Proper preparation, such as cleaning, sanding, or repairing the wall surface, is essential to ensure a successful outcome. Gather the necessary materials and tools, and follow the instructions or seek guidance if needed.
By embracing these methods, you can transform your living room into a space that reflects your personal style and creates a welcoming and visually appealing environment. With a little creativity, effort, and attention to detail, you can say goodbye to dull and outdated paneling and hello to a living room that you’ll love spending time in.
Frequently Asked Questions about What To Do With Paneling In Living Room
Was this page helpful?
At Storables.com, we guarantee accurate and reliable information. Our content, validated by Expert Board Contributors, is crafted following stringent Editorial Policies. We're committed to providing you with well-researched, expert-backed insights for all your informational needs.

0 thoughts on “What To Do With Paneling In Living Room”