Articles
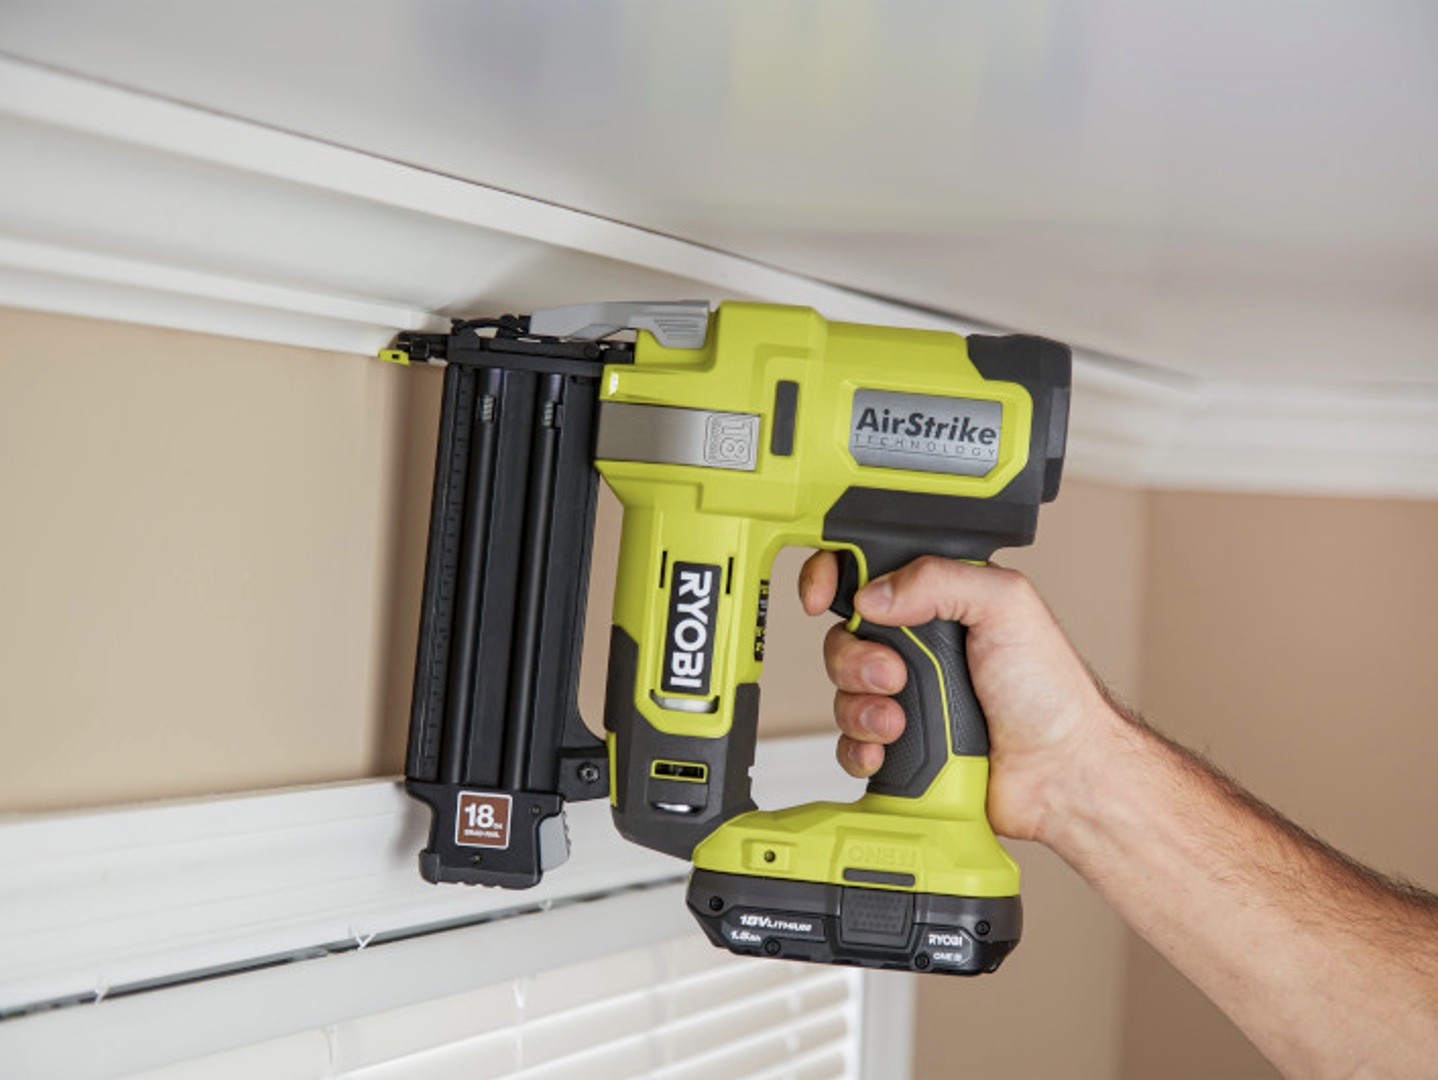
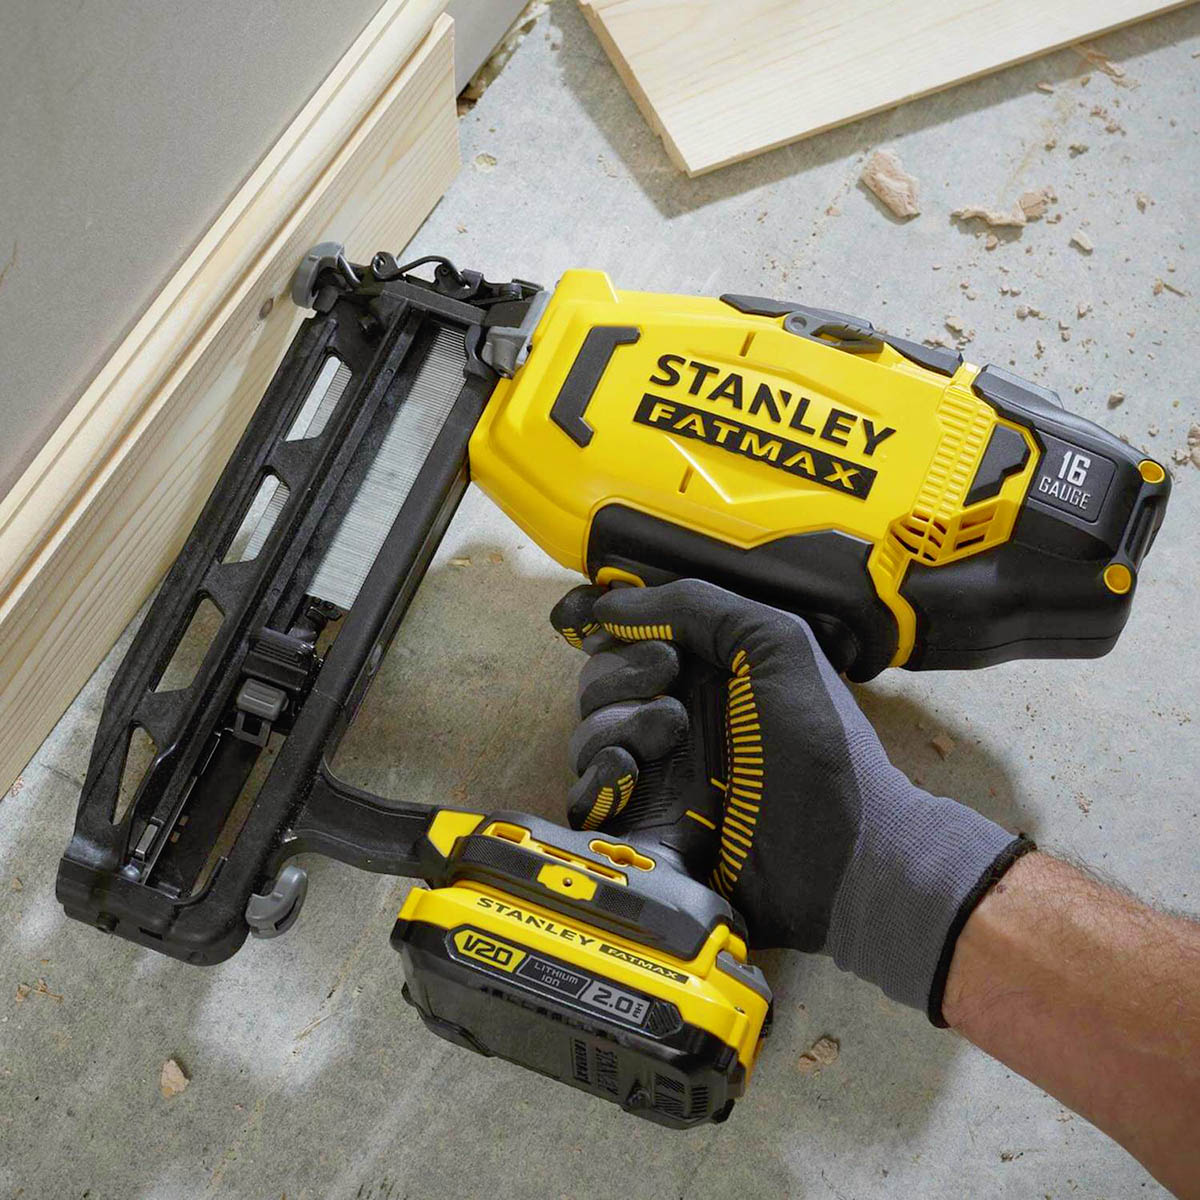
Why Is My Ryobi Nail Gun Not Firing
Modified: May 6, 2024
Discover articles that explain why your Ryobi nail gun is not firing and learn how to troubleshoot and fix the issue.
(Many of the links in this article redirect to a specific reviewed product. Your purchase of these products through affiliate links helps to generate commission for Storables.com, at no extra cost. Learn more)
Introduction
There’s nothing more frustrating than when your trusty Ryobi nail gun fails to fire. Whether you’re a professional carpenter working on a big project or a DIY enthusiast tackling a home improvement task, a malfunctioning nail gun can bring your progress to a screeching halt. But fear not! In this article, we’ll explore the possible reasons why your Ryobi nail gun is not firing and provide you with some practical solutions to get it up and running again.
A nail gun, also known as a nailer, is a powerful tool that allows users to quickly and efficiently drive nails into various surfaces, such as wood or drywall. Ryobi is a well-respected brand in the power tool industry, known for its durability and performance. However, even the best tools can experience occasional issues.
There are several potential reasons why your Ryobi nail gun may not be firing. It could be a problem with the air pressure, a jammed nail, an issue with the battery or power source, a faulty trigger mechanism, or a problem with the safety mechanism. Let’s take a closer look at each of these possible causes and explore the troubleshooting steps you can take to resolve them.
Before we dive into the solutions, it’s essential to prioritize safety. Always ensure that your nail gun is unplugged or the battery is removed before attempting any repairs or troubleshooting. Additionally, familiarize yourself with the nail gun’s user manual, as it may contain specific instructions and safety precautions that are specific to your Ryobi model.
Key Takeaways:
- Troubleshoot common issues like low air pressure, jammed nails, and battery problems to get your Ryobi nail gun firing again. Prioritize safety and refer to the user manual for specific instructions.
- If DIY troubleshooting doesn’t work, seek professional assistance. Expert technicians can accurately diagnose and repair complex issues, ensuring the safe and efficient operation of your Ryobi nail gun.
Read more: How To Load Ryobi Nail Gun
Possible Reasons for Ryobi Nail Gun Not Firing
When your Ryobi nail gun refuses to fire, it can be frustrating and confusing. However, there are several common issues that can cause this problem. Let’s explore the most likely reasons why your nail gun is not firing:
- Low Air Pressure: One of the primary reasons for a nail gun not firing is low air pressure. If the air pressure in the nail gun’s compressor tank is inadequate, the tool will not have enough power to drive the nails into the desired surface. Check the air pressure gauge on the compressor and ensure that it is set to the recommended PSI for the specific nail gun model. If necessary, increase the air pressure to the appropriate level.
- Jammed Nails: Another common issue that can prevent a Ryobi nail gun from firing is a jammed nail. Over time, nails can become misaligned or get stuck inside the nail gun’s magazine. This can obstruct the firing mechanism and prevent the gun from operating correctly. To resolve this, disconnect the nail gun from the power source and remove any remaining nails from the magazine. Inspect the magazine for any obstructions or jammed nails and clear them out carefully. Once the magazine is clear, reload it with fresh nails and test the nail gun again.
- Battery or Power Source Problems: If you’re using a cordless Ryobi nail gun, the issue may lie with the battery or power source. Make sure the battery is sufficiently charged and properly inserted into the nail gun. If the battery is weak, try charging it fully before attempting to use the nail gun. If you’re using a corded model, ensure that the power cord is securely connected to a functional power outlet.
- Trigger Mechanism Issues: A faulty trigger mechanism can also be to blame for a Ryobi nail gun not firing. Inspect the trigger assembly for any visible damage or signs of wear. Additionally, ensure that the trigger is properly engaged and that there are no obstructions preventing it from functioning correctly. If you notice any issues with the trigger mechanism, you may need to disassemble and clean the trigger assembly or replace any damaged parts.
- Safety Mechanism Problems: Most modern nail guns are equipped with safety mechanisms to prevent accidental firing. If the safety mechanism is engaged, the nail gun will not fire. Check to see if the safety switch is in the correct position and not stuck or damaged. If necessary, disengage the safety mechanism according to the manufacturer’s instructions to enable firing again.
By identifying and addressing these common problems, you can increase the chances of getting your Ryobi nail gun back in working order. However, if you’ve attempted these troubleshooting steps and your nail gun still refuses to fire, it may be time to seek professional assistance. A certified technician or Ryobi service center can diagnose and repair any underlying issues that may be causing the problem.
Fixing the Air Pressure Issue
When it comes to nail guns, proper air pressure is crucial for optimal performance. If your Ryobi nail gun is not firing, the air pressure may be too low. Follow these steps to fix the air pressure issue and get your tool working again:
- Check the Compressor: Start by examining the air compressor that powers your nail gun. Ensure that it is plugged in and functioning properly. Check the compressor’s pressure gauge to determine the current air pressure level. Refer to your nail gun’s user manual for the recommended PSI (pounds per square inch) range. If the pressure is below the recommended level, you will need to increase it.
- Adjust the Air Pressure: Locate the pressure regulator on your compressor and use a wrench or screwdriver to turn the adjustment knob counterclockwise to increase the pressure. Be careful not to exceed the recommended PSI range for your specific nail gun, as excessive pressure can damage the tool. Slowly increase the pressure while periodically testing the nail gun until it fires properly.
- Inspect the Hose and Connections: Check the air hose and connections between the compressor and the nail gun. Ensure that there are no leaks or cracks that could lead to a loss of air pressure. Tighten any loose connections and replace any damaged hoses or fittings.
- Clean or Replace the Air Filter: Over time, the air filter in your compressor can become clogged with dust and debris, restricting airflow and reducing air pressure. Check the filter and clean it according to the manufacturer’s instructions. If the filter is damaged or excessively dirty, replace it with a new one.
- Maintain the Compressor: Regular maintenance of your air compressor can prevent air pressure issues. Follow the manufacturer’s guidelines for oiling and cleaning the compressor. Keep the compressor in a clean and well-ventilated area to prevent overheating.
By addressing the air pressure issue, you increase the chances of your Ryobi nail gun firing correctly. However, if the problem persists after trying these steps, consider checking other possible causes or consulting a professional for further assistance.
Clearing Jammed Nails
If your Ryobi nail gun is not firing, a common culprit could be jammed nails in the magazine. When nails become misaligned or stuck, they can impede the firing mechanism. Follow these steps to clear the jammed nails and restore functionality to your nail gun:
- Disconnect the Power Source: Before attempting to clear the jammed nails, it’s crucial to disconnect the nail gun from the power source. Unplug the cord or remove the battery to eliminate the risk of accidental firing.
- Empty the Nail Gun: Remove any nails that may still be loaded in the magazine. Check the user manual for your specific Ryobi nail gun to determine the correct method for emptying the magazine. Some models may require the use of a nail punch or other tool to push the nails out.
- Inspect the Magazine: Examine the magazine for any obstructions or jammed nails. Use a flashlight if necessary to get a clear view of the internal mechanism. Gently remove any debris or stuck nails using pliers or a small screwdriver. Be cautious not to damage the magazine or the nails during this process.
- Clean the Magazine: Once you’ve cleared the jammed nails, take the opportunity to clean the magazine. Use a soft brush or compressed air to remove dust, debris, or residue that may have accumulated. This will help prevent future jams and ensure smooth operation of the nail gun.
- Reload the Magazine: After cleaning the magazine, reload it with the appropriate size and type of nails. Refer to the user manual for your Ryobi nail gun to ensure you are using the correct nails. Insert the nails into the magazine according to the manufacturer’s instructions.
- Test the Nail Gun: Reconnect the power source to your Ryobi nail gun and test it for firing. Ensure that the jammed nails were the cause of the issue and that the nail gun is functioning as expected. If the problem persists, you may need to explore other possible causes or seek professional assistance.
By properly clearing any jammed nails and maintaining the magazine’s cleanliness, you can prevent future firing issues with your Ryobi nail gun. Just remember to always prioritize safety and to consult the user manual for specific instructions related to your model.
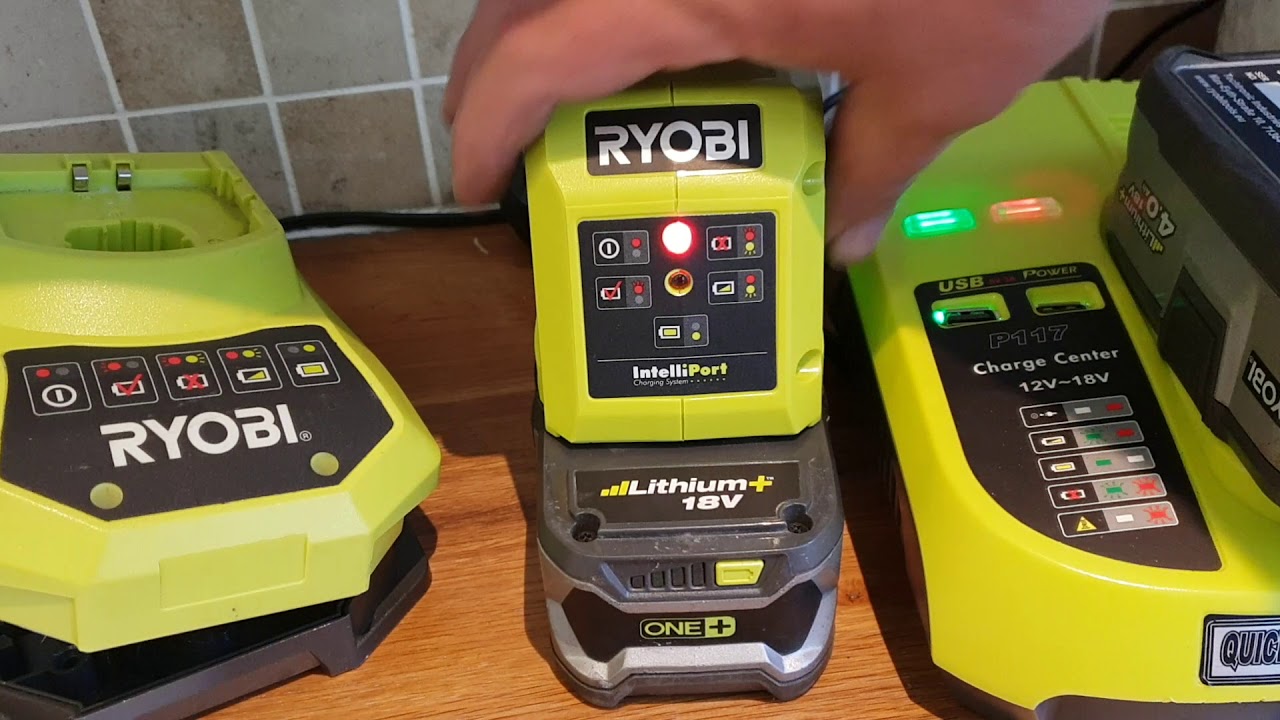
Checking the Battery or Power Source
If your Ryobi nail gun is not firing and you’re using a cordless model, the issue may lie with the battery or power source. Here are the steps to check and address any problems with the battery or power source:
- Inspect the Battery: Start by checking the battery’s charge level. Ensure that it is properly inserted into the nail gun and securely connected. If the battery is low on charge, it may not provide enough power to fire the nails. If necessary, charge the battery fully before attempting to use the nail gun.
- Check the Battery Contacts: Examine the battery contacts on both the nail gun and the battery itself. Over time, dirt, dust, or debris can accumulate on the contacts, preventing a proper connection. Clean the contacts using a soft cloth or an electronics cleaning solution to ensure a clean and reliable connection.
- Test with a Different Battery: If you have access to another compatible battery, try using it with your Ryobi nail gun. This will help determine if the battery itself is faulty. If the nail gun fires with a different battery, it indicates that the original battery may need replacing.
- Check the Power Source: If you’re using a corded Ryobi nail gun, ensure that the power cord is plugged into a functioning power outlet. Check the outlet with another device to confirm if it’s delivering power. If the power source is working properly, ensure that the cord is not damaged or frayed, as this can affect the flow of electricity.
- Inspect the Battery Charger: If your Ryobi nail gun has a separate battery charger, examine it for any visible damage or faults. Ensure that it is plugged into a functional power outlet and that the charging indicator lights up when the battery is connected. Refer to the user manual for troubleshooting steps specific to the battery charger, if necessary.
By checking the battery or power source, you can eliminate potential issues related to insufficient power supply. If the problem persists after trying these steps, it’s advisable to explore other possible causes or consult a professional for further assistance with your Ryobi nail gun.
Check the battery or air compressor to ensure it is fully charged and connected properly. Also, make sure the nails are loaded correctly and the safety mechanism is not engaged. If the issue persists, consult the user manual or contact Ryobi customer support for further assistance.
Read more: What Nails Can You Use In A Ryobi Nail Gun
Inspecting the Trigger Mechanism
If your Ryobi nail gun is not firing, a faulty trigger mechanism may be the culprit. The trigger controls the firing action of the nail gun, so any issues with it can prevent proper operation. Here’s how to inspect the trigger mechanism:
- Disconnect the Power Source: Before inspecting the trigger mechanism, always ensure that your Ryobi nail gun is disconnected from the power source. Unplug the cord or remove the battery to eliminate the risk of accidental firing.
- Examine the Trigger Assembly: Take a close look at the trigger assembly for any visible damage or signs of wear. Check for loose or broken parts, such as the trigger itself, torsion springs, or alignment pins. Ensure that all components are securely in place. If you notice any damage, you may need to replace the affected parts.
- Check for Obstructions: Inspect the trigger area for any obstructions that may be hindering its movement. Sometimes debris, such as wood chips or dust, can accumulate and impede the trigger’s proper functioning. Use a small brush or compressed air to remove any debris and ensure smooth trigger operation.
- Verify Trigger Engagement: Confirm that the trigger engages properly without any sticking or resistance. The trigger should move freely and smoothly, allowing for easy activation of the firing mechanism. If you notice any issues with the trigger’s movement, disassemble the trigger assembly according to the manufacturer’s instructions and clean it thoroughly.
- Ensure Proper Trigger Alignment: Check the alignment of the trigger in relation to the rest of the nail gun. It should sit flush and properly engage with the internal mechanisms. Adjust the trigger alignment if necessary, using the guidelines provided in the user manual or seeking professional assistance.
By thoroughly inspecting the trigger mechanism, you can identify any visible issues that may be impeding the firing action of your Ryobi nail gun. If you’re unable to resolve the problem through inspection and cleaning, it may be necessary to replace damaged parts or seek further assistance from a professional technician.
Troubleshooting the Safety Mechanism
One of the essential safety features of a nail gun is the safety mechanism, which is designed to prevent accidental firing. However, if the safety mechanism is engaged or malfunctioning, it can prevent your Ryobi nail gun from firing. Here’s how to troubleshoot the safety mechanism:
- Disconnect the Power Source: Before troubleshooting the safety mechanism, ensure that your Ryobi nail gun is disconnected from the power source to eliminate the risk of accidental firing. Unplug the cord or remove the battery.
- Check the Safety Switch: Locate the safety switch on your nail gun. Ensure that it is in the correct position for firing, usually marked with a single fire or continuous fire mode. If the safety switch is not fully engaged in the correct position, the nail gun will not fire. Adjust the switch accordingly to enable firing. Refer to the user manual for your specific Ryobi model for detailed instructions on operating the safety switch.
- Inspect for Stuck or Damaged Safety Mechanism: Examine the safety mechanism for any visible obstructions, damage, or wear. Sometimes dust, debris, or dirt can accumulate and interfere with the proper functioning of the safety mechanism. Use a brush or compressed air to clean the area around the safety mechanism, ensuring that it moves freely. If you notice any damage or abnormalities, contact a professional technician or Ryobi service center for further assistance.
- Test the Safety Mechanism: Toggle the safety switch back and forth while listening for a clicking sound or feeling for any resistance. Confirm that the safety mechanism engages and disengages correctly. If the safety mechanism feels loose, sticks, or does not engage consistently, it may require adjustment or repair.
- Follow Manufacturer Guidelines: Familiarize yourself with the safety guidelines and instructions provided in the user manual for your specific Ryobi model. The manufacturer’s guidelines may include specific troubleshooting steps and safety precautions related to the safety mechanism. Adhere to these instructions for safe operation of your nail gun.
By troubleshooting the safety mechanism, you can ensure that it is functioning properly and not impeding the firing action of your Ryobi nail gun. If you’re unable to resolve the issue or suspect a more significant problem with the safety mechanism, it is advisable to seek assistance from a professional technician or contact the Ryobi customer support team.
Seeking Professional Assistance
If you’ve explored all the troubleshooting steps mentioned earlier and your Ryobi nail gun still fails to fire, it may be time to seek professional assistance. Professional technicians have the knowledge, expertise, and specialized tools to diagnose and repair more complex issues that may be affecting your nail gun’s functionality.
Here are a few reasons why you should consider seeking professional assistance:
- Expert Diagnosis: Professional technicians have experience dealing with a wide range of nail gun issues. They can accurately diagnose the cause of the problem and provide you with a clear understanding of what needs to be done to fix it. This can save you time, frustration, and the risk of further damage caused by attempting intricate repairs on your own.
- Access to Genuine Parts: If your nail gun requires replacement parts, a professional technician will have access to genuine parts recommended by the manufacturer. Using genuine parts ensures the longevity and performance of your Ryobi nail gun.
- Manufacturer Support: Professional technicians often have direct communication channels with the manufacturer. If your nail gun is still under warranty, a professional repair may be covered, saving you money on potential repairs or replacements.
- Safety Assurance: Nail guns are powerful tools that can be dangerous if not properly handled or repaired. Seeking professional assistance ensures that the repairs are conducted with safety standards in mind, reducing the risk of accidents or injuries during operation.
- Peace of Mind: By contacting a professional technician, you can have peace of mind knowing that your Ryobi nail gun is in capable hands. They will take the necessary steps to get your nail gun firing again and provide any additional maintenance recommendations to keep it in optimal condition.
If you’re unsure where to find a professional technician, contact the Ryobi customer support team or visit their official website to locate authorized service centers in your area. It’s essential to provide them with all the relevant information about your nail gun’s model, issues faced, and any troubleshooting steps you’ve already taken.
Remember, attempting complex repairs without proper knowledge may worsen the issue or pose a risk to your safety. So, when in doubt, it’s always best to seek professional assistance to get your Ryobi nail gun back in working order.
Conclusion
A Ryobi nail gun not firing can be frustrating, but with some troubleshooting and proper maintenance, you can get your tool back in working order. In this article, we’ve explored the possible reasons why your nail gun may not be firing and provided practical solutions to address each issue.
We discussed the importance of checking the air pressure, clearing jammed nails, inspecting the battery or power source, examining the trigger mechanism, and troubleshooting the safety mechanism. These steps can help you identify and resolve the common problems that can hinder the firing action of your Ryobi nail gun.
However, if your troubleshooting efforts do not yield the desired results, it is advisable to seek professional assistance. Professional technicians have the expertise and tools to diagnose and repair more complex issues, ensuring the safe and efficient operation of your nail gun.
Remember to always prioritize safety when working with power tools. Disconnect the power source, familiarize yourself with the user manual, and follow the manufacturer’s guidelines. By doing so, you can prevent accidents and ensure the longevity of your Ryobi nail gun.
In conclusion, don’t let a non-firing Ryobi nail gun halt your progress. Take the necessary steps to troubleshoot and maintain your tool, and if needed, seek professional assistance. By addressing the underlying issues, you can get back to completing your projects quickly and efficiently.
Now that you've got a grip on fixing your Ryobi nail gun, why stop there? For those eager to expand their toolkit, our detailed guide on selecting the best equipment will prove invaluable. Power tools are essential for any DIY enthusiast or professional builder, offering efficiency and precision in every project. Don't miss out on understanding which devices will best suit your needs and help you tackle even the most challenging tasks with ease. Ready to upgrade your workshop? Dive into our comprehensive review and make informed decisions for your next purchase.
Frequently Asked Questions about Why Is My Ryobi Nail Gun Not Firing
Was this page helpful?
At Storables.com, we guarantee accurate and reliable information. Our content, validated by Expert Board Contributors, is crafted following stringent Editorial Policies. We're committed to providing you with well-researched, expert-backed insights for all your informational needs.
0 thoughts on “Why Is My Ryobi Nail Gun Not Firing”